CTP Tech
InTheGarageMedia.com
man looking at rubber products as he works on a car
Gaining Access
A Blend-in Remedy for an Overlooked Detail
By “Rotten” Rodney BaumanImages by THE AUTHOR
W

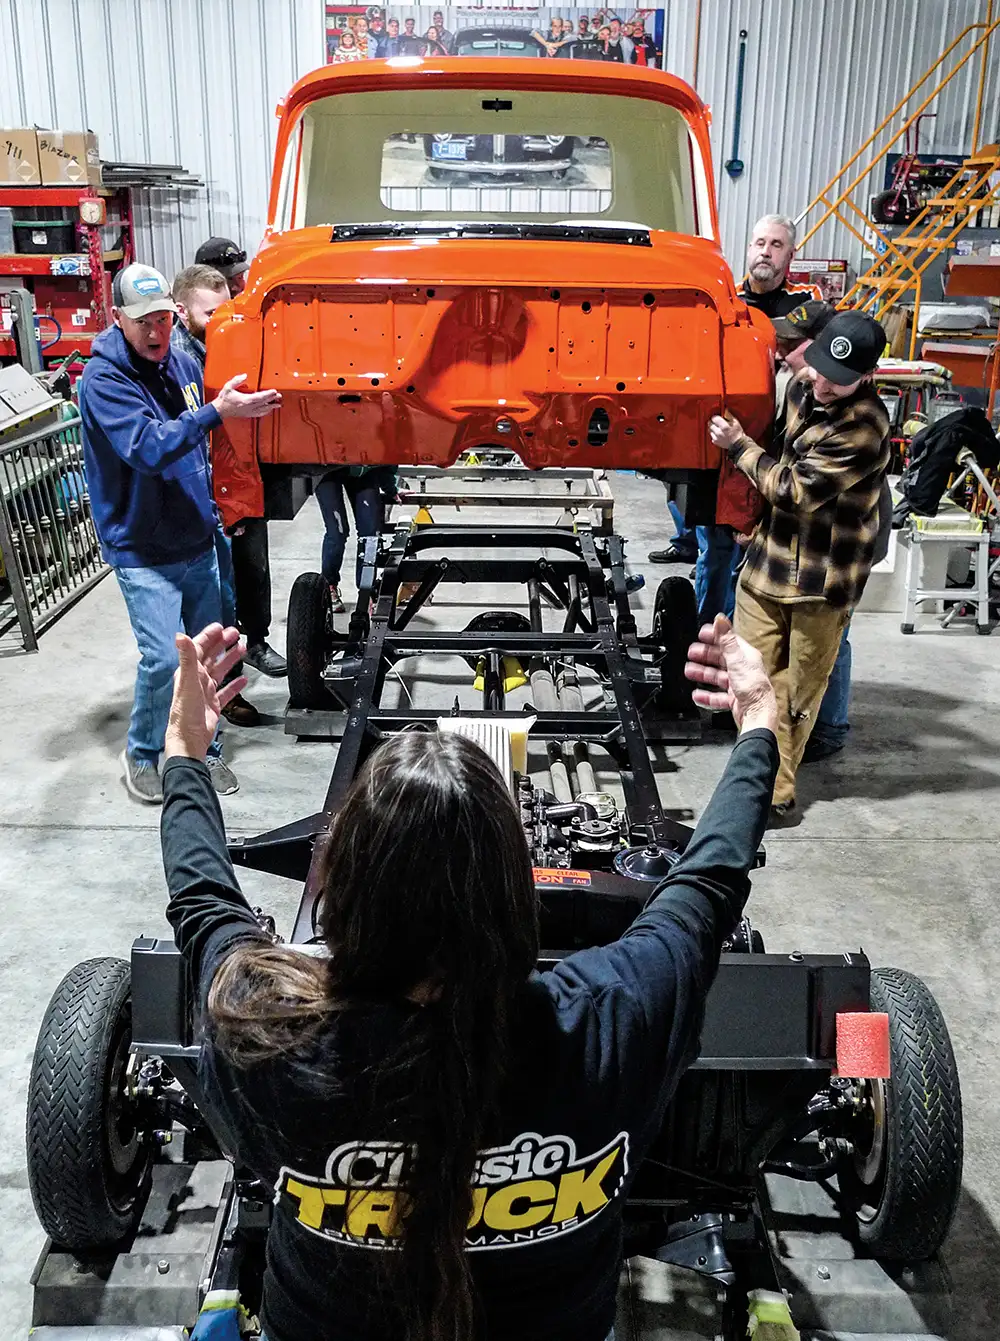
hen a pickup project’s cab and chassis remain separated long enough, we might (OK, I might) lose sight of a detail or two. Our ’55 Chevy second-series project has been seen this way in tech before. If by chance you missed it, we started with a wreck.

Because this old truck first belonged to its current owner’s father, it’s a sentimental build. In this instance we wouldn’t want to completely erase the truck’s personality. Granted, it’s receiving the mandatory stance-enhancement but apart from that, it’ll be a dolled-up stocker, pretty much.

When the project’s twisted Unisteel cab was first lifted, its twisted-to-match foundation went straight to the frame shop. Still bearing some scars, it did at least roll out true. As an extra-added plus, the frame retains its digits, just as an Oakland assembly plant worker stamped ’em in late 1955.

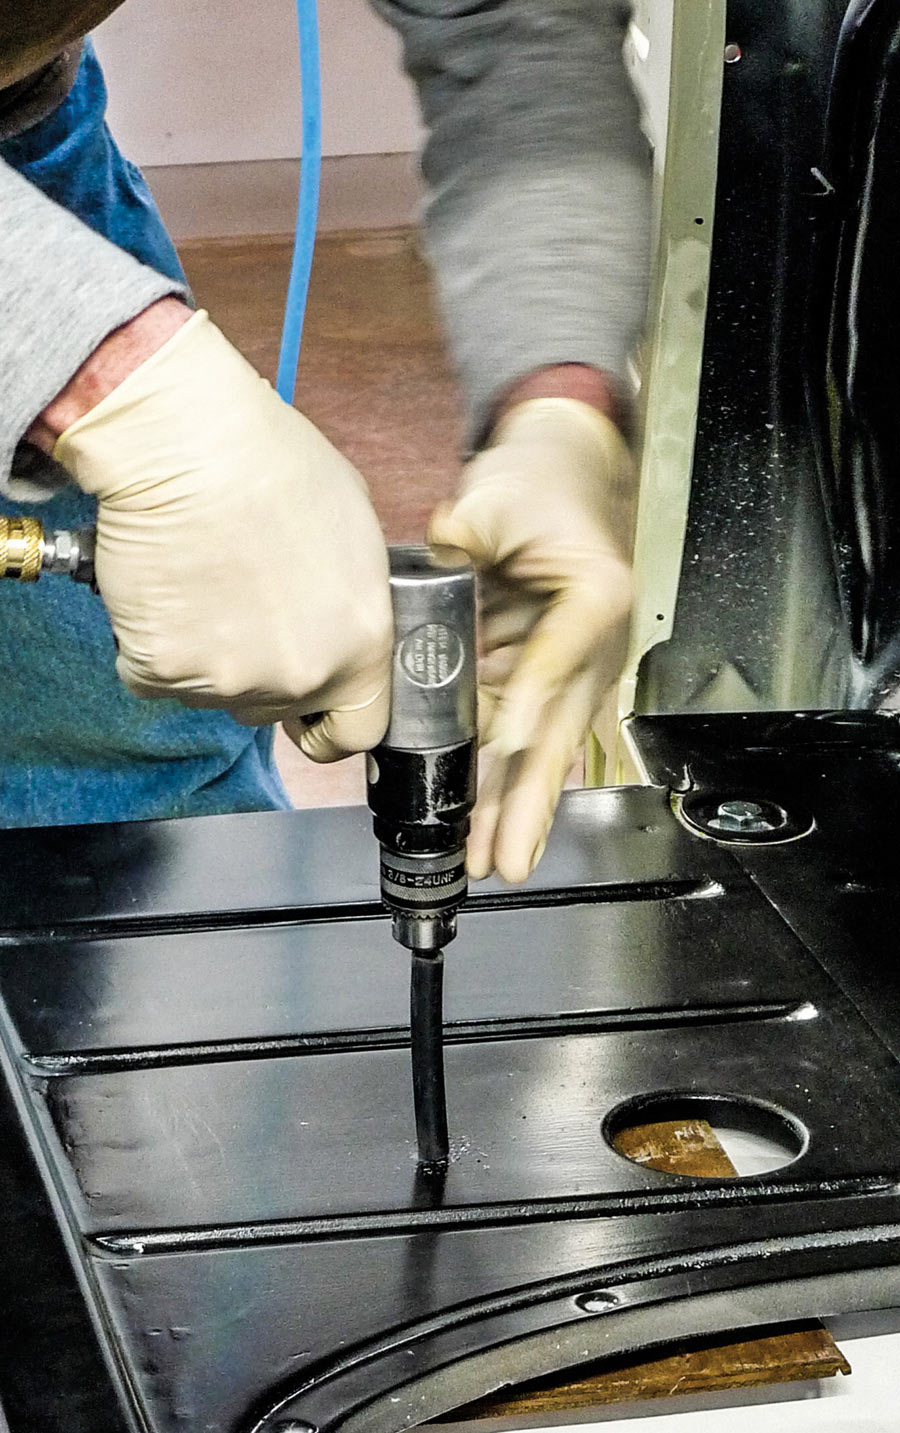
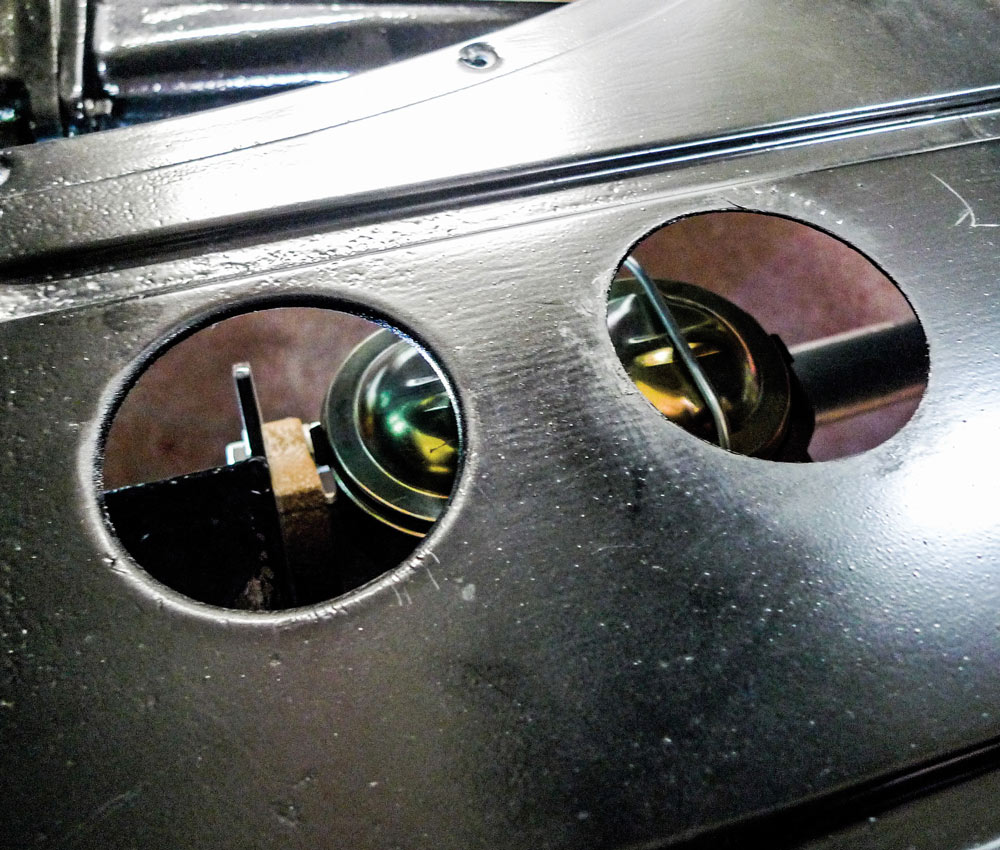
So, what detail or two have we (OK, I) lost sight of? Well, during the standard-procedure mock-up, the panel gapectomy, and the general fight for fitment, I neglected to notice that brake master cylinder access would end up somewhat hindered.

Early in the build we’d upgraded to front disc brakes. At the same time we stepped up for a dual master cylinder conversion—all from Classic Performance Products. Our new, now-functioning dual master cylinder of course has a larger-than-stock lid, but it also misaligns awkwardly with the floor’s existing access hole.

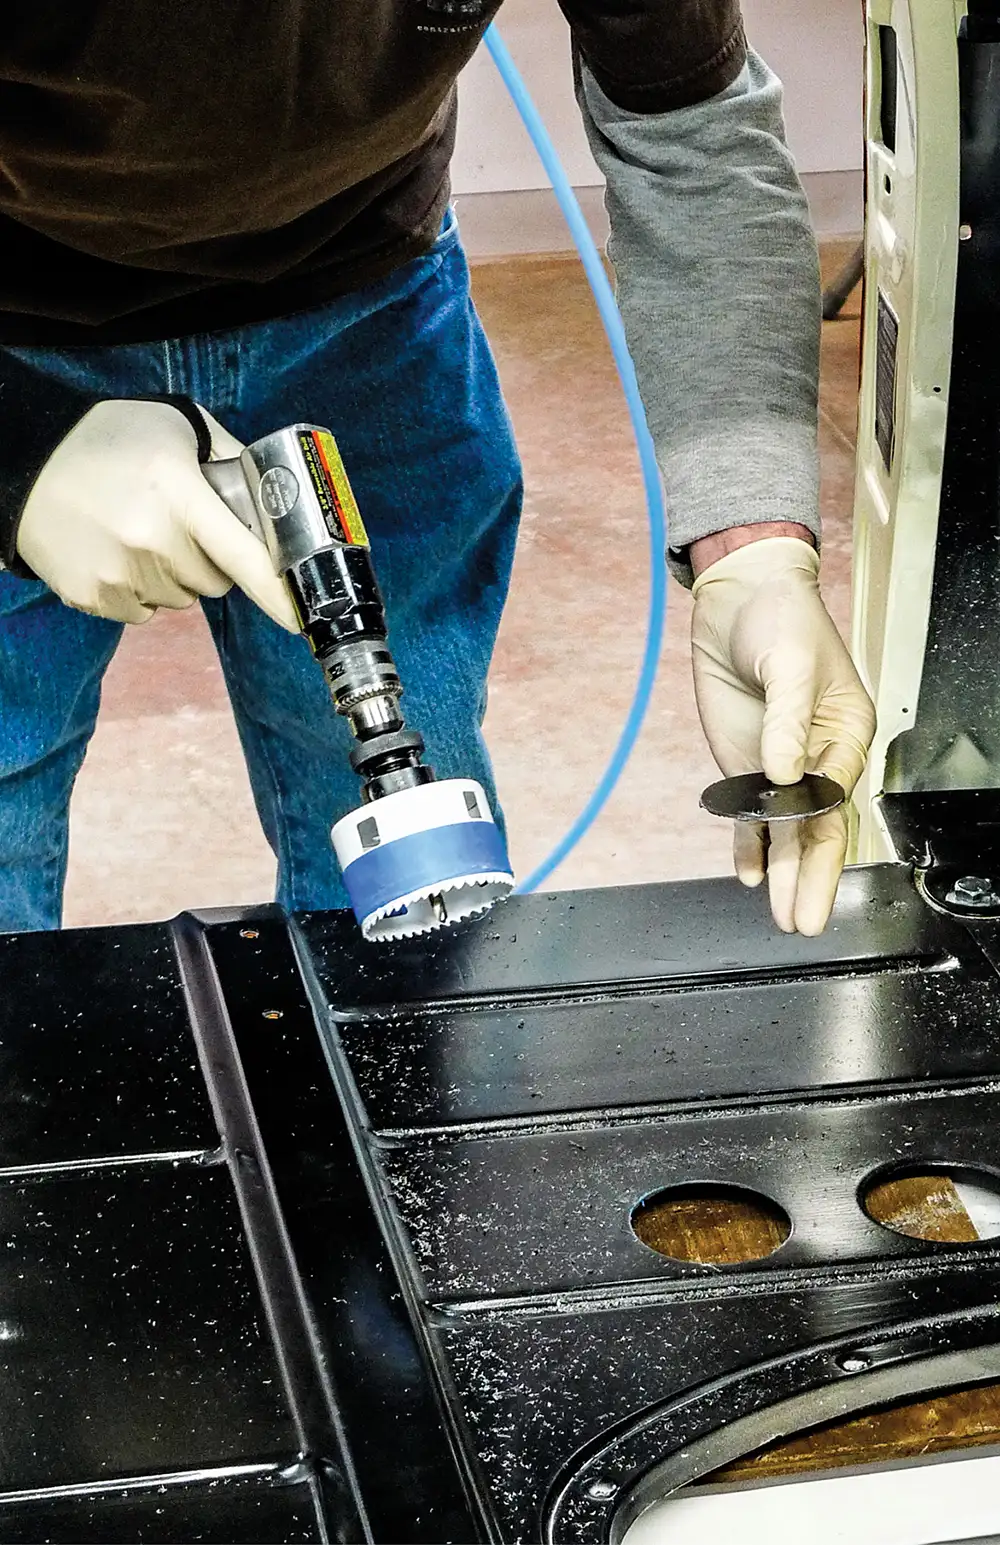
Impending modification for the dilemma du jour would’ve been easier earlier, before rubberized undercoating, color, and final cab installation. Still, if we’re careful, we can pull this off without much marring of resplendent surfaces.

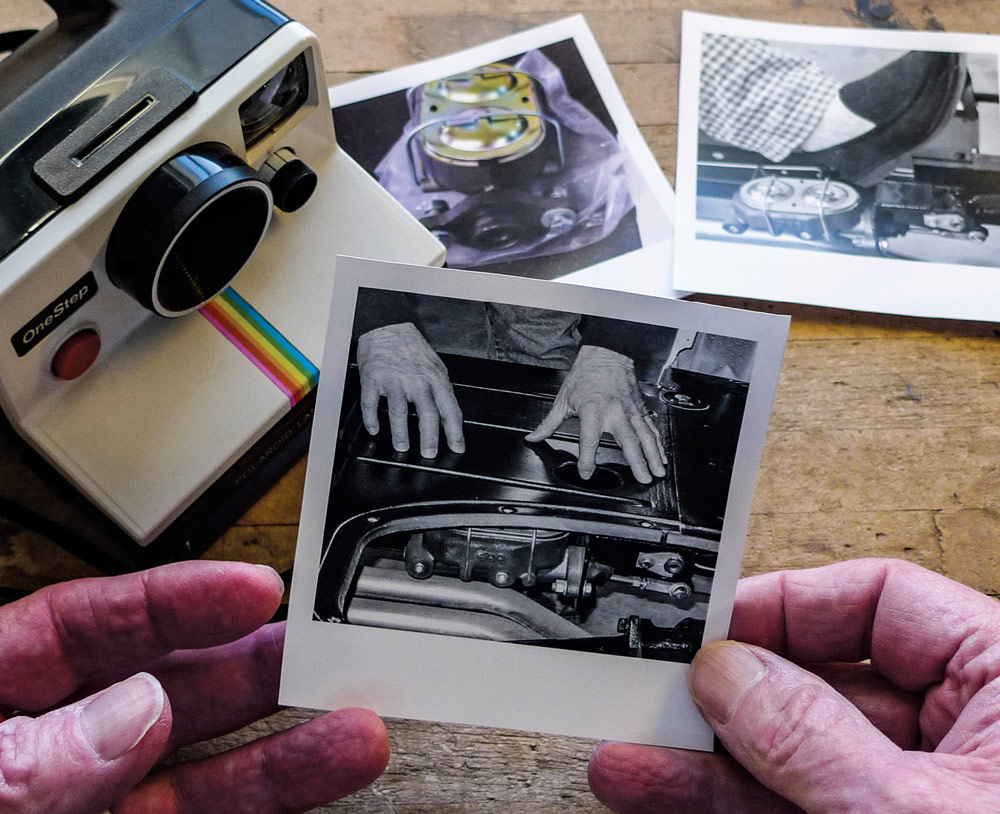
Years—and I mean years—ago, when this project first came to us, I didn’t expect I’d be typing up this particular tech story. Quite fortunately, however, there are some old photos that I do believe could fill the gaps.

For the actual job at hand, the needed modification will be “seat-of-the-pants,” or “on-the-fly” if you prefer. So far, I have no idea what I’ll end up doing here.

At times like these an inspirational trudge (weather permitting) through an old-enough wreckin’ yard can render solutions. If there’s an old car or truck with a flat-enough dash, a glovebox door with a bit of surrounding ’jamb metal could function nicely as a master cylinder access door. With our cab in color top-and-bottom, however, it’s a little late for that much cutting, welding, or even chemical panel bonding.

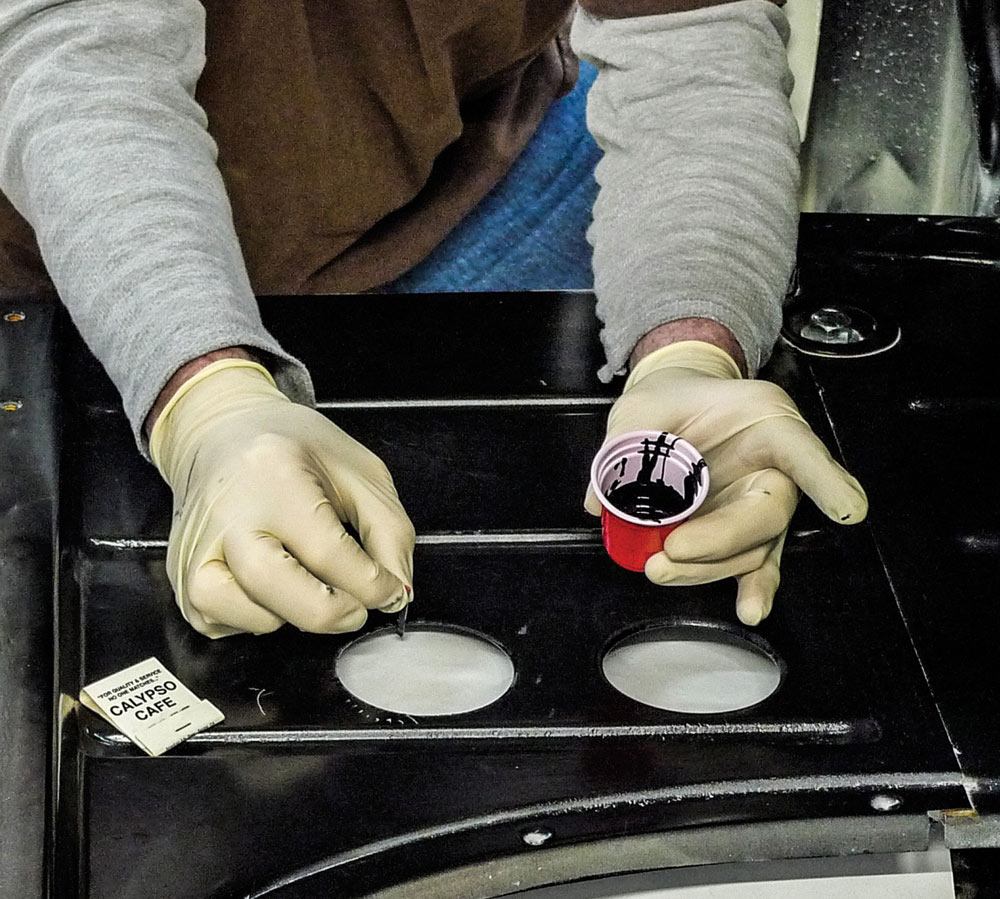
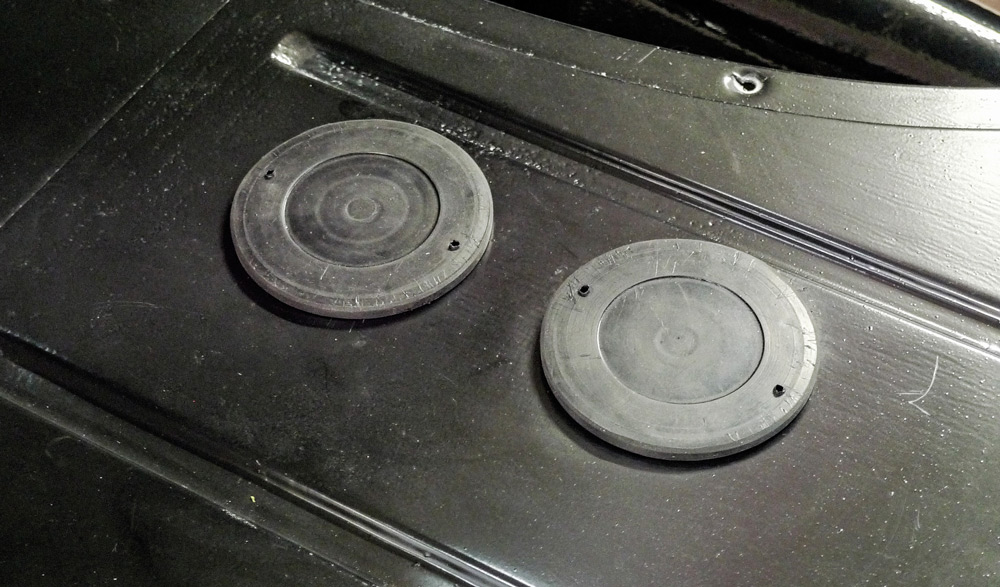
Since our build isn’t too far from stock, should we hold back a bit this time? Our custom work here would be concealed beneath a reproduction floor mat, anyway. With the mat flipped up, it might be nice if our modification could have a factory-fool-you appearance.

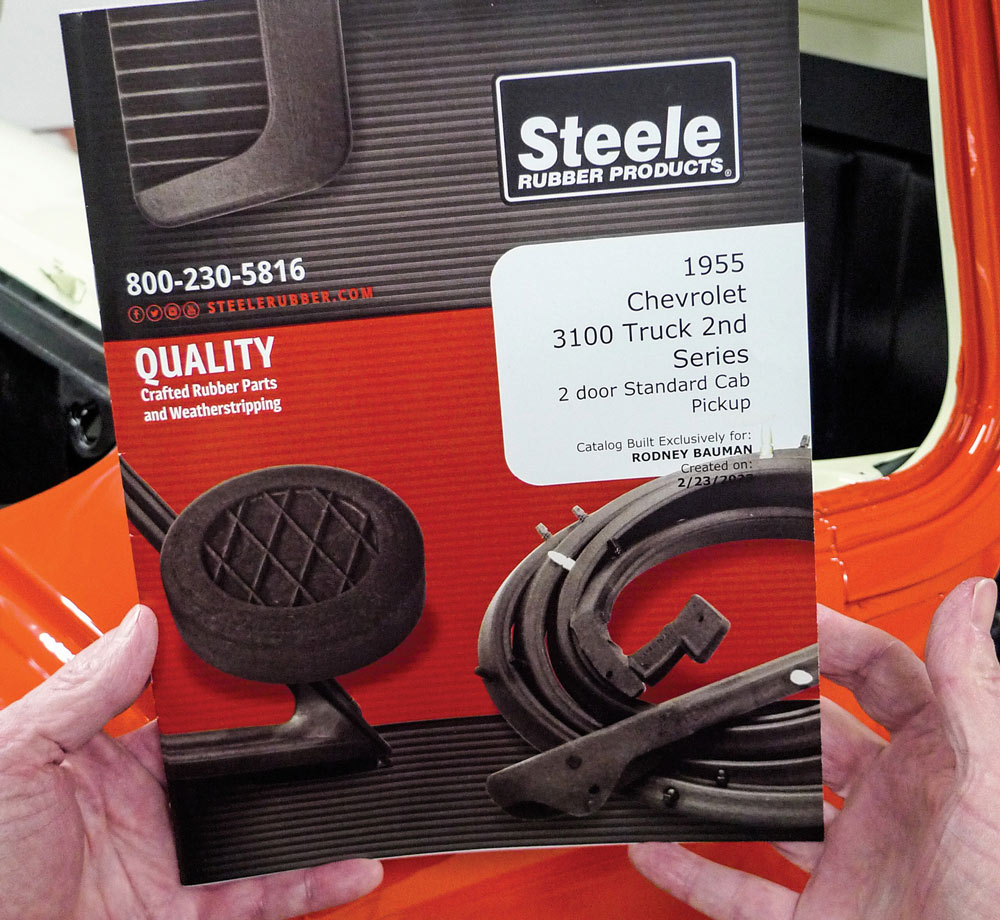
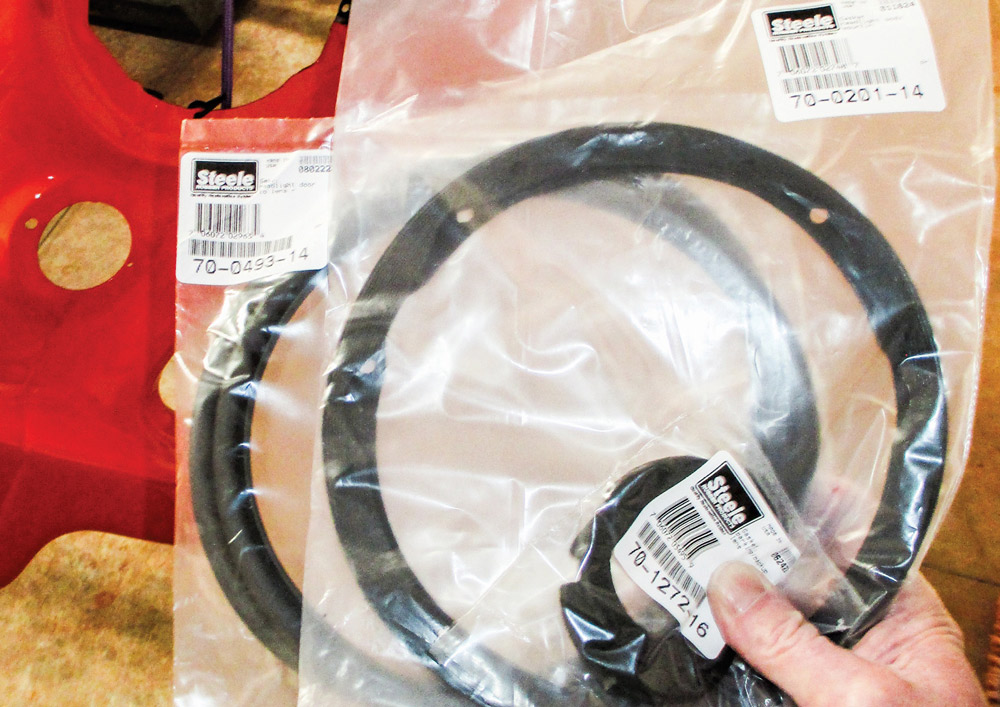
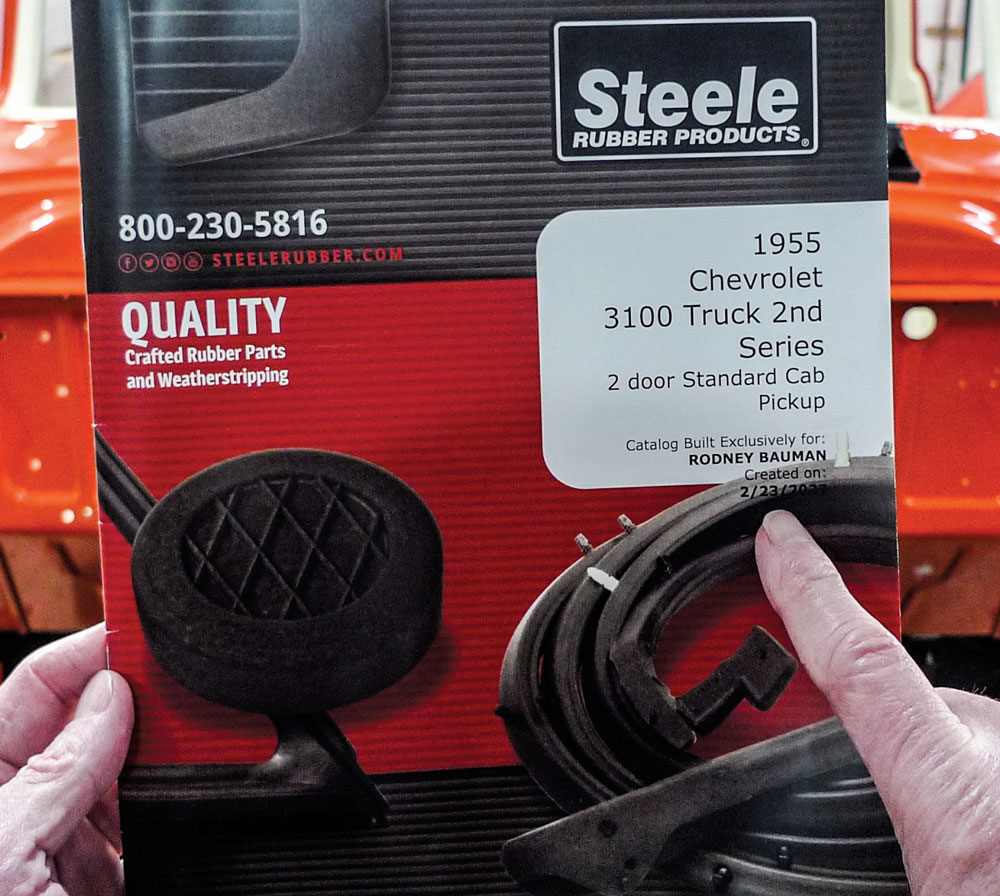
As it all works out, it’s time to place a rather extensive order with Steele Rubber Products. In preparation, while thumbin’ through my personalized catalog, it occurred to me (yes, finally) that we could ease master cylinder access simply by creating an additional hole for an additional master cylinder access cover (PN 66-0016-24 ) from Steele Rubber Products.

Sometimes the easy route is also the appropriate route. The plan as it stands wouldn’t be so tough at all. While this may not have the dramatic effect we’d create by trudgin’ across the tundra (it’s snowing now), through an old-enough wreckin’ yard it’ll certainly help us expedite the larger job at hand.

First things first, there’ll be some heavy lifting. With new mounting pads and related hardware we’ll finally reinstall a painted cab. Then, with some assembly required, let’s place that order with Steele—and let’s get started here.

people lifting orange shell of a car onto the frame as someone directs them
1. “Your friends will help you move.” Your real friends will help you move a cumbersome Unisteel cab. This one is about to reassume its rightful position atop its repaired/prepared OE chassis—hopefully for keeps.
hand holding old photographs
2. Now, here’s the part where old photos make handy gap fillers. Let this little collage illustrate the aforementioned overlooked detail. Master cylinder access won’t be easy as-is.
package from Steele Rubber Products
3. It’s time to order our rubber parts anyway. If you haven’t seen one, here’s my own personalized catalog. This illustrates every part Steele Rubber Products manufactures for our particular build. With this as a simplified guide, the list of goods-to-gather is easily compiled.
product from Steele Rubber Products
4. Our shipment has arrived! Now before we get too technical, these deserve a mention. For Task Force and Blue Chip trucks, Steele offers door seals in OE dimensions and also with a thinner-than-OE cross section, which we’ve opted for. We’ve used these before. For easy break-in, they’re the hot tip; we’ll cover that in the near future.
headlight-to-fender gaskets and headlight door seals in packaging
5. Headlight-to-fender gaskets and headlight door seals are available from Steele, so we’ll be using ’em. Our project truck’s park lights are custom, but we believe OE-dimension gaskets from Steele will still do the trick. We’ll let you know about that soon.
Steele products in packaging
6. So, since this story is about gaining access to a hard-to-reach dual master cylinder, these two Steele staples will play the leading role. Ordinarily, we might be tempted to make a big deal of such a minor modification, but maybe not this time.
dual master cylinder’s frontal reservoir
7. As it came from the assembly line, this truck’s original access hole aligns well-enough with the dual master cylinder’s frontal reservoir. The rear, however, is not only out of reach, it’s out of sight.
set of hands using a digital caliper
8. According to this digital caliper, we’ll need to create a matching 3-inch hole—just above and in line with the master cylinder’s rearward reservoir. For that, we have a fairly new hole saw set—somewhere.
bi-metal hole saw set packaging
9. Well, wouldn’t you know it? Our favored hole saw set stops at 2-1/2 inches. At times like these, it’s good to be driving distance from Harbor Freight. If you shop there half as often as we do, you’ll likely spot some other familiar items in use here as we go.
using a hammer to set up a hole
10. To get started we’ll rely on eyeball engineering. Our largest transfer punch is a good fit for our new 3-inch hole saw’s center hole. Since we’ll only have one chance, we’d like to get this right the first time. Following this gentle hammer-smack, we’ll be committed.
using a drill to create a hole
11. We could probably just continue with the new hole saw, but a 1/8-inch pilot hole wouldn’t slow things down much, and it certainly wouldn’t hurt. This drill bit is pretty long, so we’re using a stretch of vacuum hose as a stop.
using a 3-inch hole saw
12. Now, for the new 3-inch hole saw, we thought we ought to fashion some type of stop. A few wraps of tape worked fine for us here. This went quicker than expected. There’s nothing quite like a sharp new hole saw.
heavy duty steel five piece file set
13. For the random burrs left behind, Mrs. Rotten would use a neat little deburring tool she has—somewhere. She’s out at the moment. I have no idea where she keeps it, so let’s employ one of these little bastards.
using a large file on a metal hole
14. Moving forward, this half-round bastard seems to work just fine. In less than a minute or so, the fresh-cut edge is—as we might say—“bastardized.” Obviously, from here we’ll have some conscientious cleanup to attend to.
using a vacuum to clean metal shavings
15. At first I thought a strong magnet might be the non-scratchy ticket for shaving-abatement. That part went undocumented, but it could’ve been comedy. When creativity fails, it just might be a job for the old vacuum cleaner, anyway.
touching up exposed metal on cut out hole
16. What about protecting the bare-metal edge we’ve exposed? I don’t want to clean a gun. I don’t even want to clean a brush. I wouldn’t mind throwing a paper matchstick away, so that’ll be our touchup tool du jour.
cut holes a day after being able to dry
17. The very next day, our touchup is not necessarily cured, but it’s dried up enough that we can finish this little job. Before we do, however, let’s have a look at our newly gained master cylinder access. This’ll work, right?
Steele master cylinder access cover B-sides
18. So, here’s our last clear view of our Steele master cylinder access cover B-sides (PN 66-0016-24). We haven’t tried yet, but from the looks of things, they’ll push in, catch, and stay put, even though our new hole is lacking the OE hole’s downturned lip.
placing two rubber covers places over holes
19. As a compulsive embellisher, I could rattle on with how we’ve worked for this and so on, but in all honesty, this was too easy! With two rewarding pops, both covers are in their places, fitting snugly, just the same.
two rubber covers places over holes
20. Sure, we could’ve gone fancy with a custom-grafted access door, but if less is occasionally more, this’d be an example. With the floor mat flipped, would anyone other than us likely notice?
finger pointing at text on a package
21. Should this caption read, “Your name here?” Throughout the course of this build, my own personalized catalog has been an invaluable tool. Yours can be the same for you. Better yet, you’ll receive the finest fit and quality, by far, from Steele Rubber Products.
SOURCES