CTP logoFeature star Tech
InTheGarageMedia.com
Contemporary, Corner-Carving Components for Classics
Part II: Tubular Trailing Arms, Coilover Shocks, and Big Brakes Make for a Better-Performing C10
BY Ryan MansonPhotography by Mike Chase
W

hen Pete and Leslie Richmond sat down with the Cotati Speed Shop crew to determine how to get their 1968 C10 to sit right, look good, handle well, and stop even better, the one thing they knew was that they were going with a company that offered a “full system.” They knew that mixing and matching components had the risk of incompatibility. It was also decided that they wanted a system that would allow for full adjustability when it came to the stance as well as the handling of the truck. Stock coil springs and non-adjustable tube shocks wouldn’t cut it nor would the stock trailing arm setup out back.

Last month, we followed along with the Cotati crew as they installed a QA1 front suspension kit from Speedway Motors on the Richmond C10, so it should come as no surprise that when it came to addressing the rear suspension, the guys went with more of the same.

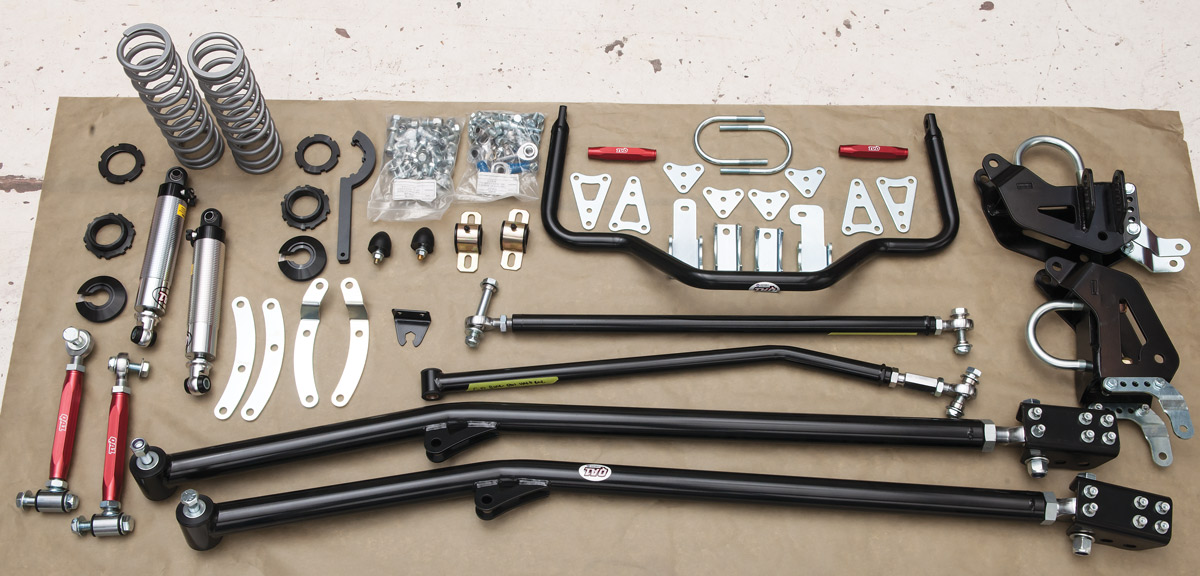
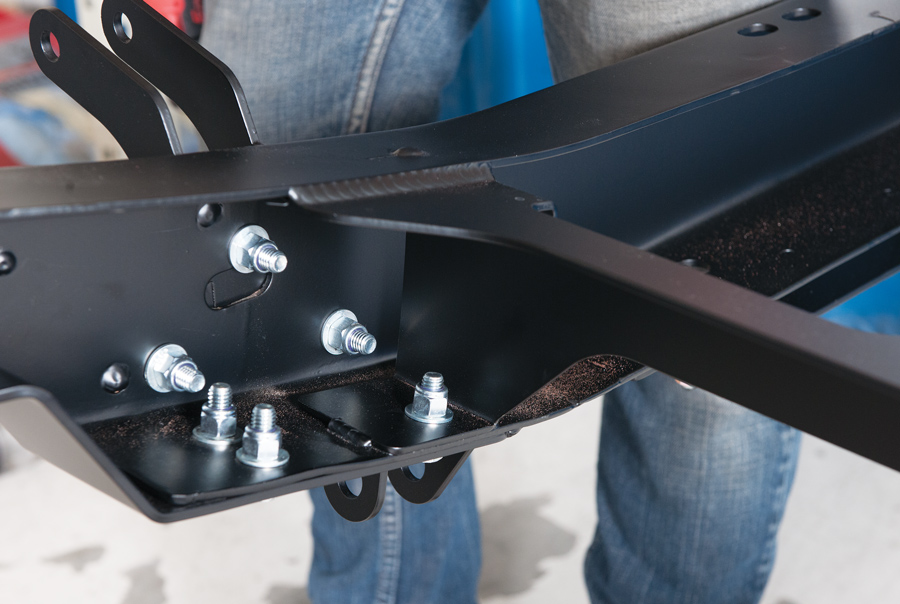
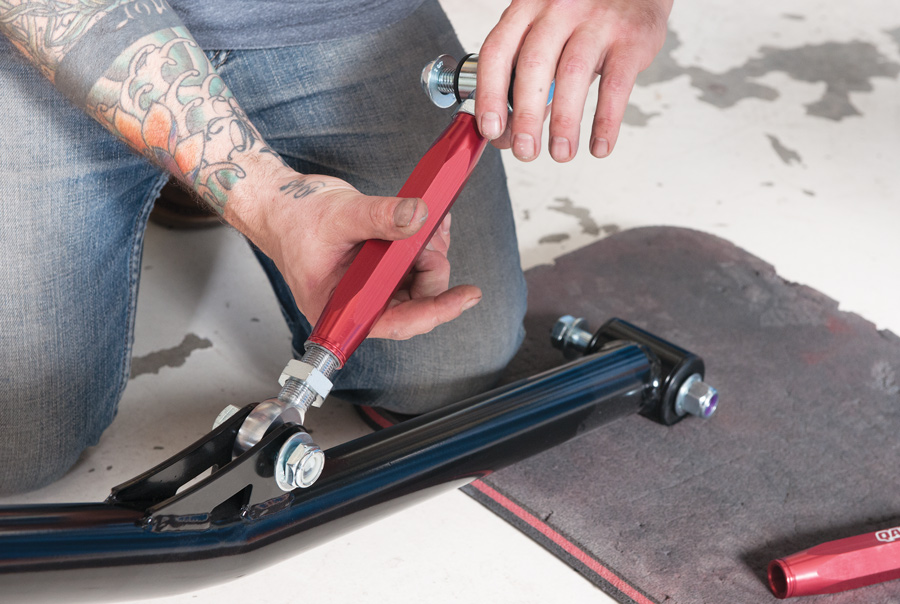
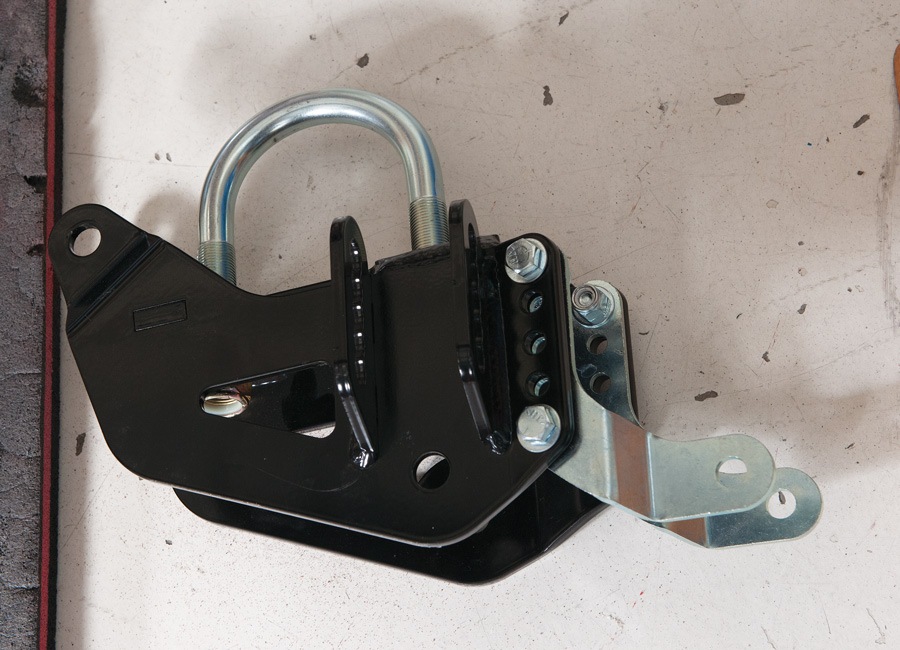
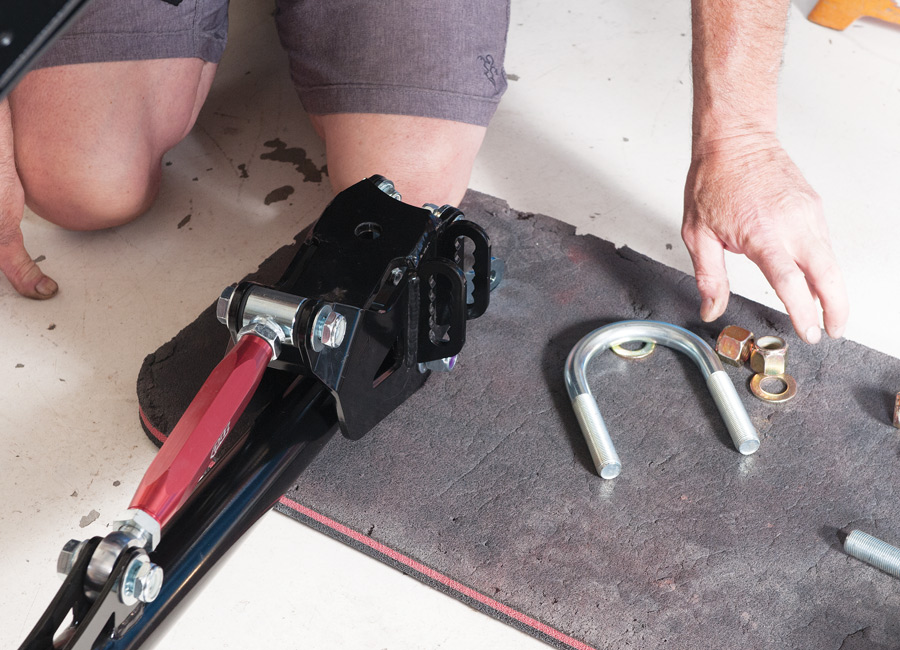
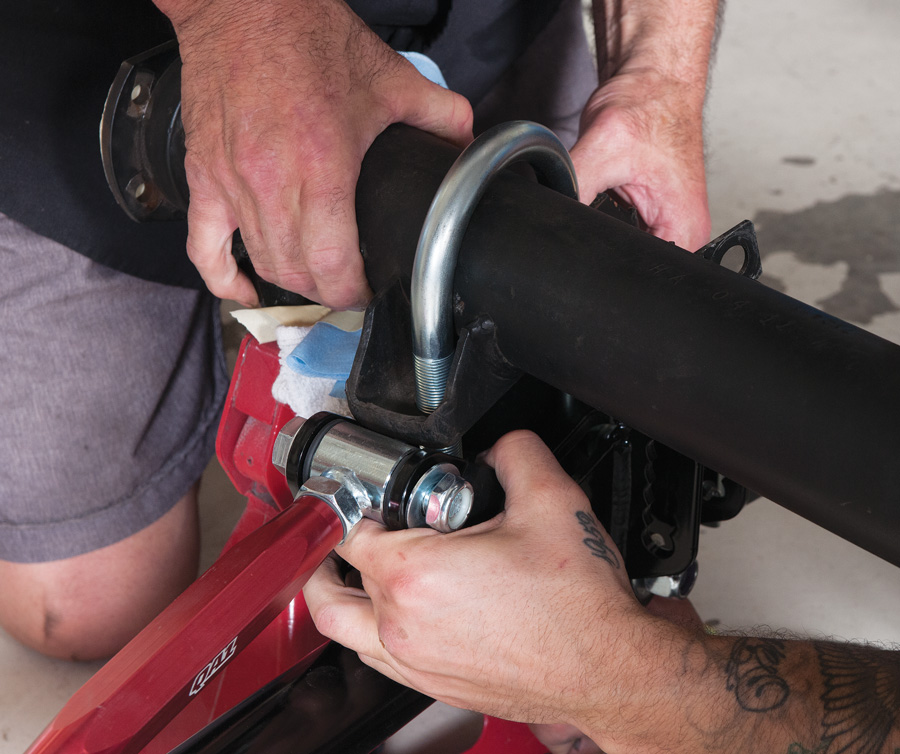
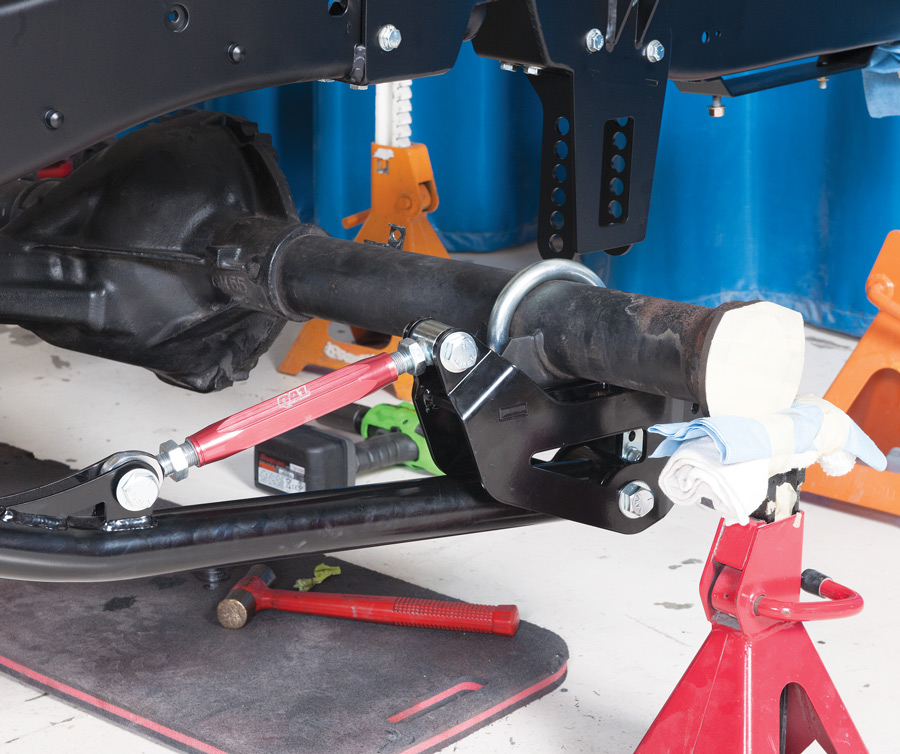
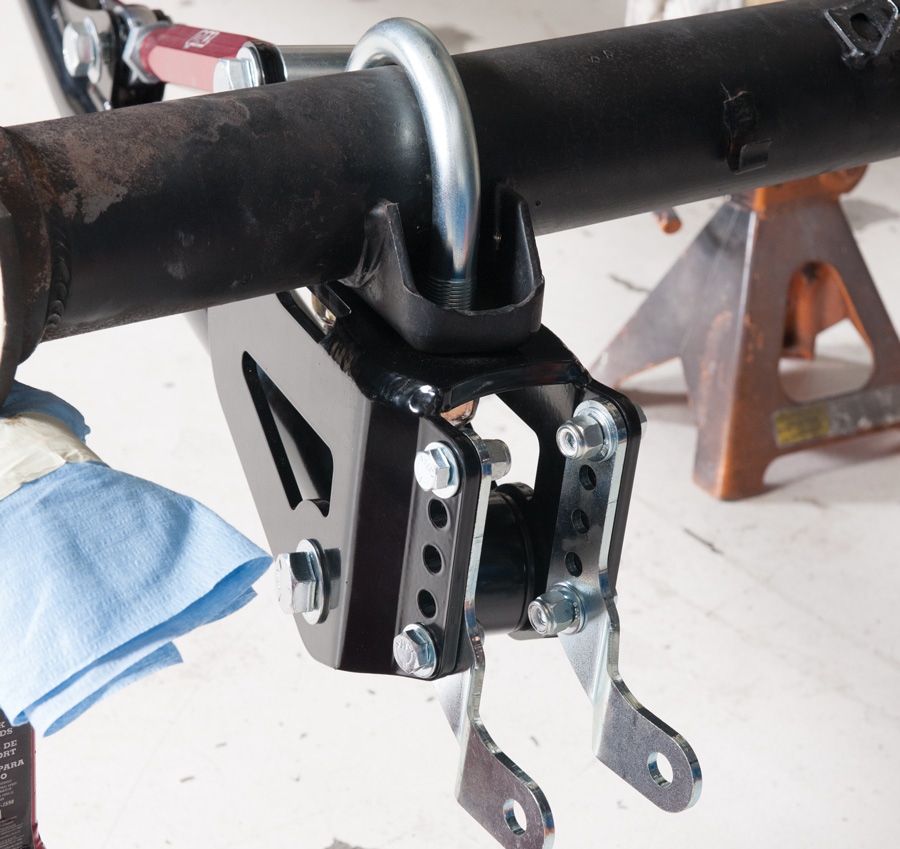
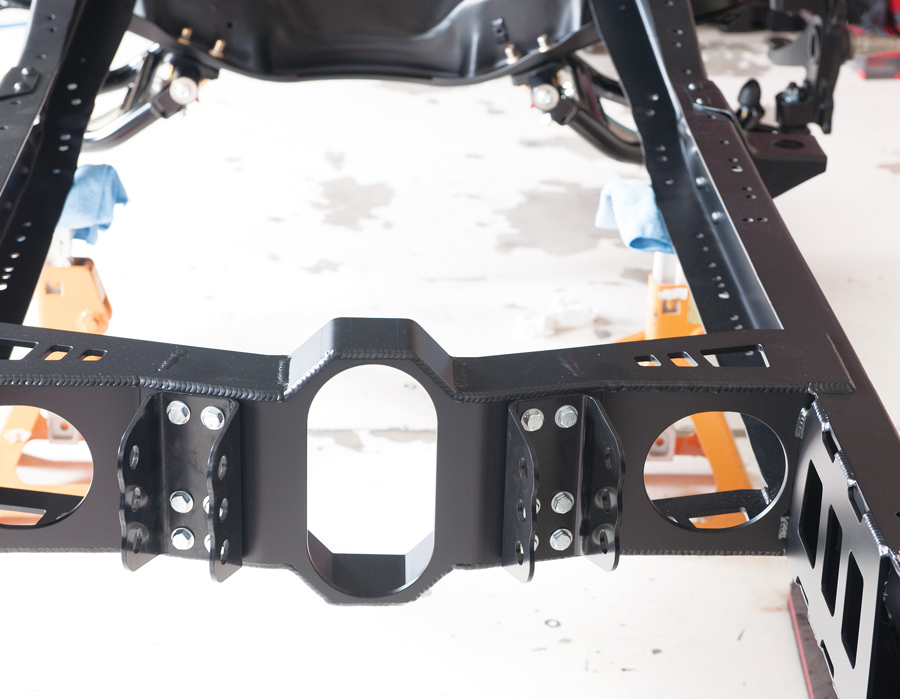
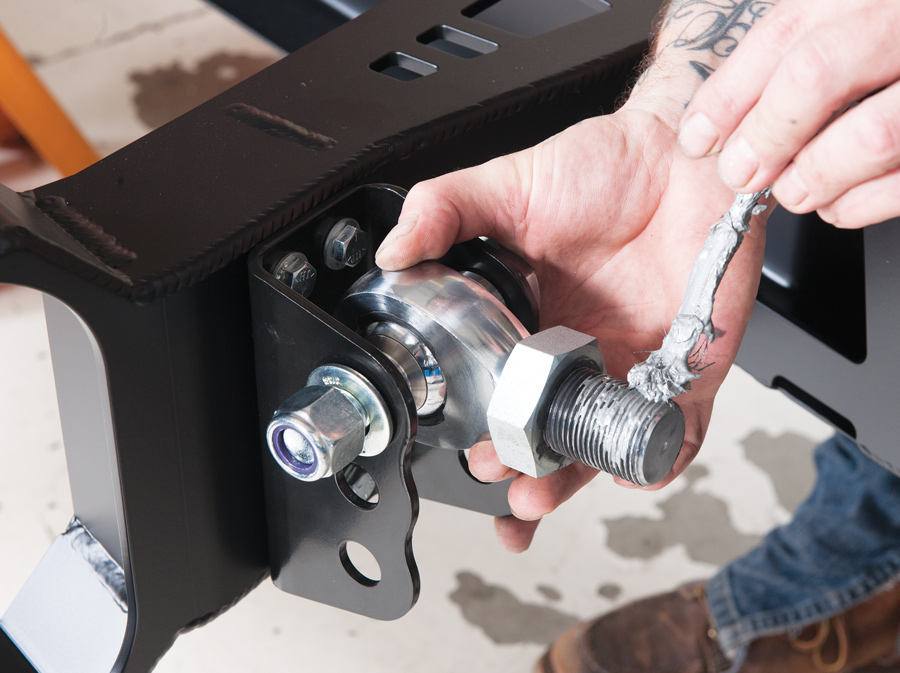
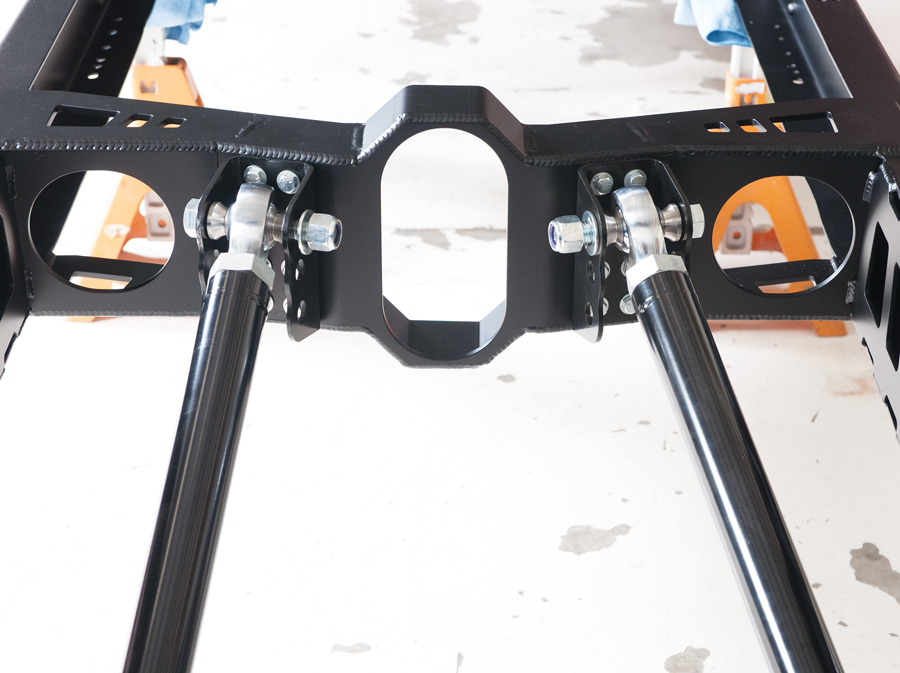
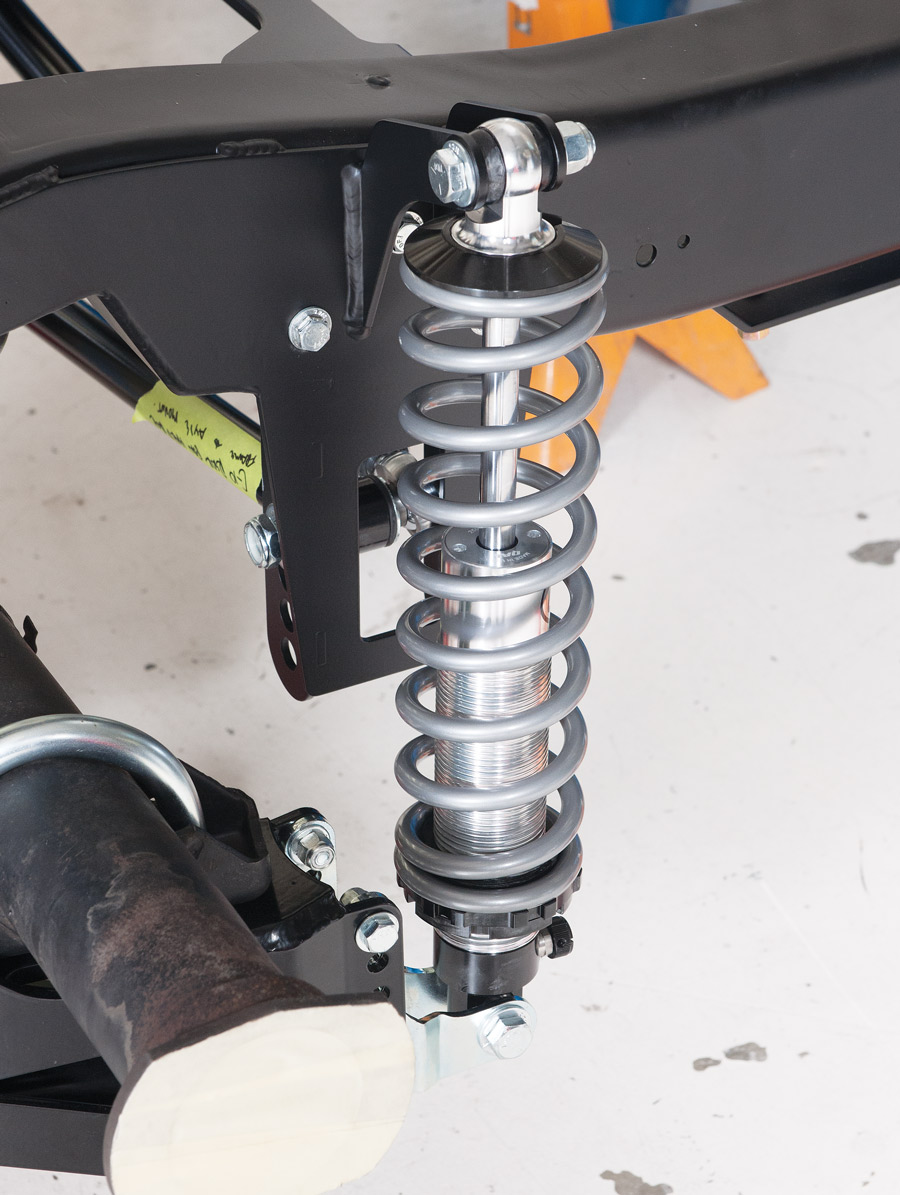
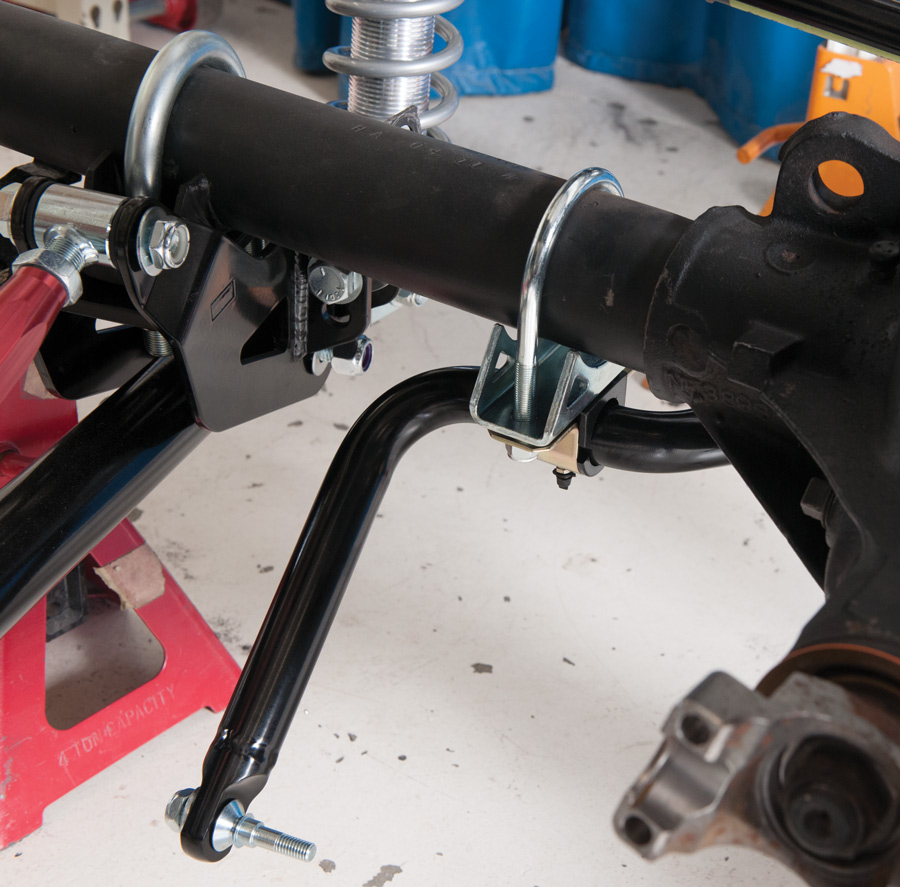
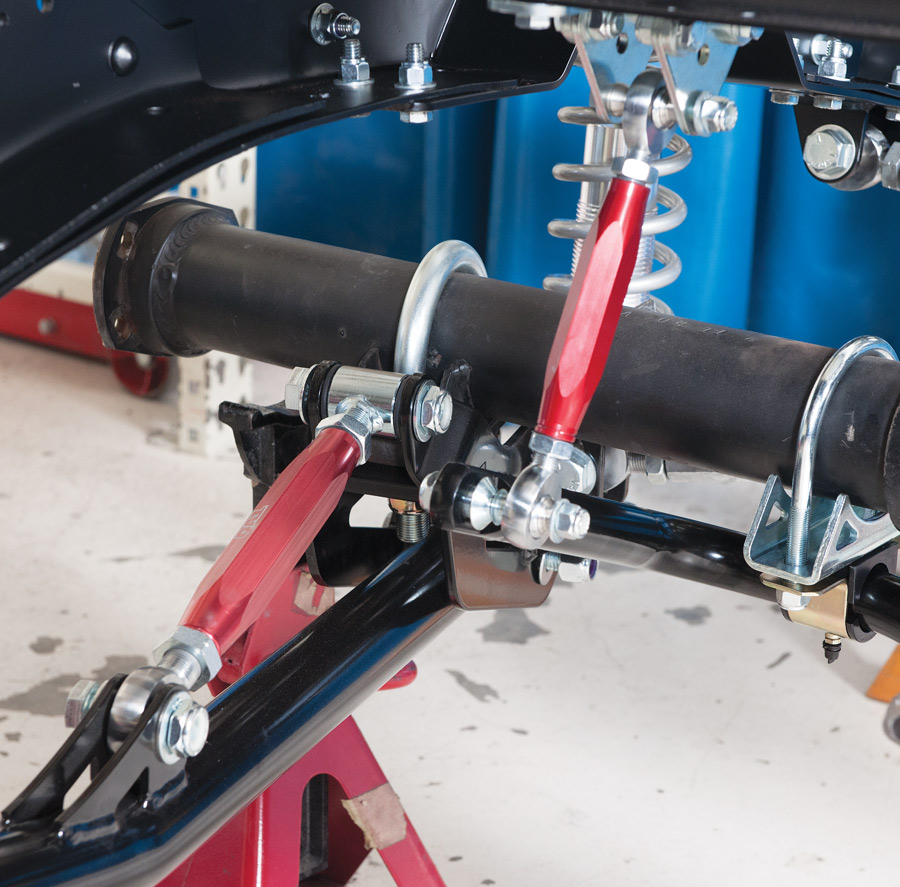
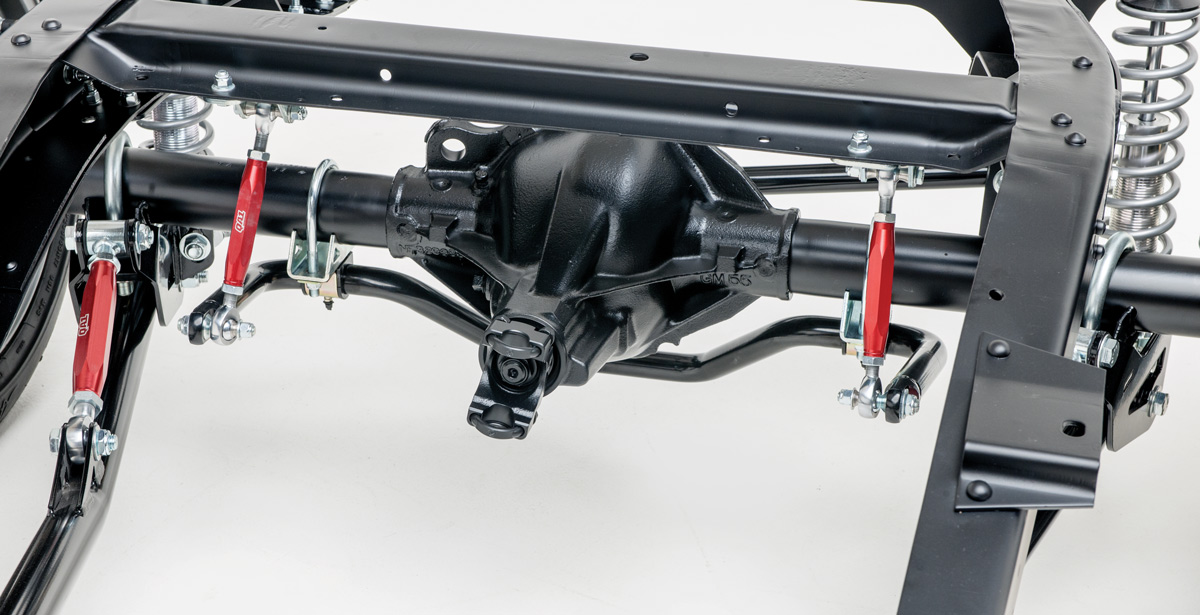
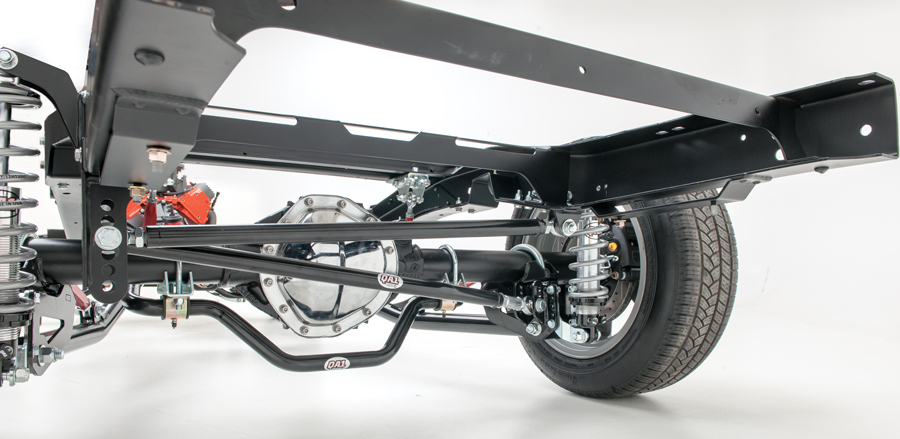
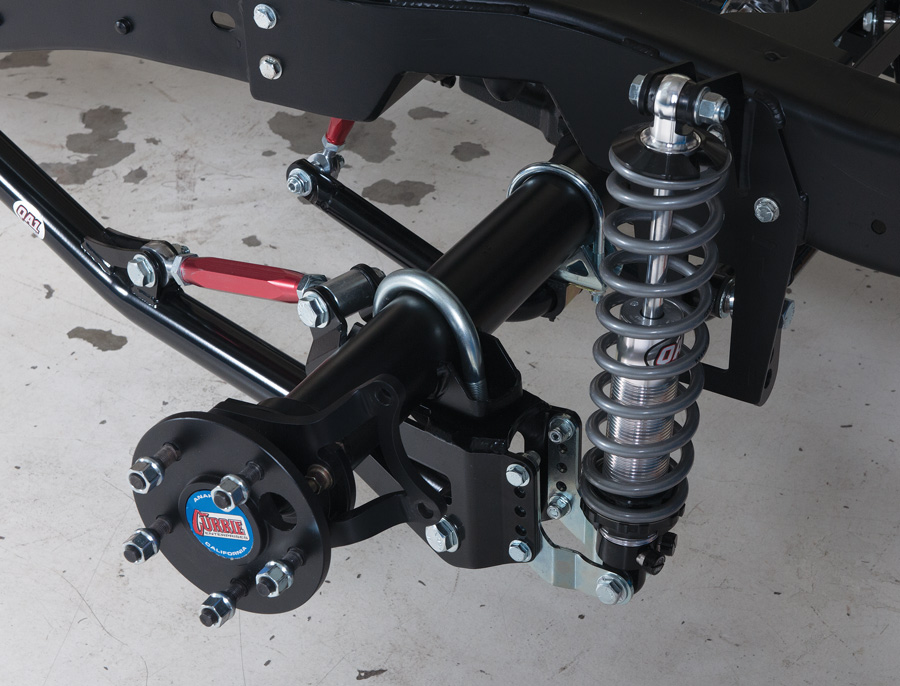
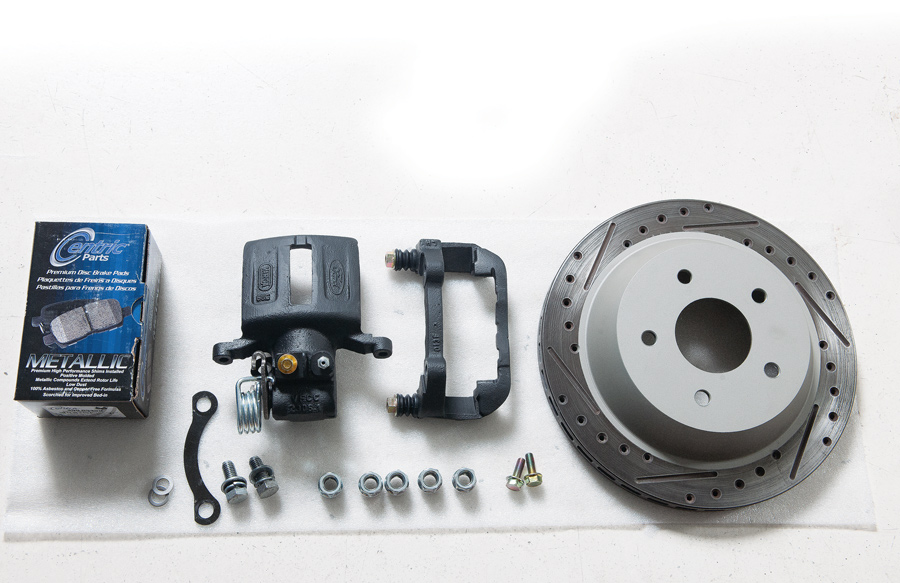
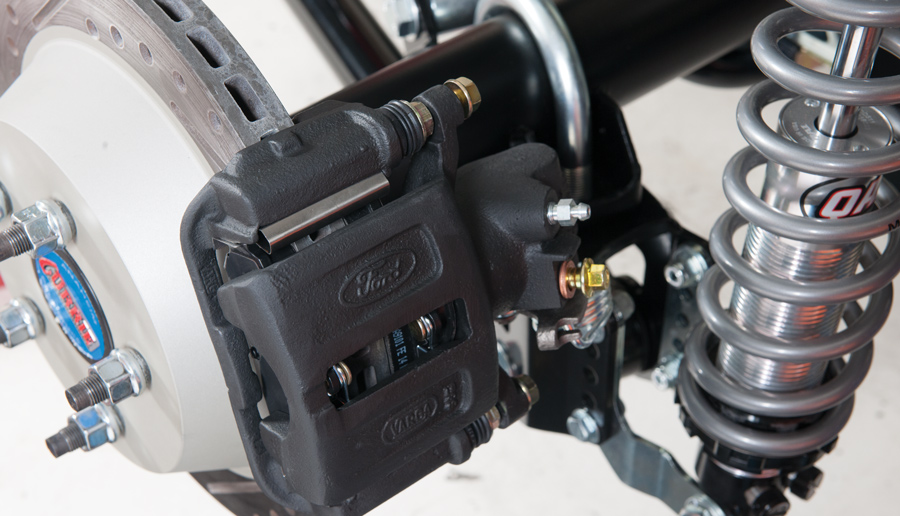
QA1’s Tubular Truck Arm Kit is the perfect complement to their front tubular control arm coilover shock setup. With double-adjustable 200-pound coilover shocks, fully adjustable tubular trailing arms, adjustable sway bar, and extended Panhard bar, the limits are endless when it comes to setting up the suspension exactly as desired. The upper coilover shock mounts on the bolt-in C-notch bracket, relocates the shocks to the outside of the frame, closer to the wheel, providing more cornering stability and increased real estate for a rear-mounted fuel tank. Tubular truck arms built from seven-gauge DOM steel replace the stamped factory trailing arms with integrated pinion angle adjustment, eliminating the need for angled shims. The adjustable truck arms also allow for wheelbase adjustments to get that rear wheel perfectly centered in the wheelwell, a common problem with lowered trucks. A full-length, adjustable Panhard bar with multiple mounting locations keeps the rearend centered while also correcting roll center geometry on a lowered truck.

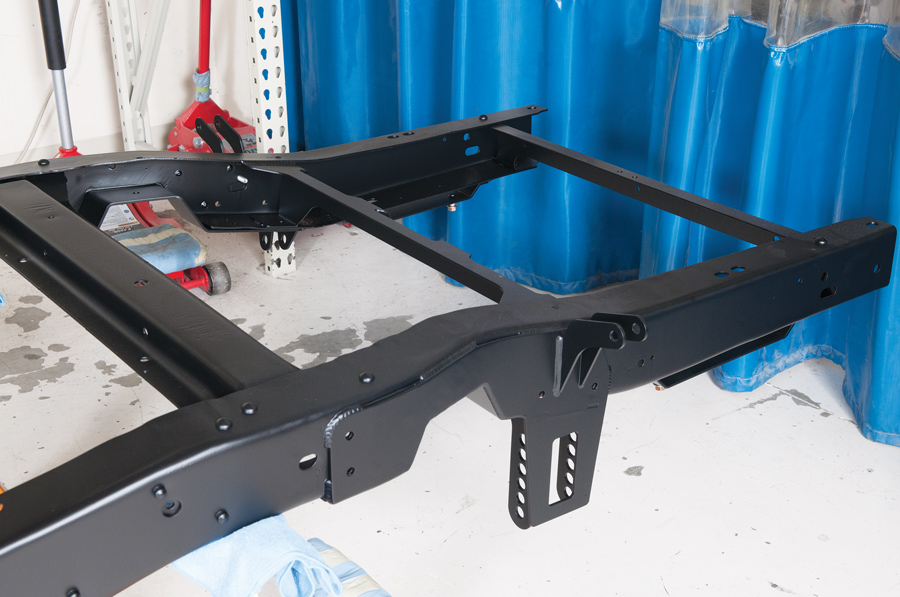
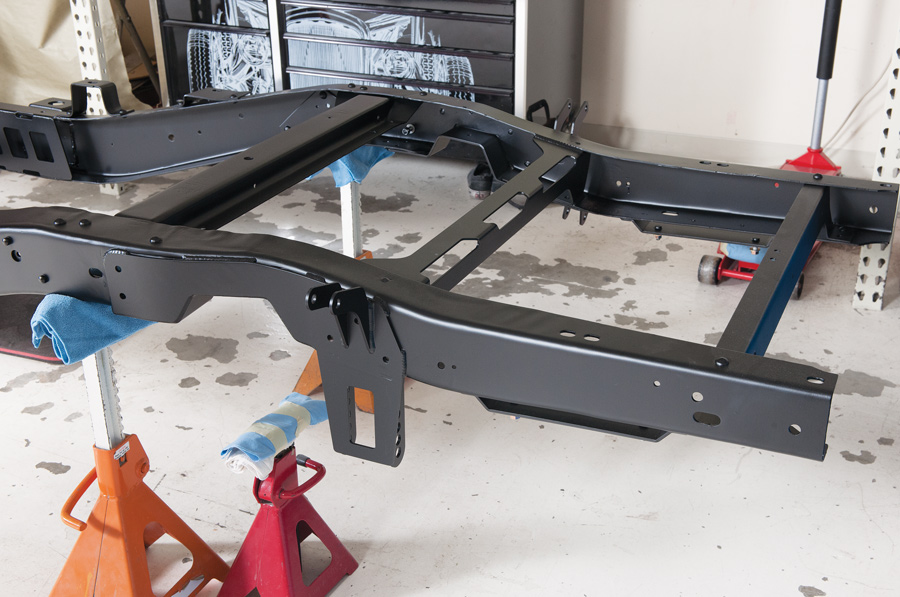
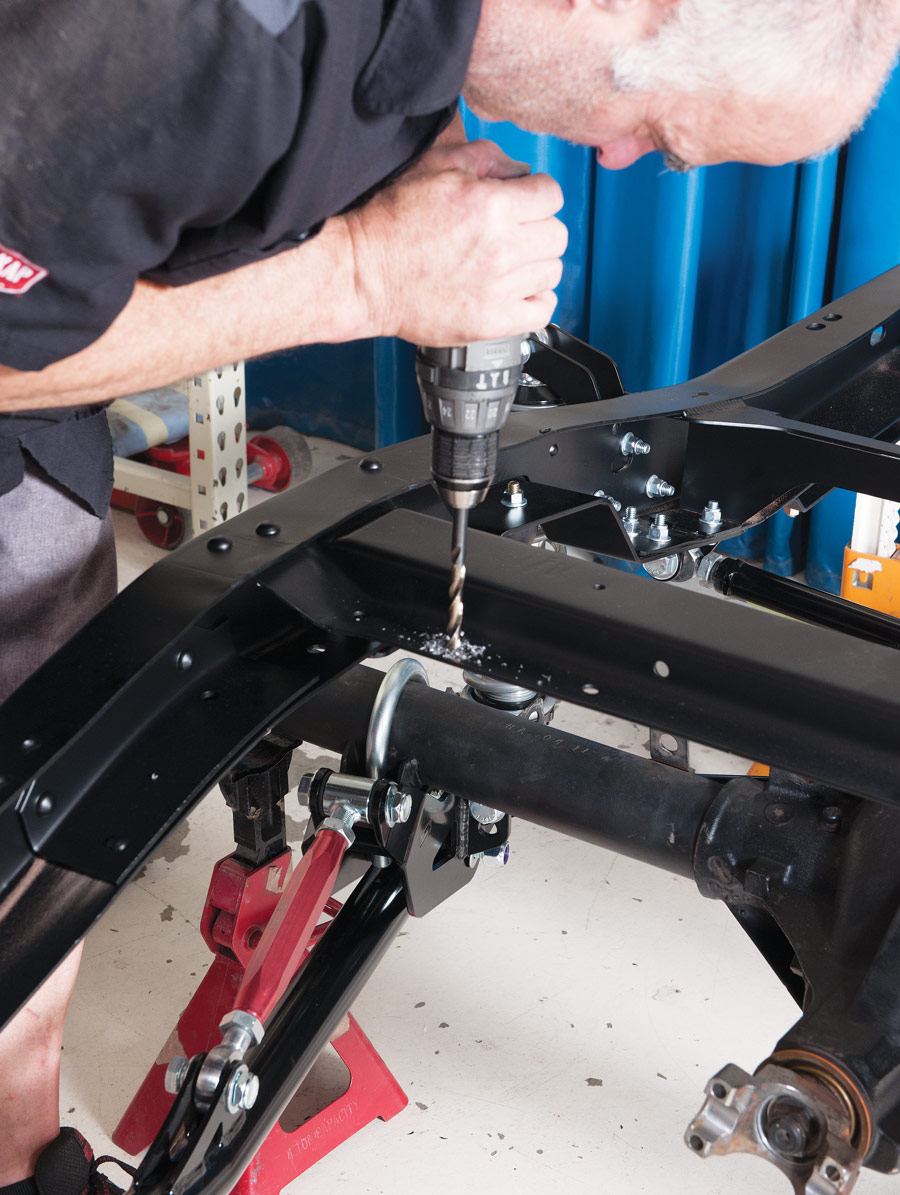
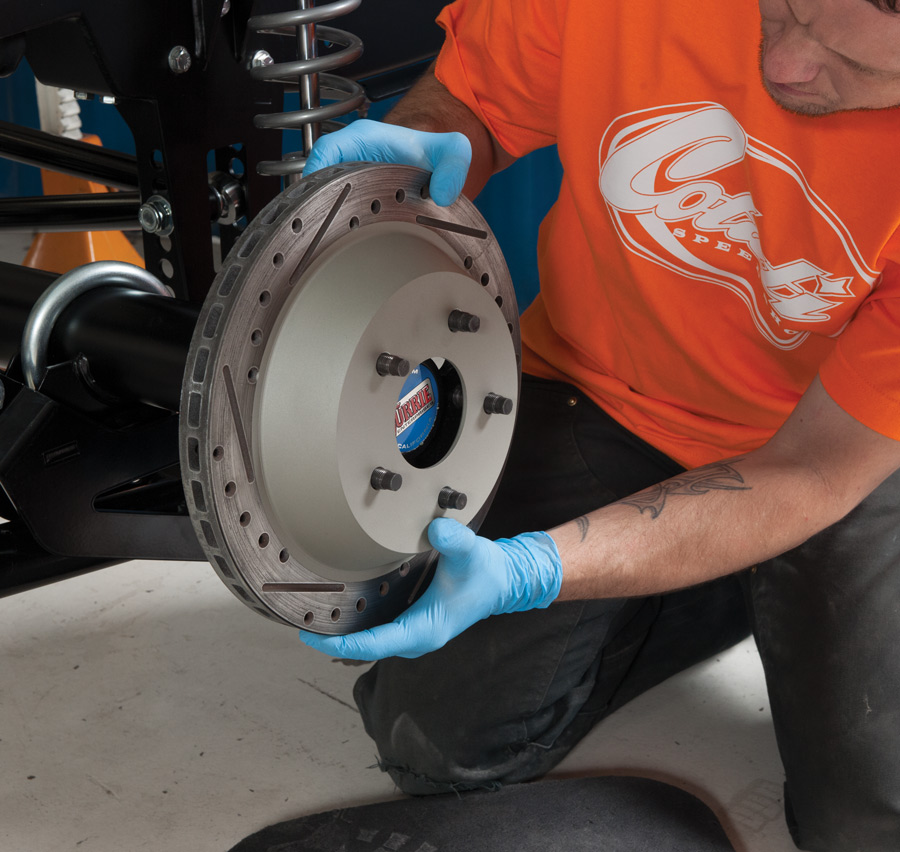
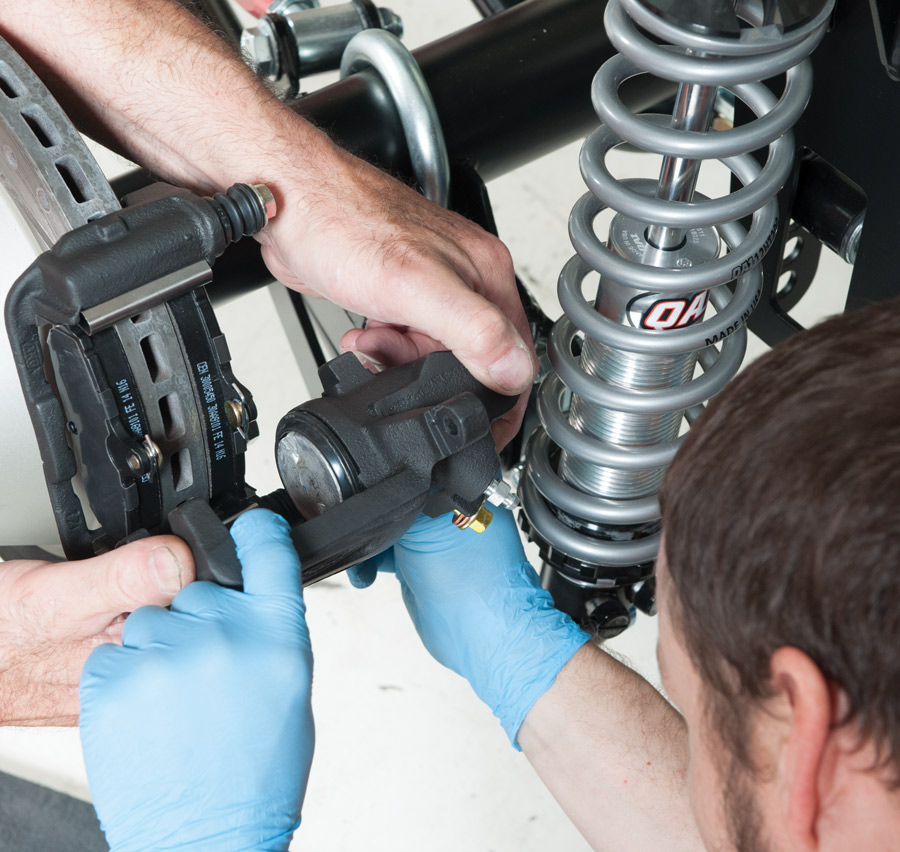
Installation of the QA1 kit begins with the removal of a number of crossmembers, as well as a handful of stock brackets. Thankfully, the Cotati crew did the dirty work before we arrived, going so far as sending the chassis out for blasting and powdercoating after they installed the new QA1 C-notch and shock brackets. We showed up just in time to catch the guys as they started bolting in all the new componentry.

QA1 rear coilover conversion with tubular truck arms from Speedway Motors
1. Here’s the QA1 rear coilover conversion with tubular truck arms from Speedway Motors (PN 721R210200). The tubular truck arms are front and center, flanked by the 200-pound double-adjustable coilover shocks, sway bar, mounting brackets, and hardware. The fully plated and powdercoated kit makes it ready to bolt in.
chassis
chassis side profile
bolts on the chassis
2-4. The Cotati crew got a jump start on the chassis by installing the QA1 C-notch and shock brackets as well as a custom crossmember built by Quarter Tilt Metal Company. Though the QA1 kit is designed to be a fully bolt-in affair, it can be welded in place as well, if so desired.
the adjuster links are installed on the truck arms and centered per QA1’s instructions
5. First things first, the adjuster links are installed on the truck arms and centered per QA1’s instructions.
 the passenger side rotator box bracket that mates the truck arm
6. This is the passenger side rotator box bracket that mates the truck arm, coilover shock, and Panhard bar to the rear axle housing using the stock trailing arm mounting pad.
The rotator box bracket is first attached to the truck arm and adjuster link
7. The rotator box bracket is first attached to the truck arm and adjuster link …
before it’s fastened to the rearend
8. … before it’s fastened to the rearend.
a look at the installed rotator box assembly
9. Here’s a look at the installed rotator box assembly.
The rear of the rotator boxes
10. The rear of the rotator boxes feature the coilover shock mounting brackets, while the driver side also incorporates an attachment point for the Panhard bar.
crossmember
11. The Cotati team decided the stock crossmember wasn’t going to cut it, so they again teamed up with the guys at Quarter Tilt to design their own, one-off center crossmember, based loosely around the stock C10 item and thusly accepting the QA1 forward truck arm mounts. Note the adjustability built into the QA1 mounts for easy pinion angle and ride height adjustments.
QA1 X Series self-lubricated rod ends
high-misalignment spacers
12-13. QA1 X Series self-lubricated rod ends, high-misalignment spacers, and ¾-inch hardware are used to mate the truck arms to the brackets. Antisieze compound ensures the threading surfaces never gall.
bumpstops are installed in the QA1 C-notch brackets
14. With the rearend in place, the provided bumpstops are installed in the QA1 C-notch brackets.
200-pound double-adjustable QA1 coilover shocks
15. The 200-pound double-adjustable QA1 coilover shocks are assembled and then installed on their respective mounting brackets.
install the sway bar upgrade option
16. Next, we’ll install the sway bar upgrade option. First, the stock crossmember is drilled to accept the upper sway bar link bracket …
before the bracket is bolted in place using the provided fasteners
17. … before the bracket is bolted in place using the provided fasteners.
The sway bar is then installed
18. The sway bar is then installed, centered on the rearend as per QA1’s instructions.
A pair of adjustable endlinks
19. A pair of adjustable endlinks mate the sway bar with the previously installed frame brackets.
Here, the sway bar assembly is clearly visible
20. Here, the sway bar assembly is clearly visible.
Panhard bar and support brace bar
21. One thing we didn’t cover is the installation of the Panhard bar and support brace bar (the horizontal bars pictured here). These components are an important part of the QA1 Tubular Truck Arm Suspension Kit as they serve to keep the rearend centered between the framerails, ensuring even, vertical travel of the rearend and nothing more.
 With the QA1 suspension install a wrap, the Cotati crew turns their attention to the binders on the rearend
22. With the QA1 suspension install a wrap, the Cotati crew turns their attention to the binders on the rearend.
disc brake kit
23. While the rearend in the C10 is original to the truck, savvy readers will notice that the axle flanges are not. That’s because the original 12-bolt had an axle conversion many years back to upgrade the C-clip axles to the more robust 9-inch Ford 31-spline axles. Due to this axle swap, the rear drum brakes were also upgraded to Ford products in the shape of a disc brake kit from Classic Performance Products (CPP).
caliper brackets were installed
24. The caliper brackets were installed when the rearend came back from powdercoat, so it’s a simple matter of sliding on the rotors …
properly shimming the calipers and installing the brake pad
25. … properly shimming the calipers and installing the brake pads …
torquing everything to spec
26. … and torquing everything to spec.
Here’s the finished chassis with QA1 suspension components and CPP brakes installed fore and aft, giving the guys at Cotati Speed Shop total control of how the C10 will ride, sit, handle, and stop.
27. Here’s the finished chassis with QA1 suspension components and CPP brakes installed fore and aft, giving the guys at Cotati Speed Shop total control of how the C10 will ride, sit, handle, and stop.
SOURCES
Classic Performance Products (CPP)
(800) 522-5004
classicperform.com
Cotati Speed Shop
(707) 586-8696
cotatispeedshop.com
Quarter Tilt Metal Company
(707) 981-7069
Speedway Motors
(800) 979-0122
speedwaymotors.com