CTP logo Tech

InTheGarageMedia.com

Repair or Replace pt. 2 title
Part 2: Another Time-is-Money Comparison

BY “Rotten” Rodney BaumanPhotography BY THE AUTHOR

S

ure, we can salvage an original door. Lately, however, our salvaging efforts haven’t been so cost-effective. As you may recall from last month’s installment, our ongoing ’55 Chevrolet second-series project’s passenger side will retain an original front fender and door. For the driver side we’ve procured a reproduction front fender and door, both from Brothers Trucks.

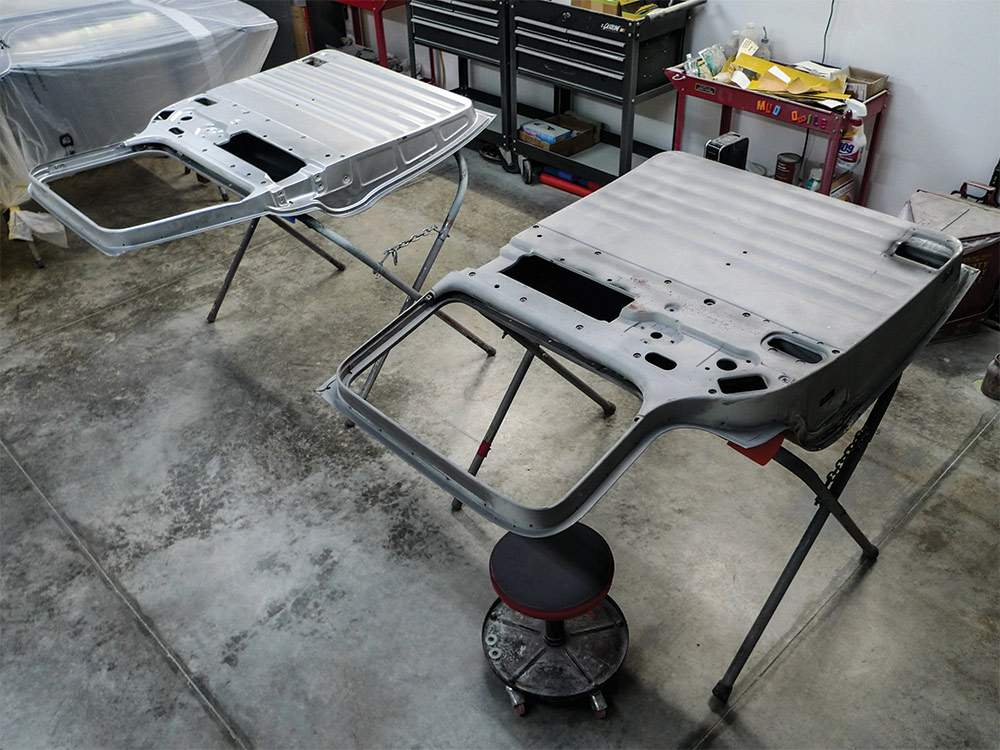
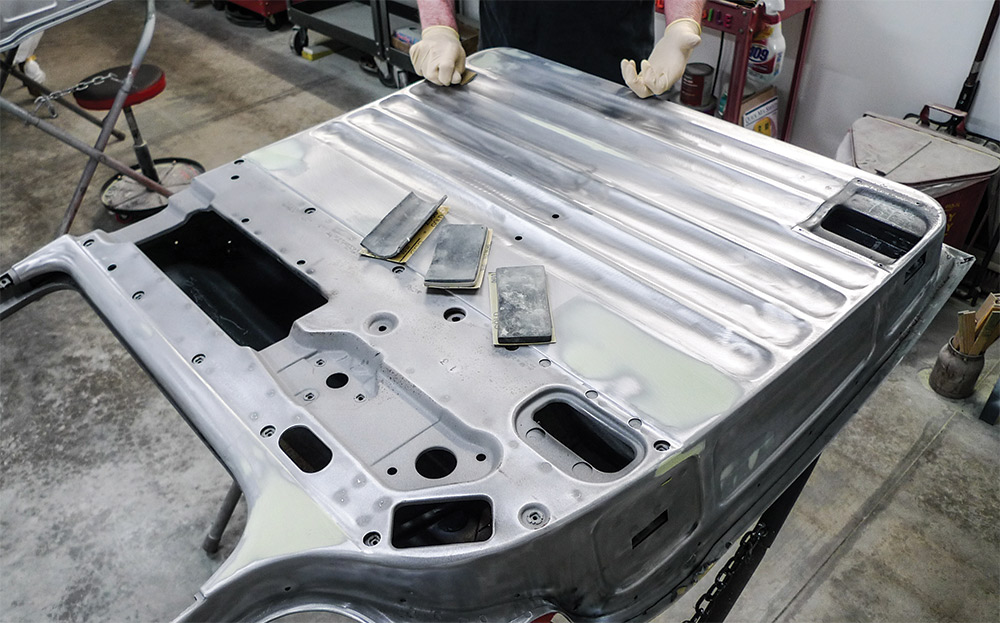
Last month’s comparison focused on fenders. This time around we’ll focus more on doors. The right side original had the usual issues that we’ve pretty much come to expect. From the gate we saw the need for outside corner patch panels, so we ordered up a lower doorskin from Brothers early on.

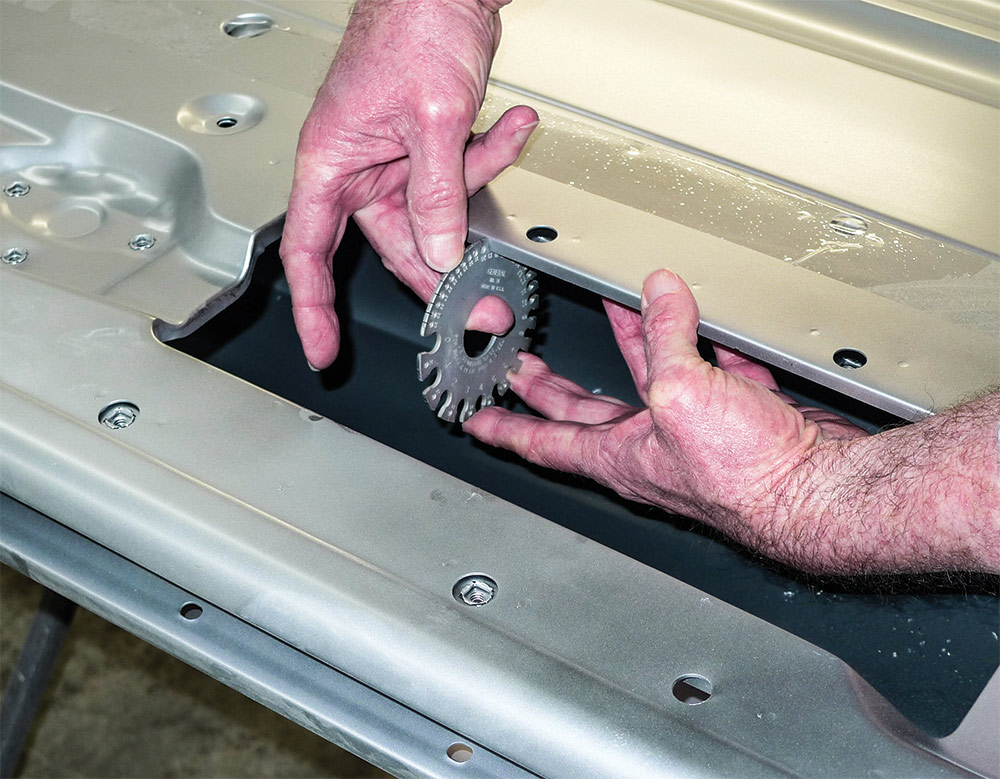
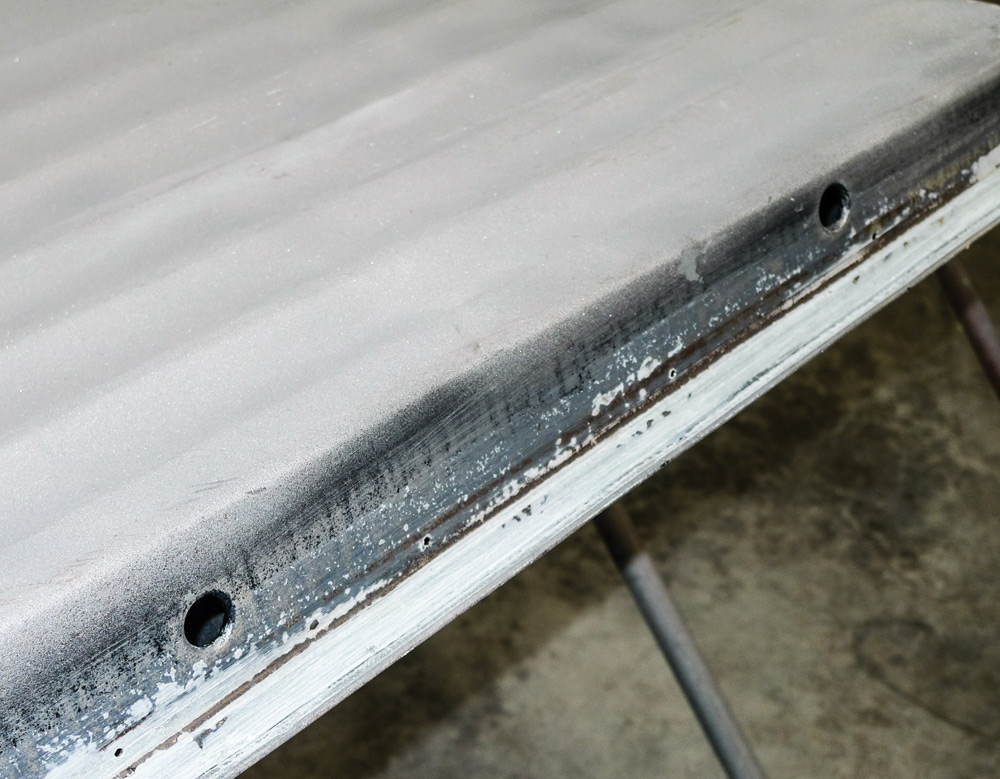
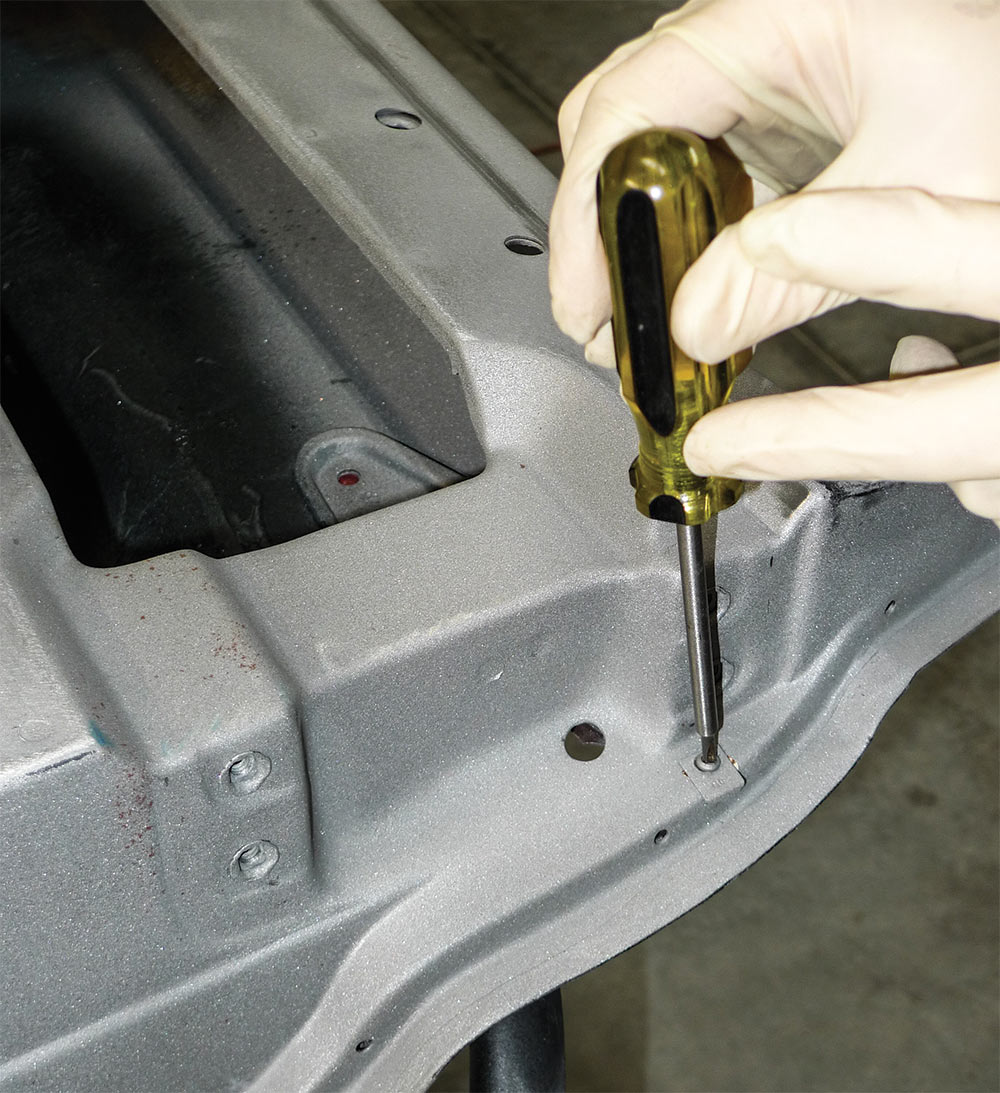
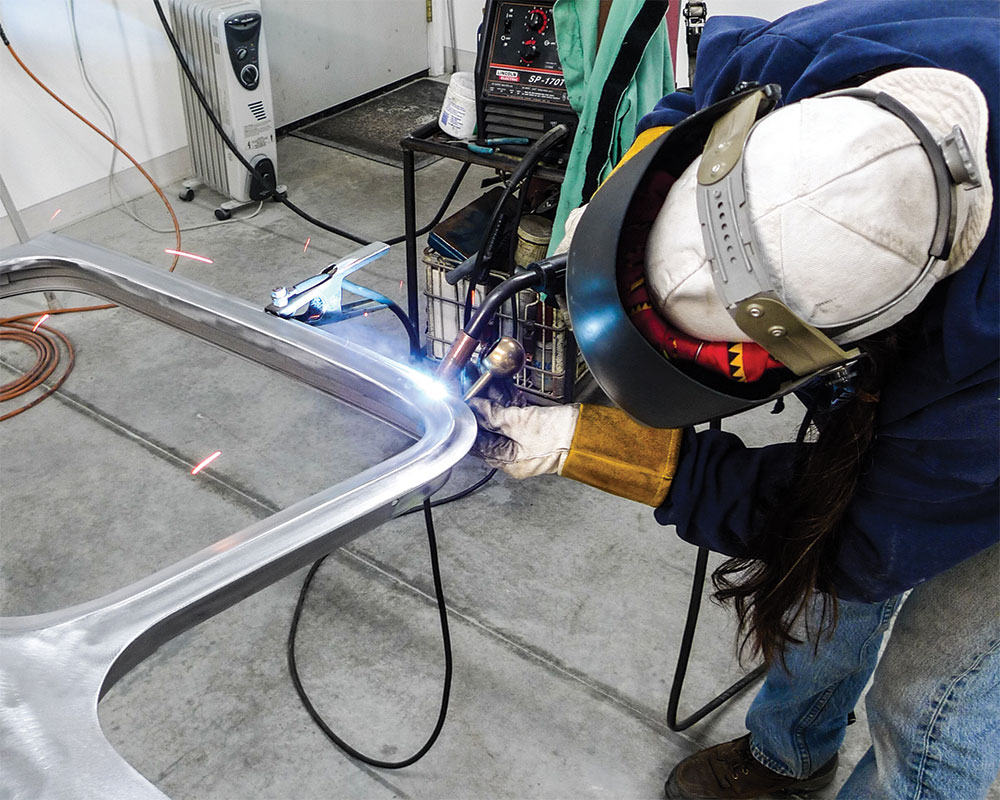
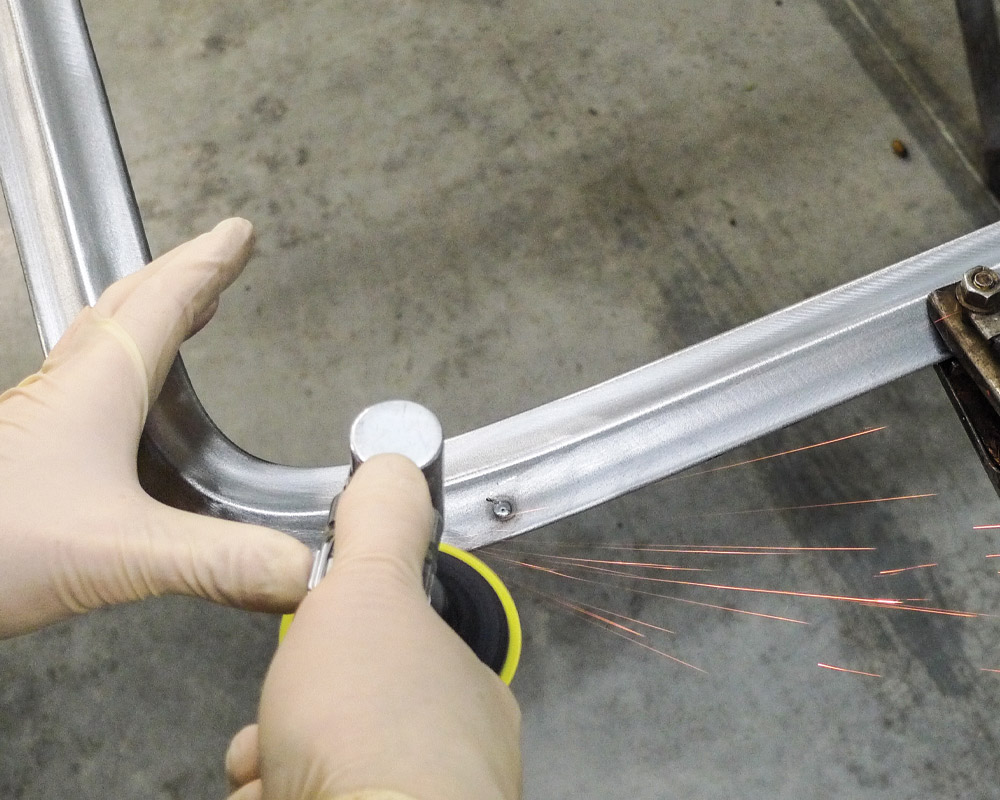
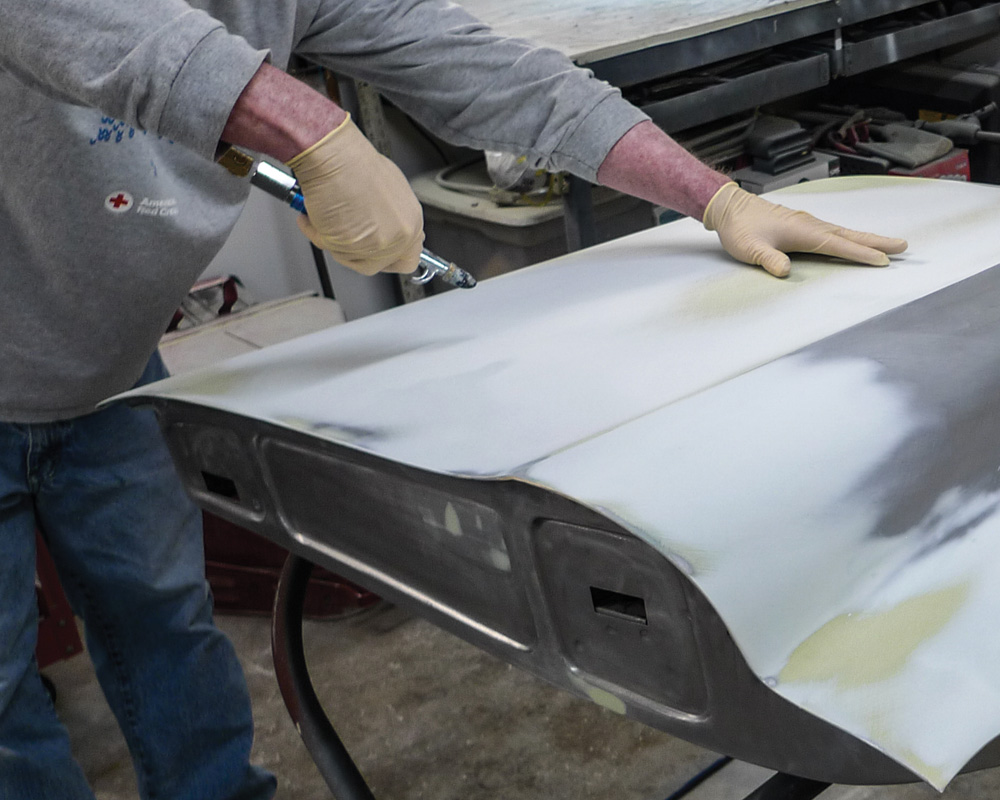
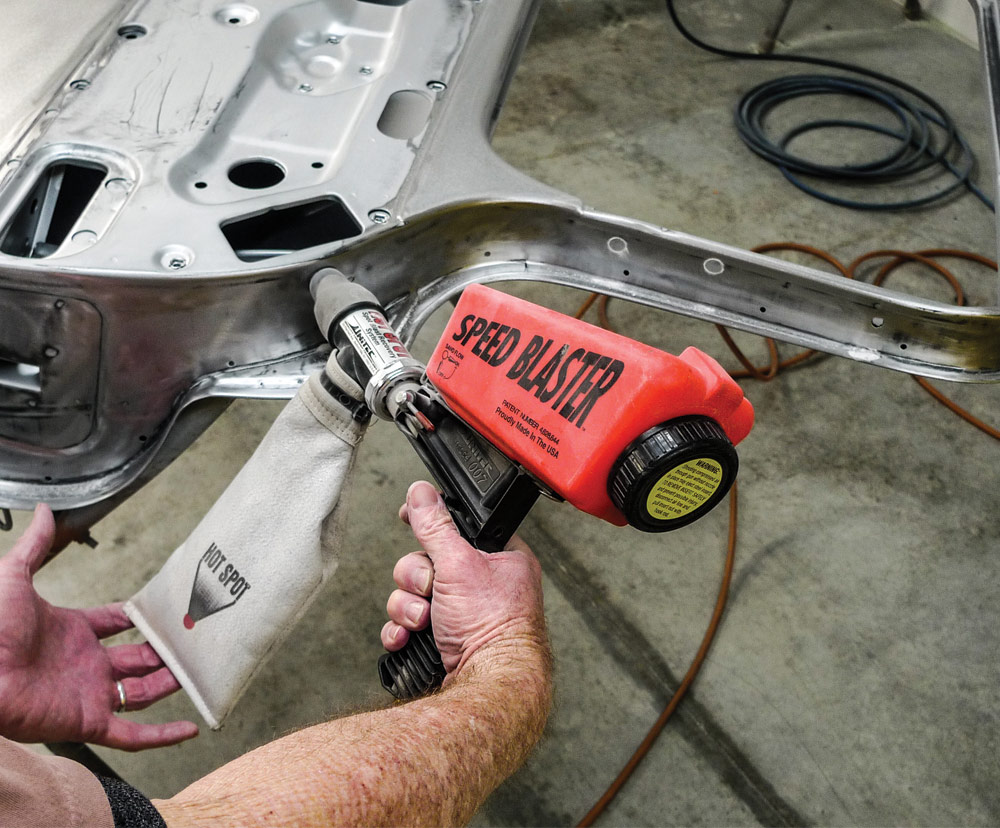
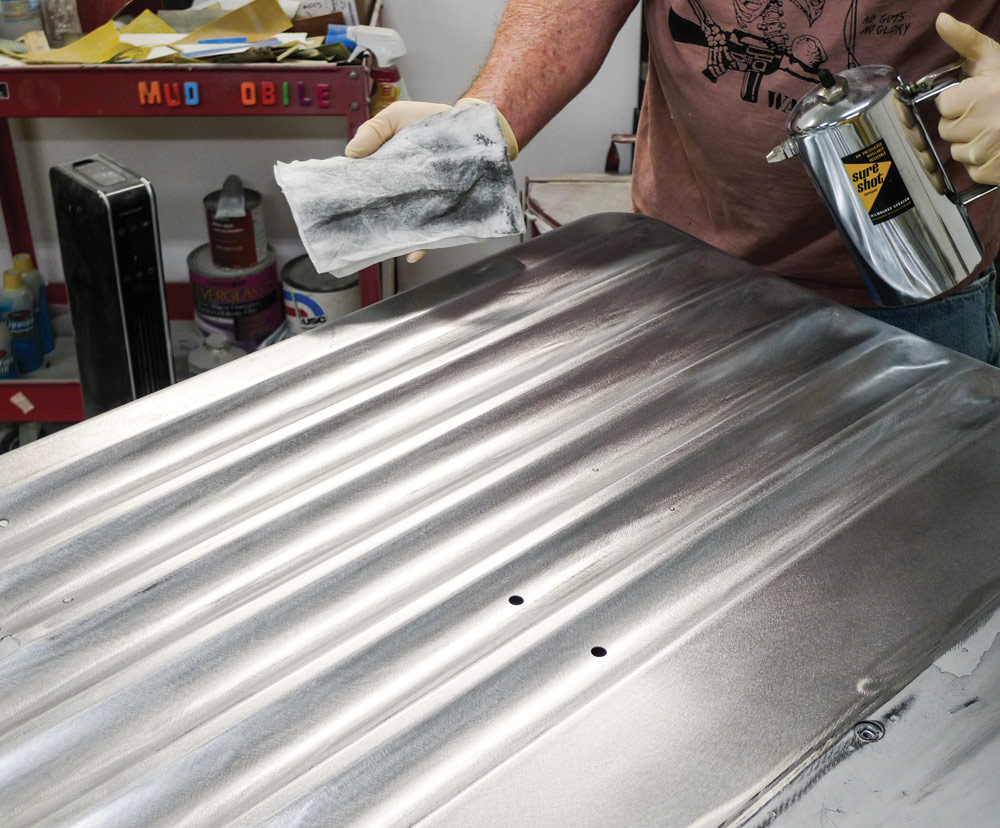
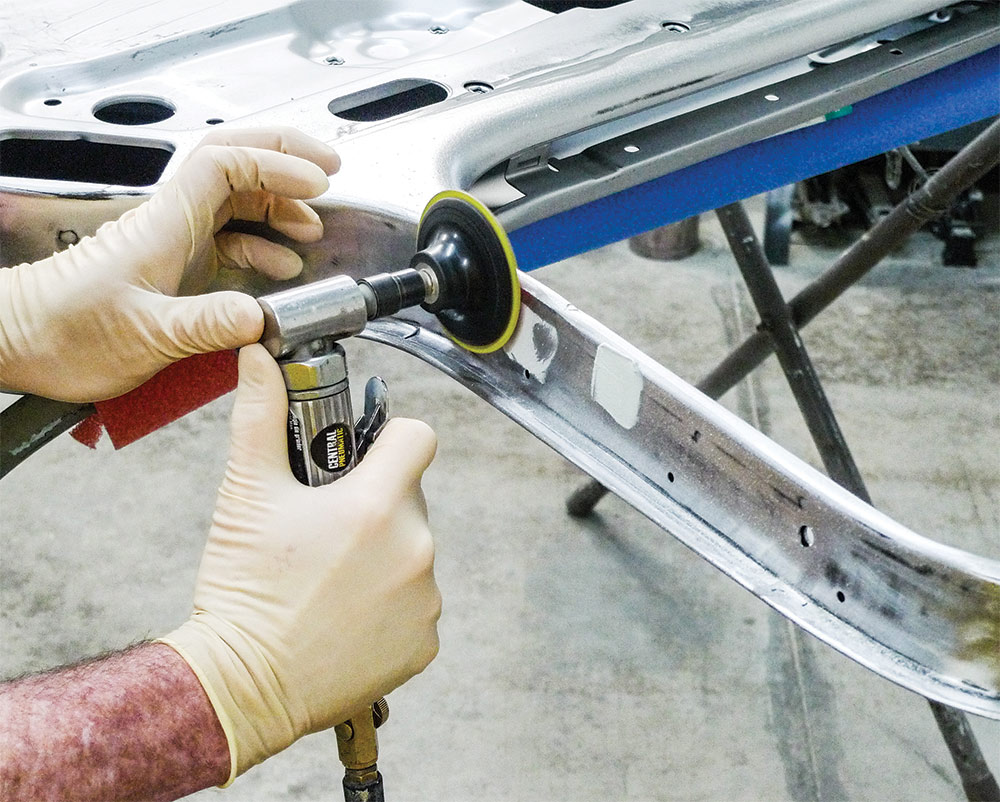
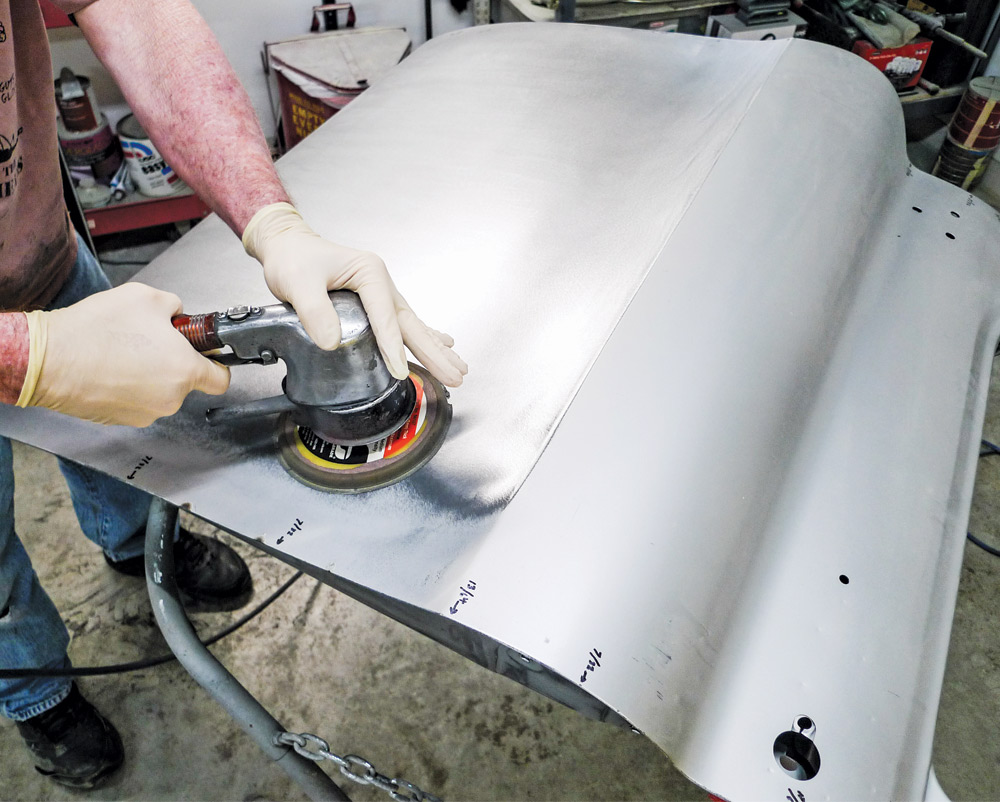
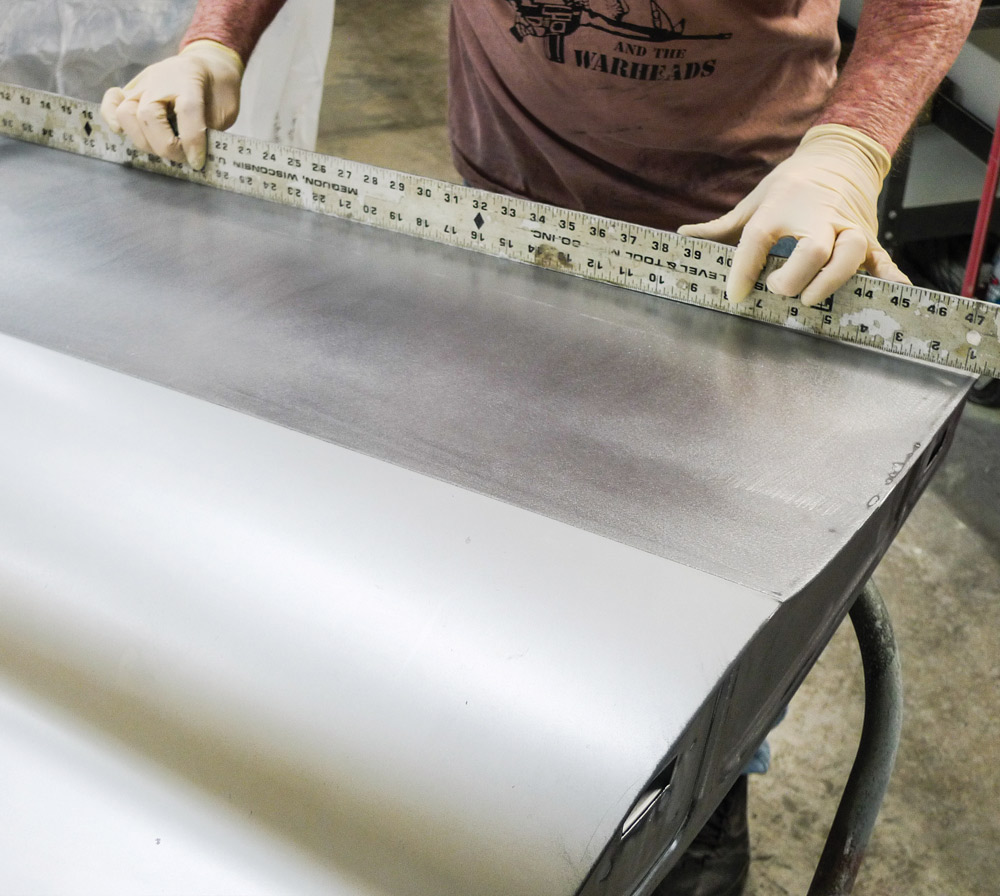
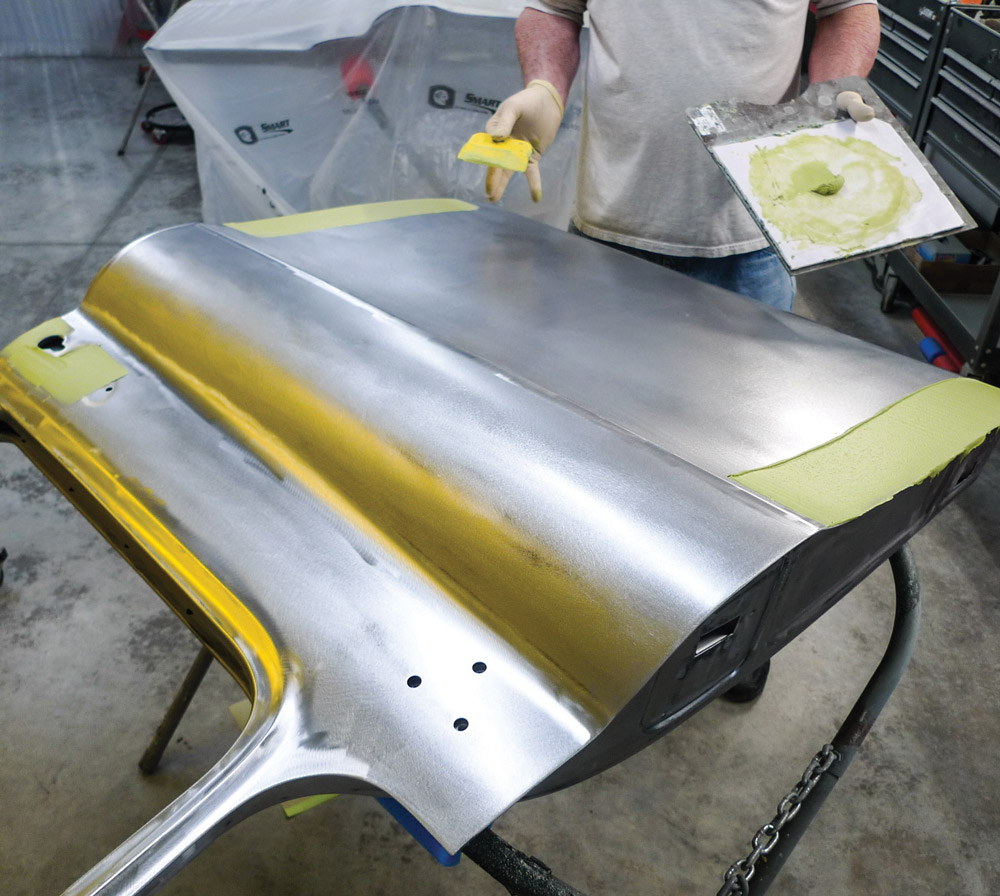
Certain sections of the old used door required abrasive blasting. As usual, blasting exposed other needed rust repairs, mostly along the inner doorskin’s lower edge. In the end our skin-grafting procedures were successful. Some door-edge modification rendered better-than-new gaps. That went quick and fairly easily. Necessary fillerwork, however, totaled up to more than we’d like to admit.

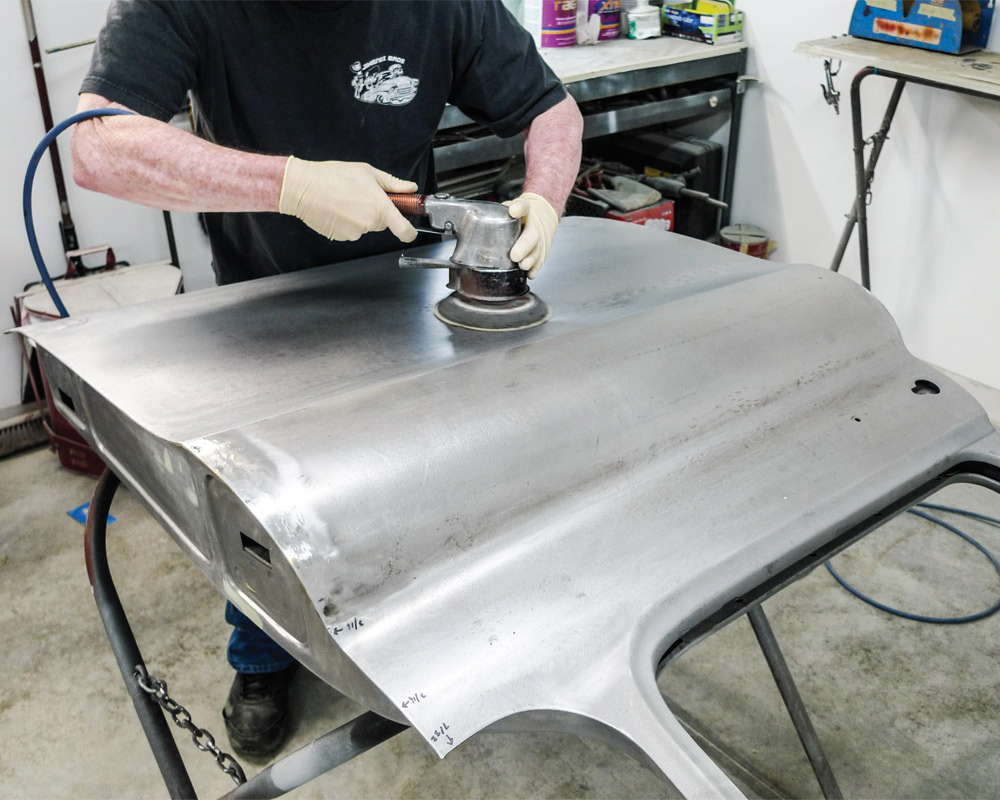
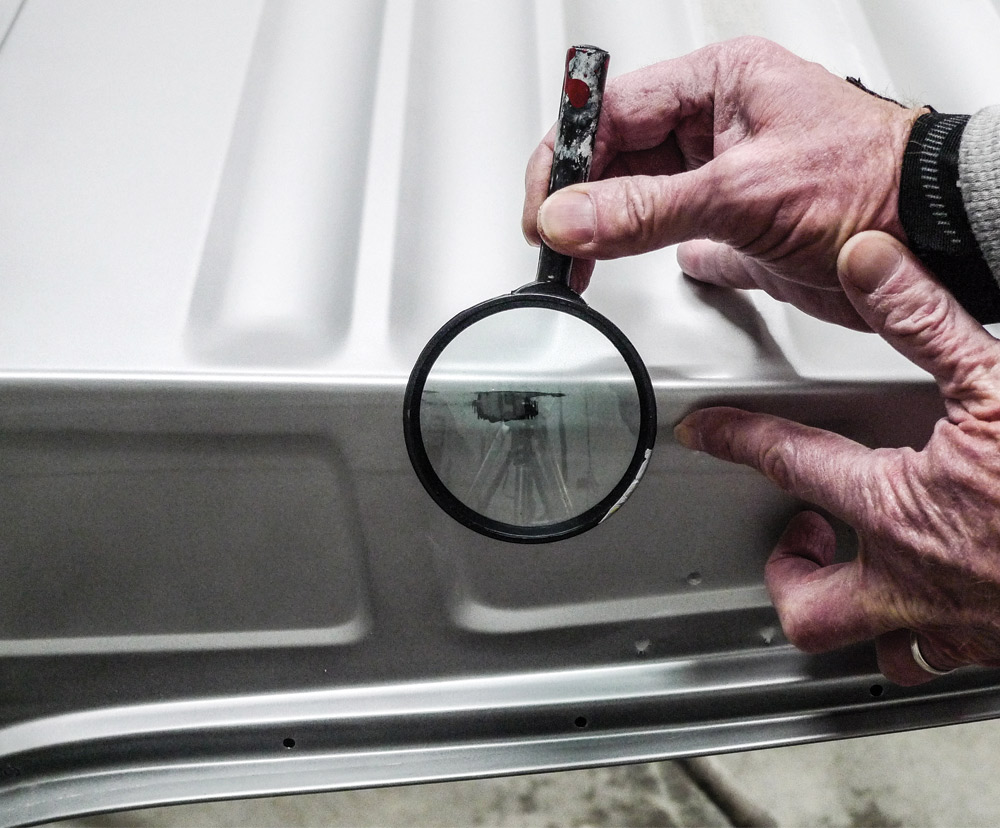
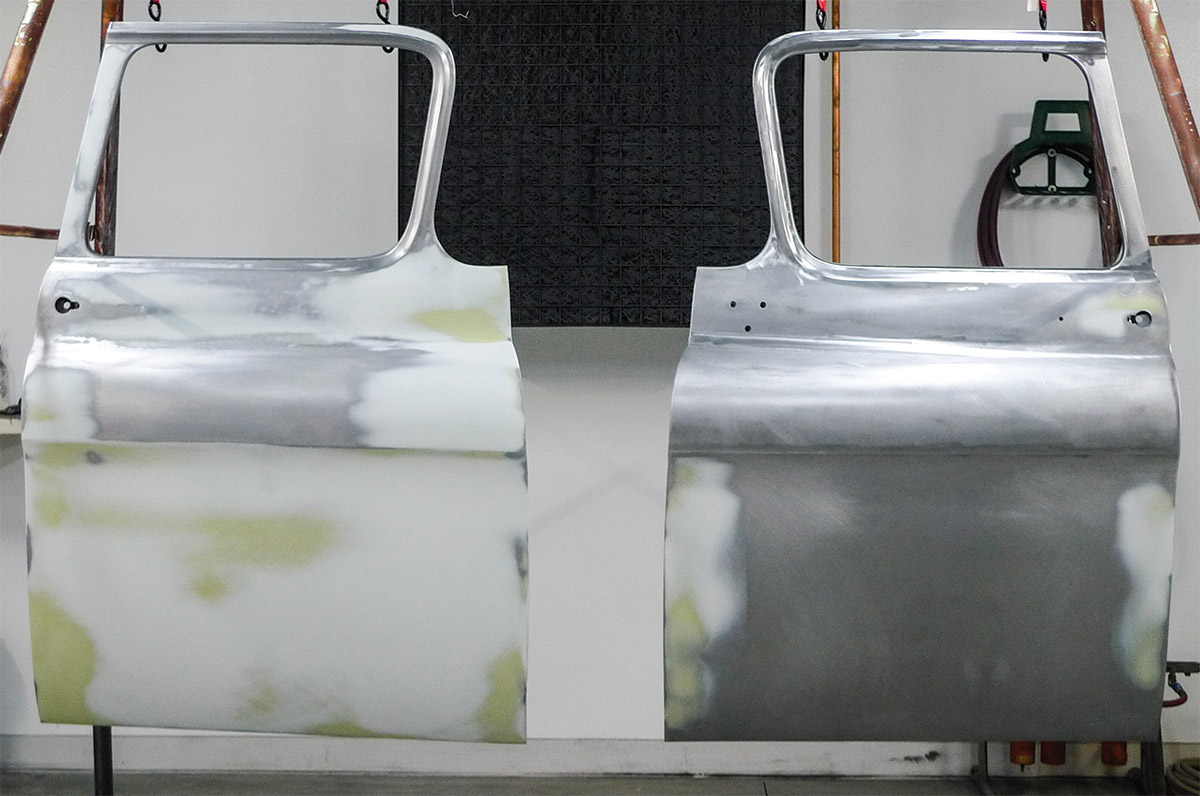
When we do begin on the new-reproduction door we’ll call out any flaws we may discover. Truth be told, it’s an older reproduction that’s been leaning against the body stall wall now for years.

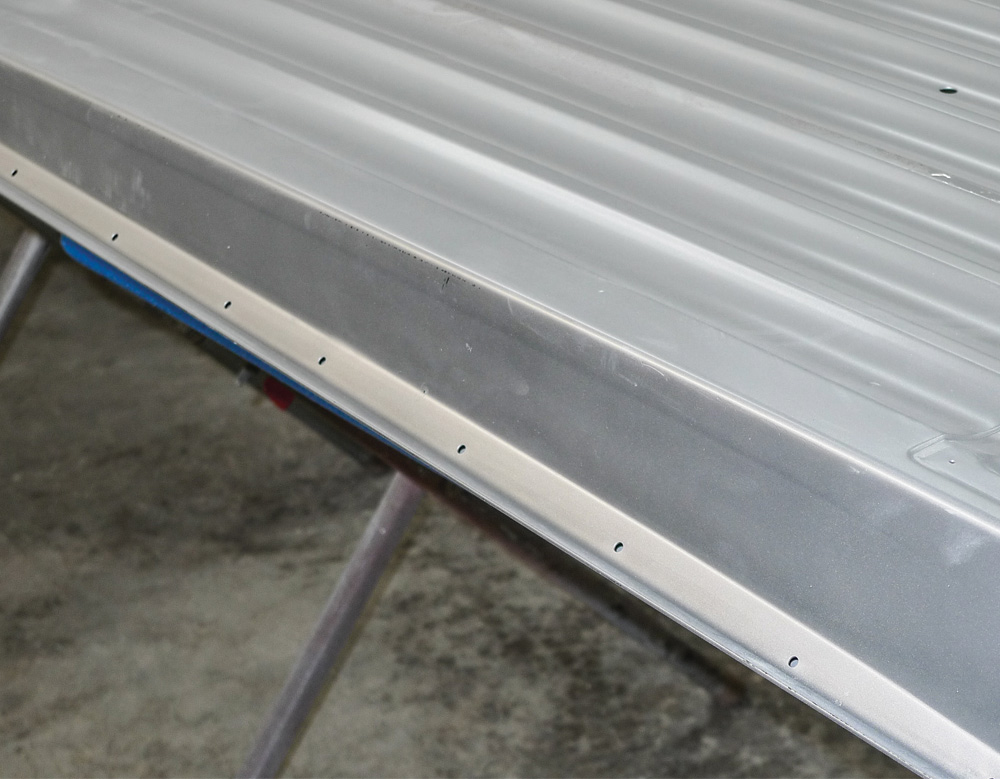
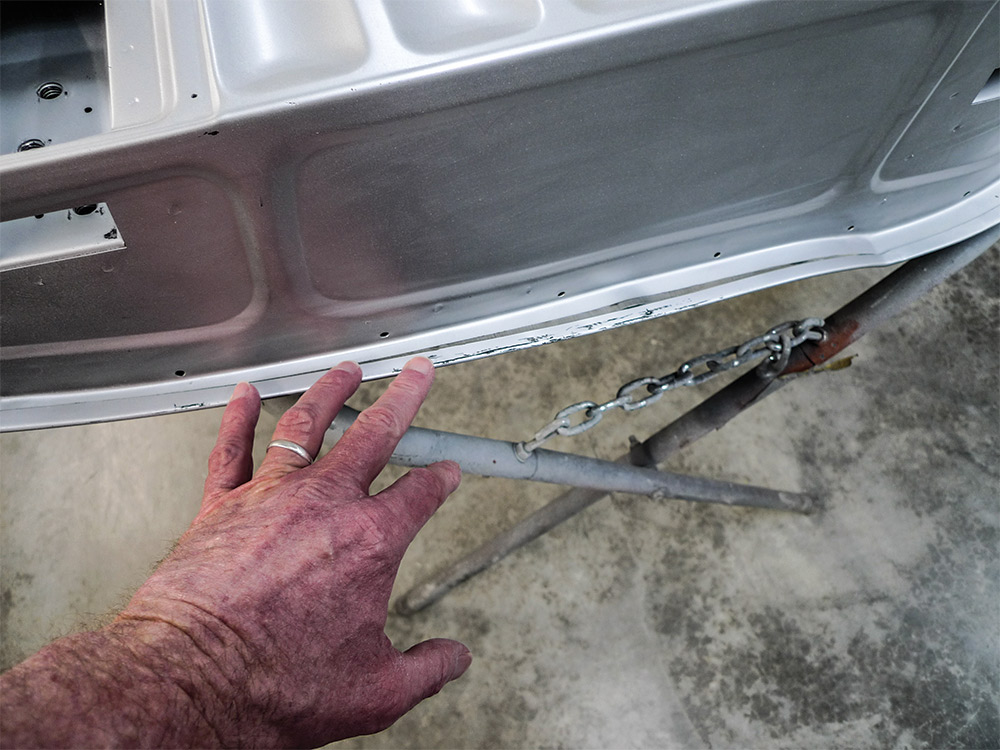
Years ago, our reproduction door was test-fit to the truck. At that time we managed to achieve acceptable alignment without adding or subtracting edge metal for gaps. It’s a good fit. It’s a Brothers door, but not necessarily the same-brand door that Brothers stocks today. The one we have is silver. In our most recent catalog, the newer ones are black—and quite possibly further refined.

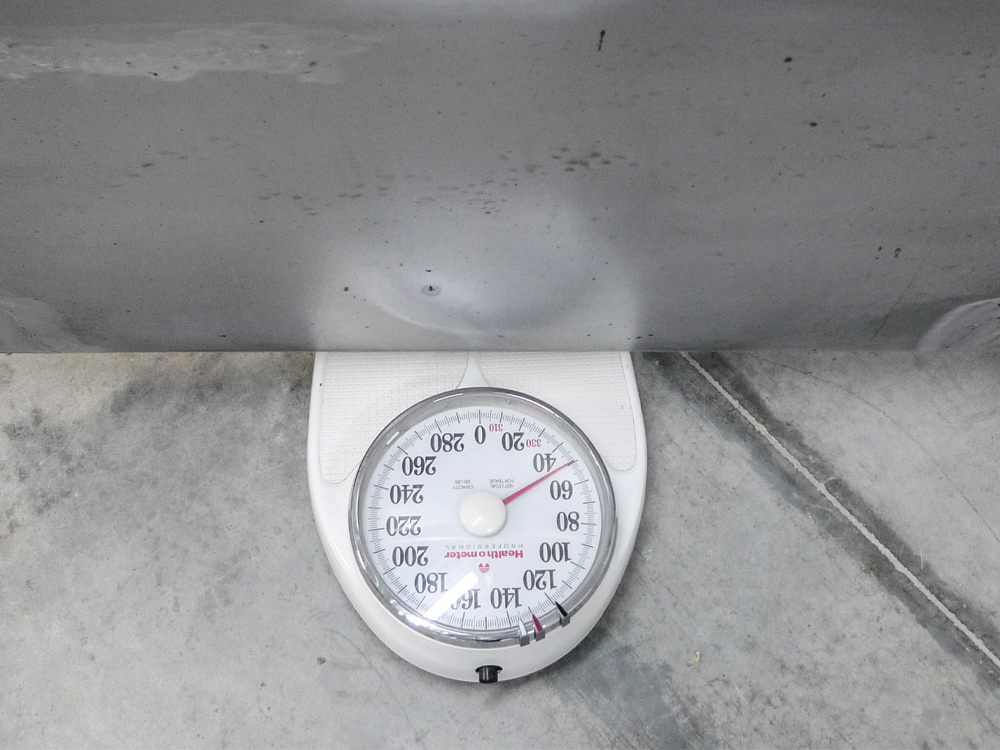
It’s been a while or two since we’ve actually checked, but last time we did, a brand-new reproduction door shell was just under $500 from Brothers. Shipping to our Northwestern Montana location would have cost about as much, but even so the reproduction could still prove to be a bargain. Here as we go, we’re intending to find out for sure!

New-Door Discoveries
At this point with our used original door finally ready to prime, let’s turn our attention to the new-reproduction door. So far we’ve noticed two or three rather minor differences, which you’ll see as we proceed.

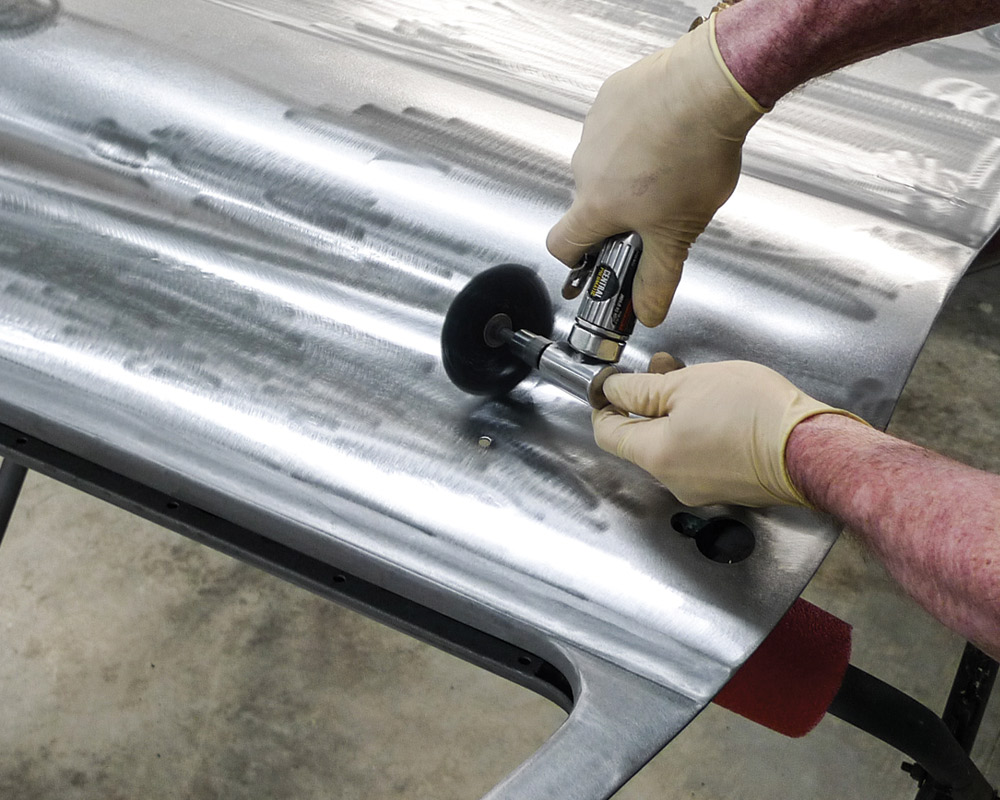
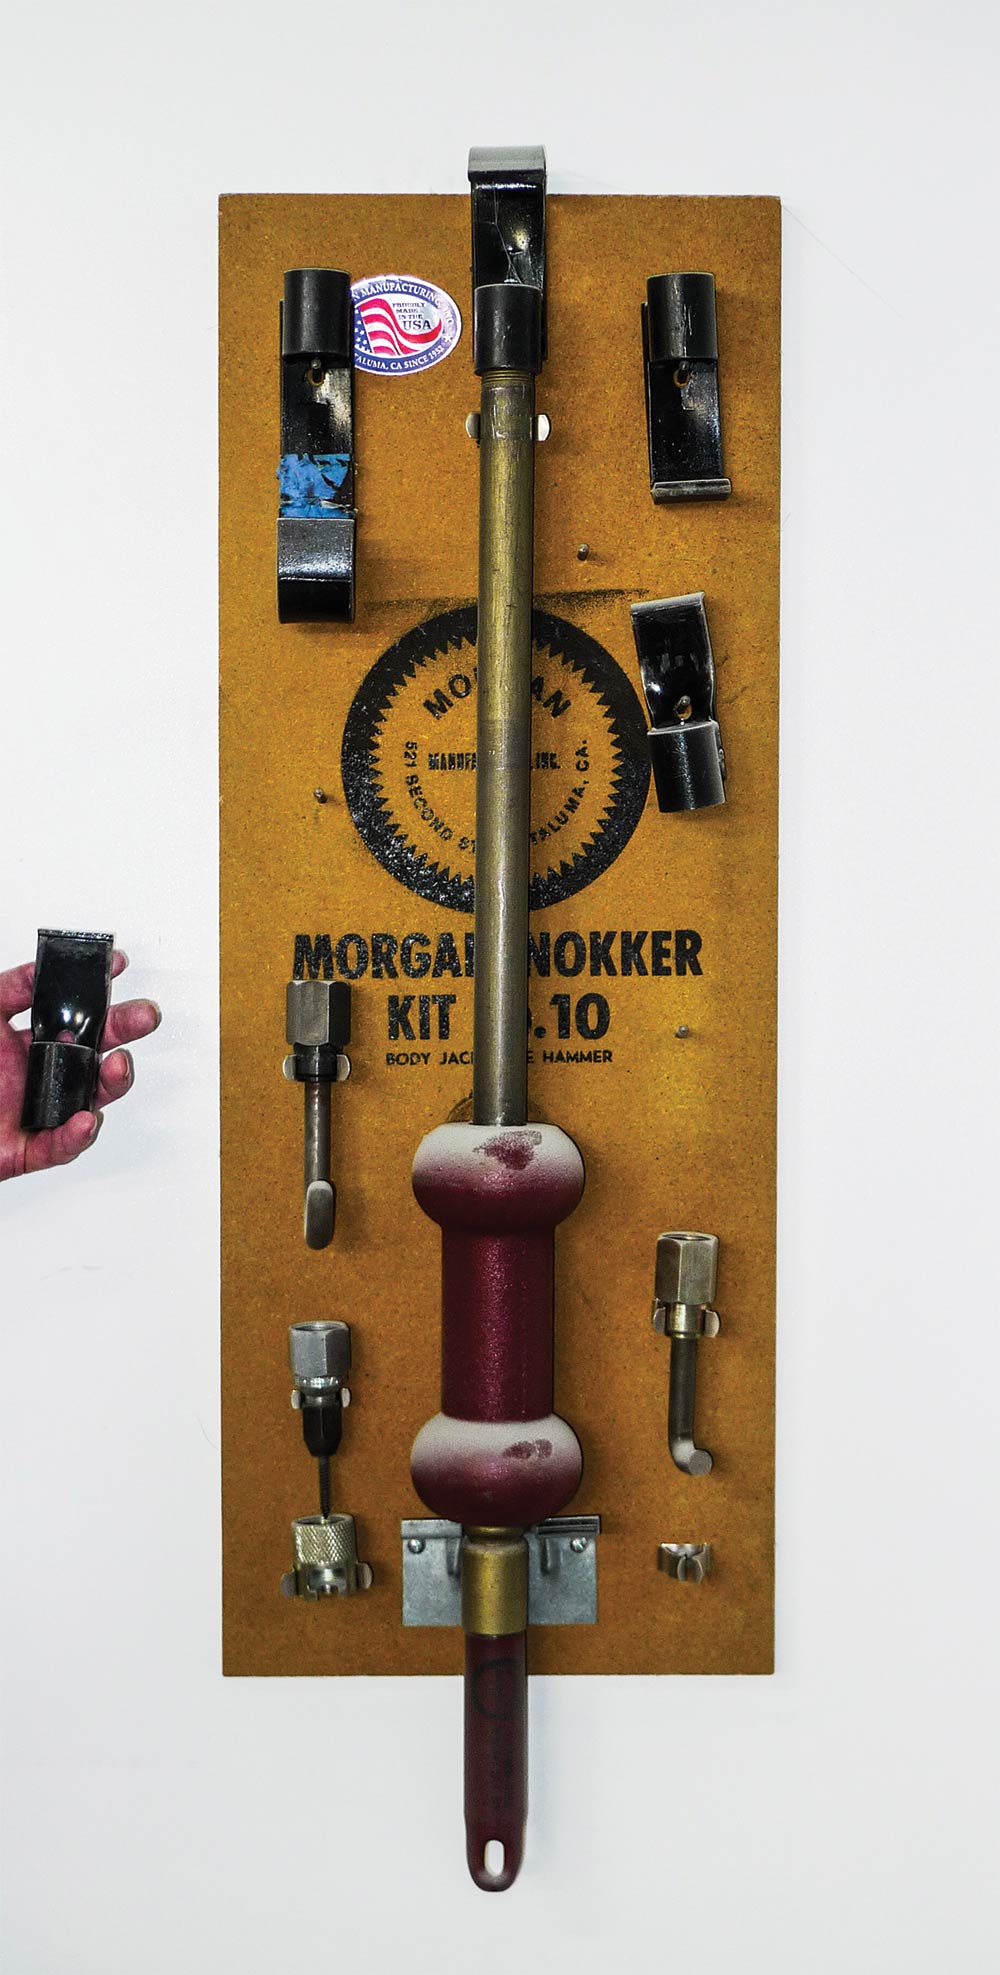
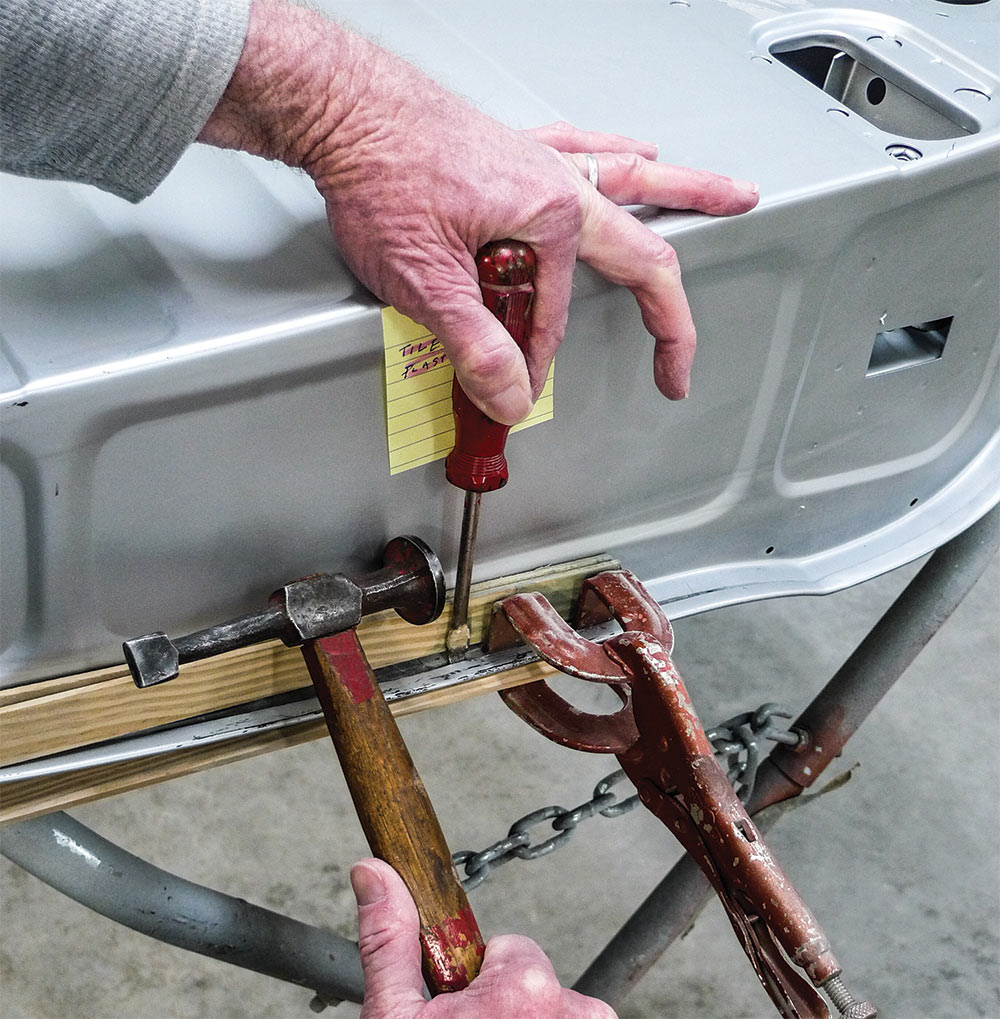
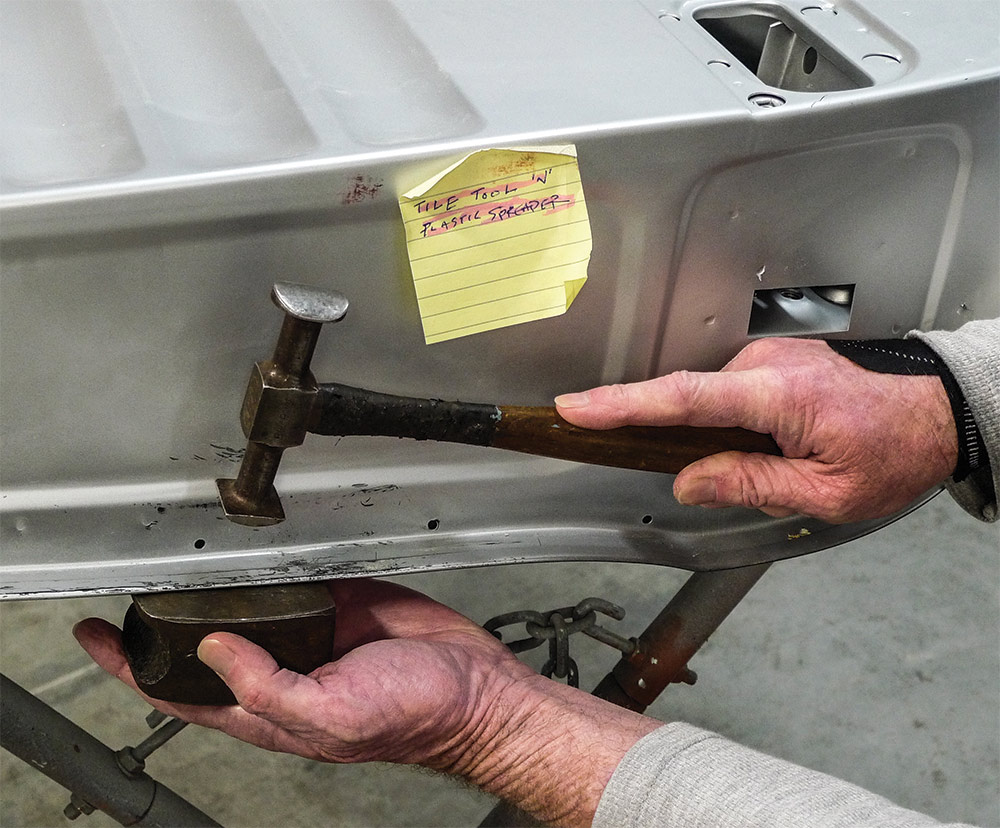
First, we must ask, have you ever latched onto a Morgan Nokker? For those unfamiliar, it’s just another age-old body shop tool. Think of it as a heavy-duty side-hammer set. As we go on to discover our doors’ minor differences, the Morgan Nokker will play a key role.

Another E-Coat Quandary
In part 1 we talked about Electro Deposit Primer coatings. Also known as E-coat, it’s commonly found on new OEM body panels as well as modern reproductions. As an option, proper E-coat can be scuff-sanded and painted over. Since we don’t always know what such coatings are actually comprised of, solvent-testing (as we demonstrated in part 1) is a capital idea.
Original and Brothers' reproduction door
1. So, here to the left is our brand-new reproduction door from Brothers. To the right is an original used door. It’s already received patch panels, also from Brothers.
New door being weighed
2. Shall we look for little differences? Off the bat there’s a weight difference of 4 pounds, but let’s be fair. The heavier original door has old undercoating inside.
Measuring door thickness with metal gauge
3. Like the fenders we’ve worked with, the original door’s inner skin is 18-gauge. Here the reproduction measures closer to 19-gauge, which will be good to know as we go.
Original door drain holes
4. On our original door, here’s what’s been hiding out down low. In addition to rusty pinholes we have two larger holes. They’re just drain holes, and they’re OK.
Drain holes on new door
5. The reproduction also has drain holes, but out of view at each extreme corner. Now what about the row of holes for door seals? Those seem differently arranged.
Removing door seal hold-down tabs on original door
6. On the original door we find door seal hold-down tabs still in place. We’ll likely reuse them. The reproduction door does have the same little holes.
Original door's inner skin and jamb after abrasive blasting
7. The original door’s inner skin and jamb areas have been abrasive blasted. Still, there’s further prep required before necessary fillerwork or primer.
Welding mirror holes
8. Because our project truck has been a truck, we’ve got mirror holes to deal with. Of the two of us teammates, Mrs. Rotten has the better vision. Fortunately, she loves to weld.
Sanding MIG knots with 3" Roloc-type disc on Harbor Freigh die grinder
9. With a 3-inch Roloc-type abrasive disc on a Harbor Freight angle die grinder, these little MIG knots are history. The reproduction door won’t require these steps.
Sanding original door outer skin with 80 grit on a DA sander
10. When the original door’s inner skin and jamb areas were abrasive blasted, we didn’t blast the outer skin. Here we’ll begin with 80-grit on a DA (dual-action) sander.
Sanding contours with smaller die grinder with 3M Clean & Strip Disc
11. For tighter contours with deep grinder marks that the DA just won’t reach, another angle die grinder (same brand) spins a 3M Clean and Strip Disc.
Air blasting outer door skin clean
12. By this time, there’s been serious time invested. Overall damage required a fair amount of fillerwork—and it seems like we’ve seen those steps here before.
Morgan Nokker
13. With its numerous attachments, the Morgan Nokker is a body shop necessity. Ours has been known to fine-tune a door edge now and then.
Separated edge on new door
14. That’s how we discovered that our new door’s crimped edges were not spot-welded. Now we see it—after accidentally separating this edge.
Tapping edge panels into place with hammer and screwdriver
15. At times like these, mistakes get fixed in a hurry. Here a bent-tip screwdriver is the hot-tip tool for the job. As we tap it along, the panels find their proper places.
Tapping door edge with hammer and dolly
16. Following this bit of hammer ’n’ dolly work we can almost pretend it never happened. We’ll move on for now. A little later we’ll come back to finalize our oops repair.
Exposed door E-coat
17. The E-coat we’re accustomed to is normally black in color. Here it appears as though that’s what we have, but it’s underneath some sort of silver coating.
Putting 'gun wash solvent on paper towel
18. So, here we go again. First, we’ll saturate clean, disposable paper toweling with Montana-compliant ’gun wash solvent.
Rubbing door with solvent
19. Holding that in place, and then rubbing vigorously, the testing procedure isn’t brain science. We’re simply doing our worst to melt through the questionable coating.
Removed e-coat on paper towel
20. As we were sort of expecting, the silver stuff is no match for ’gun wash solvent. It’s pretty much melting away. Based on these results, we know what we must do.
Removing e-coats and silver coat with grinder
21. With the same tools we’ve been using, let’s mechanically strip away the silver stuff. The black stuff (proper E-coat, we believe) is thin, so it’s coming right off, too.
Broken drill bits
22. Once the interior side of this door is stripped, we can readdress our damaged door edge. Let’s simulate some assembly-line spot welds.
Reaming doorskin's crimped edge with small spot-weld reamer
23. Using the smallest of our spot-weld reamers we’re cautiously reaming through the first layer of the doorskin’s crimped edge. We’ll do this in a number of places.
MIG welding centers of reamed holes
24. With her trusty little MIG machine, Mrs. Rotten is welding through the centers of the holes. In fact, she’s done this for me many times before.
Grinding down plug welds
25. In the end these plug welds will resemble assembly-line spot welds and be a close-enough match for those of the original door. Some grinding required.
Cleaning door dimples with Summit Speed Blaster
26. Our reproduction door does have spot welds in most of the usual places. For cleaning out their dimples, Summit’s handy Speed Blaster does the trick—and does it quick.
Cleaning door before fillerwork
27. For a few of the deeper dimples, we’ll go ahead and do some fillerwork. First, with solvent-borne grease ’n’ wax remover, let’s get our steel surgically clean.
Grinding door edge
28. Have you noticed how often we use this type of angle die grinder? Years ago at a Harbor Freight parking lot sale, we purchased a fleet of these.
Grinding door exterior side
29. With the new door flipped for exterior-side access, we’re back to stripping once again. Without so many crooks ’n’ nannies, this won’t take nearly as long.
Measuring door
30. We’d noticed early on that the new door measured 1/8-inch shorter lengthwise. We also see a bit of extra crown. For us, neither of these minor differences will matter.
Beginning filler work
31. The small smear of filler at the door handle area is only smoothing door-factory spot welds. At the door’s edges … well, we’re only cleaning up after ourselves.
Completed fillerwork on original and reproduction doors
32. Although results may vary, we’ll fess up with ours. Let’s talk about fillerwork alone. Used original: 31.25 hours. New reproduction: 8.75 hours (mostly oops repair).
Brothers Trucks
(800) 977-2767
brotherstrucks.com
Harbor Freight Tools
(800) 423-2567
harborfreight.com
Summit Racing Equipment
(800) 230-3030
summitracing.com