TECH
TECH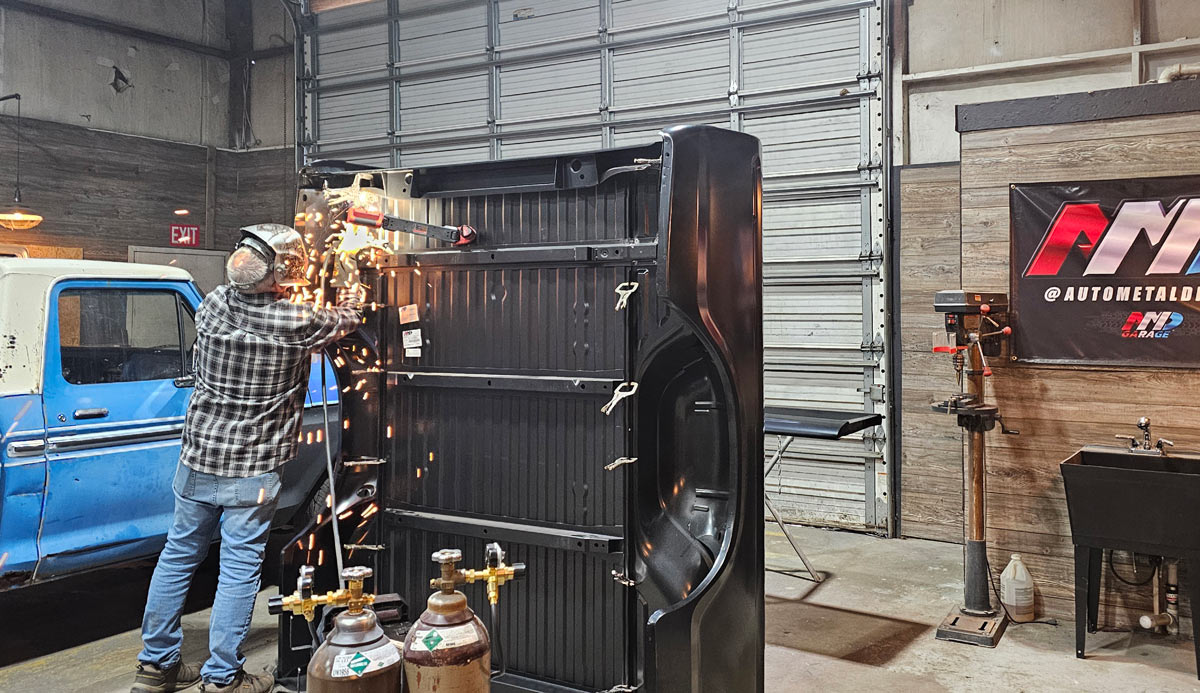
 Images BY THE AUTHOR
ace it; a longbed truck is more practical, rides better, gets the same fuel economy, and hauls way more stuff. Yet we still crave the more balanced look of the sportier-looking short trucks. Toss on a cool set of wheels and you’ve got a great-looking parts chaser or cars-and-coffee star. The shorties bring a lot more money at the sale, and the factory ones are getting harder to find—especially without rust! If you’re handy with a measuring tape, and you’ve got a friend with a MIG welder, you can dig in and build your own with the help of the automotive aftermarket, namely Auto Metal Direct (AMD), who’s earned the reputation as a high-quality aftermarket manufacturer, starting out with Mopar offerings and expanding into all things truck. AMD is continuously adding to the F-100 catalog and now offers both inner and complete bedside assemblies for 1973-79 F-100 trucks (as well as 1973-79 longbed outer panels) and a host of other much-needed replacement parts. We’ll walk you through the process of building your very own bed from the AMD catalog, starting with the floor and working your way to a complete assembly.
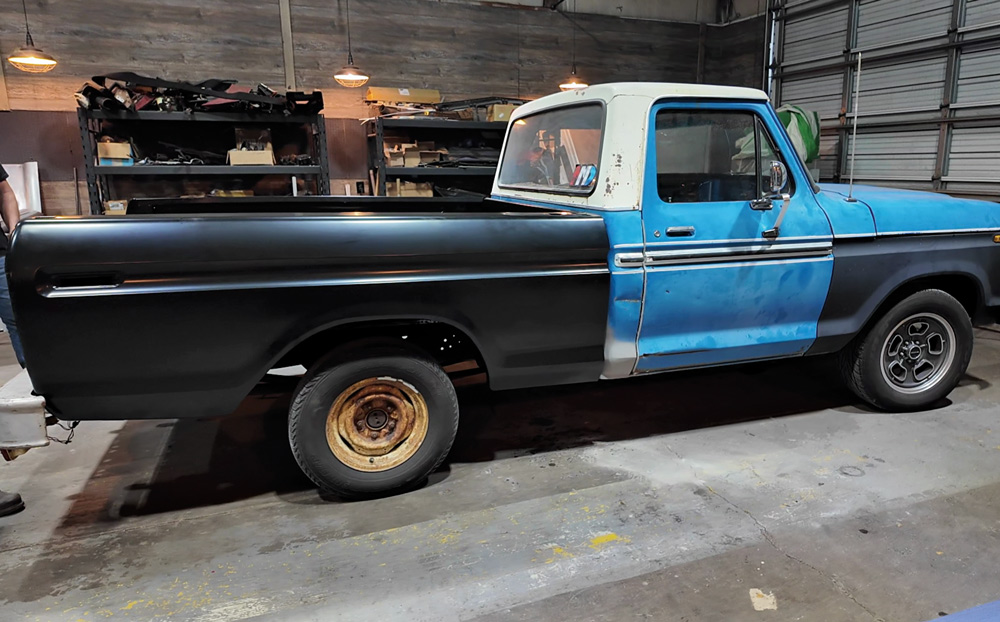
This truck belongs to Chris Slee of Kiwi Classics and Customs in Franklin, Tennessee, and actually became his shop truck by accident. The storage yard behind his restoration shop was selling it for the storage charges. Though he won’t say exactly how much he paid, it was a STEAL and he couldn’t resist. He freshened up the engine, took care of the common rust in the core support and front fenders with AMD parts, and made the plan to shorten it up to suit his needs for a cool-looking shop truck. Slee is no stranger to heavy fab, so he went to work measuring and shortening the frame, having a driveshaft made, and driving it 45 miles down to my shop to build and install the new bed. We did this project in two sessions: one to build the bed and one to replace cab corners and install the new assembly, which gave Slee time to cut the bed down and wait for the new driveshaft to arrive.
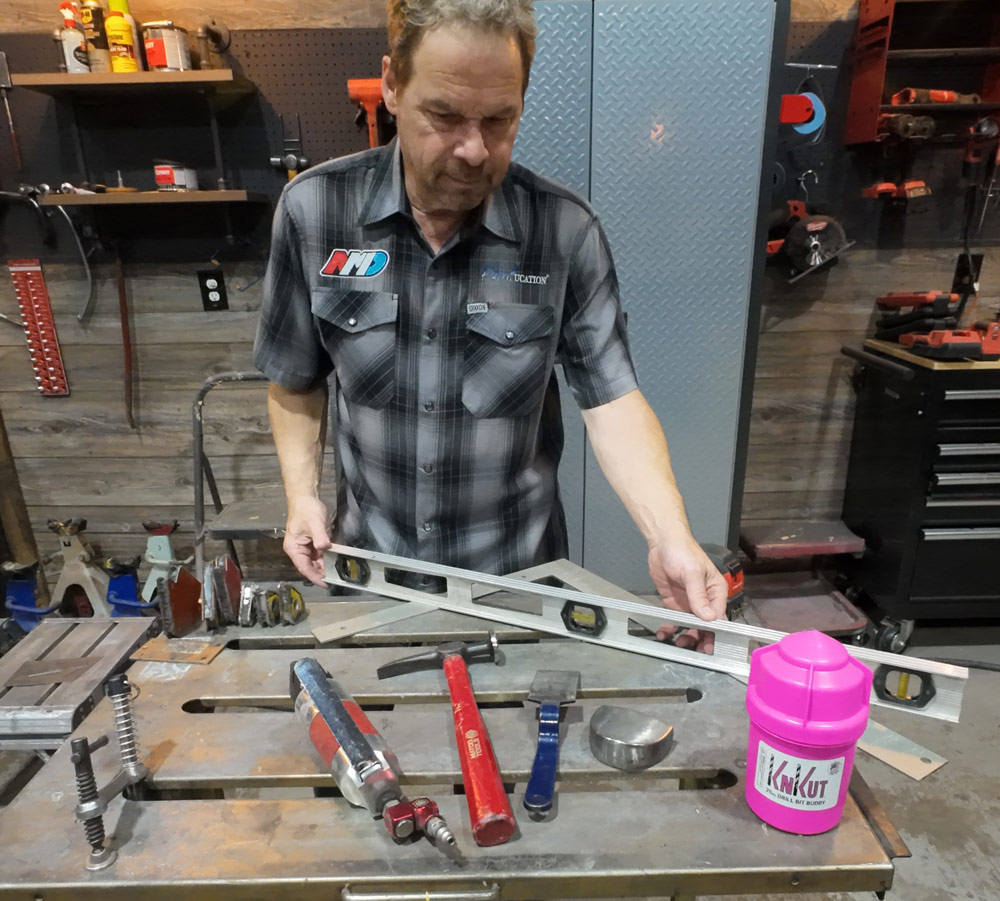
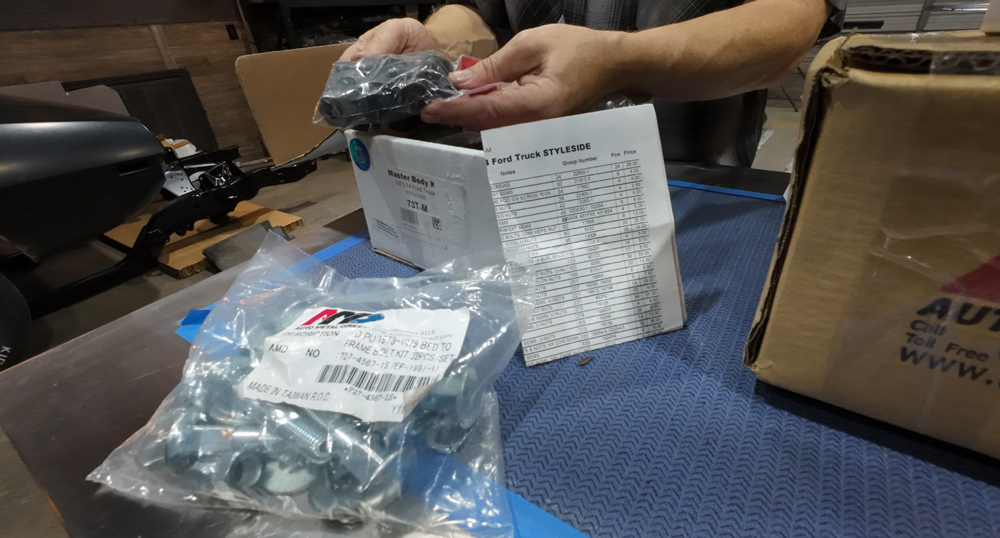
It takes some specific tools to do this yourself, including a MIG welder, a good set of hand tools, some body tools, like hammers, wedges, and drifts, as well as the most important tool … a tape measure. Being a “body guy” I had everything on hand to do the job, including an electric resistance (spot) welder that makes certain jobs much easier! We’ll show you how it’s used in this story. AMD takes great pride in not only the quality of their parts, but also the ability to get them to you without damage. There’s a separate crating area in the warehouse in Gainesville, Georgia, that has a packing team making crates that protect and contain your large panels, like bed floors and frame and floor sections. Nobody can outsmart an apathetic delivery guy, but with AMD parts you stand a fighting chance if the stuff gets banged around in the box truck. We sprung for the Master Hardware Lit for this year range, and I’m glad we did. We were constantly dipping into it for everything from J-clips to bed mounting bolts to rubber bumpers as we built and installed this bed. Slee was grateful for the restoration-quality fasteners since he’s nowhere near finished with this truck after the bed goes on and will be using most everything in this kit at some point.
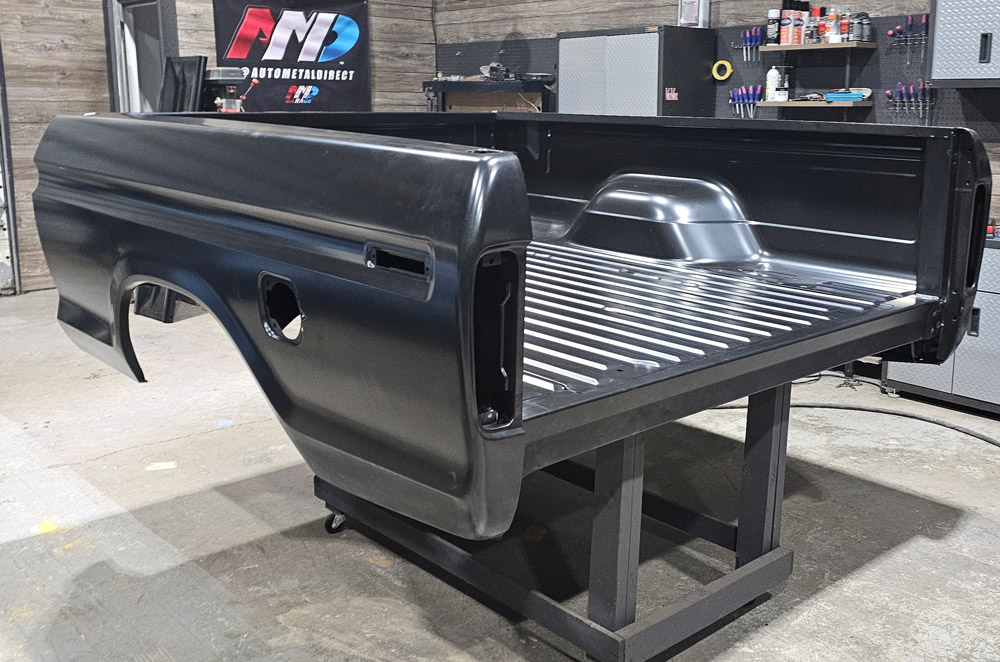
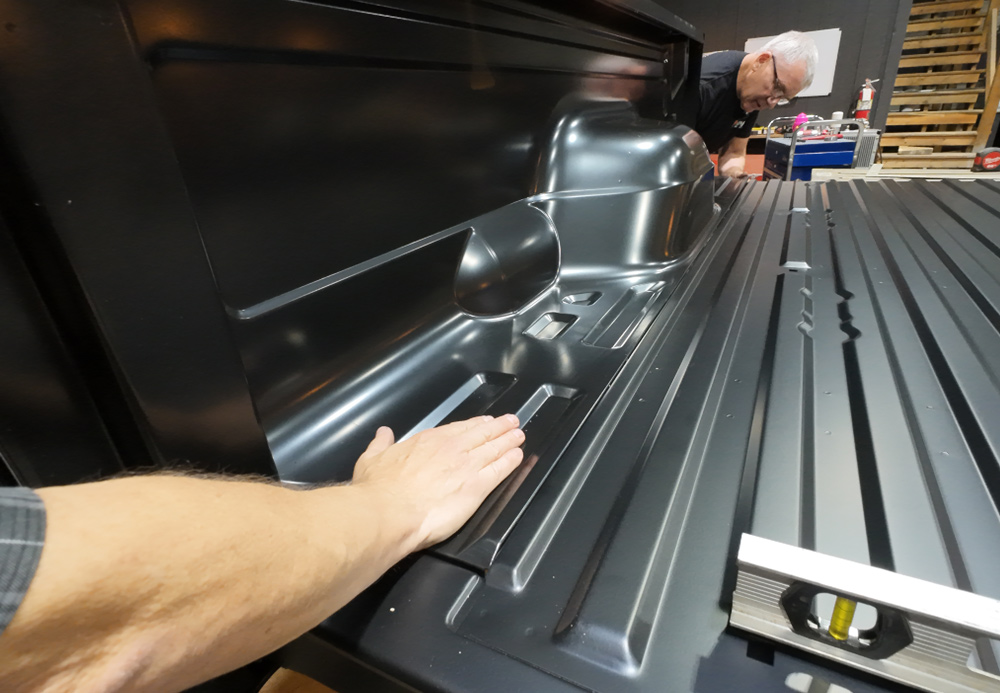
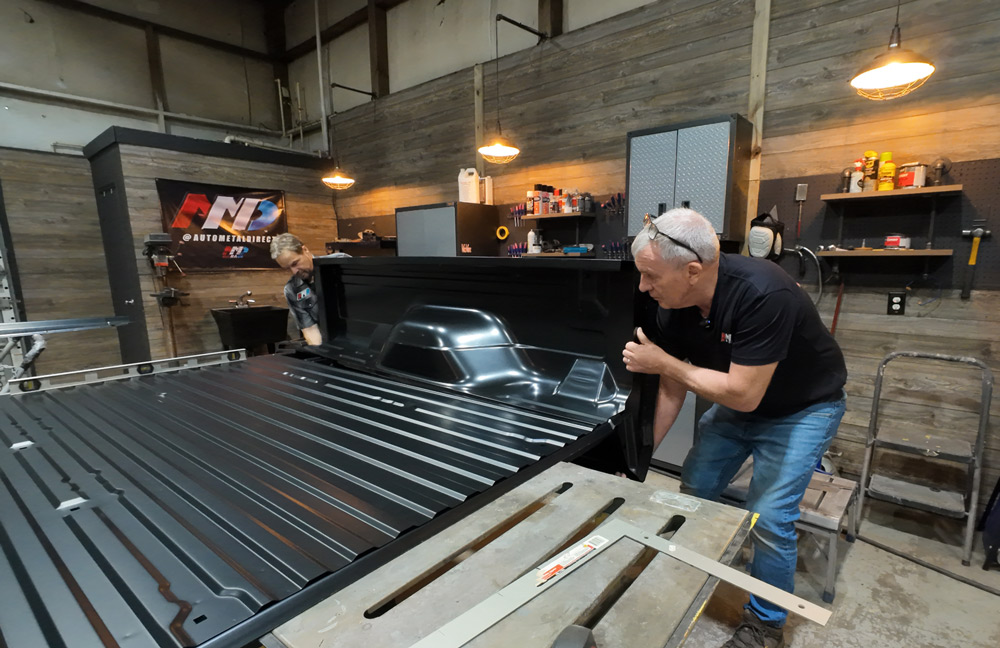
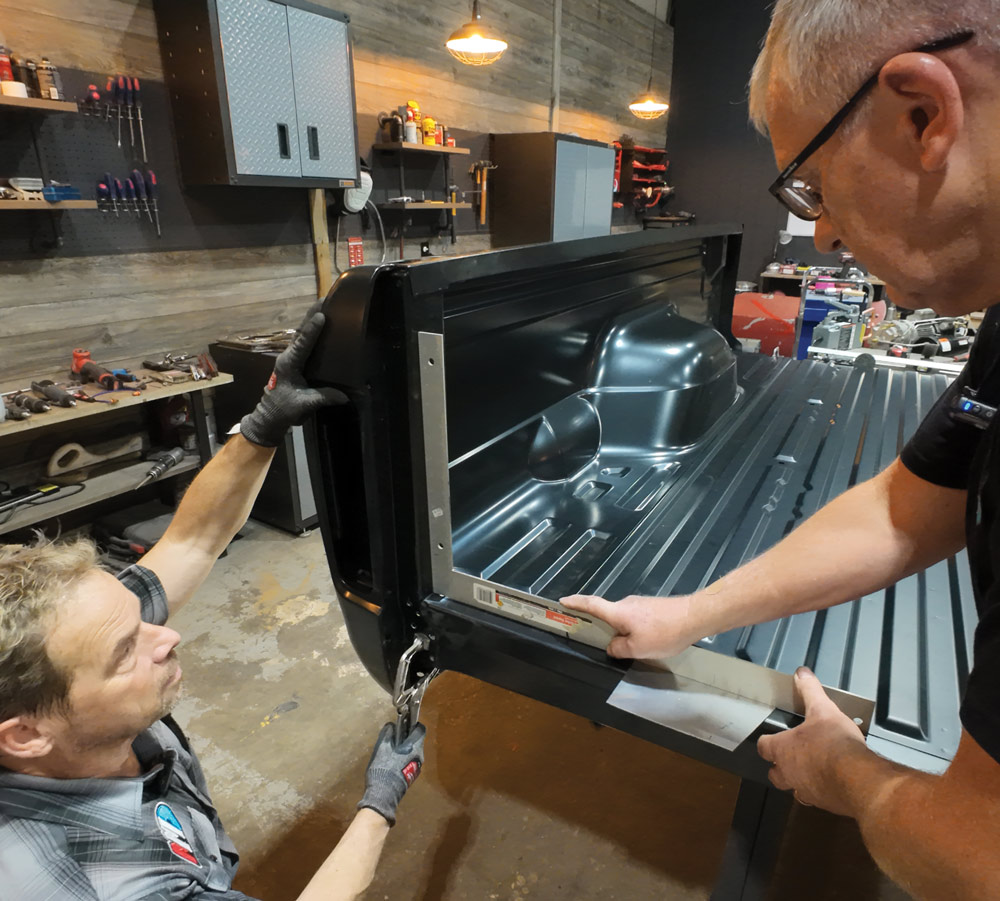
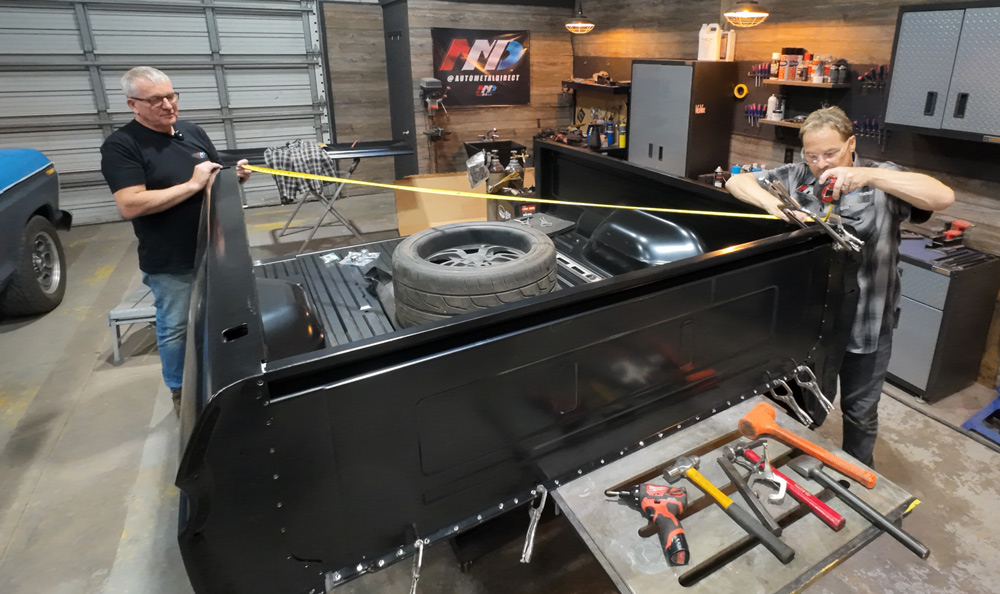
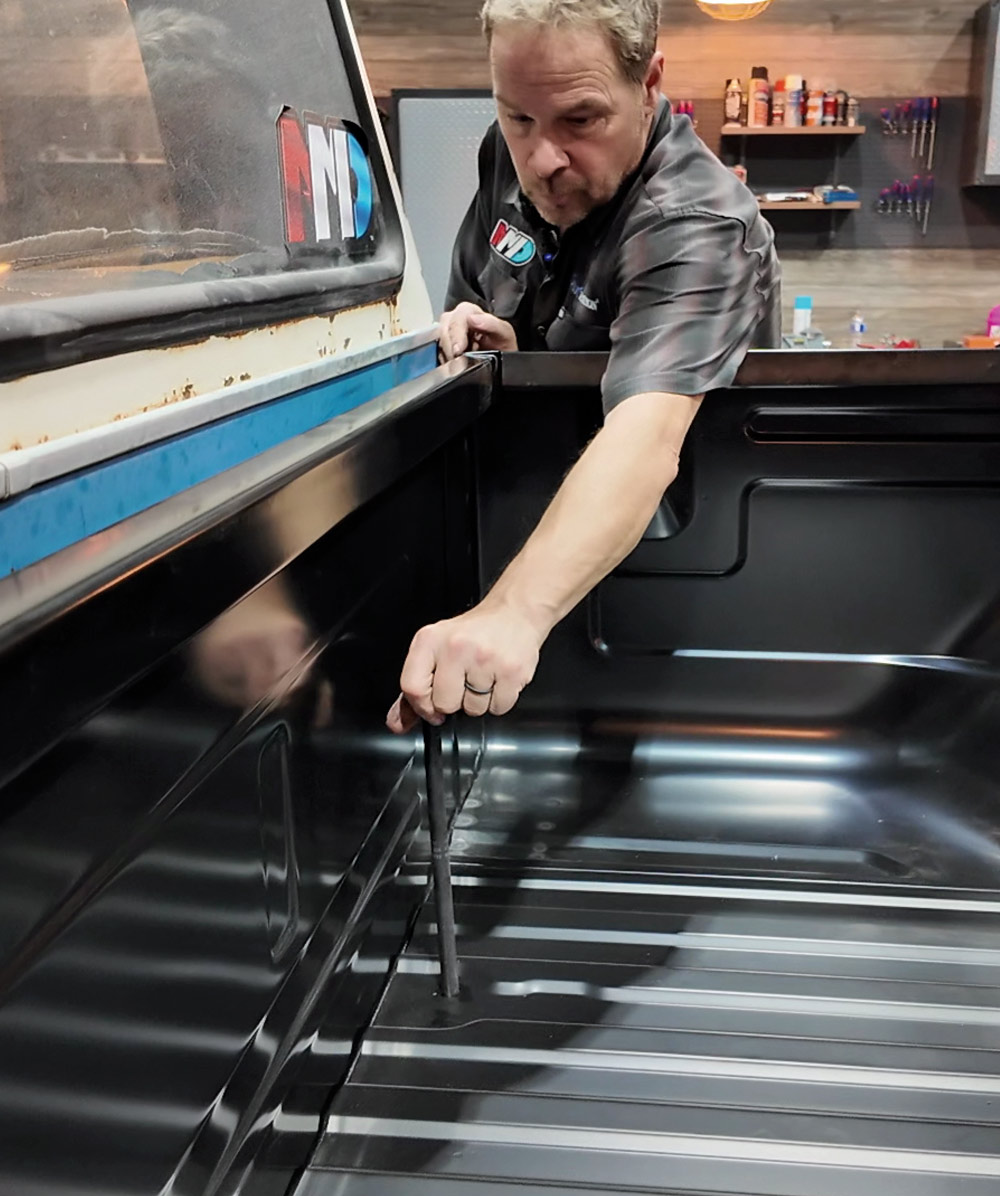
We started out by placing the bed floor (PN 790-4573-6S) onto a table and carefully balancing and leveling it. You’ve got to start with a perfect foundation before you can build this 3-D puzzle for your truck. Test-fitting the bedsides is the first step, which is at least a two-person job. Slee and I set the bed in place and checked out the gaps. It was a decent fit but the cross sills were tight on the bed corners, and we needed to make a little space on the braces to tighten the gap between the inner bedside and the floor. Hammers and drifts made this happen and it took about 30 minutes of futzing to make both sides slip into place nicely.
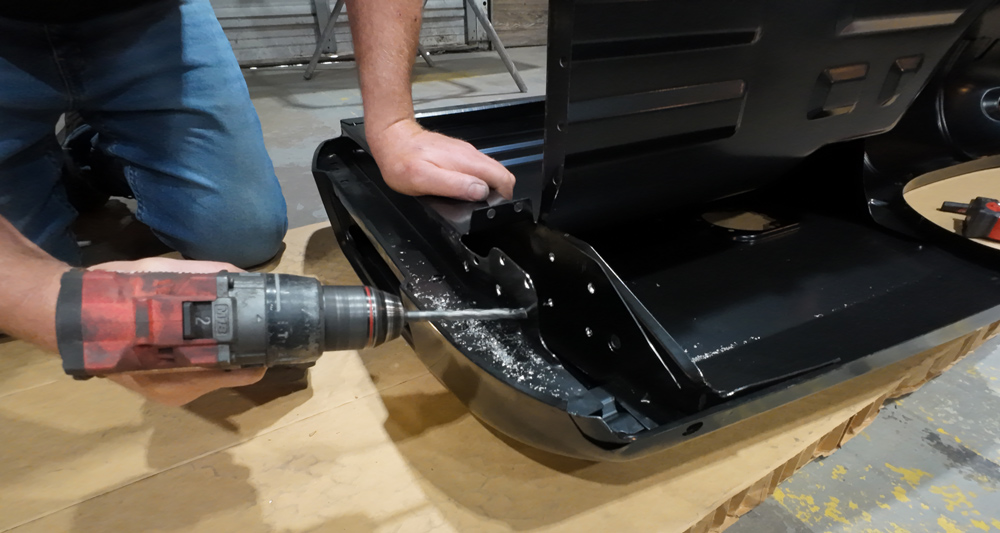
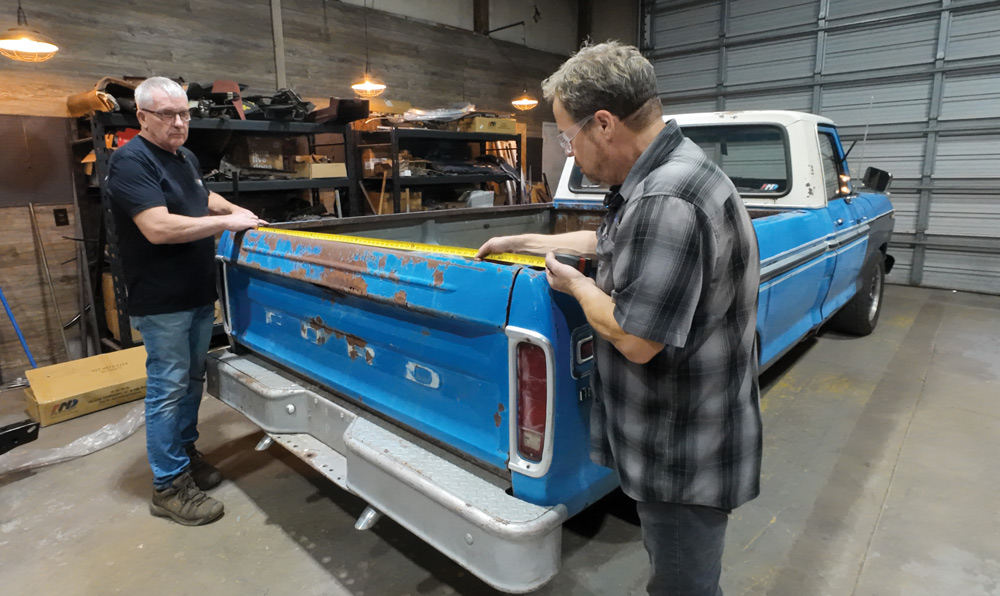
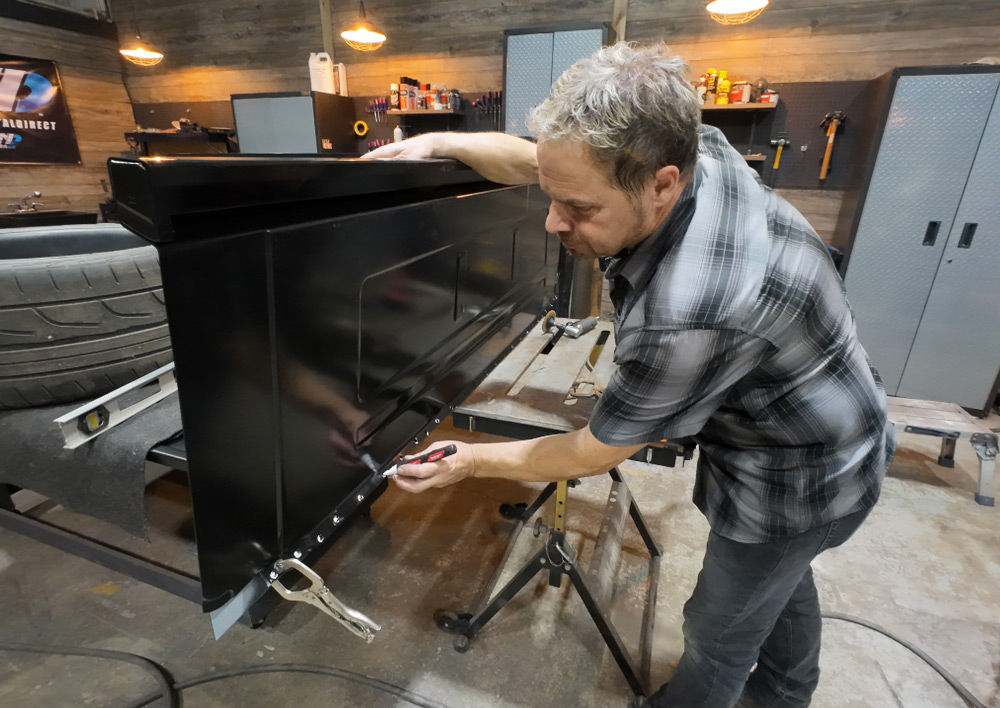
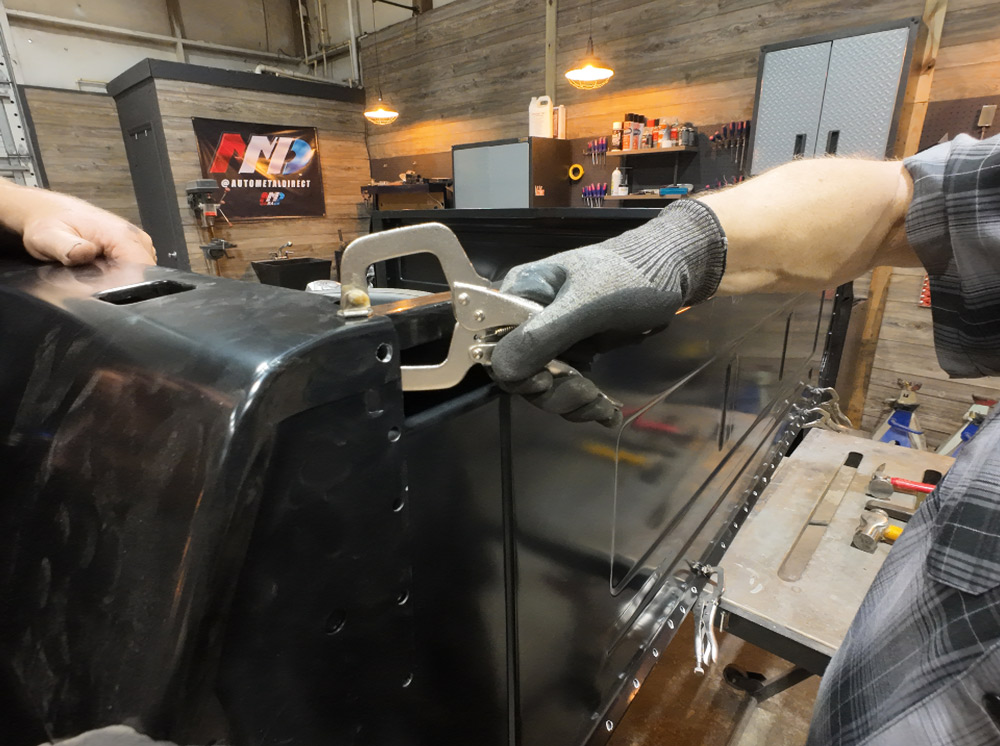
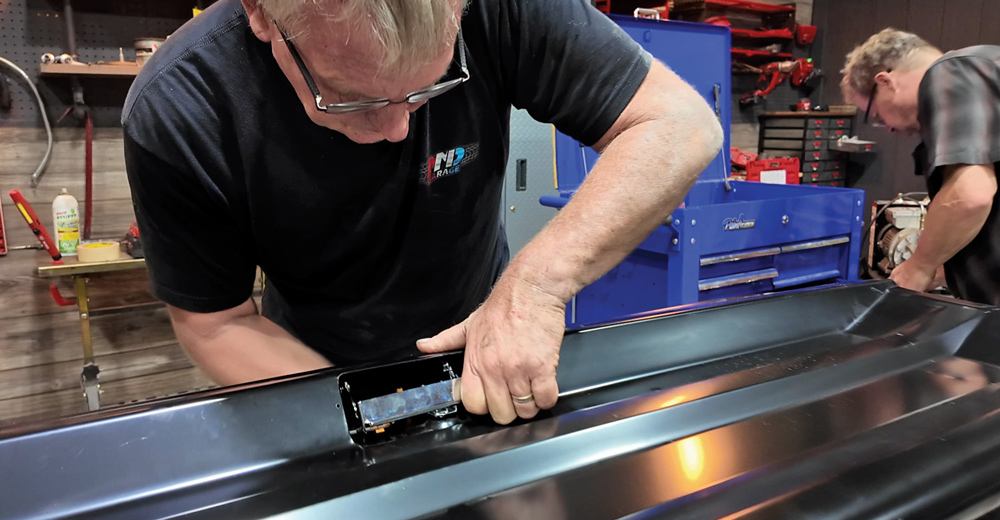
With the bedsides fitting, we drilled holes in the mating surfaces to give access for welds. We welded in the factory locations and made sure we had at least as many connection points as the factory. Drilling into the cross sills rather than the bed floor makes a cleaner look from the top and is less prone to rust later, with less moisture penetration opportunity. We installed the driver side first, squared it up to the floor, and clamped it in place. With that side locked in we measured the original bed as a reference. Even though it’s had 50 years to shift and bend, it still shows us a starting point to lock things in. With a healthy tack weld and several clamps holding the bedside, the front bed panel was installed and marked for holes and then clamped in place, giving us a rigid group of parts that are ready for final welding. Once the other side was clamped into place, a couple more x-measurements helped us square the assembly and got it all ready for welding.
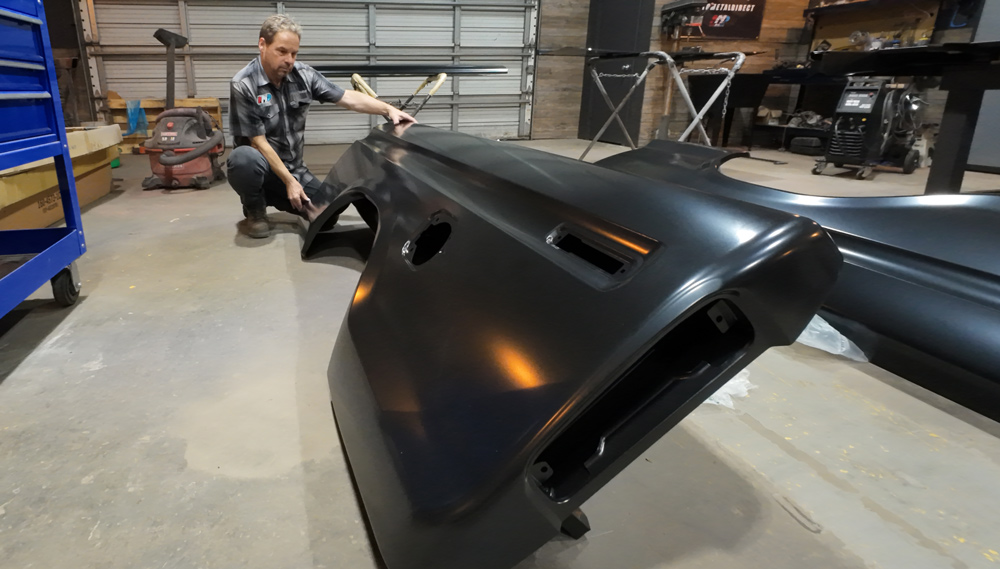
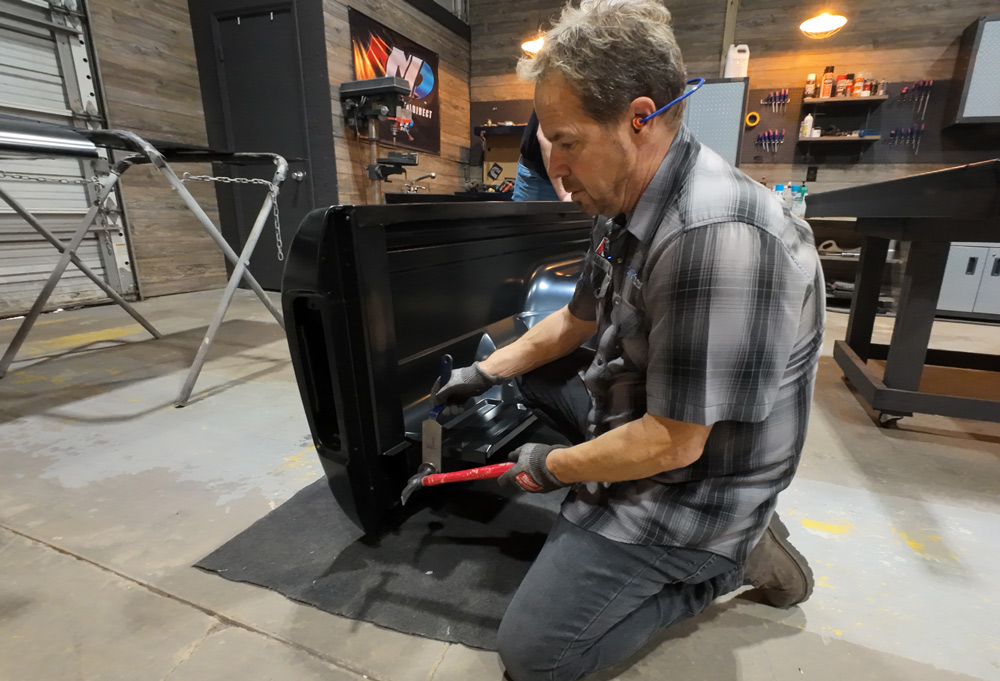
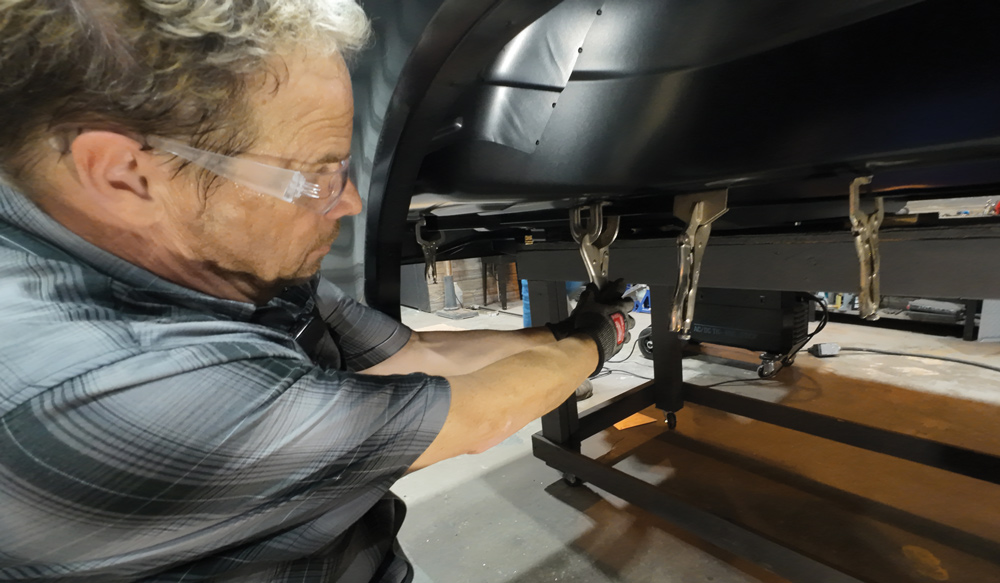
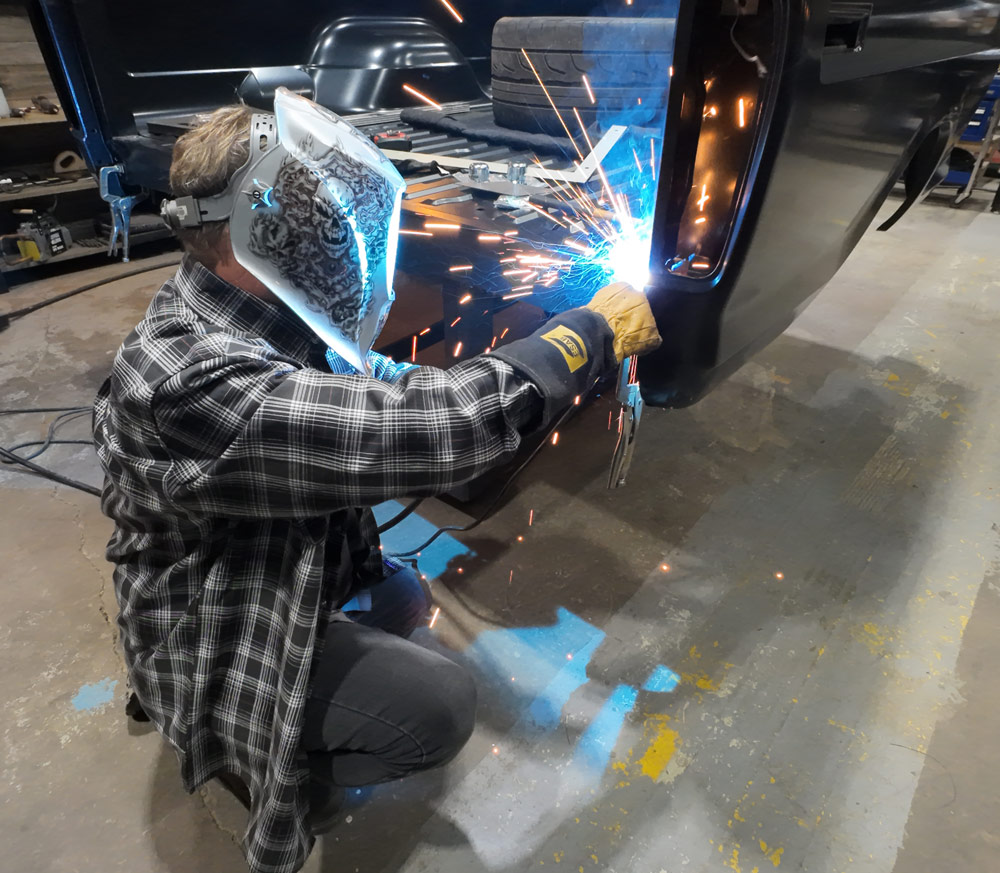
We took turns welding the 60-odd plug welds on all four corners, which took a couple of hours and almost a full tank of shielding gas. Standing the bed on the front end was a careful process and involved padding on the floor and slow movements, but it’s necessary to properly access the weld points on the bottom side of the bed. With everything MIG welded, we stripped off the E-coat using an Eastwood Stripping Disc and used the 220V (Harbor Freight) spot welder to pinch-weld the long seams on either side of the bed floor. This saves a lot of cleanup, requires minimal prep, and gives a factory appearance to the welds, requiring almost no grinding when finished. I use Picklex 20 treatment on raw metal and welds, which staves off surface rust indefinitely, since this well all be coated at some point in the future at Slee’s shop. Leaving the metal bare is a mistake as rust sets in in minutes.
You can see where Slee cut the frame, which is tricky on these trucks since the rails are not parallel right behind the cab. He did one side at a time, welded the Z-cuts solid, then “fish-plated” the back side to allow for chassis-flex. We then measured the mounting holes in the bed floor and drilled for the new bolt kit that holds the bed down.
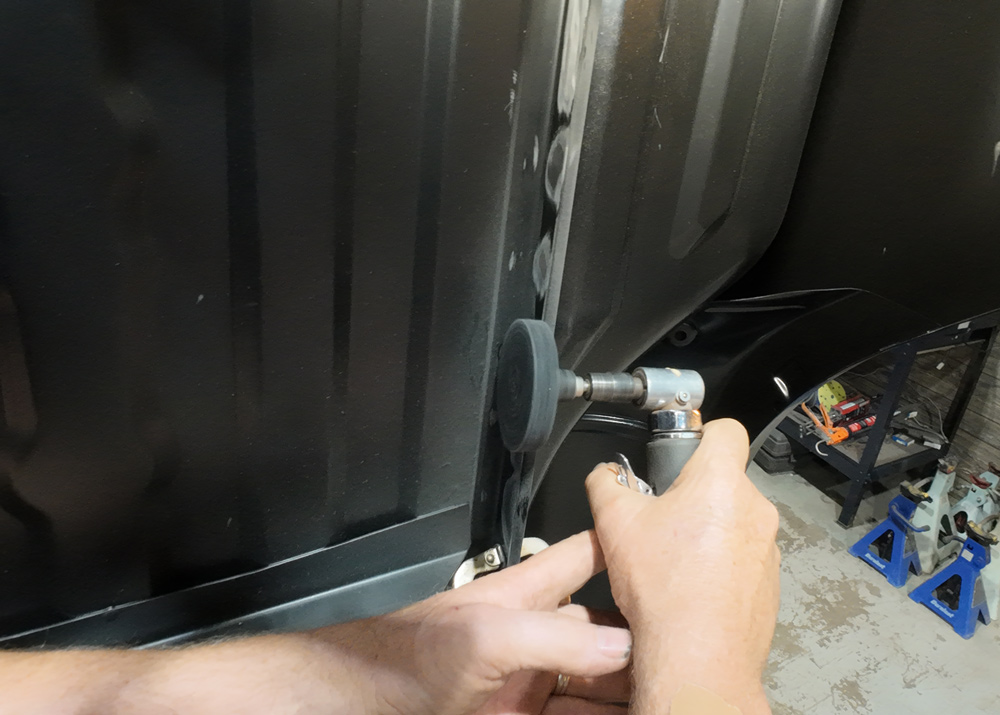
We couldn’t just throw the new bed on without welding in new cab corners since we had great access to either side. The rust was just on the outer panel, so we sectioned both sides, removed the rust, cleaned up and treated the inside, then welded the corners on, eliminating decades of rot, and, most importantly, setting this truck’s foundation for a high-level paintjob at some point. I used a high-quality direct-to-metal 1K primer to cover the filler and metal, which can be safely topcoated when Slee is ready.
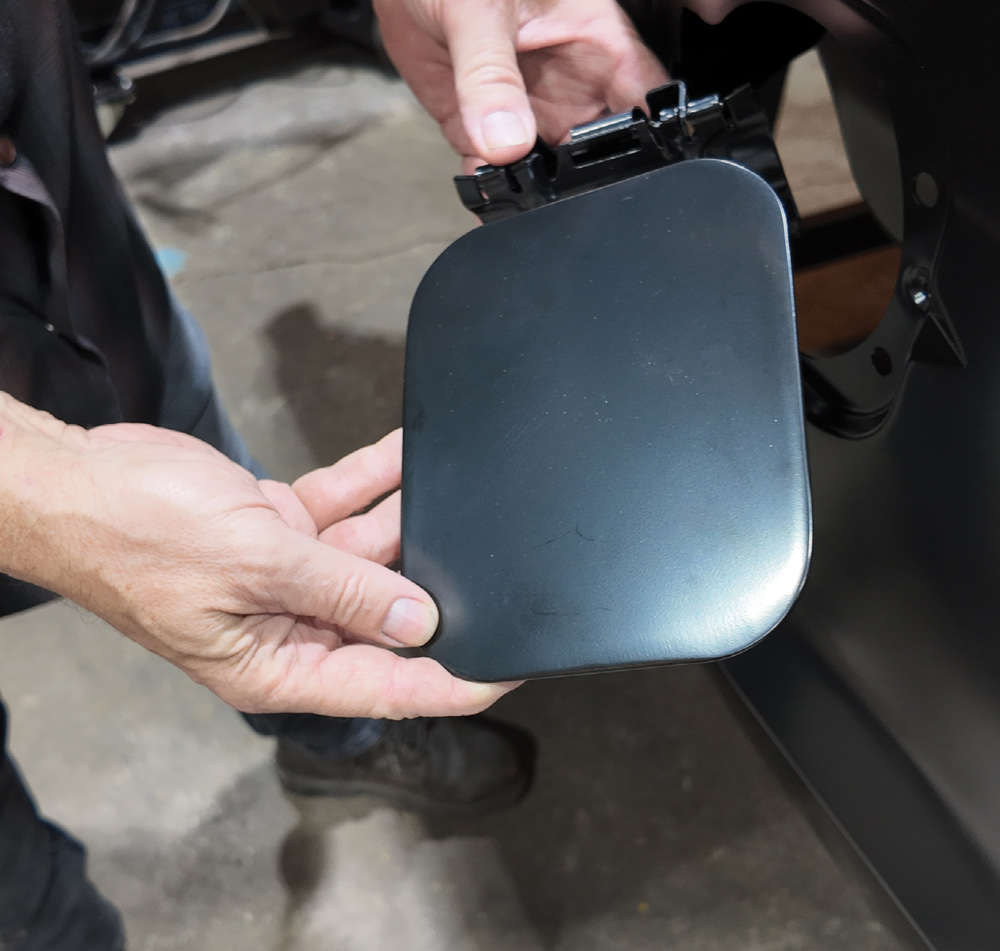
Using an engine hoist, a bed lifter tool, and ballast in the back to balance the assembly, we carefully set the bed on the chassis. It was a bit of a gamble doing this with the rear bumper in place, but the tape didn’t lie. It was tight but fit well, and we were able to drop in the new carriage bolts that came in the Master Hardware kit. Call it luck, or a combination of good parts and a solid truck, but we didn’t have to shim any of the frame mounting points to get the bed level. We also got a complete tailgate component kit (PN 927-4573-11CS) to go with the new gate. So, we had everything we needed to close the bed up. Slee’s original longbed had the round fuel filler, and he liked the look of the square door, so he ordered the bedside to accommodate that. The fuel door is not included with the bedside. Slee is absolutely thrilled with the looks and potential of his truck. This shows that we can find a much less expensive long wheelbase truck, and with a little hard work transform it into what you want.