CTP logo Tech
InTheGarageMedia.com
The Long AND Short of It …
Part 2: Brothers Trucks’ All-New ’73-87 Longbed to Shortbed Conversion

BY Rob FortierPhotography BY THE AUTHOR

W

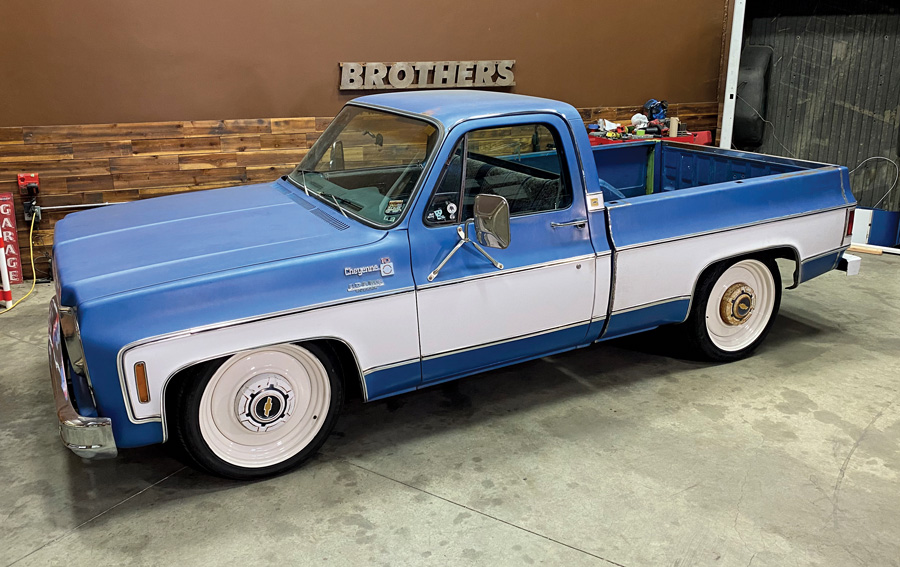
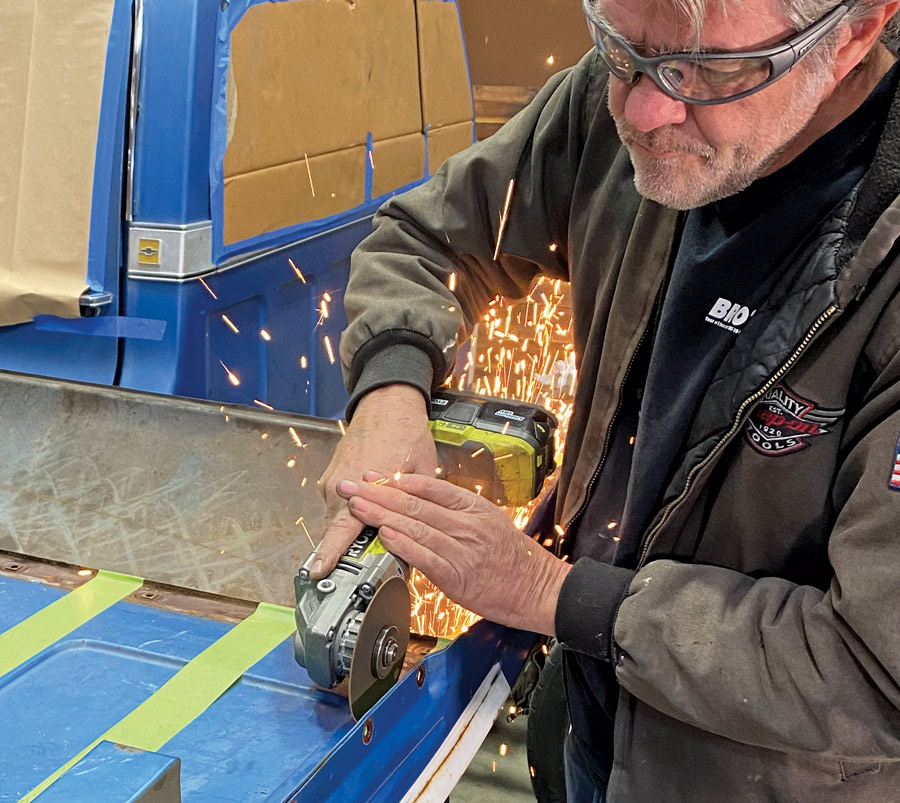
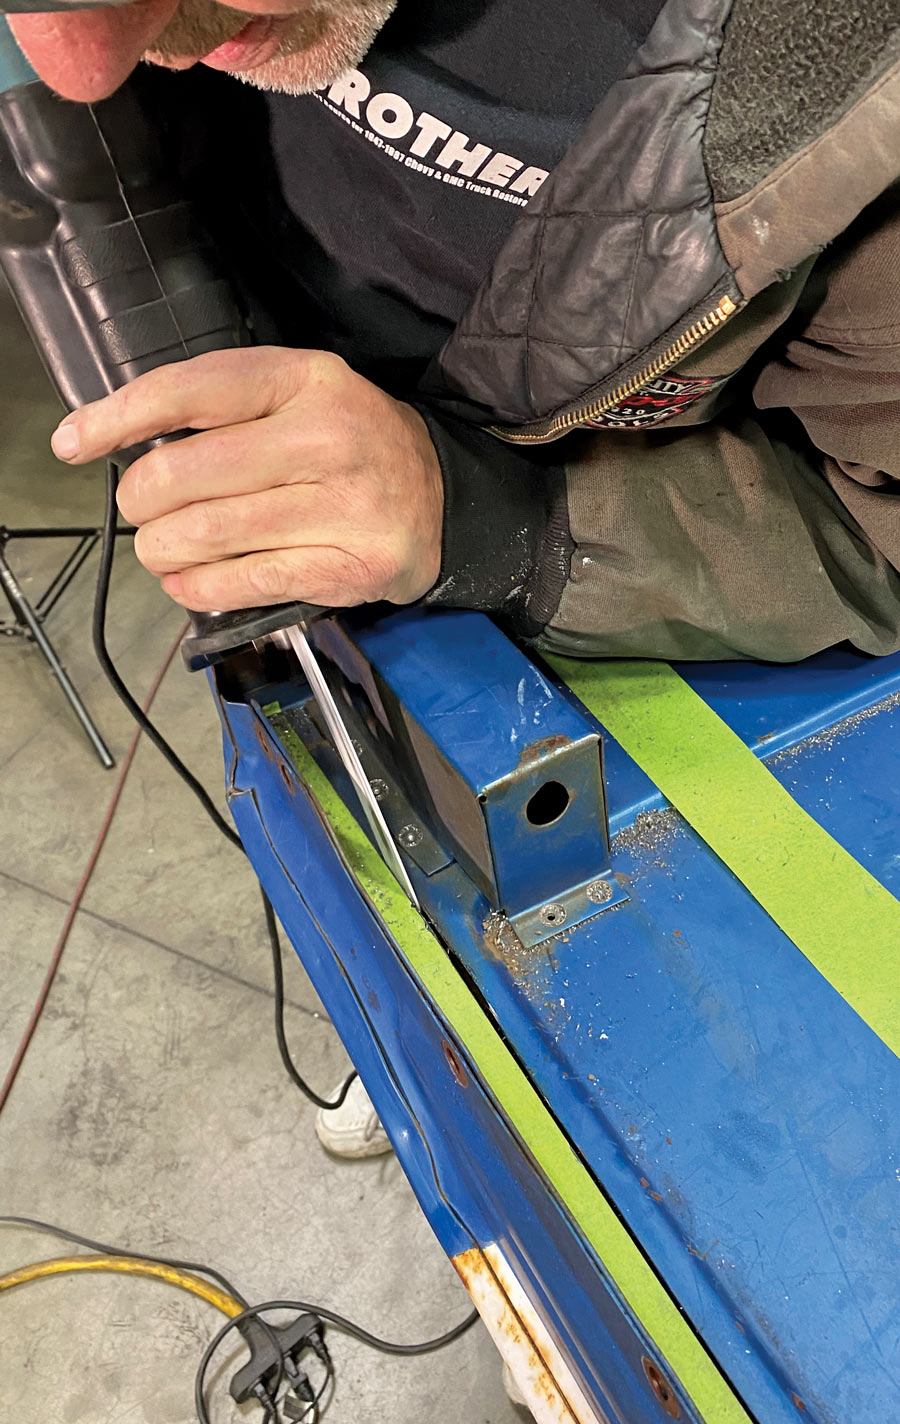
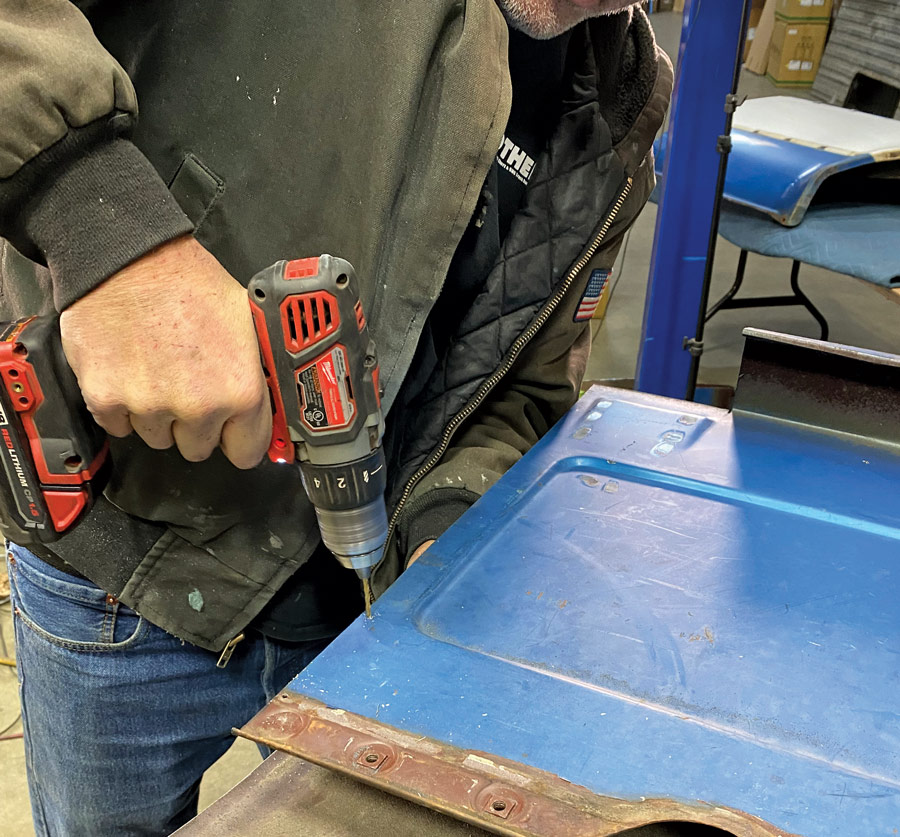
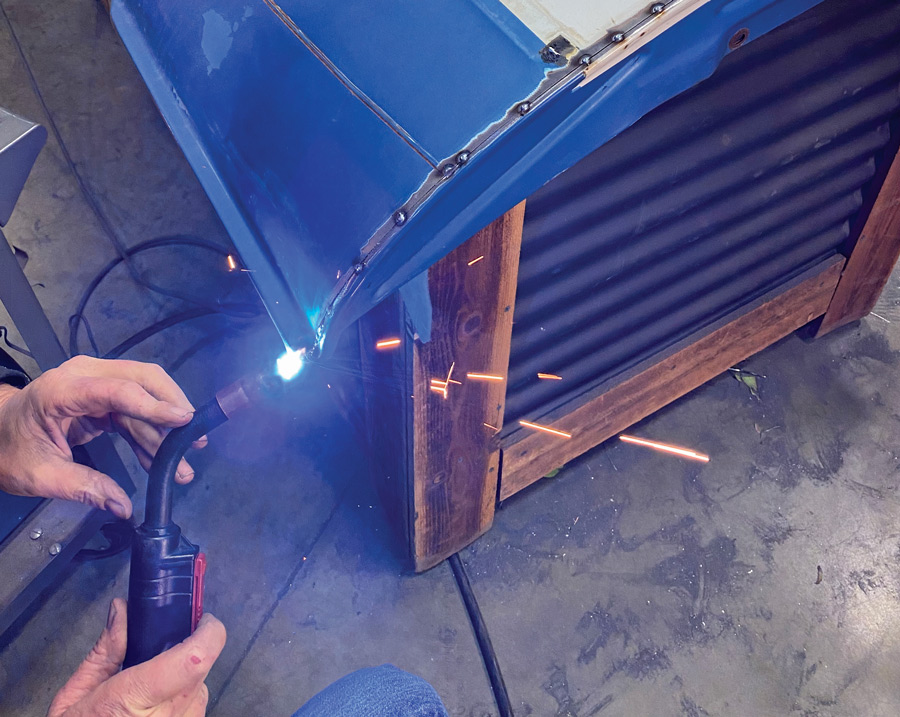
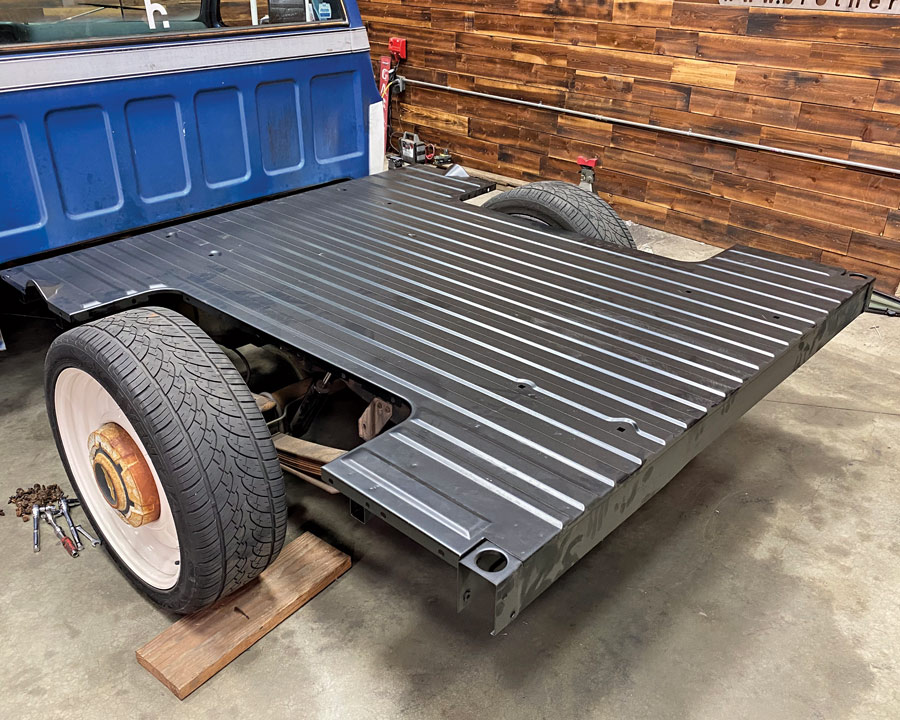
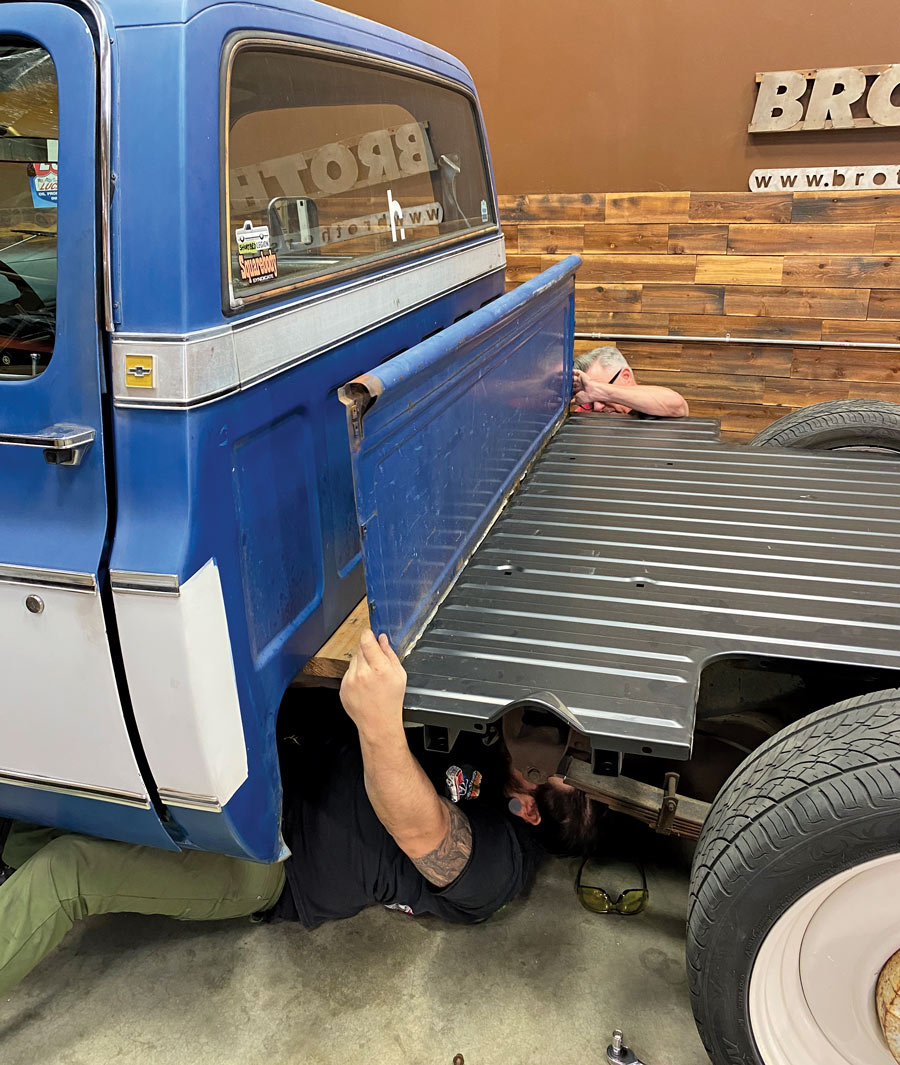
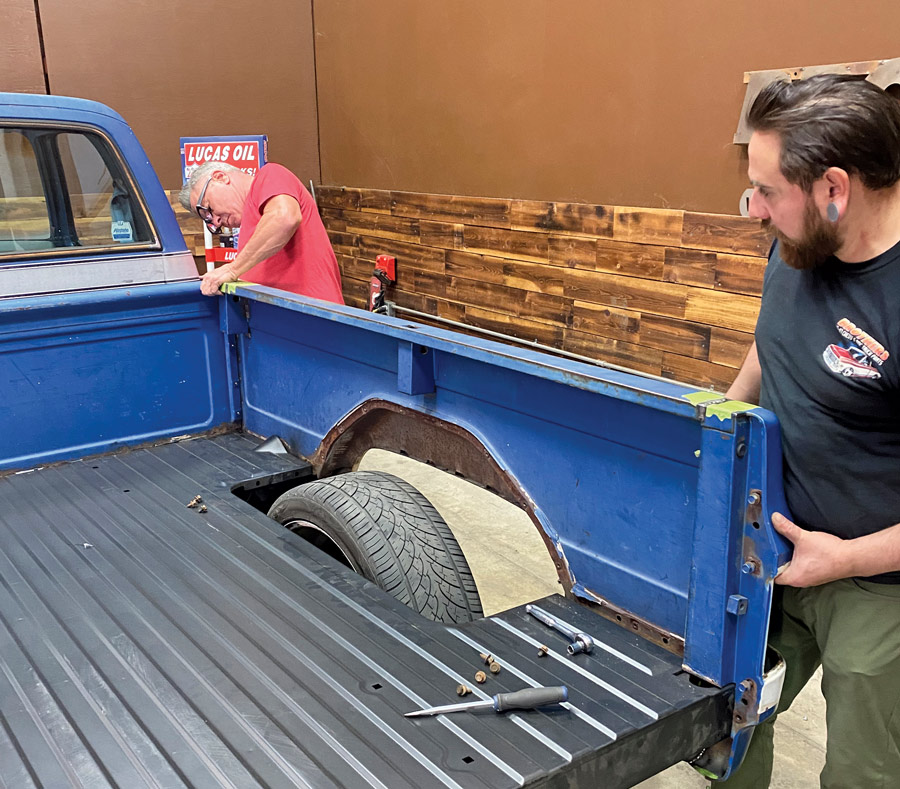
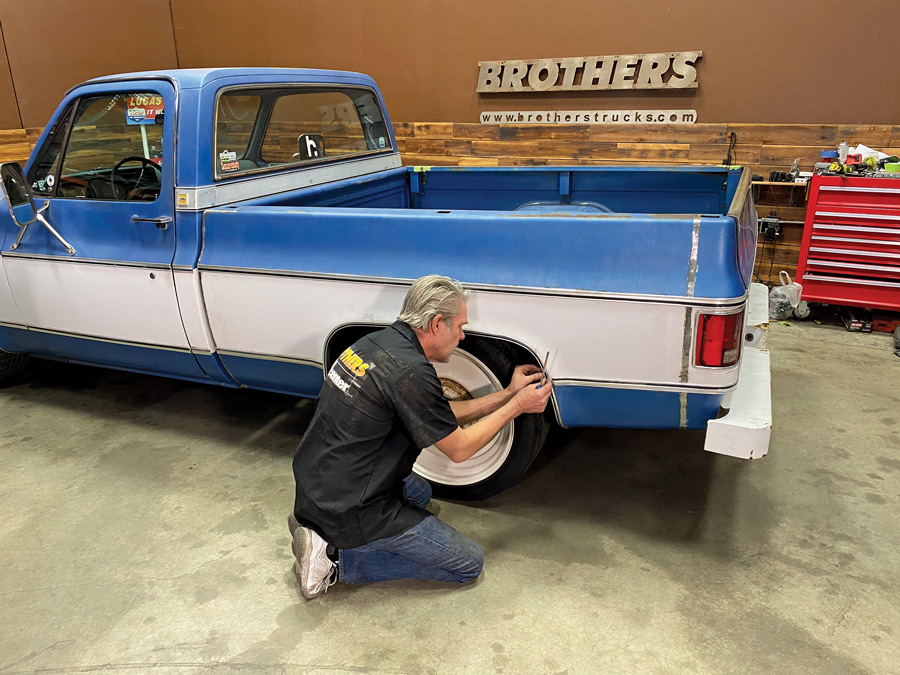
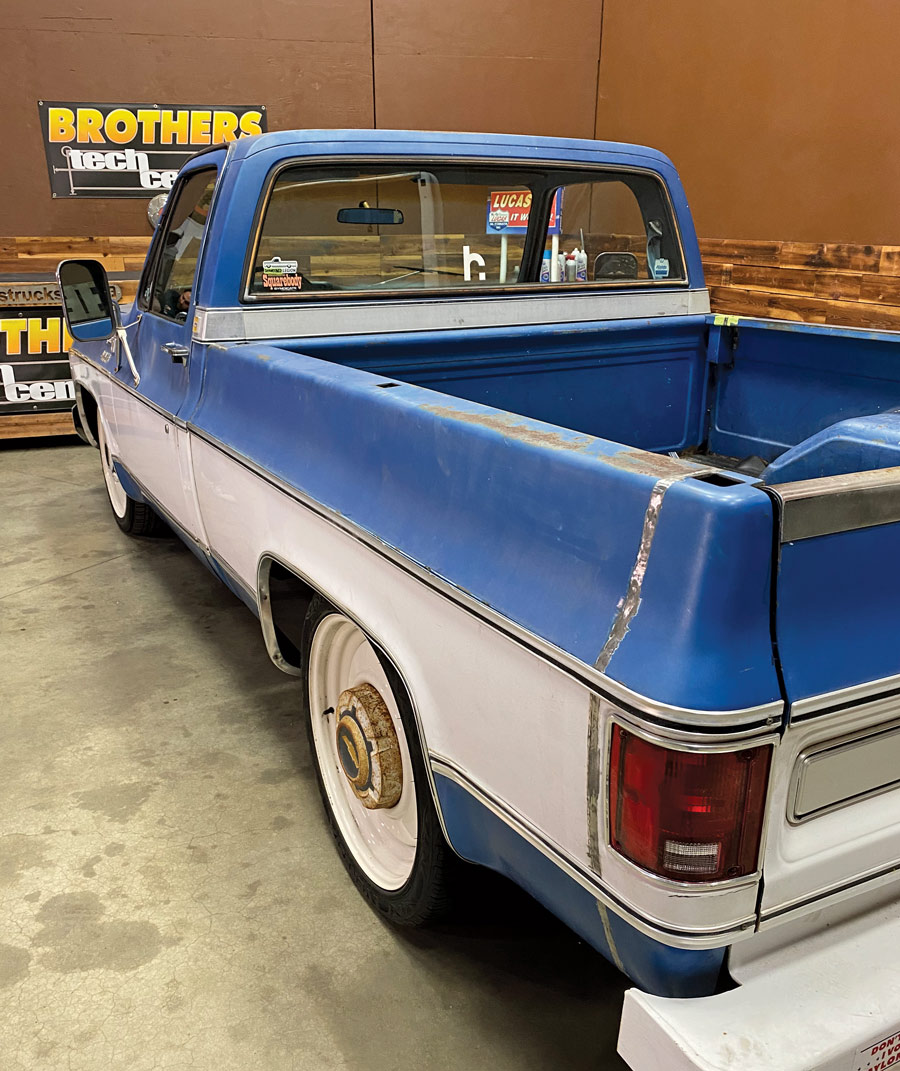
elcome back! Assuming you left off where we last left off—with the conclusion of the ’73-87 Chevy/GMC longbed chassis shortening—we’re now all primed and ready to finish the job with the shortening of the ’76 Chevy’s factory bedsides at Brothers Trucks’ tech center.

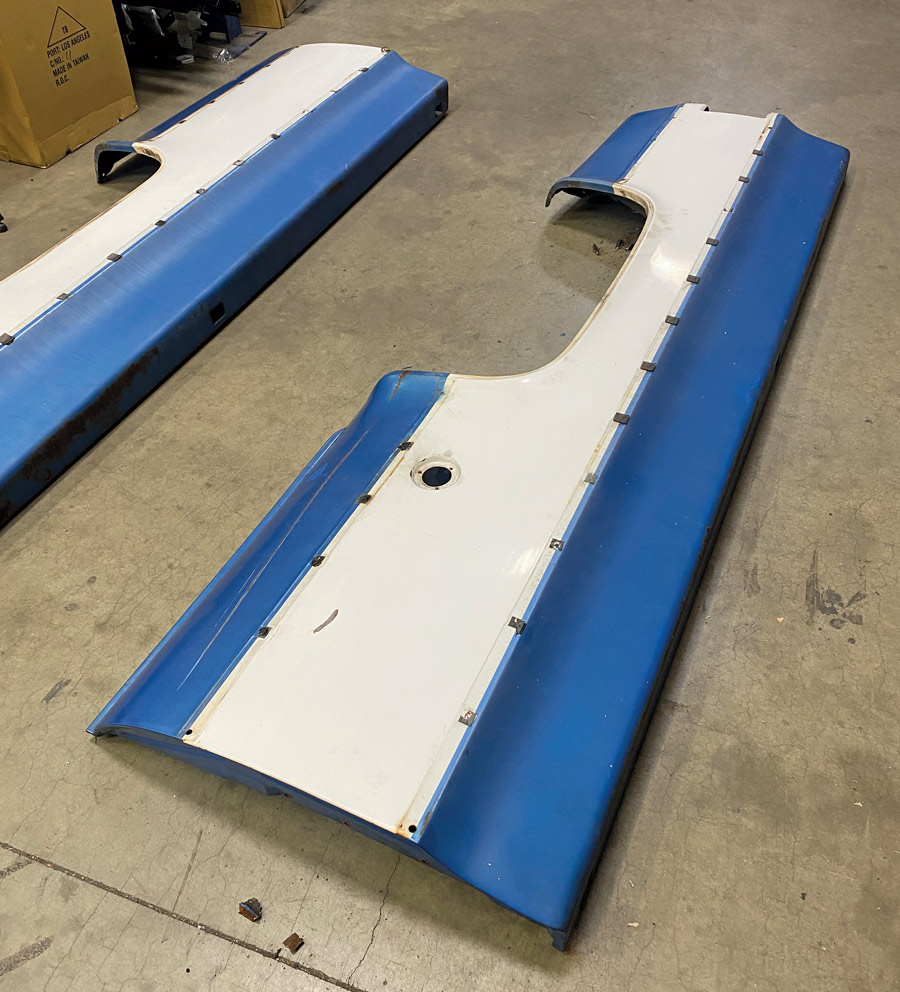
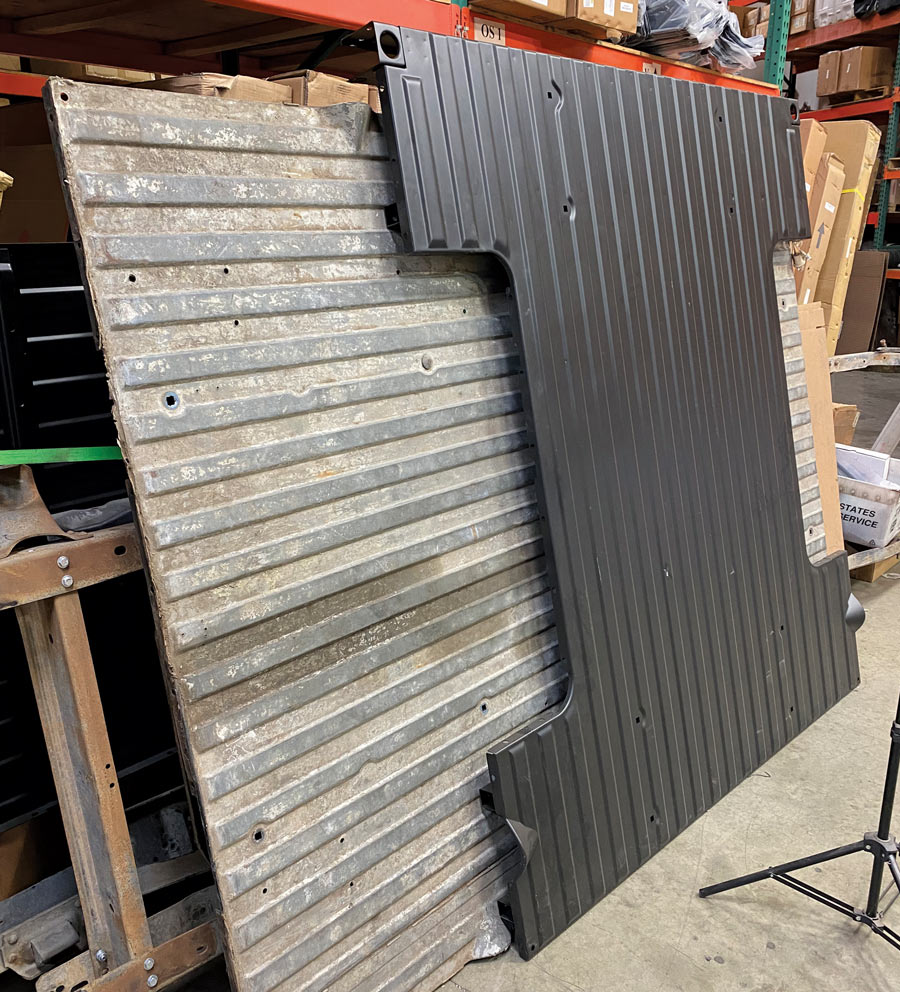
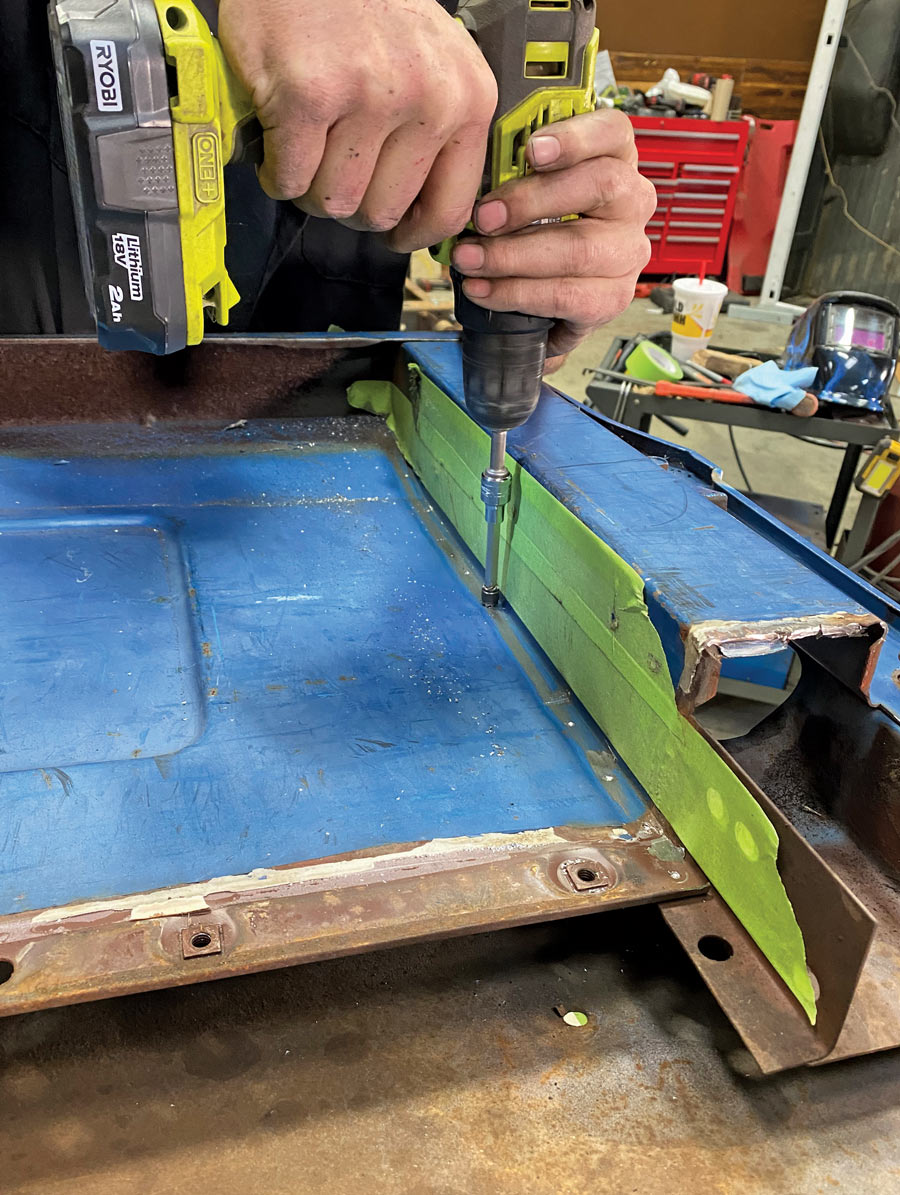
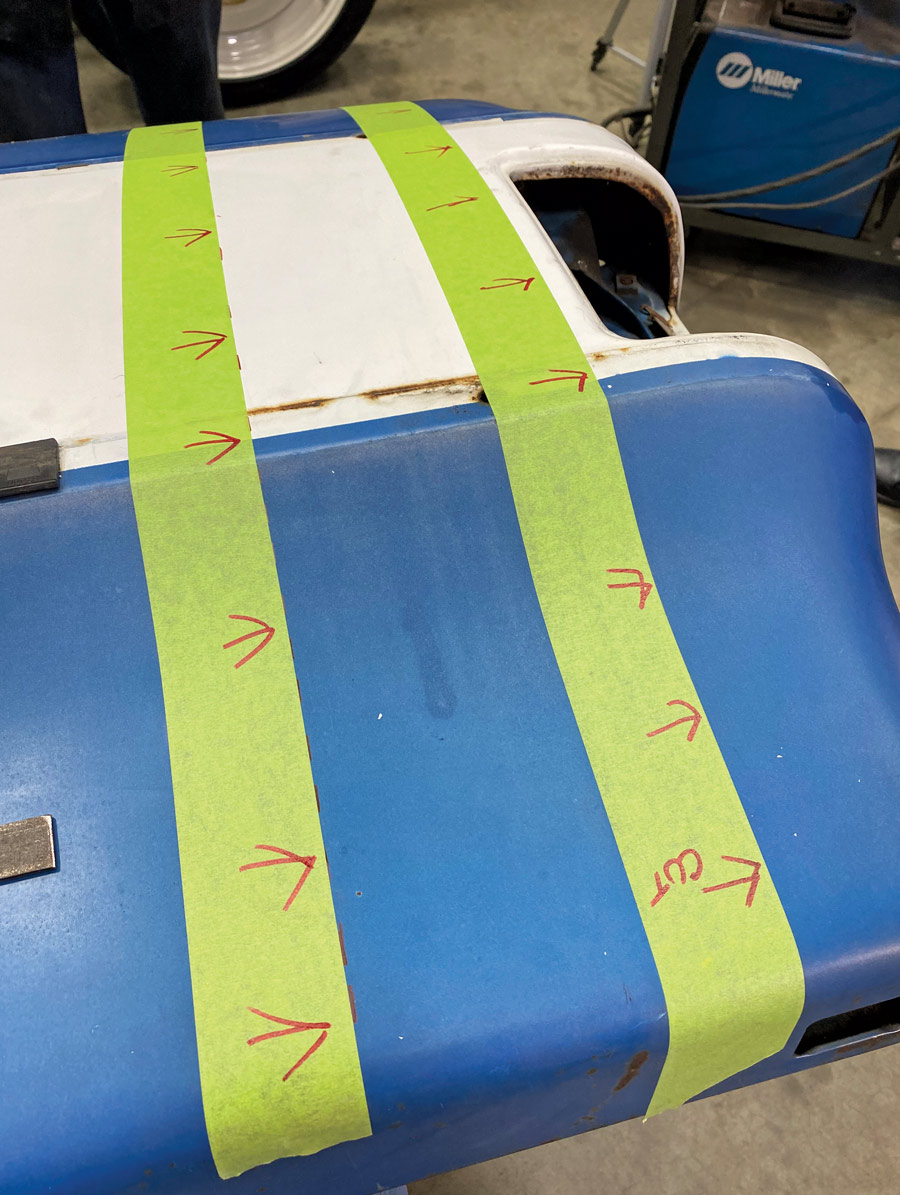
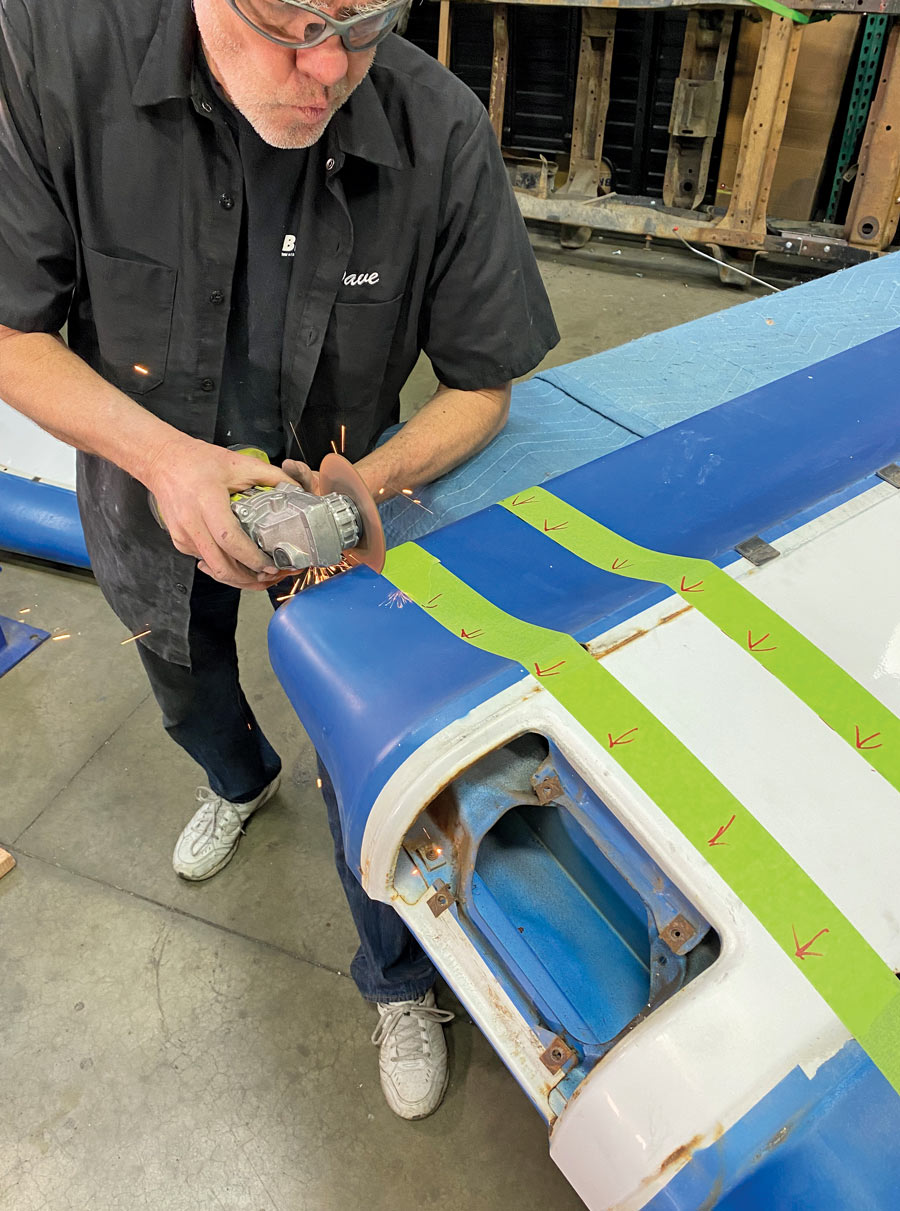
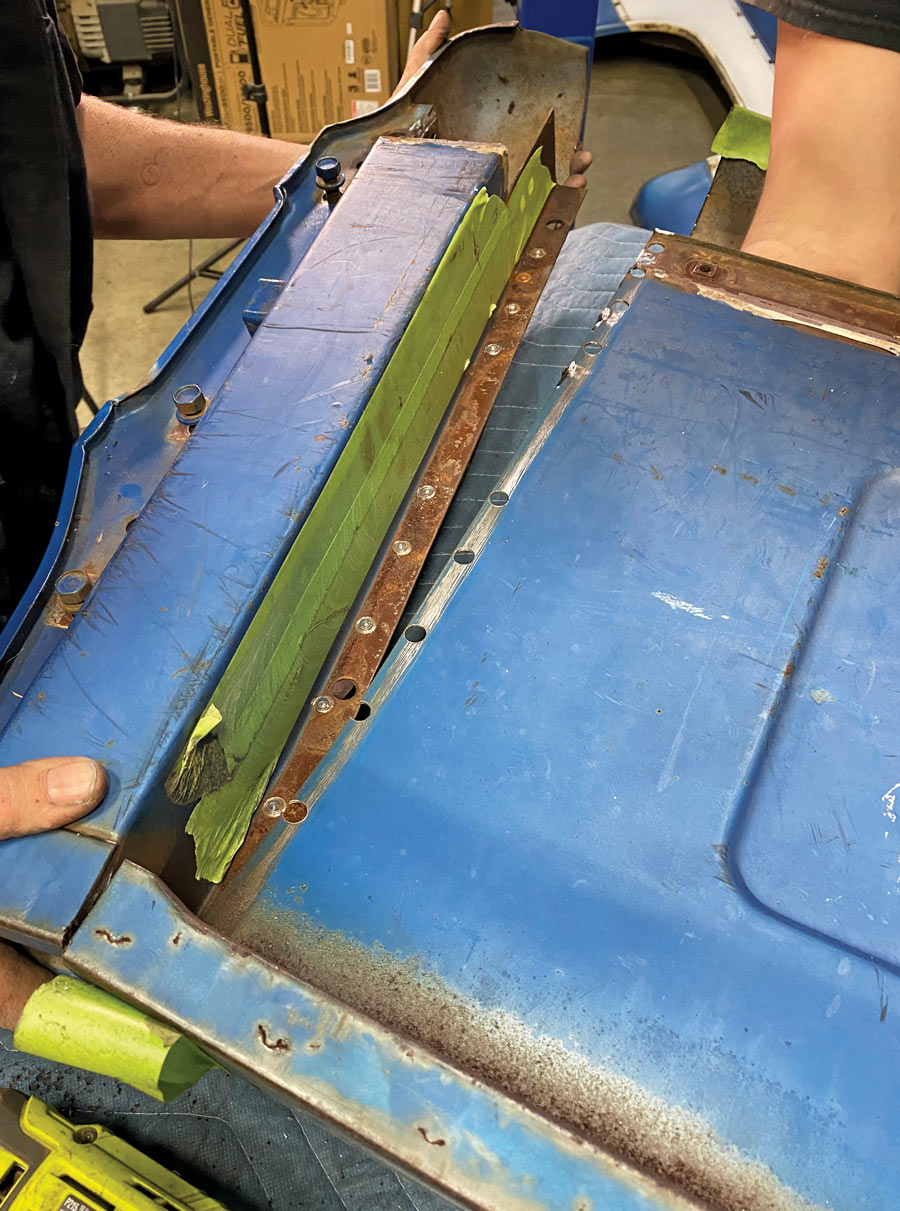
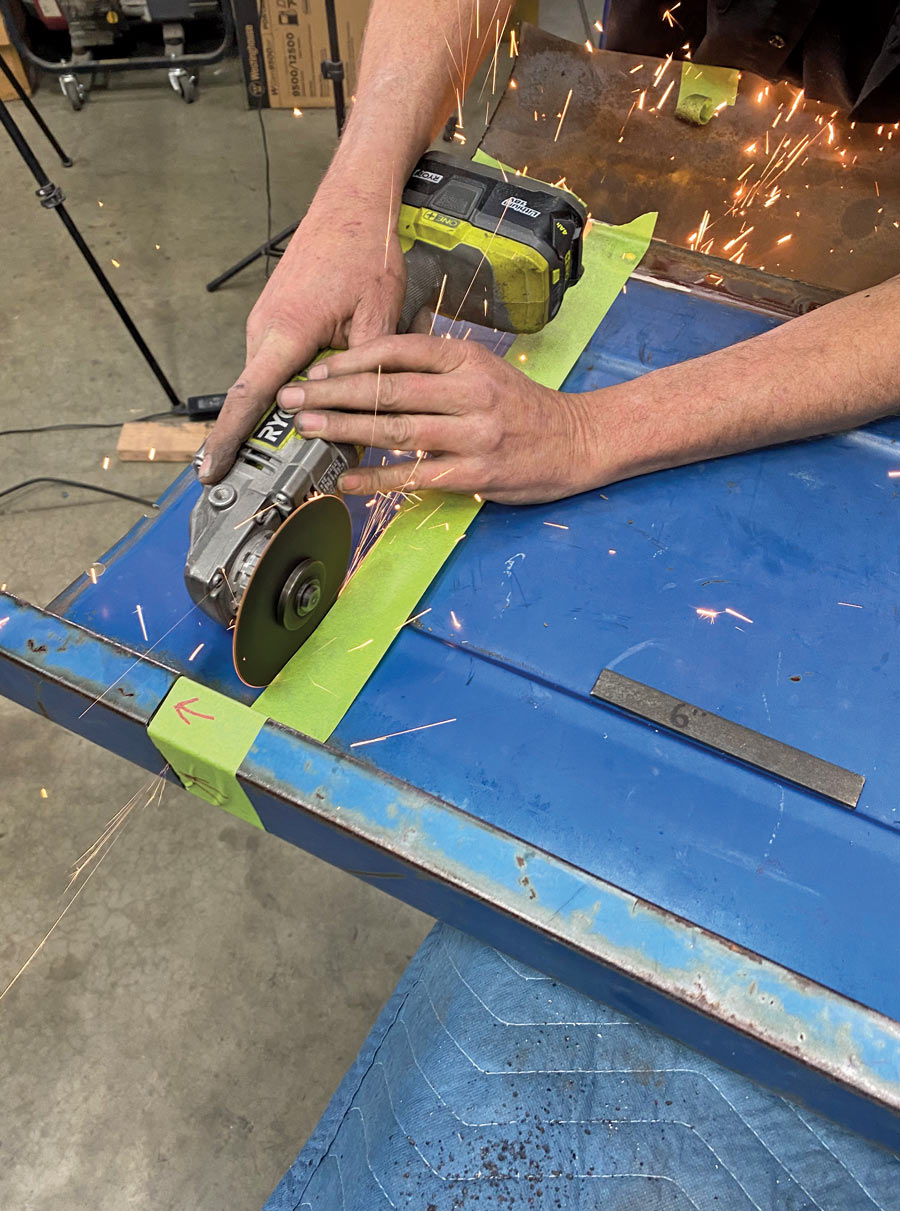
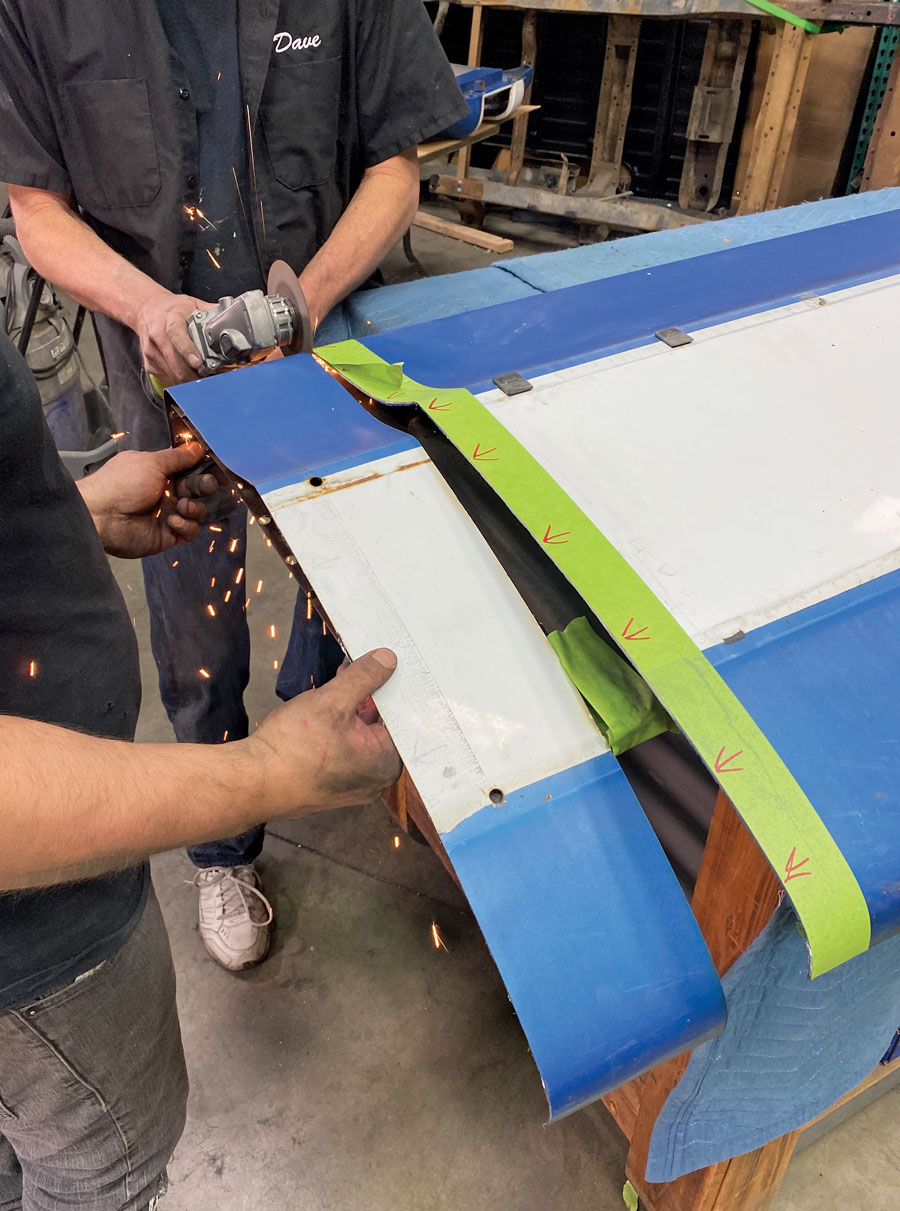
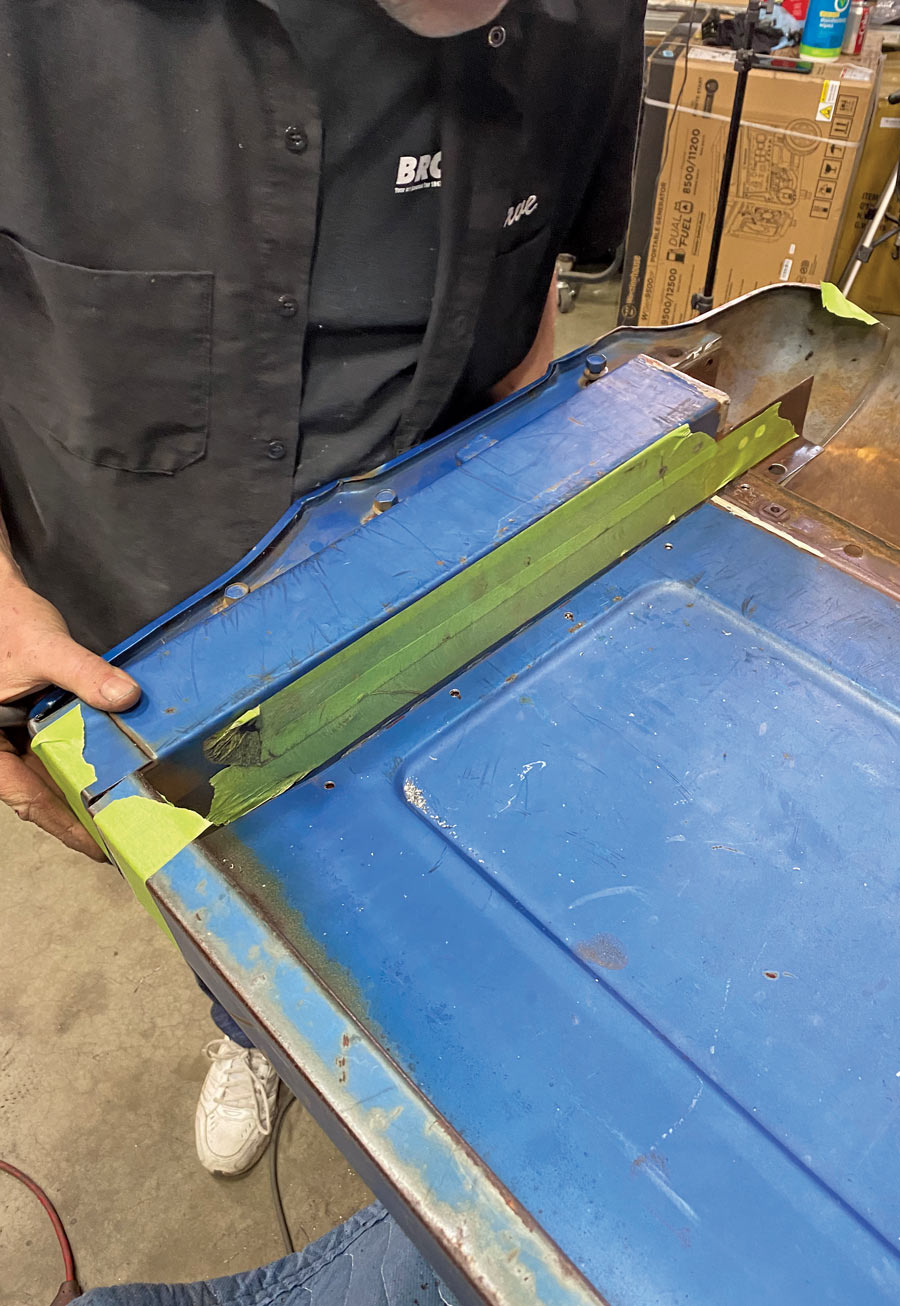
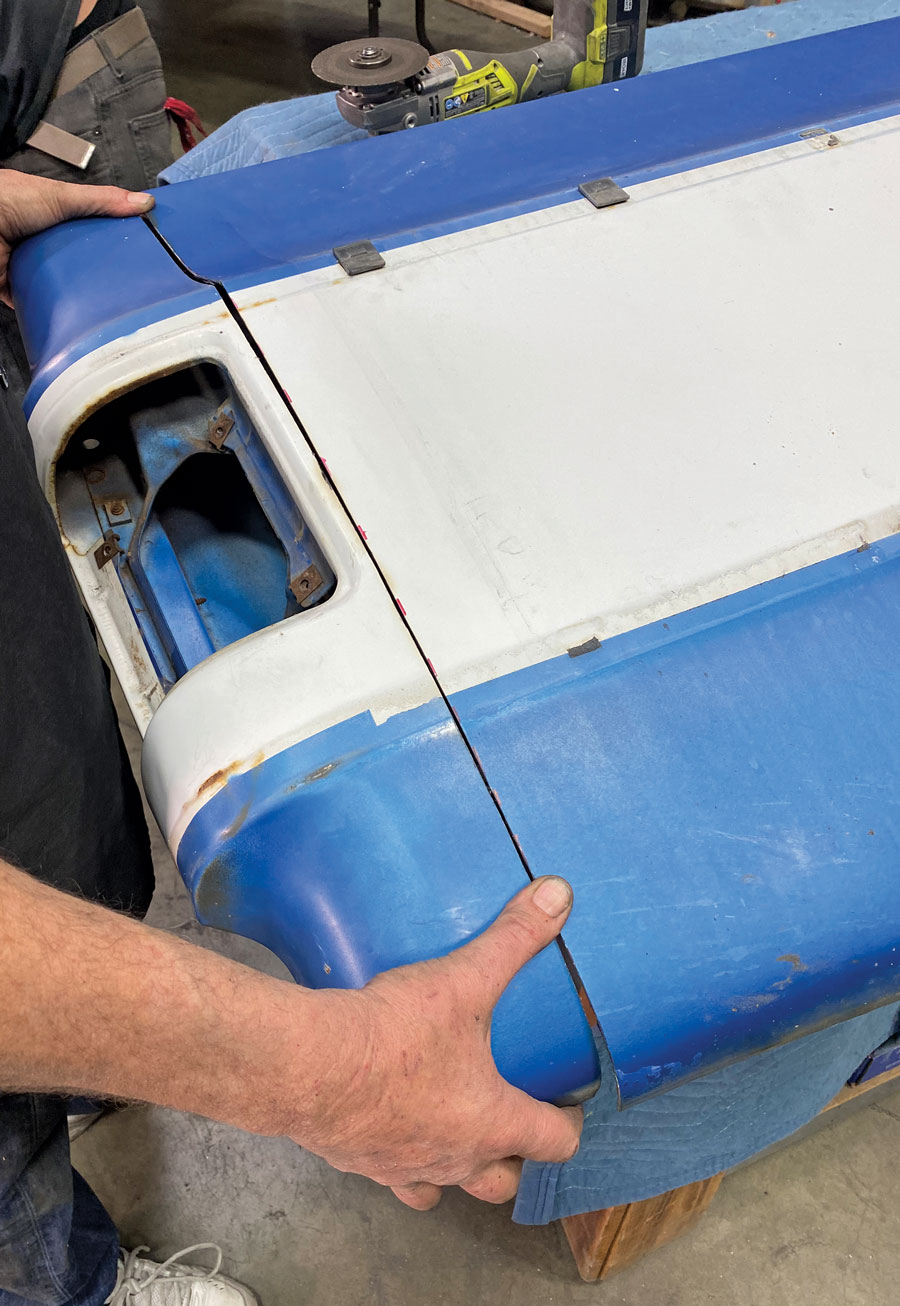
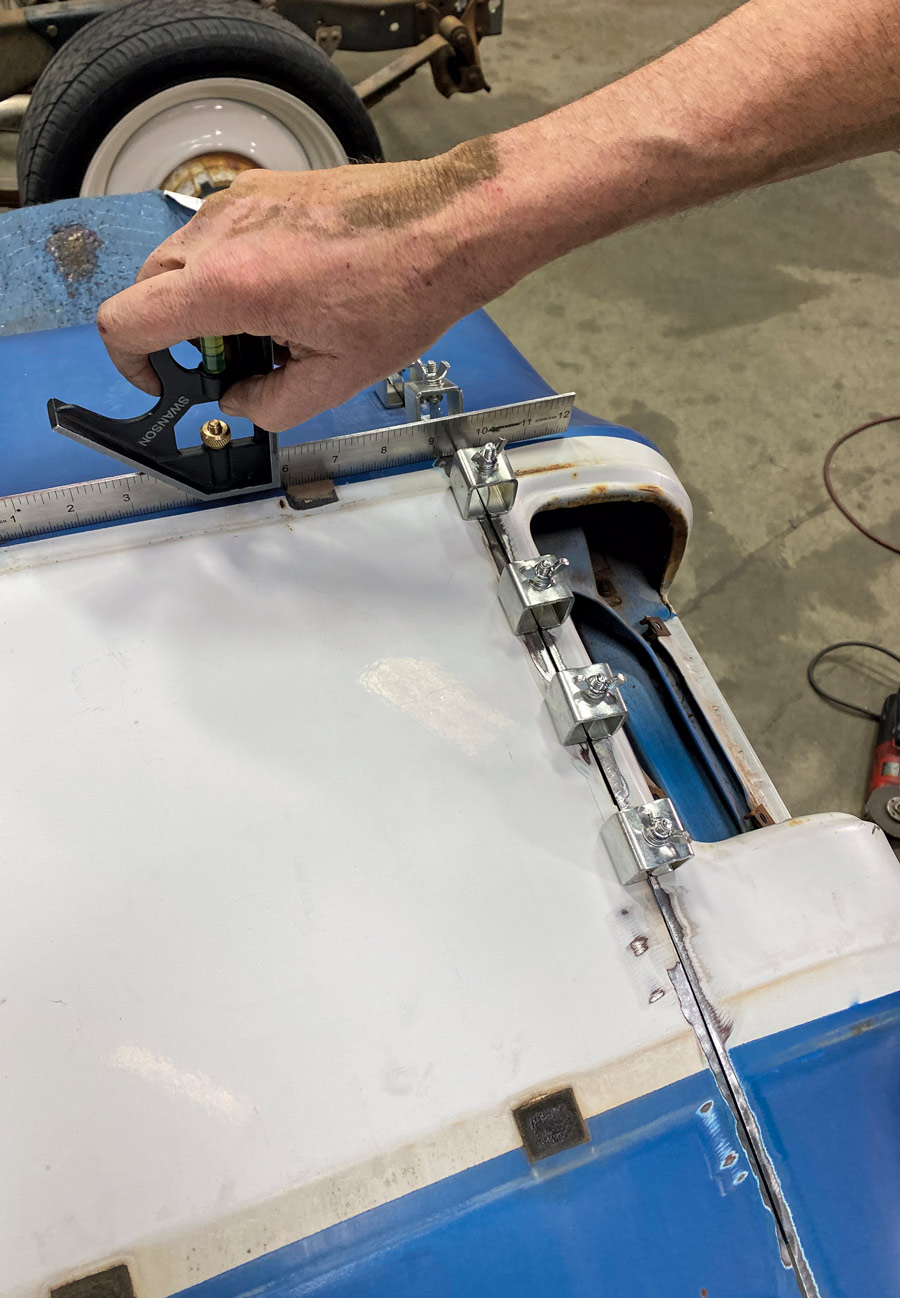
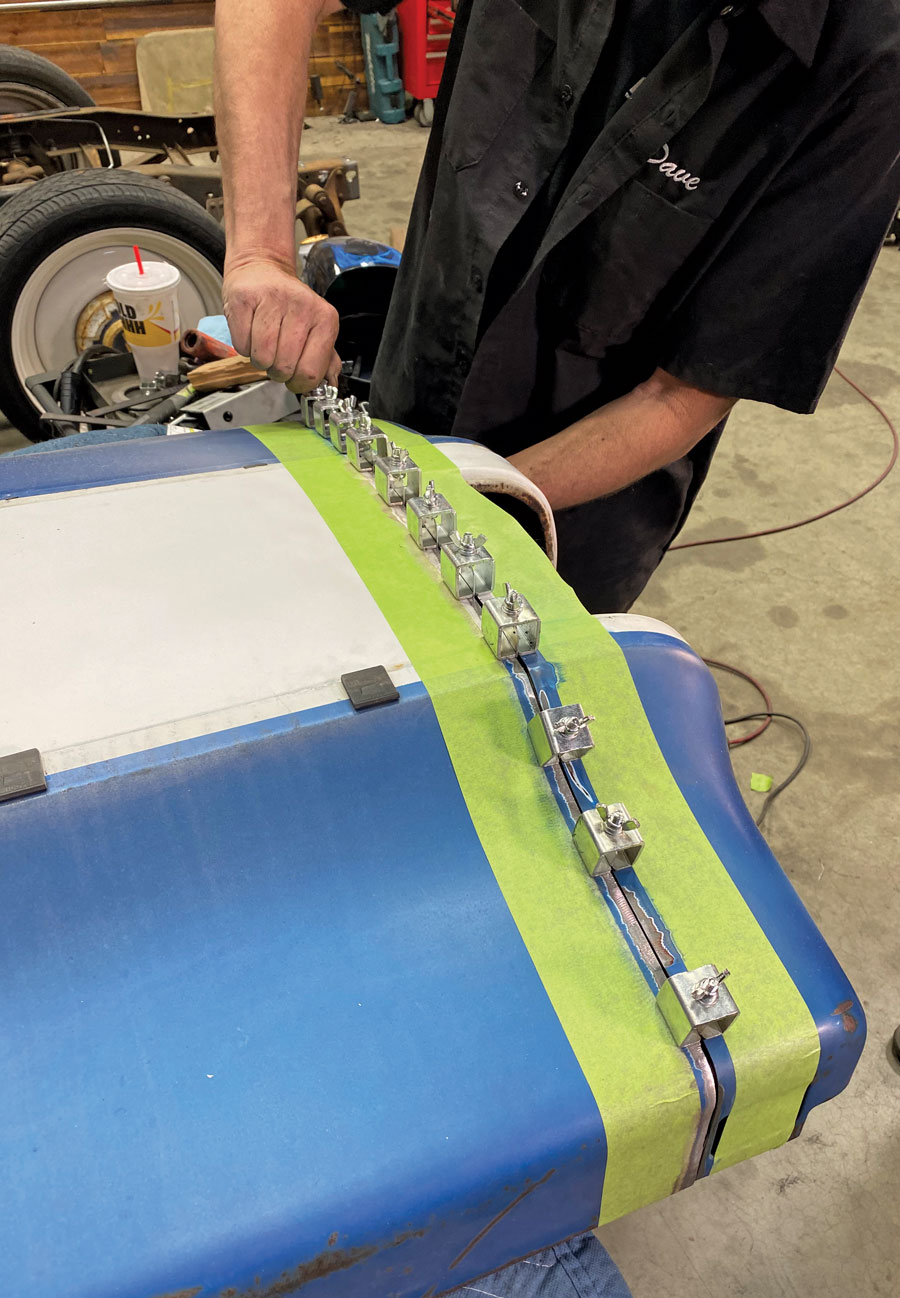
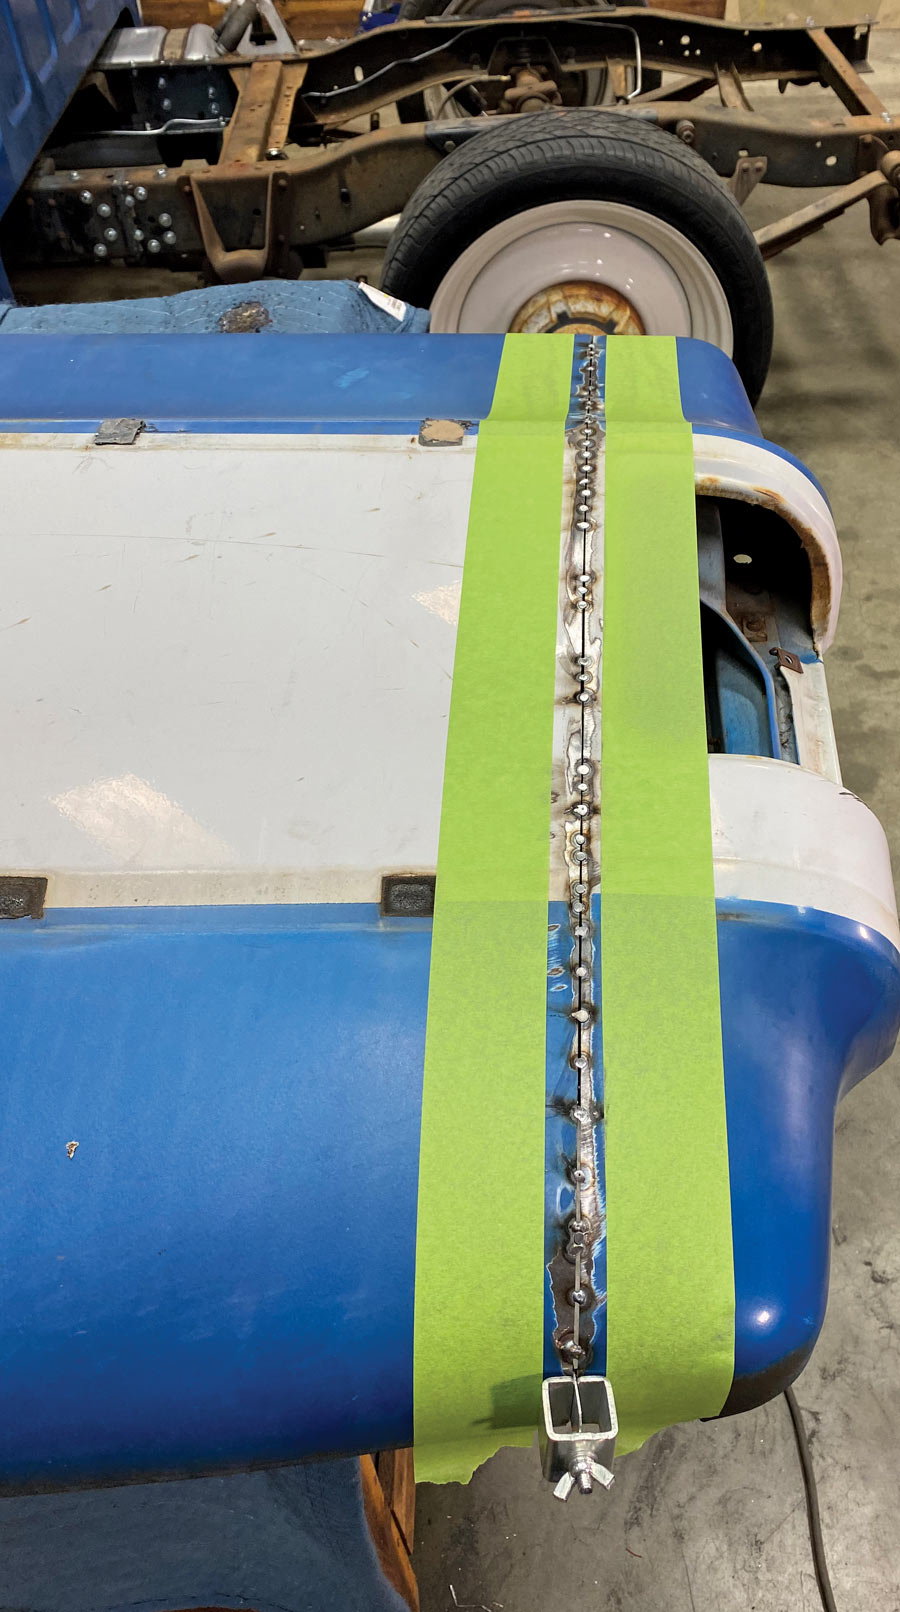
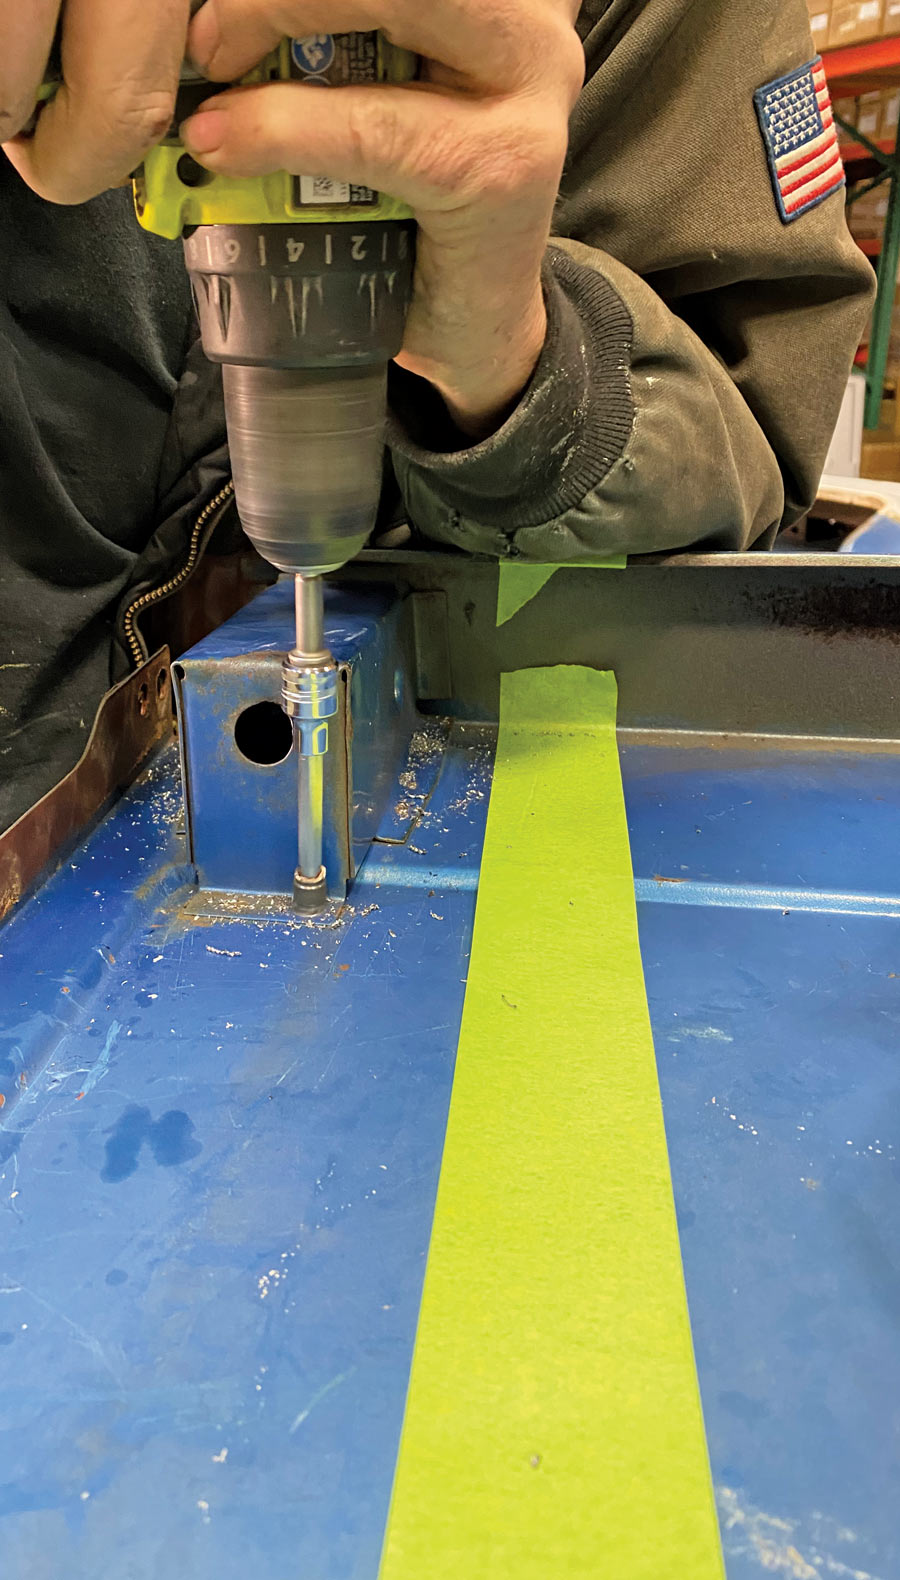
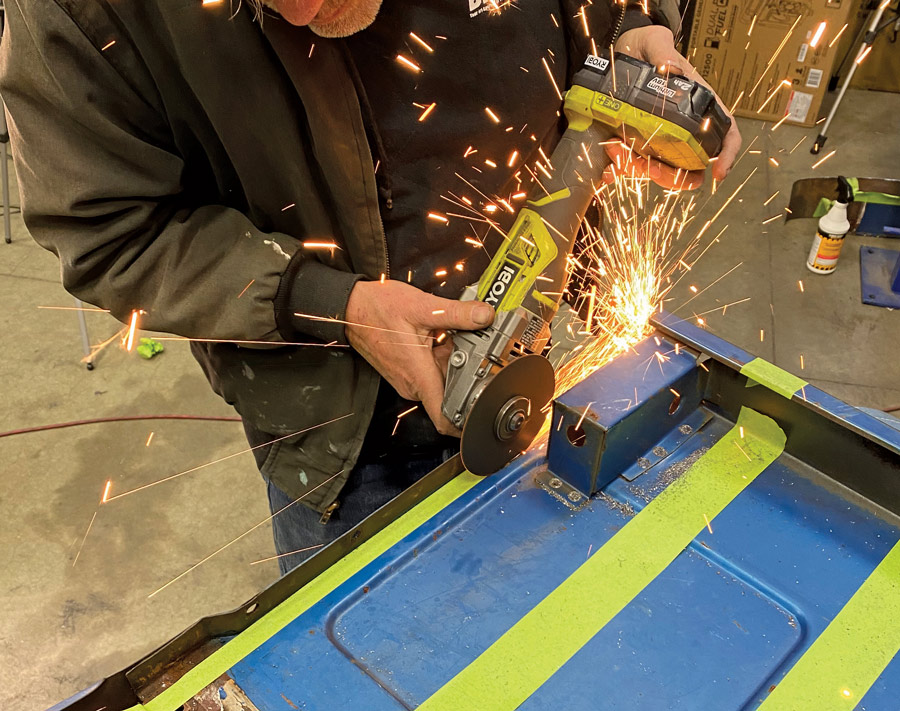
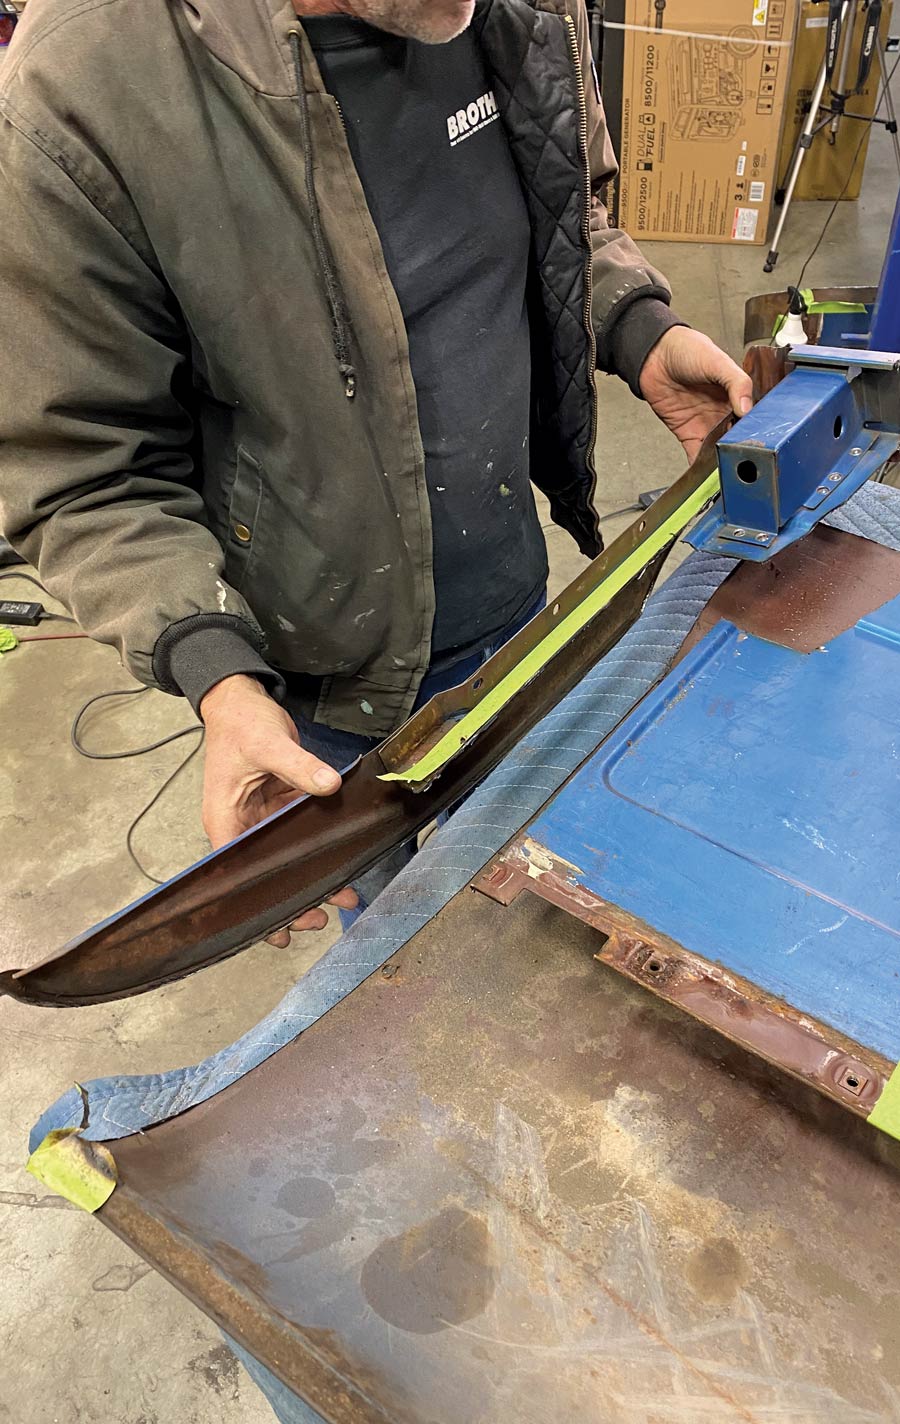
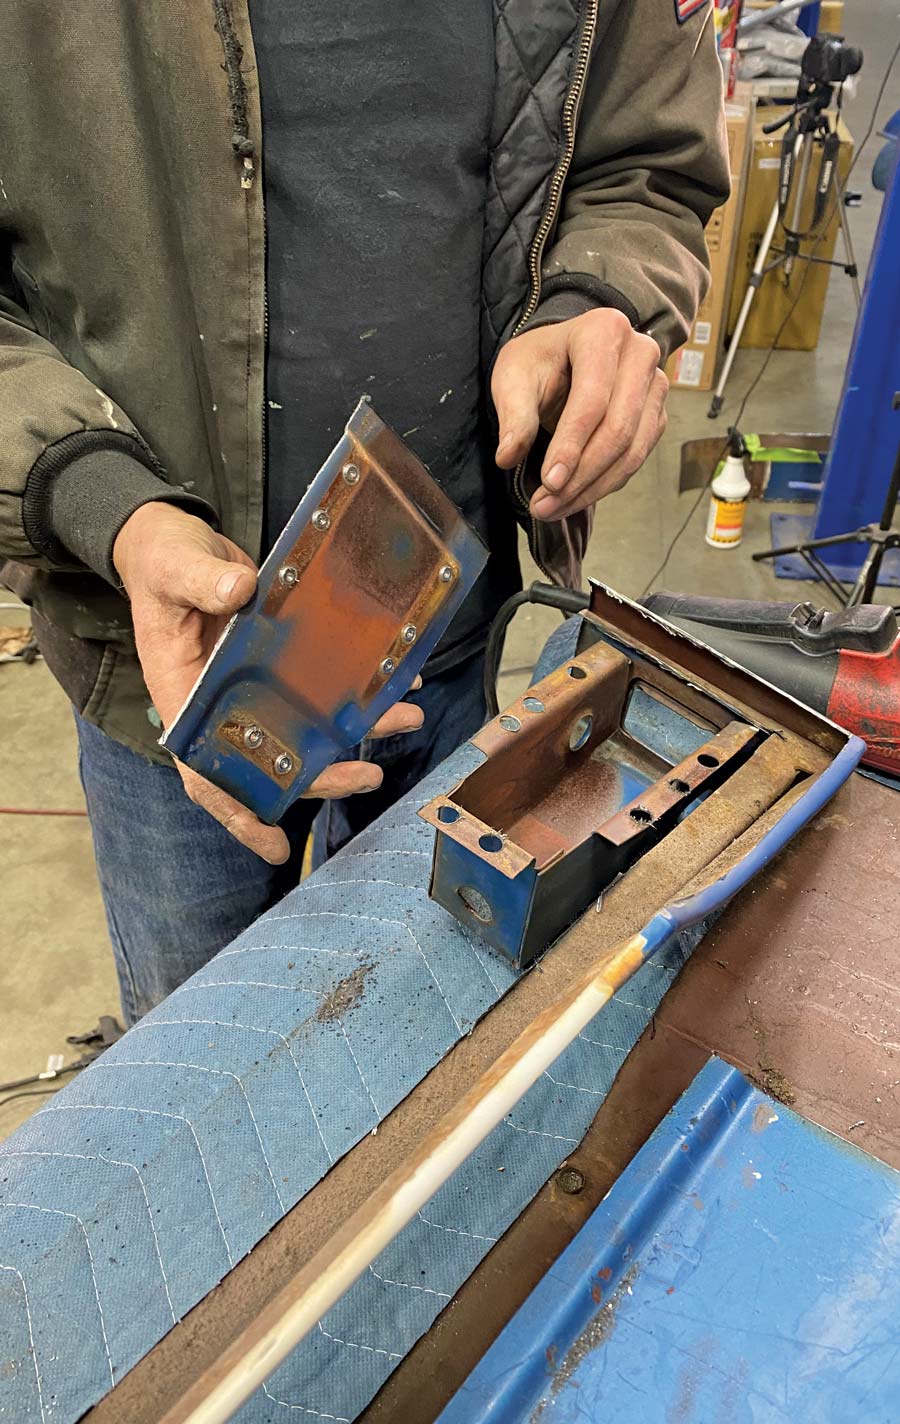
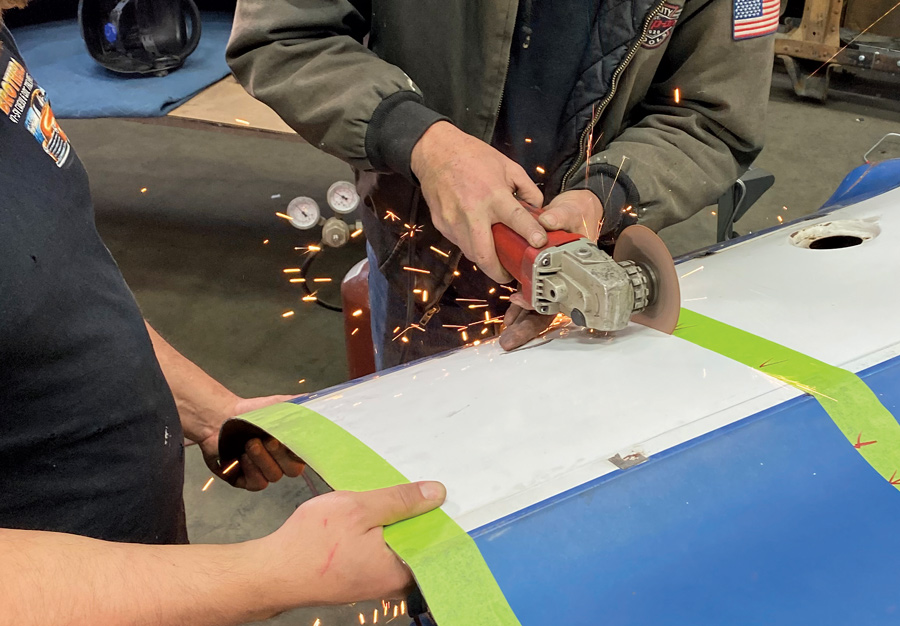
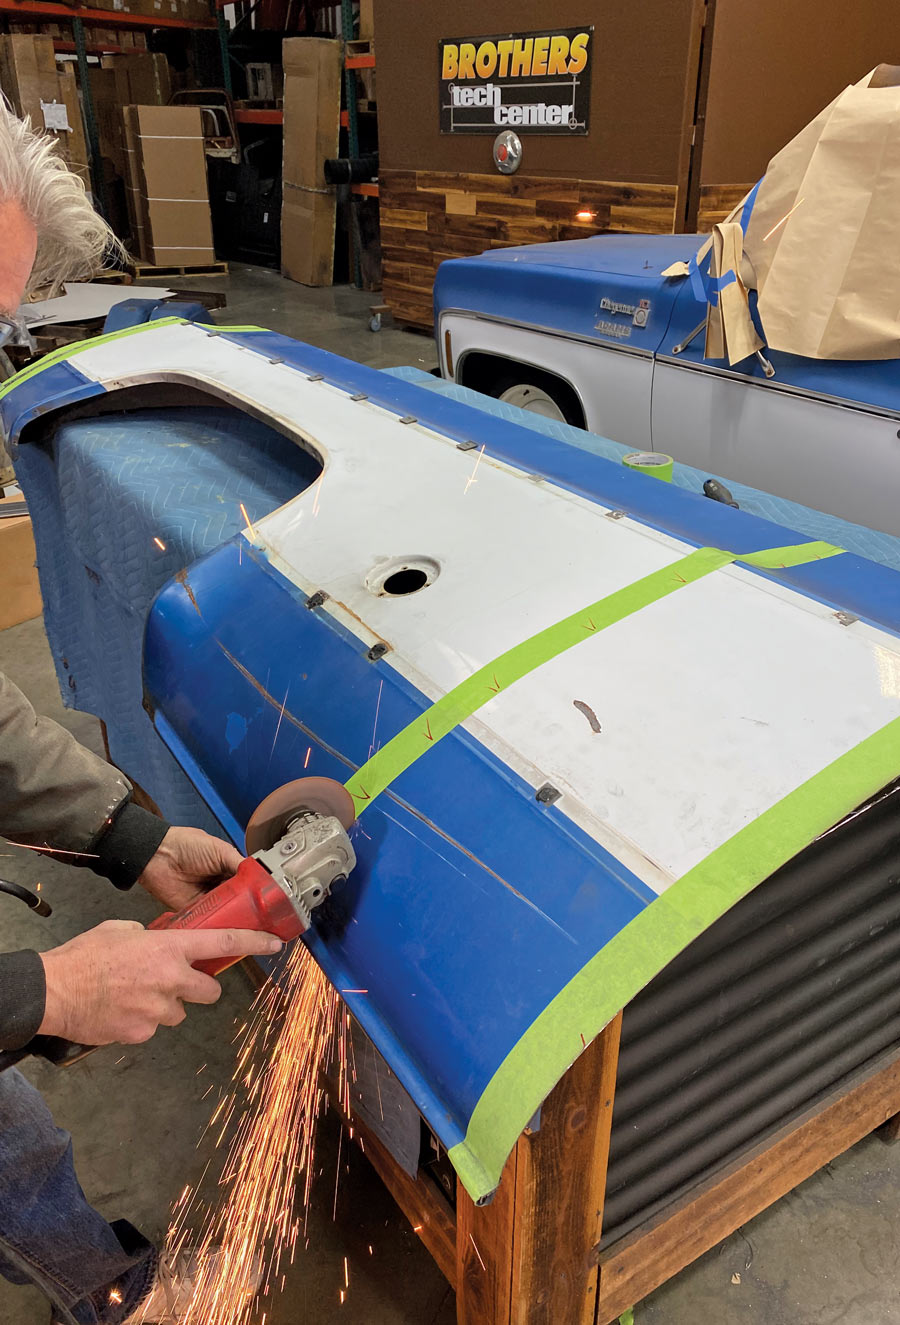
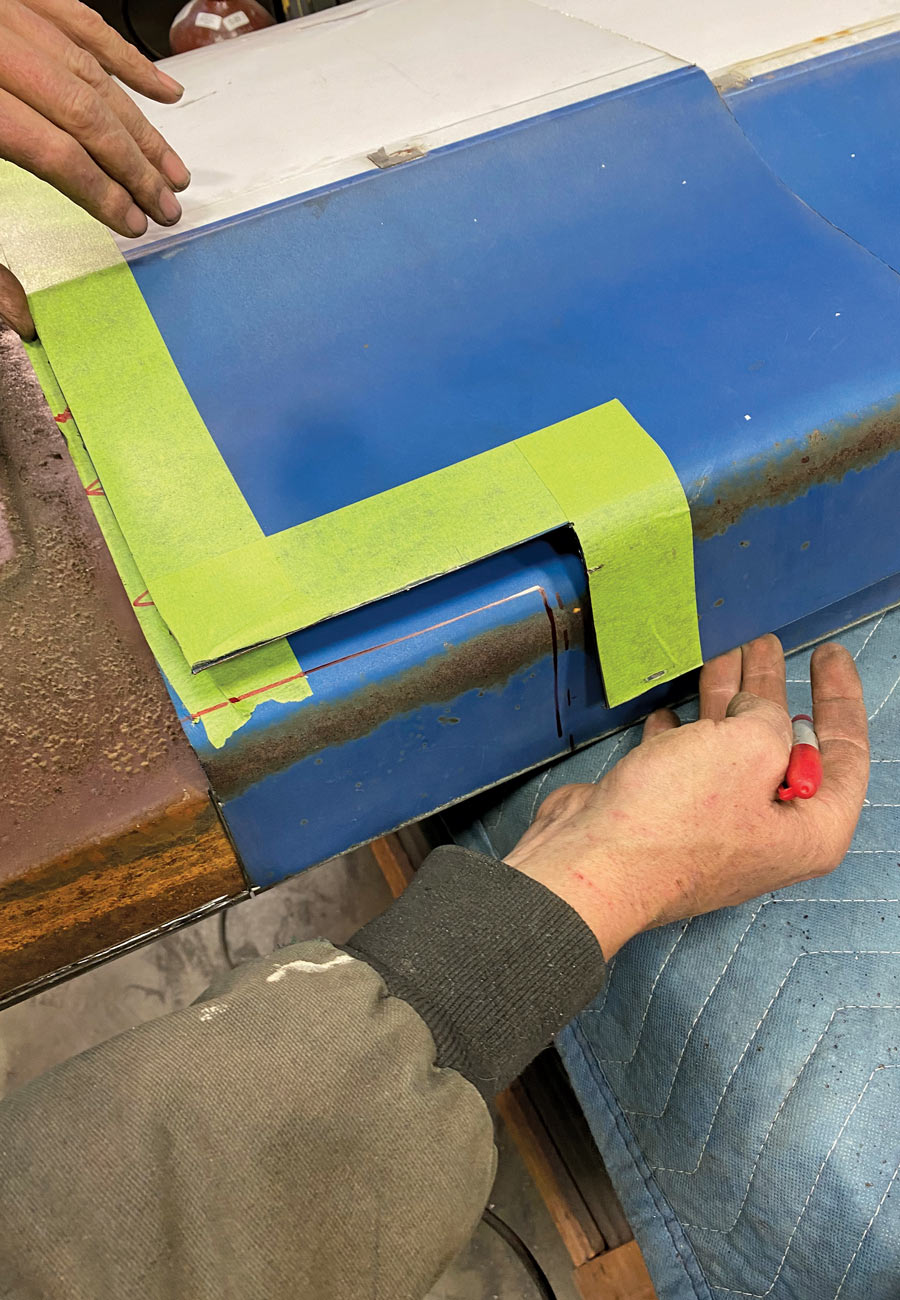
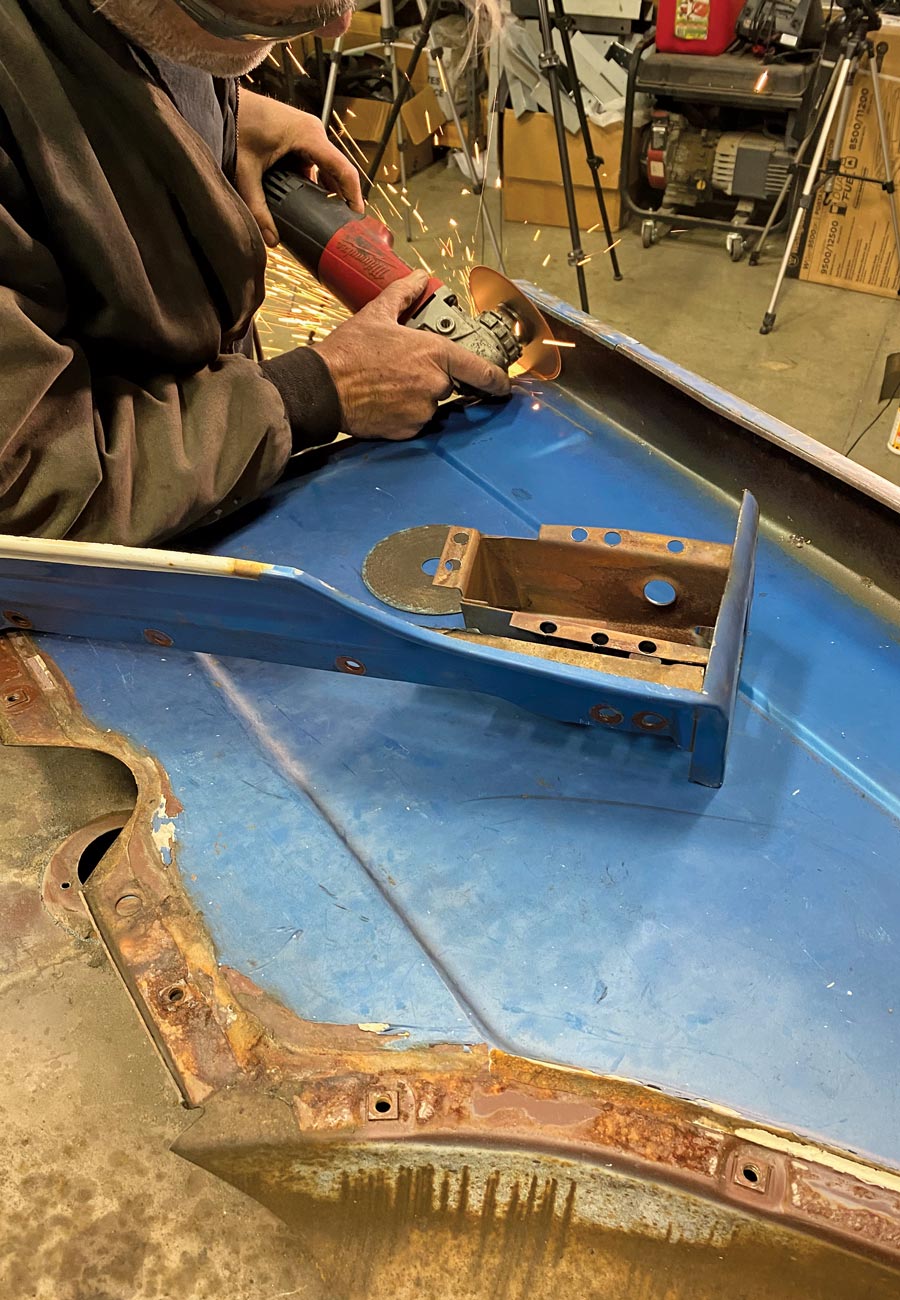
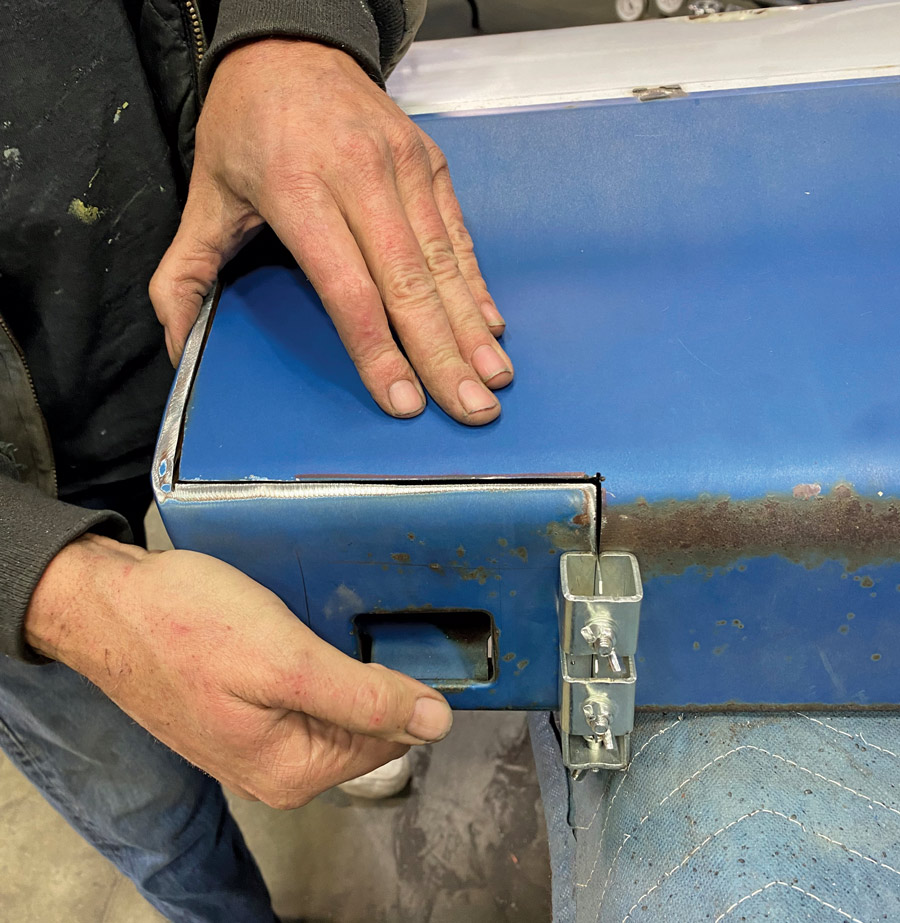
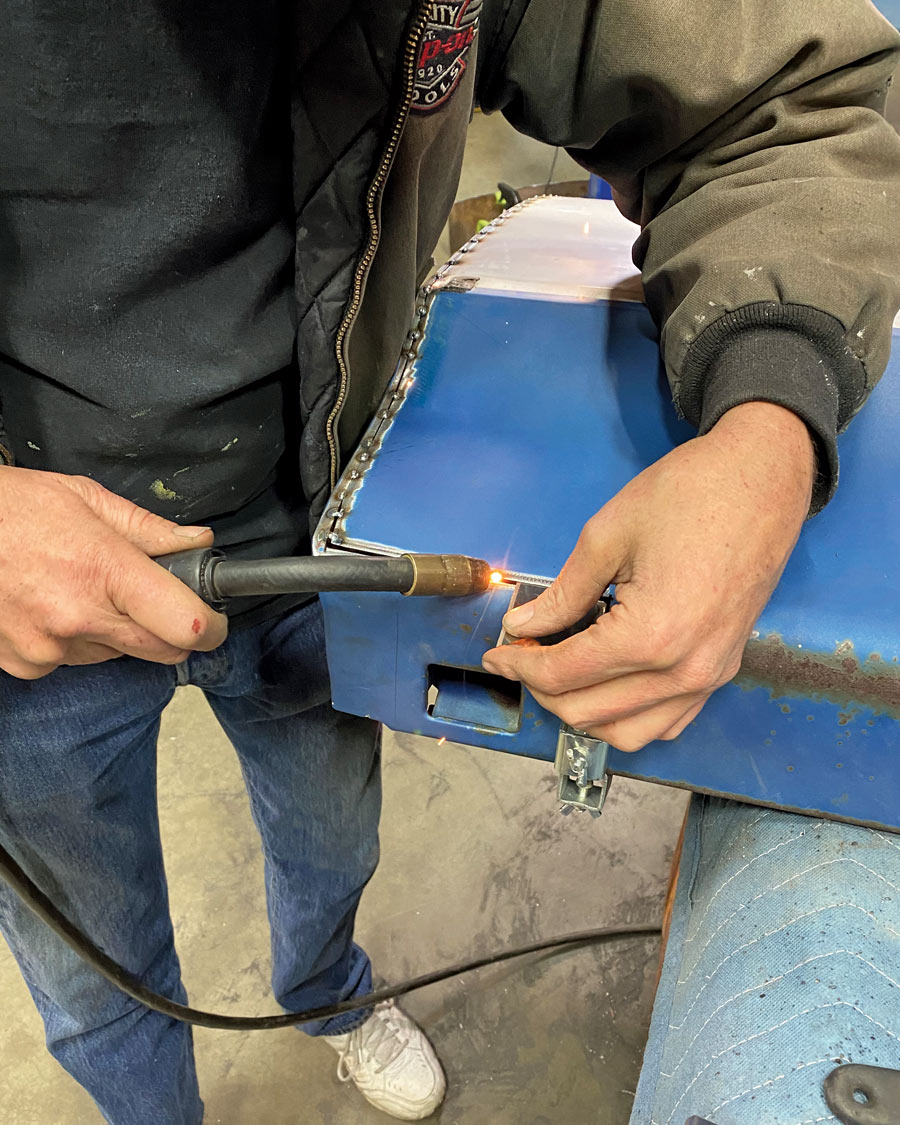
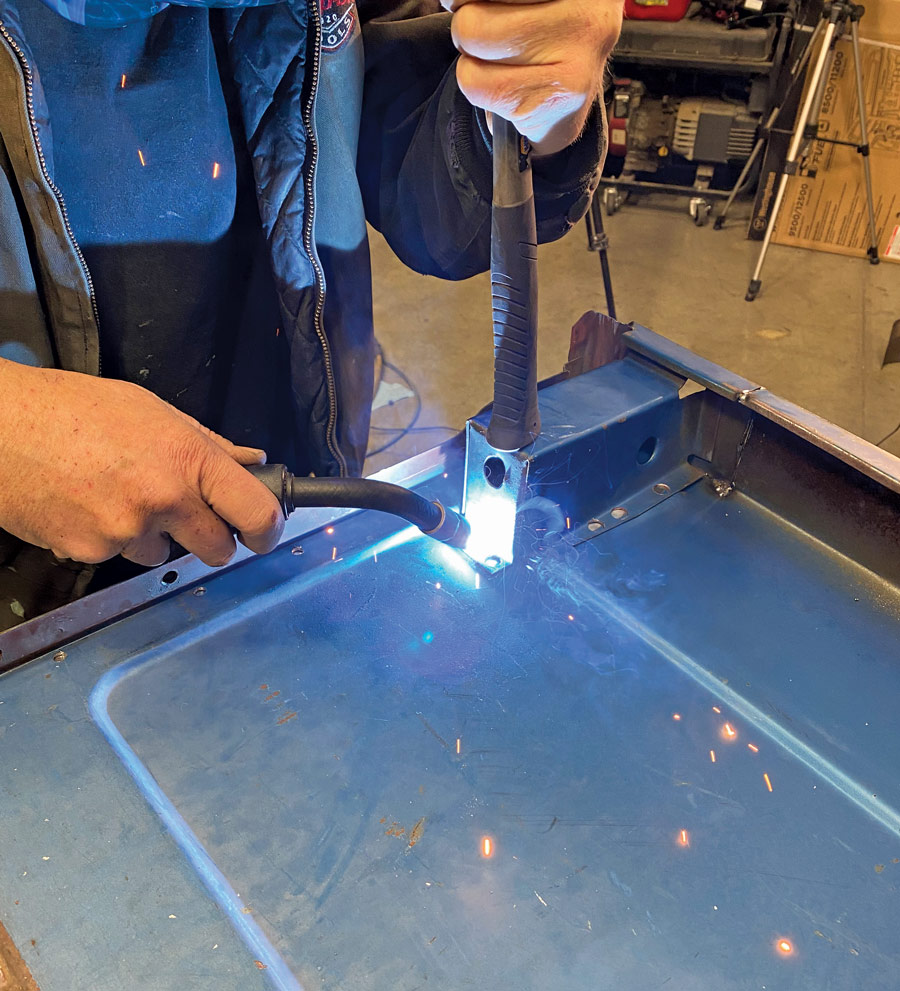
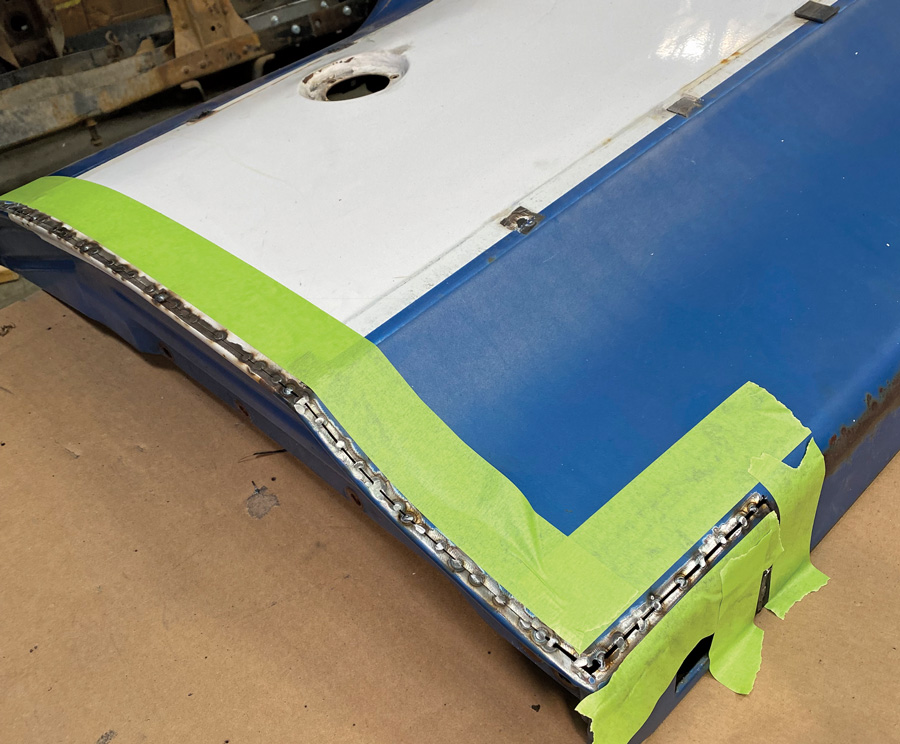
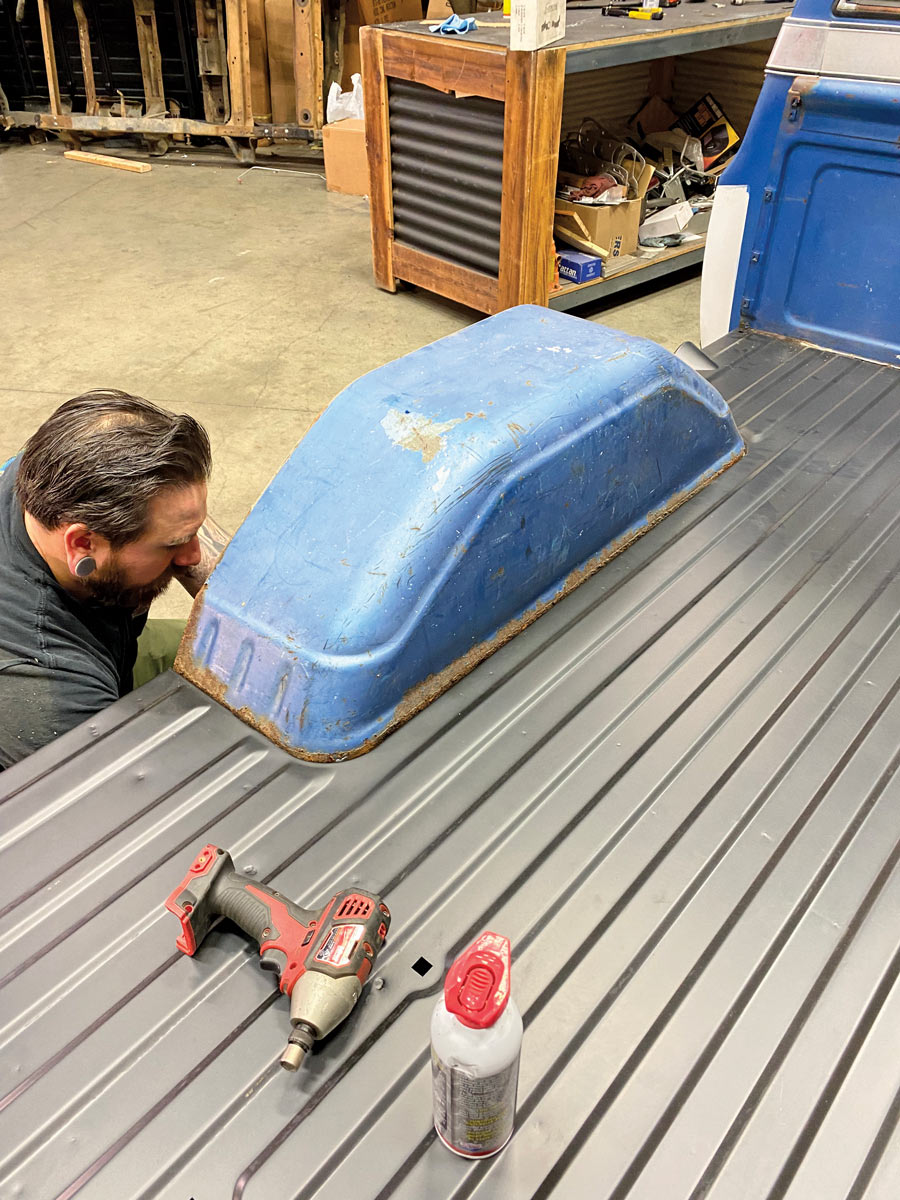
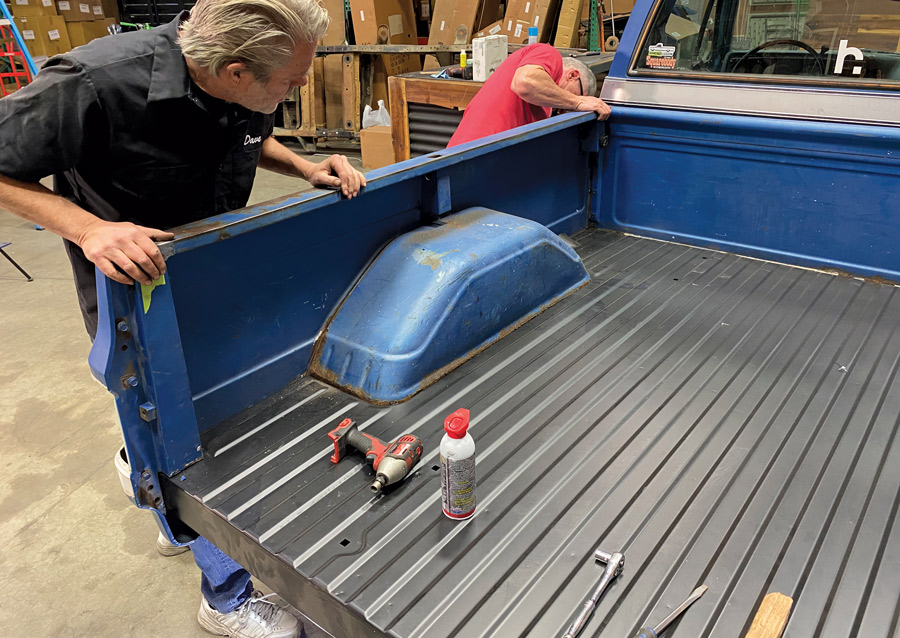
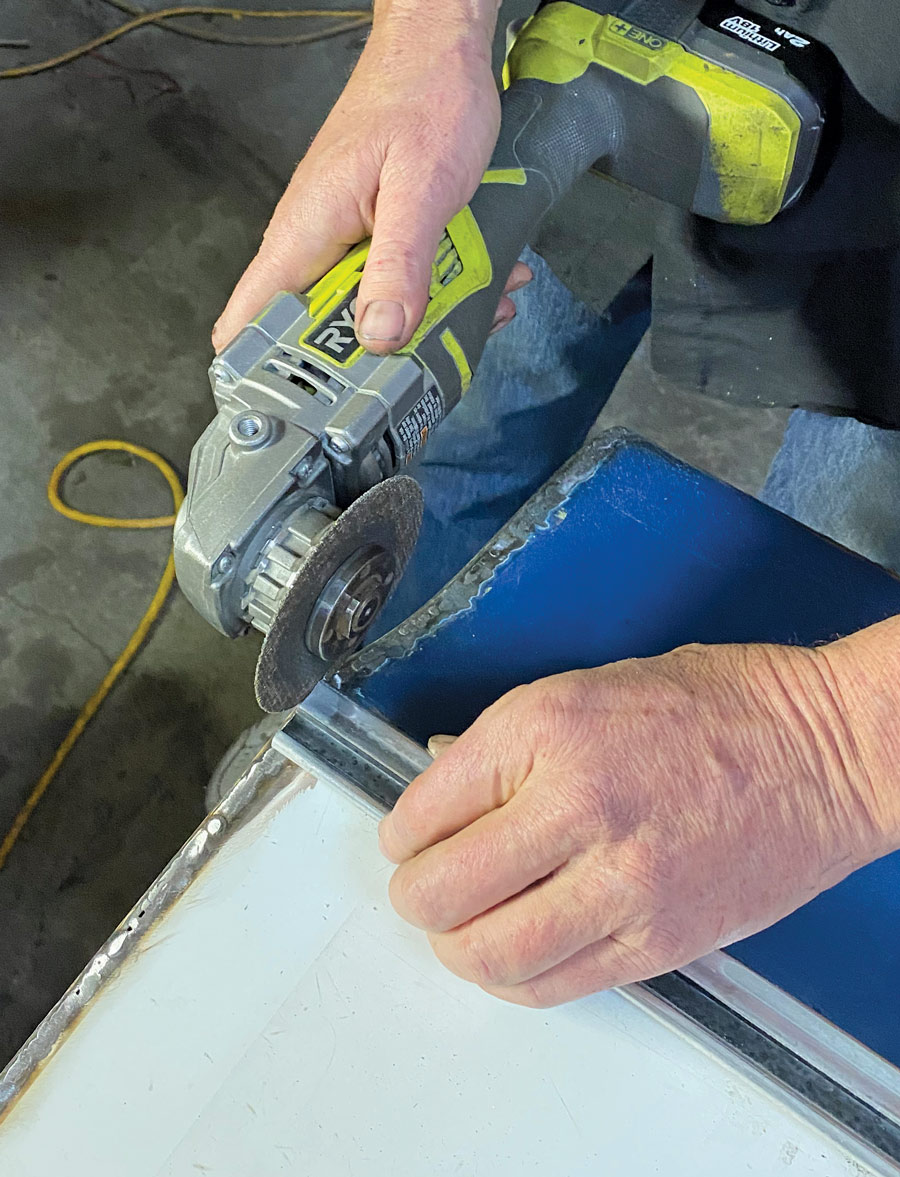
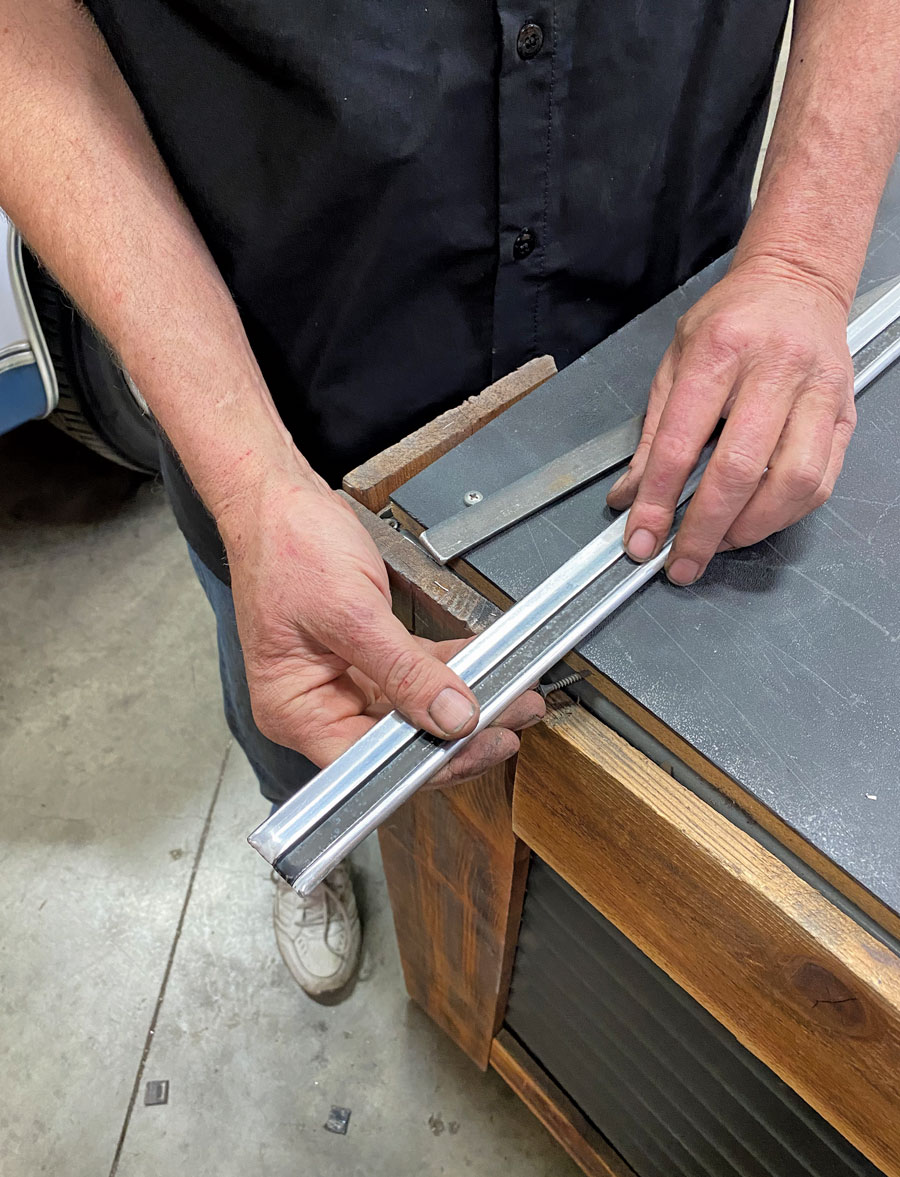
Now, let’s let it be known: By far, the easiest/quickest way to shorten a longbed Fleetside is by acquiring a new set of short wheelbase bedsides … plain and simple. However, as is the case here, when said longbed has the cab-matching patina, and said patina needs to remain, well, then we take the long road, so to speak, and proceed with the semi-laborious task of cutting down the long wheelbase bedsides (same as the frame we just severed: 14 inches off the front, 6 inches off the back … but not quite as simple cut-wise, as you’ll see).

As the old saying goes, there’s more than one way to skin a cat and, as such, there are definitely a number of ways to go about shortening long bedsides. Though not as in-depth as we care to illustrate, due to space limitations, we’re presenting you with what we believe is the most straightforward method … one that (hopefully) won’t leave you having to call Brothers to order a set of those aforementioned “new” bedsides! (For the full, in-depth procedure, follow along with Dave Welch on Brothers’ YouTube channel: https://www.youtube.com/watch?v=sSi2gzylceU.)

Blue and white chevy truck
1. No disrespect to our longbed brethren, but we (I) find the one-family-owned ’76 Chevy Cheyenne a lot easier on the eyes without all that extra cargo space … i.e., in short wheelbase (SWB) stature! Join us at Brothers Trucks’ tech center for the conclusion of the ’73-87 Chevy/GMC long wheelbase (LWB) to SWB conversion.
Blue and while truck bed side piece
2. Last month, behind the wooden curtain, while Dave Welch was buttoning up the frame shortening his assistant disassembled the entire bed. Of the stock LWB components, we’ll be reusing the front bed panel, wheelwells, and of course the tailgate. The bedsides will be the only items cut down to (new) size.
Truck bed floor
3. As for the bed floor, well, as you can probably imagine, sectioning and splicing with all those ribs—many of which are likely smashed up from years of normal abuse—would be beyond tedious work. So, instead, we’ll be using a brand-new ’73-87 SWB bed floor from Brothers!
hammering the lower rear panel edge back into shape
4. The first order of bedside business is to straighten and/or repair any structural or cosmetic damage that will potentially affect the panel realignment, and thus make your work easier on you. Here Welch is hammering the lower rear panel edge back into shape.
split the rearmost stake pocket from the inner panel by removing the spot welds
5. We’ll start the shortening process with the rear. Now, since these side panels are what’s considered the more common version as far as the inner panel structure is shaped/configured, we’ll be able to do a non-staggered splice as you’ll see with the front section. First, we’ll split the rearmost stake pocket from the inner panel by removing the spot welds.
Tape with equally spaced arrows drawn on it
6. To match the 6 inches removed from the rear framehorns, we’ll take that exact amount out of the exterior bedside immediately in front of the taillight well.
using a thin cutoff wheel to make his precise cuts
Removing the cut piece
7-8. Working forward, one section at a time, the endcap is cut off first. As you can see, Welch has marked his cutlines with 2-inch painter’s masking tape and uses a thin cutoff wheel to make his precise cuts.
the remaining 6 inches of the exterior bedside skin are trimmed off from both the exterior and interior sections
Removing the cut piece of metal
9-10. Next, the remaining 6 inches of the exterior bedside skin are trimmed off from both the exterior and interior sections (non-staggered). Again, while a Sawzall will suffice, you’re more apt to getting the most accurate cut using an angle grinder with a thin metal-cutting disc. Unless you’re beyond proficient with a plasma cutter (and even then), we would not suggest that method.
Aligning the cut piece to the bed
Checking alignments
11-12. Assuming your cuts came out as intended, your endcap should butt up nicely—the stake pocket flange will slide under the inner skin (which you will drill out in sections to re-spot-weld), while the exterior portion will need to be butt-welded, as you’re about to see.
Ensuring alignments with clamps
Adding even more clamps
13-14. To ensure our alignment throughout the welding process, we use these clamps specifically made for butt-welding panels (available at Harbor Freight). Use enough to keep both sides in position yet allow enough room to sneak your welding torch in between to tack-weld (remove in sections as you weld).
With the endcap clamped in place, we tack-welded the top rail/stake pocket first
panels welded together
15-16. With the endcap clamped in place, we tack-welded the top rail/stake pocket first, then worked our way down the exterior side in increments to prevent overheating the metal and subsequently warping the panels—which you want to avoid at ALL COSTS!
Tape outline of the next trim
17. Now, here’s where the staggered-cut aspect comes in. In order to retain the front stake pocket yet minimize exterior panel modification, we’ll trim the leading edge of the bedside and, once the pocket assembly itself has been removed, we’ll jog back and over the bedrail as the tape illustrates.
In order to retain the pocket assembly, just drill out the vertical spot welds securing it to the interior side panel (leave attached to the underside of the bedrail).
18. In order to retain the pocket assembly, just drill out the vertical spot welds securing it to the interior side panel (leave attached to the underside of the bedrail).
trim the inner panel an inch behind the flange that attaches the side to the front bed panel
trimming the inner panel
19-20. Before we slice the exterior leading edge as mentioned above, we trim the inner panel an inch behind the flange that attaches the side to the front bed panel (that will be reused for its intended purpose!).
When you get toward the top, you’ll likely need to trade out your cutoff wheel for a Sawzall in order to get between the stake pocket and the front flange.
21. When you get toward the top, you’ll likely need to trade out your cutoff wheel for a Sawzall in order to get between the stake pocket and the front flange.
After completing your dogleg cut on the bedrail, trim the panel around the pocket, as shown, then proceed with cutting the leading edge—if done correctly, your forward section should come off in one piece.
22. After completing your dogleg cut on the bedrail, trim the panel around the pocket, as shown, then proceed with cutting the leading edge—if done correctly, your forward section should come off in one piece.
Remove the remaining inner panel from behind the stake pocket—you will spot-weld the pocket directly onto the raised section of the inner panel once you’ve removed your 14 inches, which we’re about to do.
23. Remove the remaining inner panel from behind the stake pocket—you will spot-weld the pocket directly onto the raised section of the inner panel once you’ve removed your 14 inches, which we’re about to do.
Exactly 14 inches back from our initial leading edge, we slice the exterior panel from the bottom to the top
slice the exterior panel from the bottom to the top
24-25. Exactly 14 inches back from our initial leading edge, we slice the exterior panel from the bottom to the top …
template for our stake pocket dogleg cut
using the severed section, lay that on top of the remaining exterior bedside
26-27. … then, using the severed section, lay that on top of the remaining exterior bedside as a template for our stake pocket dogleg cut. (If it weren’t for the presence of the actual pocket assembly on our front section we’ll be reattaching it could be used as the template.)
the front end of the inner panel is drilled for the forthcoming spot welds
28. Just as we did with the rear section, the front end of the inner panel is drilled for the forthcoming spot welds. Also, notice above the raised section that was previously mentioned, it lines up perfectly with the detached stake pocket! (Some bedsides may not have that, or the particular panel shapes that facilitate the sectioning as they do with the so-called “standard” ones we’re working with.)
rely on your butt-weld clamps to keep your panels aligned as you weld them back together
using a safety blade as a tool to further help in keeping his seam aligned as he incrementally tack-welds
29-30. Again, rely on your butt-weld clamps to keep your panels aligned as you weld them back together. You might also take note that Welch is using a safety blade as a tool to further help in keeping his seam aligned as he incrementally tack-welds.
With the forward section tacked in place, including the doglegged bedrail portion, the stake pocket can be rosette welded on.
31. With the forward section tacked in place, including the doglegged bedrail portion, the stake pocket can be rosette welded on.
With everything tacked and straight, the entire section can be fully welded up
don’t get too aggressive with the grinder and just remove the top of the weld first before finishing off the entire seam
32-33. With everything tacked and straight, the entire section can be fully welded up. And just like the back end, do so in small sections, allowing the metal to cool sufficiently to avoid warpage. Same goes for when you go to finish off your welds (grind): don’t get too aggressive with the grinder and just remove the top of the weld first before finishing off the entire seam.
set our new ’73-87 SWB bed floor onto the shortened chassis—but left un-bolted
34. Once the bedside shortening is complete, we can set our new ’73-87 SWB bed floor onto the shortened chassis—but left un-bolted, as we still need to maneuver and attach some in the place first. (We figured the frame was a better-suited worktable so we wouldn’t have to lift the entire bed assembly back on the truck.)
stock front panel
35. The stock front panel requires access from the front in order to attach to the new bed floor, hence the ability to maneuver the floor around on the frame.
When it comes to the bedsides and inner wheelwells, you can go about that in one of two ways: attach the bedsides first and slide the wheelwells in place, or …
36. When it comes to the bedsides and inner wheelwells, you can go about that in one of two ways: attach the bedsides first and slide the wheelwells in place, or …
bolt the wheelwells onto the bed floor first, then hang the bedsides!
finish bolting the wheelwells onto the bed floor first, then hang the bedsides!
37-38. … bolt the wheelwells onto the bed floor first, then hang the bedsides!
shorten the stock side trim
all-new trim from Brothers
39-40. Since we’ve gone to all this length to preserve the Cheyenne’s natural-born patina, it made perfect sense to shorten the stock side trim as well in lieu of purchasing all-new trim from Brothers (which would be our option had we gone with their new bedsides, obviously).
Final assembly of the bed’s accessories
View of truck from drivers side back
41-42. Final assembly of the bed’s accessories (wheelwell trim, taillights, bumper, and, of course, the tailgate) and …
Full view of the truck with the bed modification complete
43. … we’re done! The Squarebody’s owner will likely have the surgical evidence (the weld seams) blended in to match the patina rather than leave exposed … which may just end up being another little how-to diddy down the road!
Brothers Trucks
(800) 977-2767
brotherstrucks.com