CTP logo Tech
InTheGarageMedia.com
The Cure for the Tin Can Blues Title
Dynamat’s Xtreme Noise & Temperature Solution for ’47-54 Chevy Trucks
The Cure for the Tin Can Blues
Dynamat’s Xtreme Noise & Temperature Solution for ’47-54 Chevy Trucks
BY Rob Fortier  Photography by THE AUTHOR
O

ver the last 30 years I can count how many “finished” old cars and trucks I’ve owned on one hand … with two fingers. And when I say finished, I mean completely finished: paint, interior, the whole lot. Yes … just two … in 30 years.

Regardless of what that says about my ability to keep anything for any real length of time, the reason I bring it up is because both of those completely finished vehicles each had full Dynamat insulation/sound deadening prior to the interiors being done. And, suffice it to say, my opinion of said pre-upholstery material installation is quite high. However, both prior insulation jobs were performed by someone else—someone who does that sort of thing (professionally) for a living. So …

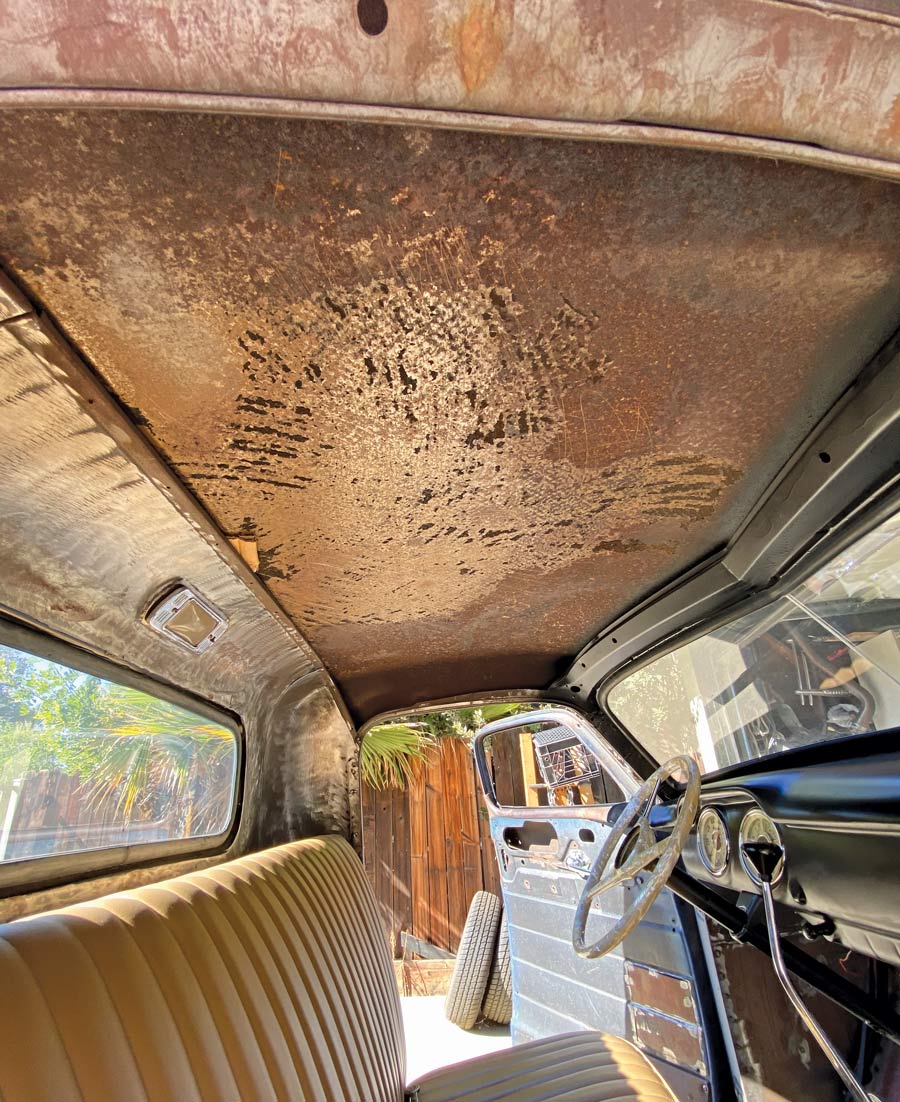
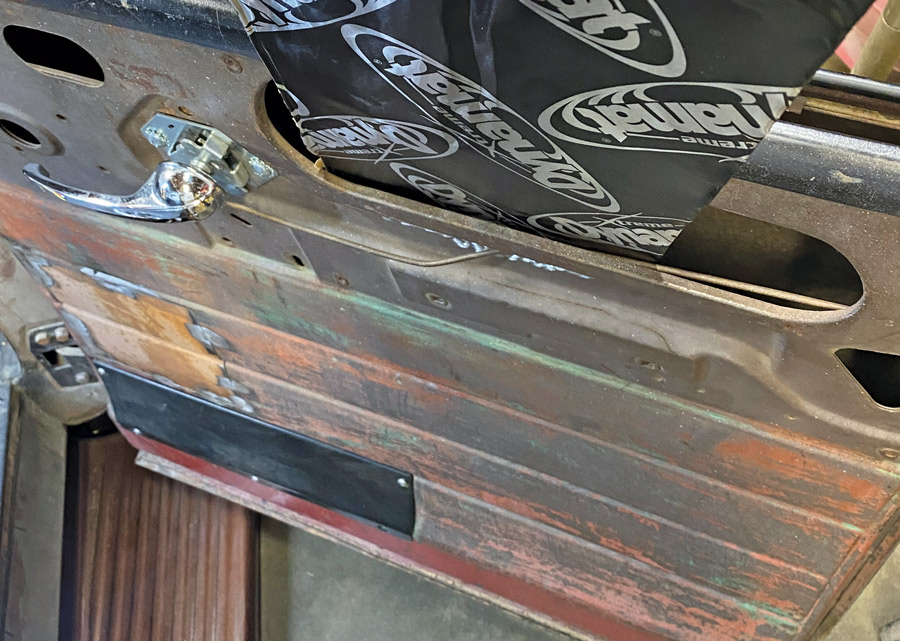
When I recently acquired my ’48 Chevy three-window, the first thing that came to mind after driving it was how badly I needed to cure the tin can affect caused by the complete lack of interior. Despite having had a bedliner-type spray applied at some point in the past (on the floors and lower rear portion of the cab behind the seat), the interior still echoed as an empty metal container normally would. Indeed, this was a perfect candidate for an extreme sound deadening/insulation job—the Dynamat Xtreme treatment, as it were. This time around, however, the job would be performed by me!

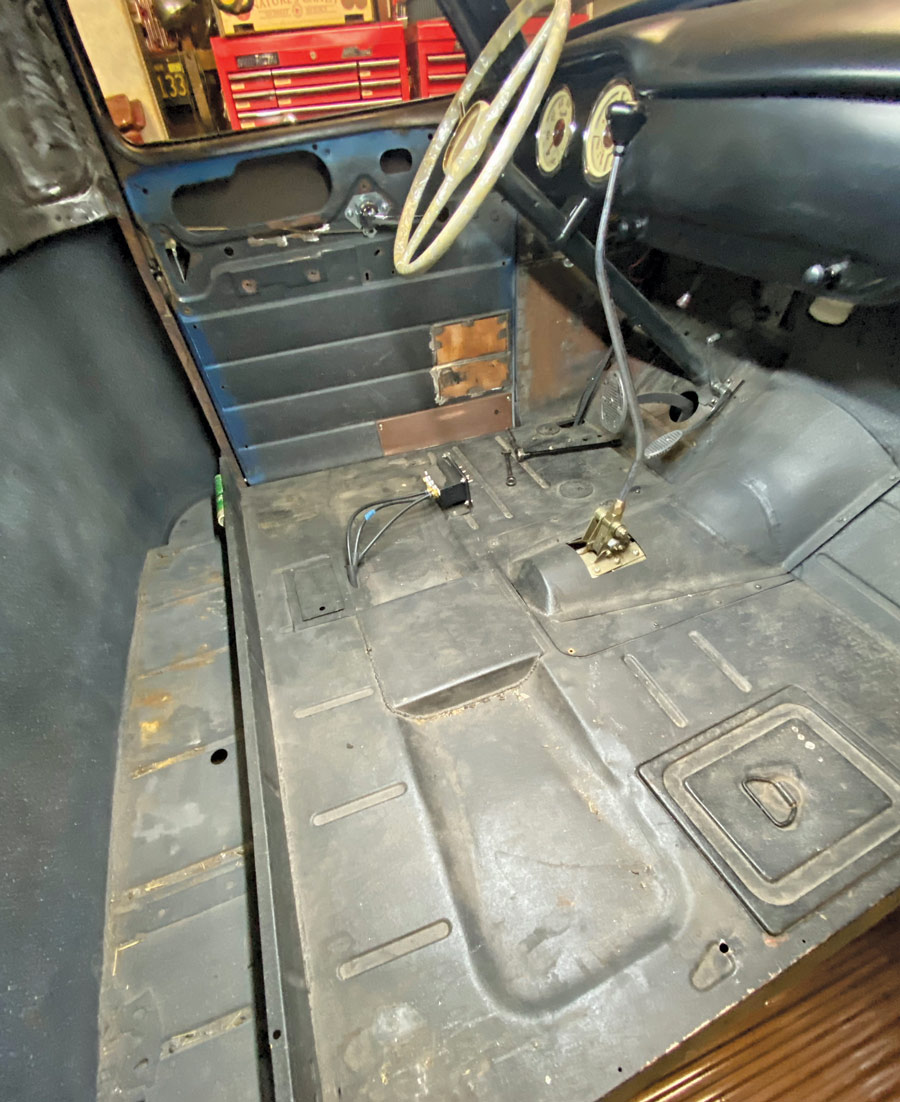
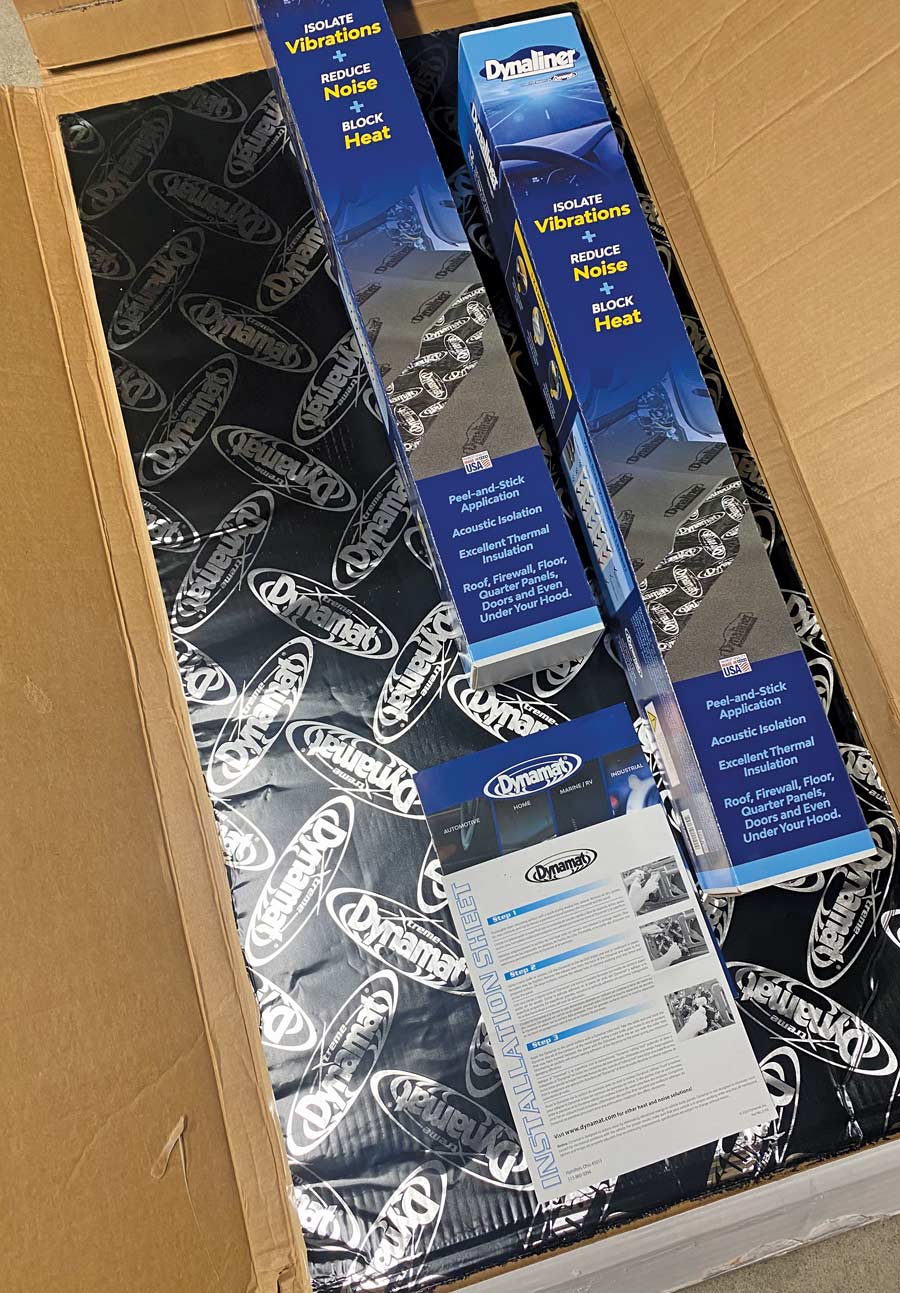
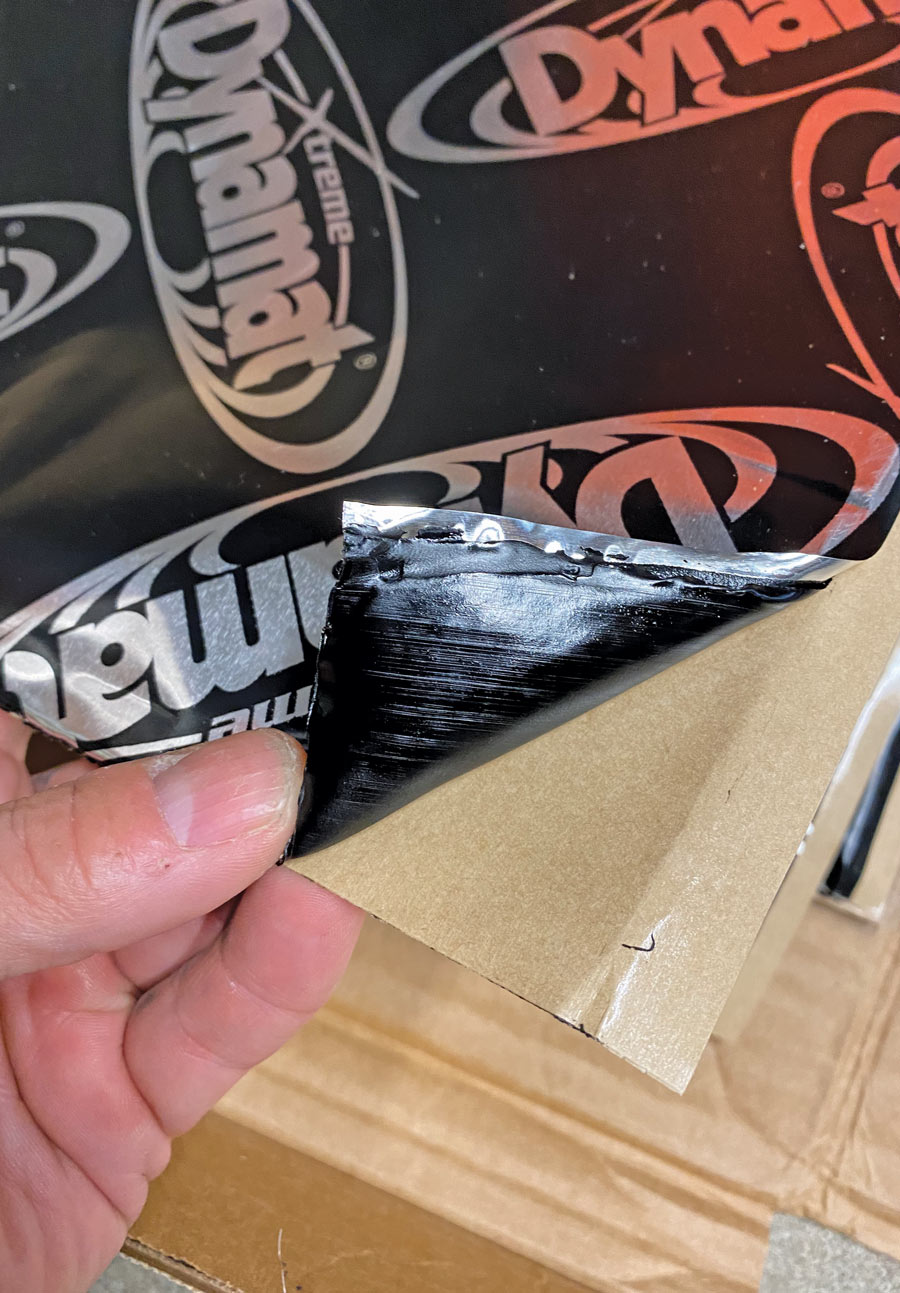
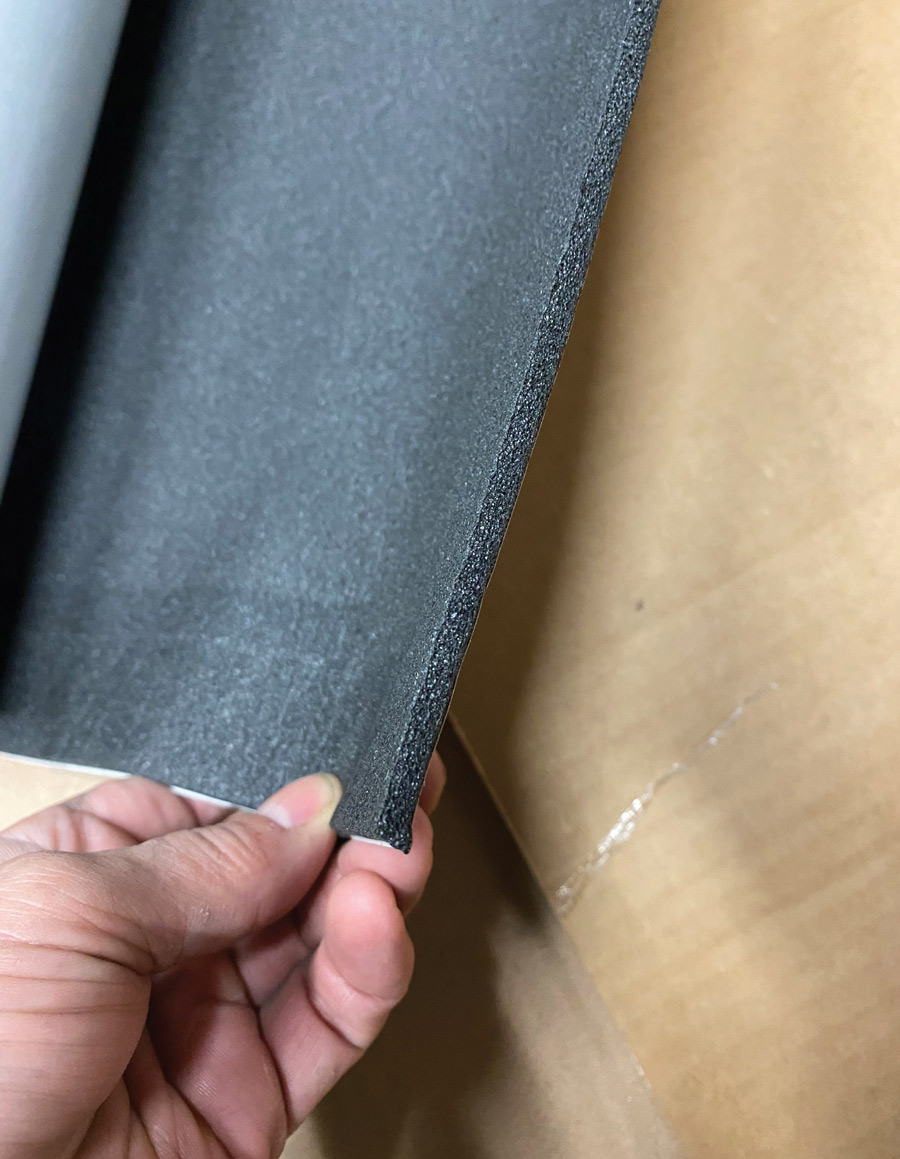
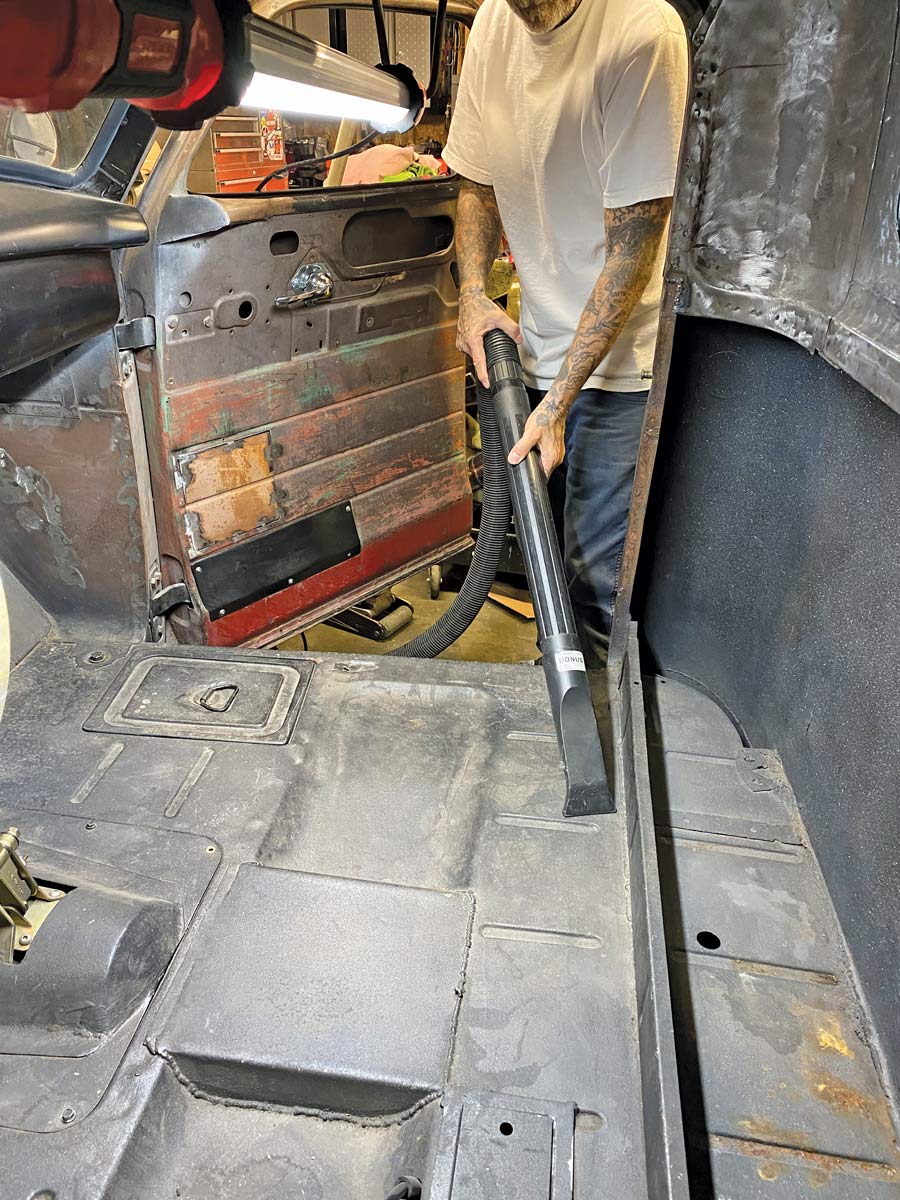
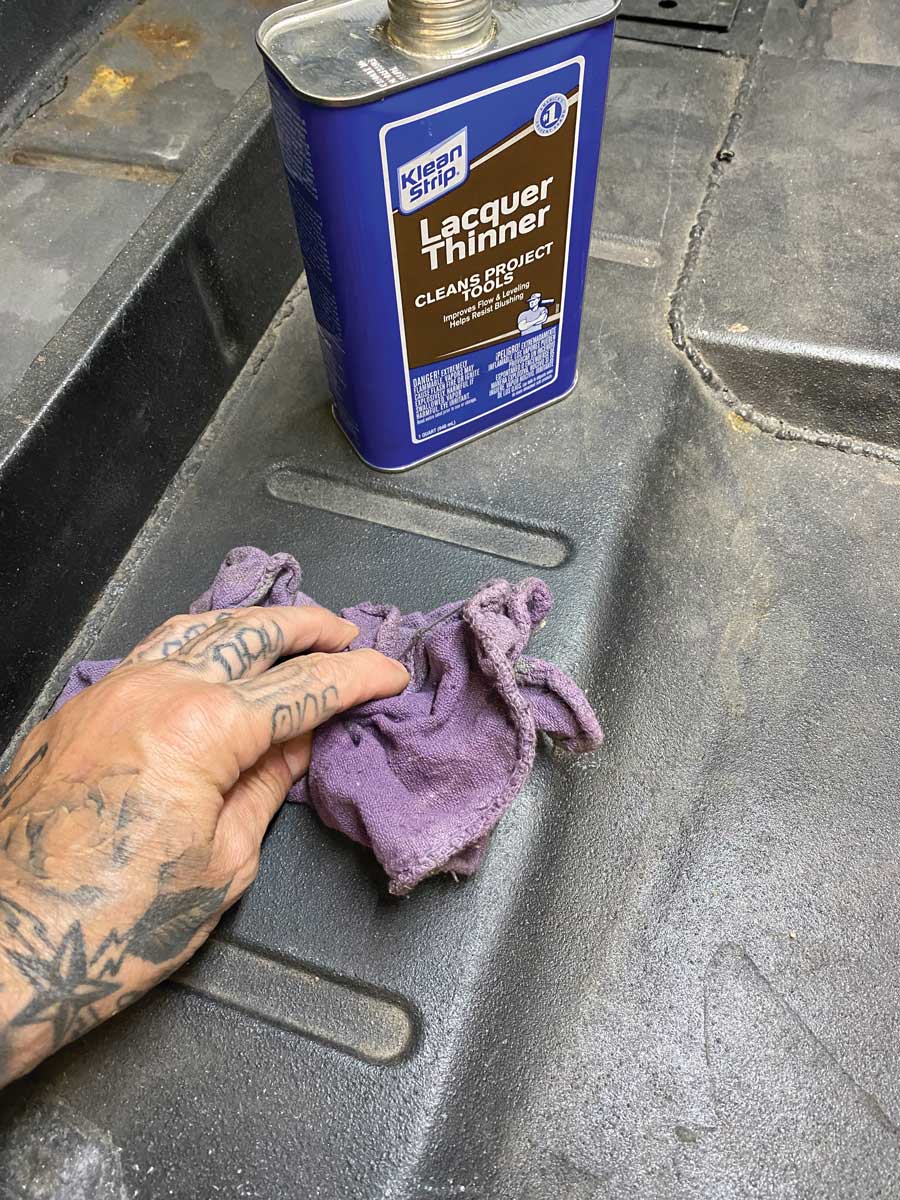
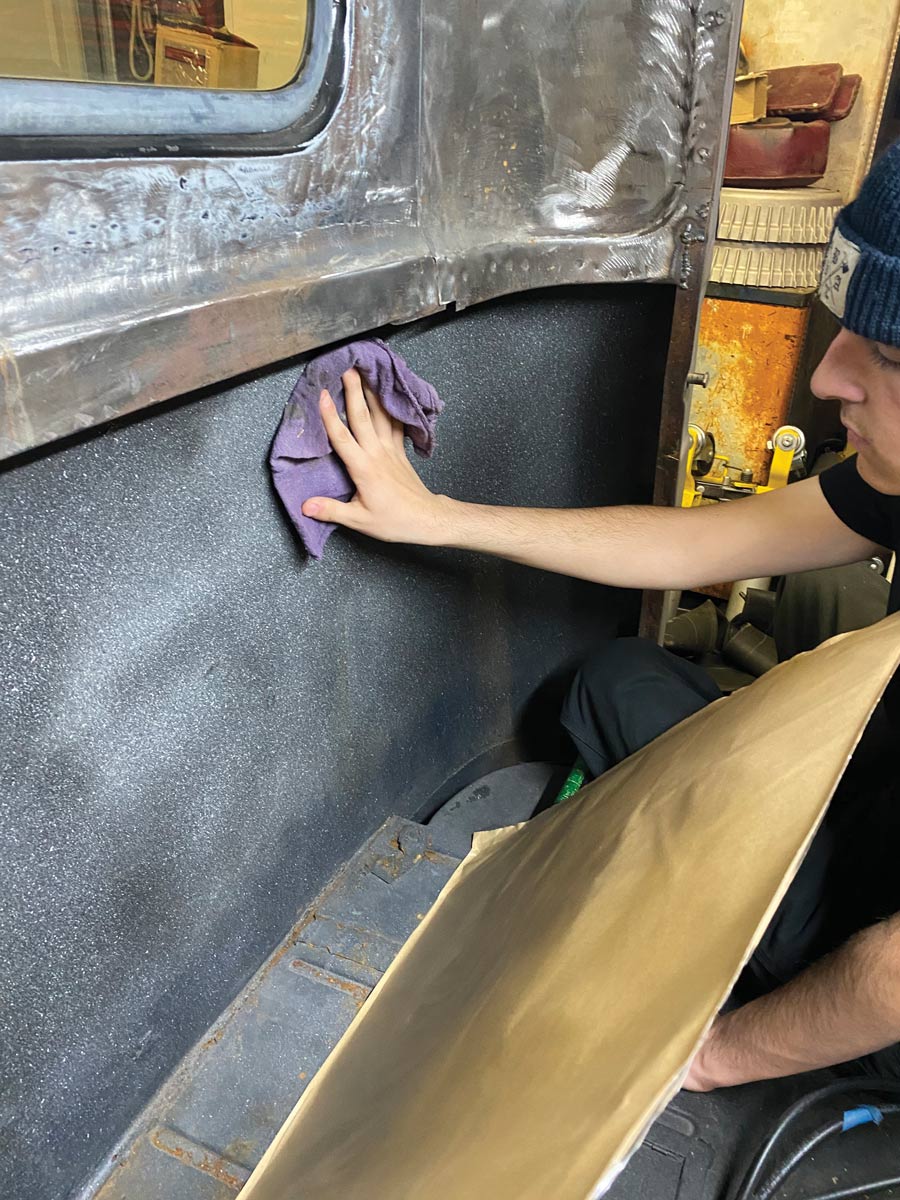
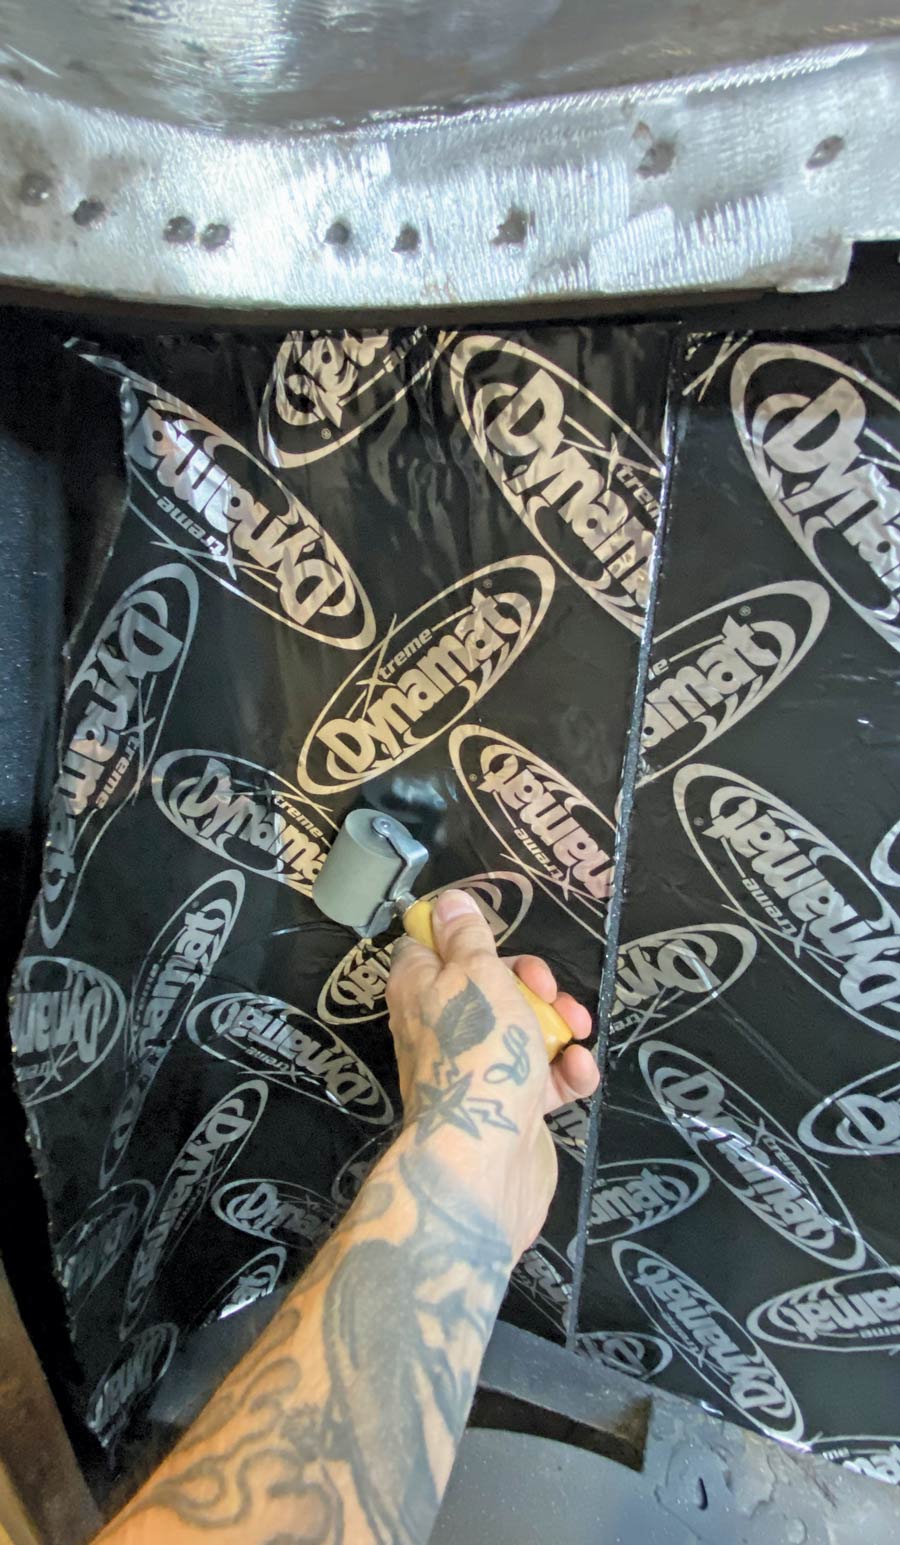
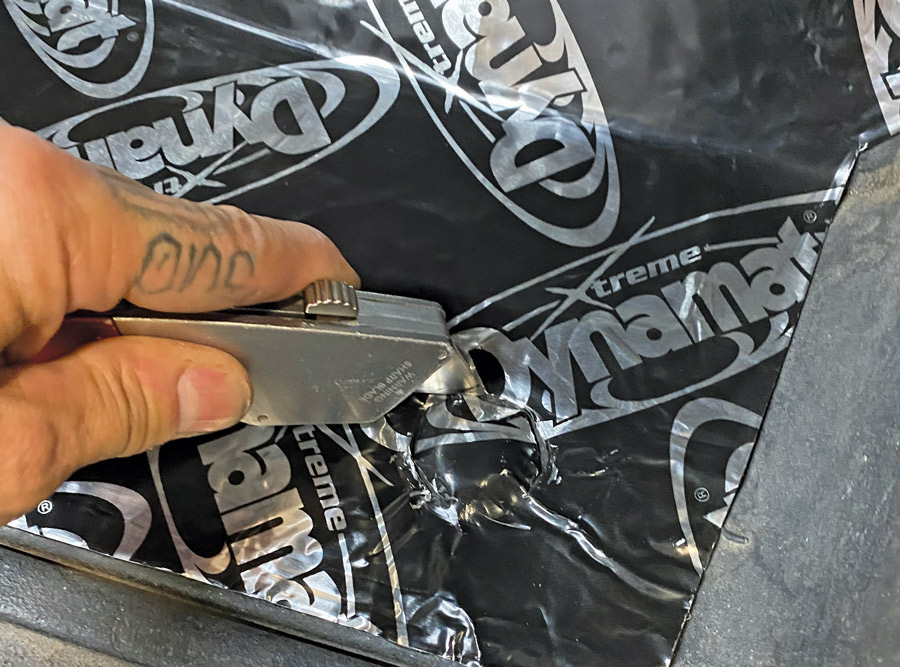
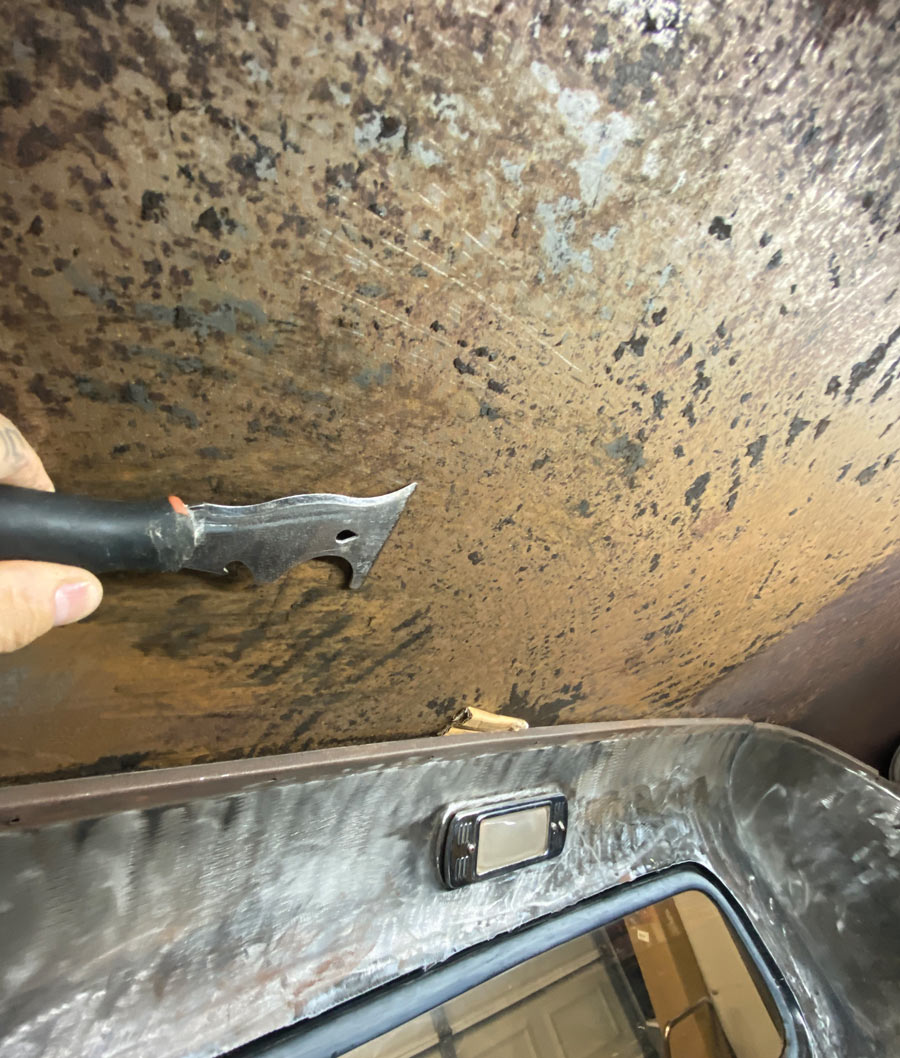
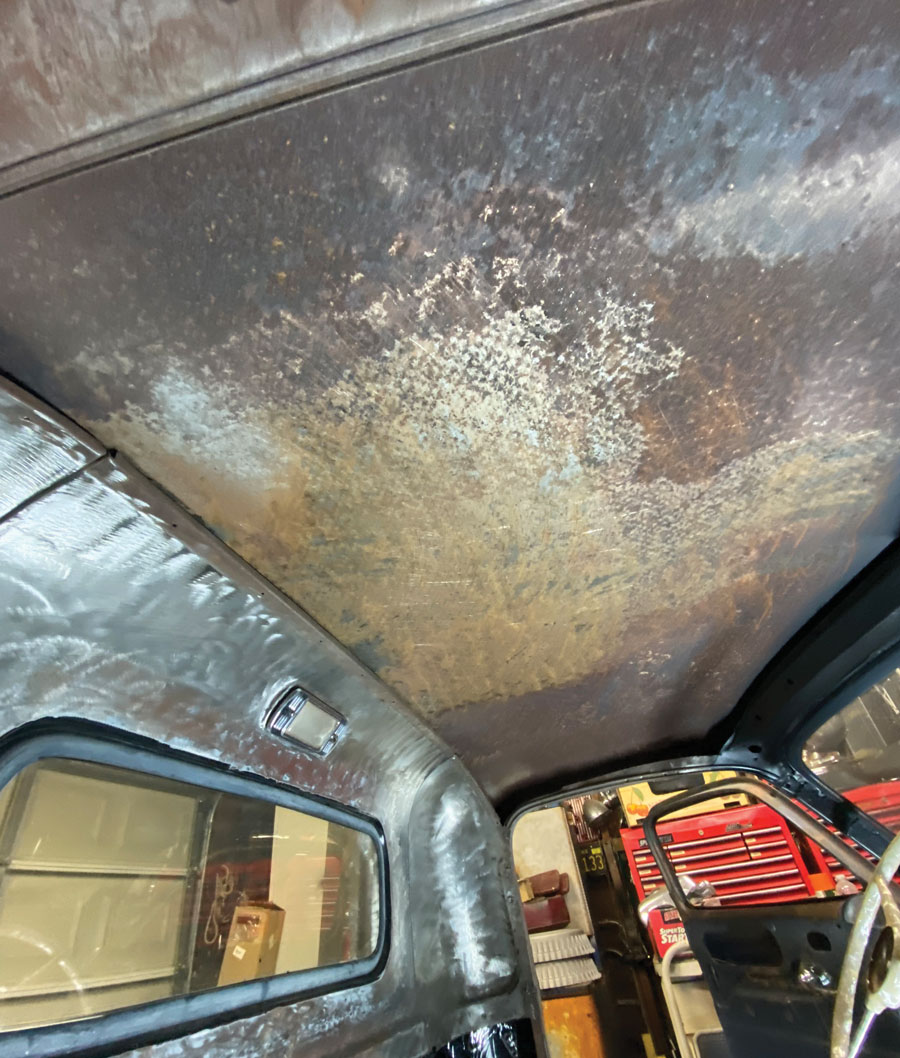
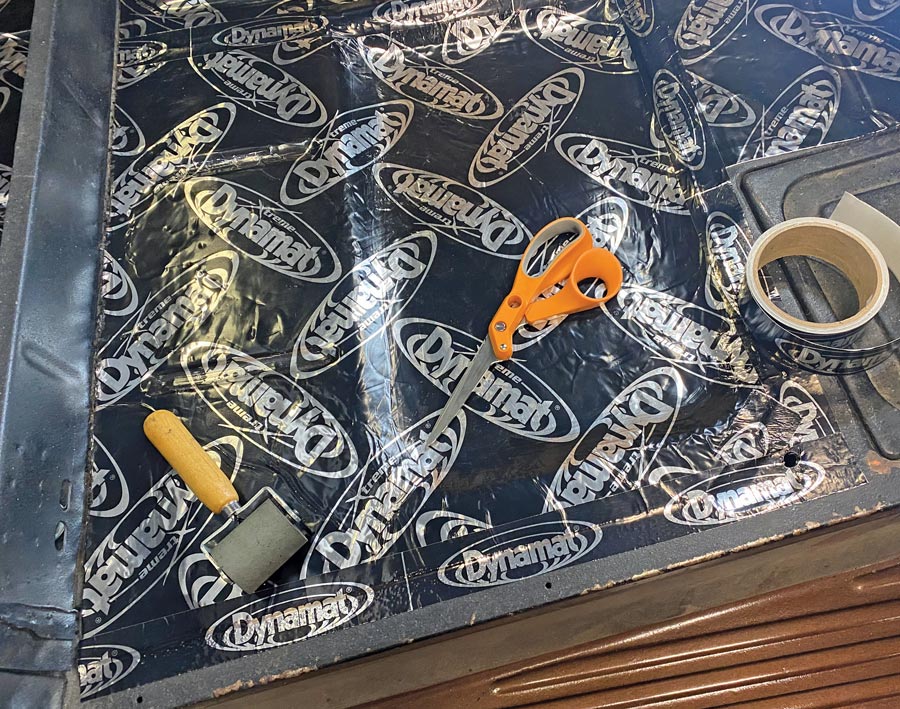
First order of business was to strip the cab of its interior contents … the entailed unbolting and removing the bench seat. Next step was to prepare all surfaces to which the new Dynamat material would be applied. A thorough vacuuming, a bit of wire brushing and scraping (the old jute from the roof), and a good solvent-soaked rag bath got everything nice and clean—and ready for the first layers of the 0.067-inch aluminum sheet encapsulated, butyl rubber adhesive, Xtreme sound deadener.

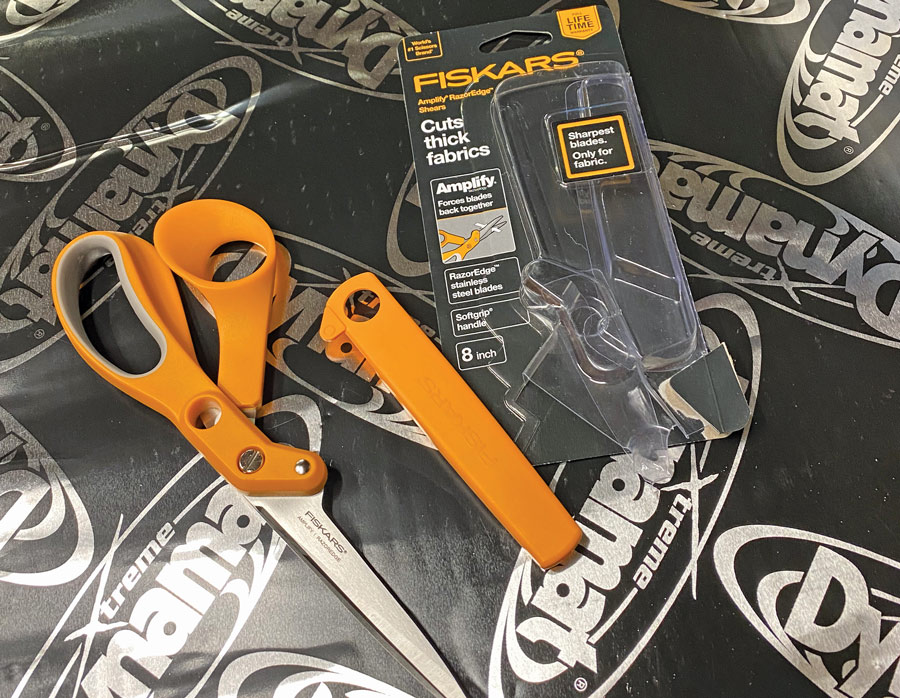
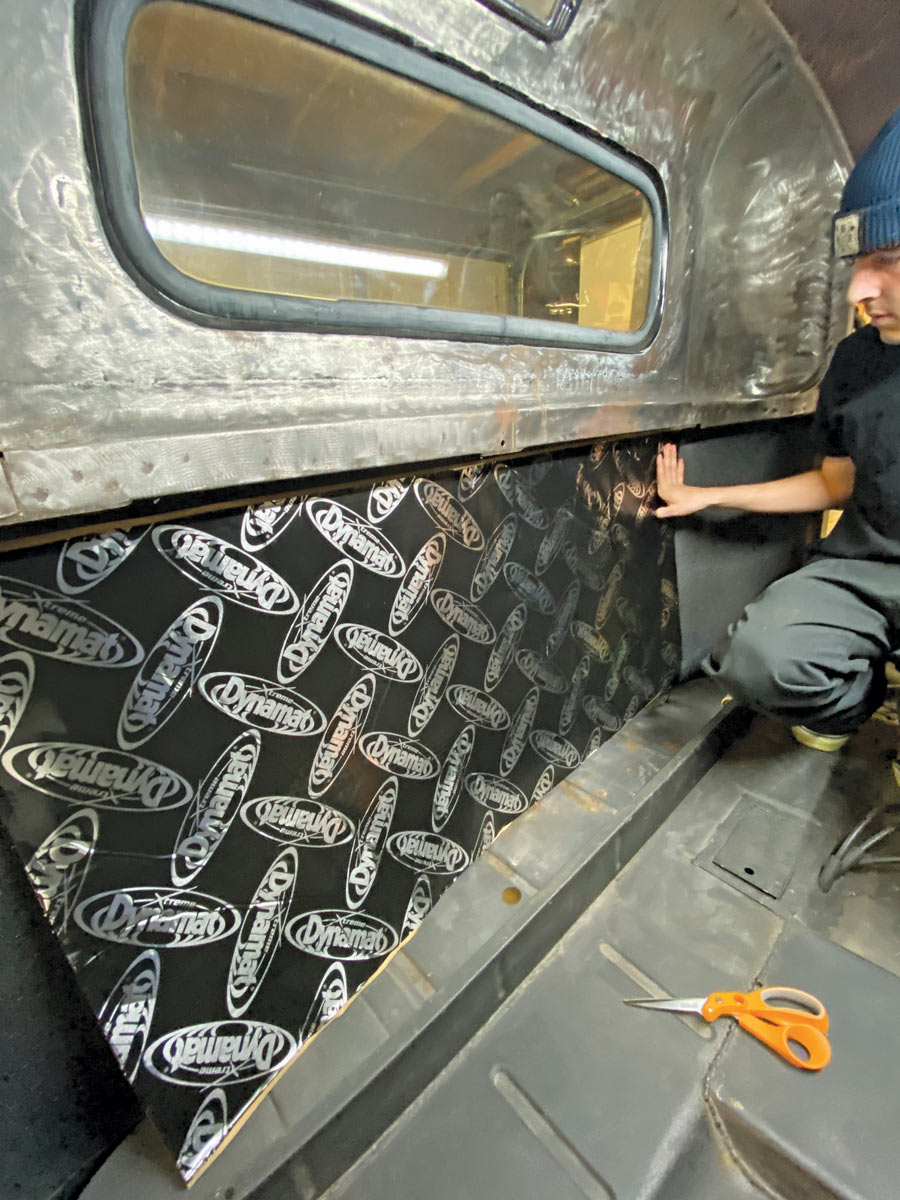
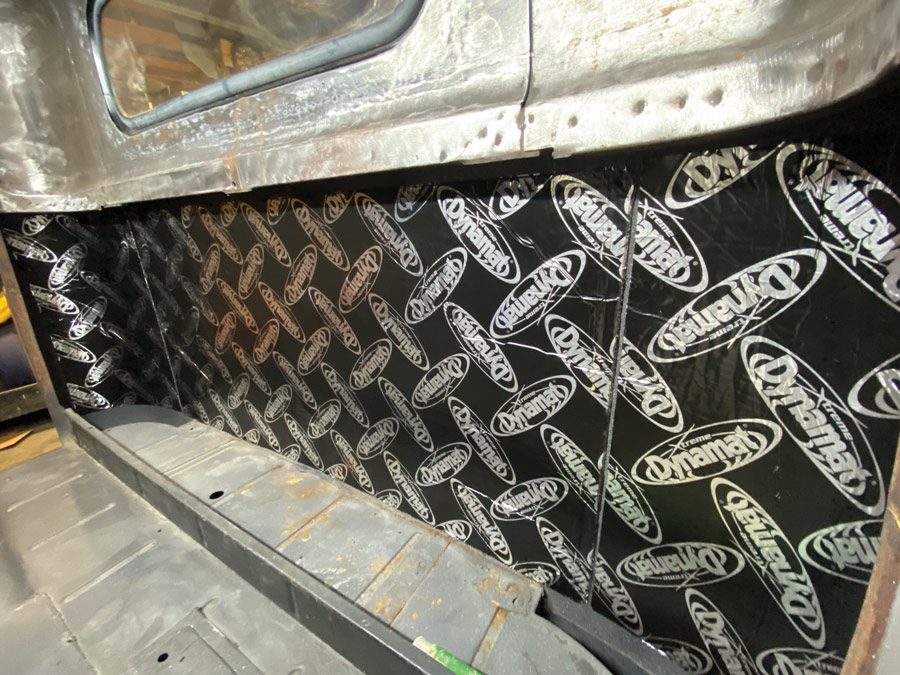
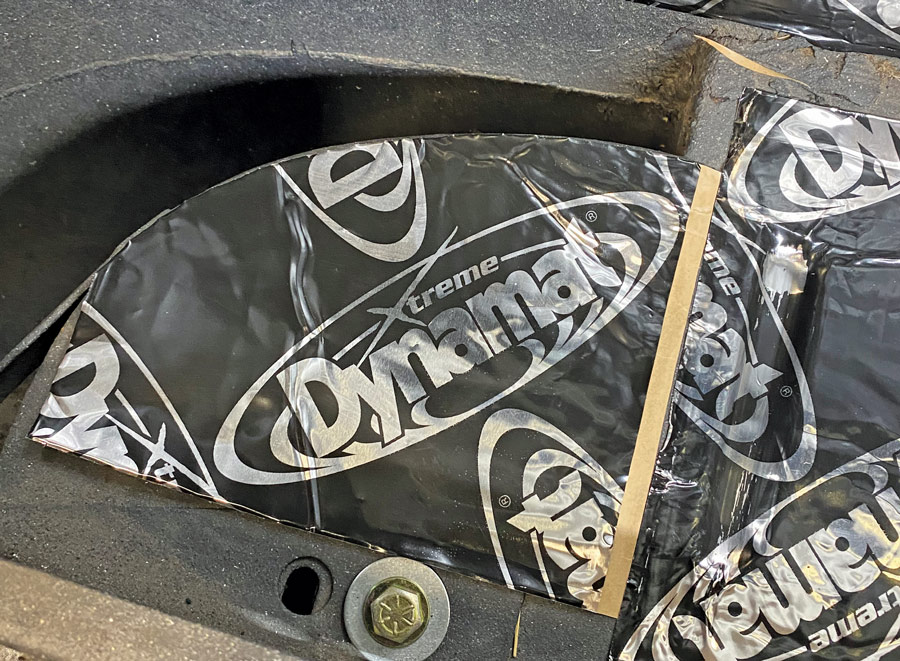
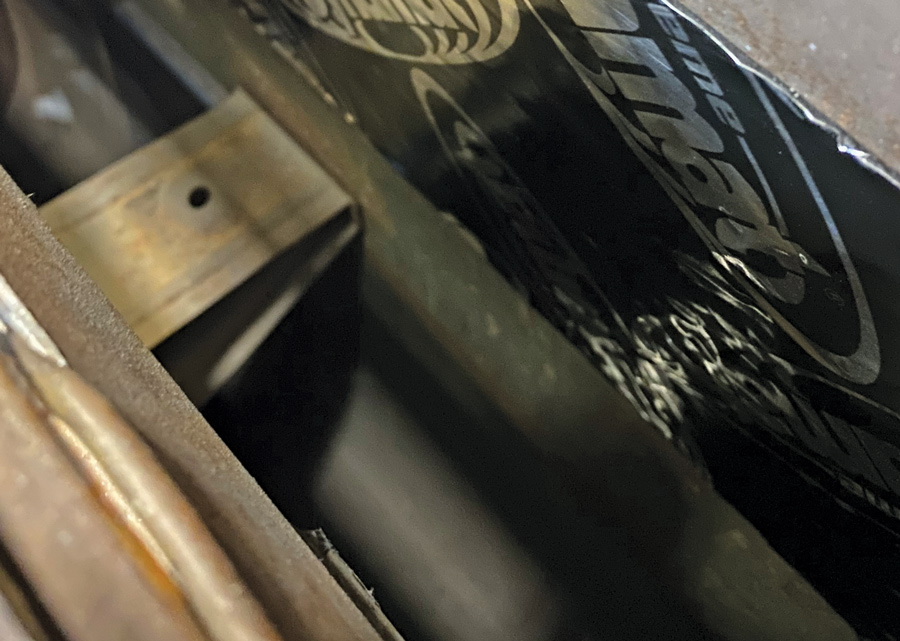
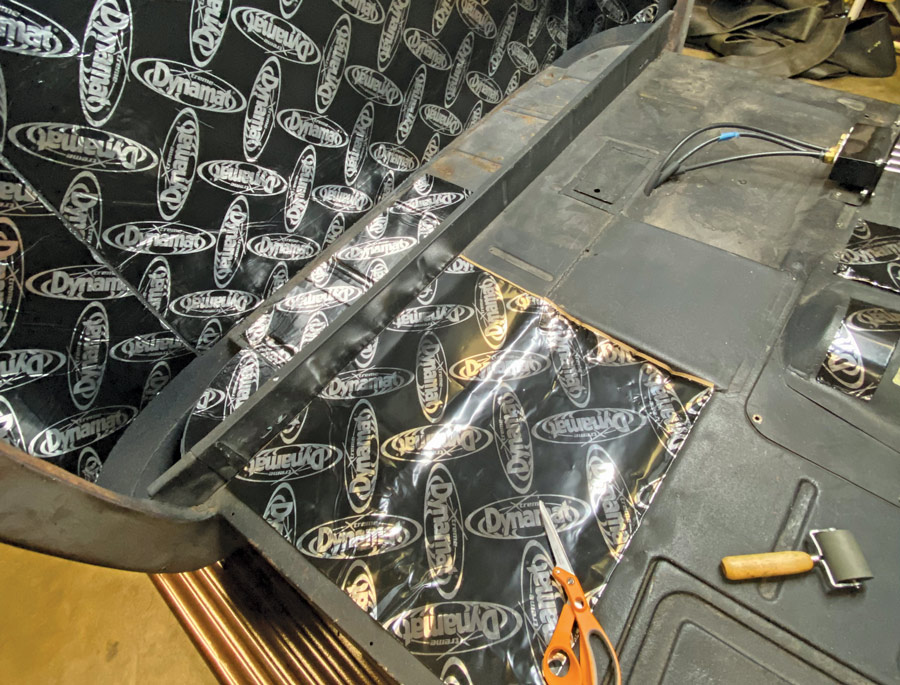
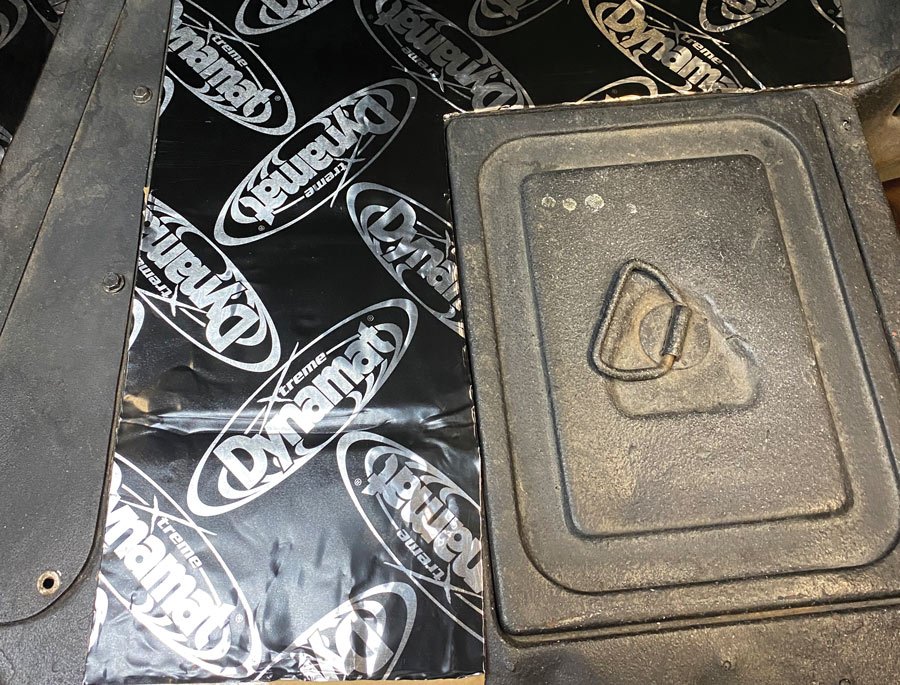
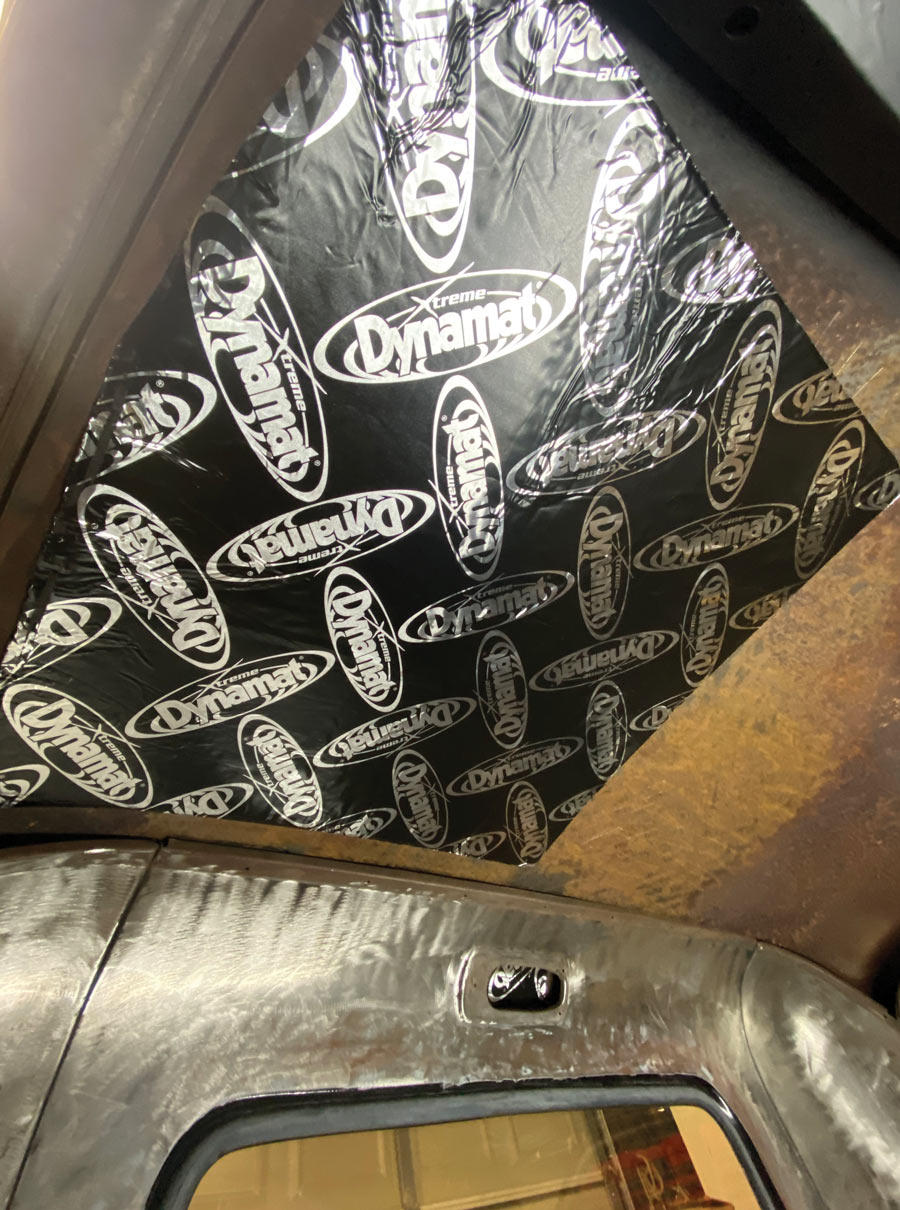
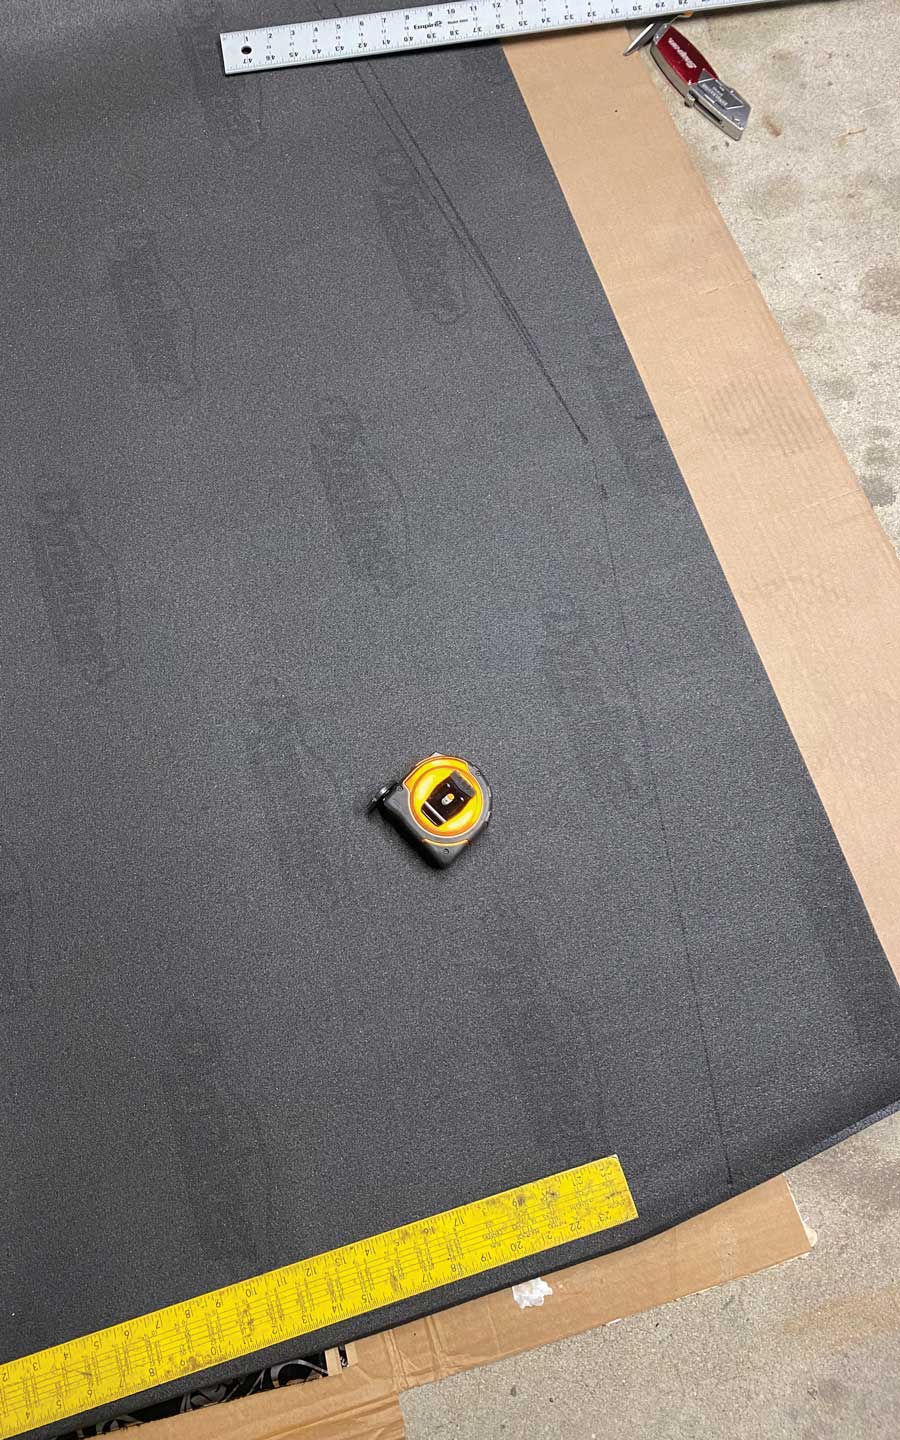
Since the cab is not a flat-surfaced box, so to speak, I wasn’t about to slap down full sheets of the 24×48-inch material. Rather, I strategically plotted where—and how—pieces would go, keeping in mind forthcoming interior components (carpet, panels, and so on). Full square footage coverage isn’t necessary, however, the more complete the material coverage on the floors at least is beneficial. With the Chevy’s floor full of reinforcing bead rolls, a battery box access cover (yep, the battery is still in the stock location), and a “non-flat” transmission cover to deal with, it was slightly challenging to coordinate the material application.

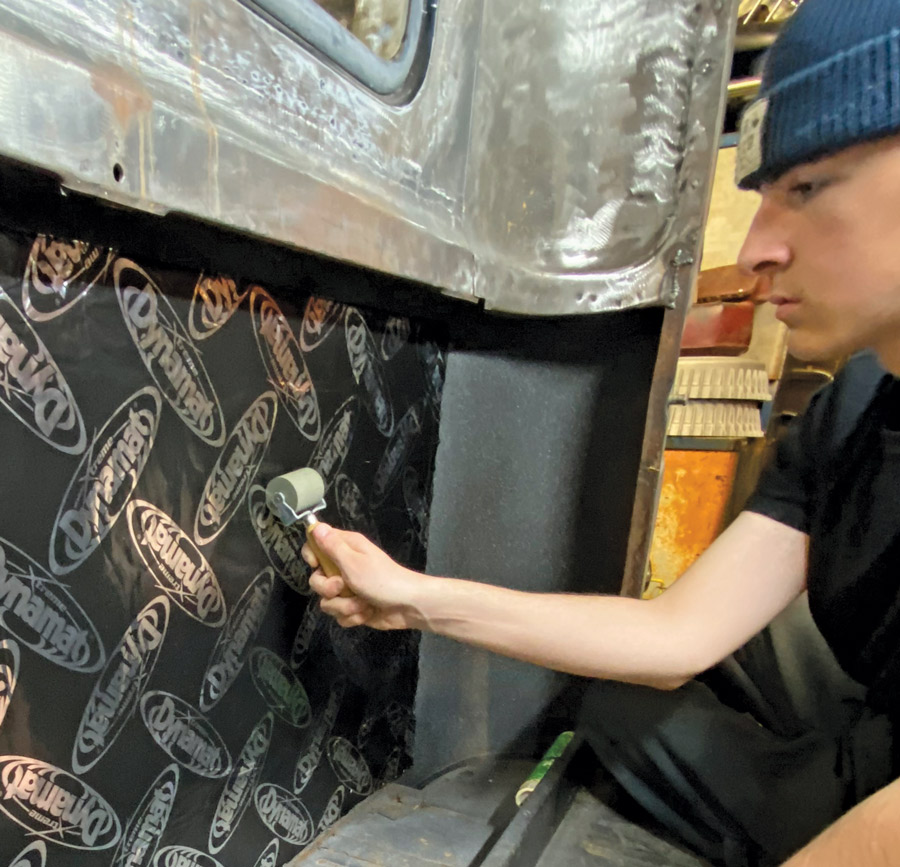
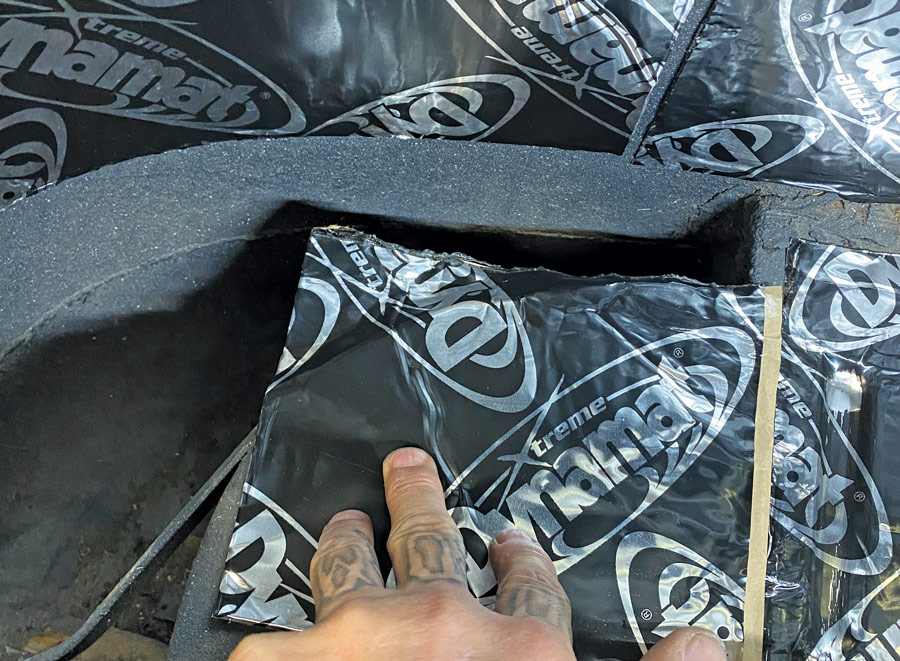
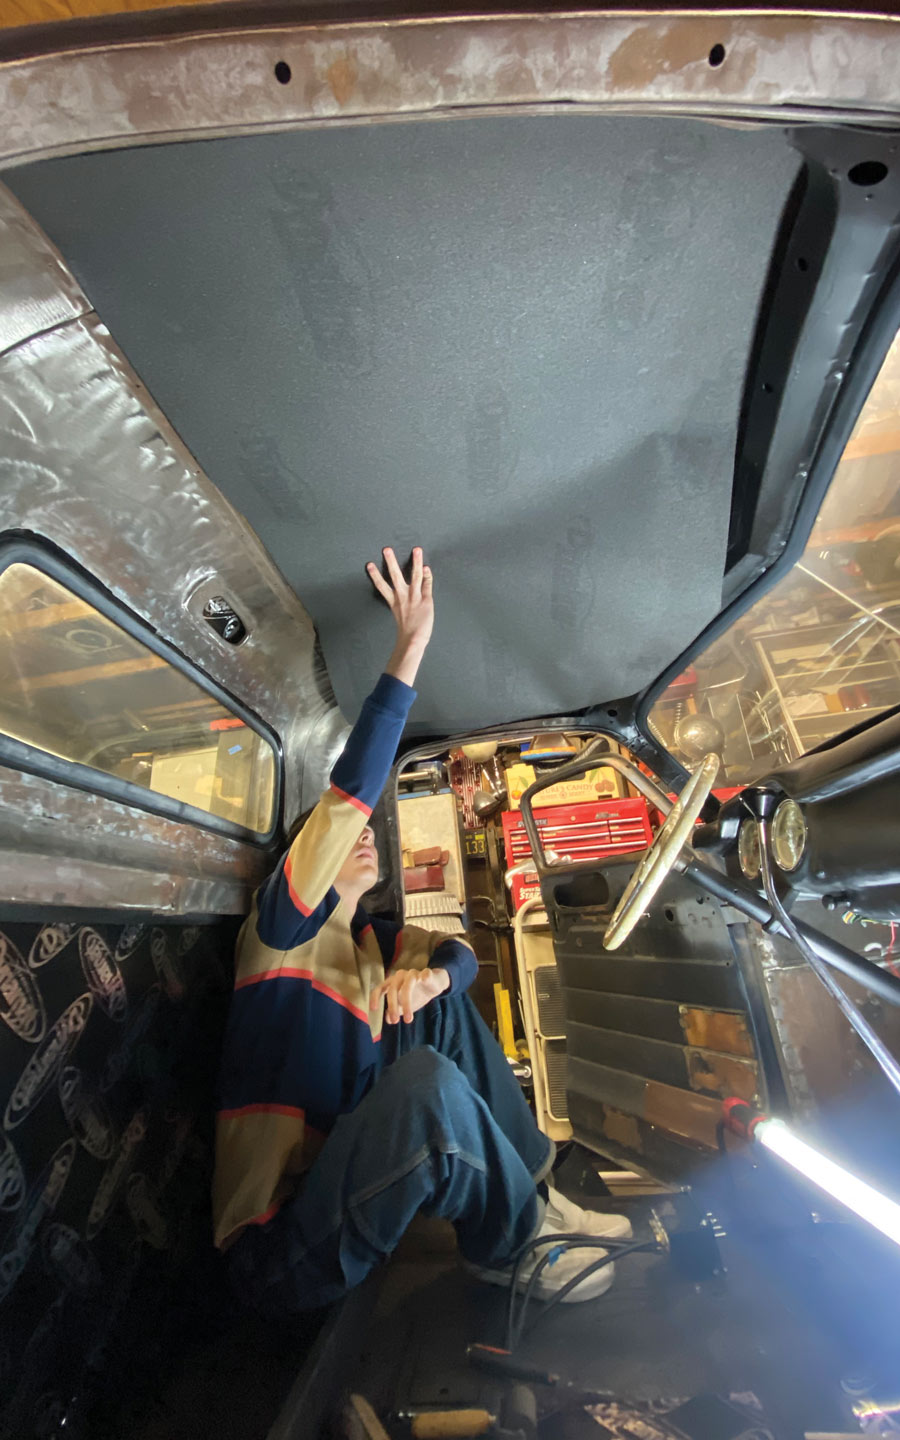
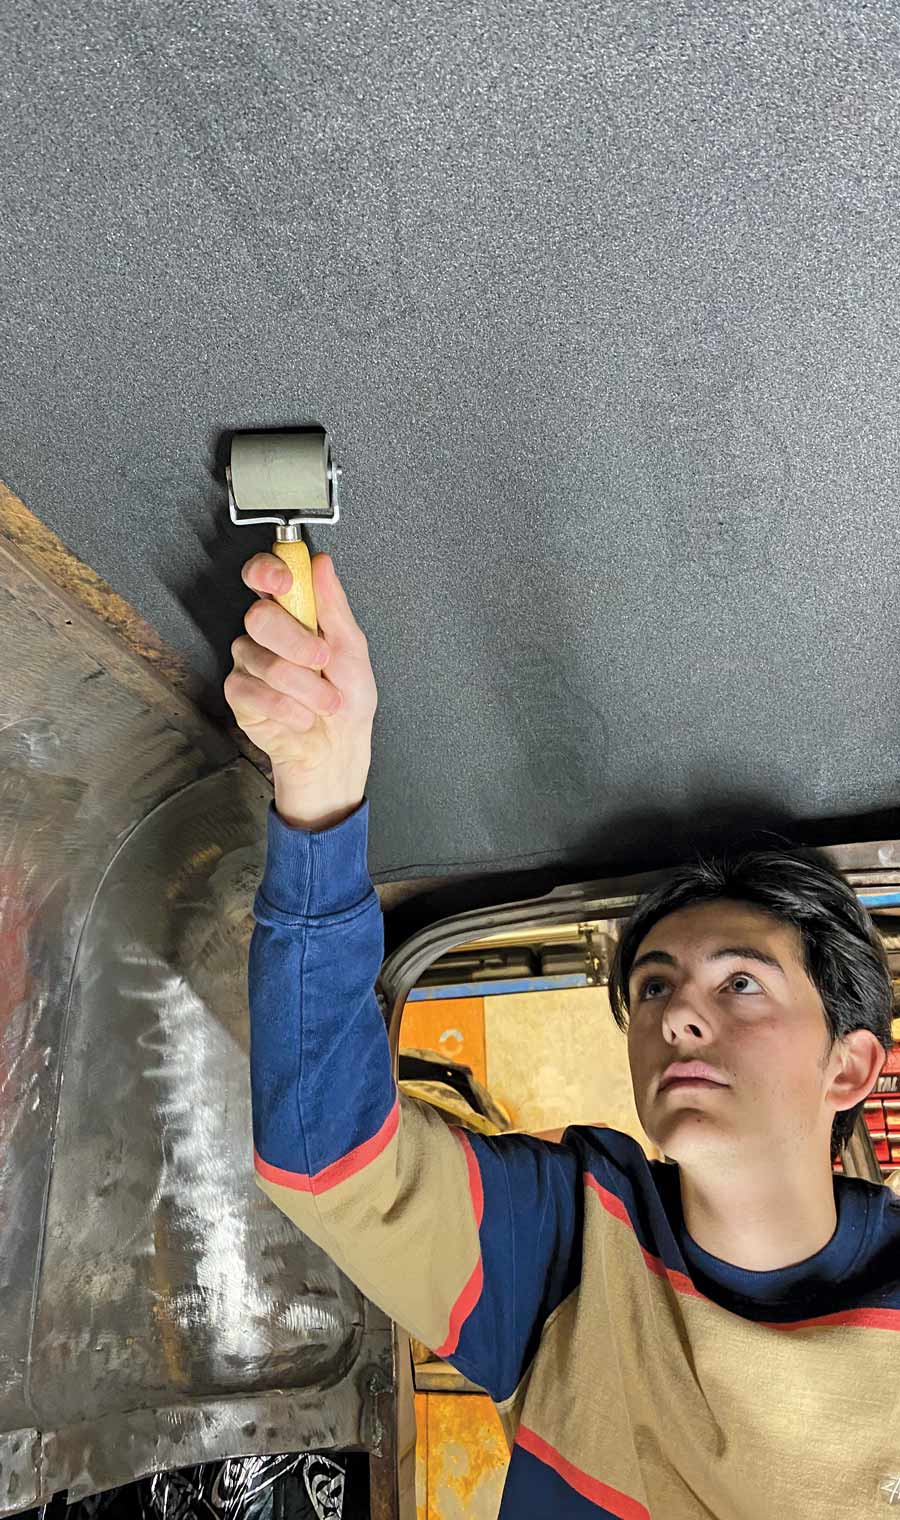
Once the Xtreme portion was complete that was followed up with Dynaliner, their 1/4-inch-thick thermal insulator pad material. While the Xtreme provides the most efficient solution for road noise, vibration and resonance reduction, and improved acoustics characteristics (you know this truck will have a sound system before long!), Dynaliner is equally efficient when it comes to adding that needed layer of insulation. It will be used as a full sheet on the roof, and sections added to the firewall and toeboard areas to help keep the engine heat out as well as inside the doors—all applied directly on top of the Xtreme, as intended.

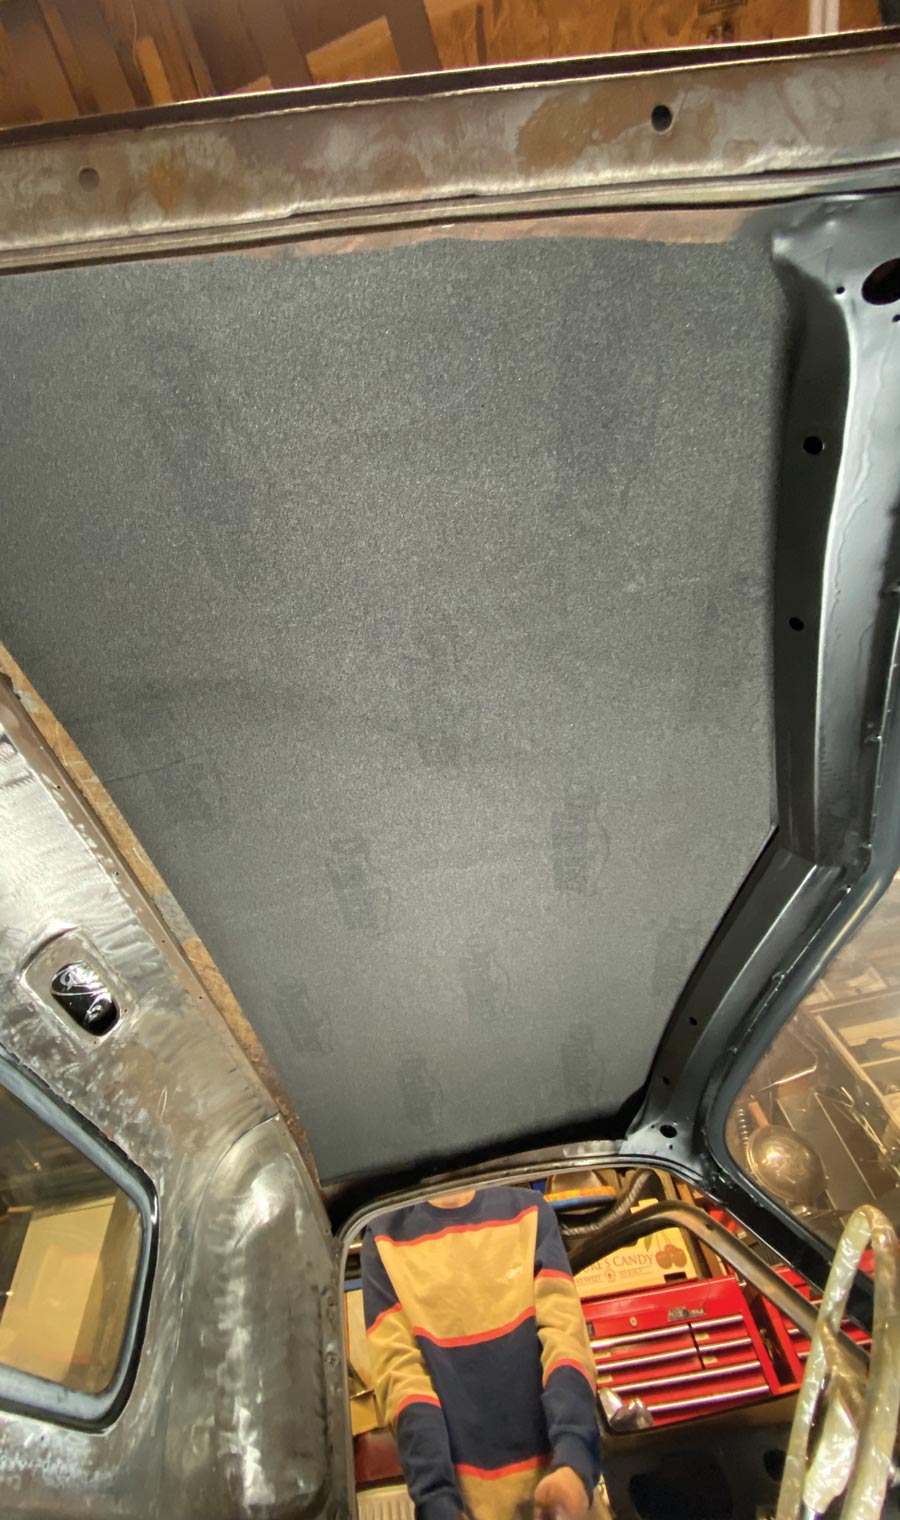
So, while I may not have done the job exactly as the professionals responsible for my previous two Dynamat installations, I’m more than happy with the results! Bottom line is, I’ve all but eliminated the once-irritating tin can rattles, not to mention added a nice element of pre-installed climate control! Unfortunately, thanks to Chevs of the 40’s, I’ll be covering up most of my beautiful handiwork next with a semi-OE interior update over the holidays … but the Dynamat will forever be appreciated, regardless!!

Car interior
Car interior floor
1-2. If the title seemed a bit confusing to you, here’s where the “tin can” reference comes from: the ’48 Chevy is (well, was now) a proverbial echo chamber with its bare interior sheetmetal. From the floors to the doors clear on up to the roof, any/all noise transmitted from inside or the exterior was magnified beyond tolerable limits. I’m going to cure that!
Mega Pak of Dynamat’s Xtreme products
3. For the job at hand, I procured a Mega Pak of Dynamat’s Xtreme (nine 2×4-foot sheets of 1/16-inch sound deadener) and two (32×54-inch) rolls of 1/4-inch Dynaliner insulation for a total of 84 square feet of anti-tin-can material!
Branded aluminum foil
4. The aluminum foil-encased synthetic rubber Dynamat Extreme is a self-adhesive sound deadener like no other on the market. It not only conforms to irregular (non-flat) surfaces with ease, but it also provides the best acoustic benefits your truck deserves.
1/4-inch Dynaliner
5. For our thermal insulation purposes, their 1/4-inch Dynaliner is a high-quality closed-cell self-adhesive material that I’ll be applying directly over the Xtreme in select areas, most importantly on the underside of the roof.
Fiskars “heavy material” shears
6. Along with a trusty utility knife and square/straightedge, I obtained a fresh pair of Fiskars “heavy material” shears since I have a tendency to use high-quality scissors for jobs they were never intended for, thus all mine are dull and/or useless! (They weren’t cheap, but I will say, they performed flawlessly—and, I managed to clean off all the adhesive after each shear!)
vacuuming out all the loose dirt and debris
7. After enlisting the aid of my son to remove the one existing piece of upholstery—the bench seat—I began the surface prep process by vacuuming out all the loose dirt and debris.
Lacquer thinner
Using lacquer thinner
8-9. Next, all surfaces that were destined to receive the Dynamat were thoroughly cleaned with solvent. (Wax and grease remover, acetone, any “residue-free” solvent will suffice.)
Foil applied to the truck
fully removing the release paper
10-11. The first area to be addressed—the back interior cab panel—turned out to be easiest … and that’s also due to my son offering a hand. We applied a full 2×4-inch sheet dead center—with minimal wrinkles no less. We experimented with a direct application (fully removing the release paper); for the other areas that weren’t as direct we left some of the release paper intact, just in case we missed our surface target!
rubber-wheeled roller applicator
12. As part of our “kit,” Dynamat supplied one of their handy rubber-wheeled roller applicator tools—this ensures the material sticks in all the right places (everywhere!) and greatly helps to work out any potential wrinkles.
using the rubber-wheeled roller applicator
13. For the corners of the back panel, pieces were cut to fit and applied starting from the inside and slowly rolled along the contour into the doorjamb. The Dynamat Xtreme is very pliable and thus can conform to some tricky areas!
Completed back panel
14. Back panel done—that was the easy part!
Applying the foil to the floor
Foil applied to the floor
15-16. For the floor directly behind the seat (where the stock gas tank once sat), I chose to address the area in multiple pieces due to irregular shape (mainly the multiple reverse reinforcement beads).
Foil applied to the door
Close up of foil applied to floor
17-18. It’s not necessary to get complete/full square foot coverage with the Dynamat, and anyone who owns a ’47-54 Chevy/GMC truck will know how difficult it is to access the inner doors! With that said, I simply added a piece of Xtreme as close to the center as I could—and let me tell you, just that one strip made all the difference in the world. Once I confirm window regular clearance, I’ll add a piece of Dynaliner as well.
Foil applied under the sear
Foil applied around the access cover
19-20. Same thought process and application procedure was “applied” to the underseat and main floor areas—rather than fight one large piece on each side, I went with multiple pieces as I saw fit (no pun intended). I purposely left the stock battery access cover bare, as I may end up relocating the battery and filling the area in solid.
Foil applied to passenger side
21. For now, the passenger side of the Xtreme application is done on the floor surfaces. Hopefully this image does justice for how well the material works around the particular bends, corners, and what have you of the Chevy’s interior surfaces—it sticks even better!
Cutting the foil around a bolt
Close up of foil cut around a foil
22-23. Before moving onto the higher elevations (roof), I made sure to “relieve” any areas that would possibly need access in the future, such as the body-to-chassis bolts.
Scraping the ceiling of the truck
Ceiling of the truck
24-25. The roof still had remnants of the factory jute, all of which was completely scraped off before the surface was wiped clean with solvent. (As a side note, I tapped on the outside of the roof prior to applying any material—the cab echoed like an empty barrel!)
Foil applied to one side of the cieling
Foil applied to both sides of the ceiling
26-27. Unlike the rear panel that the boy and I did mostly in one large sheet, the roof was done in two sections—mainly due to its contoured shape, but also because I did this portion without his help! (Once again, I did the tap-test following the application—echo effect eliminated!)
Measuring the foam
28. With the Xtreme portion completed for the time being, it was time to apply the Dynaliner. For the roof, unlike I did with the underlying sound deadener, my goal was to install one full (32×54-inch) sheet. The forward-facing edge was trimmed to match that of the inner roofskin at the windshield header.
Sticking the foam to the ceiling
Rolling the foam on the ceiling
29-30. Number one son once again came to the rescue, helping apply the single sheet—in one try no less! As with the application of large vinyl decals, any air bubbles that may result (we had one) can be eliminated by literally popping with a blade and rolling the area flush with the surface.
Dynaliner conformed to the roof perfectly
31. The Dynaliner conformed to the roof perfectly when all was said and done. Where the rear interior panel meets the roof, I’ll likely add a small strip of Xtreme once I determine the fit of the replacement headliner—I’ve already added a piece behind the dome light, as that previously rattled against the roof. Dynaliner was also applied to the inner firewall and toeboard areas—and I’m ordering an additional sheet for the rear panel!
Dynamat supplied a roll of their 2-mil Dynatape foil seam tape, which was used to close the gaps between the Dynamat Xtreme where possible, and necessary.
32. Dynamat supplied a roll of their 2-mil Dynatape foil seam tape, which was used to close the gaps between the Dynamat Xtreme where possible, and necessary.
DYNAMAT INC.
(513) 860-5094
dynamat.com