Tech
Tech Photography By Camren Beattie
ack in the June ’22 issue of Classic Truck Performance, we gave you a not-so-little sneak peek at Brian Schutte’s ’51 Chevy currently under construction at Scott’s Hotrods ’N Customs, in Knoxville, Tennessee. As promised, here’s the follow-up, with a healthy dose of info from the metal magician responsible for all the beautiful work, Kenneth DeKiserre.
Source
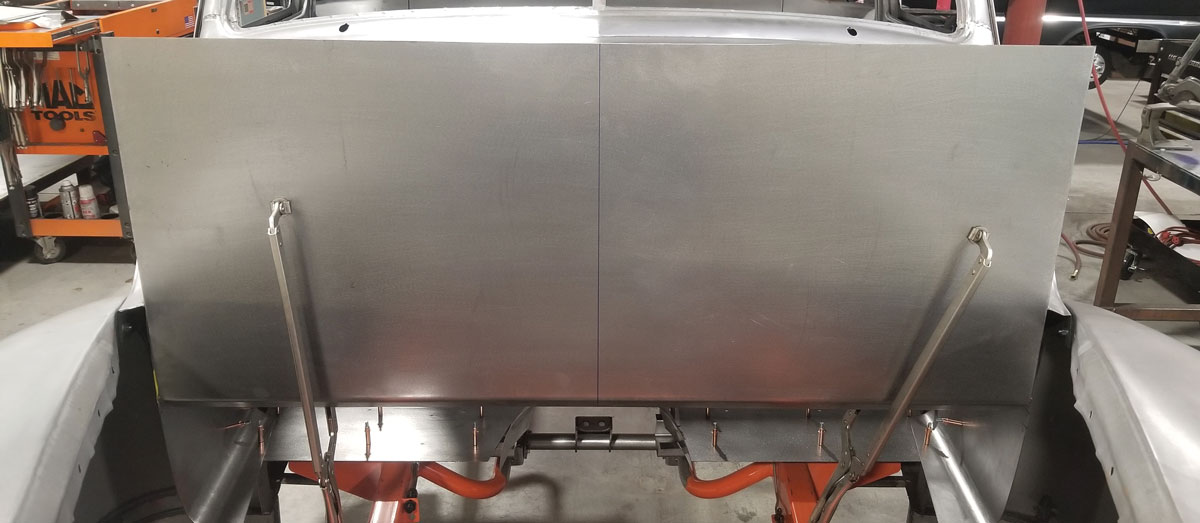
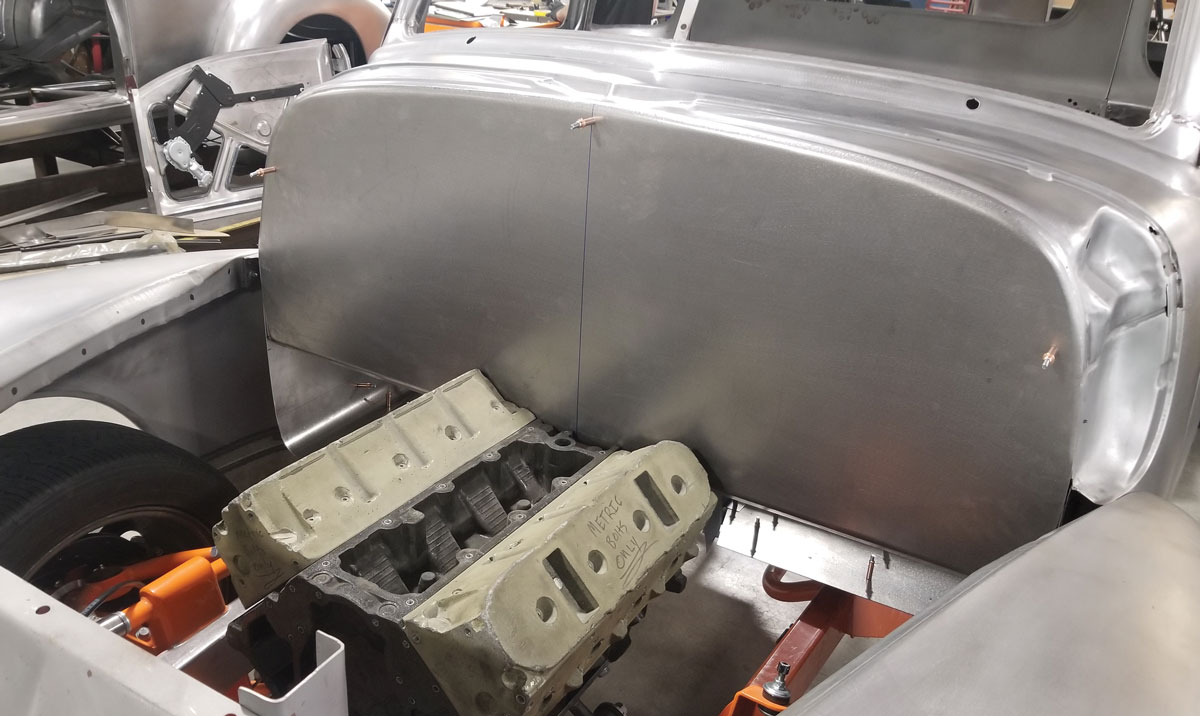
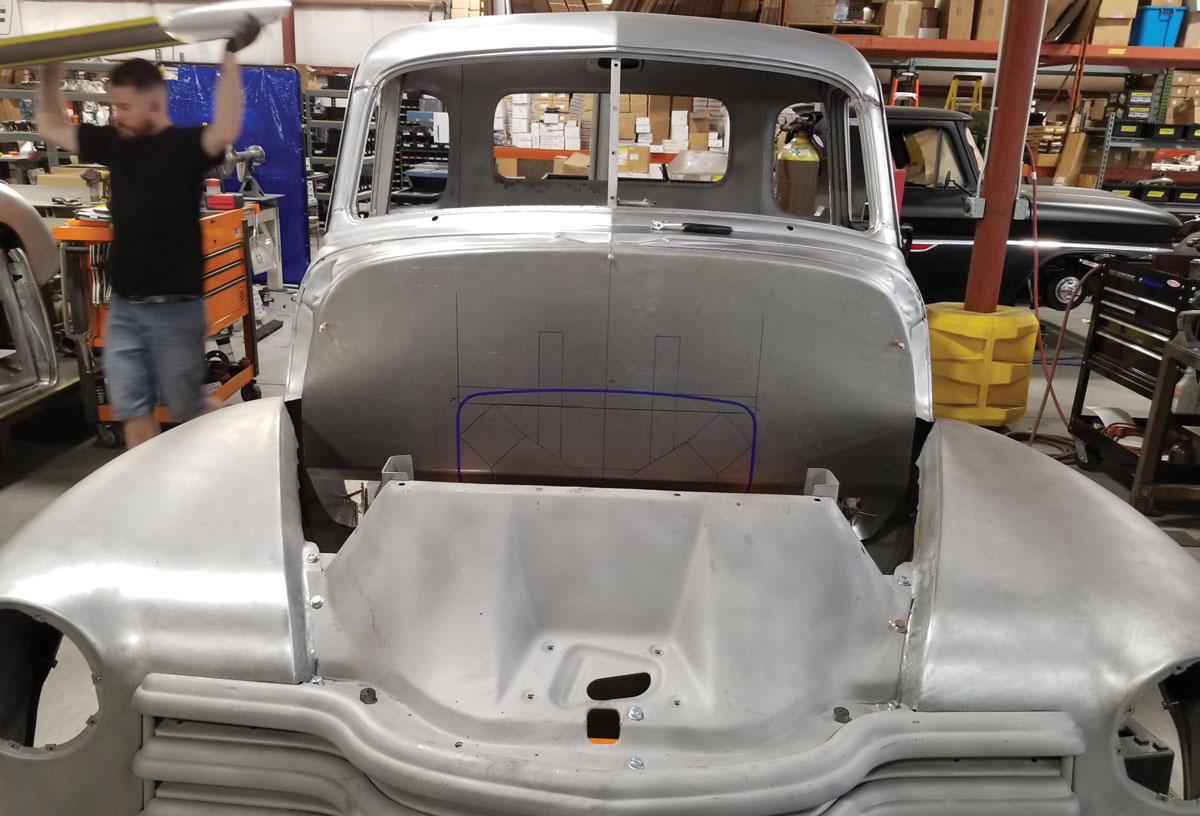
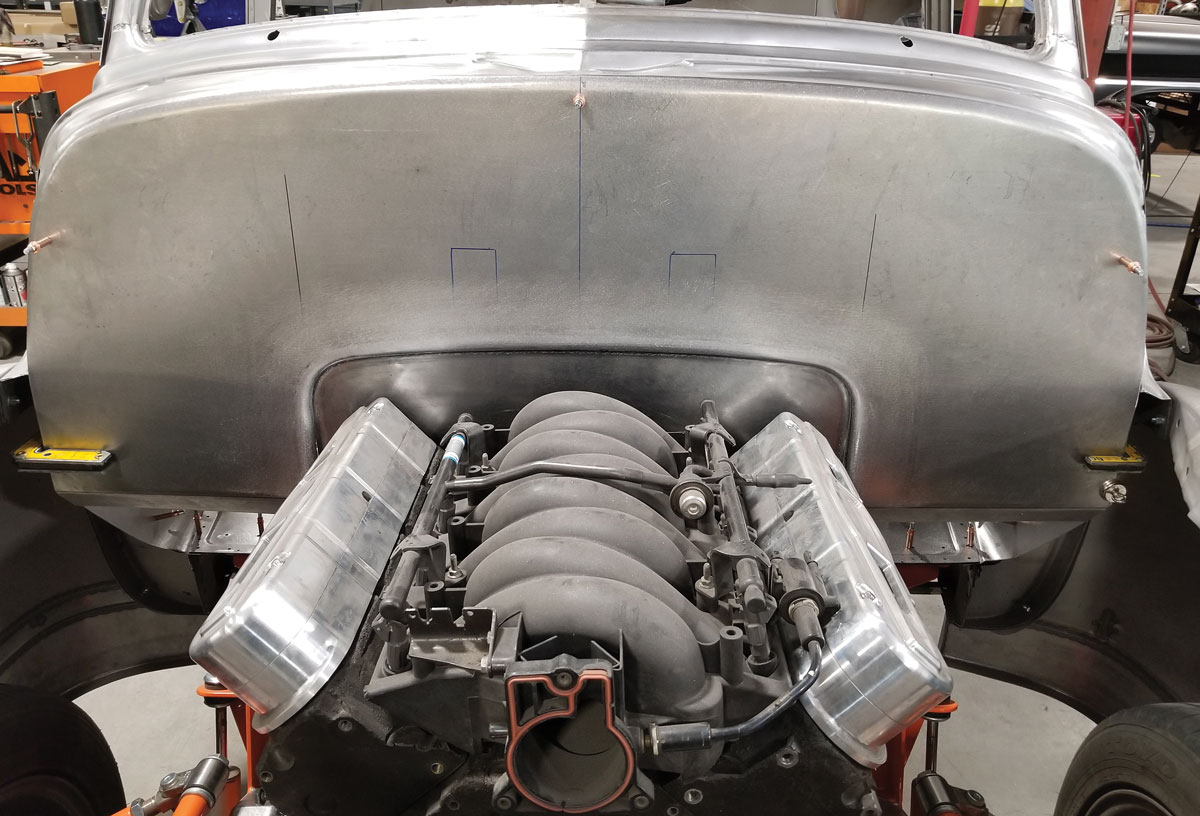
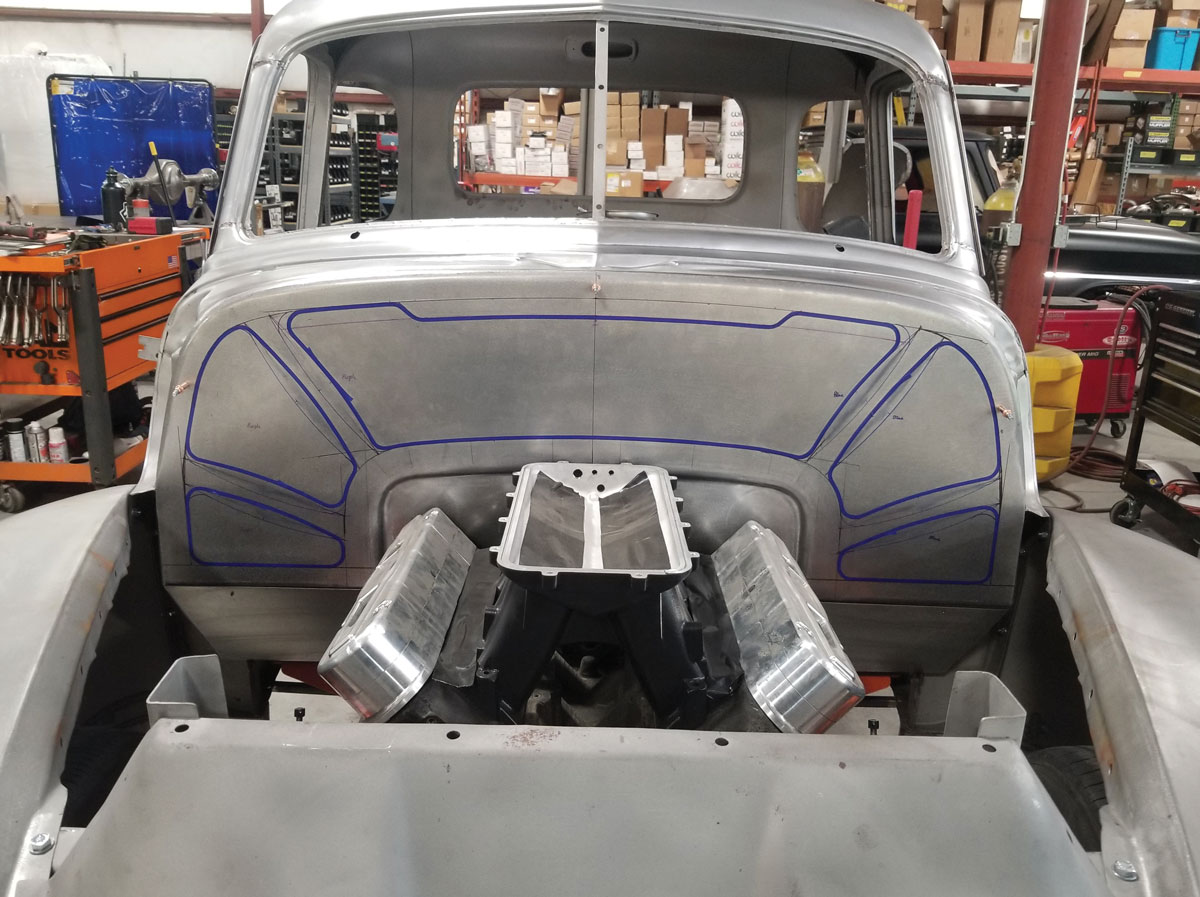
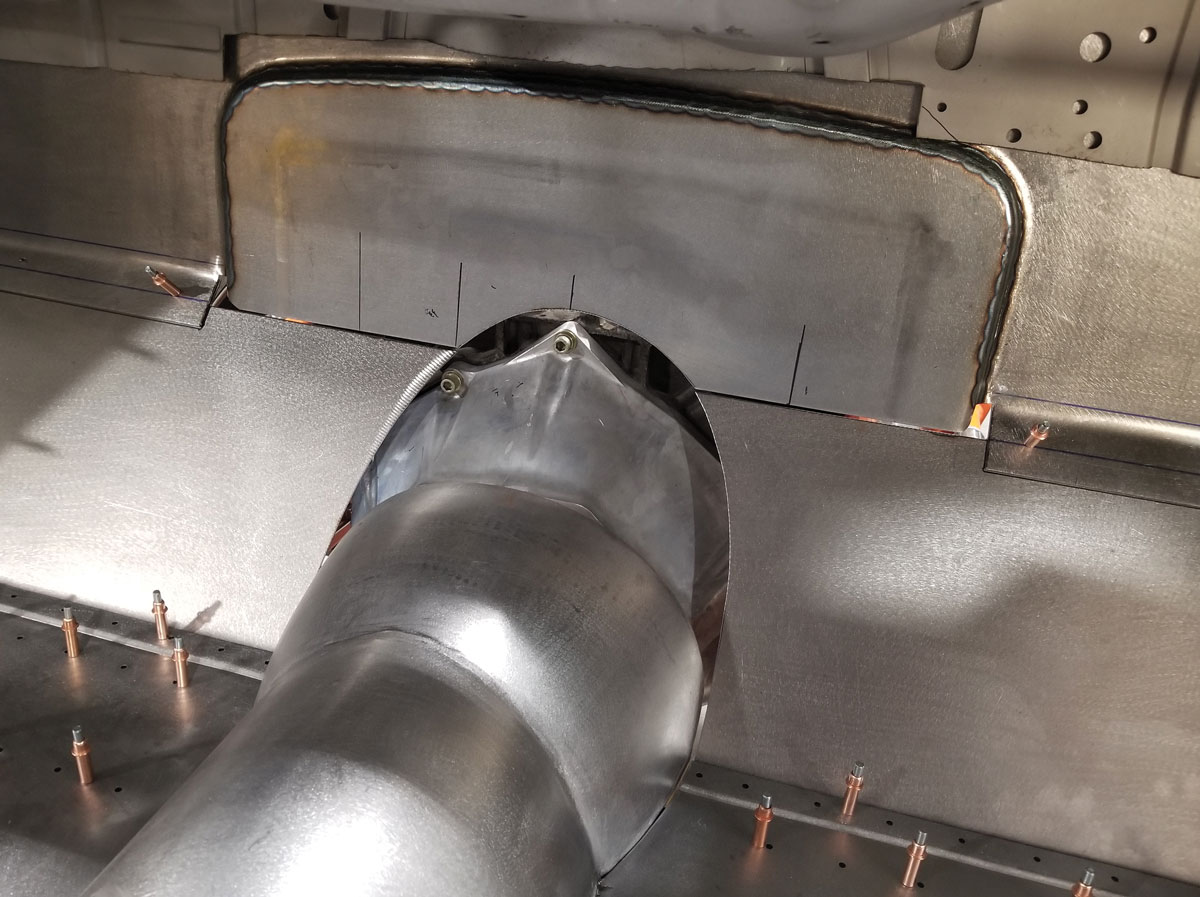
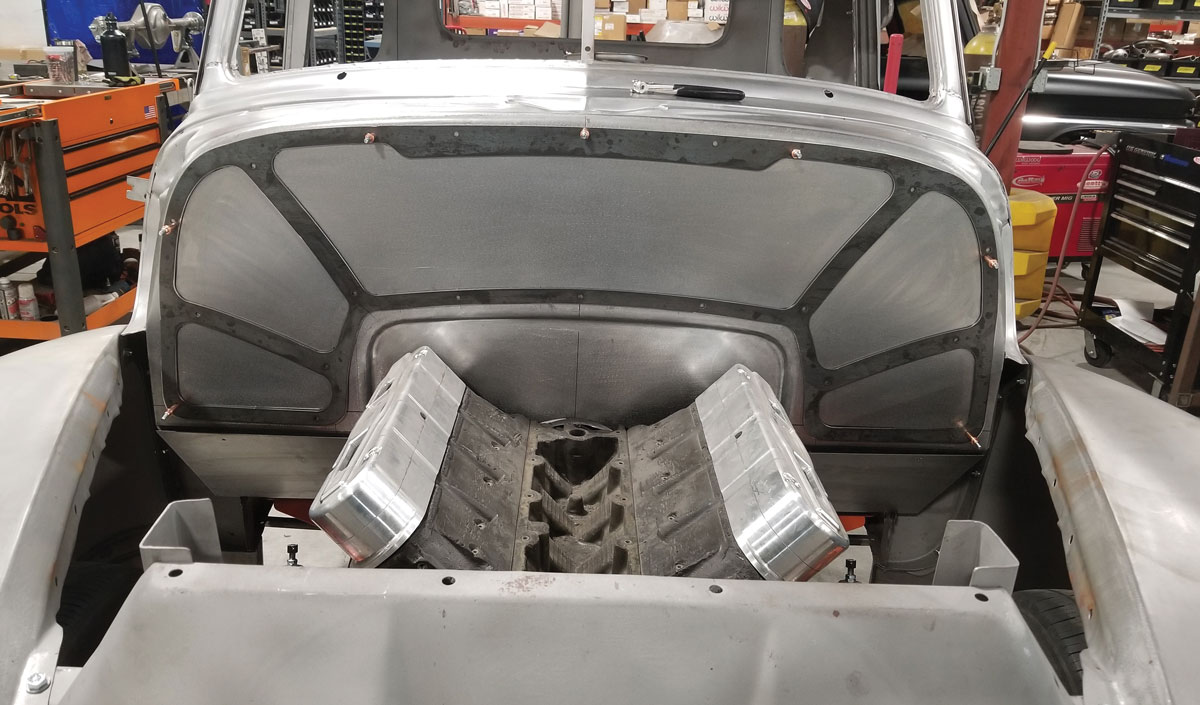
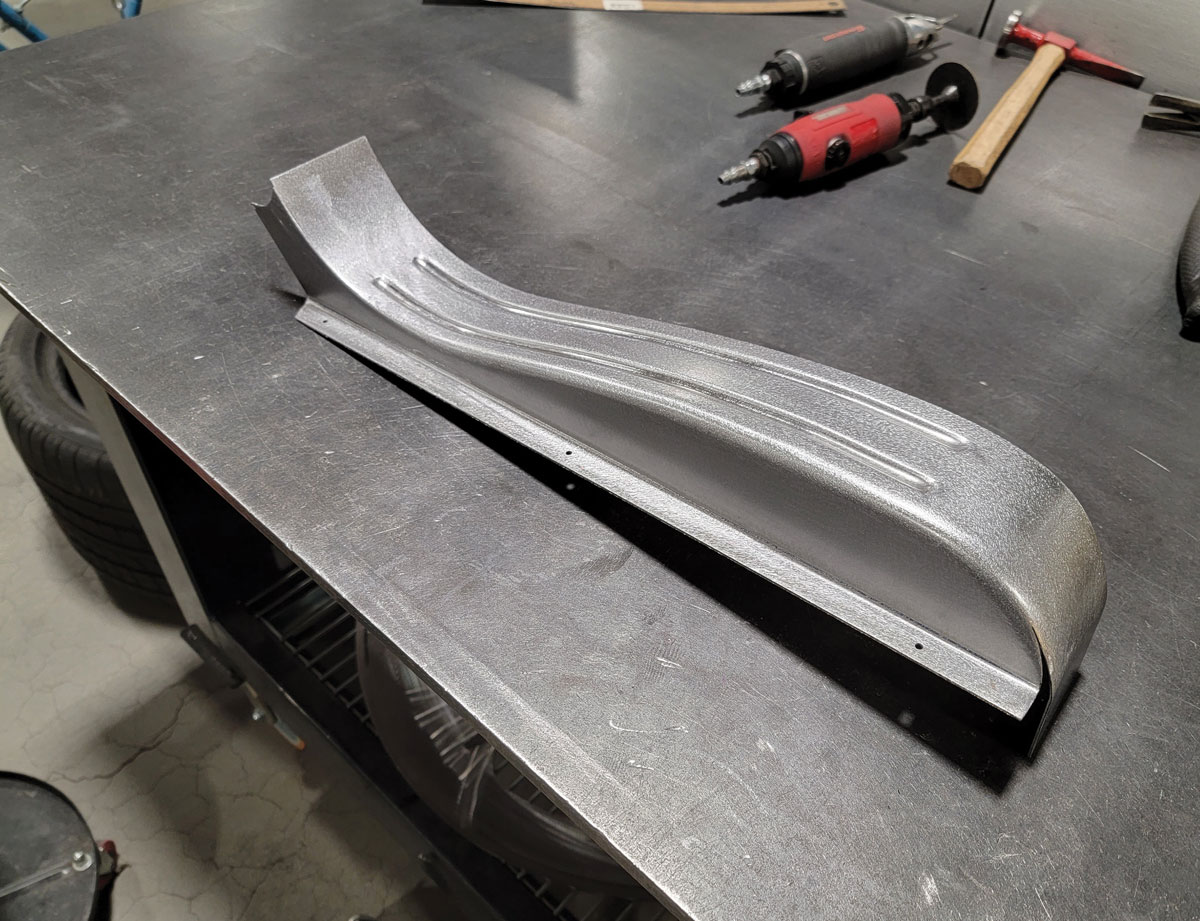
The firewall was completely cut out and remade in the stock location, but with a small 3/4-inch recess for the Wegner Automotive LS3 to push the engine back ever-so slightly to gain extra clearance for a larger radiator and the pulley system. Then I laid out a design with blue fine-line tape and we 3-D scanned it so Ian Kinzler could redraw it in SolidWorks and cut out a guide on the plasma table so we could use our Pullmax to get a nice, crisp, deep pattern worked into the metal. The design is 3/8-inch deep.

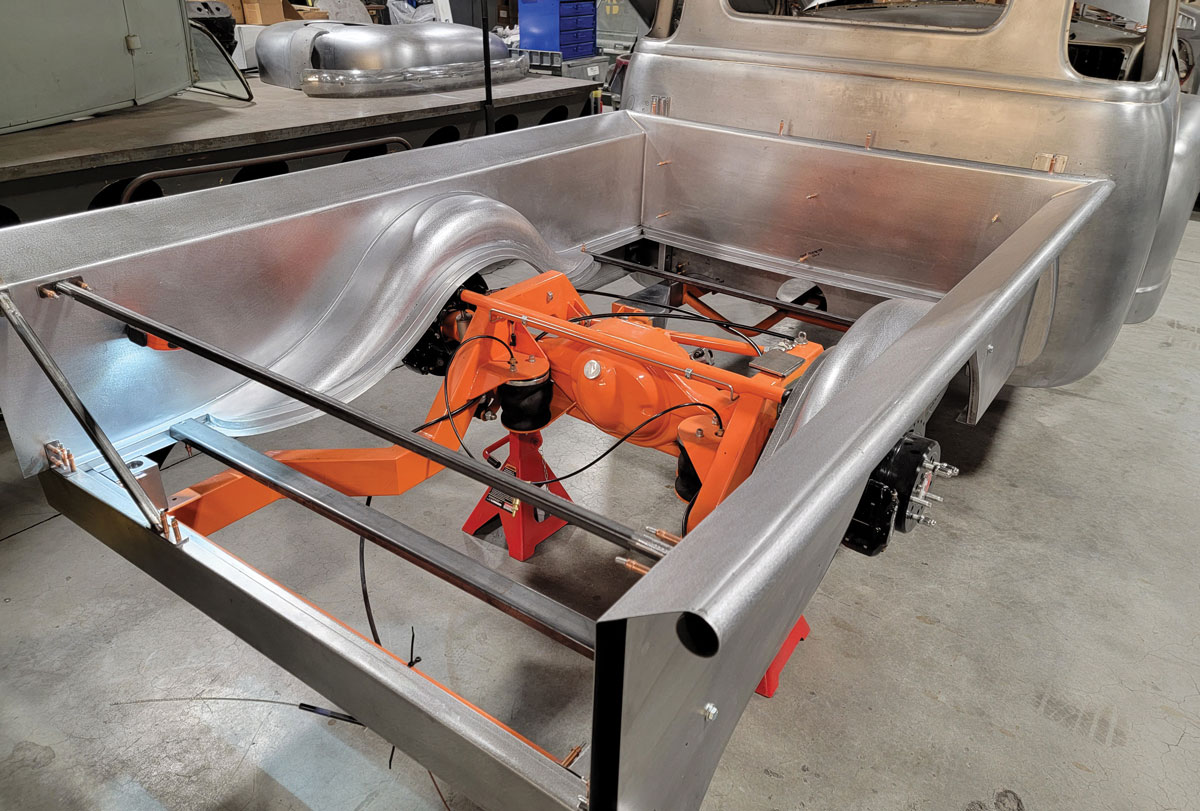
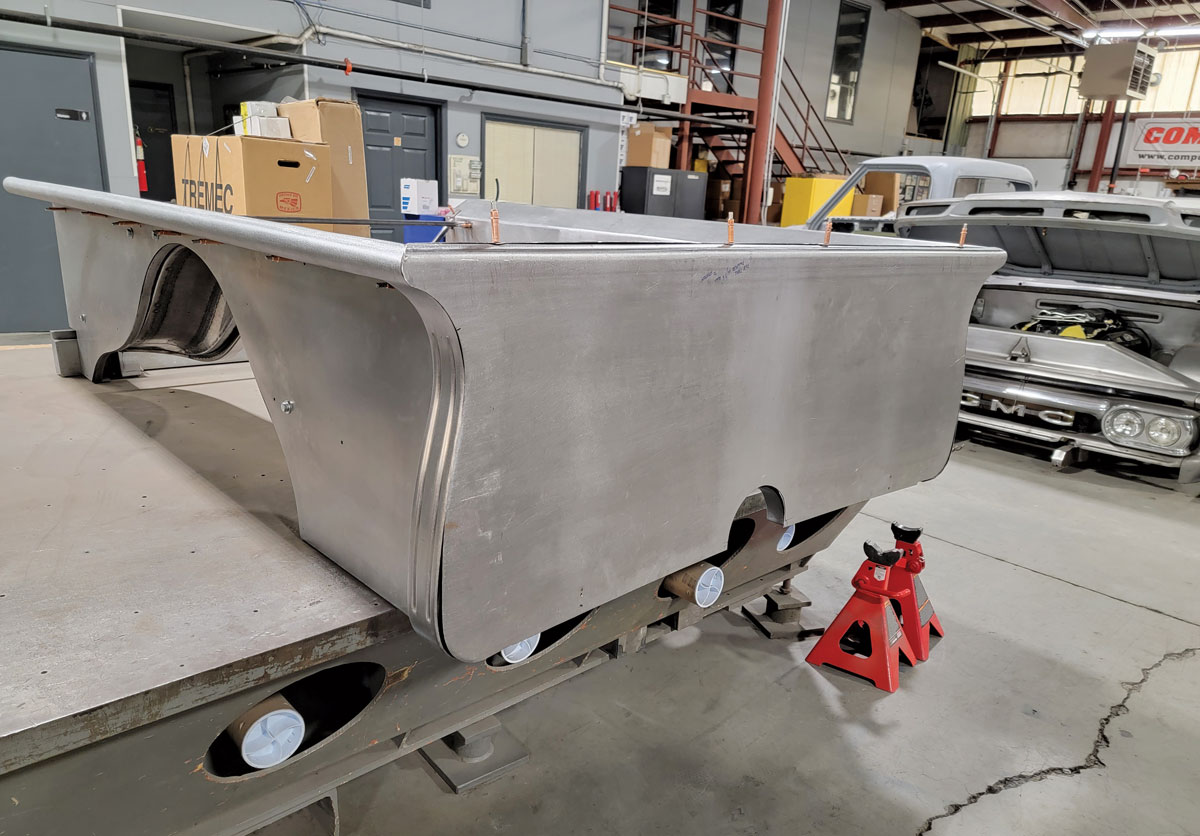
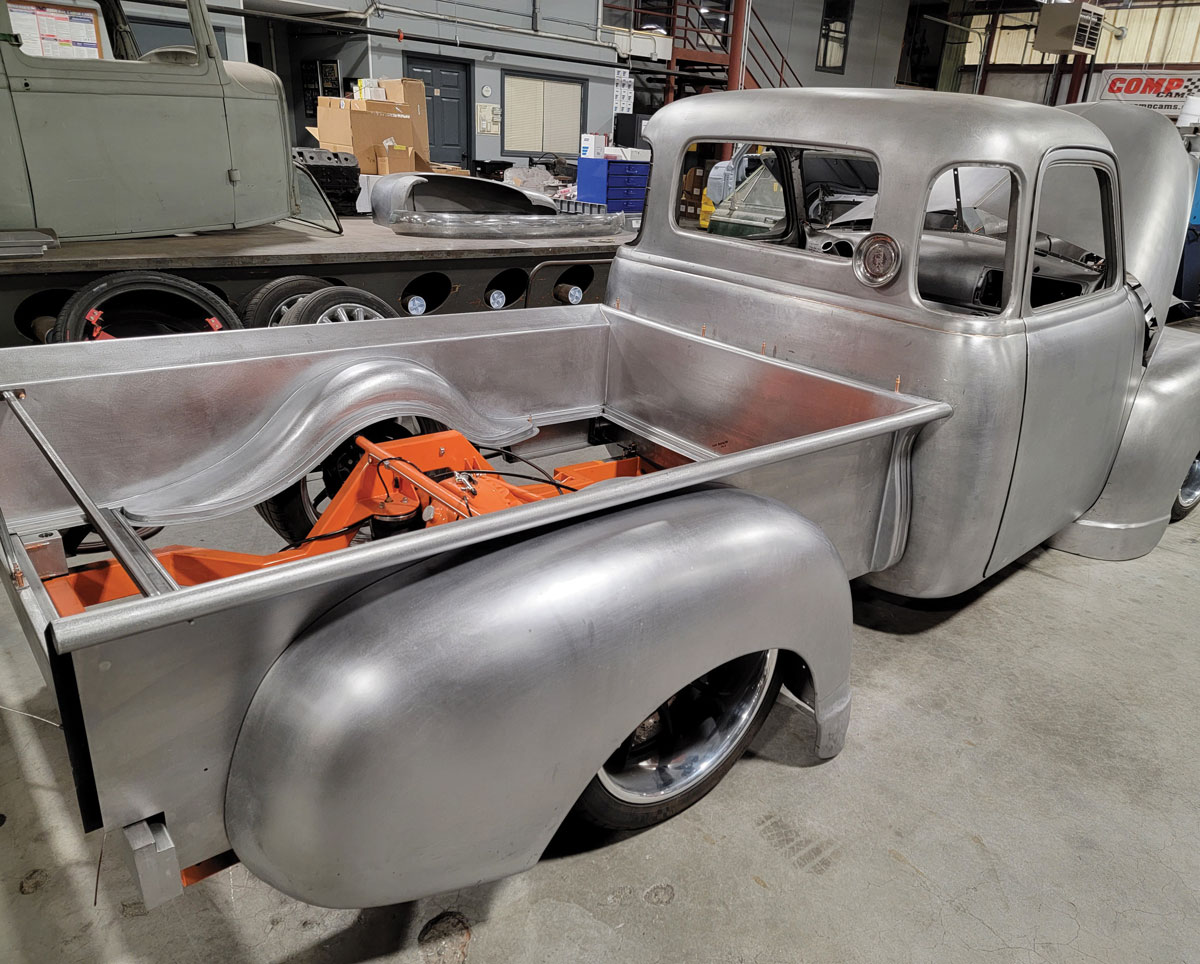
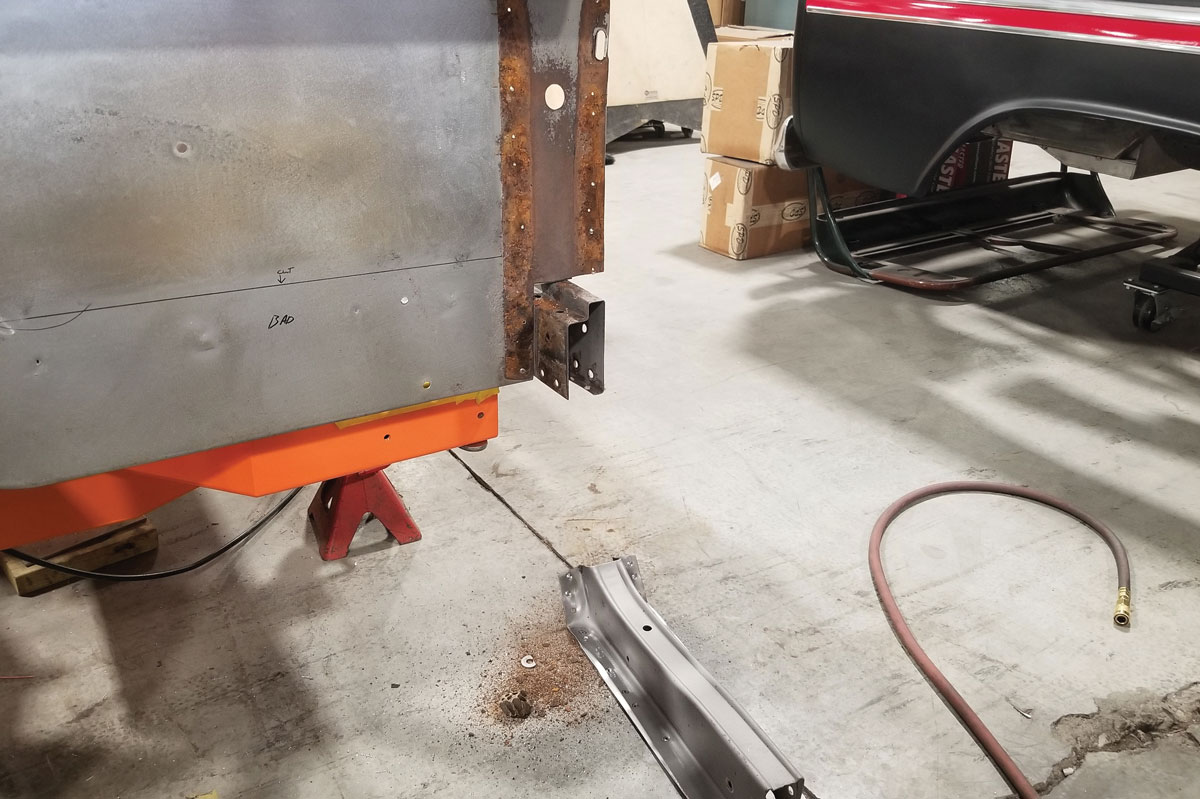
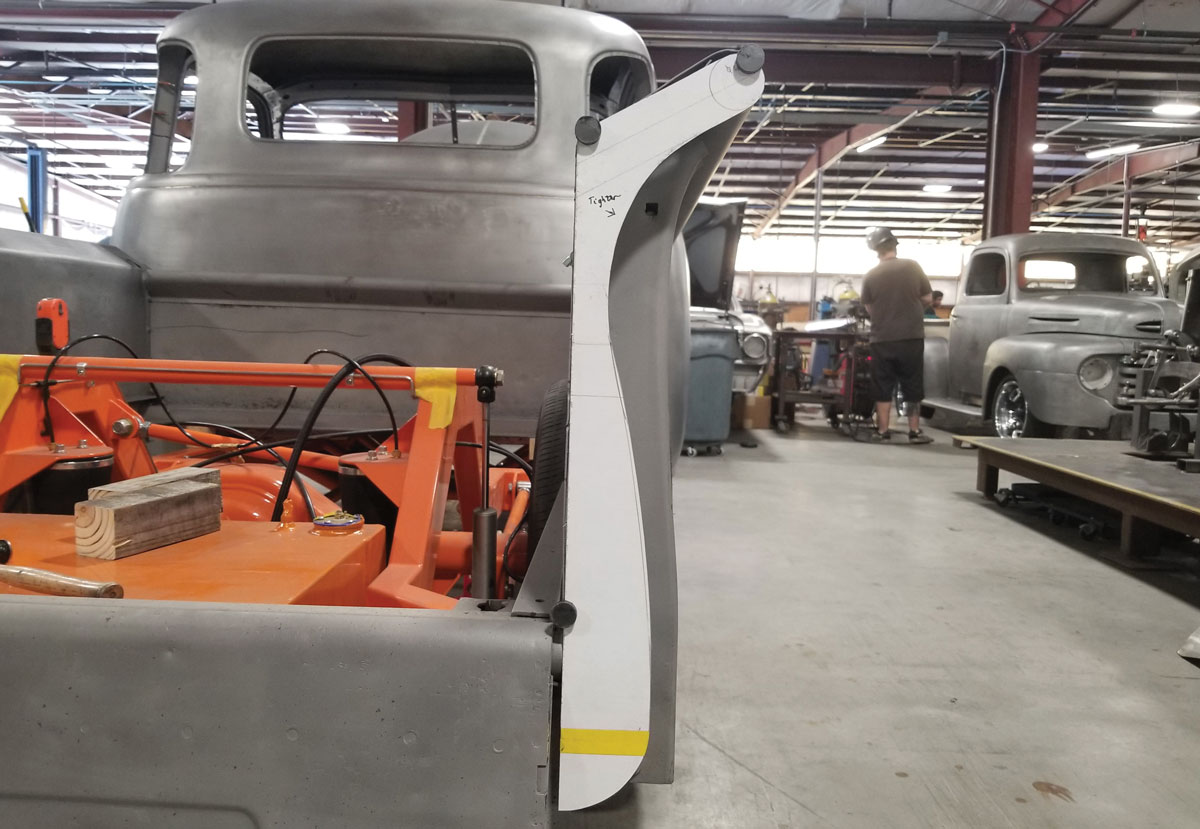
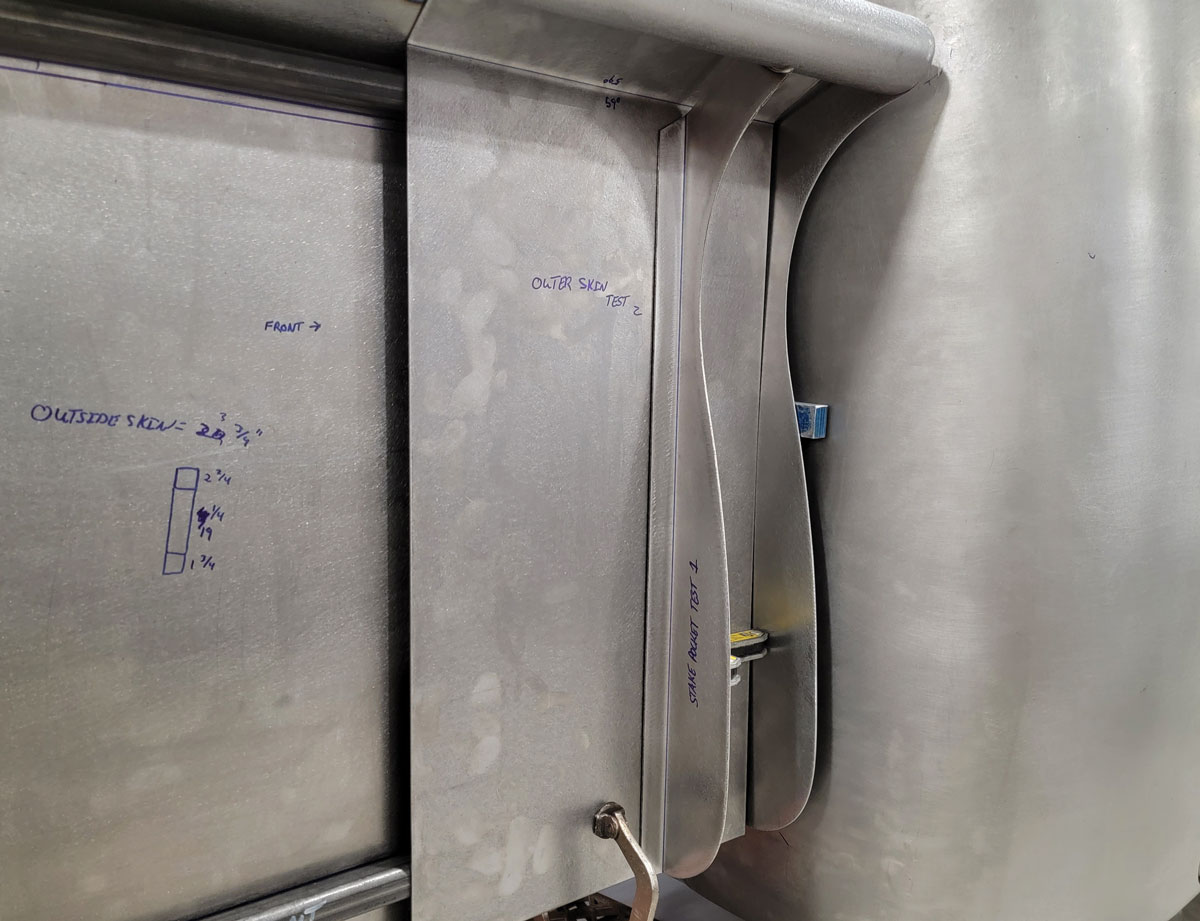
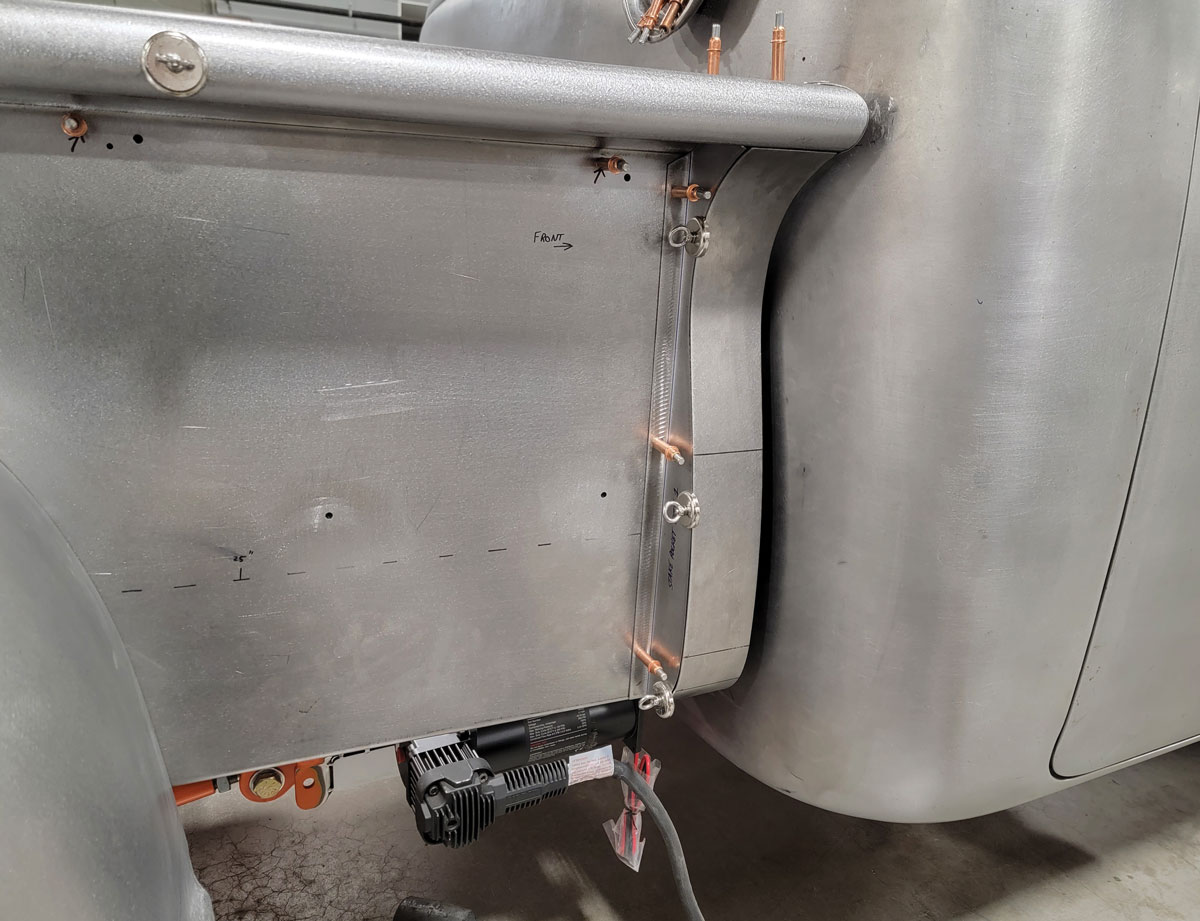
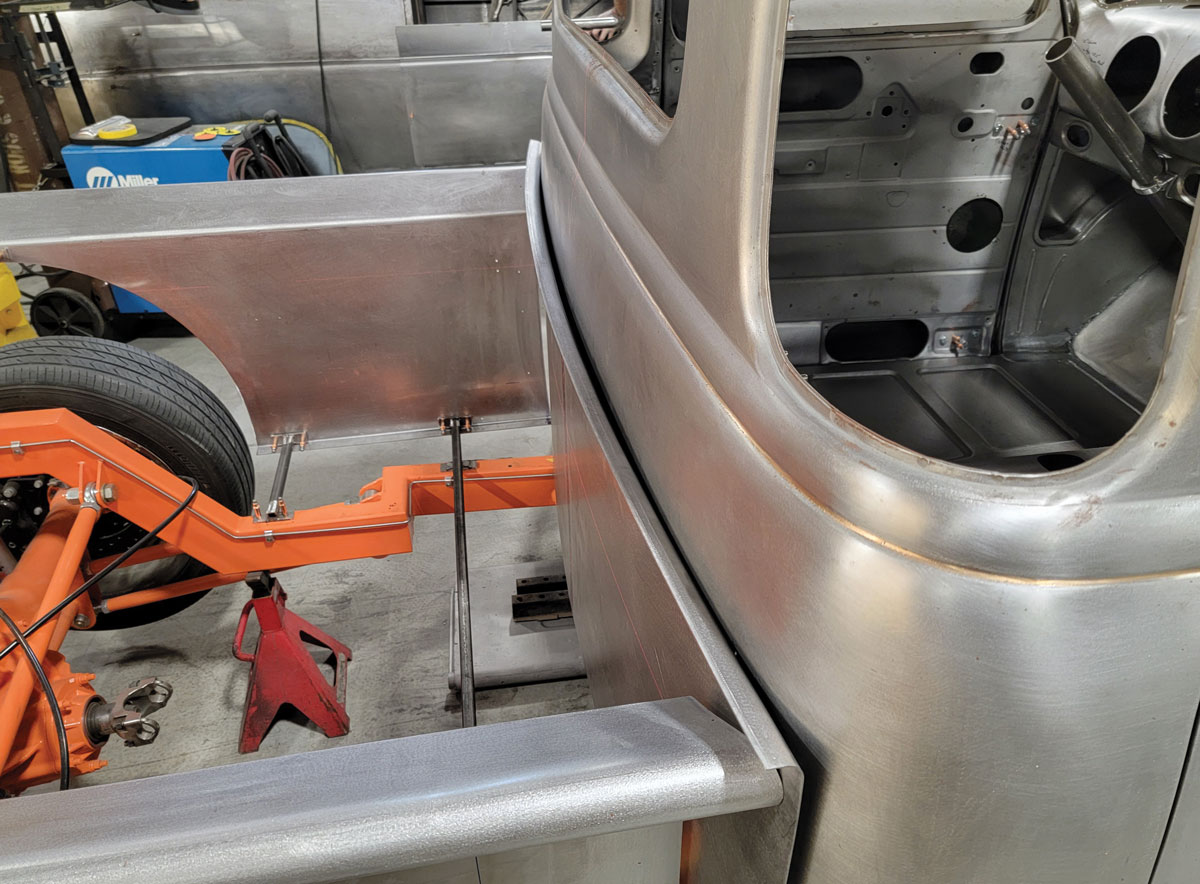
The only original part of the bed left on the truck are the top bedrails because they would take way too much time to reproduce and the ones on the truck were in pretty good condition. I ended up cutting 8 inches off the back on both sides to fill in the original stake pocket holes and correct the little bit of damage that was there in the back. When I started building the bed I knew I wanted to attempt to radius the front bed panel to match the radius of the back of the cab, so I made the outer skin of that panel first, then made the inner skin, and then extended the front section of the bedrails about 4 inches to meet up to the radius in the front bed panel. (Matching the radius and leaving a tight 1/2-inch gap between the bed and cab effectively lengthened the bedsides/bedrails by about 4 inches.) So overall, the bed itself is about 4 inches longer, though it appears to still look stock from any angle you look at it, proportionately.
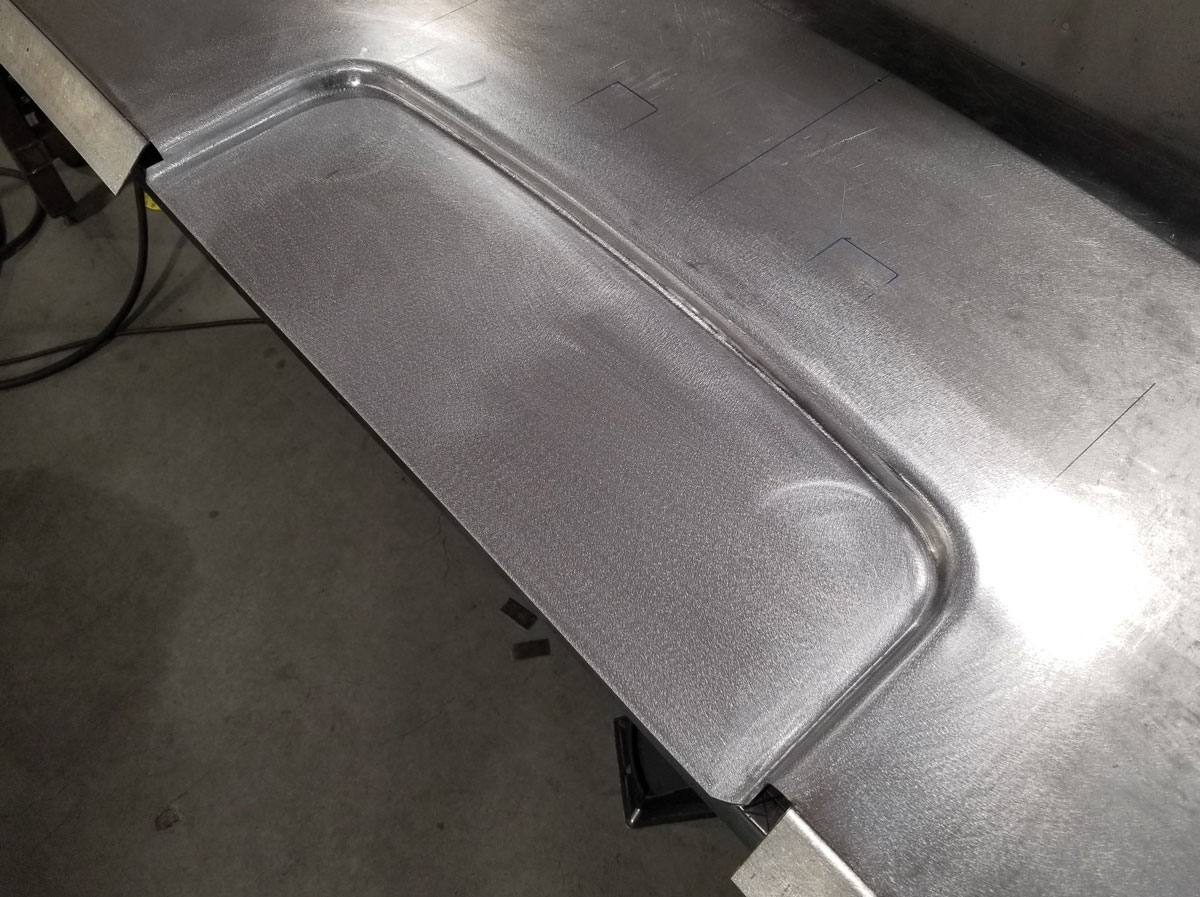
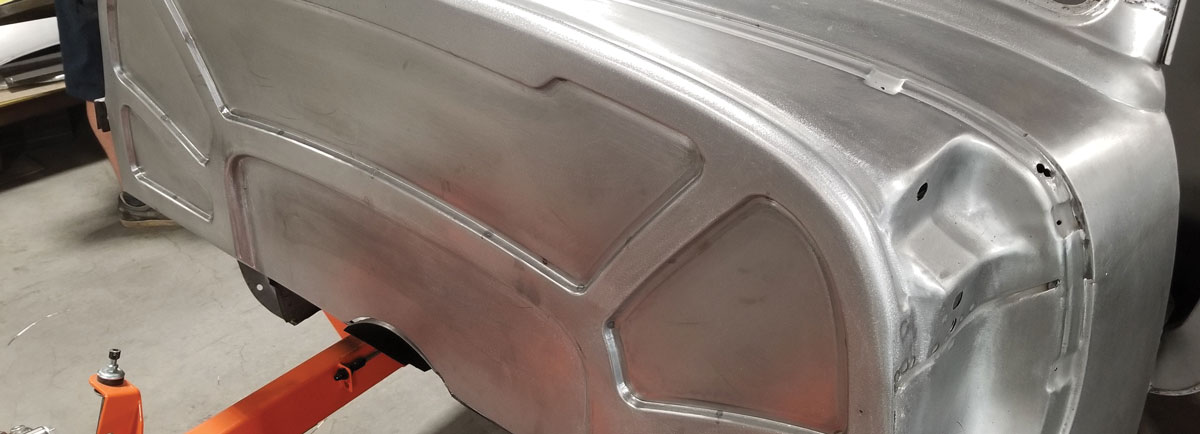
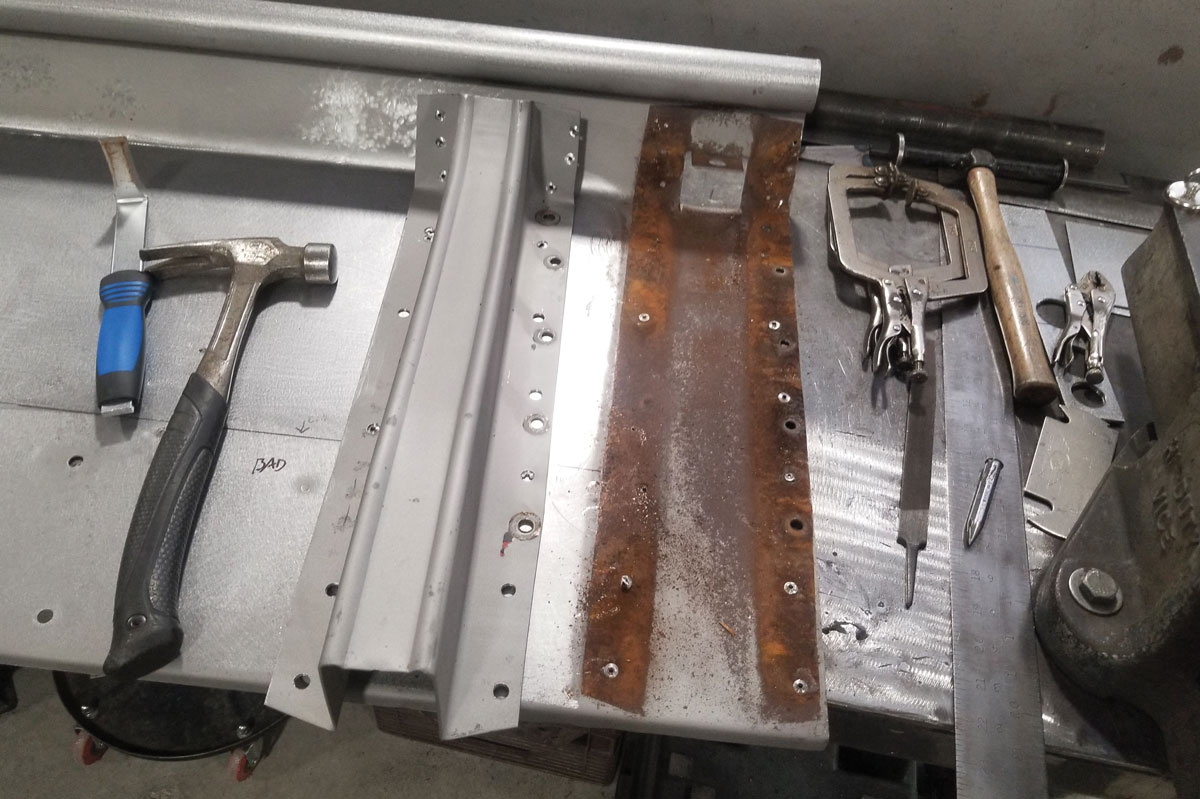
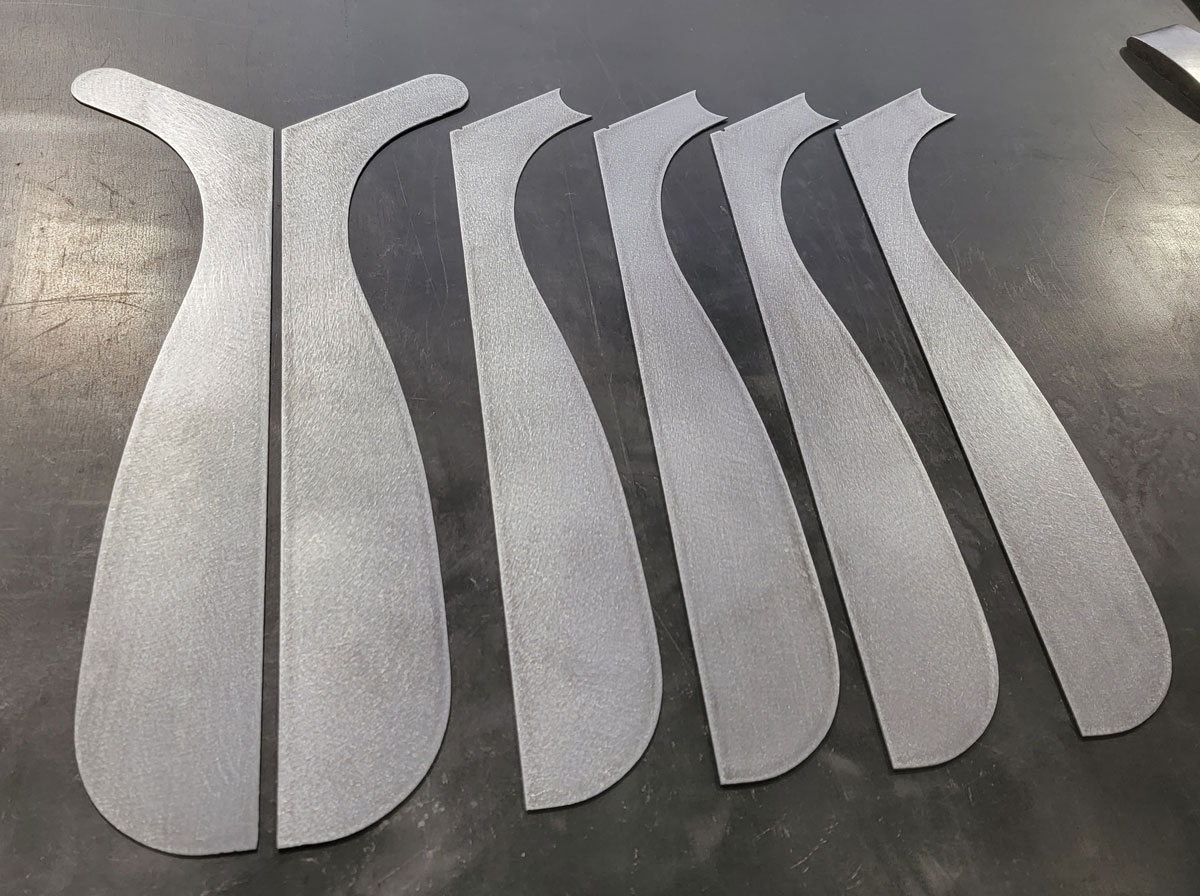
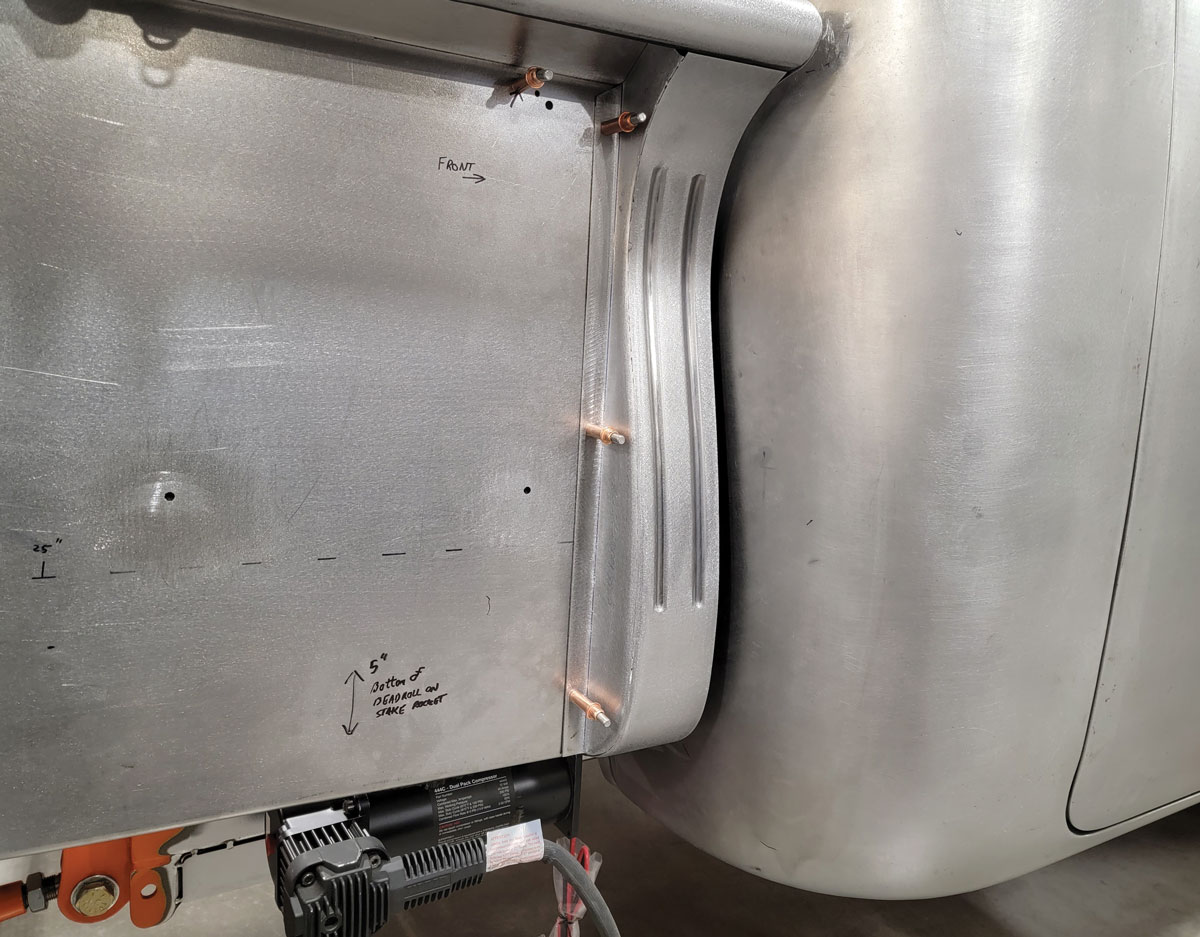
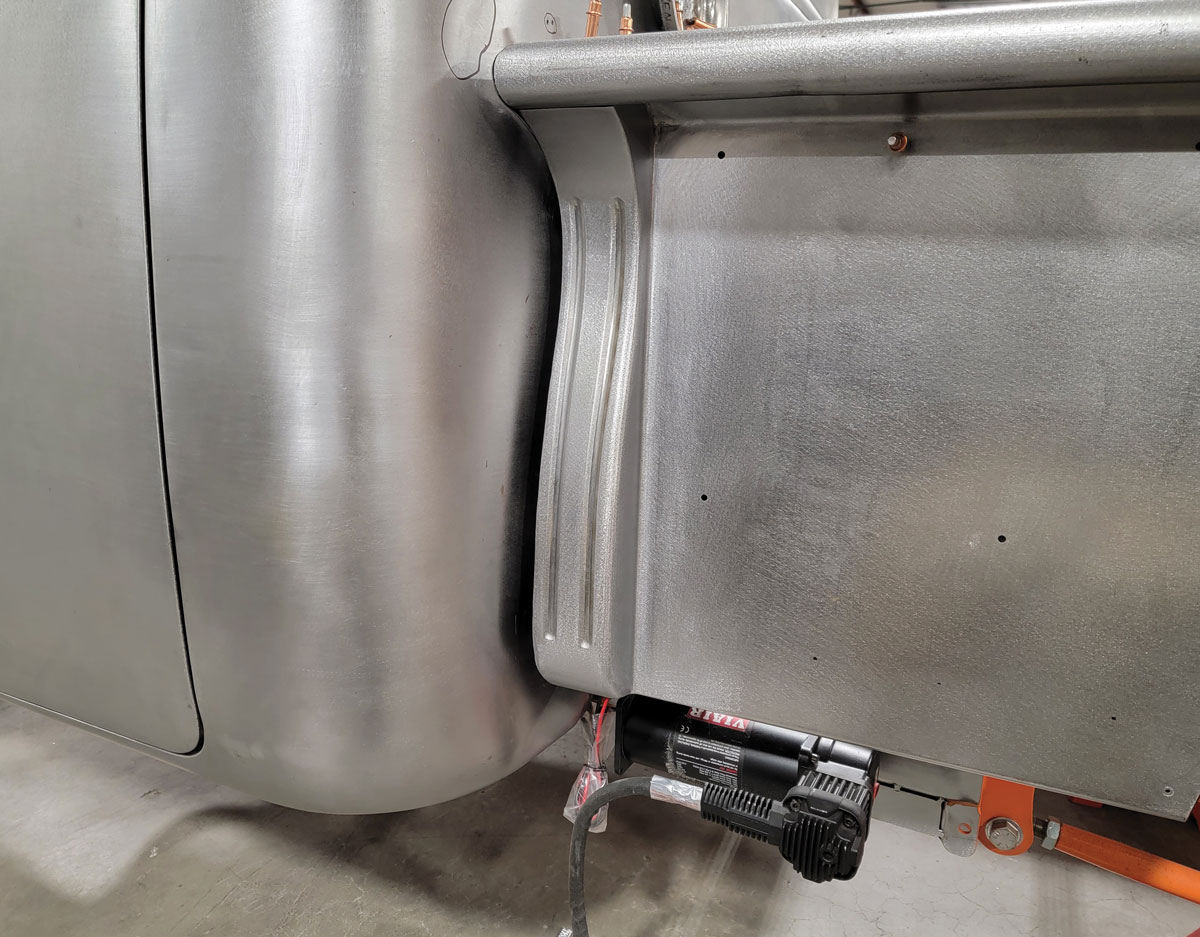
I was told by Justin that the owner didn’t want to keep the original flat stake pocket look because he felt they were a bit boring, so I made a few paper templates, playing around with shapes and proportions until I eventually liked the hourglass shape you see now. Making them was a bit of a different story though. Knowing that these were going to be a very subtle yet still very noticeable modification to the bed, I knew I had to make them all exactly the same. Trying to make four of the exact same organic shape can be a bit challenging, so we scanned my paper template and Kinzler again drew the shape out in SolidWorks and cut out all eight faces on the plasma table. At this point I had eight matching faces that I could then use to start building the pockets with. From there, I bent my flanges on each side, then made my centerpieces one by one, each carefully matching the hourglass shape. Then, I tank rolled the radius corners by hand and welded up each side. When I had clamped the finished stake pocket to the bedside it still looked boring to me. I felt it needed something, some small detail that would really enhance the look. So, I took one to the bead roller and rolled two 3/8-inch beads down the center face of it and then clamped it back on. That was it. That small detail added so much while still also being understated. So I did the other three the same way, then spent a while welding them in flush to the exterior bedside skin. (The bed is double walled.)
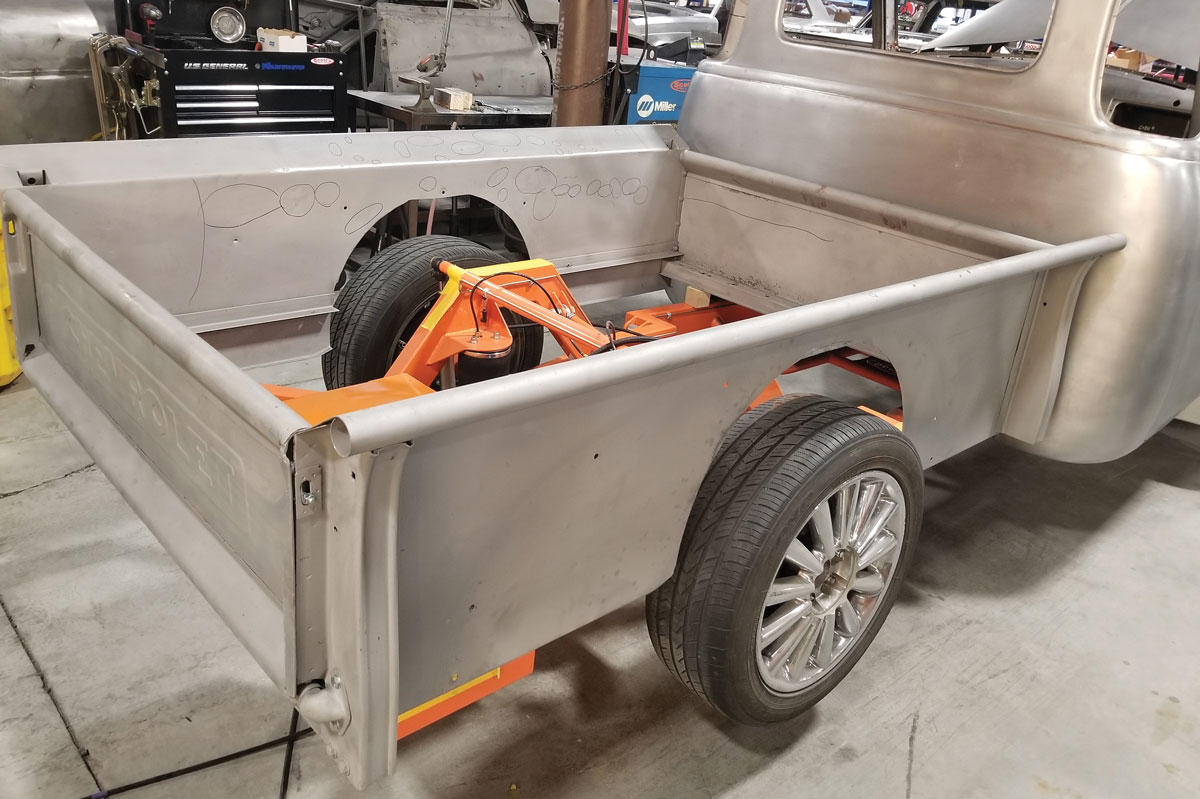
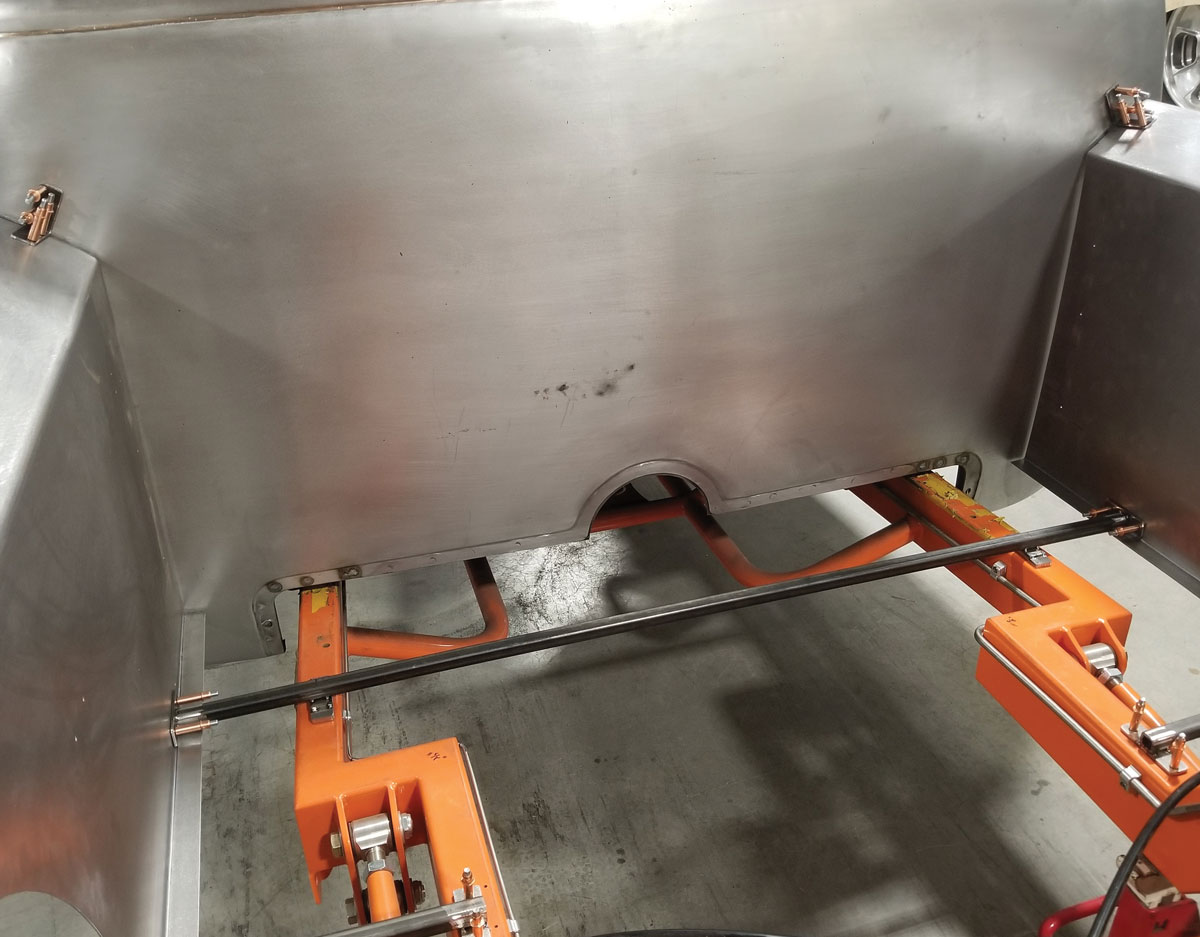
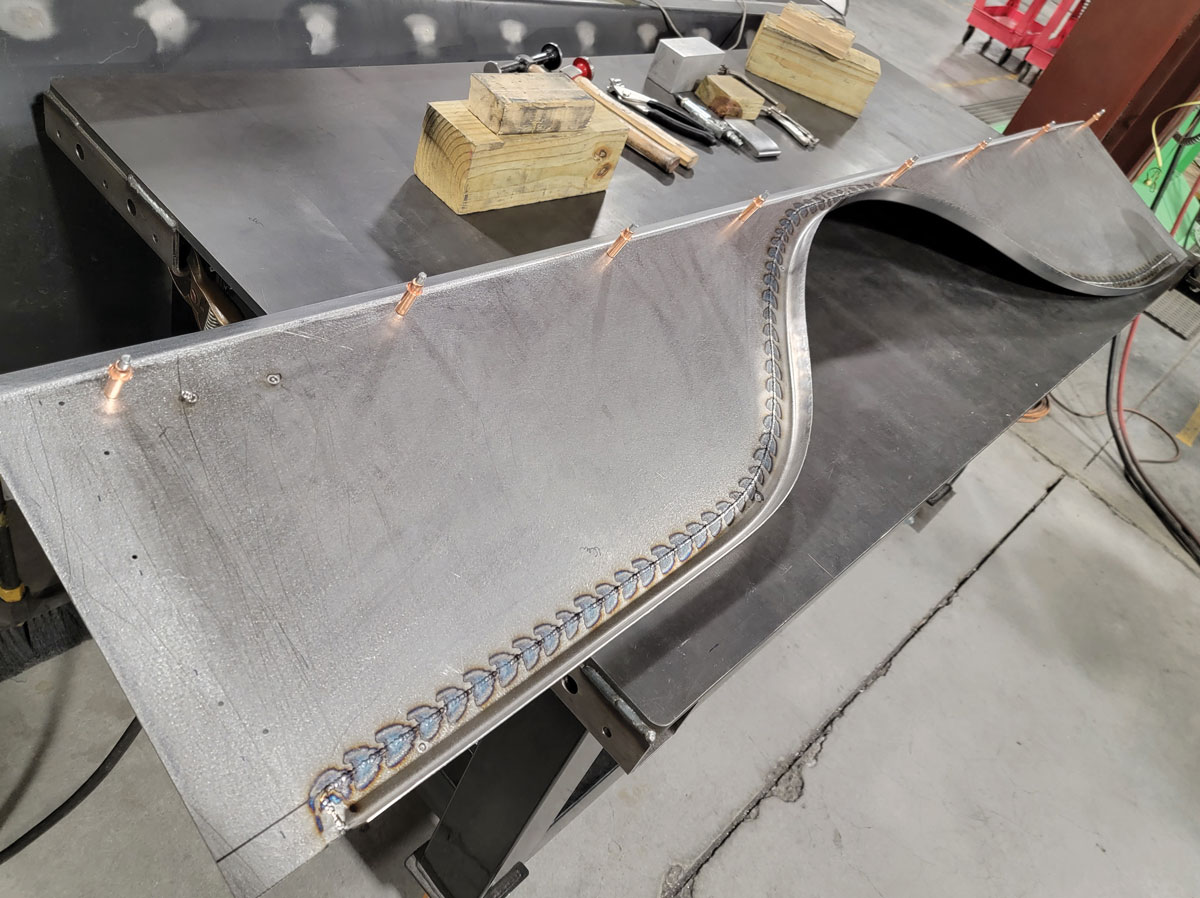
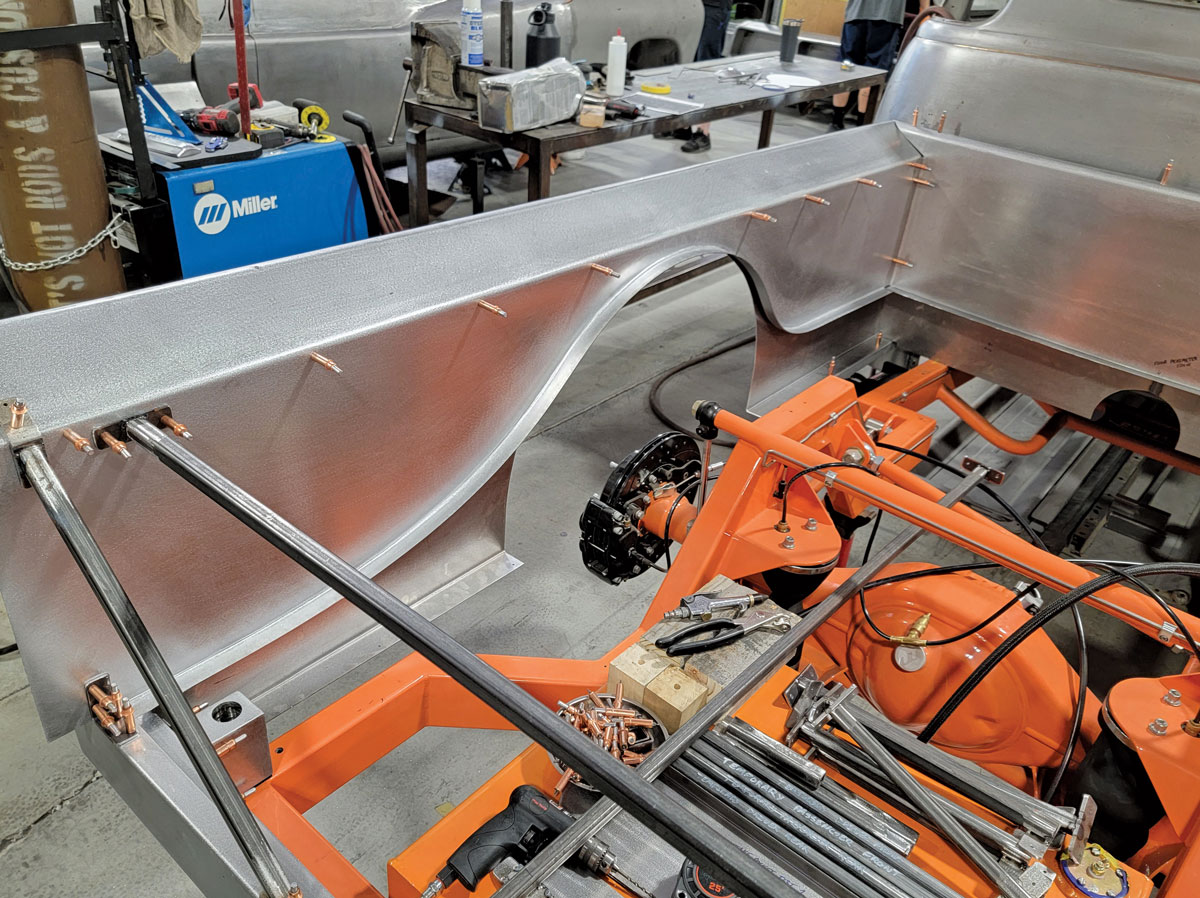
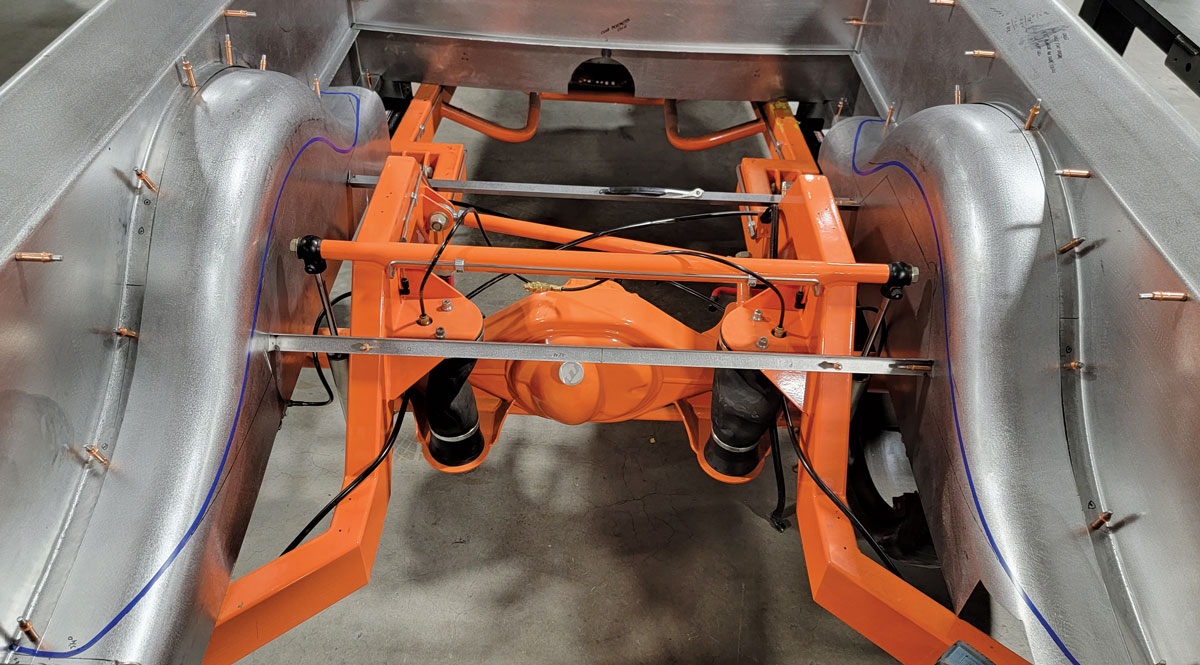
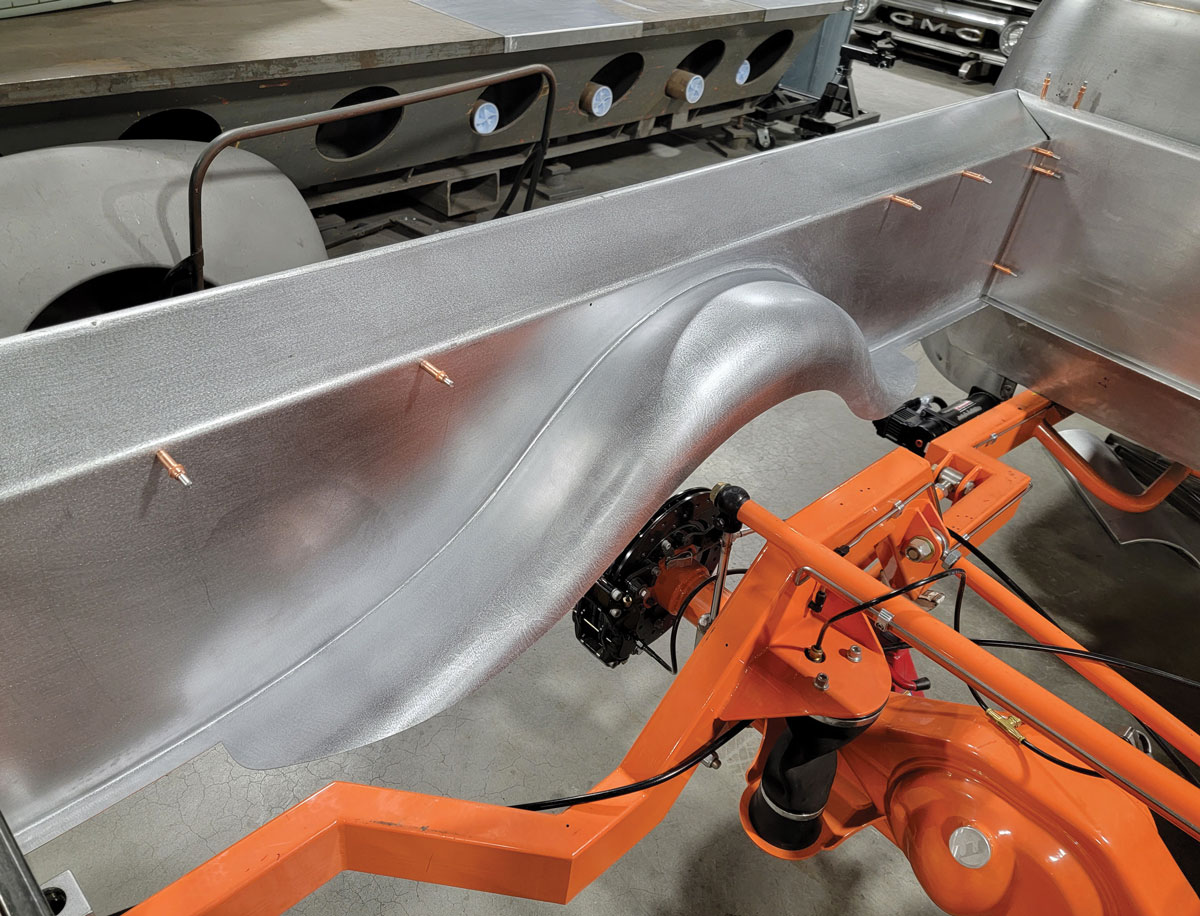
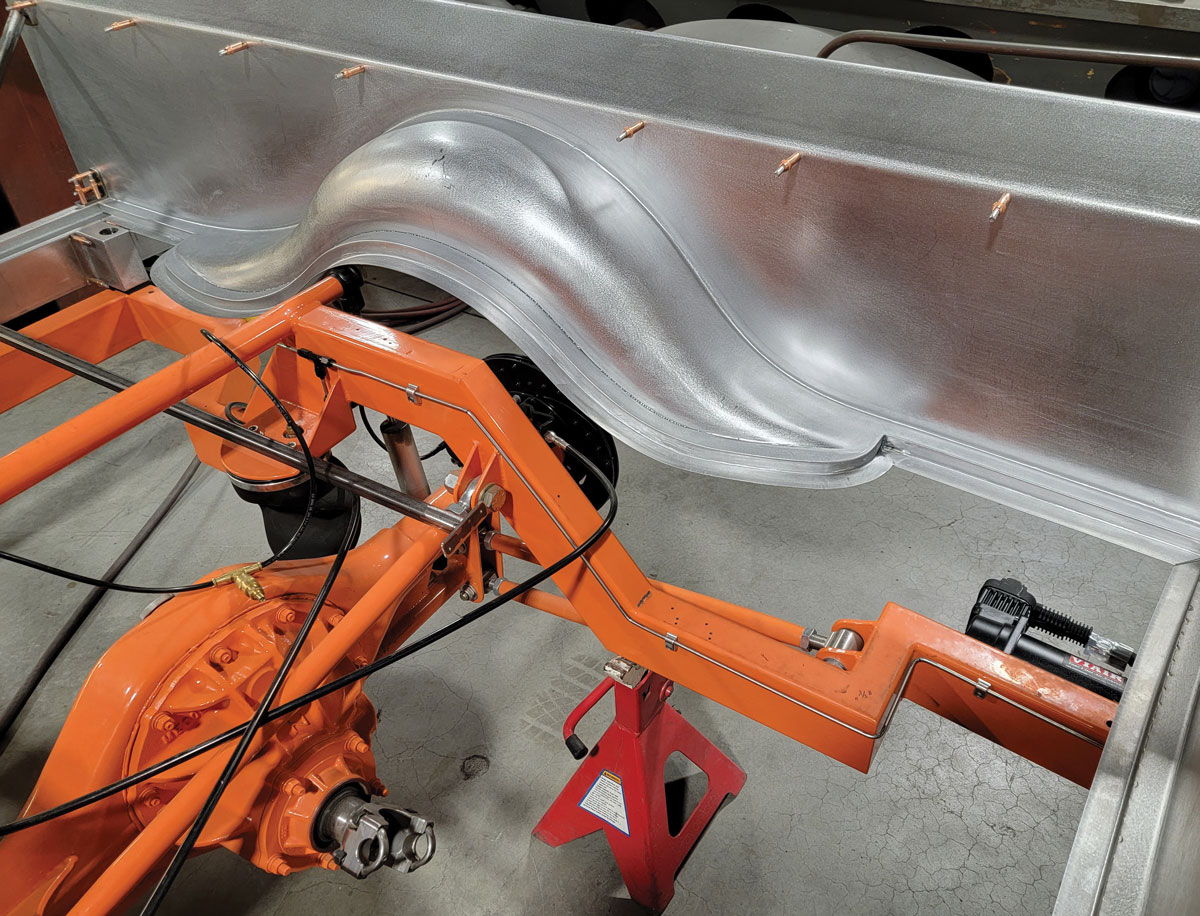
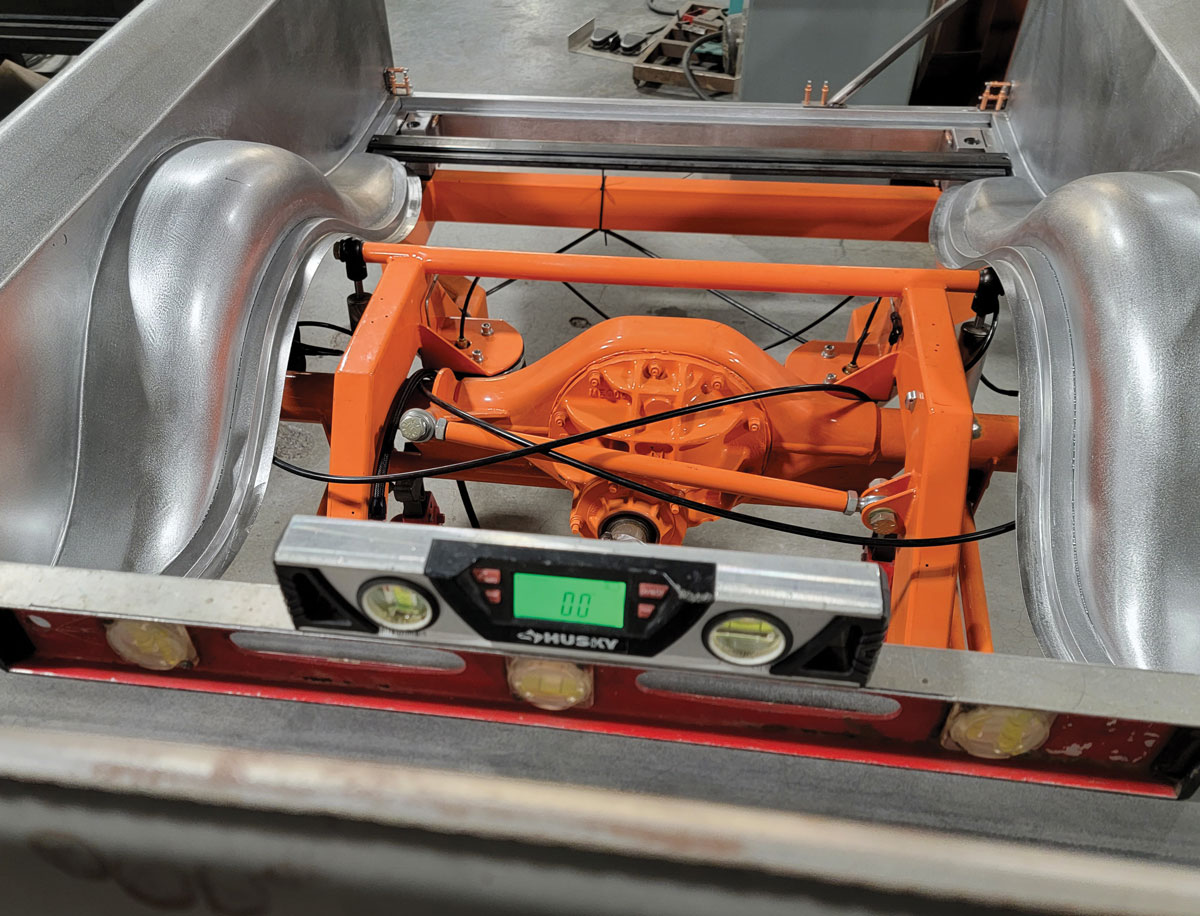
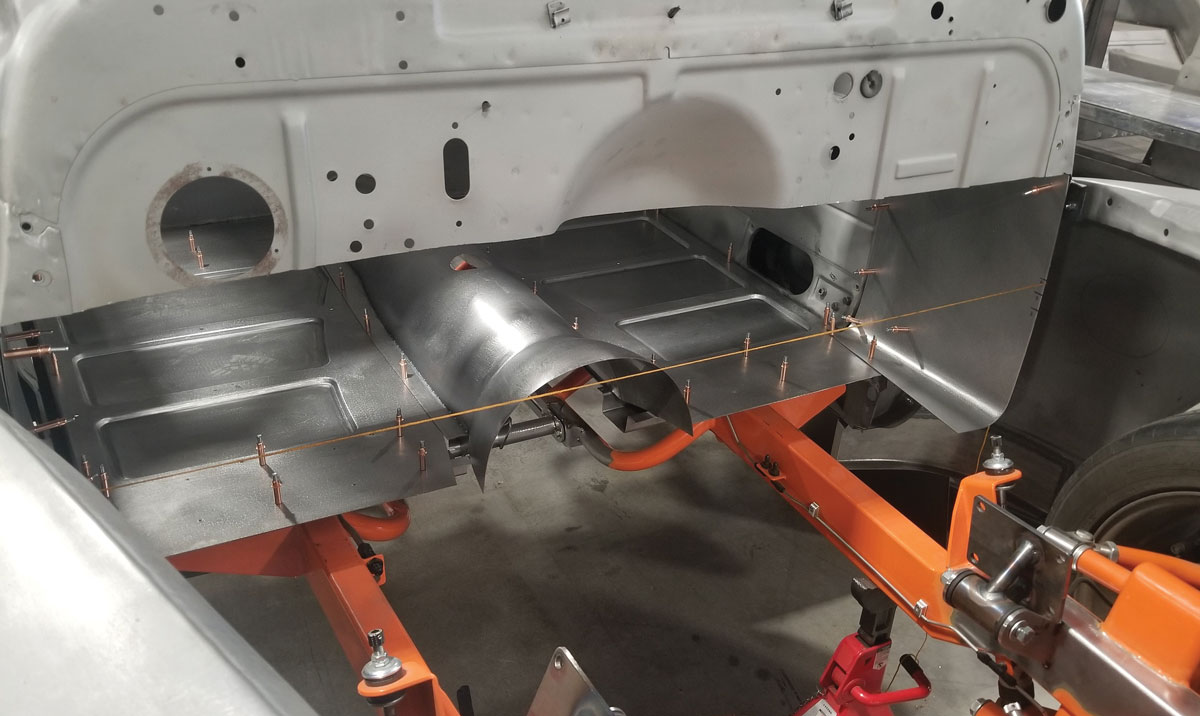
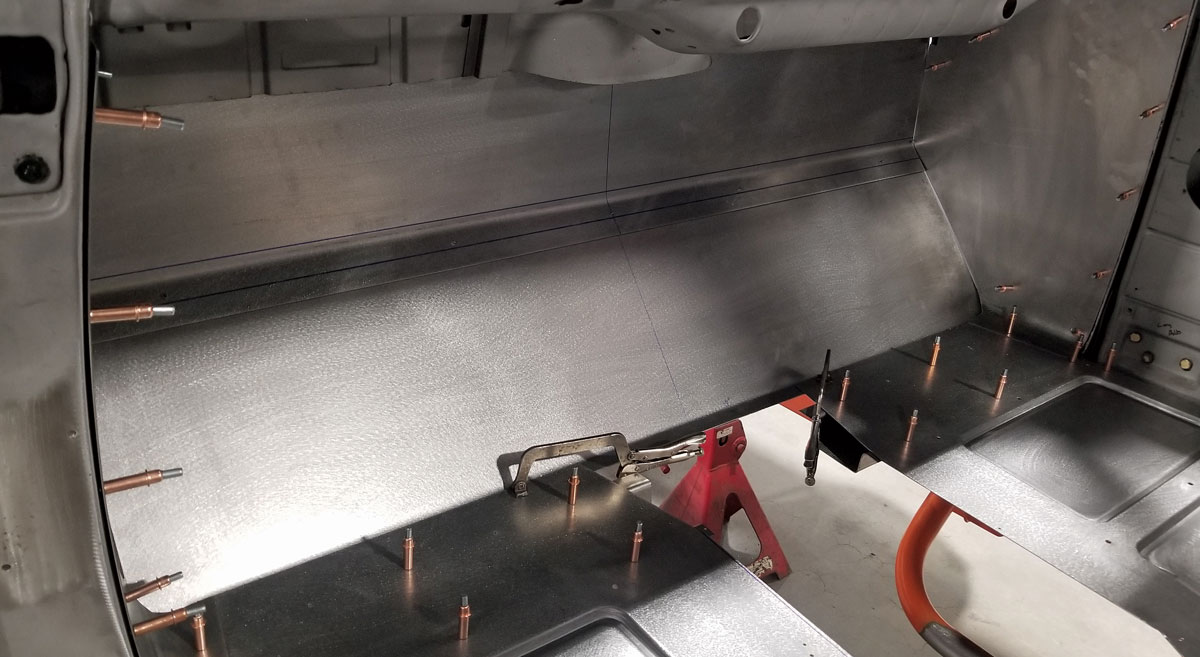
When it came time to start figuring out how we wanted to do the rear wheeltubs, it was honestly a bit of a challenge. None of us wanted see just a basic half circle wheeltub in the bed, but what could we do that would still be original yet have some “wow” factor when you look into the bed? After talking for quite a while with my coworkers, we had sort-of put an idea together. From there I started shaping a flange that would run the entire length of the bedside to be the floor perimeter edge. Once that was done, I started shaping the tubs one at a time. The tubs ended up being what you see now after a fair amount of work. From there I welded those in, trimmed all the excess material away, and started continuing the bed floor perimeter edge around the tubs. By the time it was all said and done, I had a complete interior bed design that would surround the actual bed floor. When it came time to weld all of this in permanently, it was really quite a chore and a hugely complicated puzzle. When I started the bed, I knew I didn’t want to weld any inside edge or corner and try to metal finish that weld in a corner, so every inside corner is a bent flange. Trying to achieve this meant that I would have to very carefully plan out how I was going to build every single part of this bed.
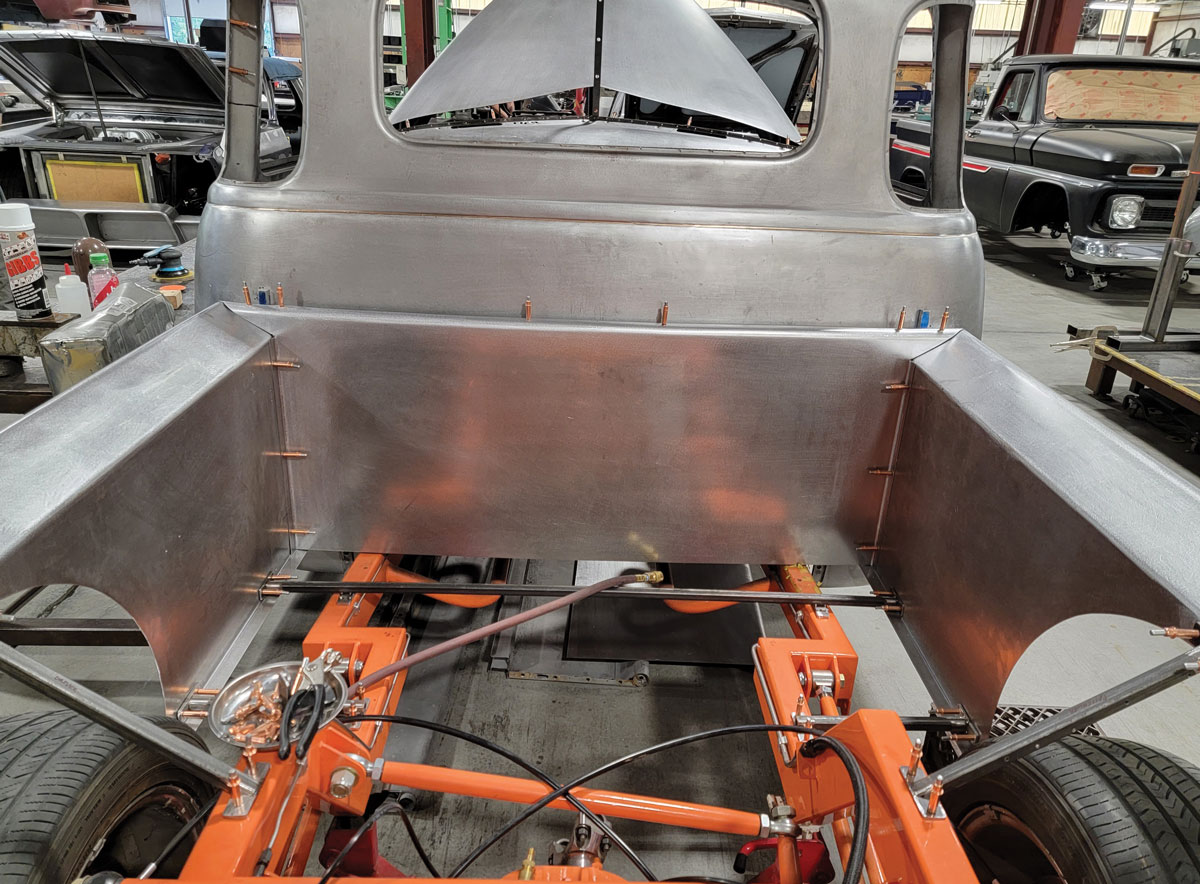

When I started the bed, I knew I didn’t want to weld any inside edge or corner or try to metal finish that weld in a corner, so every inside corner is a bent flange. Trying to achieve this meant that I would have to very carefully plan out how I was going to build every single part of this bed. As of writing this, every part of the bed except the actual bed floor has been made, and everything has been welded up except the exterior bedsides. Currently, to finish up the bed, we’re working on designing and machining some one-off taillights that will be recessed into the rear stake pockets; we are still currently building the tailgate (which has a slow open assist retrofitted from a ’16 Chevy Silverado). Once those are finished, I can completely weld up the bed and then begin working on the bed floor.
I also just wedged the hood 1 inch and we decided to also wedge the front fenders 3/4 inch. At the time I had never even heard of these kinds of modifications, so Justin (my boss) had to school me! [Laughs] The mods completely change the look of the front of the truck though, and I’m 100 percent a fan. We’ll also be completely remaking the grille from scratch, so that should be a fun and interesting project to get into.
There are about 125 modifications done to this truck in total so far, both subtle and some not-so subtle and there will be tons of other modifications still to come. Currently, I’d say we’re about 55 percent done with all the fabrication work on the truck, and I’ve logged about 980 hours on the truck in 11 months since it first arrived at our shop.