CTP logo Tech

InTheGarageMedia.com

A Blue Oval, Abridged Title
Part 2: Shortbox Sheetmetal Savings by Starting Anew
BY Ryan MansonPhotography BY THE AUTHOR
W

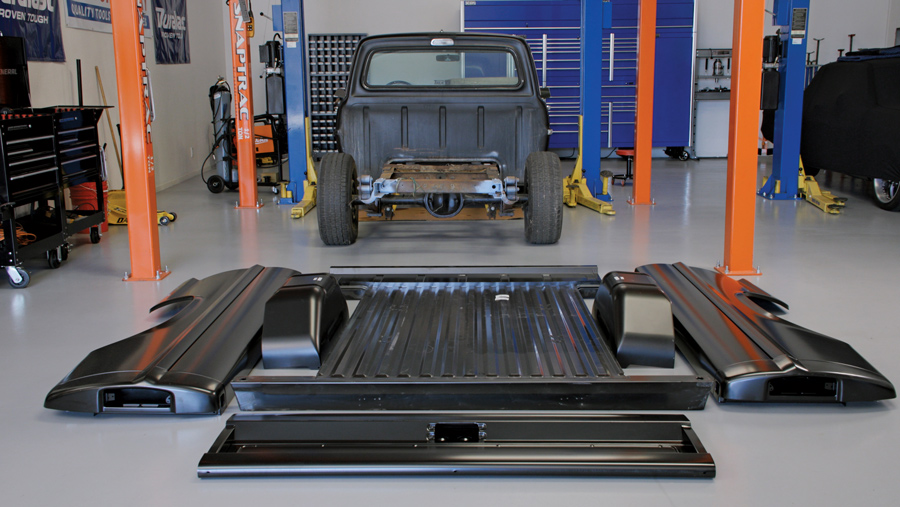
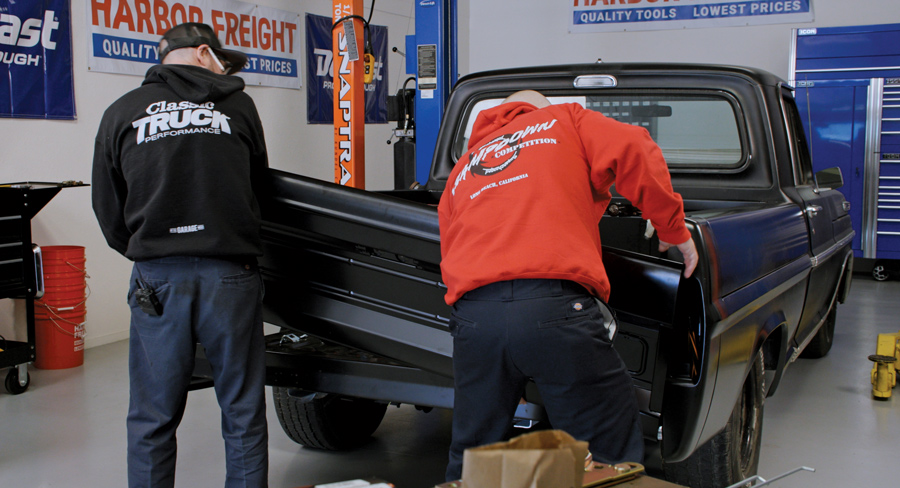
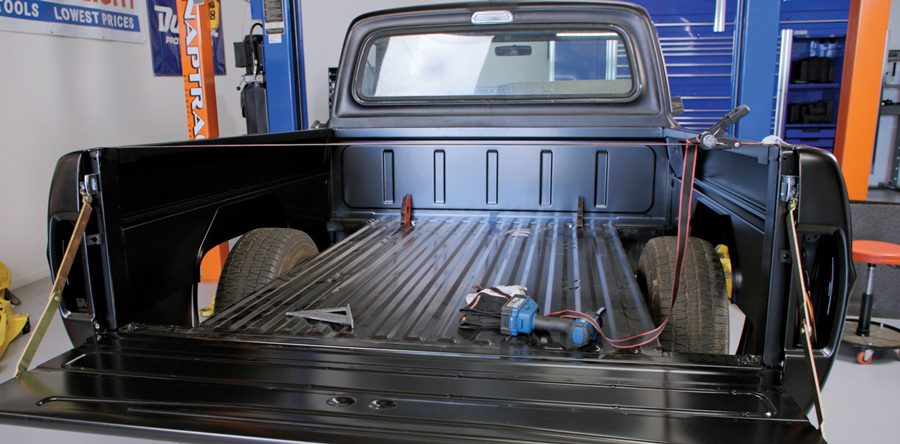
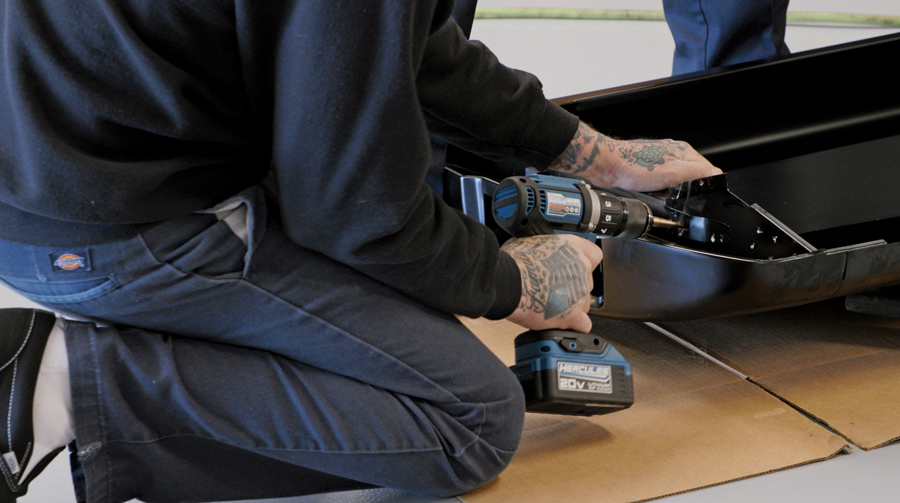
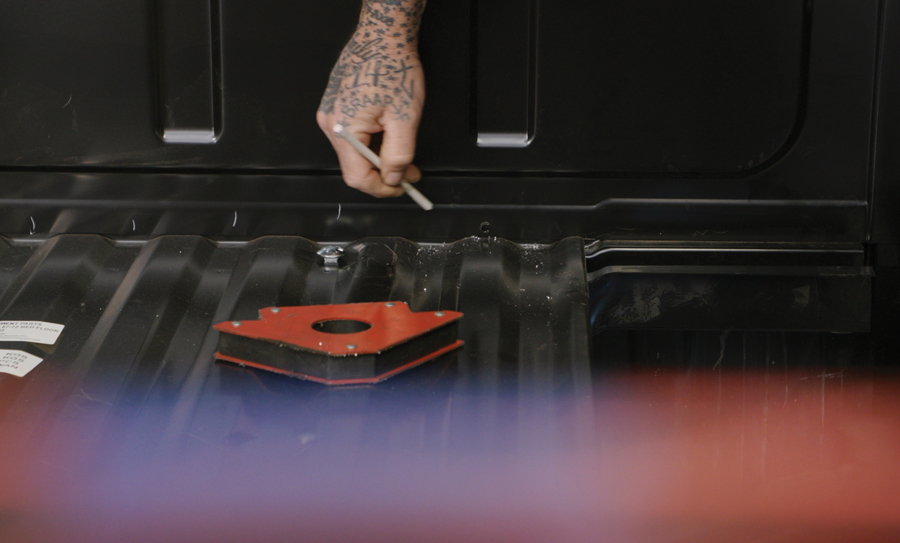
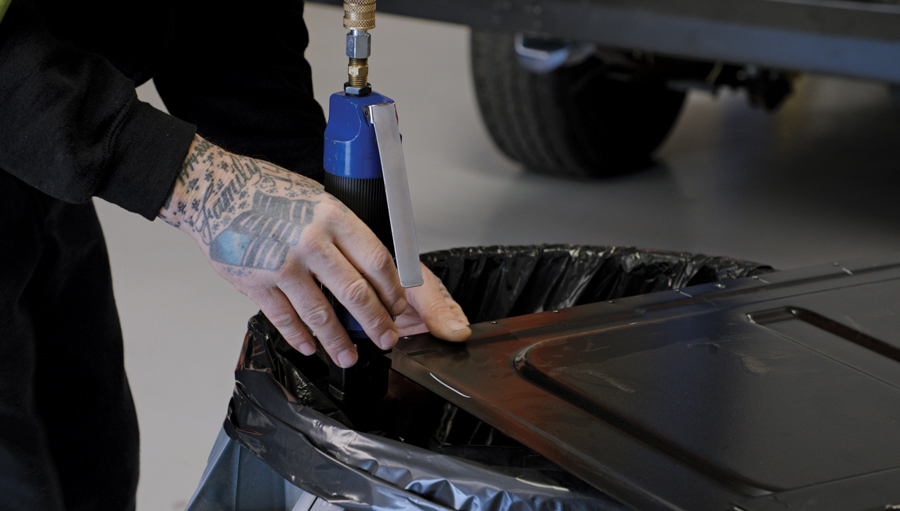
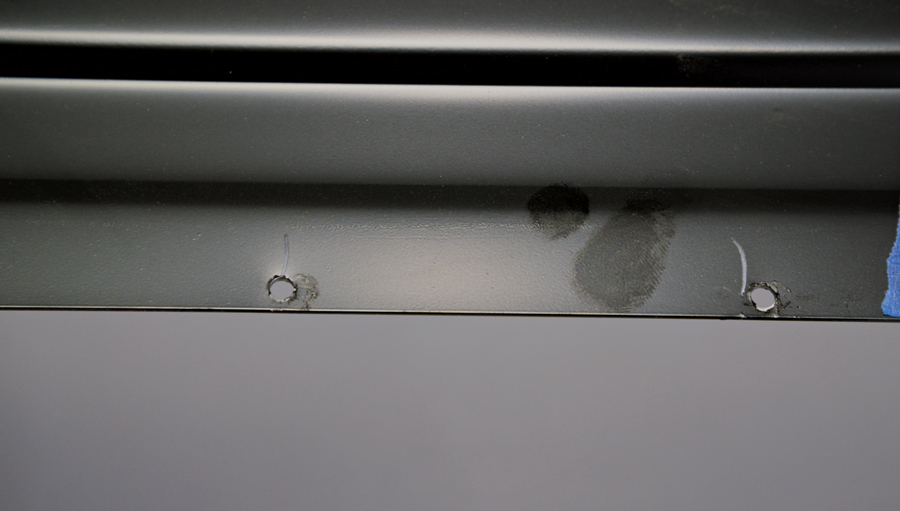
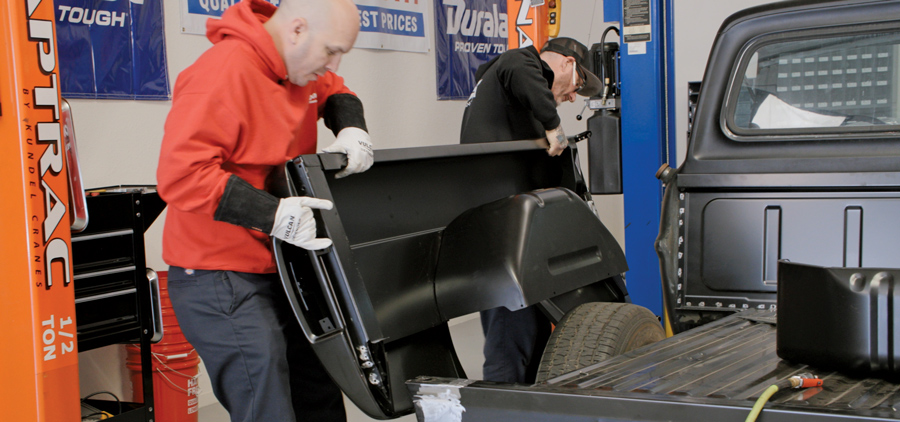
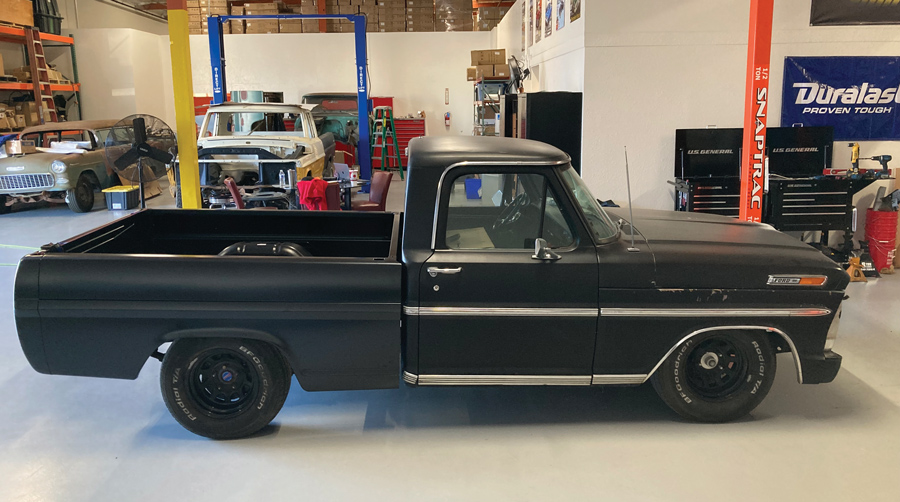
ith our longbed-to-shortbed conversion on our ’69 Ford F-100 a wrap as far as the chassis goes, it’s time to turn our attention to the part that will really bring to life the transformation, the shortbed sheetmetal assembly. In the past there was no easy way to convert the longbed sheetmetal down to shortbed specs. Slicing a full 16-inch section out of the front bedsides and floor, as well as an additional 4-inch section out back, makes for a ton of cutting and welding, not to mention the grinding and sanding involved to get the sheetmetal smooth enough for body and paint. A challenge on the double-walled smooth bedsides to be sure, but grinding the two seams nice and smooth on the corrugated steel floor would be something akin to Chinese water torture. For most homebuilders this put the conversion out of reach as far as skill set or budget resources allowed. But thanks to the recent introduction of reproduction steel bedsides from Golden Star Classic Auto Parts, converting that longbed Ford down to a shortbox Fleetside is a simple matter of swapping a few sheetmetal components.

Now, before we get too carried away with the simplicity of this portion of the project, it should be mentioned that unlike the GM trucks of the era, the Ford pickup beds were assembled by spot welding multiple sheetmetal components, as opposed to GM’s simpler, screwed-together assembly. Due to this fact, we opted to replace our entire bed assembly with new sheetmetal, all thankfully available from Golden Star. While this may seem like a large pill to swallow at its onset, after considering the probable shape of the few panels that can be reused in addition to the labor involved in drilling out the spot welds and removing said panels, one is likely money ahead by springing for the entire bed package. In fact, considering the front bed panel and tailgate being the two panels that are the best candidates for reuse, these are also likely to be the most damaged two panels of the bed, making another argument for complete replacement. Of course, every build is different and swapping out your stock tailgate onto that new bed is completely possible, provided it’s in decent shape. But other than those two and the pair of wheelhouse panels, there aren’t any other panels that interchange when going from a longbed to short.
The fact that the Ford truck beds were welded together makes assembly of the new sheetmetal a slightly more difficult task than the assembly of a GM bed. Where the GM components may have had a few holes on each panel to aid in lining up said panels during rough assembly, the Ford tin needs to be carefully assembled, first using a series of clamps, followed by a few carefully placed sheetmetal screws or Clecos to hold things together as the assembly progresses. This process also requires the complete assembly of the bed panels before any welding can be performed, due to the necessity to check for final fit of said panels, bed square, and proper assembly process and panel overlap. We’ll be mimicking the factory spot weld process by punching holes in the overlying panels and then welding the two panels together. Similar in nature to the factory spot welds, this process is known as rosette or plug welding. To do this, we’ll need to know the precise location of where each panel overlaps so as to not only punch the hole in the proper location, but where to remove the e-coating (the rust-preventing factory coating Golden Star applies to every panel) so a proper, clean weld can be achieved.

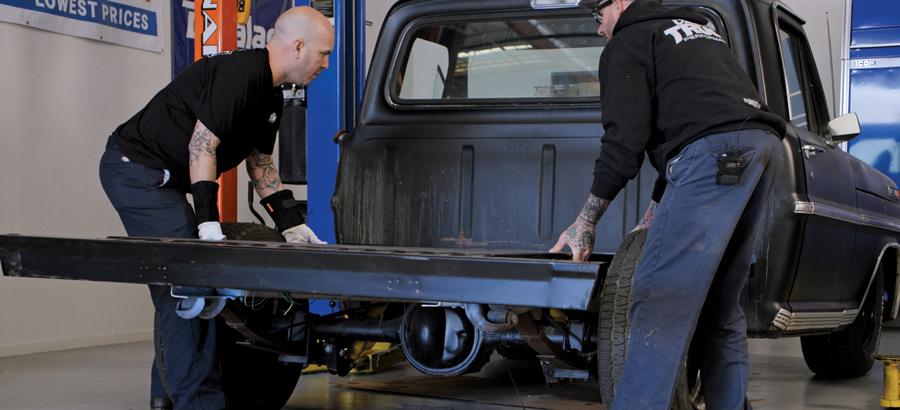
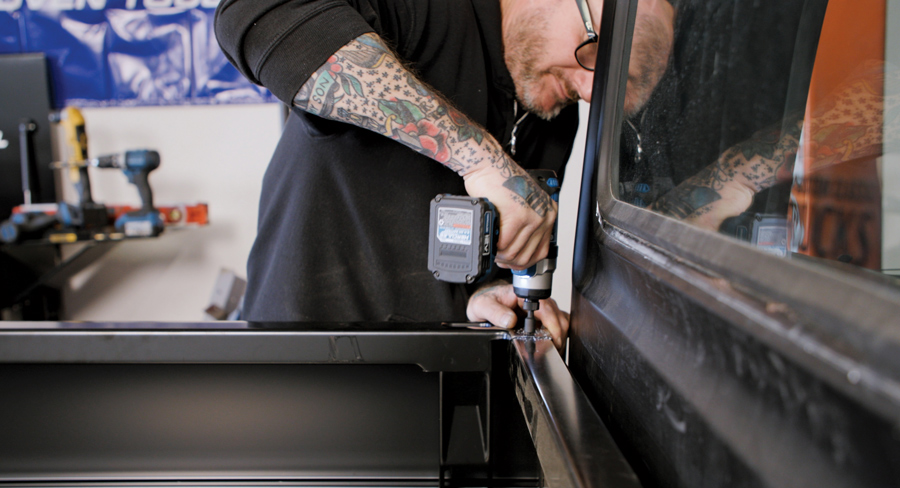
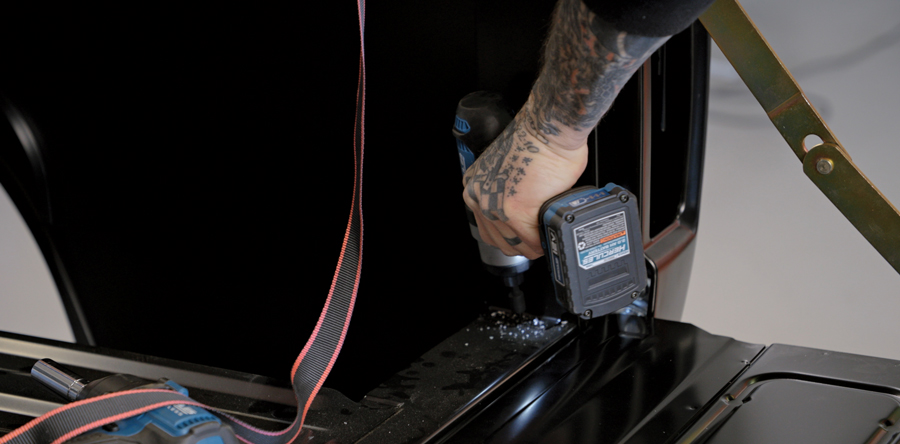
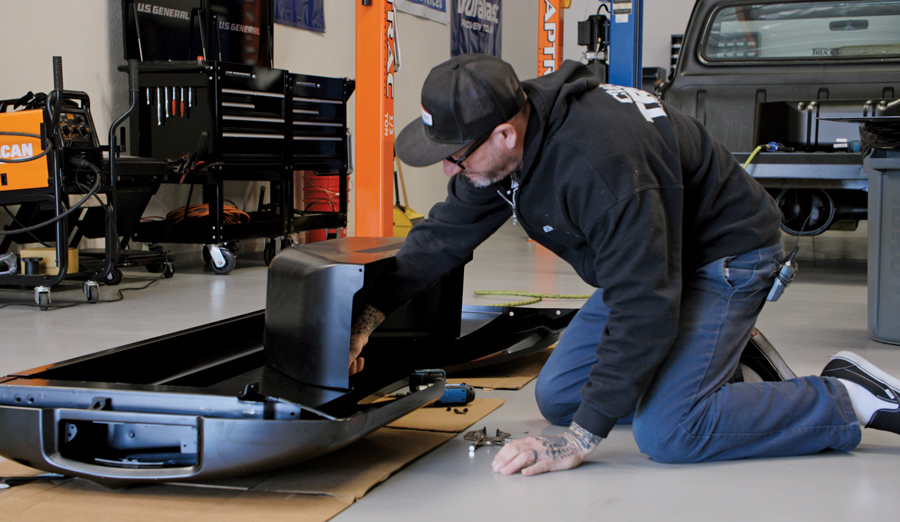
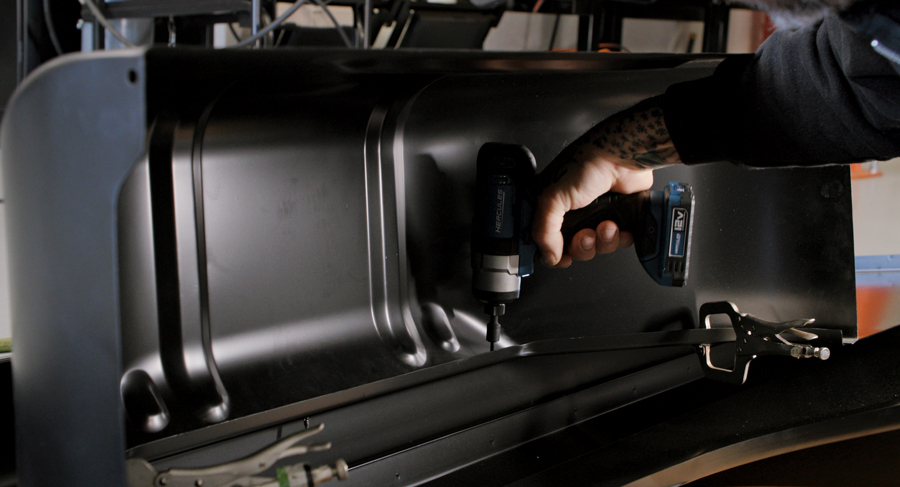
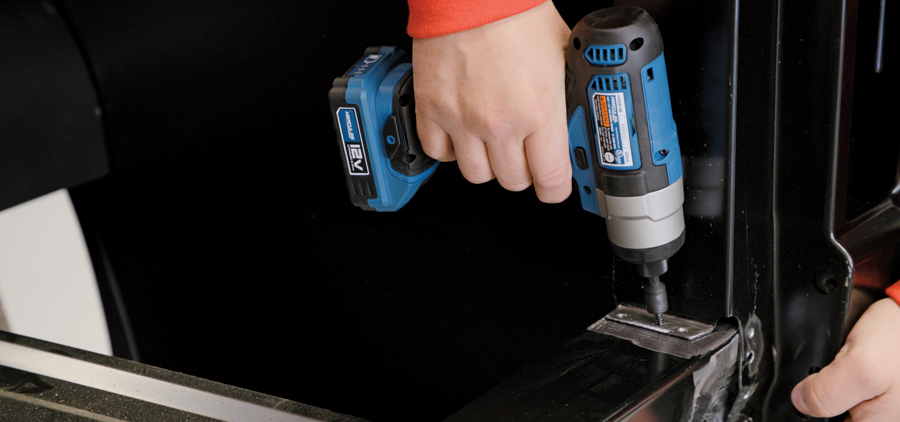
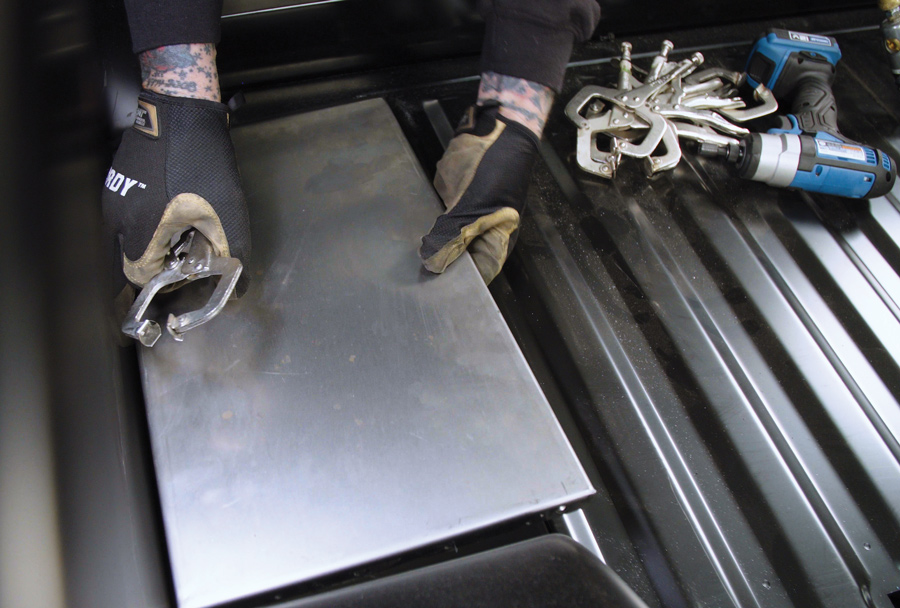
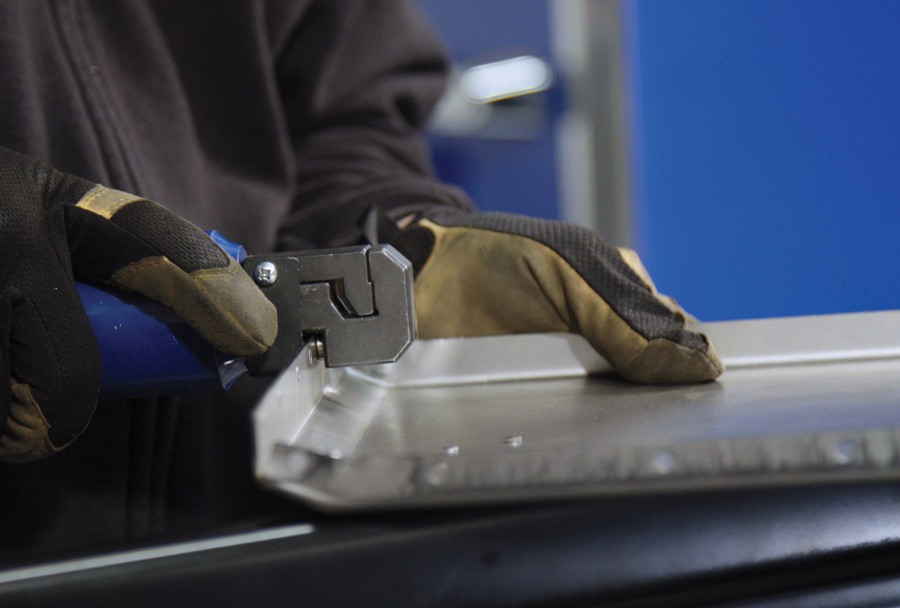
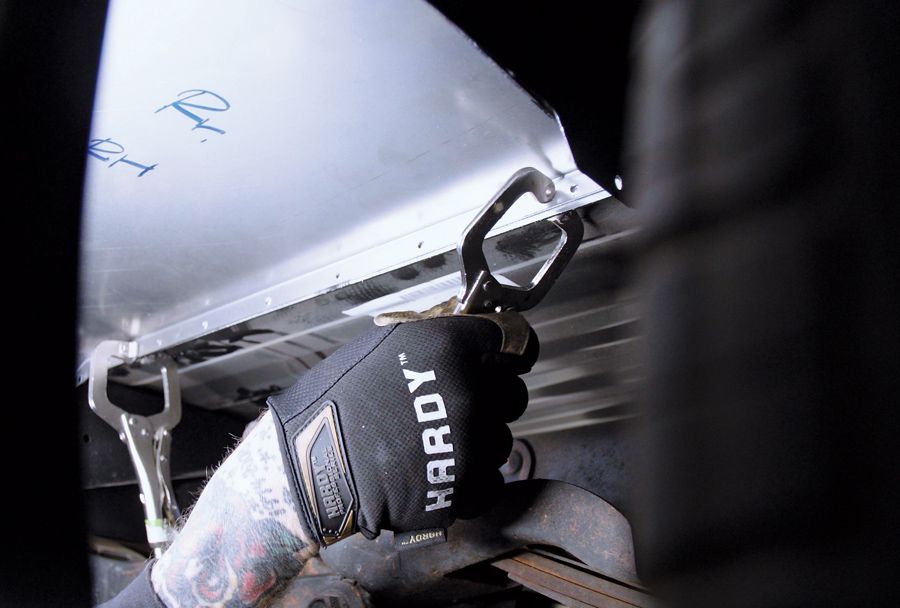
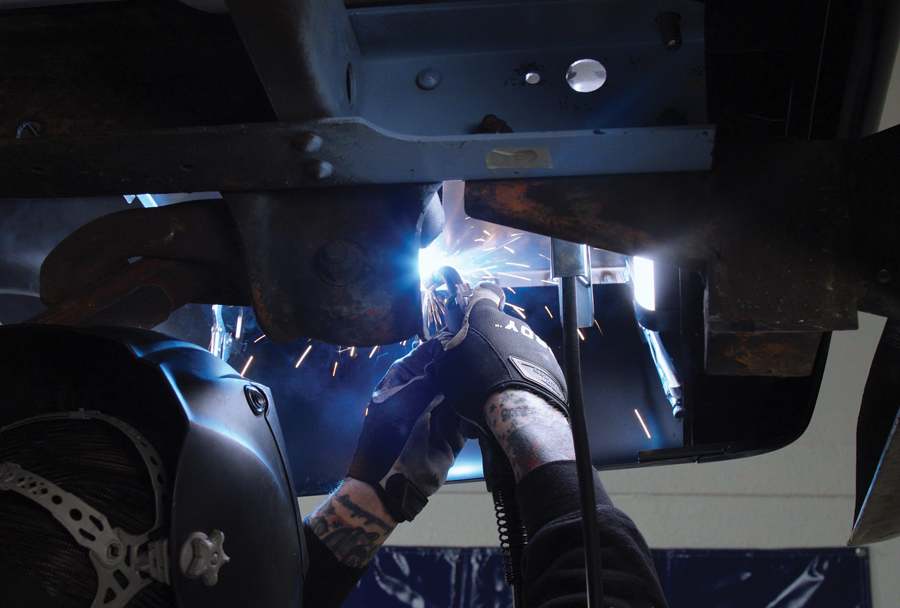
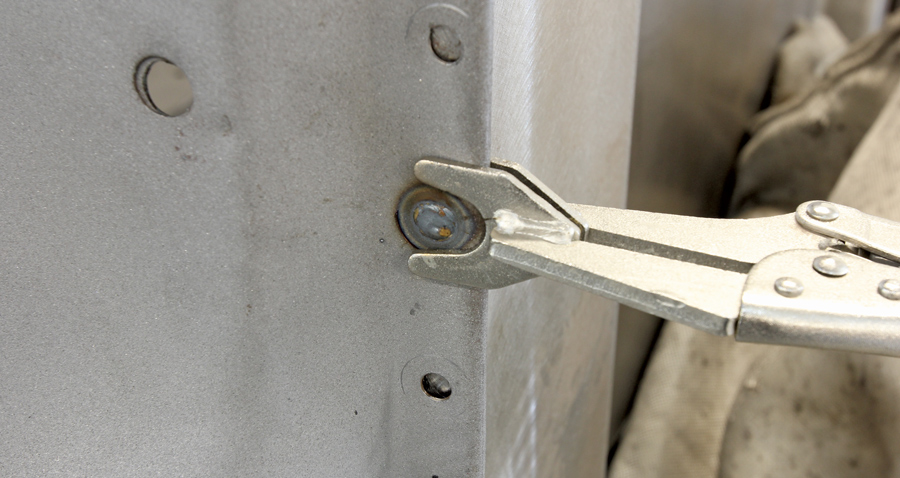
While this might sound labor intensive, assembling the bed and welding the panels together for our project F-100 was accomplished in less than a day. Compared to modifying all the panels that are required to be sliced and diced to take the longbed sheetmetal down to shortbed specs, this process is not only much faster, but will result in a product that is ready to send straight to the paint shop, with minimal bodywork required. Spending a little more money up front, while saving a massive amount of time, labor, and money on the back end, makes assembling a new shortbed out of Golden Star sheetmetal a much more sensible approach.

inspecting each panel
1. We’ll start the shortbed box assembly by inspecting each panel. Laying out each piece in its respective location will also aid in assembly. The new Golden Star shortbox includes the tailgate (PN TG15-671), left and right bedsides (PNs PB15-67L, PB15-67R), left and right wheelhouse panels (PN WH15-67), complete bed floor assembly (PN PB15-676B), and front bed panel (PN PB15-67F). Not shown are the four intermediate floor panels that will be installed fore and aft of each wheelhouse.
placing the complete bed floor assembly on our previously shortened frame
2. Assembly begins by placing the complete bed floor assembly on our previously shortened frame, squaring it in relation to the chassis and fastening it in place.
the front bed panel is slid in place
3. Next, the front bed panel is slid in place. Note the center of the bed floor and the center of the front panel have been located and labeled to aid in alignment.
The two stake pockets slide over the corresponding crossmembers in the bed floor
4. The bedsides are tackled next. The two stake pockets slide over the corresponding crossmembers in the bed floor while the top front stake pocket fits over the front panel. This slip fit provides a pretty good baseline for final assembly specs.
a sheetmetal screw is installed to temporarily hold the top corners to the front panel
5. Once each bedside is slid home, a sheetmetal screw is installed to temporarily hold the top corners to the front panel.
Proper alignment of the two bedsides is reliant on the fit of the tailgate
6. Proper alignment of the two bedsides is reliant on the fit of the tailgate, so we’ll be installing that next.
 A speed square is used
7. In a perfect world, the bedsides should be perpendicular to the bed floor. A speed square is used to quickly verify this.
a simple ratchet strap is used to temporarily hold everything in place
8. To adjust and maintain the gap between each bedside and the tailgate, a simple ratchet strap is used to temporarily hold everything in place.
a sheetmetal screw is used to secure each lower bedside corner to the floor
9. Once the gap is consistent and acceptable, a sheetmetal screw is used to secure each lower bedside corner to the floor.
our sheetmetal assembly thus far
10. A few quick measurements ensures we’re on the right path with our sheetmetal assembly thus far.
welding prep
11. At this point, we’re ready to move onto the next step: weld prep. Now that we know how the panels fit together in relation to each other, the appropriate panel can be drilled or punched and sanded down to bare metal in anticipation of the final welding process. Note the presence of the wheelhouse panels, which were checked for fit before the bedsides were removed.
ITGM Tech Center manager Jason Scudellari takes a couple measurements before attaching the wheelhouse panels via sheetmetal screws
plug welding
12-13. With the bedsides removed, ITGM Tech Center manager Jason Scudellari takes a couple measurements before attaching the wheelhouse panels via sheetmetal screws. These will get plug welded as well during final assembly.
Scudellari drills a handful of 1/4-inch holes in the stake pockets, which will serve to attach each bedside to the floor panel
14. While the bed was assembled in its temporary state, notes were taken regarding panel overlap and where to best place the required plug welds. Using these notes, Scudellari drills a handful of 1/4-inch holes in the stake pockets, which will serve to attach each bedside to the floor panel.
Before the front panel was removed, it too was marked for plug weld locations.
15. Before the front panel was removed, it too was marked for plug weld locations.
A pneumatic punch
 cleanly knocked holes
16-17. A pneumatic punch is used to then quickly and cleanly knock the required holes in the front panel for it to be plug welded to the floor panel.
the bed is reassembled
18. With the panels prepped for welding, the bed is then reassembled. Note the sanded areas where any hole was created that will ensure a clean, well-penetrated weld can be made.
Sheetmetal screws were once again used to temporarily fasten the bed panels together.
19. Sheetmetal screws were once again used to temporarily fasten the bed panels together.
The tailgate is installed, along with the necessary latch mechanisms, release lever, and internal components.
20. The tailgate is installed, along with the necessary latch mechanisms, release lever, and internal components.
The wheelhouse panels attach to the bed floor in the same manner as the four surrounding floor panels attach
21. The wheelhouse panels attach to the bed floor in the same manner as the four surrounding floor panels attach. First, Scudellari checks for the fit of each panel …
before punching holes on the panel’s flanges.
22. … before punching holes on the panel’s flanges.
The panels are then clamped in place
23. The panels are then clamped in place …
before punching holes on the panel’s flanges.
24. … and the punched holes welded up, effectively mating the two surfaces.
a successful plug weld
25. Here is a successful plug weld, surrounded by a pair of punched holes waiting to be welded up. When done properly, the two mating panels are welded together as one.
our shortbed box is finished and the truck is rolled out so the team can take in the fruits of their labor
26. After a few hours of welding, our shortbed box is finished and the truck is rolled out so the team can take in the fruits of their labor. It’s hard to argue the improvement in balance and aesthetics a shortbed truck brings, and the new sheetmetal will greatly reduce the effort needed to get our truck ready for body and paint.
Tech Center
Classic Performance Products
(800) 760-7438
classicperform.com
Golden Star Classic Auto Parts
(972) 315-37587
goldenstarauto.com
Harbor Freight
harborfreight.com