
 Tech
Tech
 Images & Videography by Taylor Kempkes
ack in October of last year I made arrangements with Paul Bosserman, my friend who just happens to own the family run Old Anvil Speed Shop in my old stomping grounds of Orange, California, to do a “couple” things on my then-dormant ’48 Chevy project. (I’d acquired the chopped ’n’ bagged three-window over a year prior. Due to its needing way more than advertised to put it back on the road, I chose to throw a cover over it … ’til now.)
Bosserman was kind enough to agree to install a new Air Lift/FLO Airride management system (to replace the cool but antiquated MIC-style manual valves) initially, but after a conversation at the Grand National Truck Show in September, that list grew to include a BedWood & Parts curly maple wood floor with a Legens Hot Rod Shop hinged center plank—in conjunction with Old Anvil’s still-in-development All Access VIP hinged bed floor frame kit. But that was it—that’s all we agreed upon! That is, until Bosserman and his trusty sidekick, Jake Caballero, started tearing into the truck.
Not a week after dropping the ’48 off, I get a text from Bosserman: “I’m replacing your exhaust … it sucks.” I’m not certain if that was before or after we’d discussed the brakes (now being upgraded with a Wilwood remote-fill master), the steering (now being upgraded with a new Borgeson stainless linkage), and the battery situation (already upgraded with dual XS Power AGMs), but I do clearly recall getting that text!
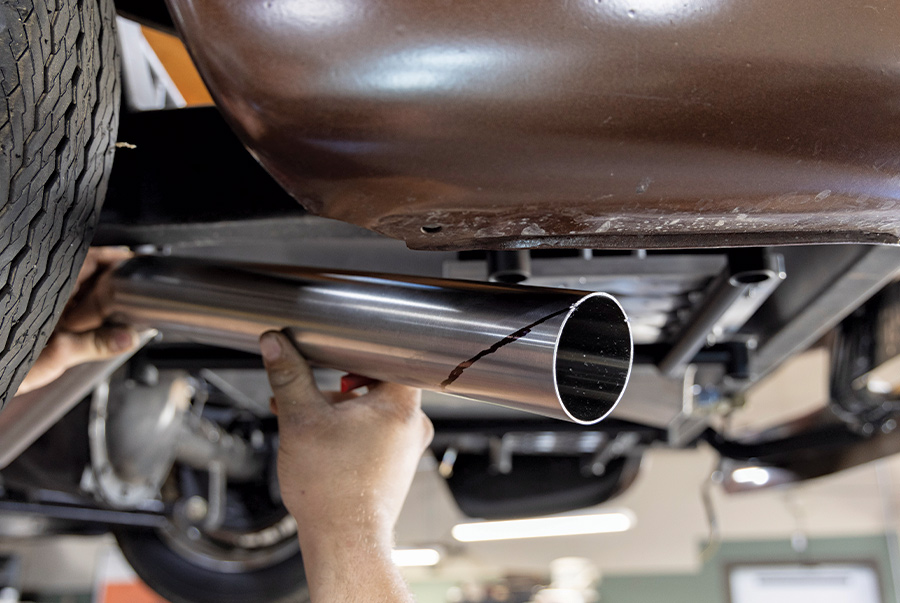
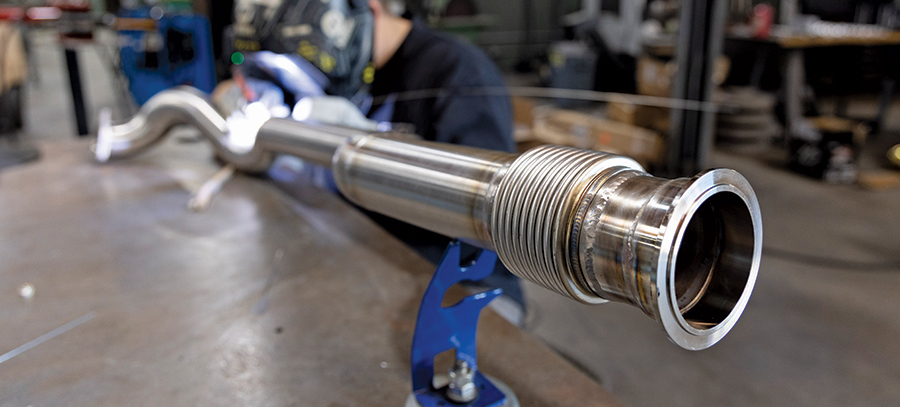
Long story short, and multiple to-dos added to the list later, we agreed to replace the rusted-out dual exhaust with a nice, TIG-welded stainless system—I just needed to procure some accommodating mufflers. A not-so-impromptu meeting with my buddy Joe from Speedway Motors at the SEMA Show took care of that last part (in the form of polished Porter “sound deadeners” as well as flanges to complement the Speedway Tru-Ram stainless headers already in use); Old Anvil would handle the mounting via their own custom-made hangers. The rest, as they say, is “his” story … so, take it away, Caballero!
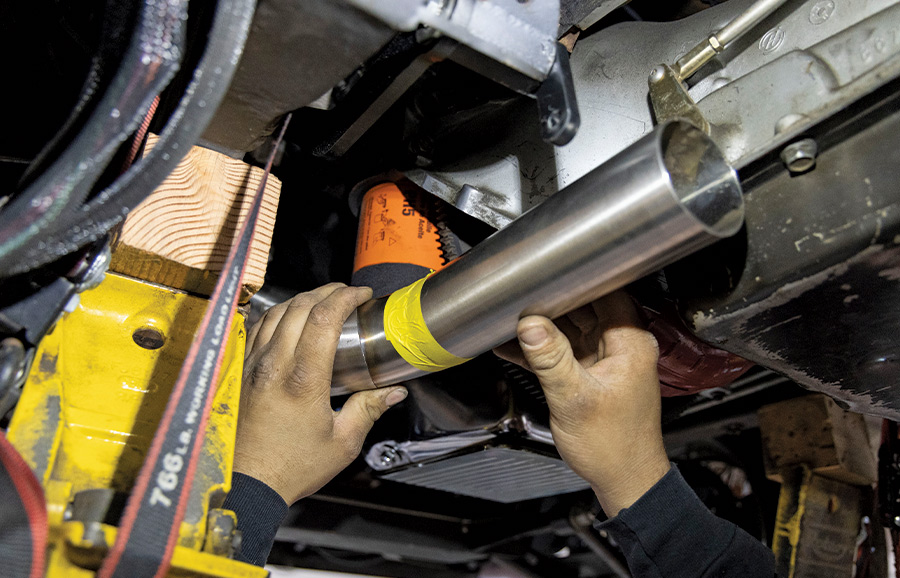
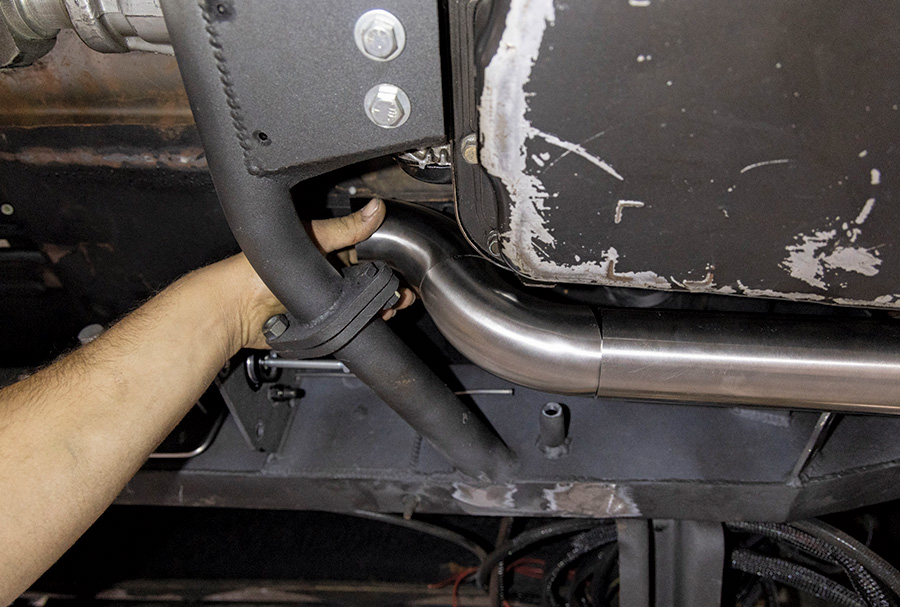
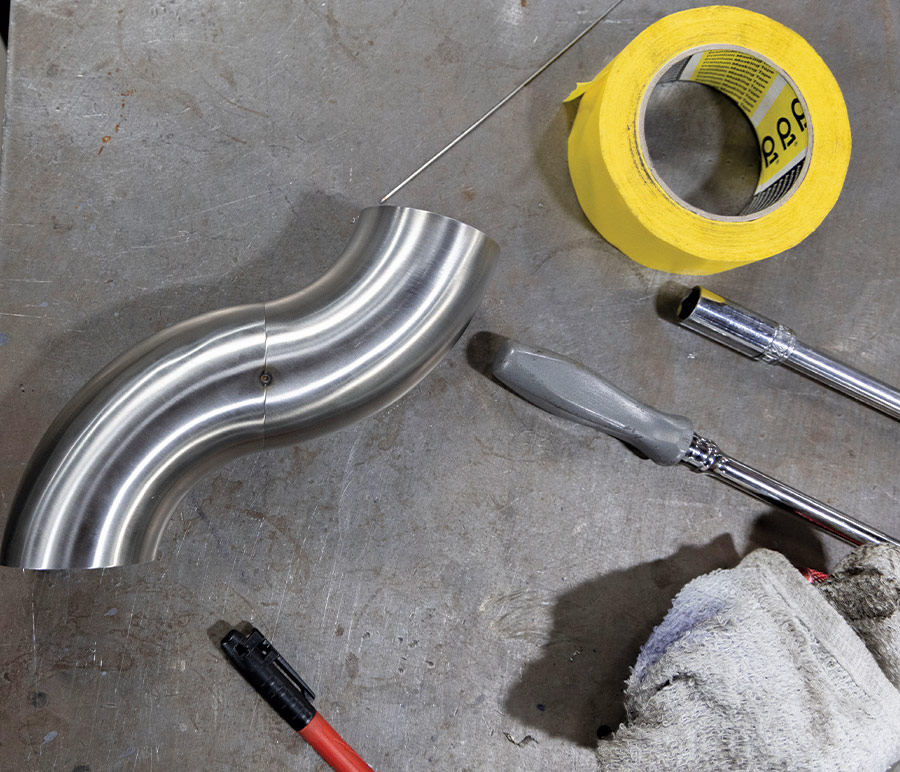
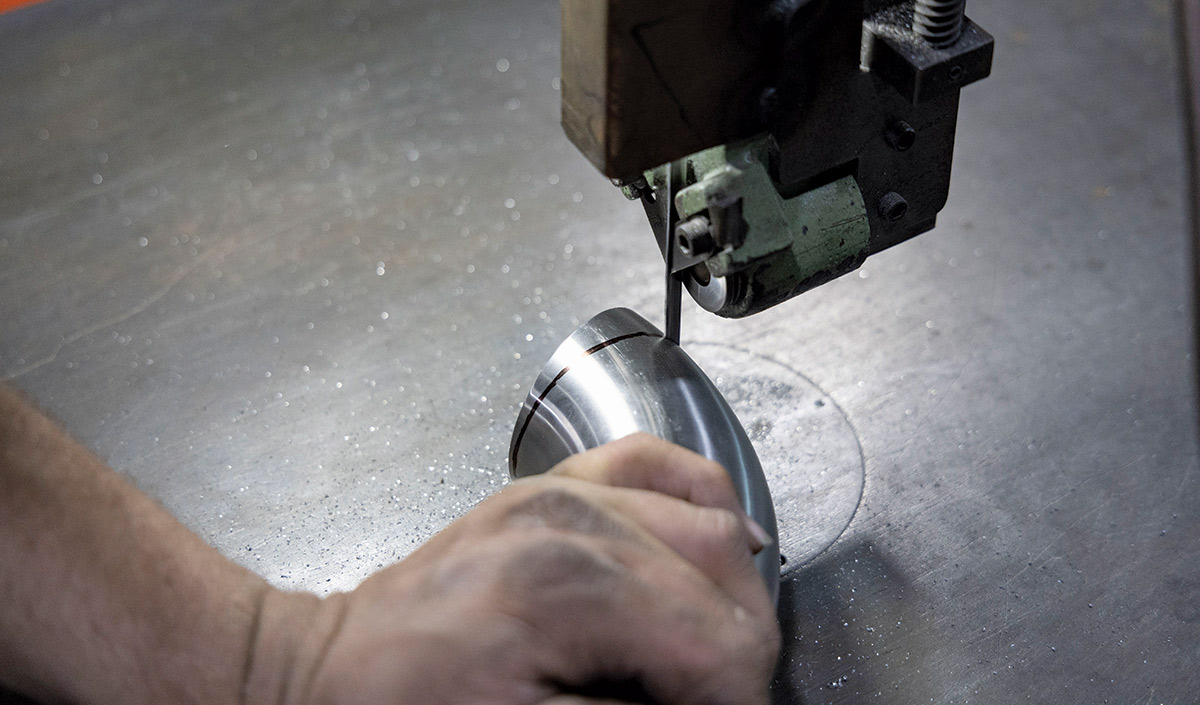
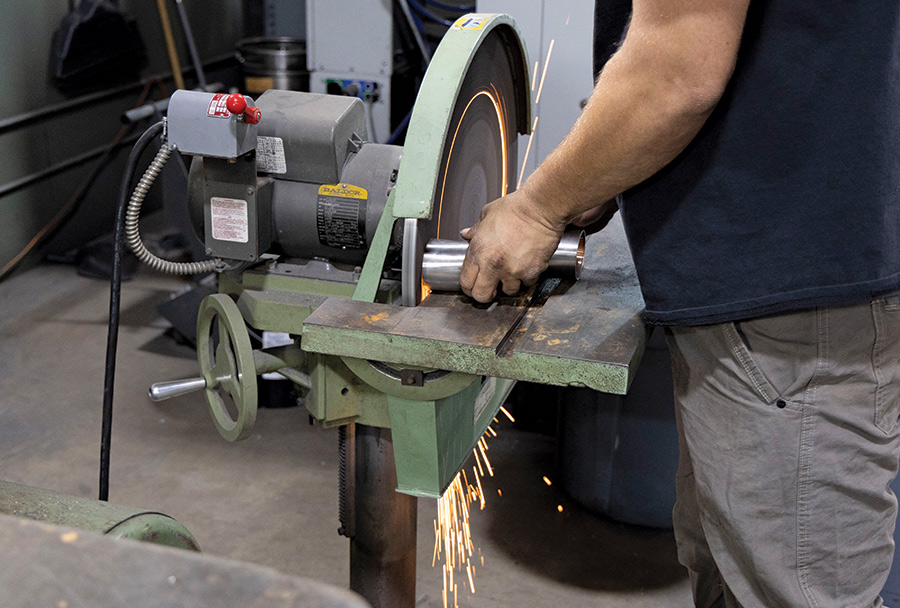
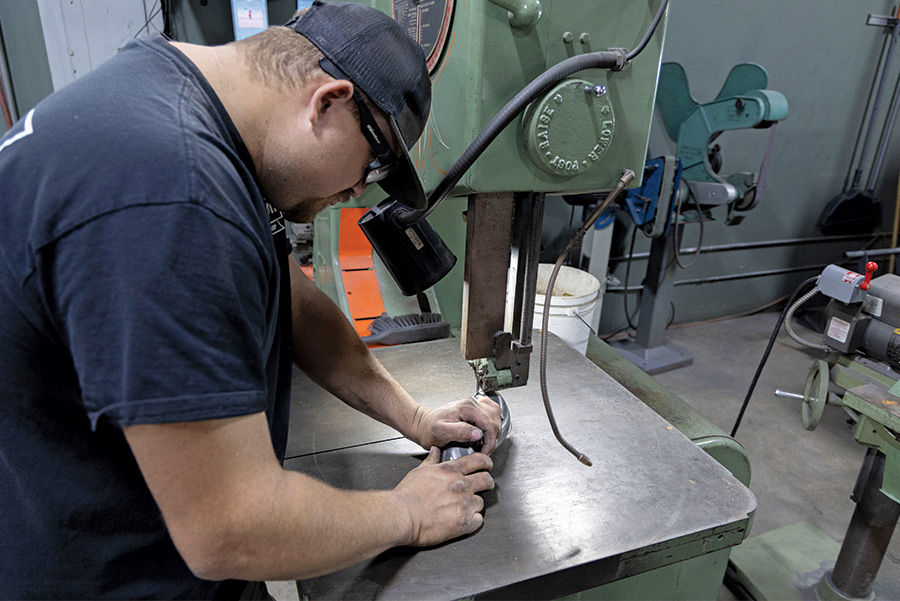
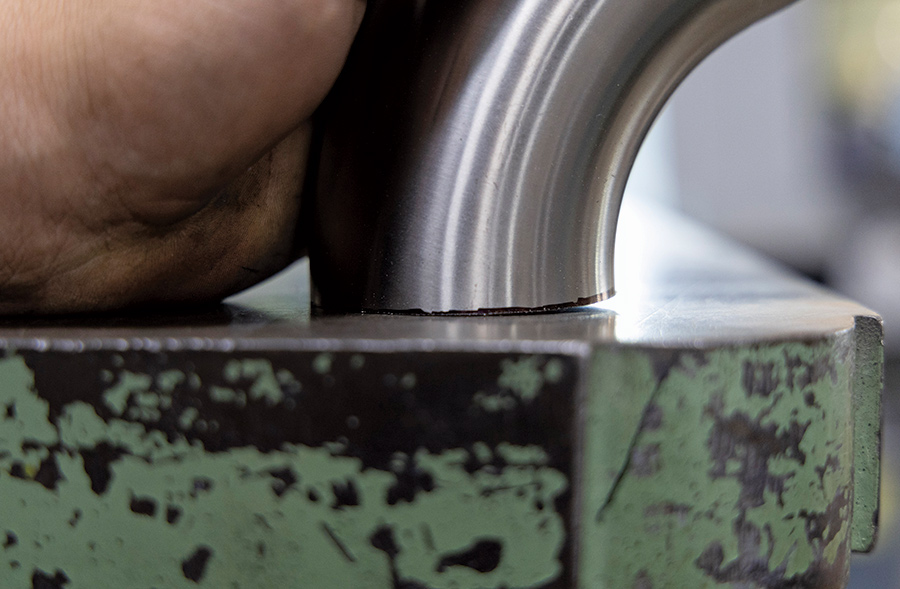
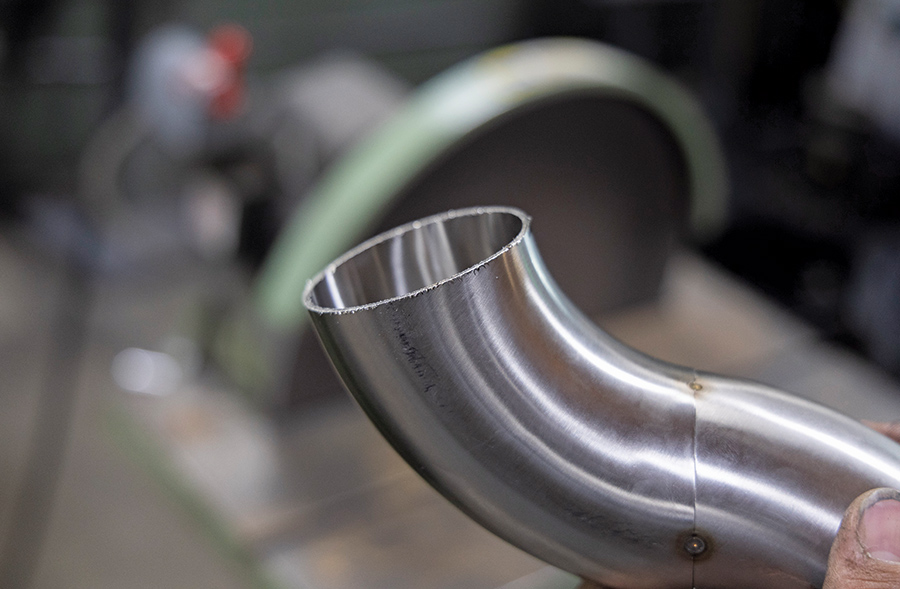
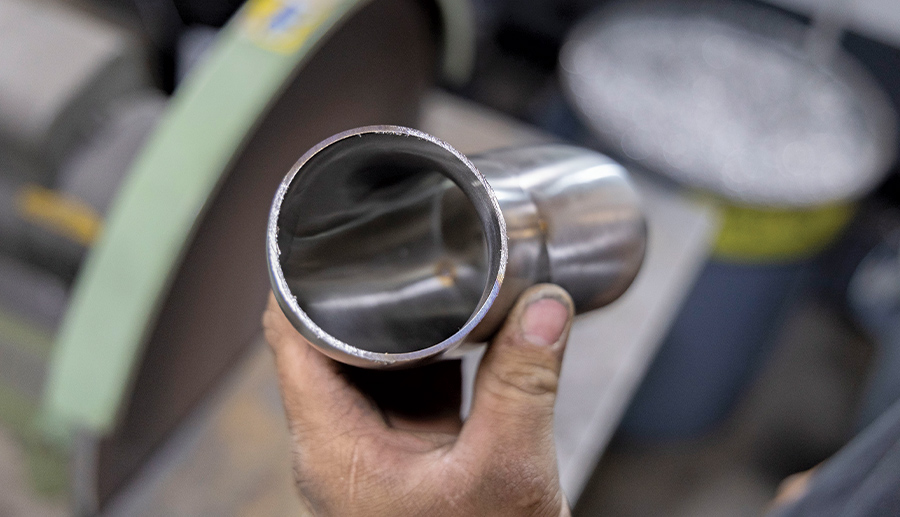
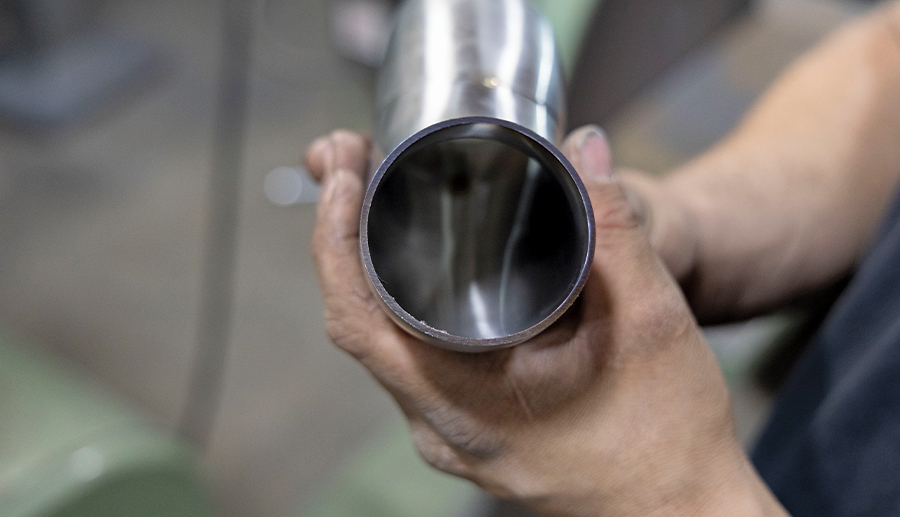
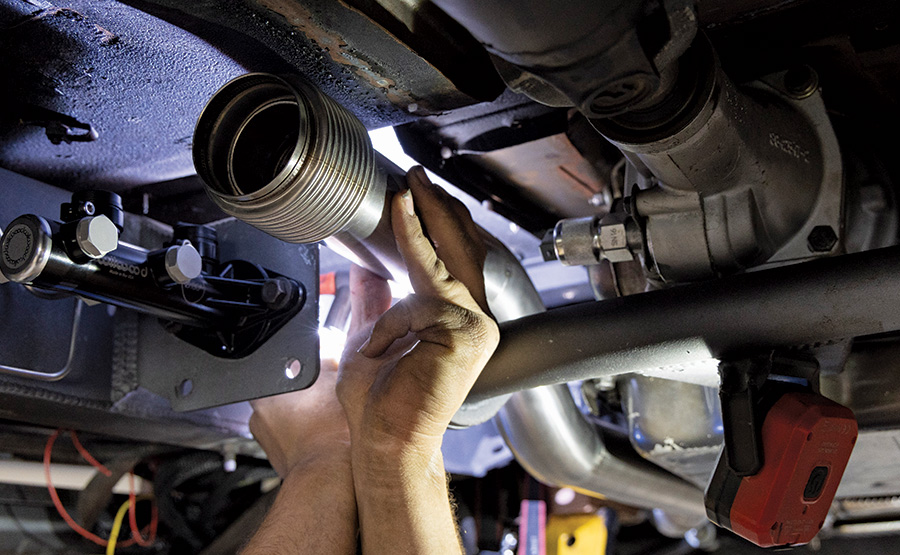
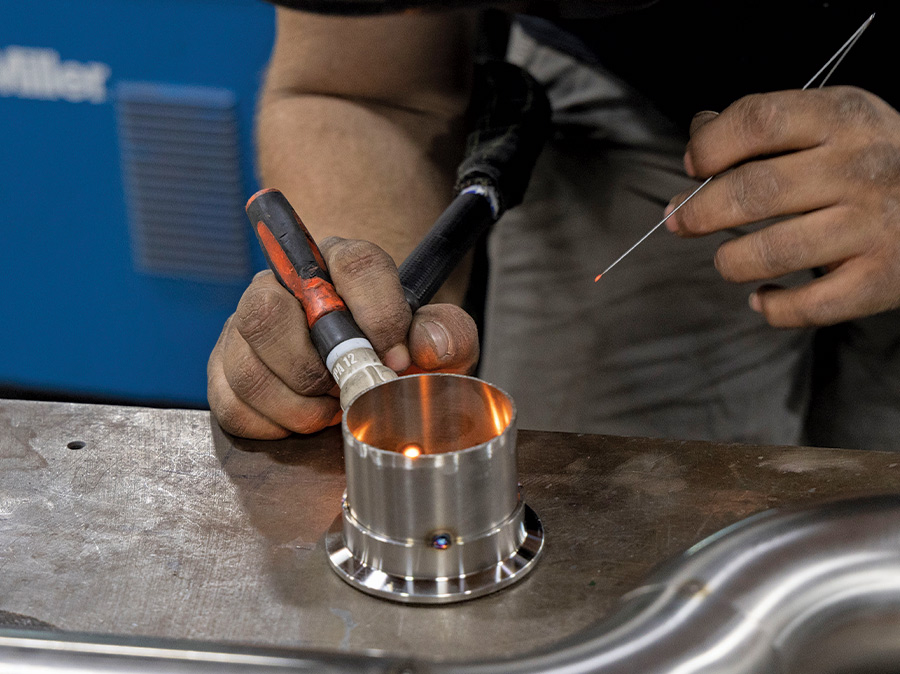
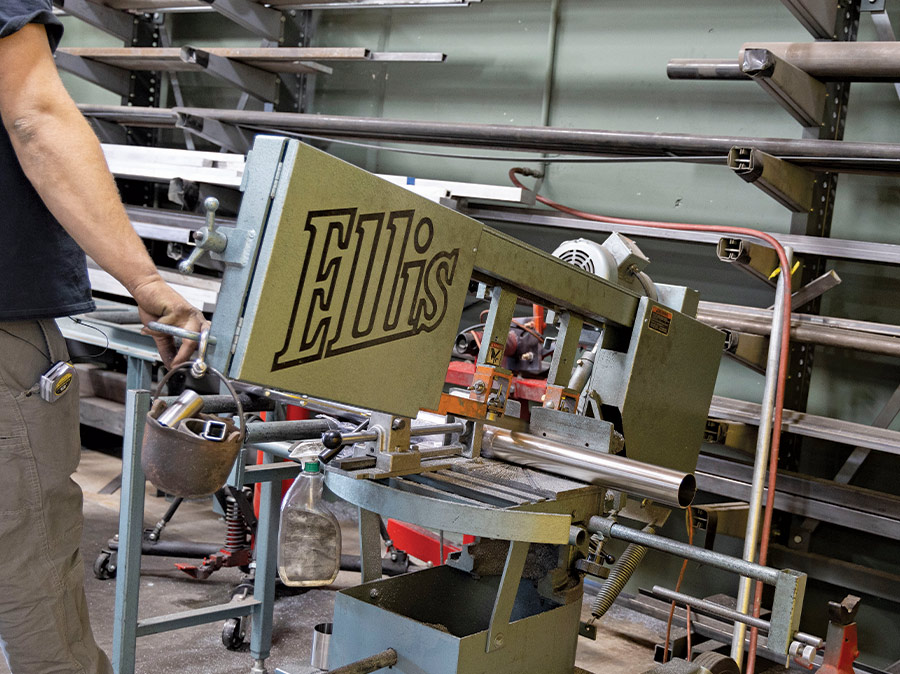
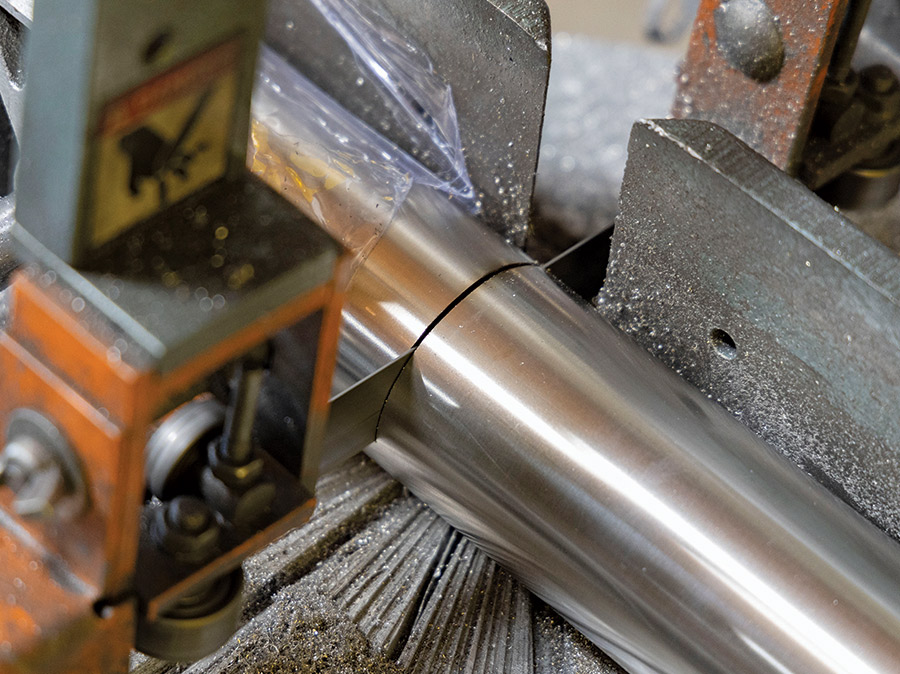
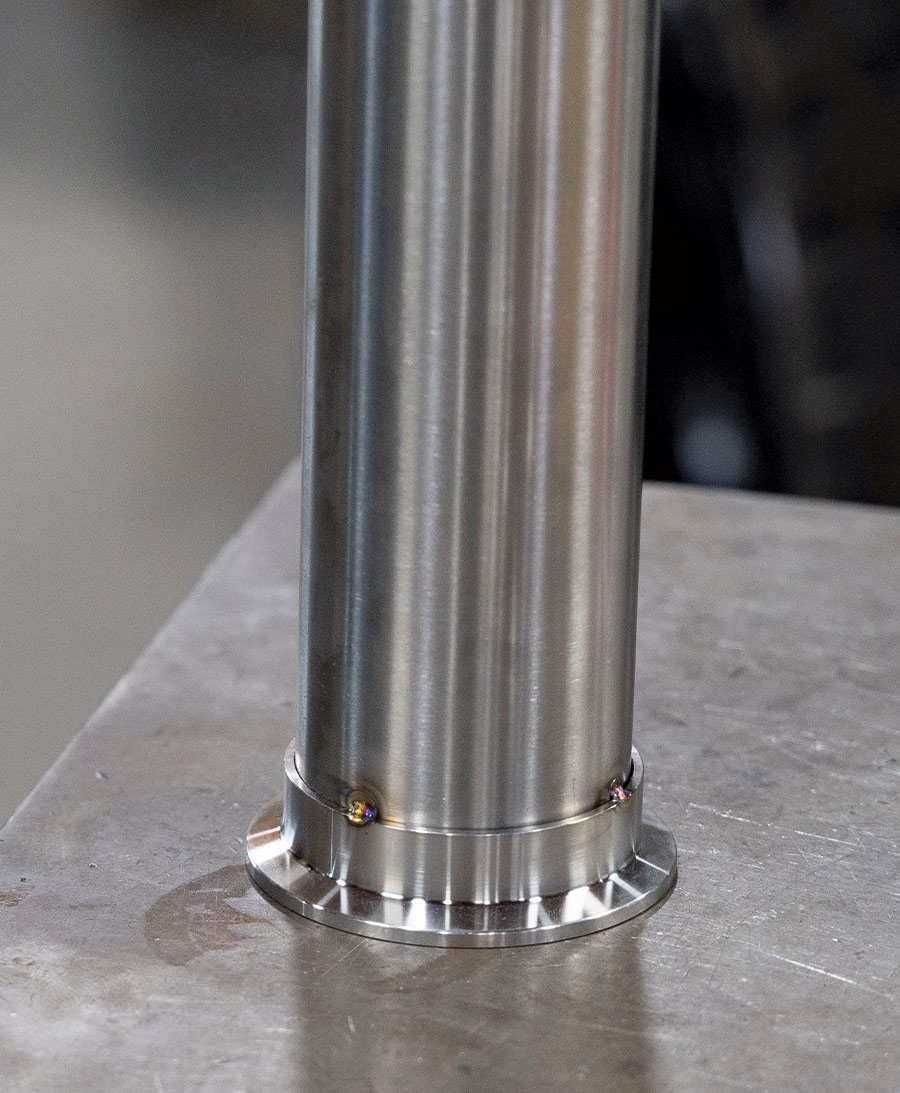
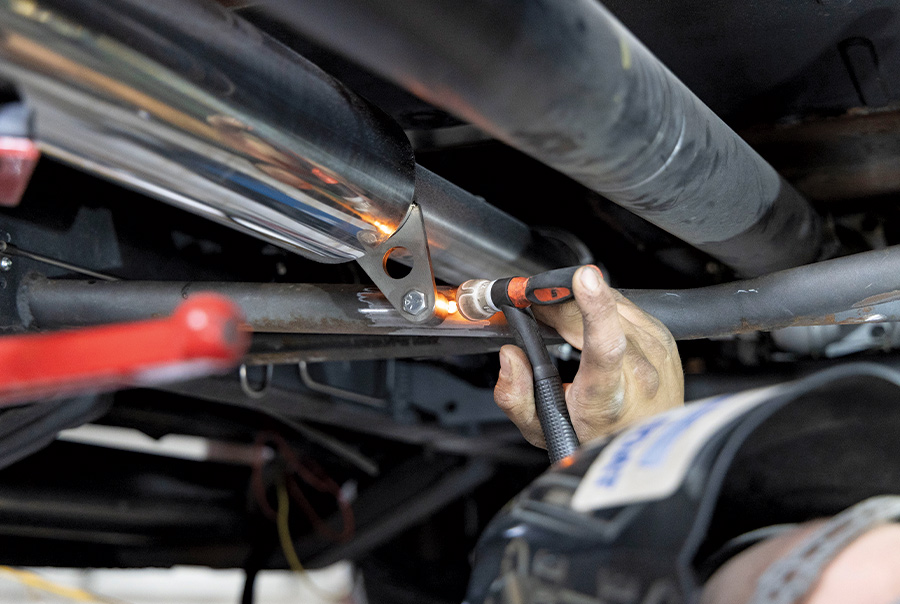
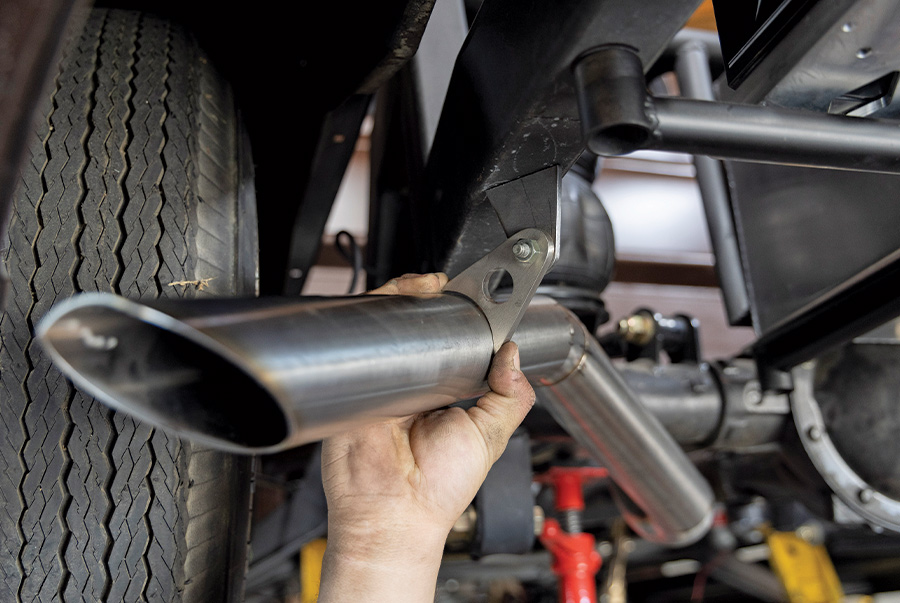
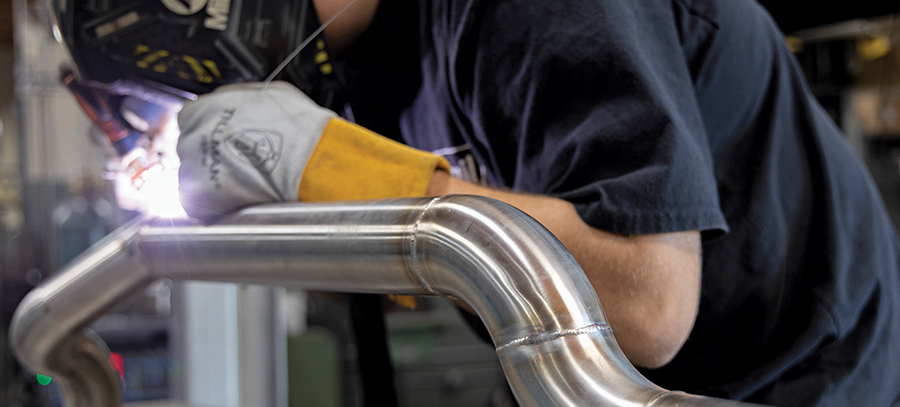
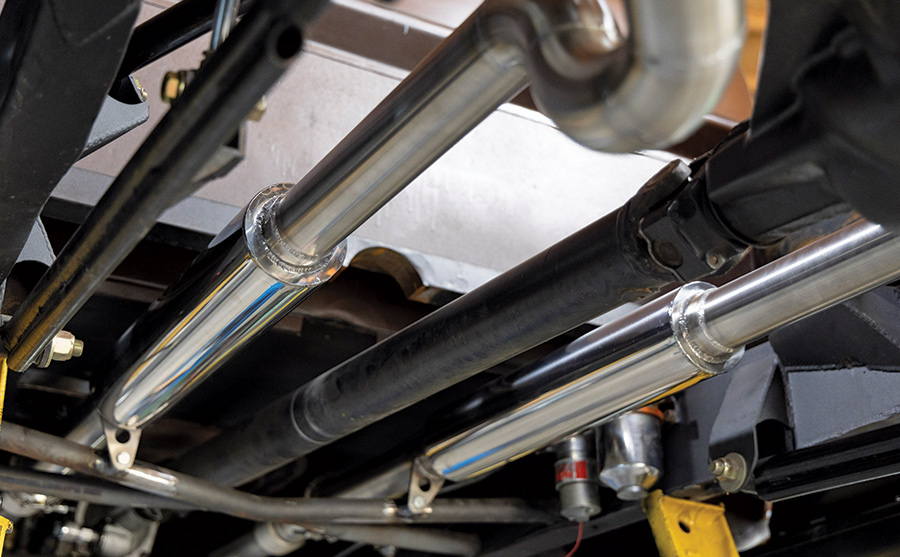
“When the truck came in it needed some exhaust work done. We came to the decision to replace it completely. First, we started by removing the old worn-out exhaust because it had been repaired a couple of times and would be more work to fix it than to just build a completely new system. A saw was used to cut the old system out. The frame was then cleaned up by removing all the old tabs and hangers. We began the new system with laser-cut header flanges and 18-inch polished Porter mufflers all from Speedway. All of our 2-1/2-inch tubing was from Ace Race Parts, while our exhaust hangers are laser cut and sold at Old Anvil Speed Shop.
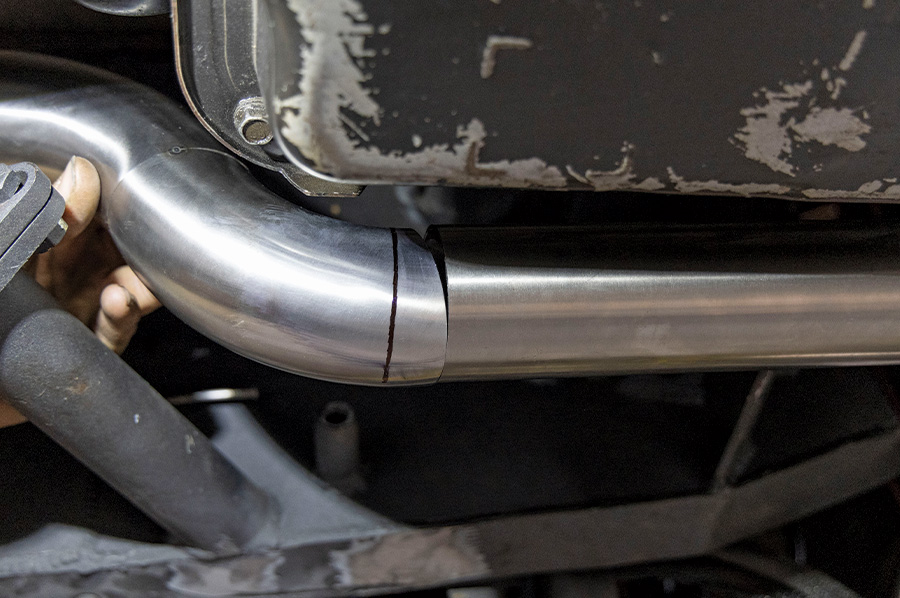
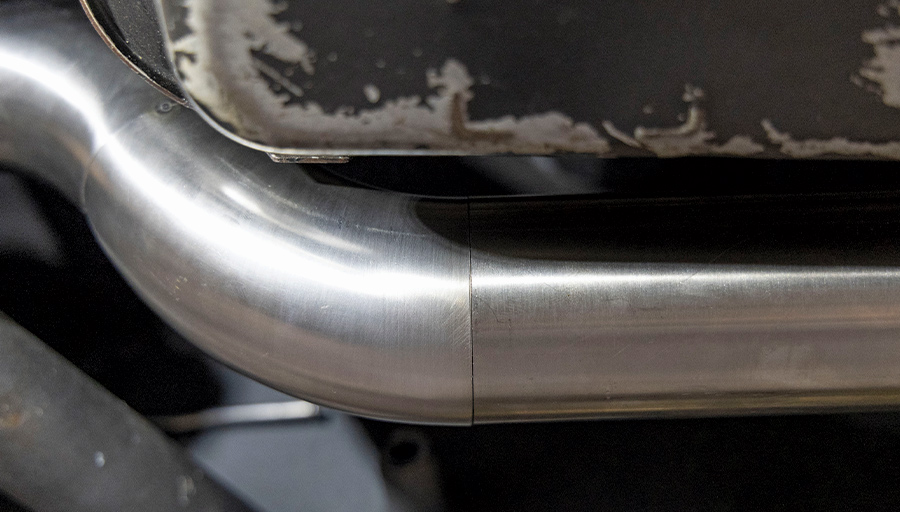
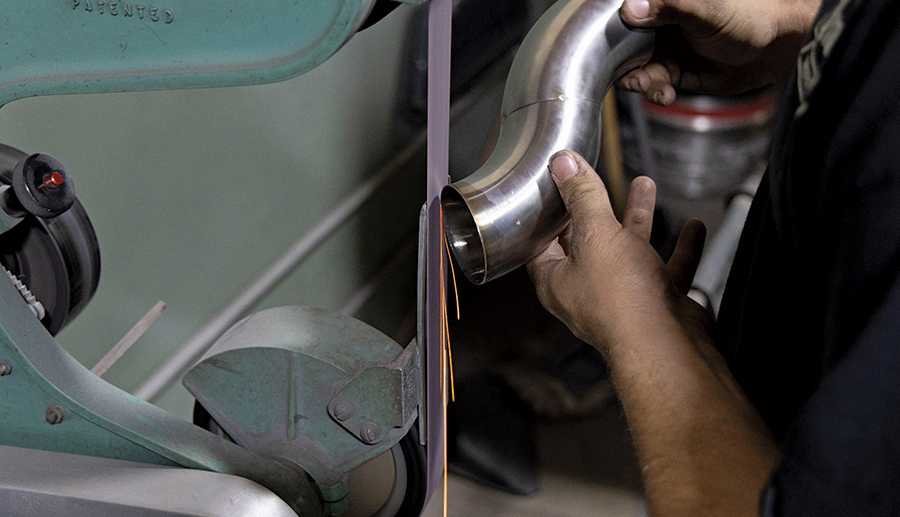
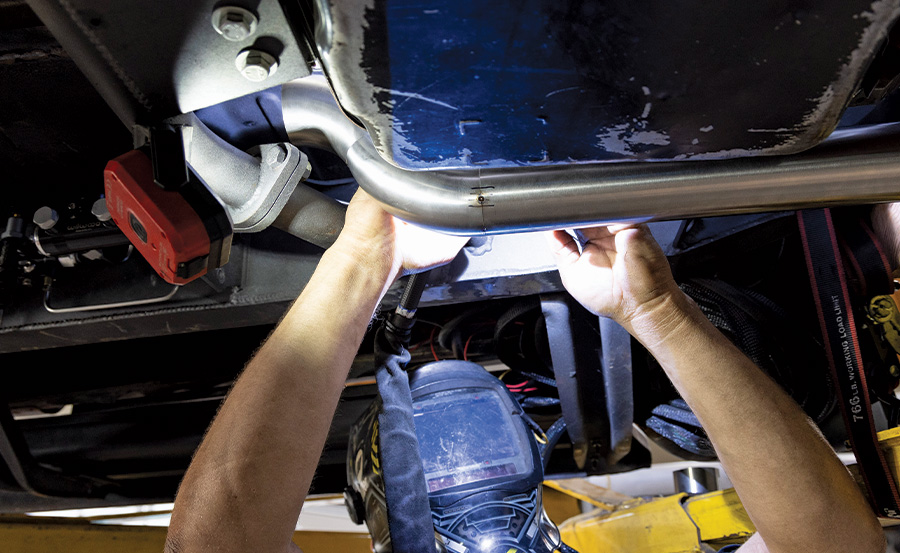
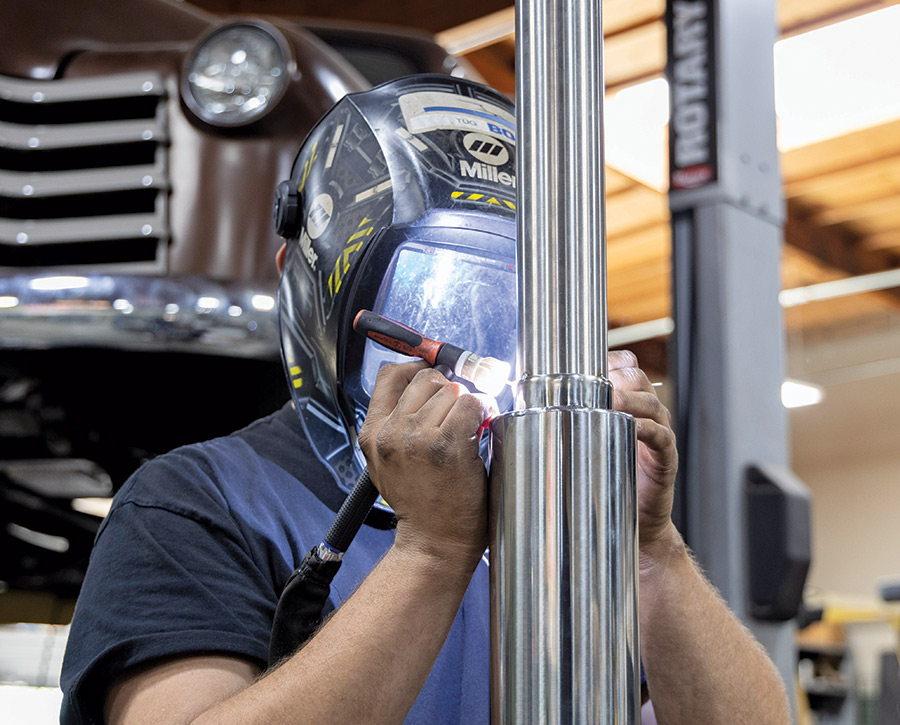
“After the mufflers we had to make a decision where the exhaust needs to exit. Going over the rearend like most cars was going to be difficult because of the large fuel cell and the airbags, so we went under the rearend. Two bends were once again tacked together to make an offset to get under the differential. Now the exhaust turns and goes up toward the framerail, from there one more bend is tacked to angle down to the tip. We like to get the shallowest angle possible so the exhaust flows out from under the truck rather than straight toward the ground, so you don’t blow up a lot of dust and dirt. Once everything was finalized, I made a rear mount but did not weld it in yet. I like to fully weld the exhaust out because it tends to distort from welding and will never go back in the same place you had it. Once the exhaust was fully welded out, the front and rear mounts are welded on.”
When all was said and done, not only did I have a beyond aesthetically pleasing to the eye exhaust system (which was one of Bosserman’s main objectives seeing as the forthcoming All Access VIP bed floor kit will be “all revealing,” if you know what I mean), I now have an audibly pleasing to the ear—in a mean, non-sissy, twice-pipe kinda way—full stainless exhaust system! Now onto the rest of that to-do list before Old Anvil finds anything else wrong!


 SOURCES