
 Tech
Tech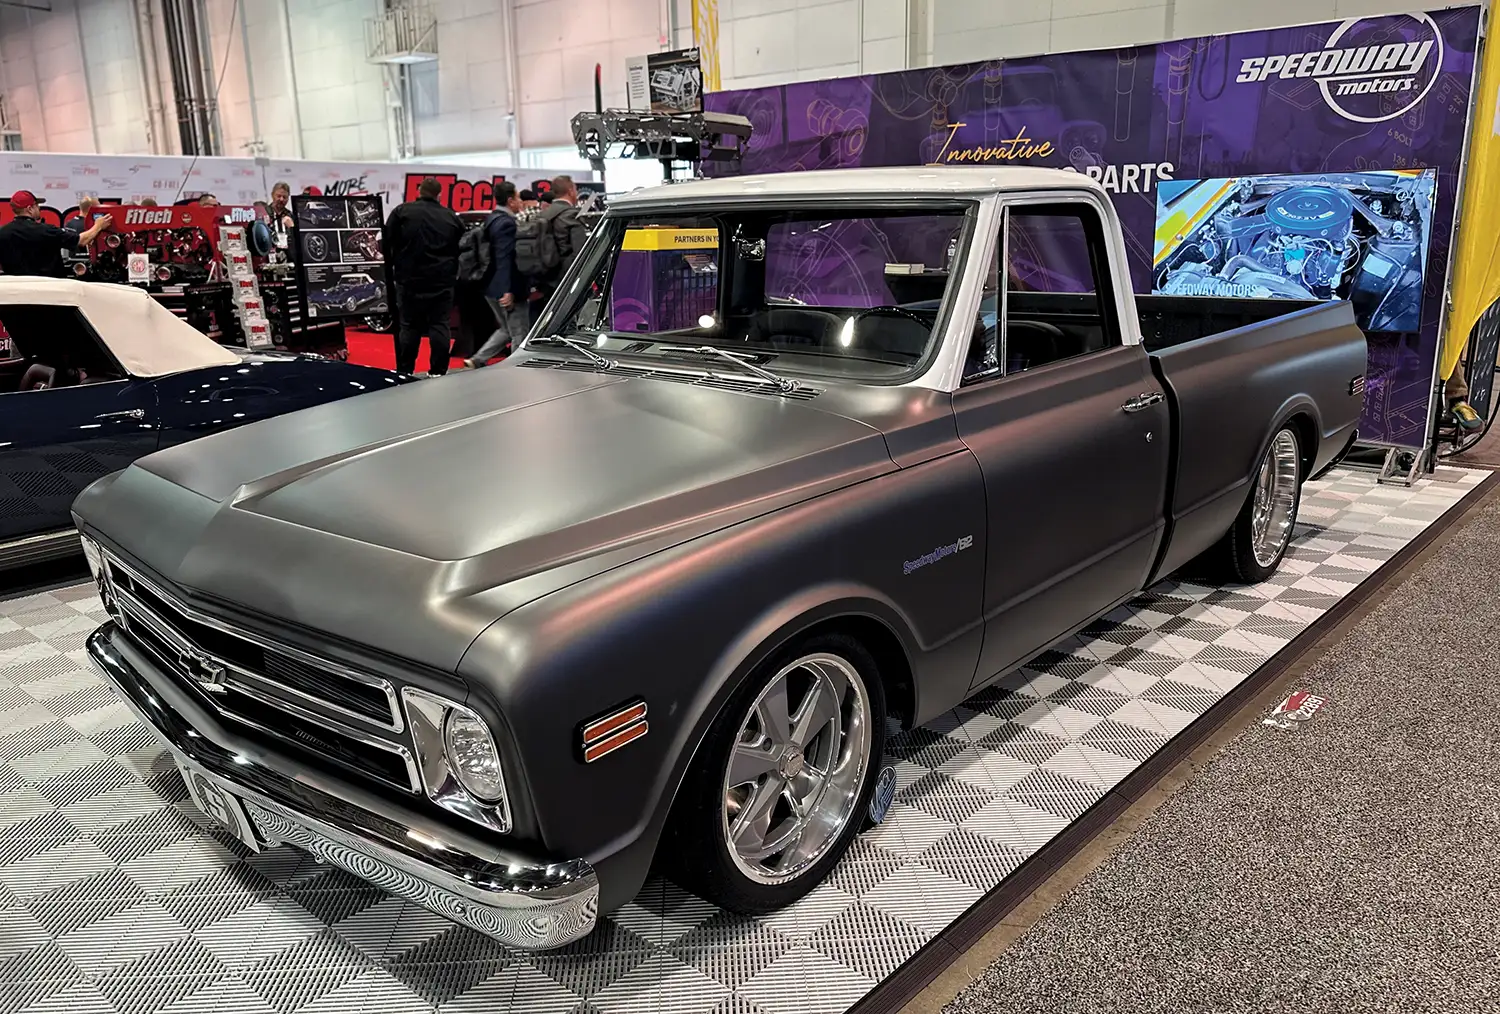

 IMAGES BY Jessica Coleman & Andy Chaves
f you’ve been following along with our 1968 C10 project, you’ve seen us checking all the fun stuff off our to-do list. Blast, paint, and reassemble a chassis with cool stuff to lower the truck? Check. Build up a junkyard 5.3 with a cam swap and valvetrain components to make 430 hp on the dyno? Check. Now for the part we’ve been putting off: that rotten, dented, yellow spray-bombed cab and sheetmetal. Fortunately, we found everything we needed on the shelf at Speedway Motors to replace the mangled original parts with fresh, new sheetmetal. Then, with all the cutting, welding, and grinding complete, we hit up our friends at No Coast Custom and Rod Shop to help us get things lined up, straightened out, and painted in time for the 2023 SEMA Show.
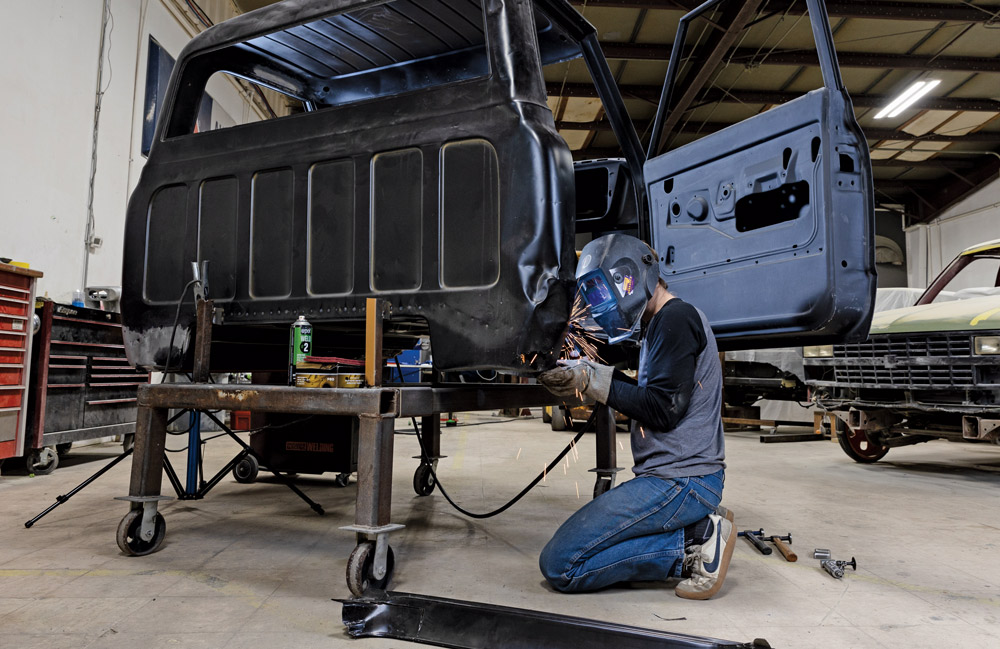
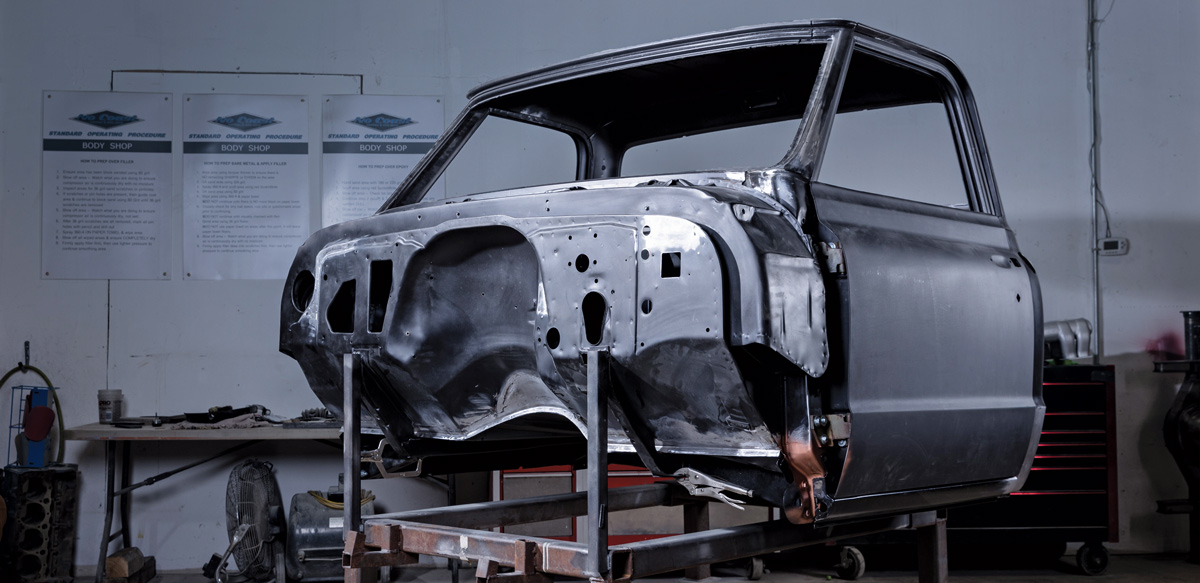
To get us started, Ben Vaneperen and the crew at No Coast helped us get the cab mounted on a rolling cart that would make it easy to move around the shop and allow us access to the floor, rockers, and cab corners. We elected to install a full floor that was complete from rocker to rocker, cab back to toeboard, and already had all the supports attached underneath. This may seem like a drastic move, but we can tell you that it made a huge difference in the quality of the finished product and the time it took to get there.
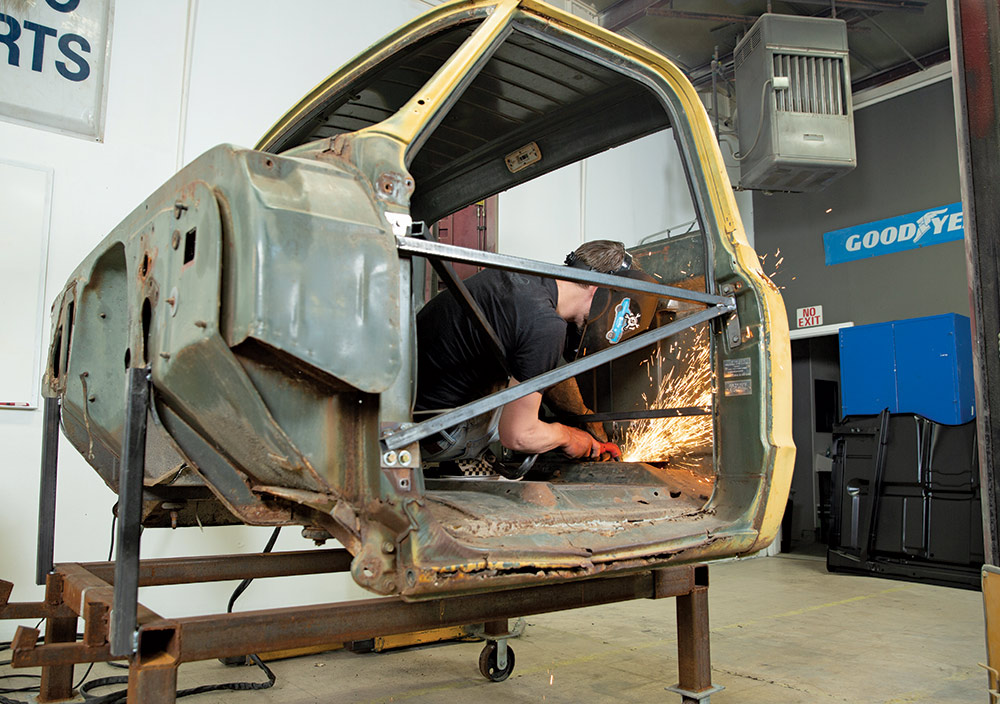
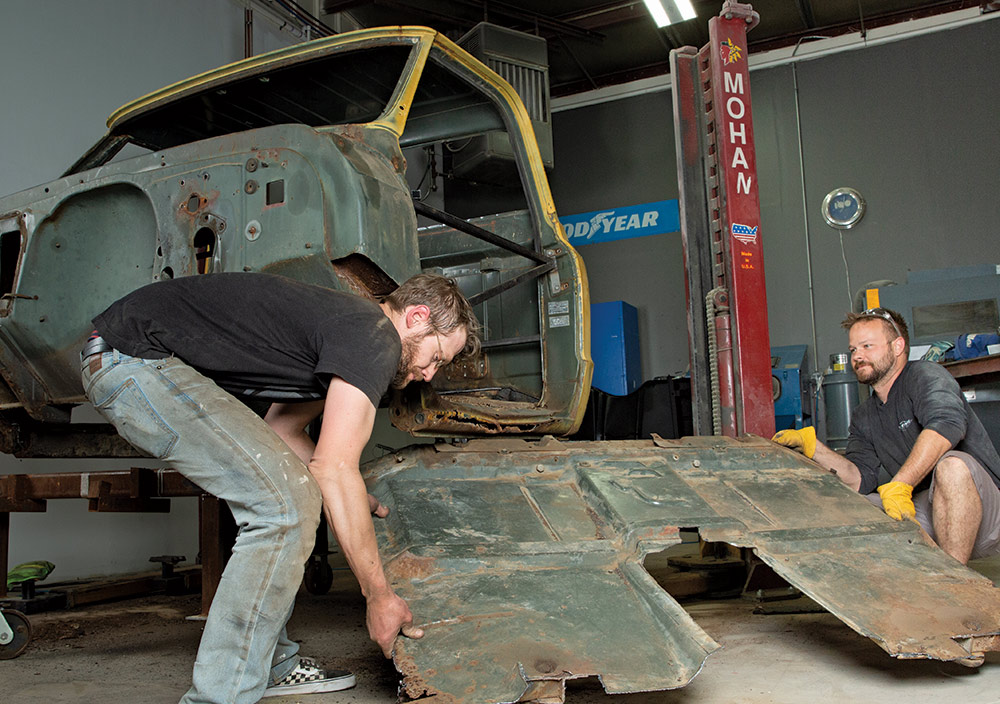
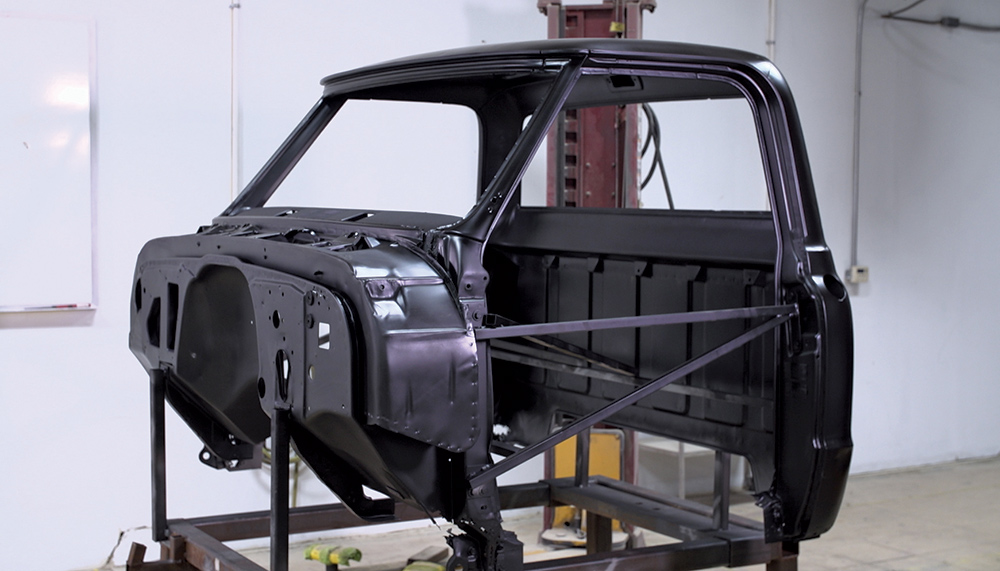
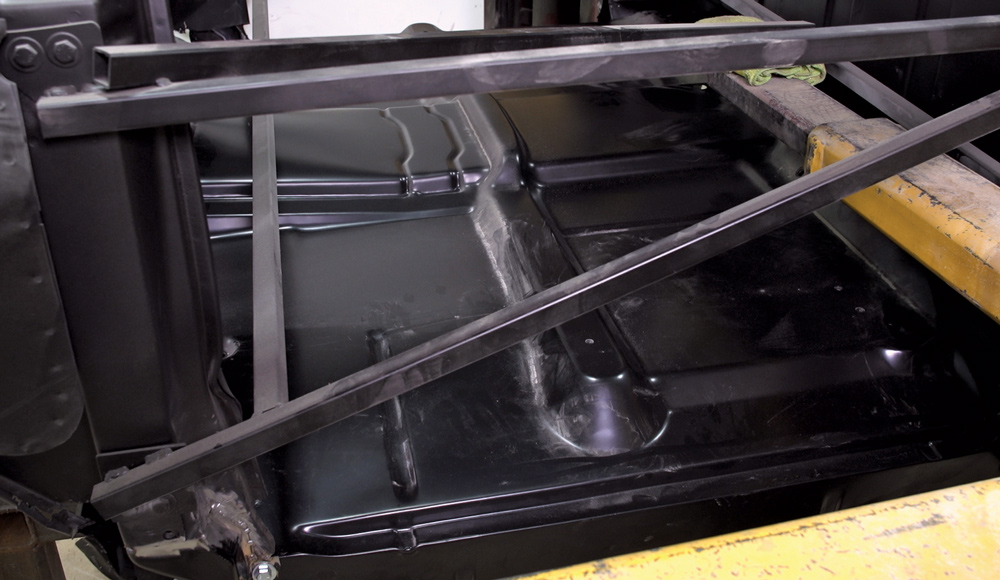
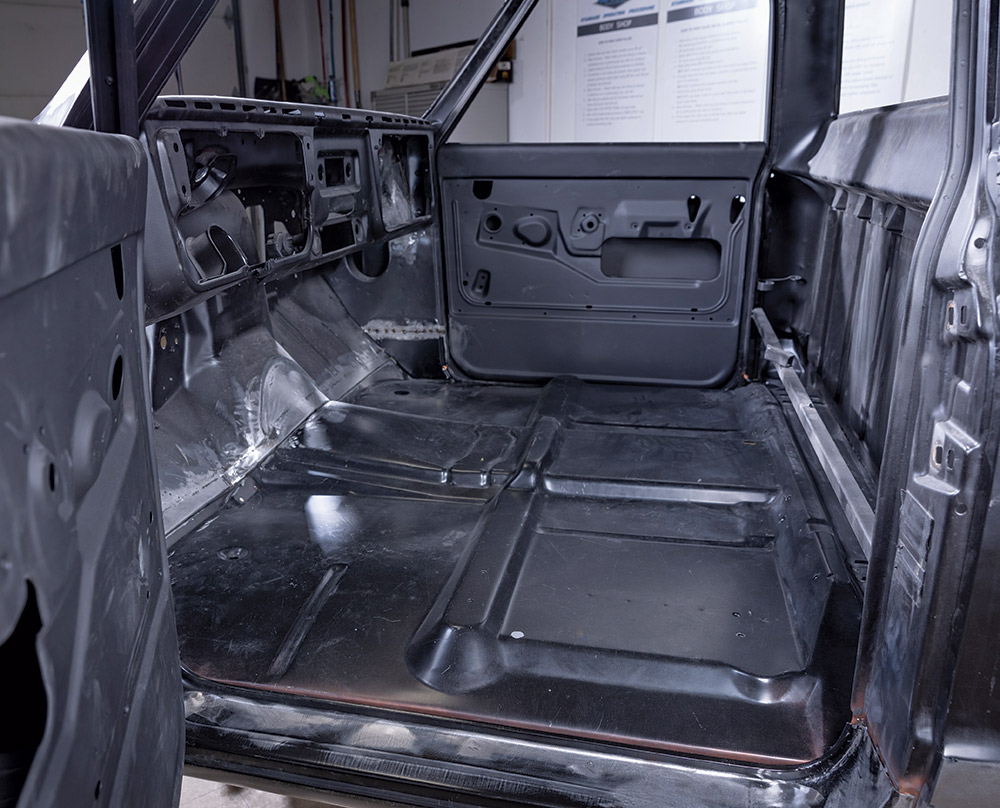
Knowing that the old floor was going to be removed, our first step was to brace the cab with square tubing to keep everything square while the surgery was underway. This step is very important to avoid huge alignment issues when everything starts going back together. Bracing in place, we got to work removing the old floor with a cutoff wheel, plasma cutter, and Sawzall. After one long night the floor was out, and Vaneperen’s shop was covered with 50 years’ accumulation of dirt, rust, and mice nests. From there it was off to the blaster then back to No Coast for a coat of epoxy primer to protect the bare metal. Finally, after a little wrestling to get the new floor into position and tacked in place, we found ourselves sitting on solid ground in our cab for the first time.
We spent some time building small pieces to replace rotten sections of the toeboard before fully welding the new floor in place. With that major milestone complete, we were ready to cut out our bracing and move on. Our next move would be to tackle the other area that’s famous for being rotten in these trucks: rockers and cab corners. But before we could start fitting the new metal, we needed to hang the doors to ensure we were attaching the new panels in the right place.
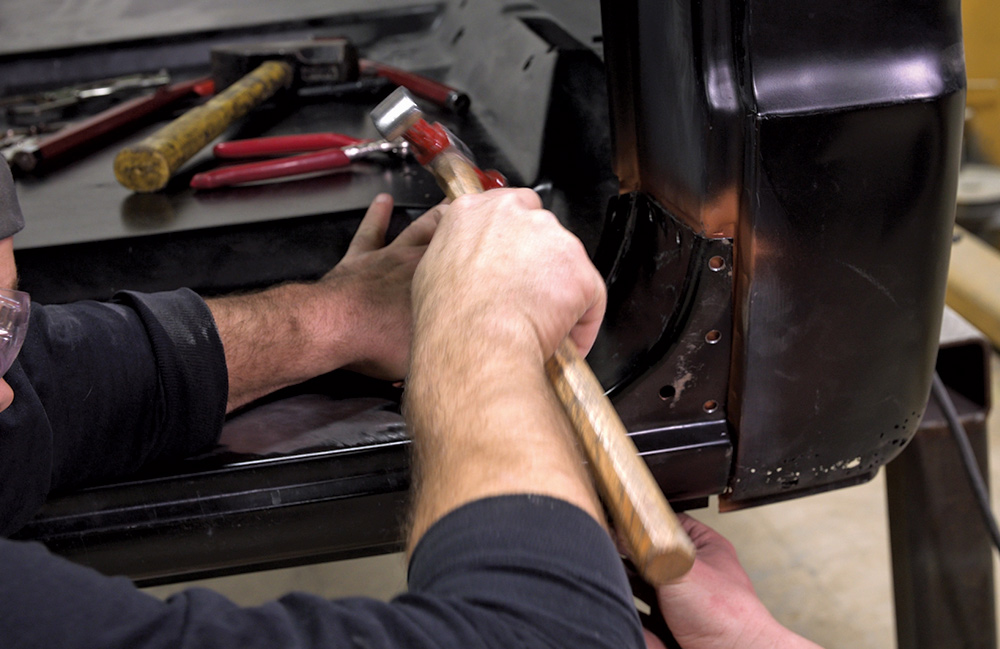
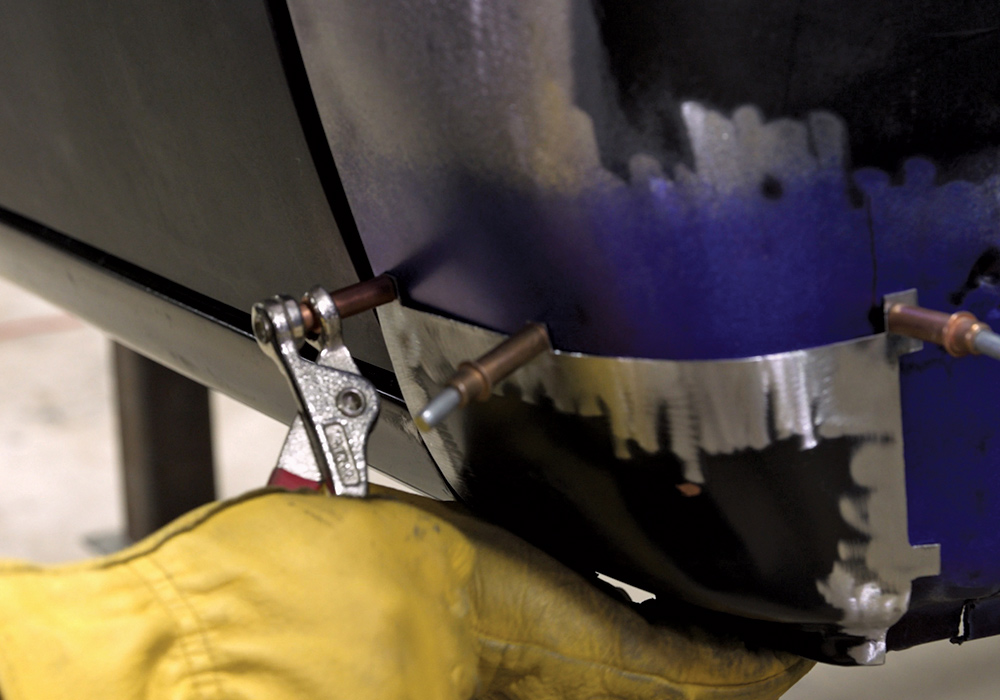
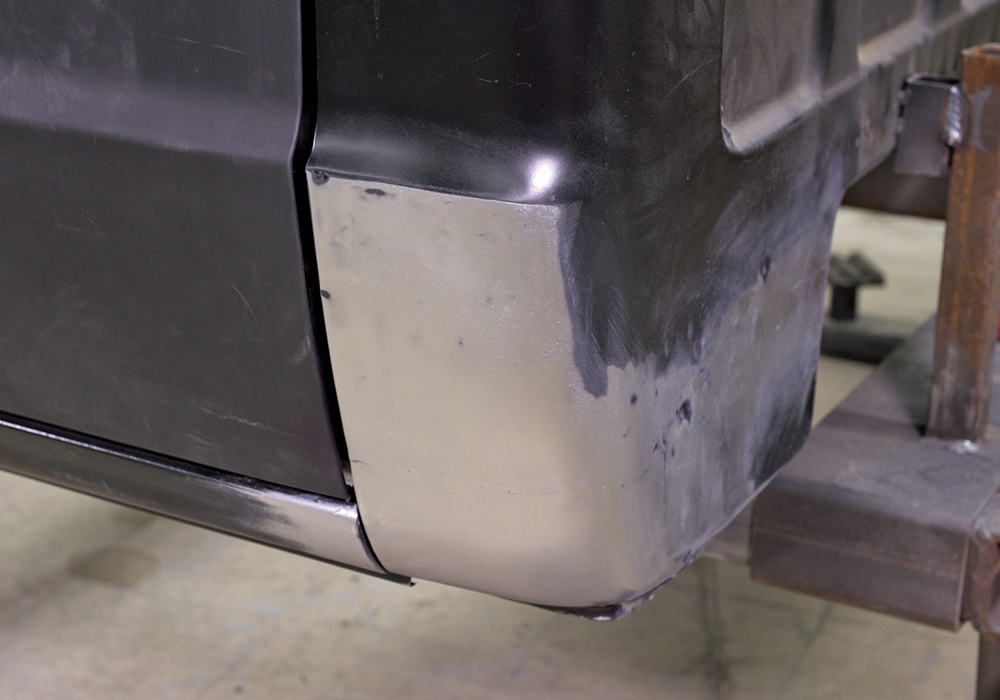
With the doors in place and aligned we chose to hit the rockers first. Our reproduction pieces fit with minimal tweaking and some hammer and dolly work. They were then held in place with Clecos but left loose while we fit the cab corners. Vaneperen showed us a neat trick to hold the new cab corner panels in place. Instead of just cutting a straight line and trying to clamp the replacement piece in place, Vaneperen instead created little tabs that can be held on with Clecos while positioning and tacking. The tabs are then zipped off with the cutoff wheel for final finishing. Pretty slick plus it saved the usual wrestling match with Vise-Grips and other clamps trying to hold the new metal.
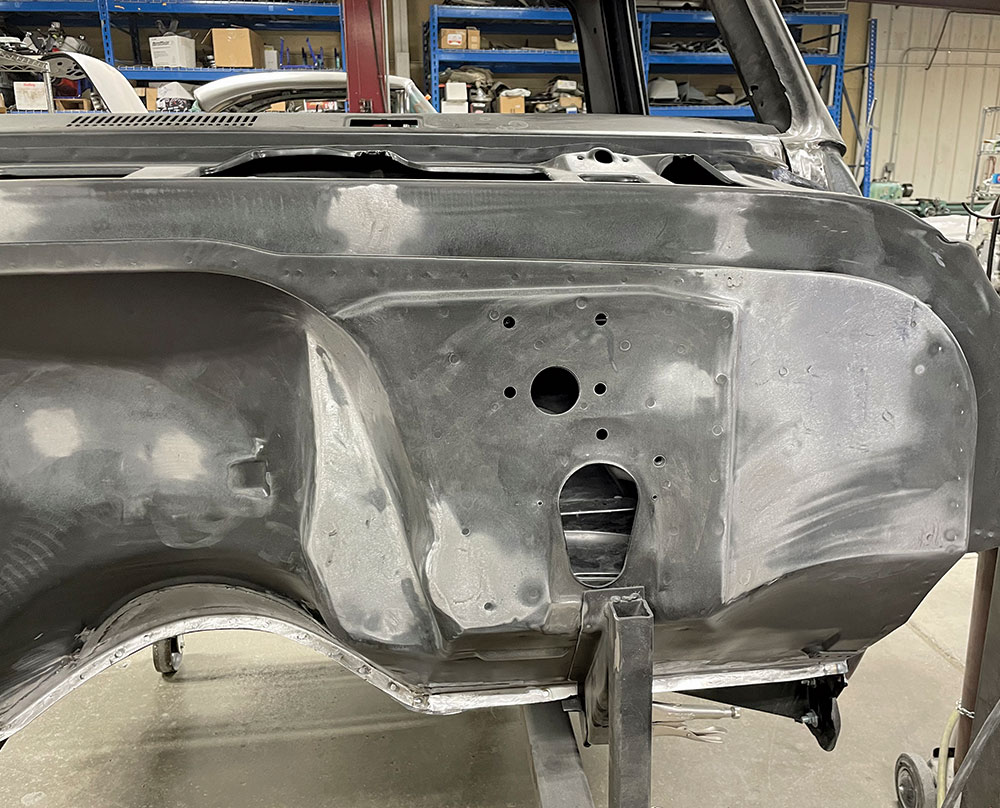
Our cab was really starting to shape up. The cab corners and rockers were fully welded and we cleaned up some small areas of rust on the firewall. We were starting to see the light at the end of the tunnel after fearing that the cutting and welding would never end, but what about the rest of the sheetmetal? If you recall, the original box for this truck had long since vanished and the original front fenders and hood were pretty mangled. We once again hit the shelves at Speedway Motors for new fenders, a hood, and everything we would need to assemble a new box.
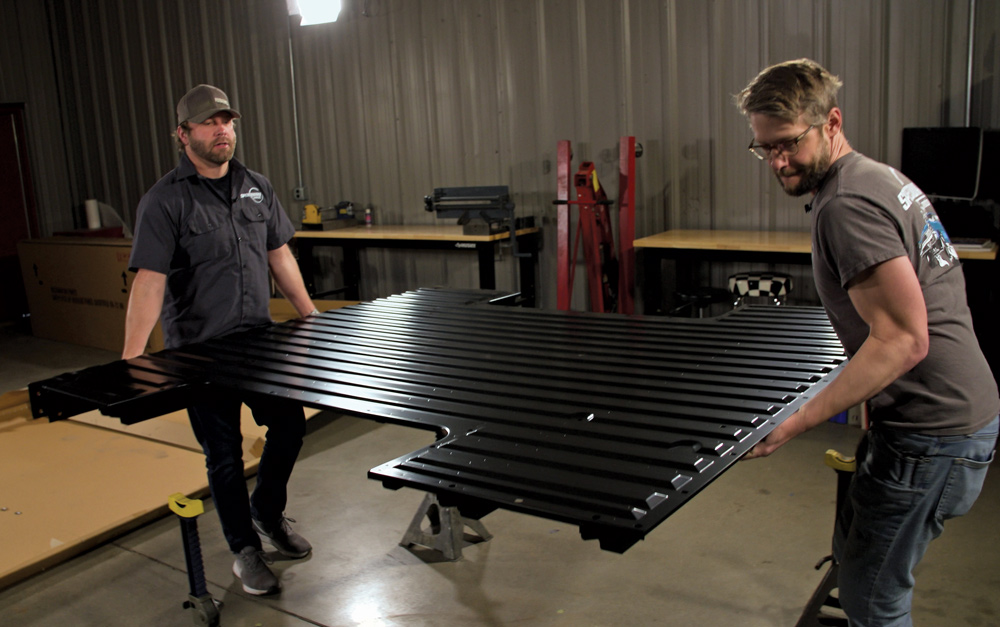
After the long struggle to solidify the cab, it was a nice change of pace for us to spend a morning in the shop assembling a Fleetside short box from all-new components. We chose a steel bed floor, 1968-1972 bedsides, new front panel, and a smooth tailgate. In just a few hours we were looking at a solid new box ready to bolt up. No cutting, welding, grinding, or straightening out 50 years’ worth of use and abuse.
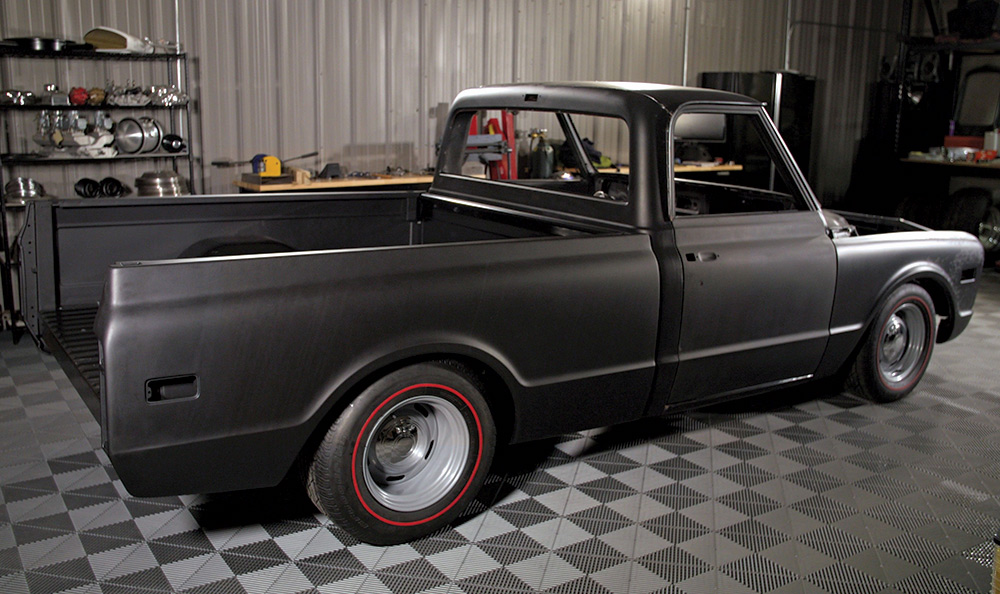
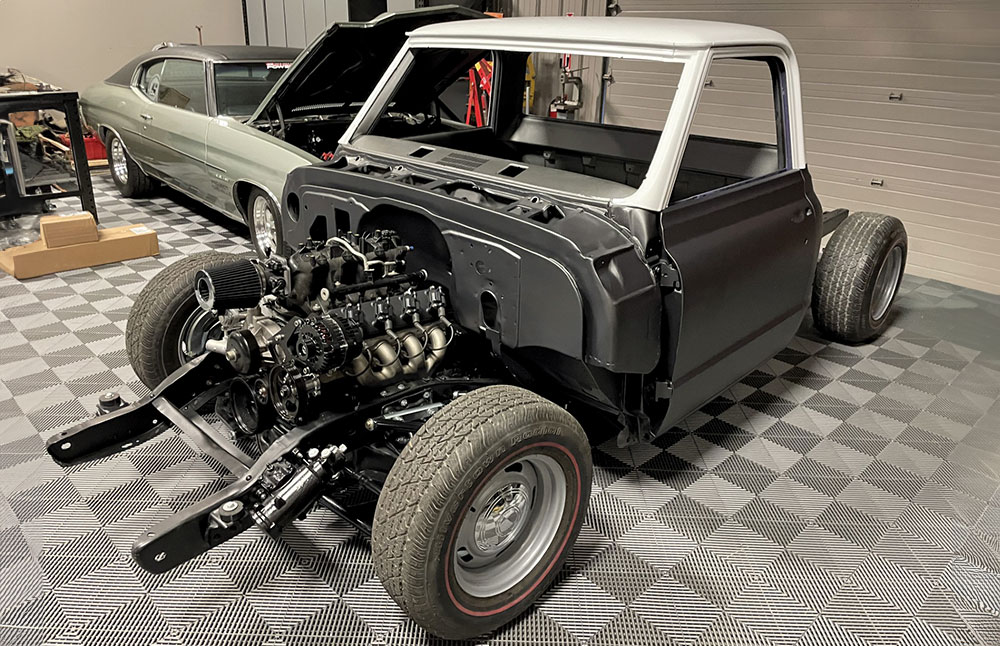
At this point, the chassis had been put together in our shop while the cab was being straightened out across town at No Coast. Before we started fine-tuning the bodywork, we figured we’d better do a quick mock-up to make sure there were no interference issues. If we’re being honest, we really just wanted an excuse to put it all together to get a glimpse of the finished product.
Fortunately, everything fit just as it should. We also verified that the Speedway Motors steering column, brake booster, and master cylinder were going to work as intended. With a few more boxes checked, we took a few minutes to step back and take a look at our mostly complete C10 for the first time. There was still a long way to go but seeing a preview of the lowered and straightened hot rod pickup that we’d been daydreaming about for so long got us revved up to push across the finish line. We had committed to having the finished truck in the Speedway Motors booth at the 2023 SEMA Show, which meant we had about six months to wrap everything up.
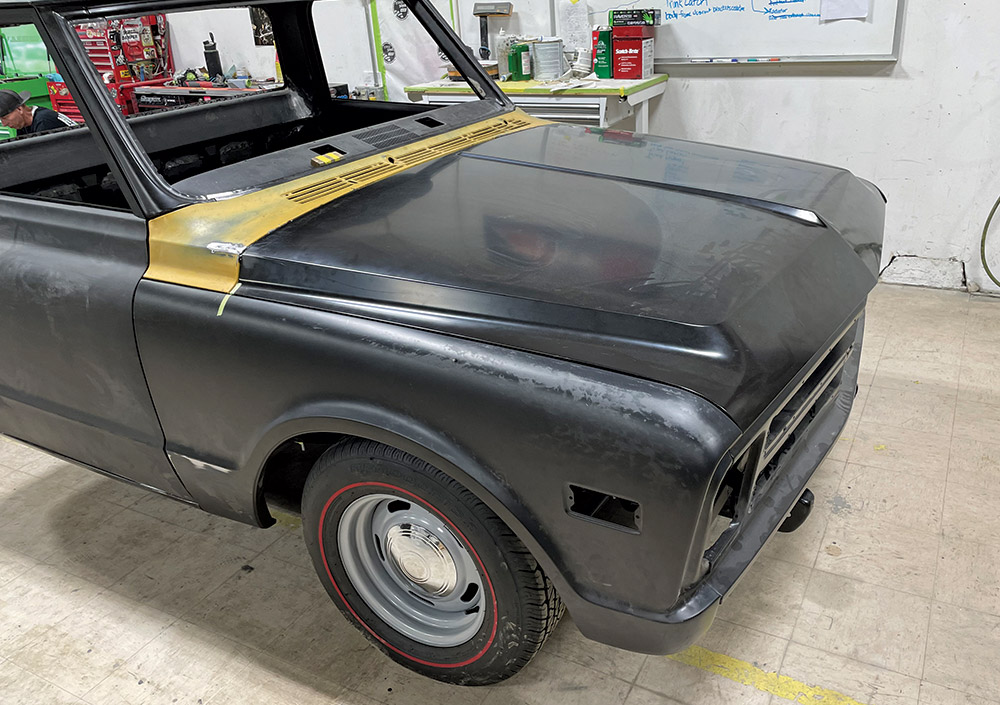
Time to head back to the body shop. Here’s where the guys at No Coast really helped us raise the bar. The reproduction sheetmetal fit well, and many of us would have been tempted to leave the panel gaps as they were. Vaneperen and the crew helped us take the fitment to the next level with plenty of tweaking, adjusting, and adding metal to the edges.
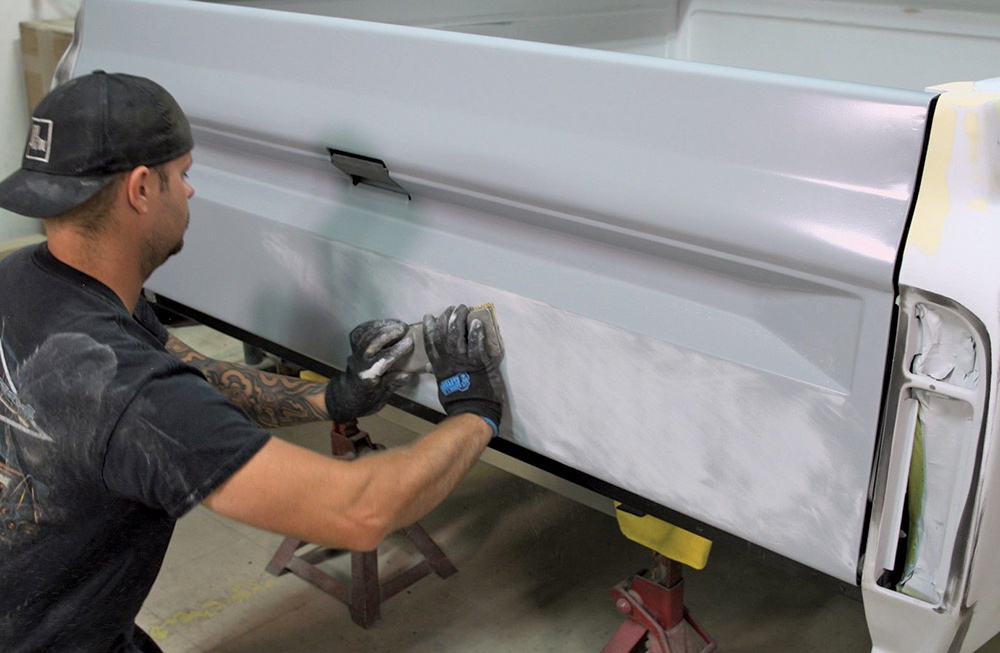
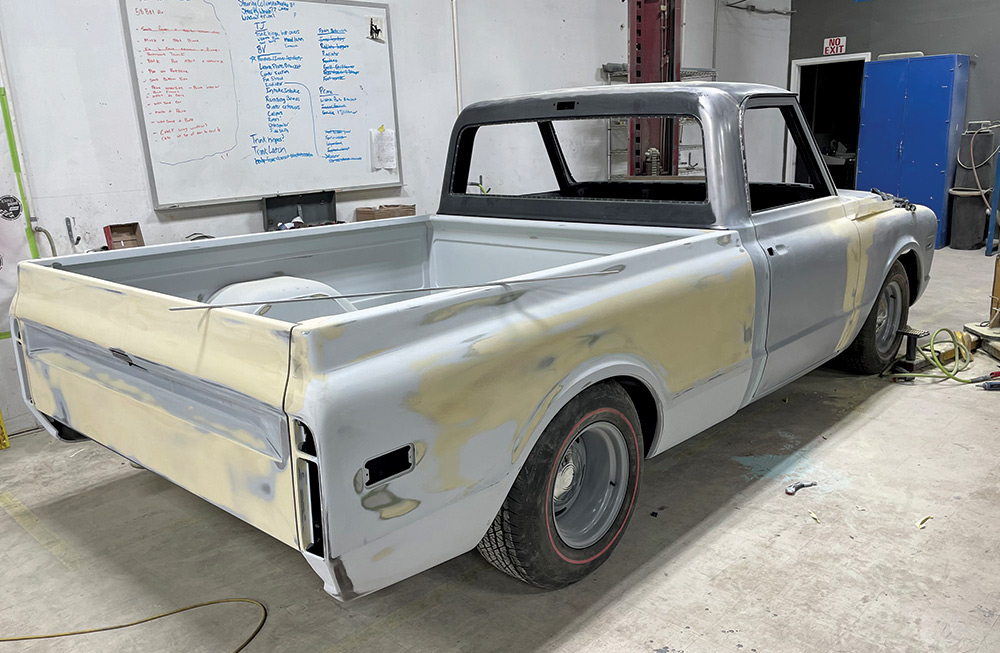
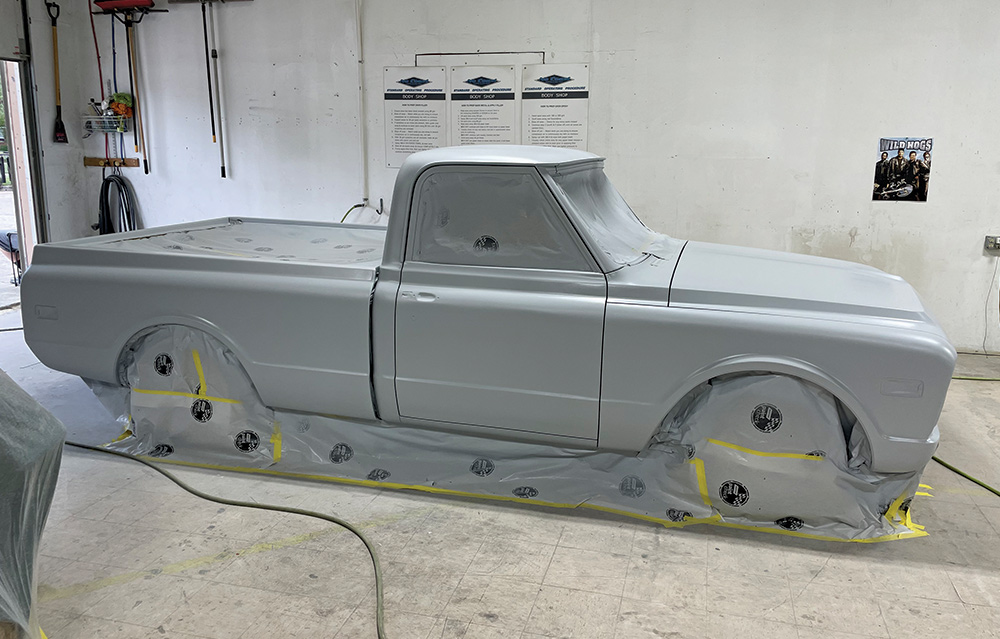
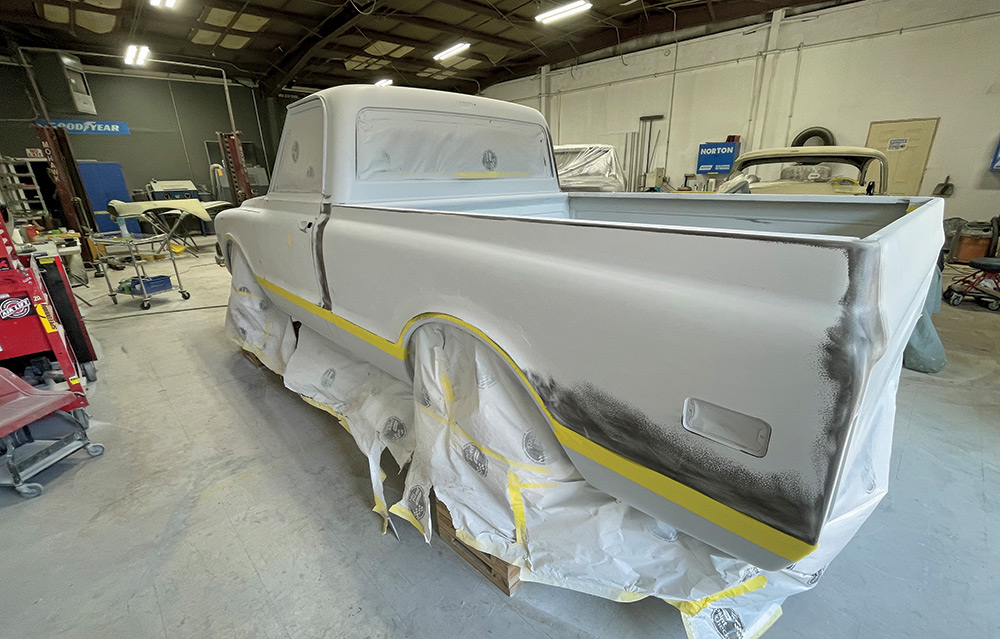
It’s hard to sum up months of hard work into one paragraph. Bodywork is where many projects stall out, but thanks to the dedication of Vaneperen and the No Coast crew as well as a Speedway Motors team that was determined to see the project through, all those late nights and early mornings began to pay off. We’ve learned to look for little victories when you’re in the middle of a big job like this, and with each day that passed we were able to check a few more things off the list. The box was finished up first, then the cab as every wrinkle and low spot was filled and blocked.
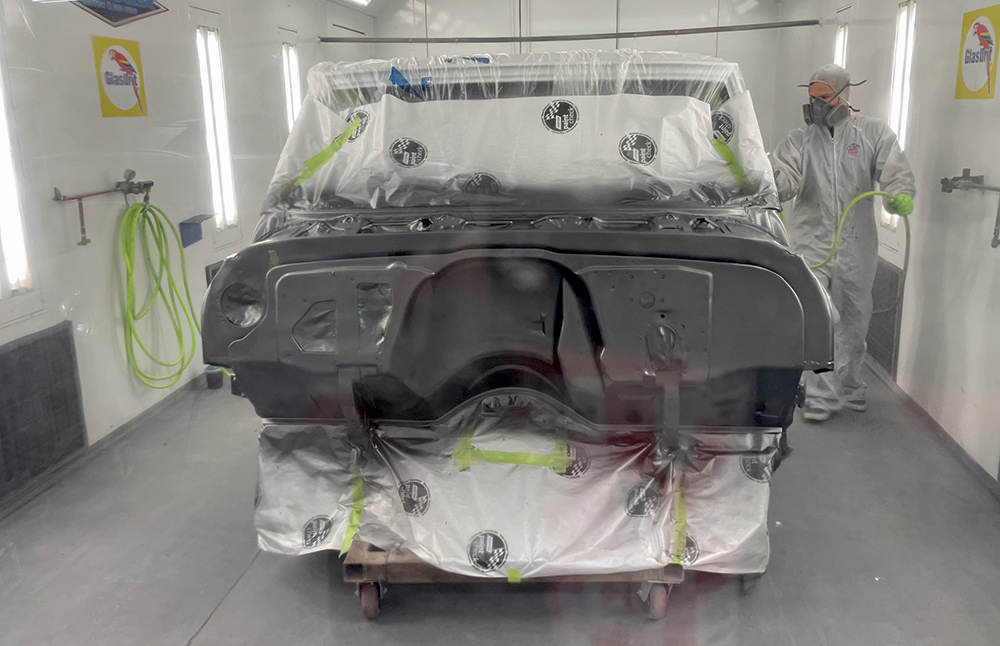
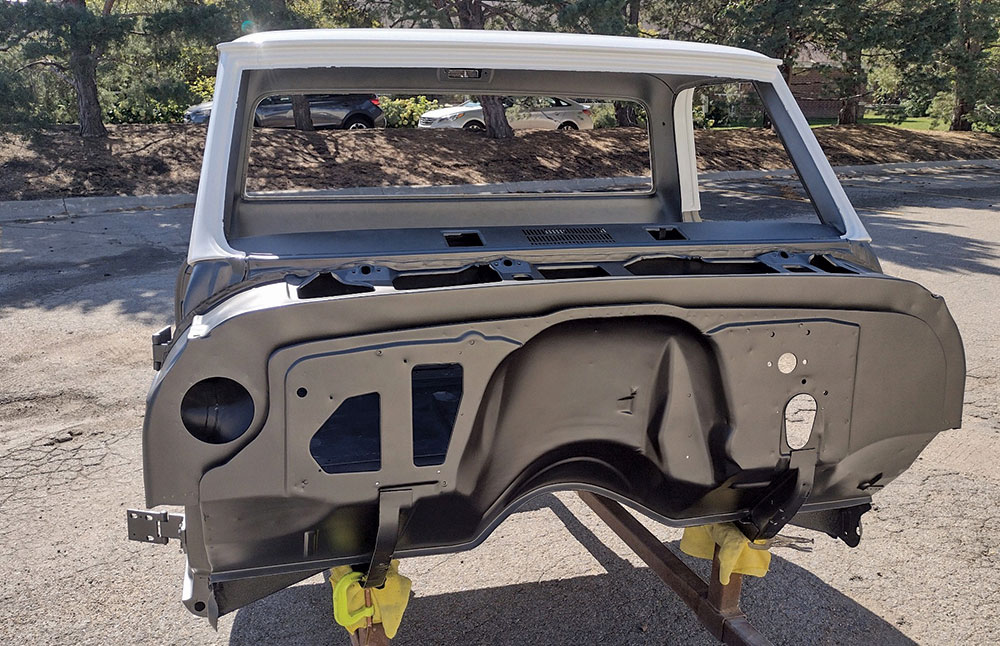
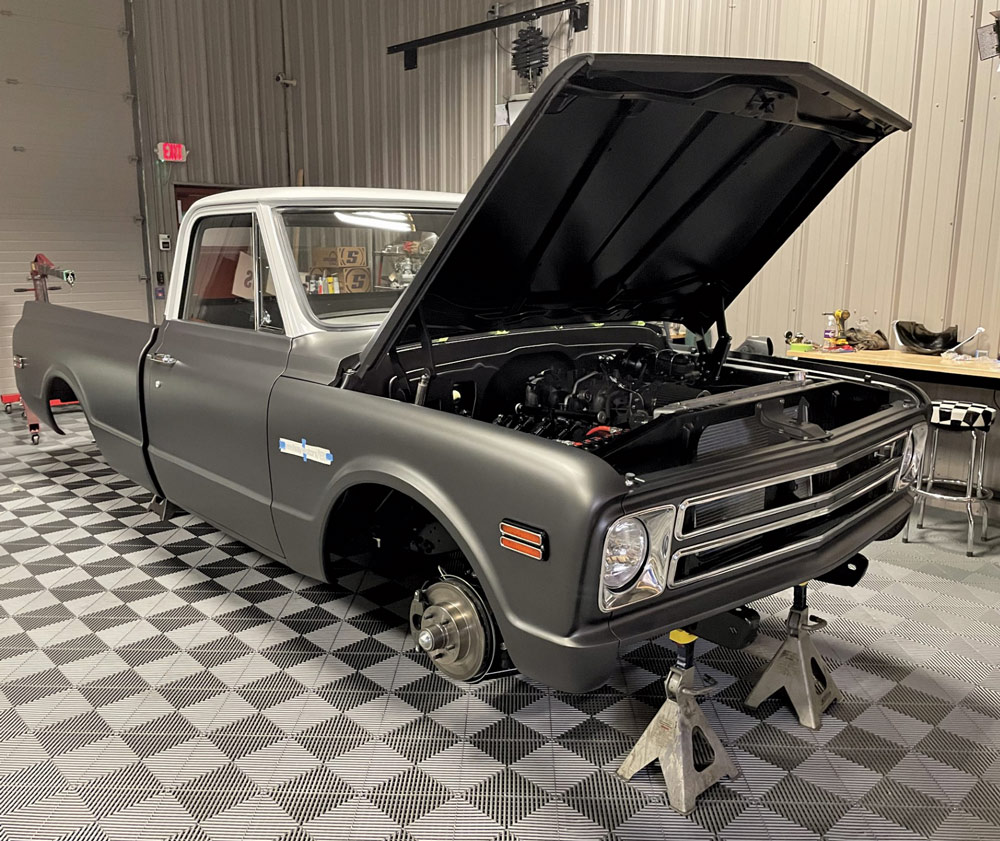
With just a few weeks to go before our SEMA deadline, it was finally time for paint. Though our truck was now nicer than we had ever imagined it would be, we still wanted to finish it in a way that would allow us to use it and abuse it out on the road as intended without being terrified of every rock and bug. We chose a two-stage gray pearl color that fit the vintage vibe of the truck with just a bit of a modern twist. The flat clear helped us avoid the trap of having something that was too nice to drive, and we also happen to love the way these trucks look with a satin finish on them. The top was painted white with gloss clear to add some contrast.
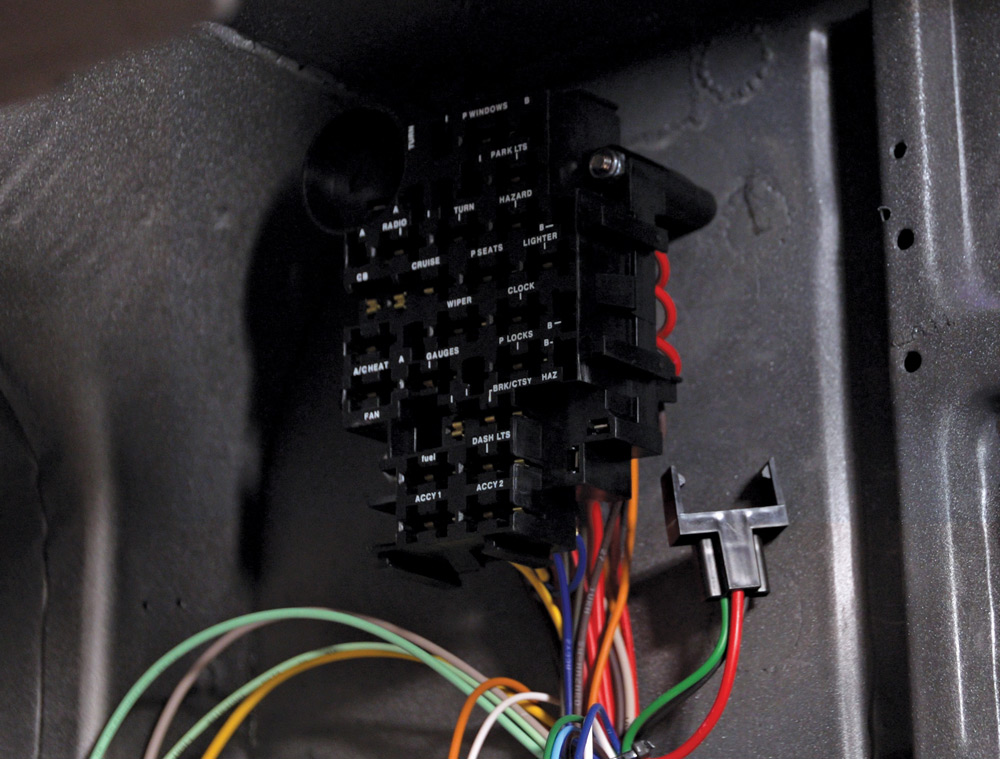
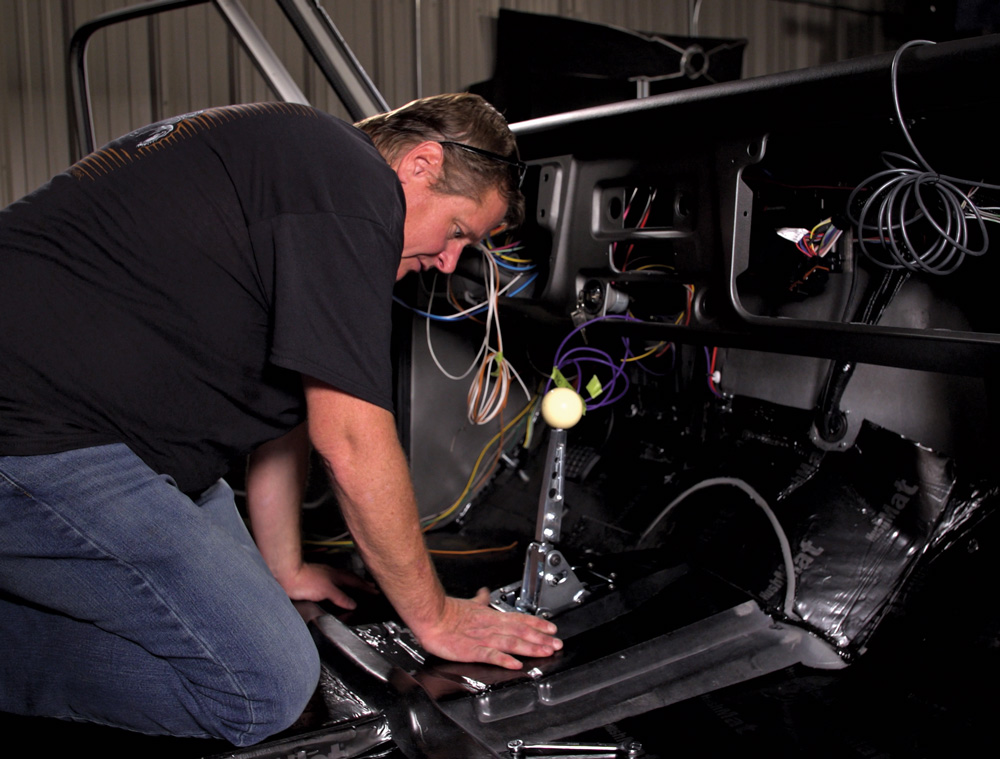
We didn’t have much time to celebrate the completion of the paint- and bodywork. Our deadline was looming and we had a long way to go. That meant more late nights, more early mornings, and more tasks checked off the list. The Speedway Motors wiring harness and completion of the fuel system allowed us to start it for the first time. The interior started to come together with carpet, a cool-looking side-detent shifter, and a seat frame that would allow us to run bucket seats. It was all hands on deck to carefully hang the freshly painted sheetmetal and install the lights and brightwork.
Did we make it? How did the truck come out? While you’ll have to stay tuned for next month’s installment to find out all the details, we will say that we’re absolutely in love with the end result and hope you will be, too!








 SOURCE