Behind the Scenes
 SOURCES SOURCES
 Photography By THE AUTHOR
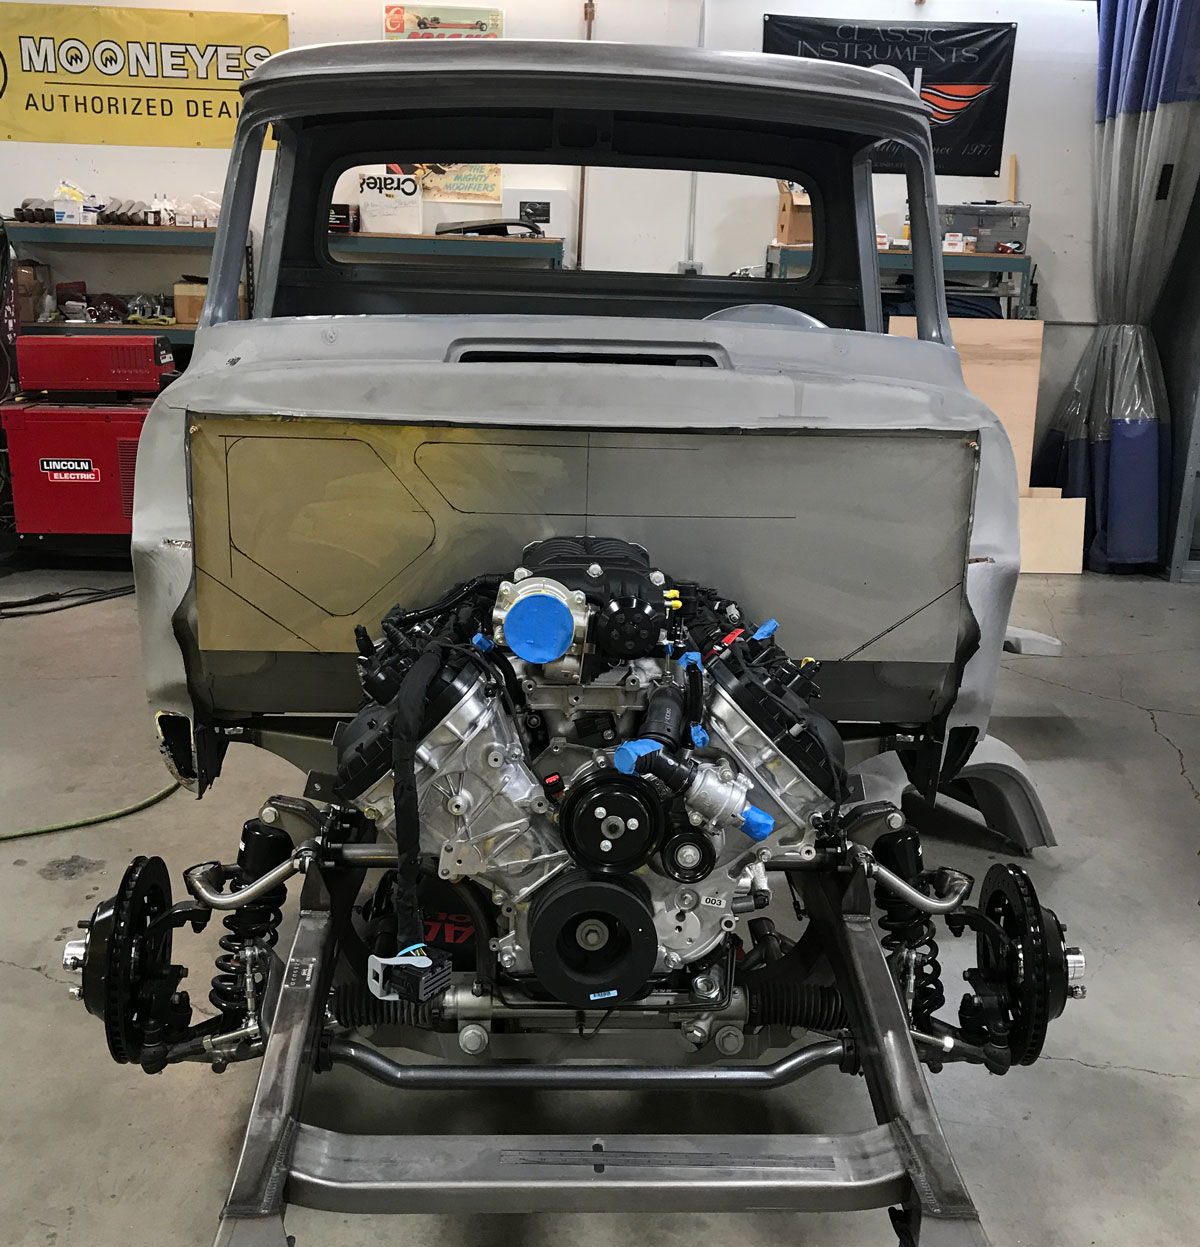
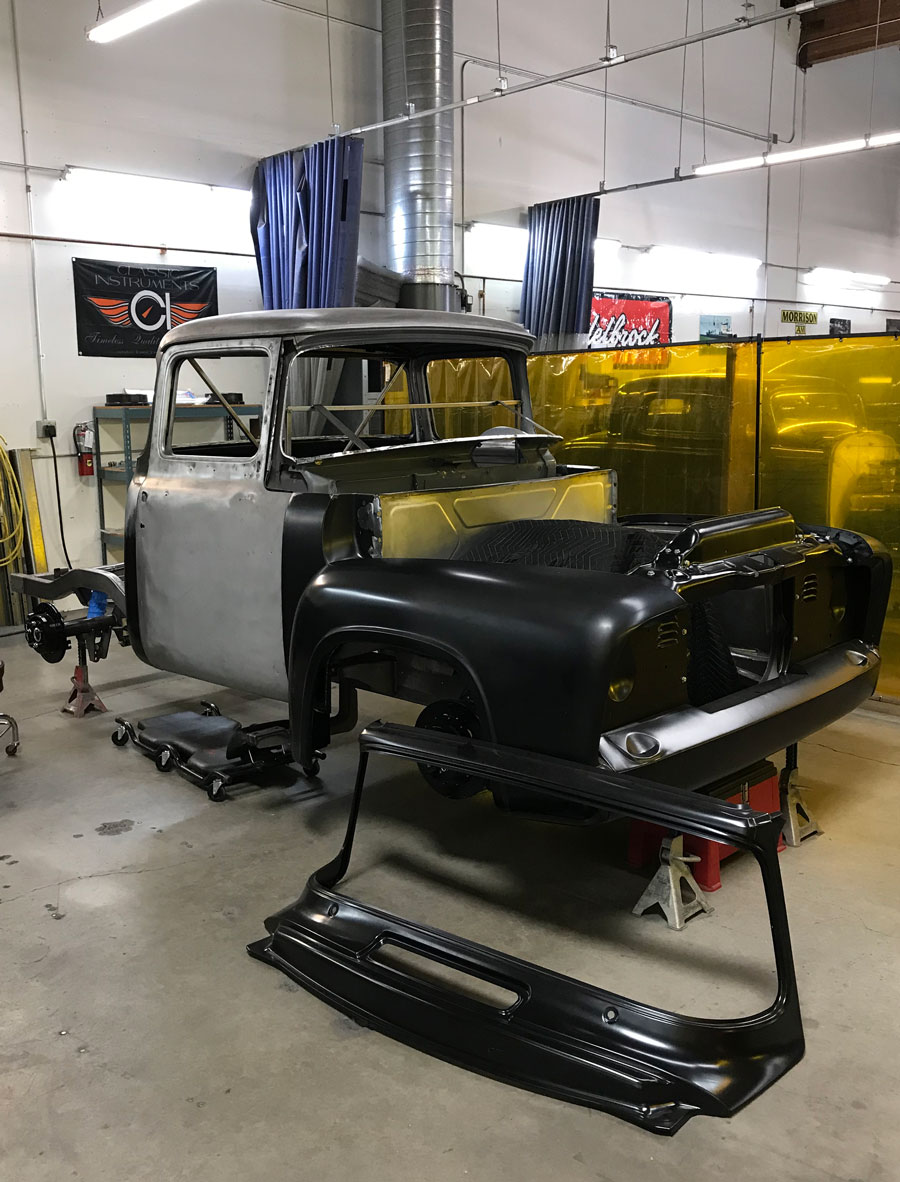
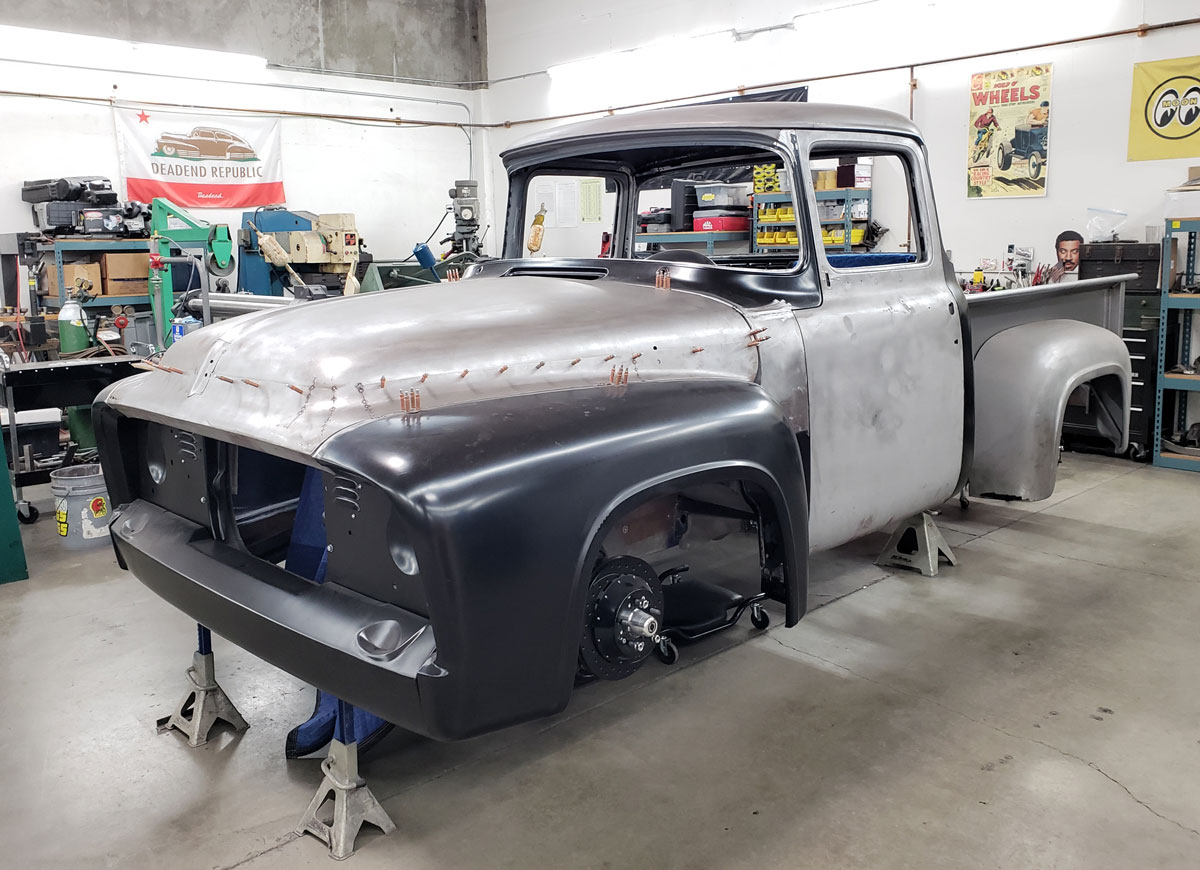
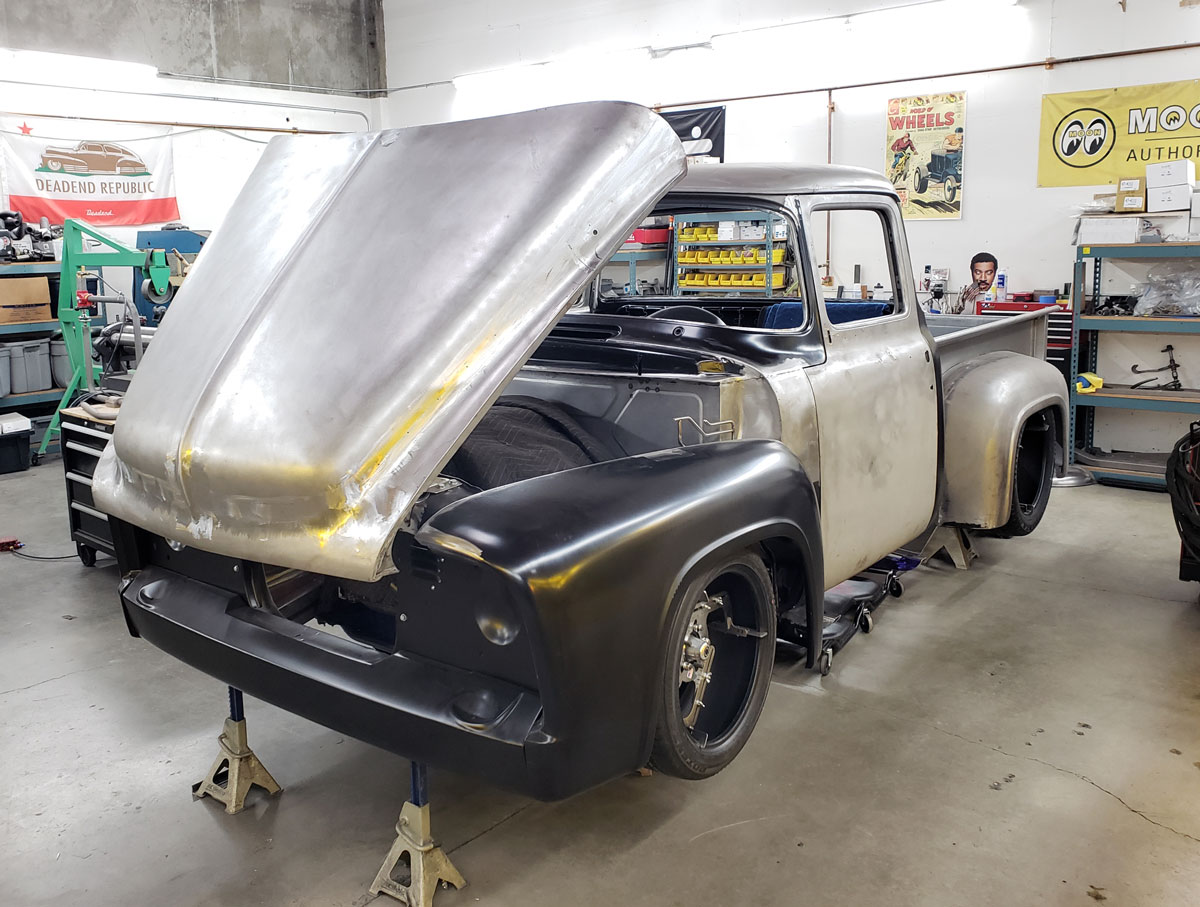
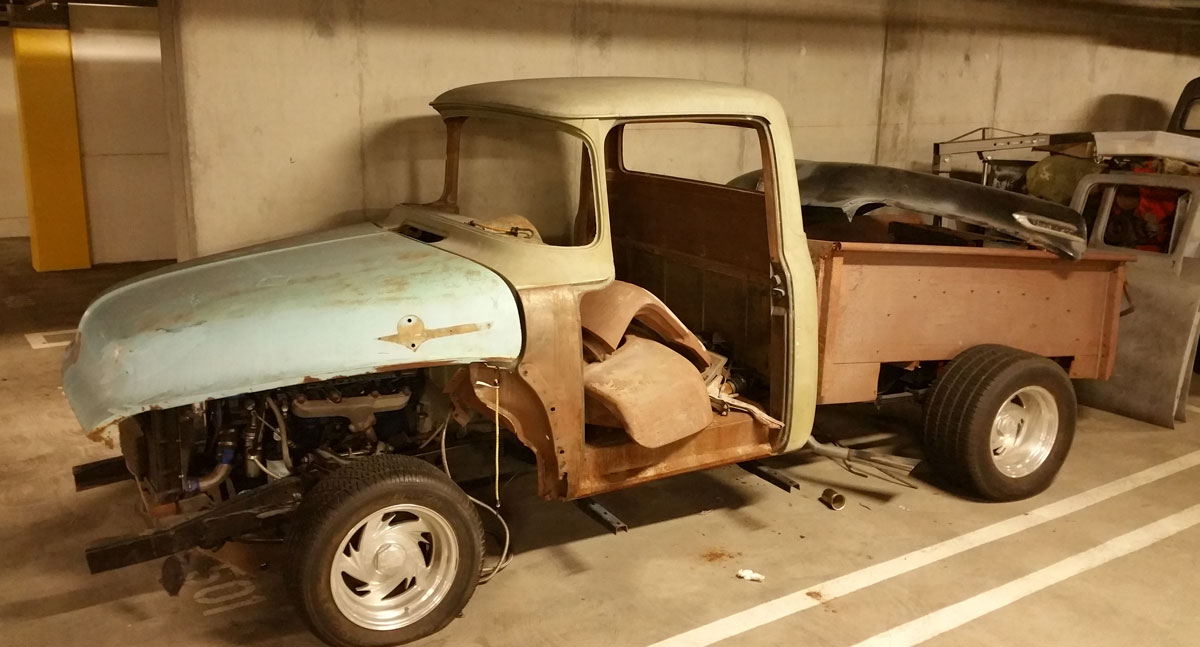
urely by now most of you are familiar with South City Rod & Custom, regardless of whether you’re a regular reader or this is your first issue. Bill Ganahl and crew put out a mean end product, so we figured why not get you behind the scenes on one of their latest projects—Tony Jurado’s ’56 F-100—to see the proof in the pudding, as it were. Mr. Bill was kind enough to provide some details regarding what their master plan is with the converted big-window Effie … take it away, sir!
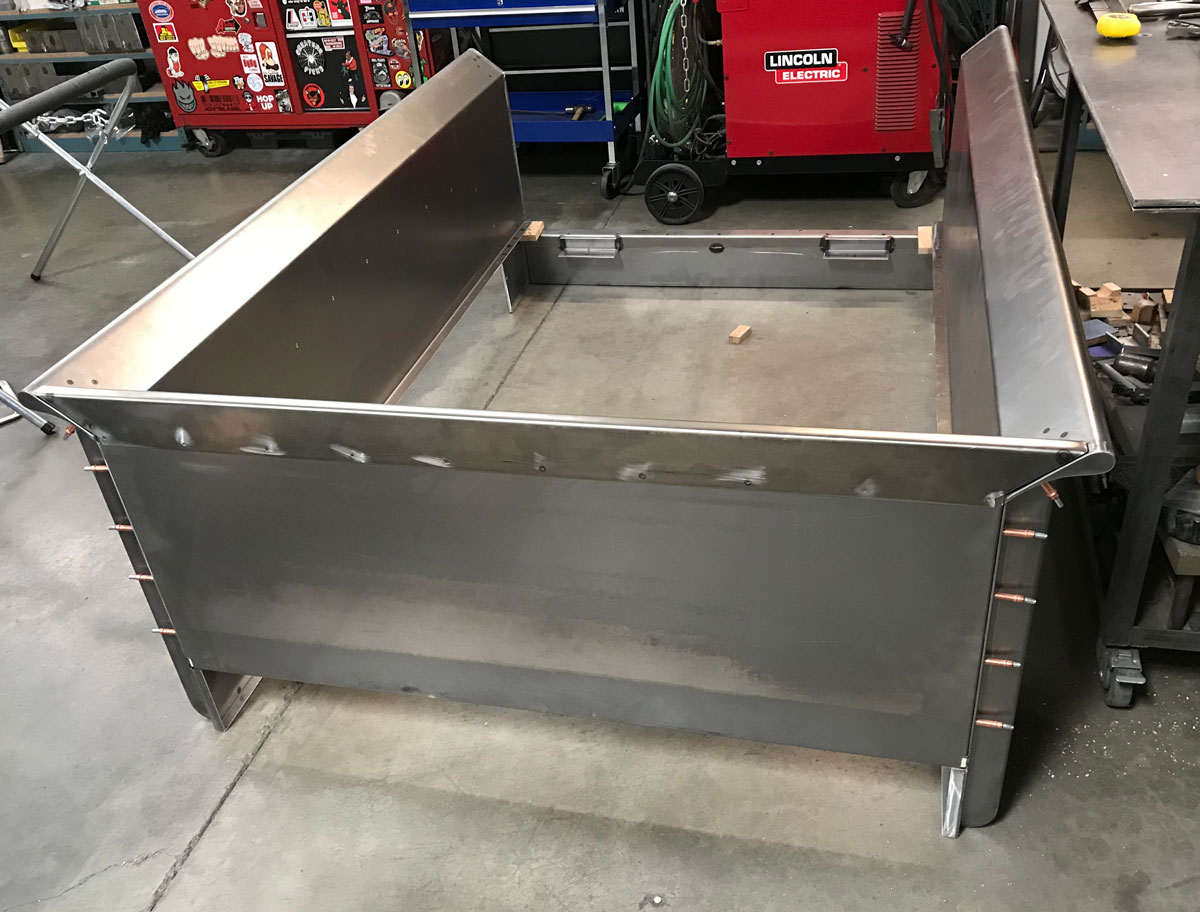
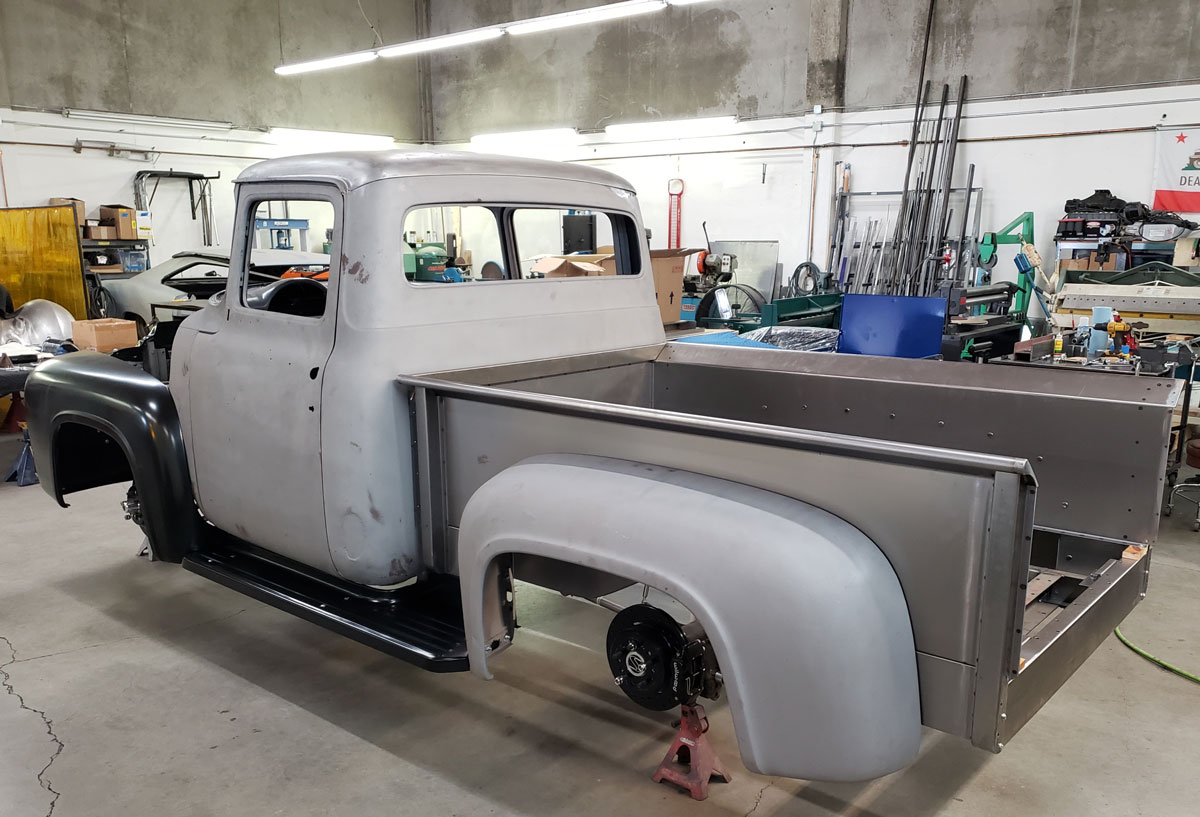
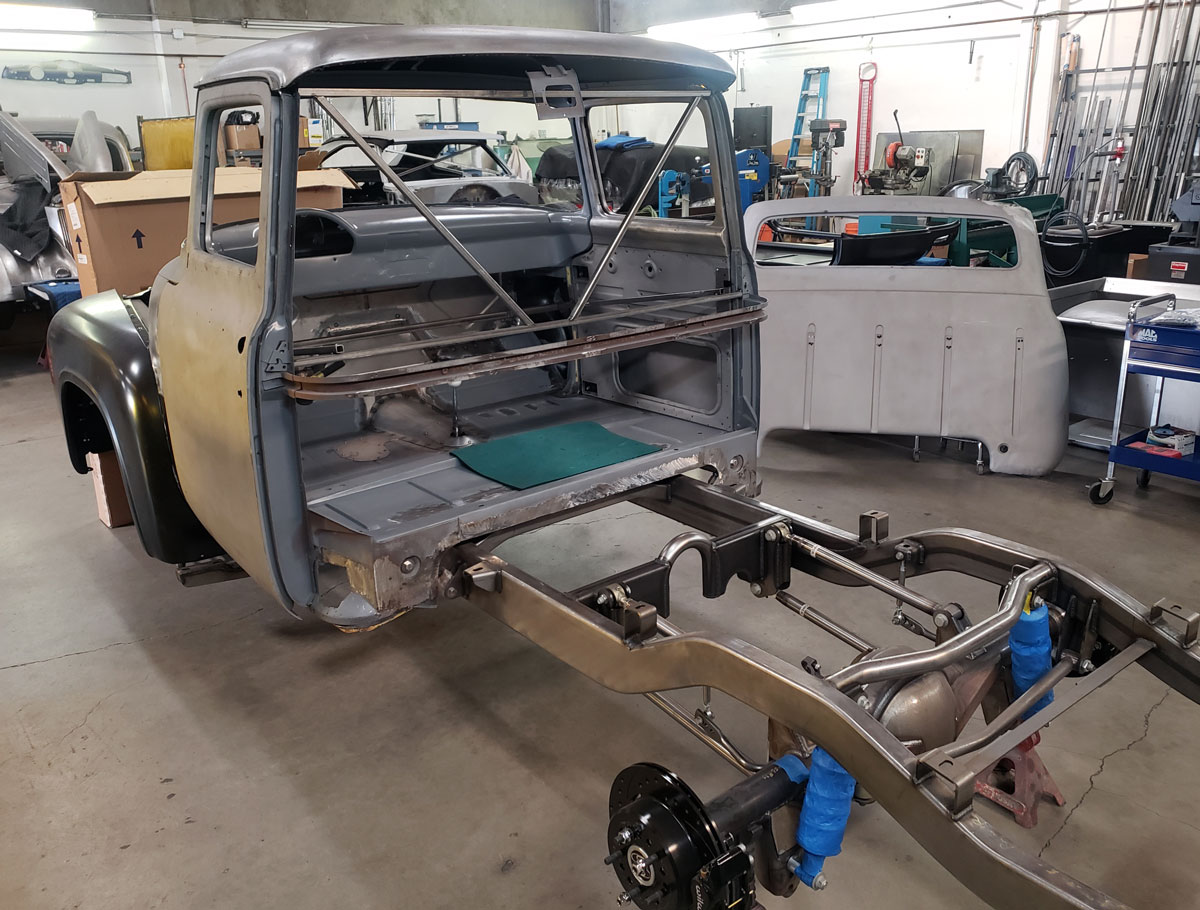
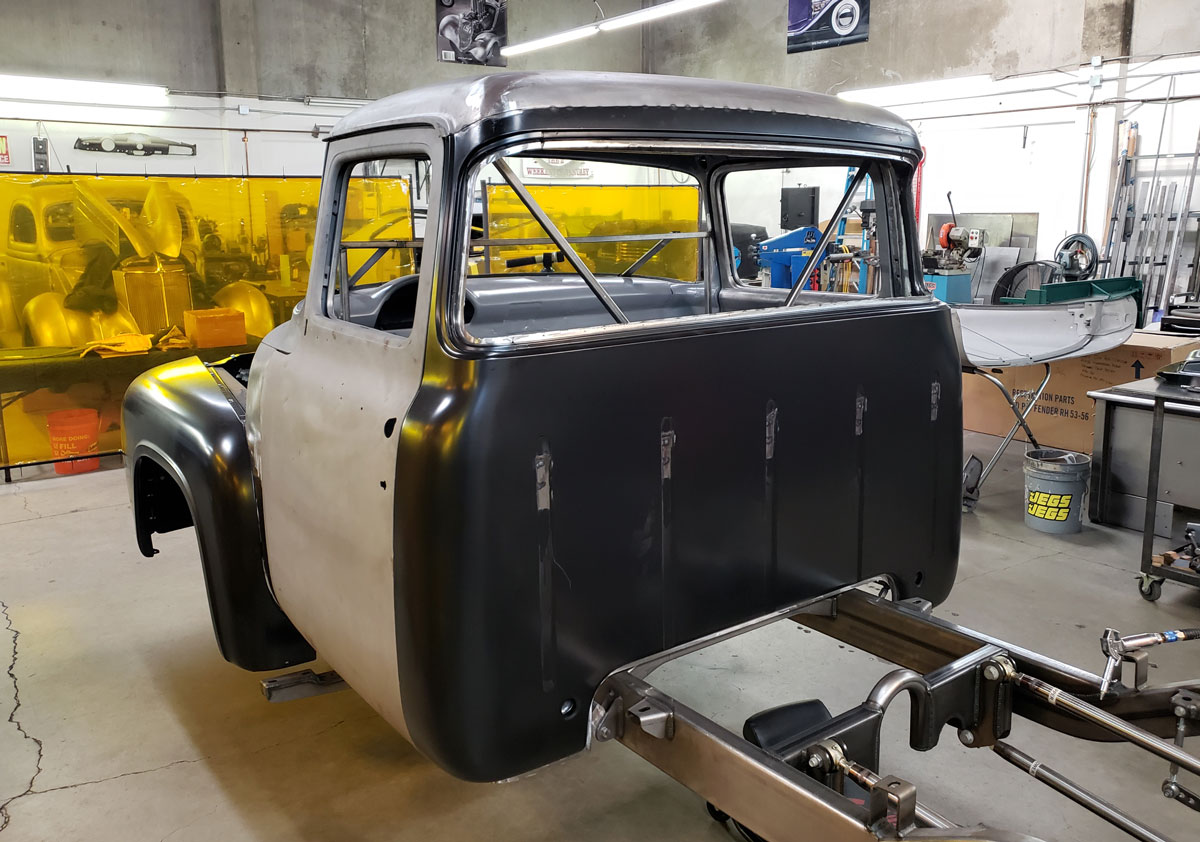
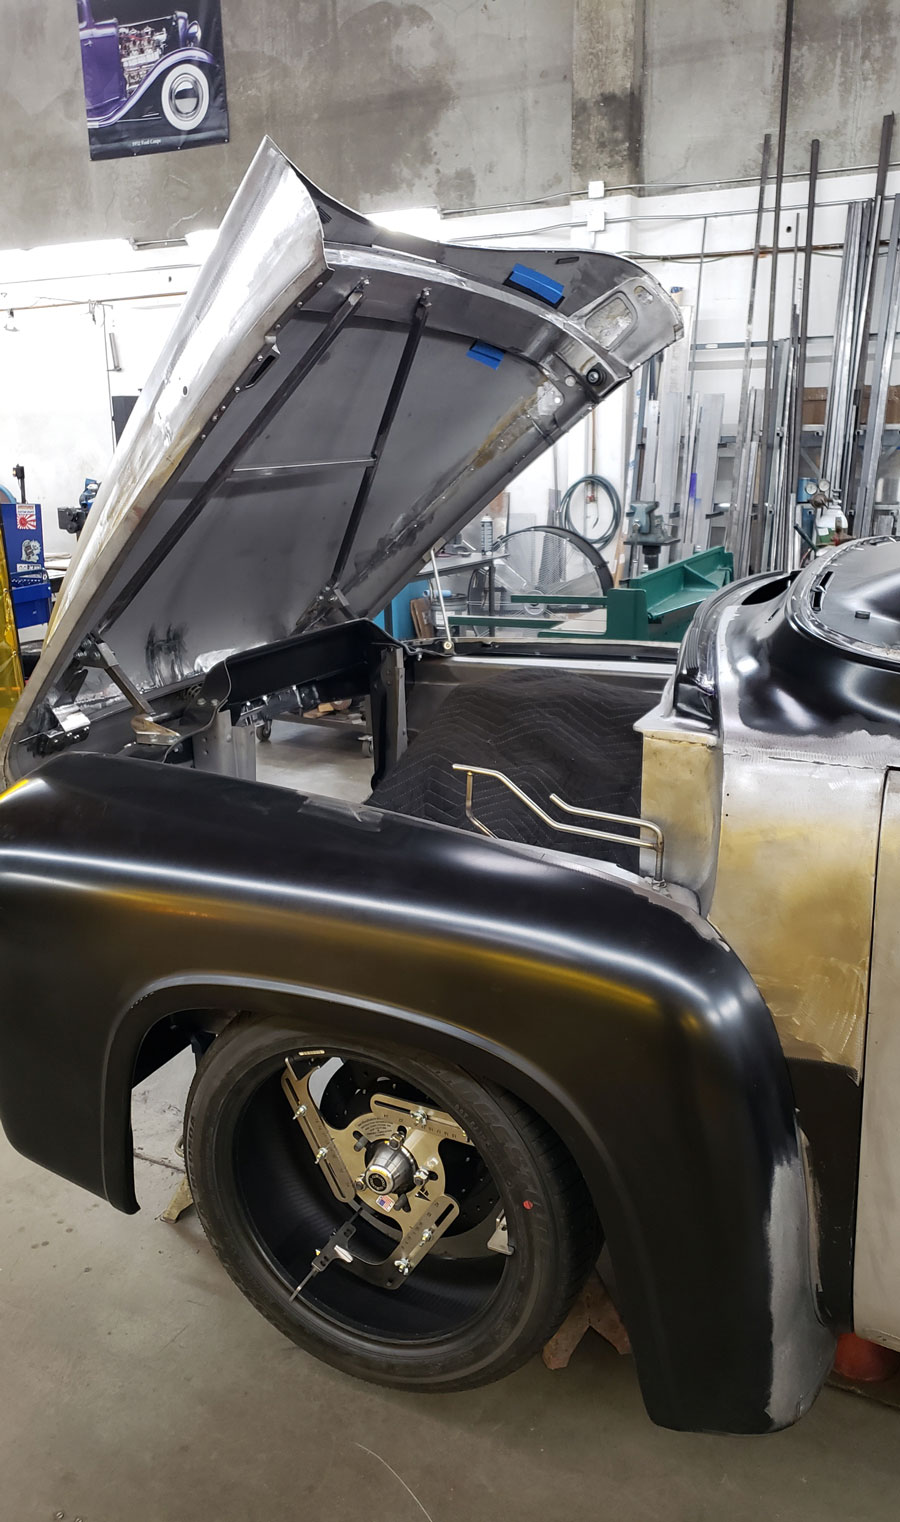
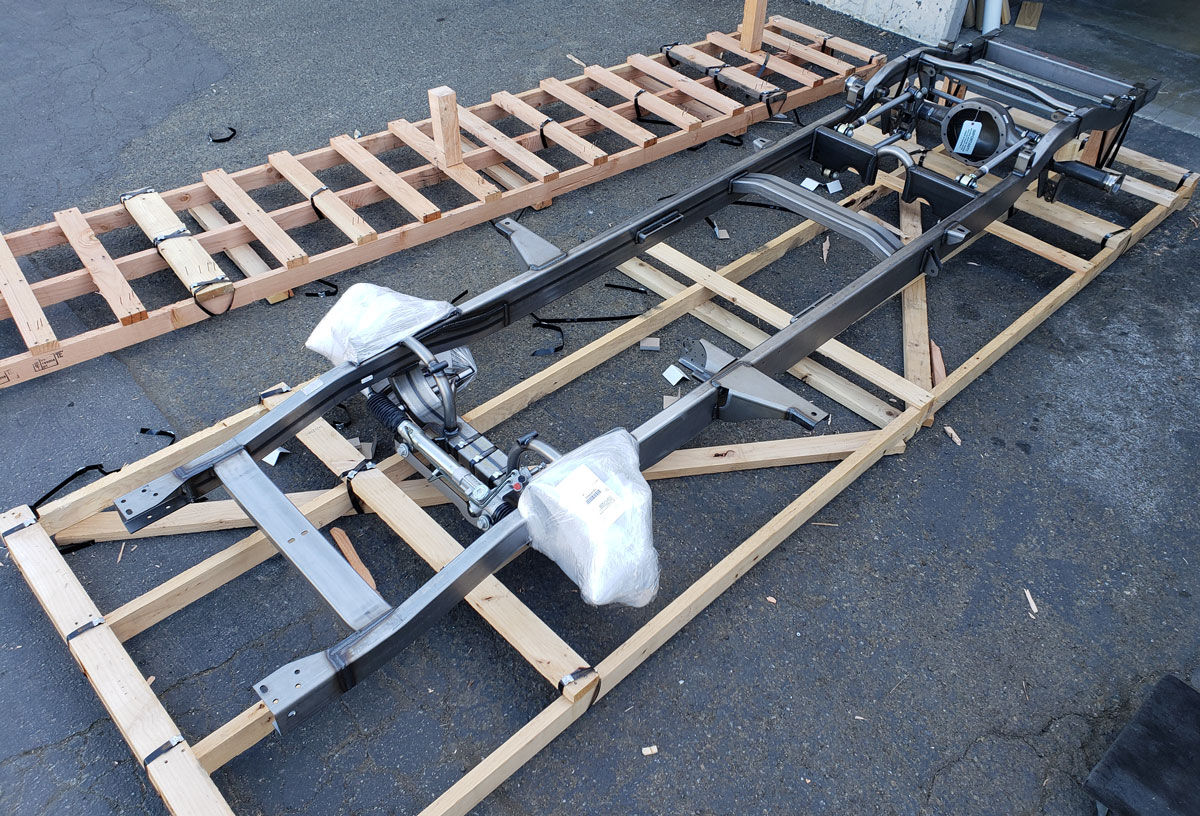
“We started with a fairly nice cab and some sheetmetal and not much else. We knew we were going to use an Art Morrison chassis and a Coyote engine, so all we wanted was a good cab. We also knew we could get a complete new bed, which are always beat up on these old pickups, so we ordered an aftermarket one from Dan Carpenter, which will have the floor raised 3 inches to accommodate the lowered Art Morrison suspension.
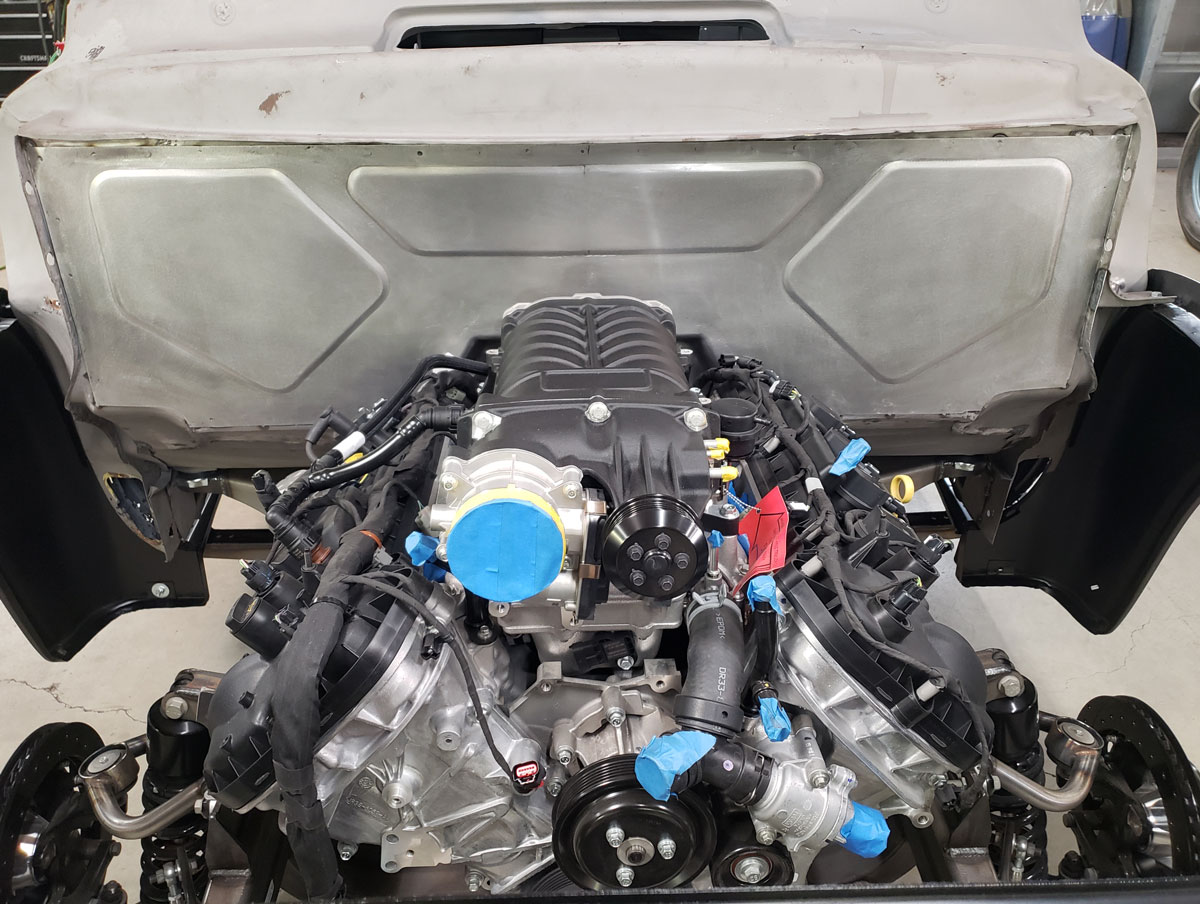
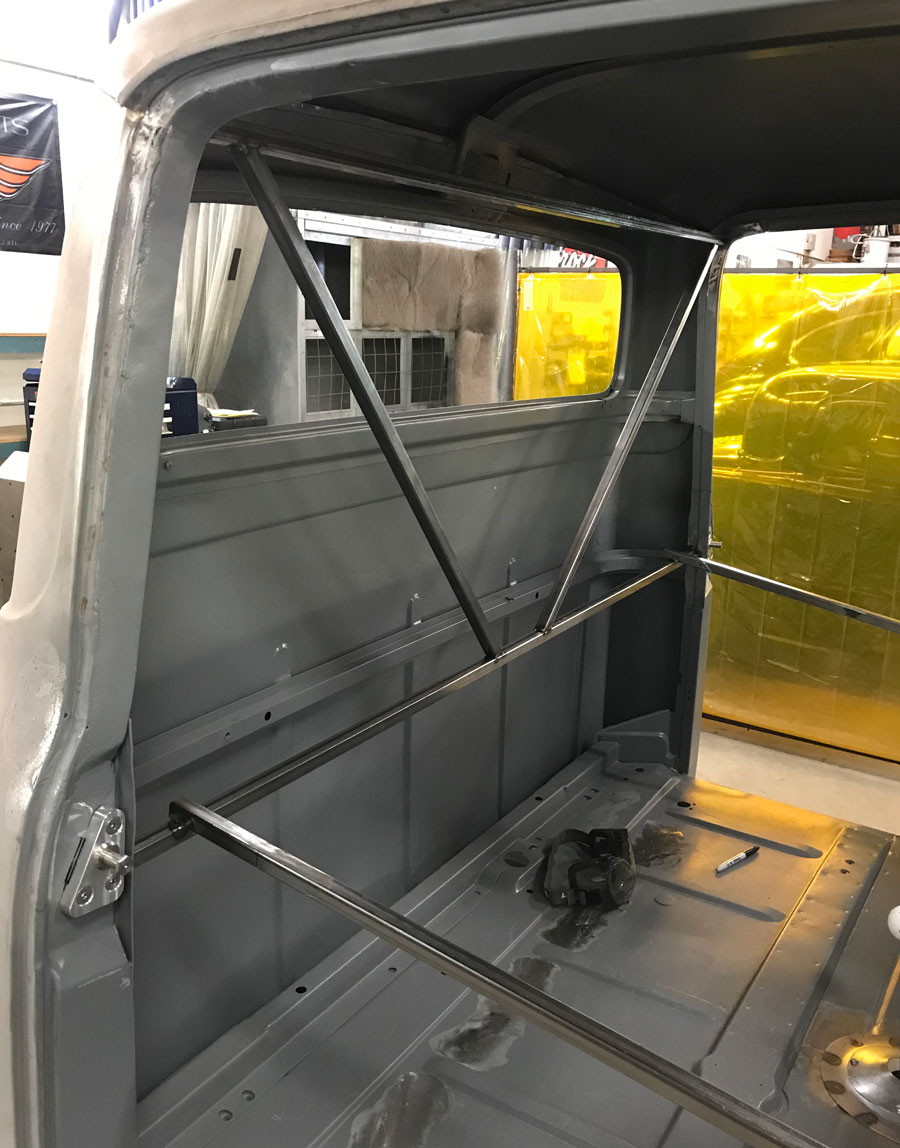
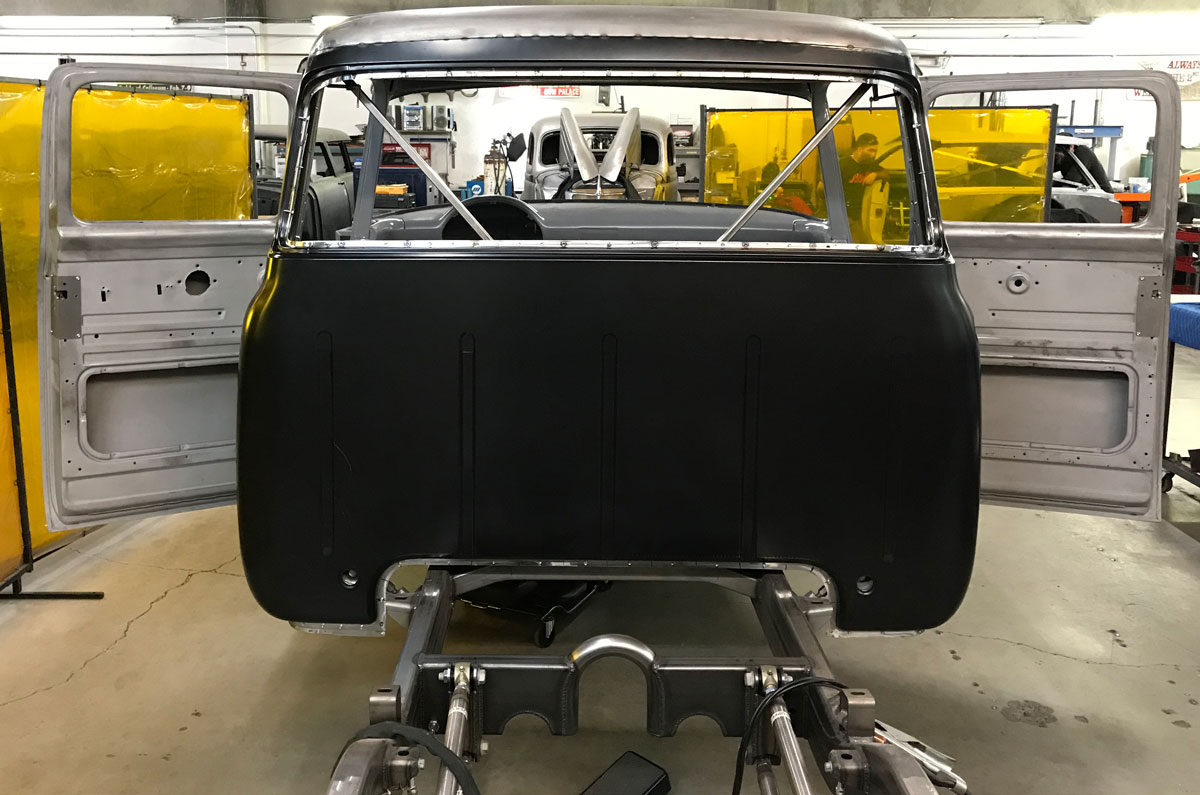
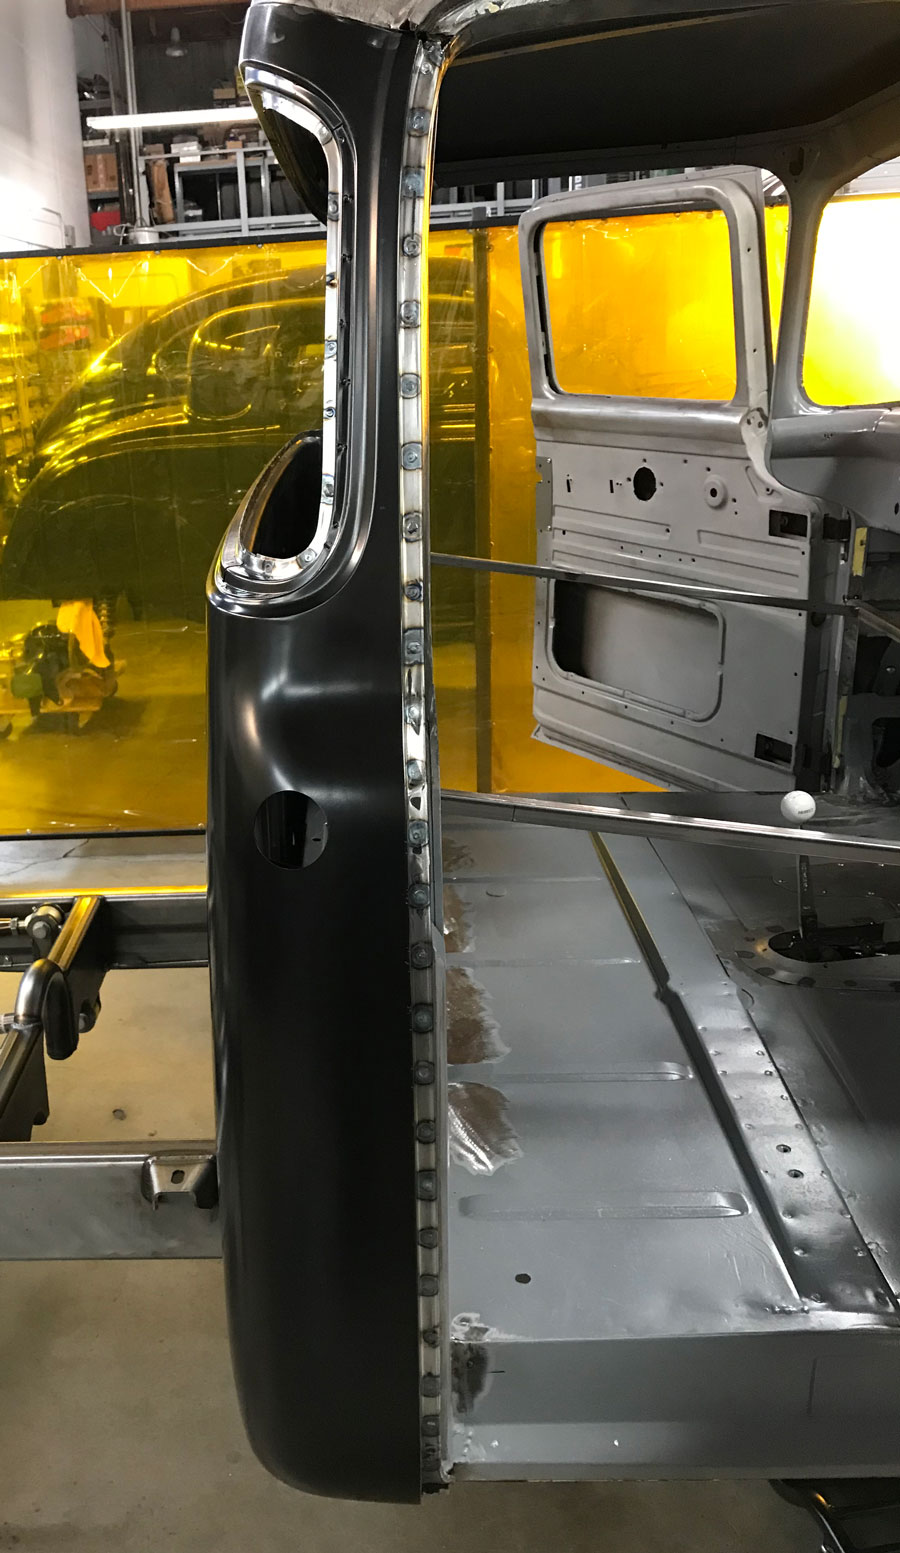
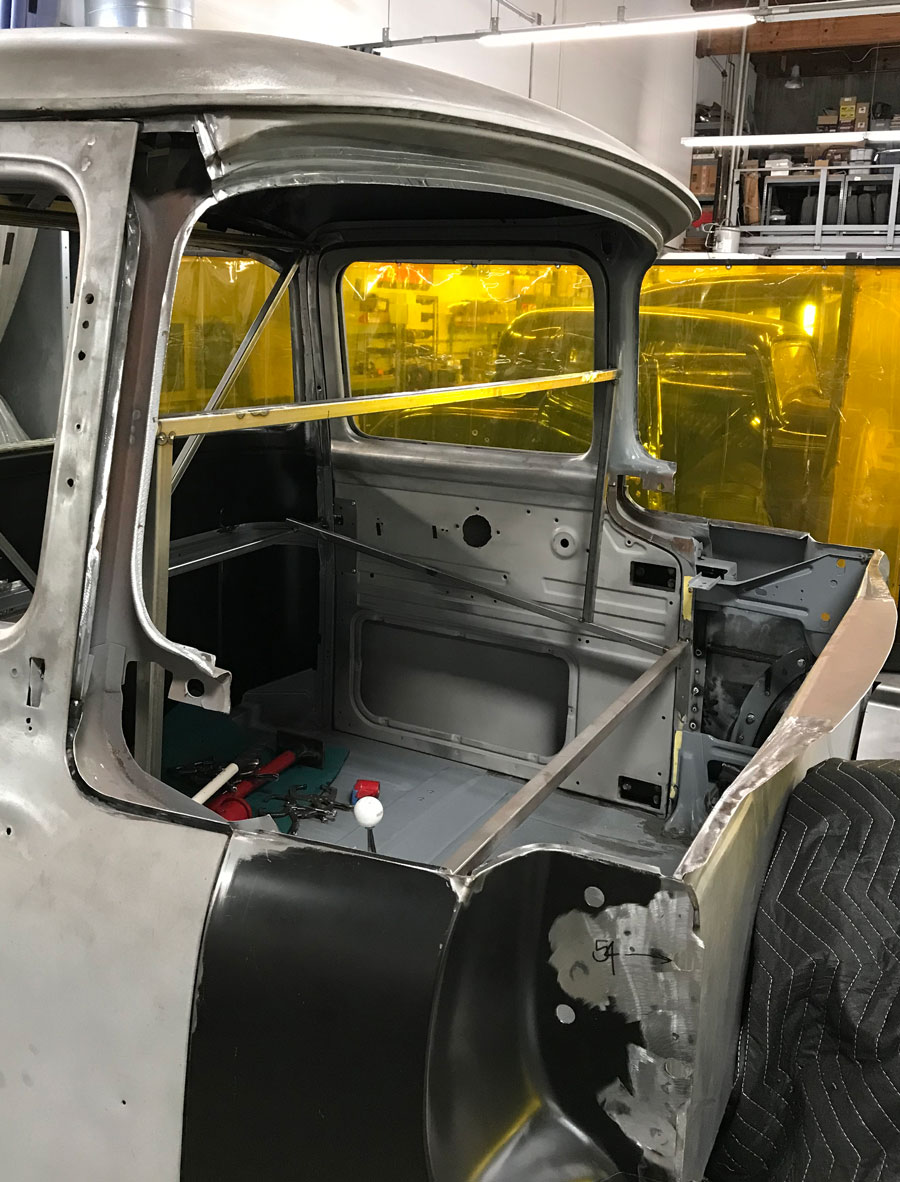
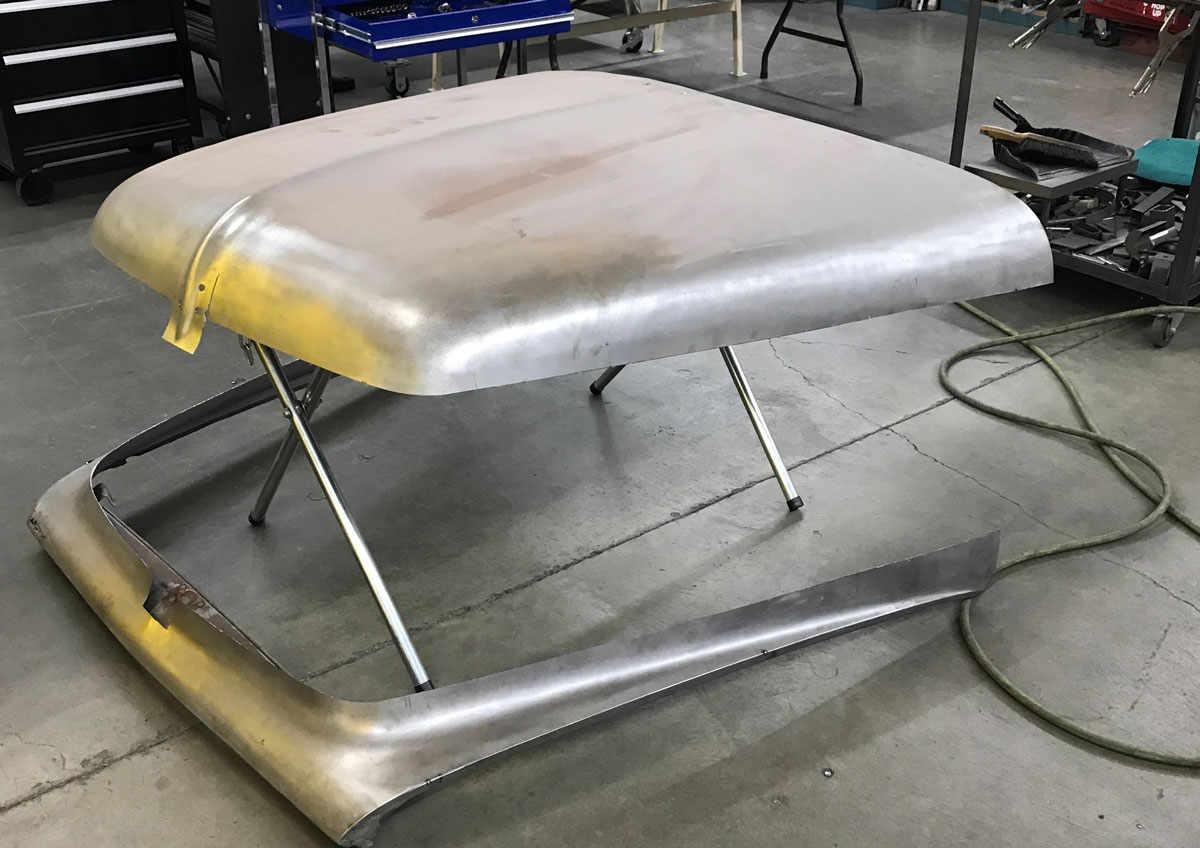
“To begin with, we patched up some rust and small body damage, including body mounts. [Jurado] also decided to convert the cab to a big rear window, so we opted to change the entire back of the cab with a replacement from LMC since there was some damage to the rear panel below. We also cut out the old firewall and fabbed a new bead-rolled panel to frame the Coyote engine.
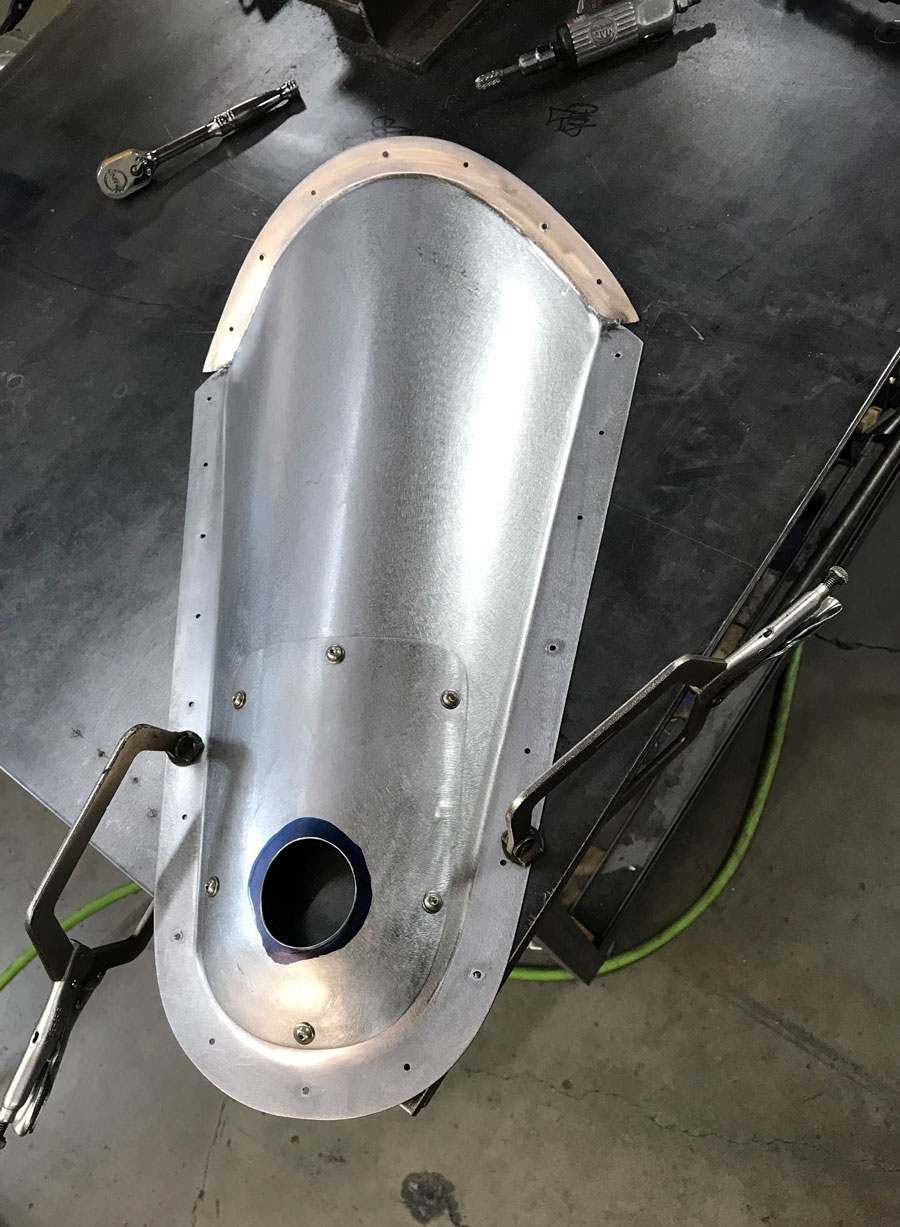
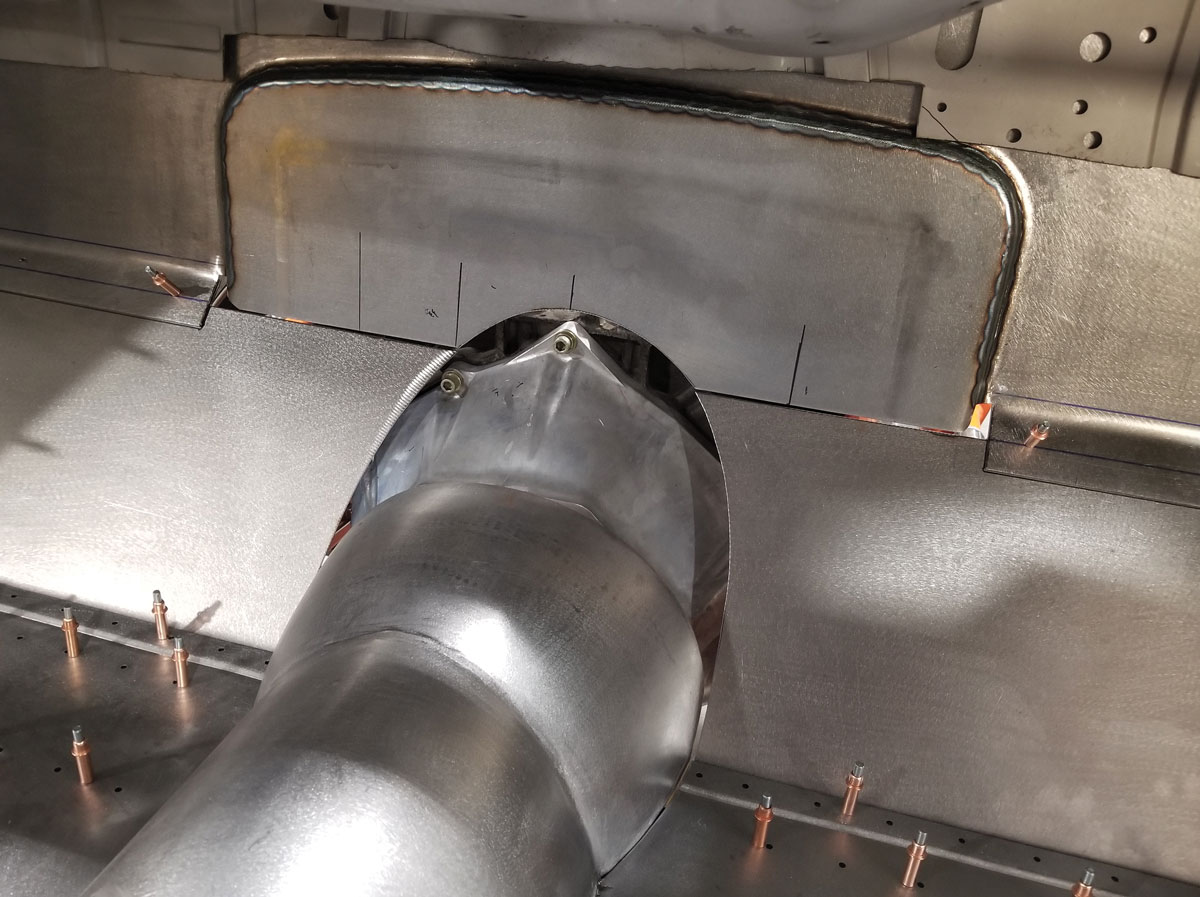
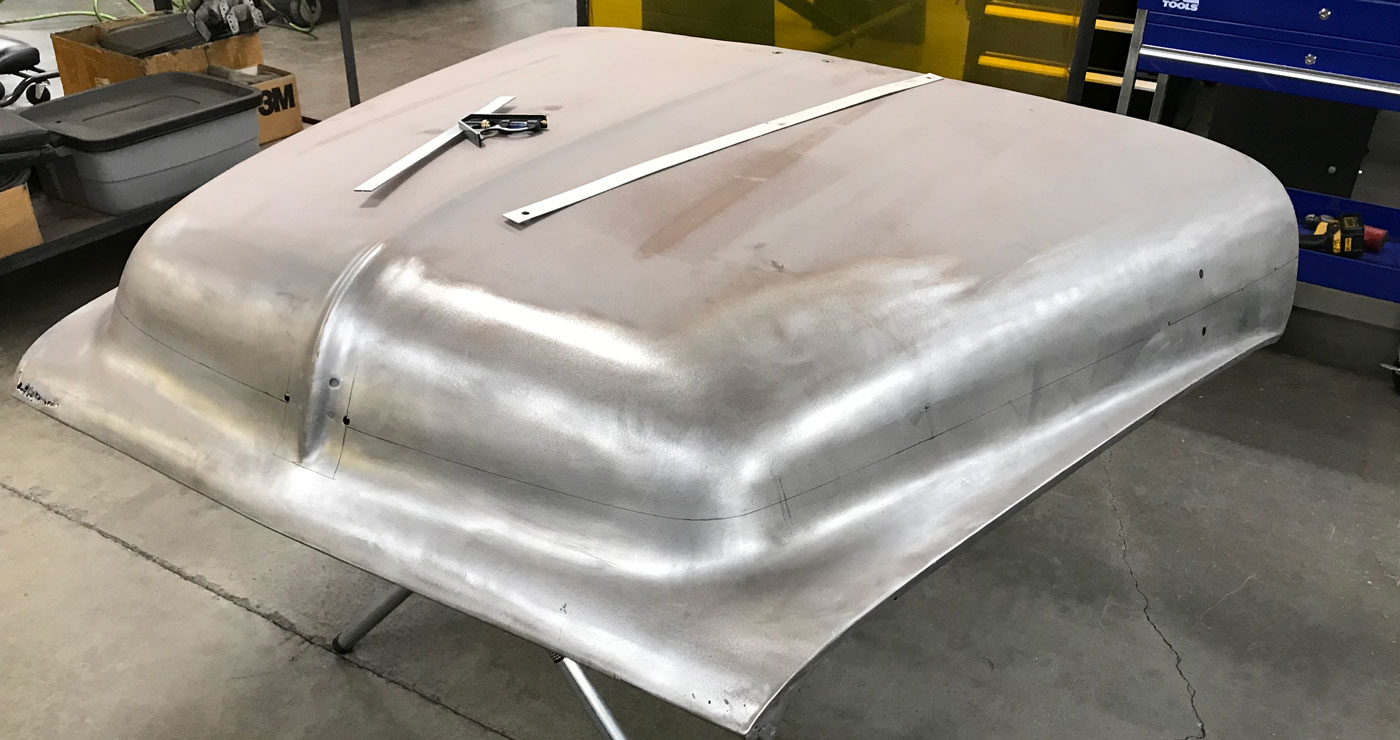
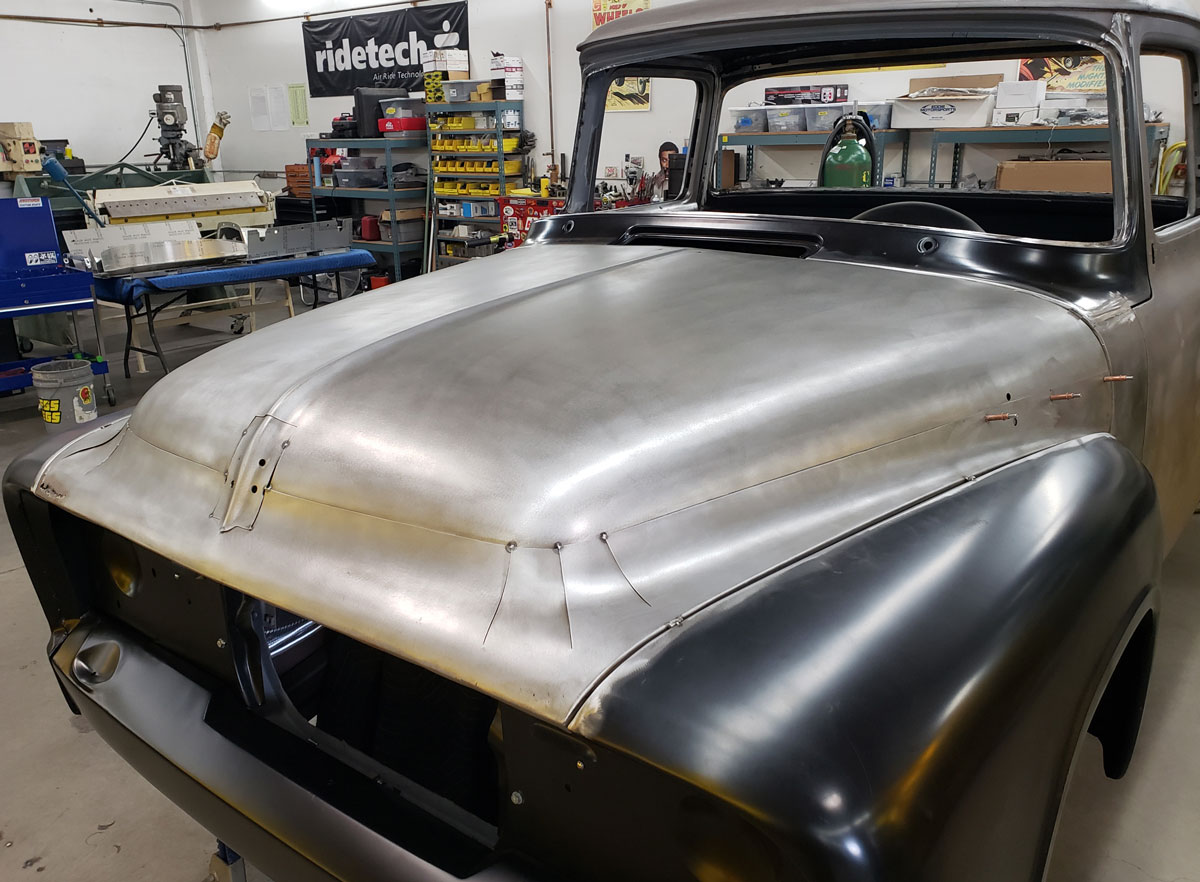
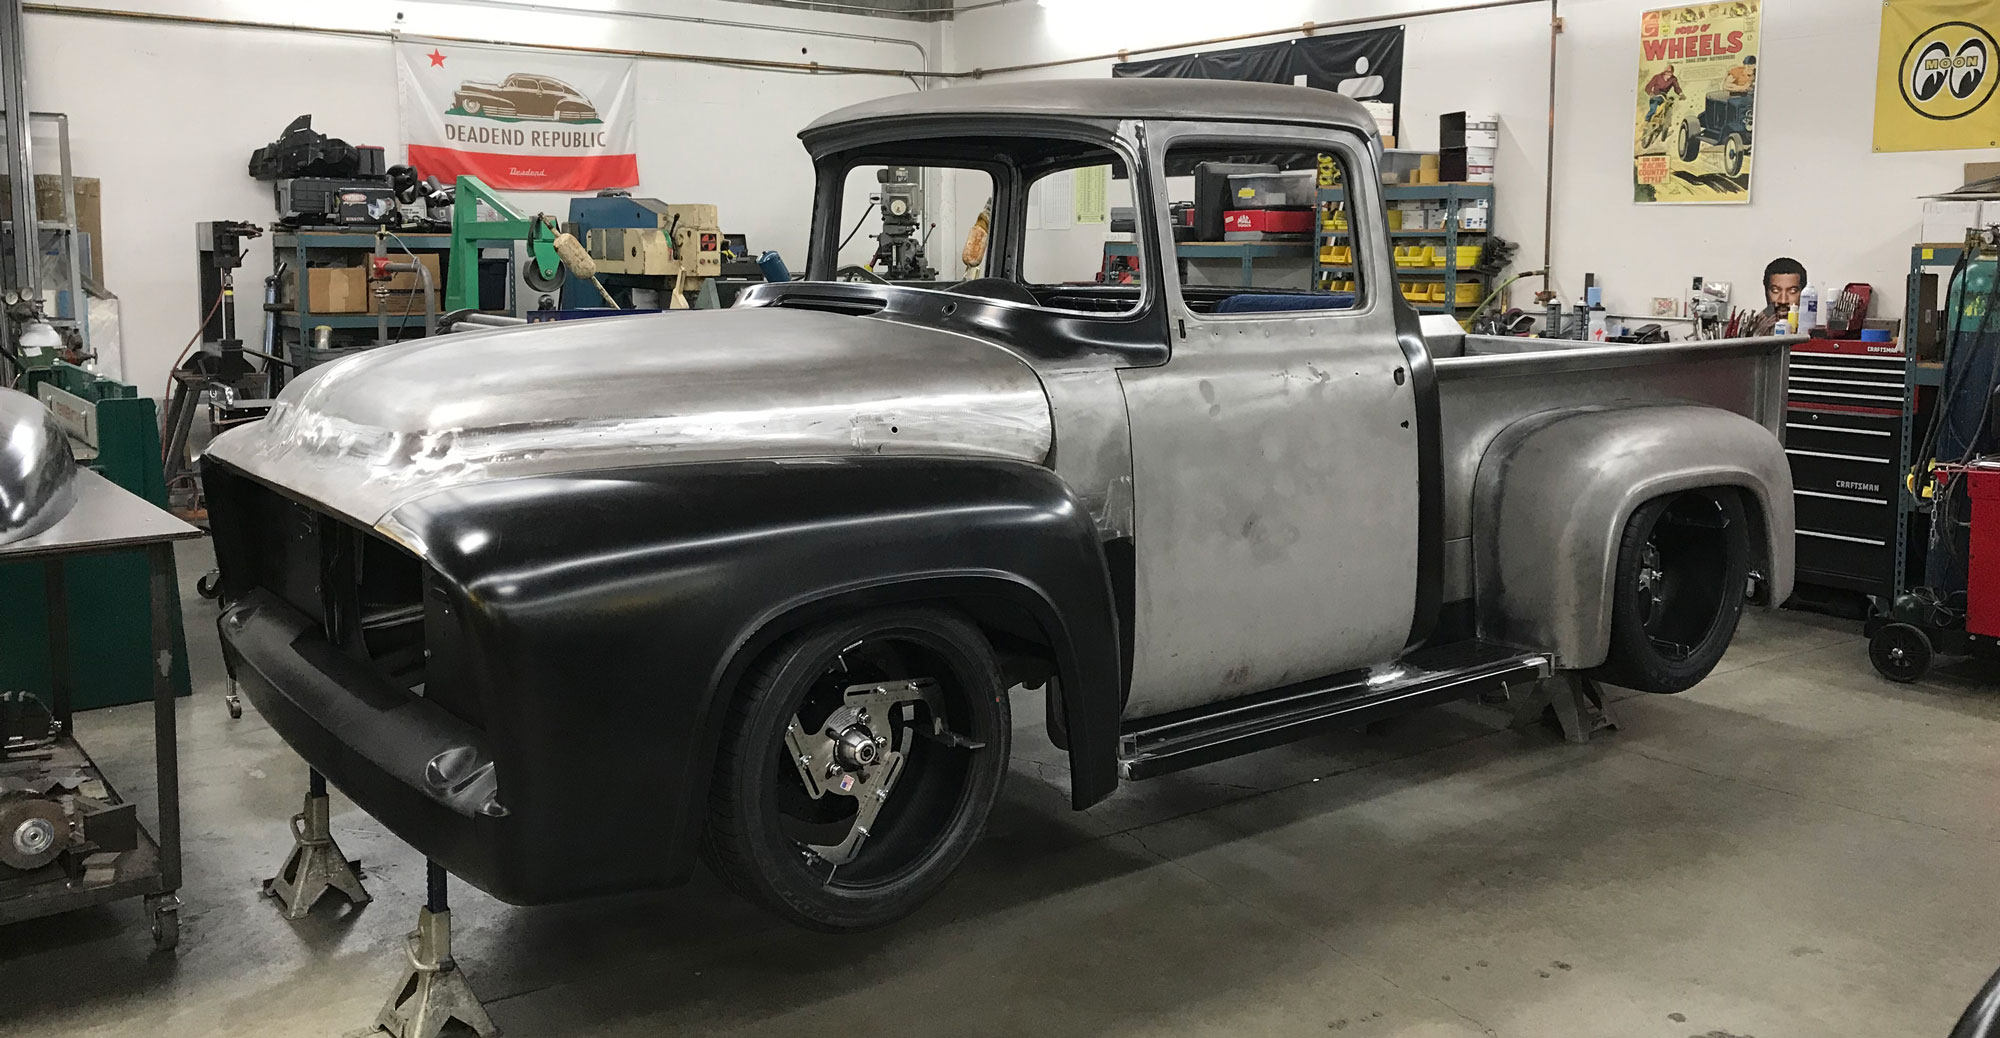
“For body mods, we channeled the cab over the frame slightly, for which we had to cut the floor and fab a trans tunnel over the TREMEC five-speed. We also lowered the pedal assembly the same amount as the cab so the pedals would come through the toeboard at the stock height. We also sectioned the hood the same amount as the cab channel and raised the front fenders up, which required sectioning the front cowl sides.
“We converted the door latches to bear claws with a kit from Mid Fifty F-100 Parts that we modified slightly to fit. We also replaced the dashboard completely and fit the corners better than stock to the dash and doors. The original dash was hacked up pretty bad, and someone had attempted to fill the glovebox door.
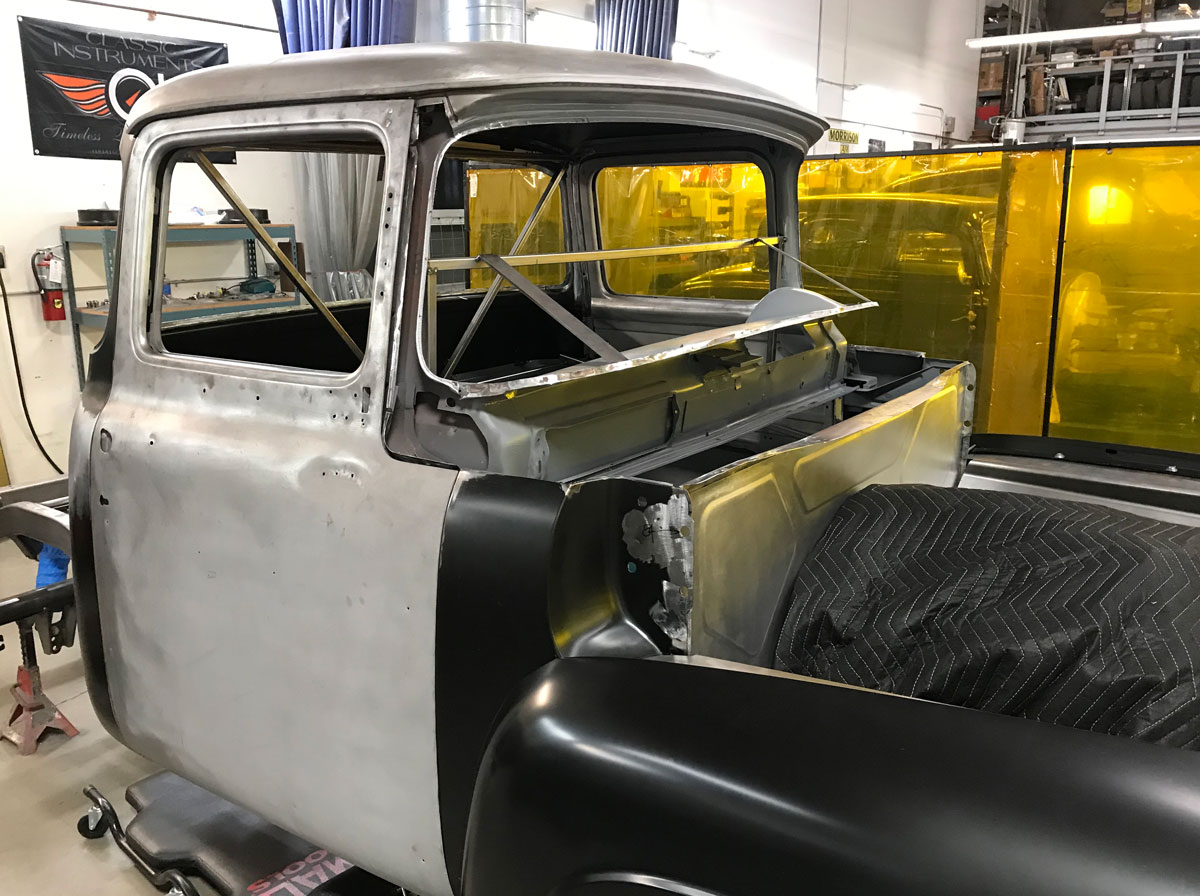
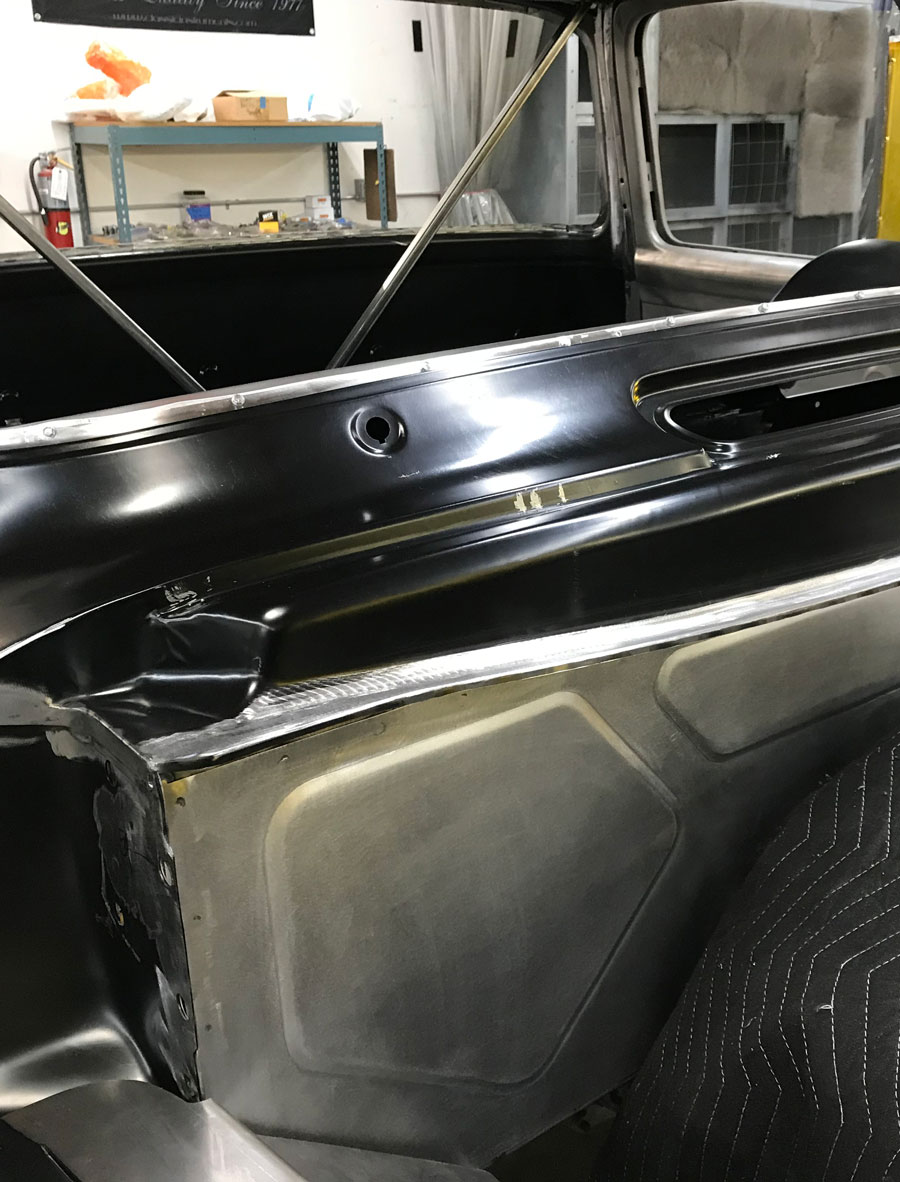
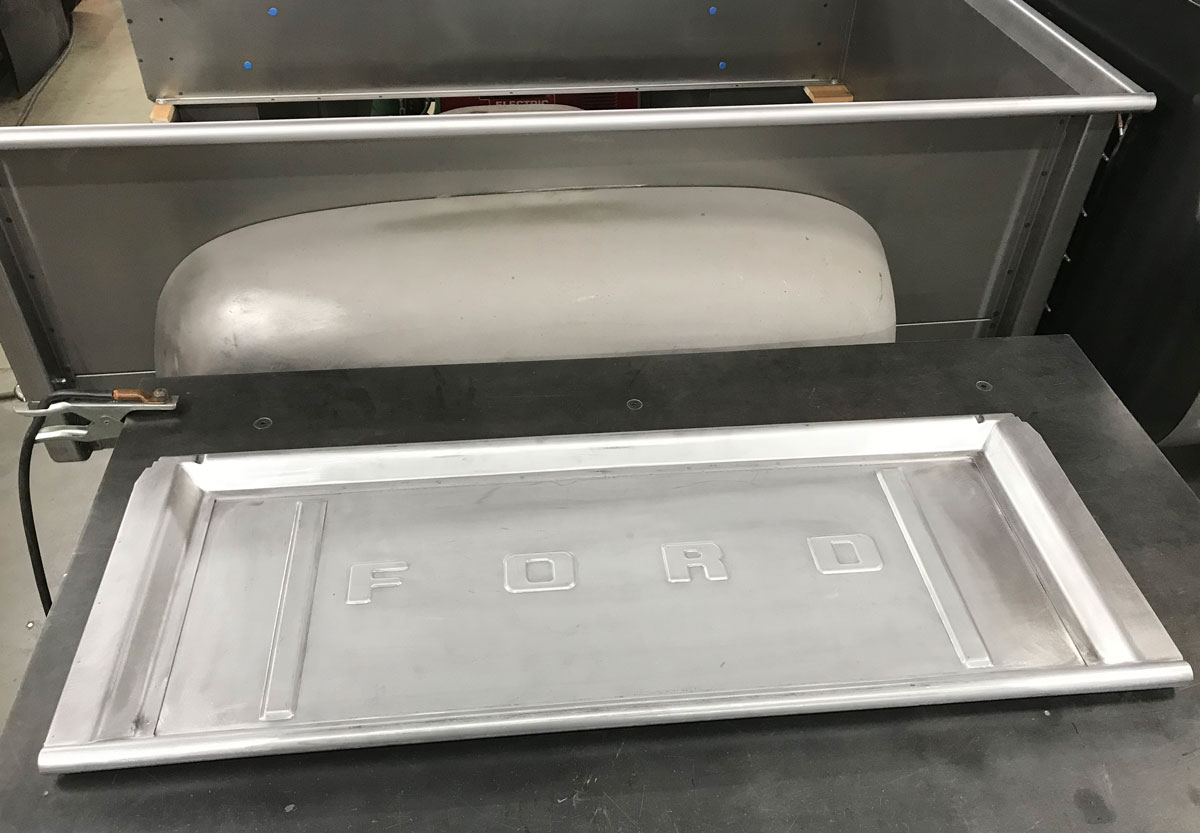
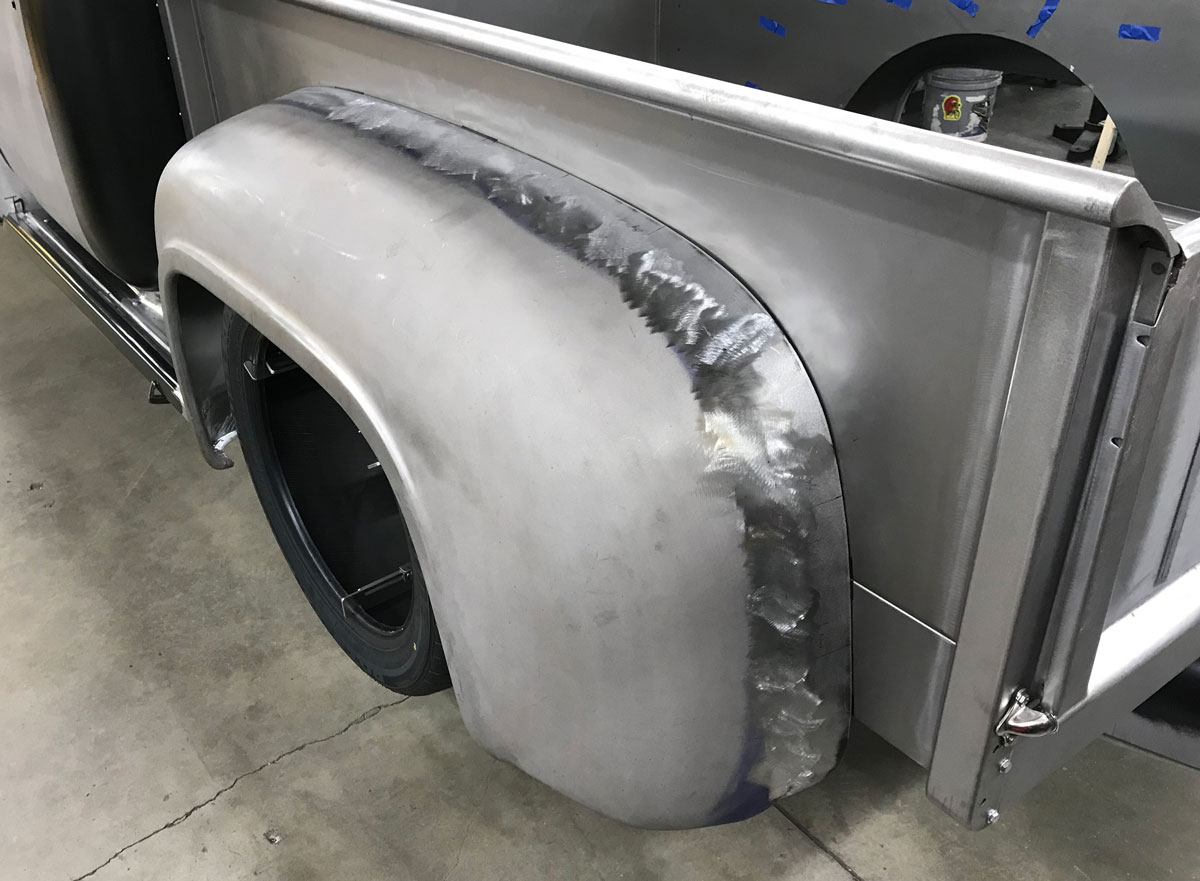
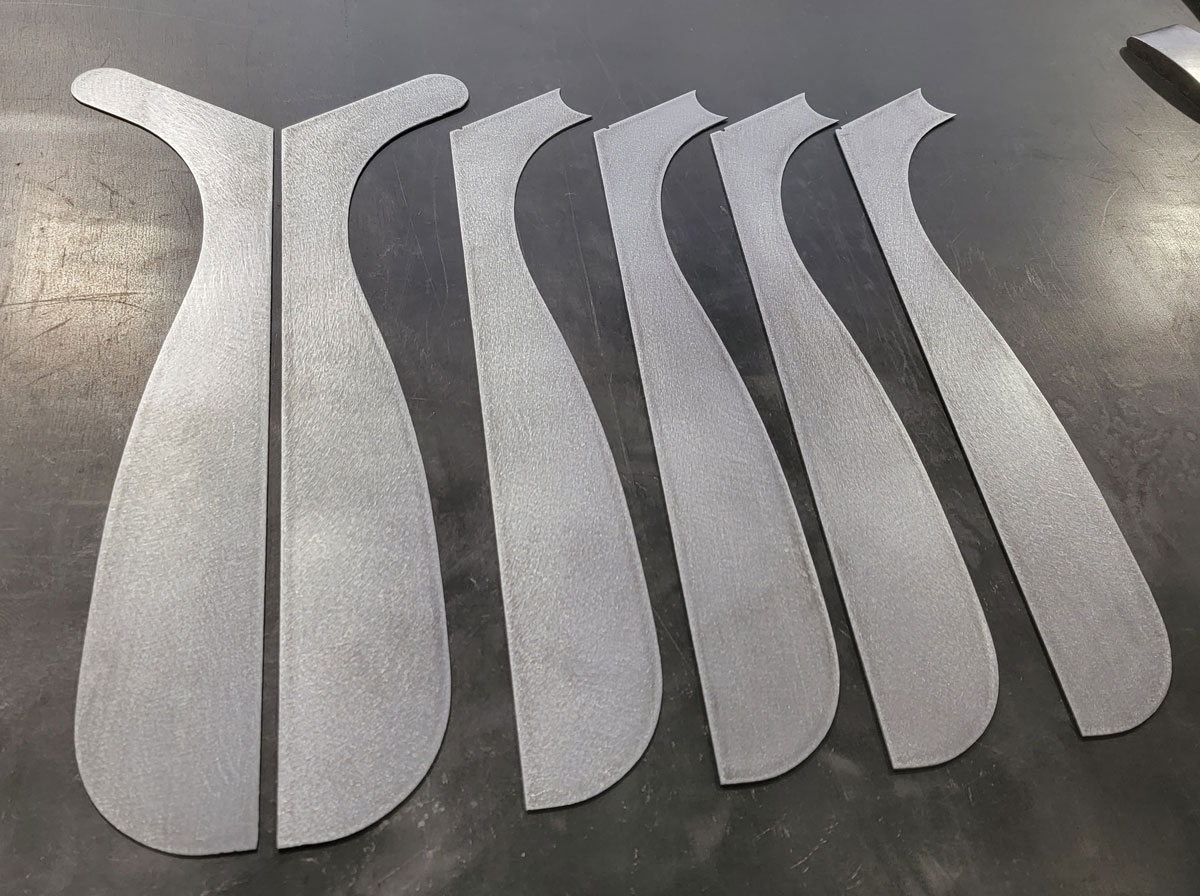
“The tailgate has a hidden latch kit installed and we fabbed angled side panels to ‘picture frame’ the insert. We also fabbed endcaps for the upper side rails for a finished look. The rear fenders are widened and we added 3-inch inner tubs to accommodate 12-inch-wide Schott wheels in the rear.”
Want to see more just like we do? Stay tuned for more behind-the-scenes coverage as well as the finished product once it’s all said and … done!