CTP Tech
InTheGarageMedia.com
lokar shifter wiring routed and fully installed to carpet level
A Shifty Bit of Business

Lokar’s Electronic Sport Mode Shifter: Bump-Shifting Brings Excitement to an Automatic Transmission

By Ryan MansonImages By Rob Fortier

T

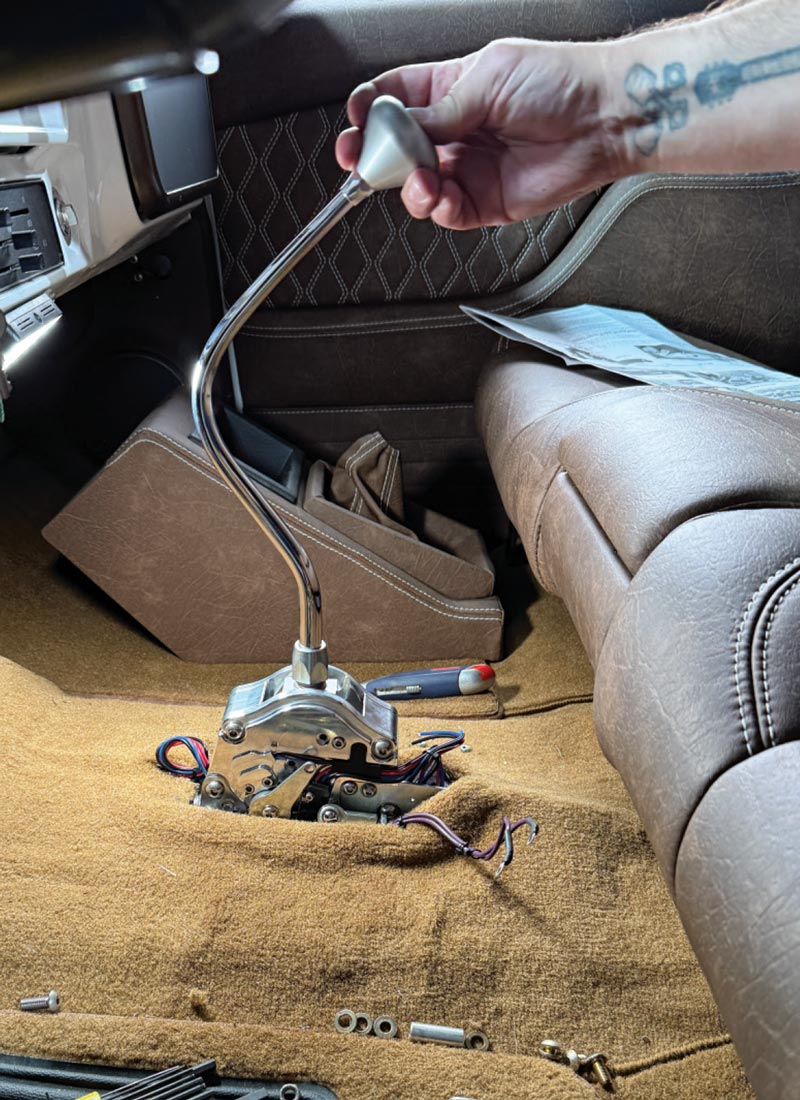
he floor-mounted automatic transmission shifter is little more than a lever moved between shift positions, from Park to Drive, with little other use. Posing as a traditional manual trans shifter, it looks cool but its function is not as impressive. While it could be used to shift between gears manually, that slushbox automatic trans still won’t provide the same gear-slamming action that an old Muncie could provide.

Today however, with the advent of modern, electronically controlled transmissions, not only do we have the ability to tune and tweak the shifting characteristics of said transmission, but, thanks to Lokar Performance Products, we can partake in a more accurate manual shifting experience. In doing so, Lokar has taken the simple floor shift and infused it with influences taken from the exotic car world. The result? The Lokar Electronic Sport Mode Shifter (ESS).

Compatible with most late-model, electronically controlled transmissions, such as GM’s 4L60E, 4L80E, 6L80E, and 6L90 as well as Ford’s AODE, 4R70W, and 6R80, the ESS allows the forward gears to be selected manually by engaging the shifter into Drive and then pushing the lever toward the passenger side, effectively entering into “Sport Mode.” Forward gears can then be upshifted or downshifted as desired by simply “bumping” the shift lever fore or aft. The result is a floor shifter that provides the performance perspective one would expect from a paddle shifter setup. The fun of a four-speed without the leg cramps!

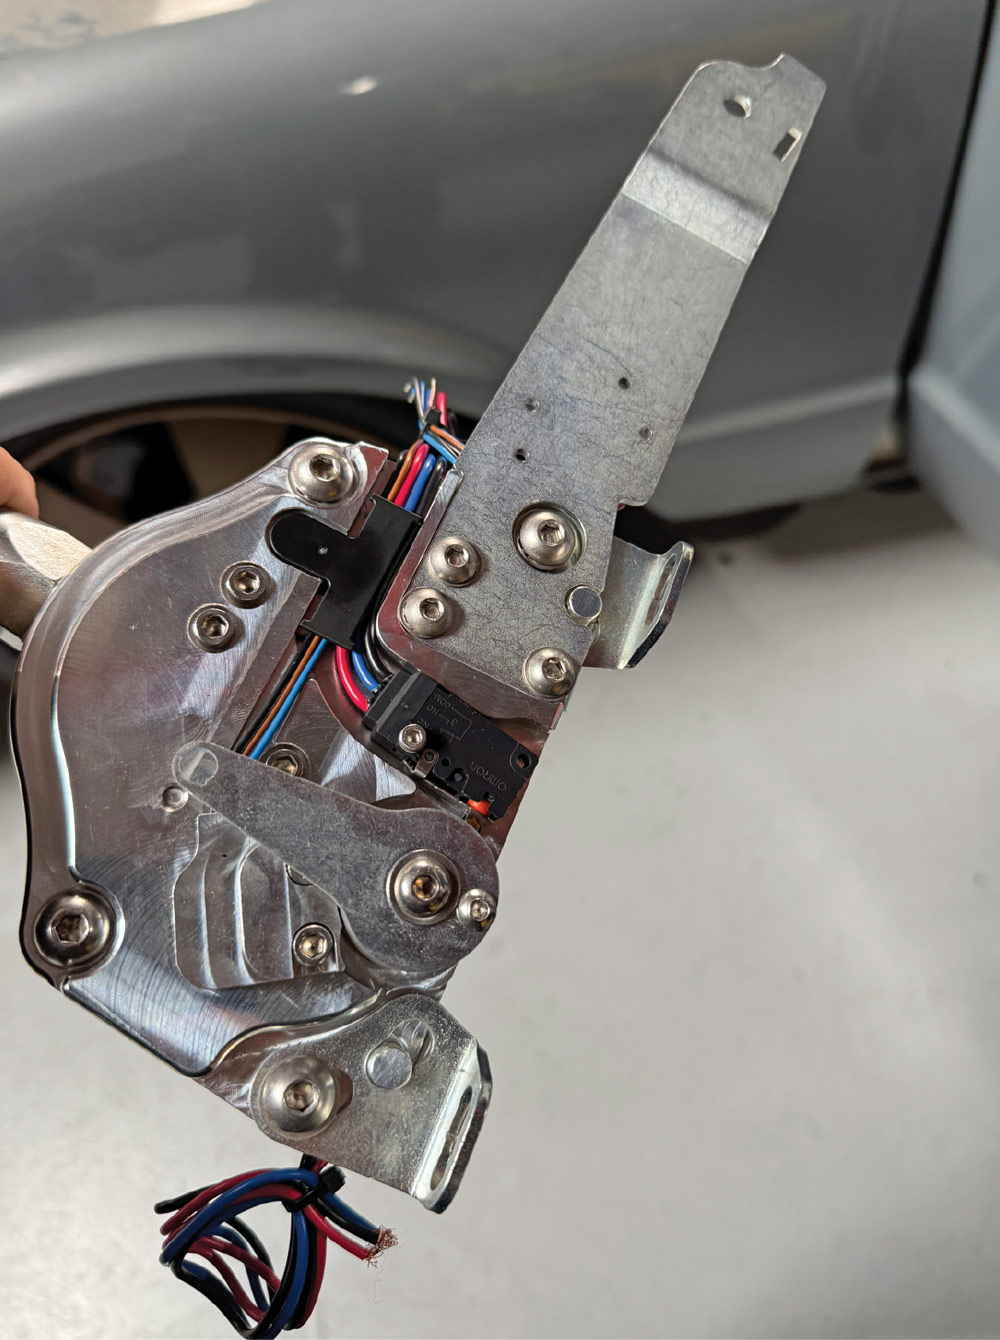
Like all of Lokar’s floor shifters, safety is paramount and their ESS is no different. Safety lockouts in both Park and Neutral prevent the vehicle from being accidentally bumped into gear, while an integrated Neutral Safety Switch prevents the vehicle from being started with any position other than Neutral or Park selected. A huge selection of levers, from 4-16 inches long with single, double, and even a special bench seat bend ensures that the shift knob of the ESS lands directly where the driver desires. Speaking of shift knobs, the ESS is compatible with all Lokar’s push-button knobs, available in brushed, black, or polished.

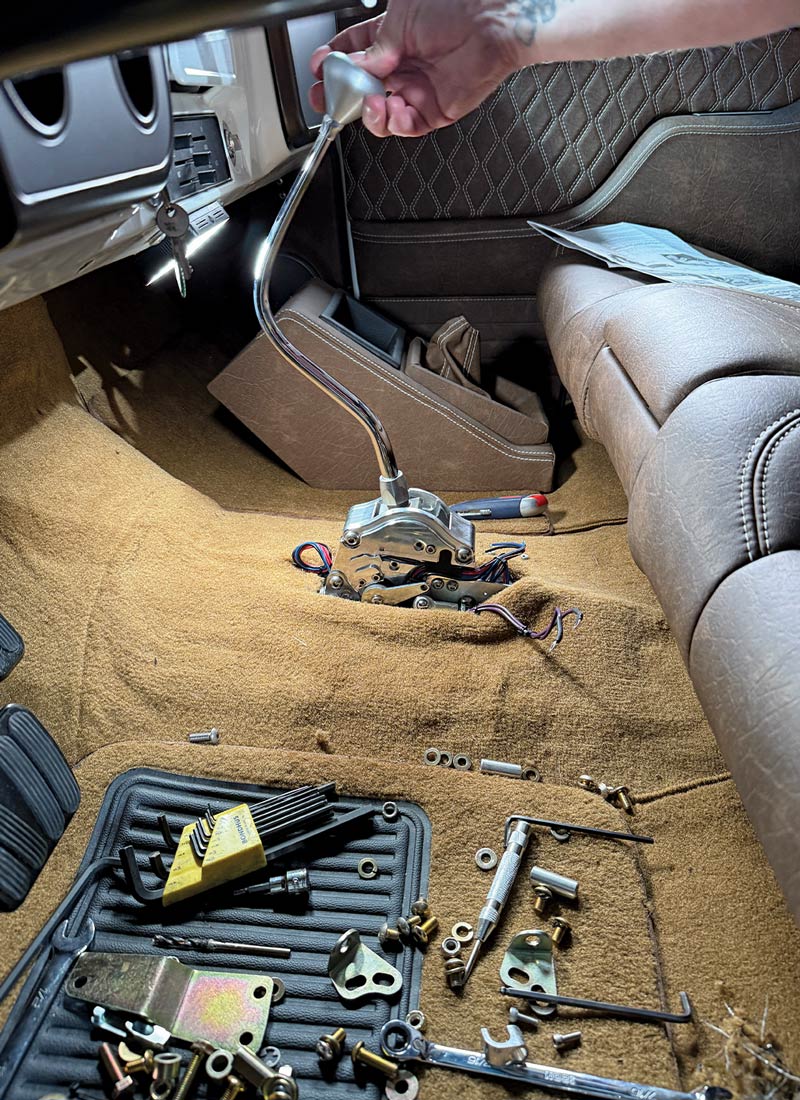
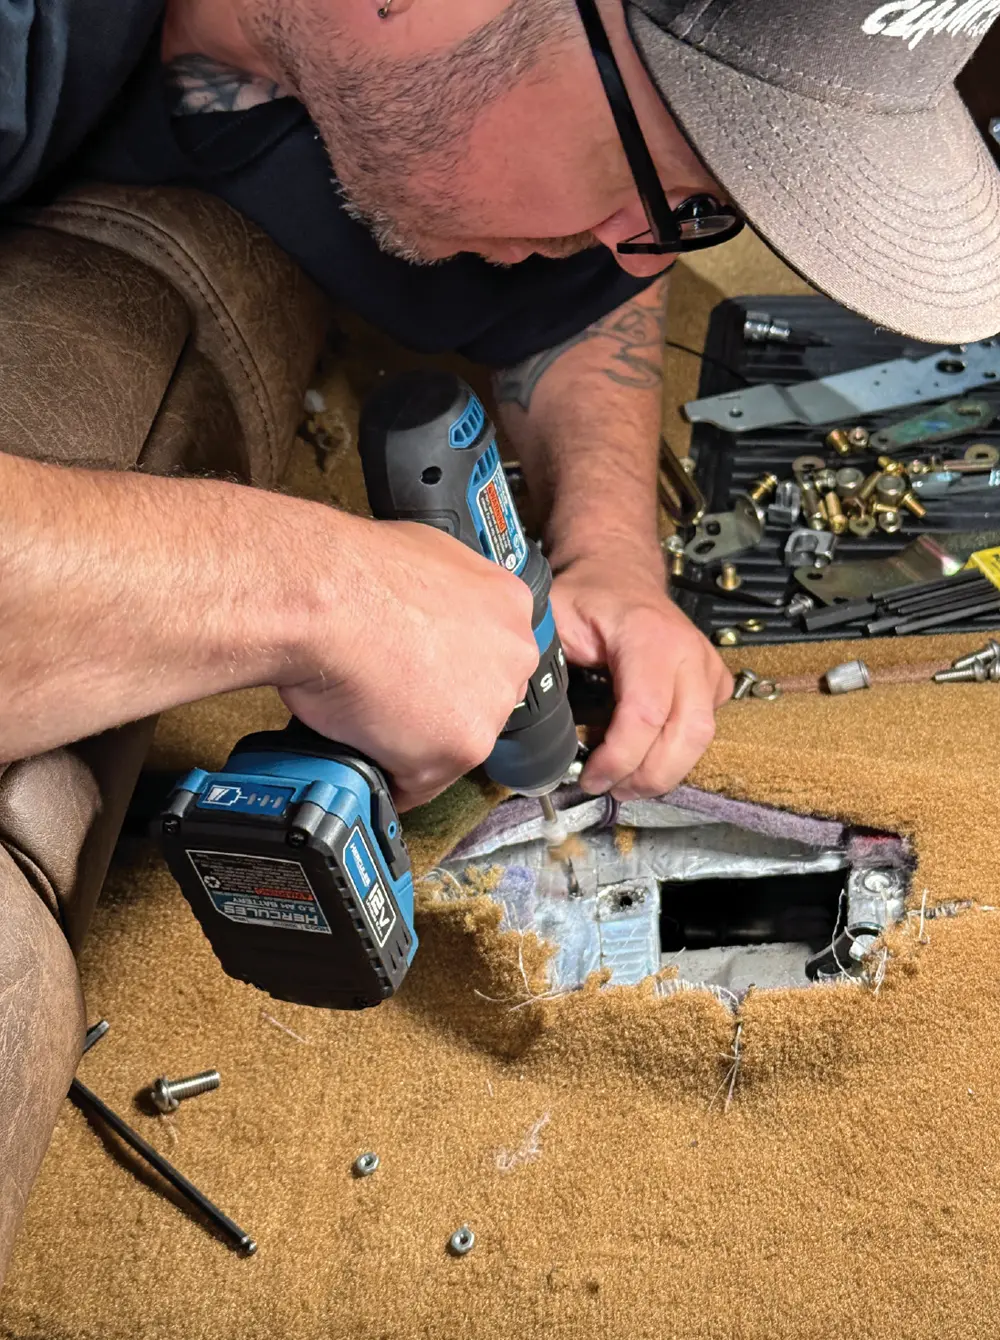
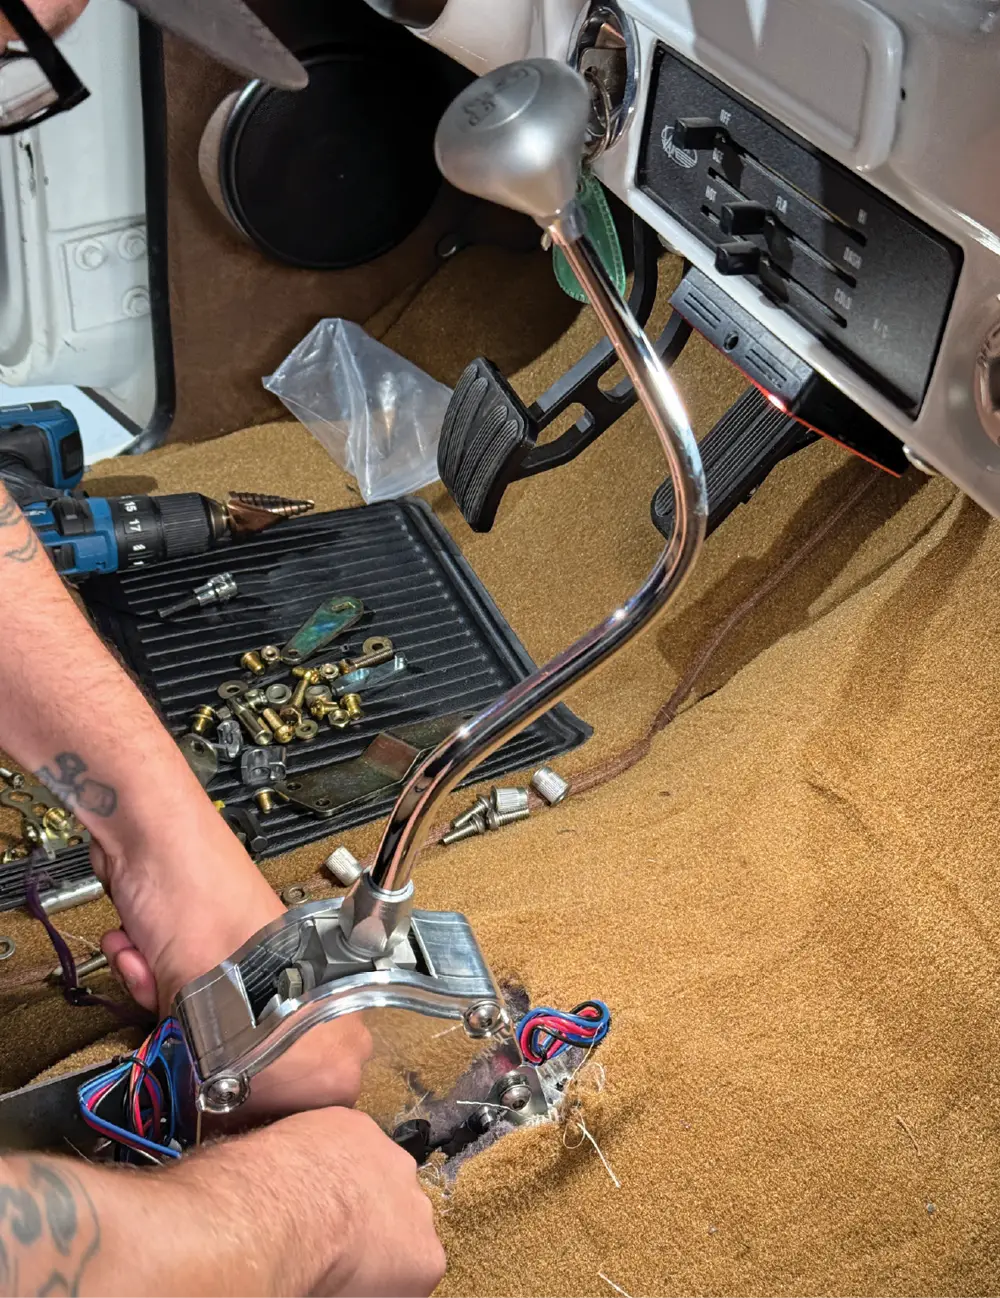
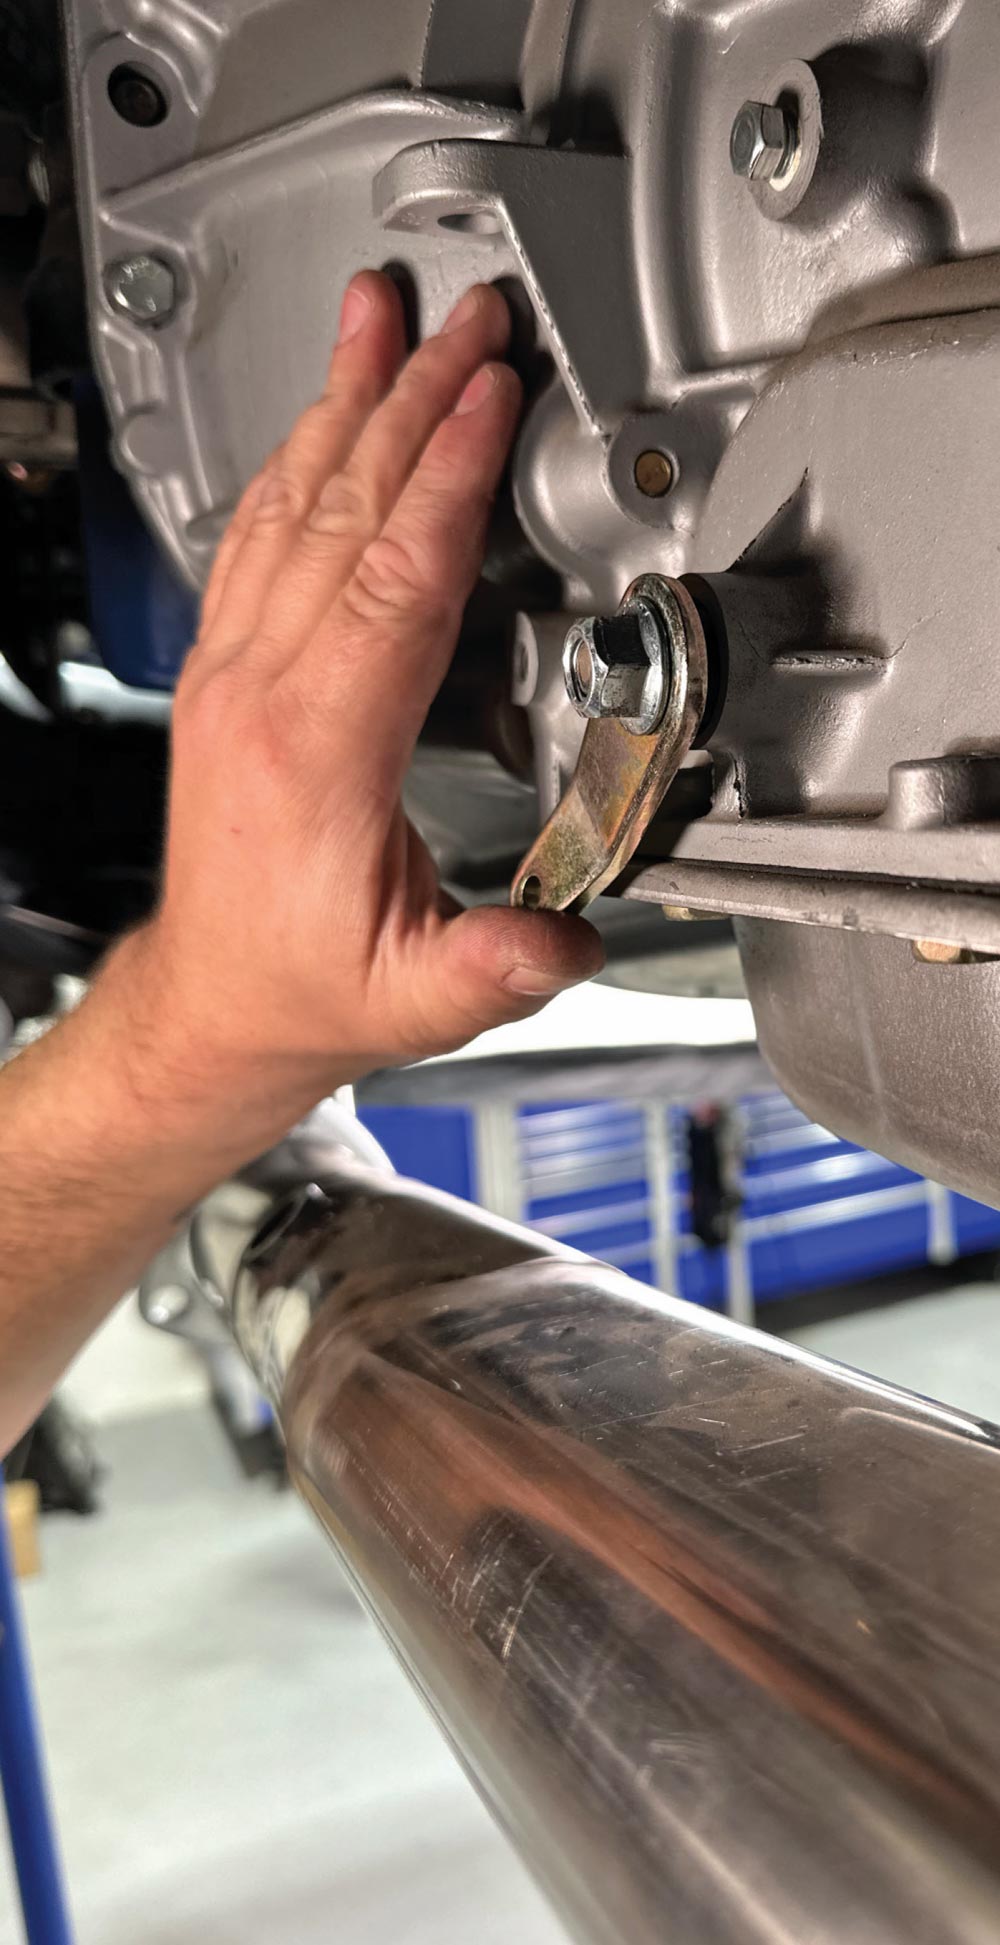
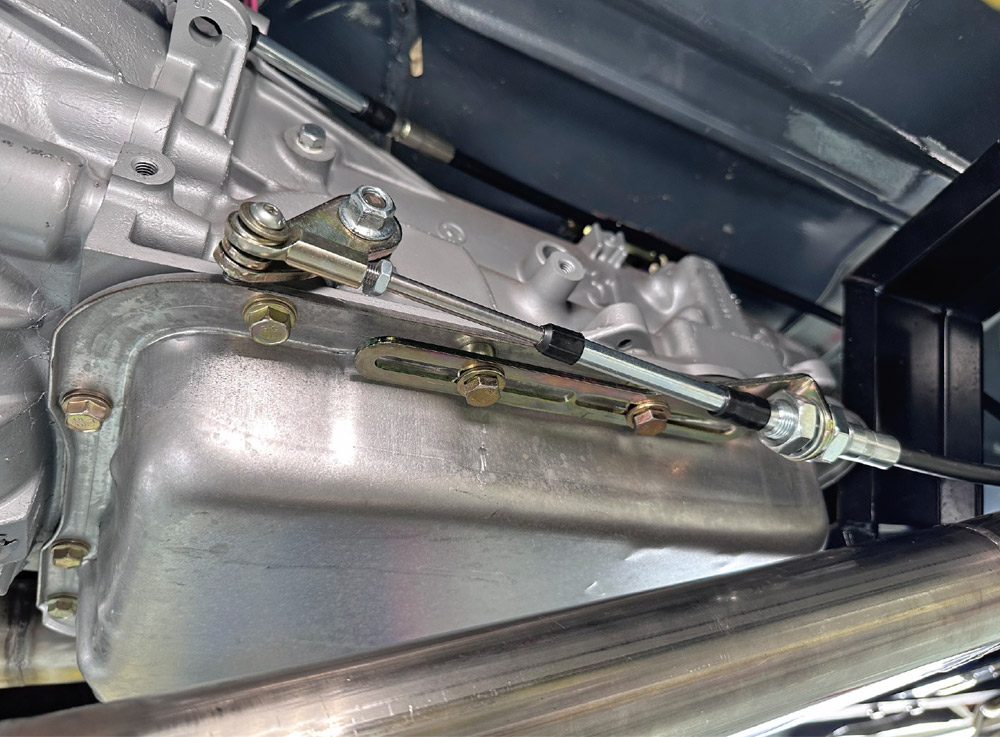
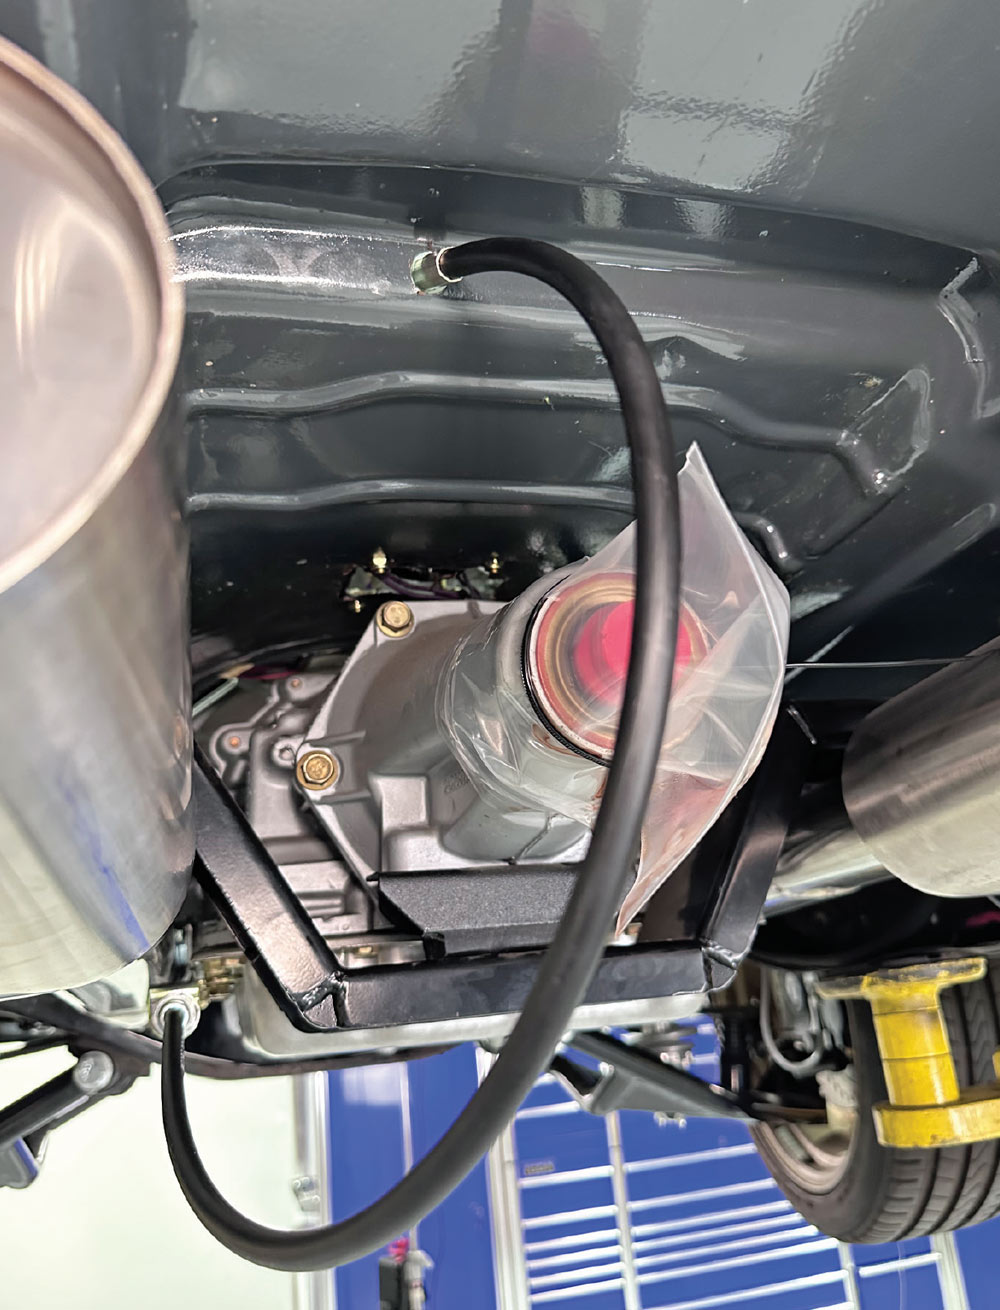
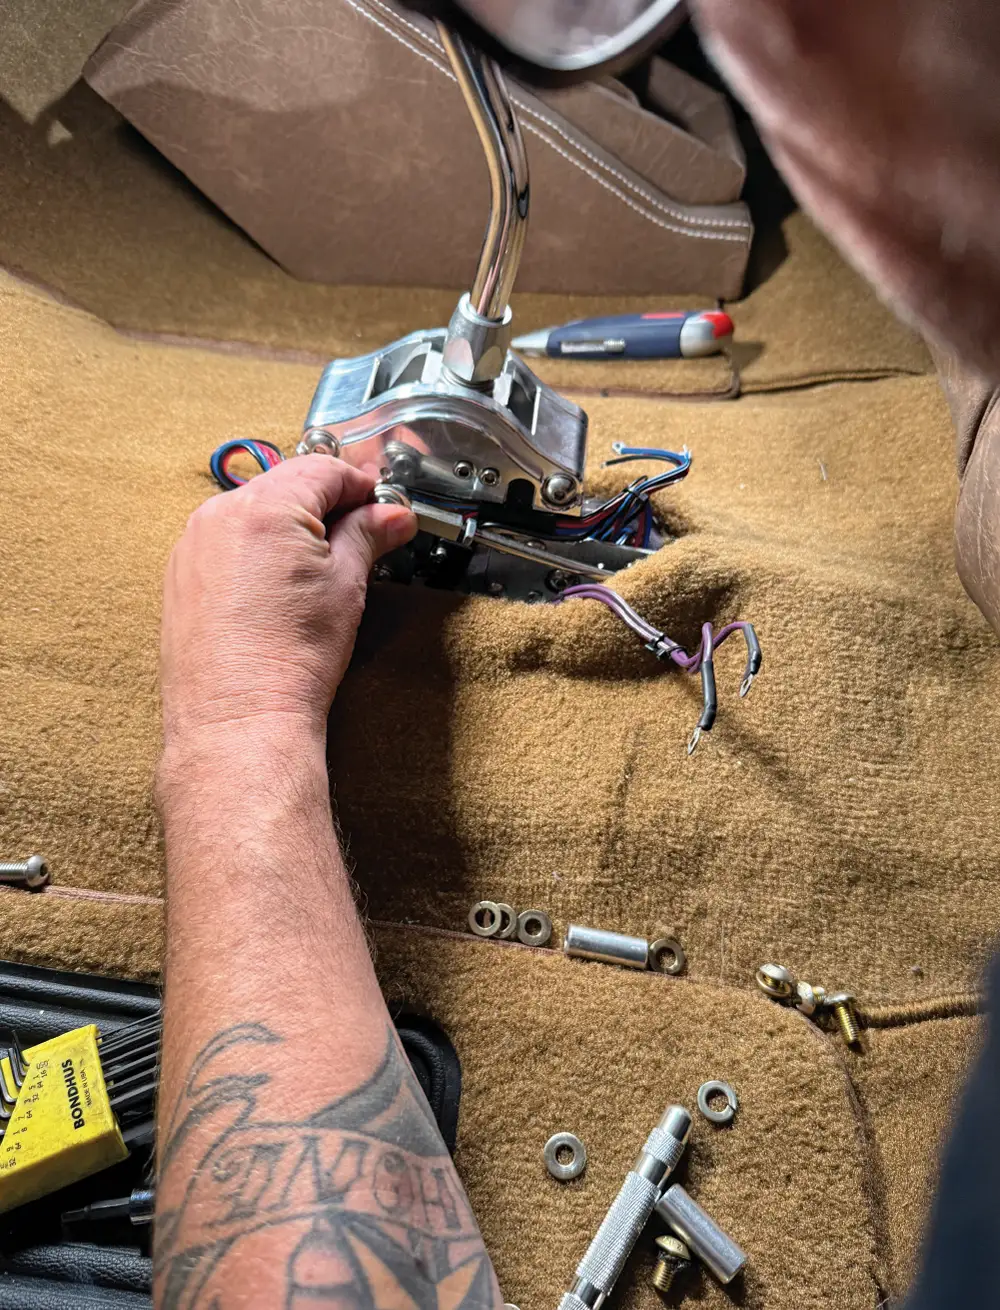
Installation of the ESS is similar to any Lokar floor-mount shifter, with a few caveats. First, the ESS uses a cable to mechanically shift the transmission from Park to Drive. Secondly, the ESS needs to be wired to the factory or aftermarket transmission controller for full operation of the Manual or Sport Mode. This is achieved by connecting the four switches (Manual Mode, upshift, downshift, and neutral safety) following the instructions provided by Lokar. This isn’t necessary to achieve normal operation of the ESS (standard floor shifting capabilities), but to engage in the full, manually shifting capabilities, a little direction following is in order.

If driving a classic truck is supposed to be fun, why should it end when the shifter is dropped into Drive? Bumping up and down through the gears is a great way to invigorate a new sense of excitement to even the most mundane pickup truck!

lokar sport shifter install custom carpet tunnel trim classic truck
1. Installation of the ESS is similar to other Lokar floor-mounted shifters in that it uses four mounting tabs to attach it to the vehicle’s floor. We’re going to try to utilize the existing hole in our C10 cab’s floor from a previous shifter install, but before we get too excited we need to ensure that said location will provide for enough clearance as we row through the gears. It’s also important that this location puts the shift knob within reach as we plan to bang through the gears pretty frequently.
lokar sport mode shifter install custom bracket brown leather interior
2. First, we ensure that the shifter, engaged in Park, doesn’t interfere with the dash or any of its components.
lokar shifter console install mock-up custom center carpet kit
3. Next, the shifter is moved fully aft and clearance is again checked, this time between it and the bench seat.
lokar shifter gear selector handle fitment pedal clearance check
4. Satisfied that this position will be acceptable, the four shifter mounting brackets are attached to the shifter body …
lokar sport mode shifter wiring harness internal view bench setup
5. … along with the upper cable mounting bracket.
lokar shifter trigger mechanism microswitch wiring loom routing
lokar shifter floor cutout carpet mod install procedure
6-7. Our installation allowed us to use two existing holes from the previous shifter, with two new holes being added (using the shifter and installed brackets as a template). Due to the lack of clearance between the top of the trans and the bottom of the floor, we opted to install four rivet nuts to hold the shifter in place.
lokar shifter mounted install custom routed harness tunnel fit
8. As mentioned, the ESS uses a cable to shift the transmission from Park to Drive, so a hole in the floor needs to be drilled, a grommet installed, and the cable routed through said hole. This hole should align with the upper cable mounting bracket.
lokar shifter install floor insulation clearance prep drill work
9. Each end of the shifter cable will be equipped with a rod end, allowing it to be attached to the trans gear lever at one end and the quad arm shift lever at the other.
lokar shifter cable linkage adjustment bracket install with instructions
10. Moving our attention under the truck, the trans gear lever has been installed and the transmission shifted into Park.
lokar shifter bracket install on transmission pan clearance check with stainless exhaust
11. The shifter cable features a threaded section and a pair of 5/8-18-inch jam nuts at the lower (transmission) end. This allows the cable to be attached to the lower cable mounting bracket and adjusted as needed. Here, the two have been mated and are ready for installation on the transmission.
lokar shifter cable linkage with heim joint and slotted mounting bracket
12. Using the provided spacers and hardware, the lower cable mounting bracket assembly is installed on the driver side of the trans pan. The shifter cable is then pulled to its fullest extension before being attached to the trans gear lever.
lokar transmission shift cable routed and secured with pan-mounted brackets
13. The other end of the shifter cable is routed through the hole we drilled previously. Upon final assembly, the cable will be routed and clamped so as to avoid the exhaust, driveshaft, or any other features that might hinder its performance.
lokar sport shifter cable routed through floor to trans tunnel support
lokar shifter microswitch wiring test before final carpet trim
14-15. Back in the cab, the outer cable is attached to the upper cable mounting bracket, while the inner cable’s rod end is connected to the quad arm shift lever.
lokar sport mode shifter switch alignment wiring prep pre-carpet finish
16. With the ESS installation complete, it’s time to wire the shifter to the vehicle and the transmission controller. This varies between manufacturers, so be sure to follow the instructions specific to the particular transmission controller to be used.
lokar shifter rough cut carpet install pre-trim and test fit
17. The wiring harness coming from the ESS is hidden in a center console in our application and ran up the dash to the trans controller, but it can easily be routed underneath the cab, contained inside a traditional shift boot.
SOURCES