CTP Tech
InTheGarageMedia.com
Stripped Interior and Steering Column Access 1968 C10
1. With only days until our deadline, the interior of our C10 project was a big empty. We taped up the fresh paint on the ’jambs so the crew could scramble in and out with interior components without causing any damage.
The Speedway Motors 1968 C10
Part 5: The Interior
BY Joe McColloughImages BY Jessica Coleman & Andy Chaves
N

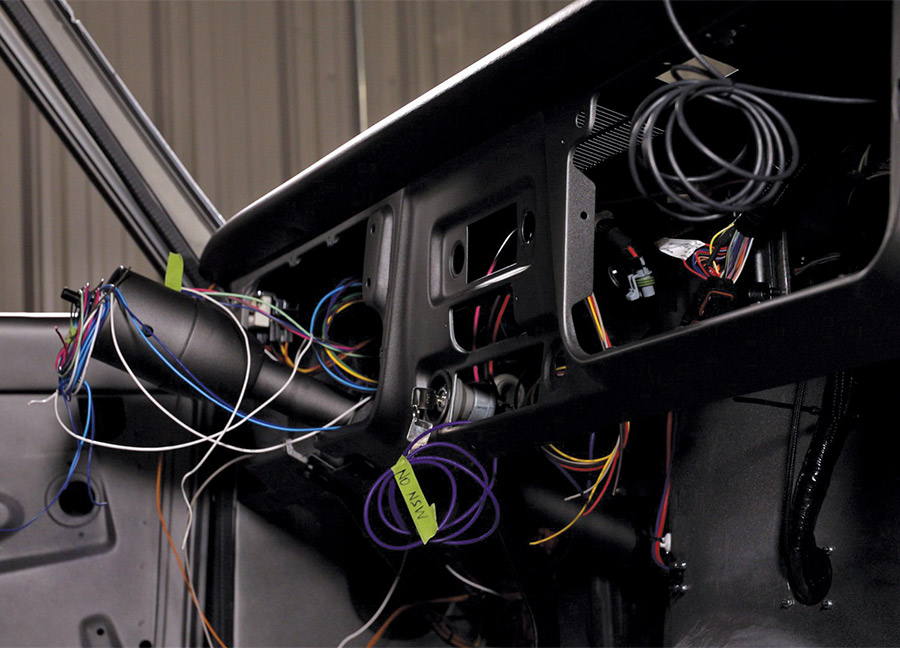
ow that our 1968 C10 project is through the arduous rust repair, bodywork, and paint, we’re down to the last few details as we approach our SEMA deadline. If you recall, our truck didn’t have much of an interior when we got it. Most anything of any value had been carted off over the years to keep other trucks alive, so there wasn’t much left. That meant we would be relying heavily on Speedway Motors’ inventory of C10 interior parts to furnish our cab.

The relative simplicity of a classic truck interior generally makes for a more budget-friendly project when compared to a car. A C10 was designed for utility, so we decided to lean into that bare-bones aesthetic inside our truck, a theme that matches our philosophy throughout the project. Our goal from the beginning has been to create a nice driver that retains the spirit of an old truck, so stock-style trimmings with some tasteful upgrades would be our interior strategy.

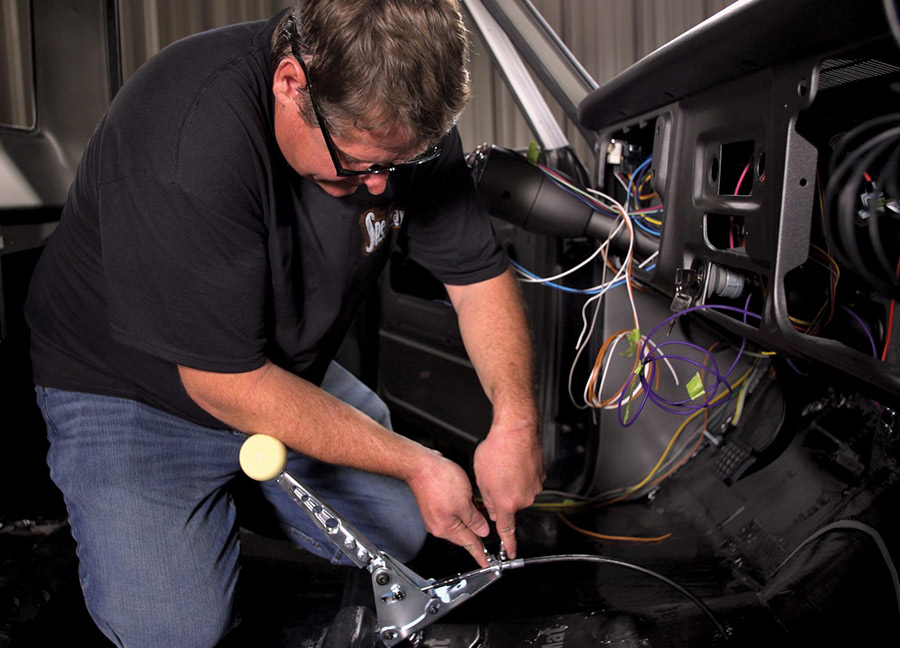
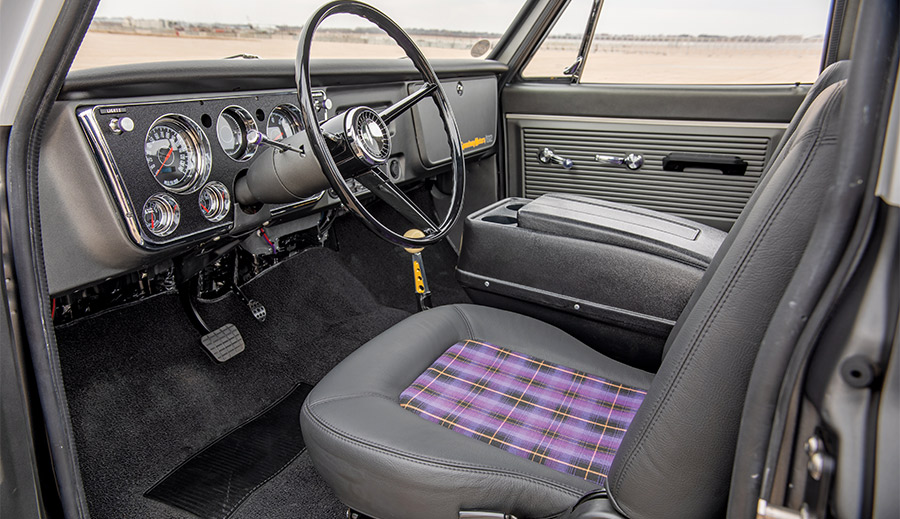
Before we finished out the body, we did a little test-fitting to make sure that a Speedway Motors Universal Tilt Steering Column would fit with minimal work. We were surprised to find that it bolted in using all the stock mounting hardware just as though it was designed to be there. When we started final assembly, that column was topped with a downsized reproduction of the stock three-spoke 1967-1968 C10 steering wheel.

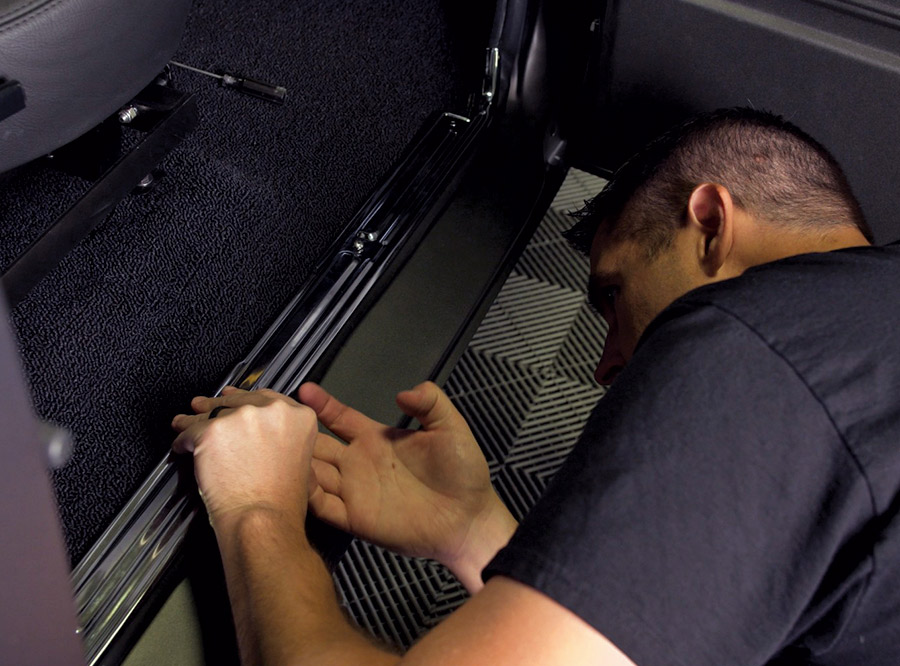
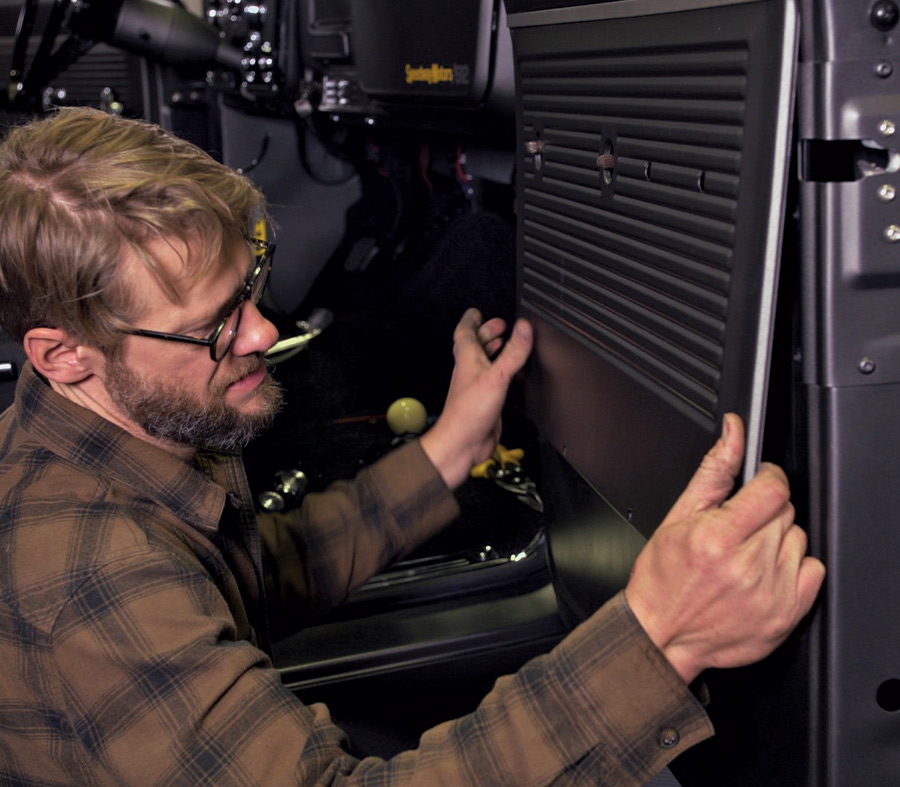
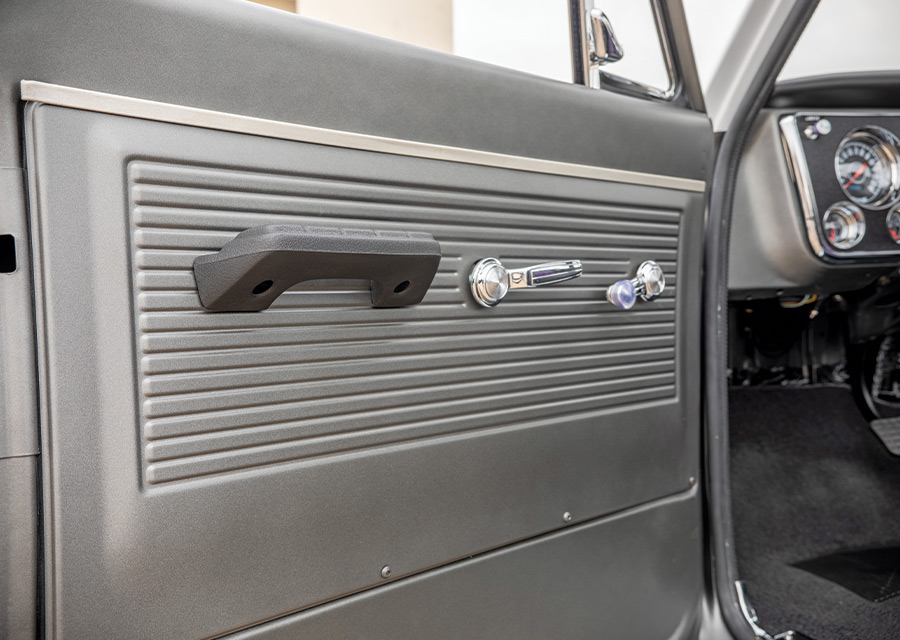
Before we rolled out the black reproduction carpet kit, we covered the floor, footwell, cab back, and inside the doors with Hushmat. Installation was easy since the panel is cut with scissors and were truly “peel and stick,” requiring no separate adhesives or fancy washes. We can also tell you that it made a big difference to the experience of the finished truck when compared to other trucks in our fleet with no sound or thermal insulation. The doors shut with a satisfying “thunk,” and the exhaust doesn’t drone out on the road.

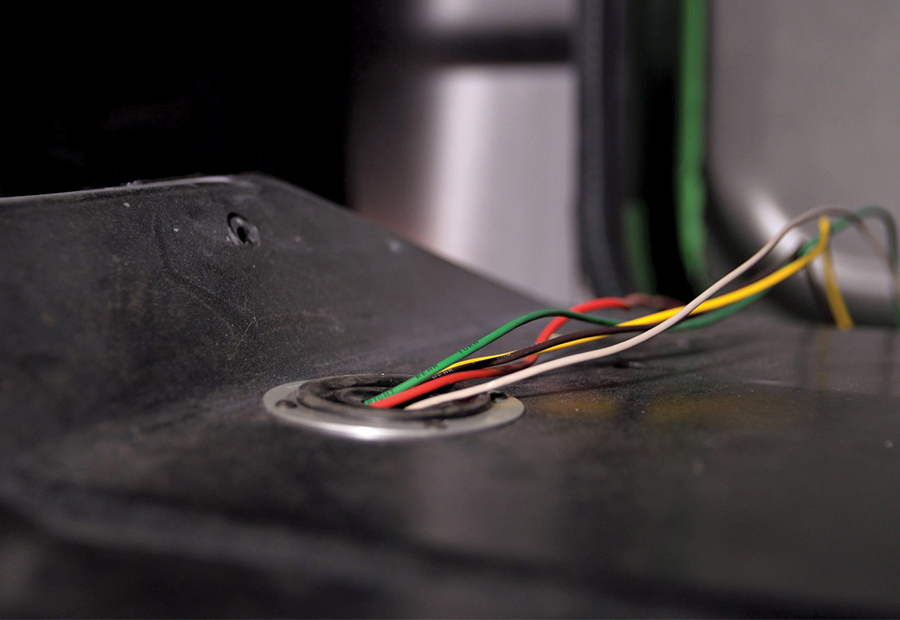
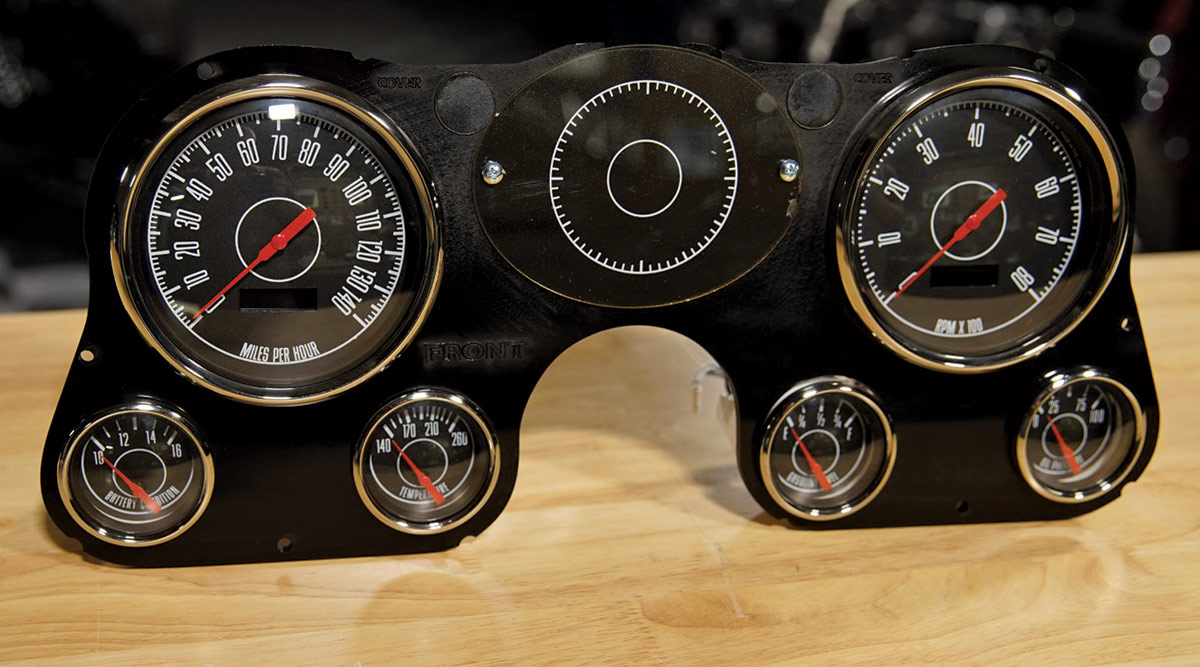
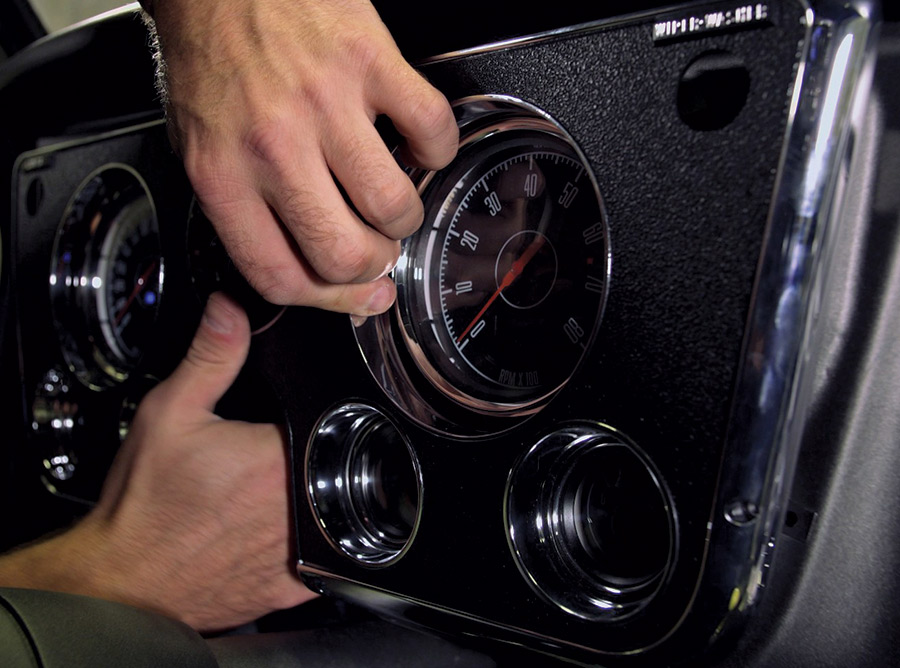
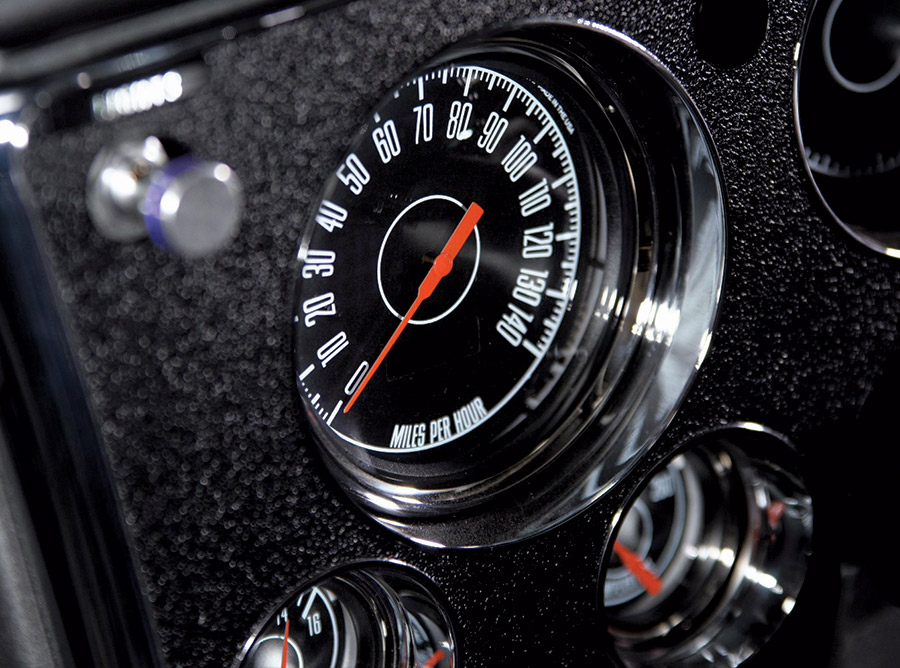
To keep tabs on our speed as well as the junkyard 5.3 underhood, we fitted a set of gauges from New Vintage USA. There’s a wide variety of gauge faces available in these kits to match just about any interior style. There’s even one that closely resembles the stock C10 gauge faces, so why didn’t we choose that one? Well, we just fell in love with the design of these “1967 Series” gauges. Something about the vintage font wrapping around the gauge really seemed to match the character of our retro muscle truck. This set features an electronic speedo, tach, volt, water temperature, and oil pressure gauges, and a 0- to 90-ohm fuel level gauge. They installed behind a reproduction bezel, required no modification to the stock dash, and look absolutely killer.

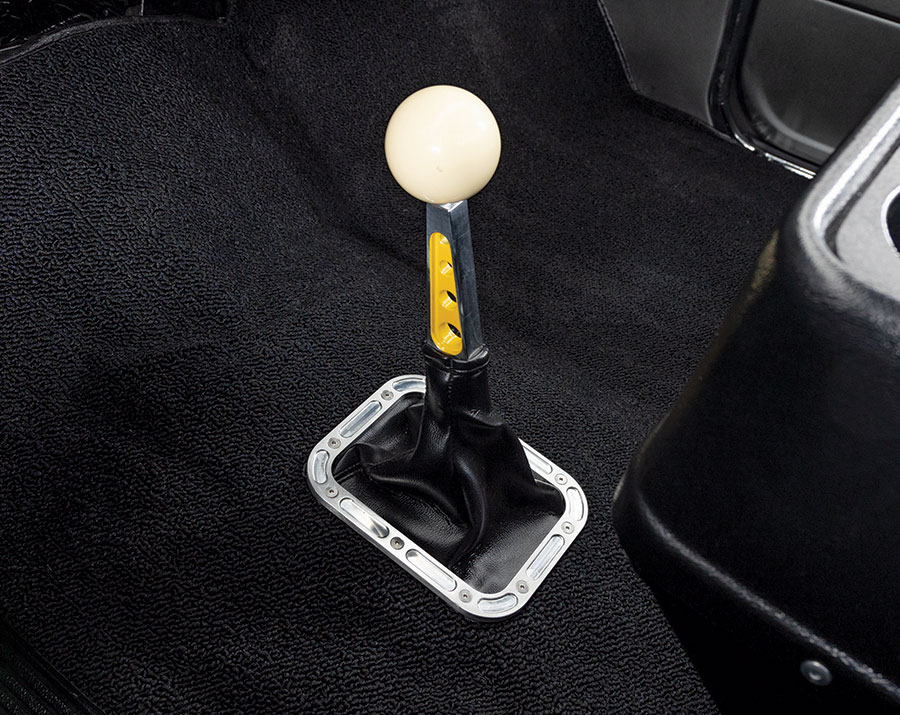
On the night before we loaded up for SEMA, our truck picked up one of its signature details. While we were planning our C10, Speedway Motors collaborated with Dixxon Flannel on a limited run of shirts in Speedway Motors colors. As soon as we saw the purple and yellow plaid pattern we just knew that we had to put our own spin on the classic C10 “Highlander” interior. So, a pair of Procar by Scat buckets were sent to the upholstery shop along with a few XXL flannels and we couldn’t be happier with the result. To get our custom seats bolted in, we used a Speedway Motors Seat and Console Mount, which is basically a steel frame that not only mounts Procar by Scat bucket seats but also a stock-style console. The result approximates those hard-to-find stock “buddy buckets” with a modern twist using off-the-shelf parts.

Though we were still turning wrenches on the interior until seconds before the truck went into the trailer, we’re happy to report that our project C10 made it to SEMA. Stay tuned next month for a full feature on our freshly finished truck!

Wiring through floorbed in 1968 Chevy C10
2. We love these Seals-It grommets for running wires through firewalls and floors. They come in a variety of sizes and screw securely to the surrounding metal to ensure that they stay put.
Sound Dampening Liner placed on floor of 1968 C10
3. The Hushmat installed in about an hour. This stuff is truly “peel and stick” and formed easily around the contours of the floor and footwell. We strongly recommend using the wooden roller to press the squares flat and help them conform to the floor.
Steering column and dash wiring exposed 1968 C10
4. We found that a Speedway Motors Universal 33-inch Tilt Column (PN 91032975) fit perfectly to our C10 using all the stock bracketry under the dash and on the firewall. We opted for a raw steel column and painted it to match the truck.
Mechanic installing new shifter 1968 C10
5. The Speedway Motors Side-Detent Shifter (PN 9165000) uses a cable to actuate the shift arm on the transmission. It’s important to route the cable so that there are no binds or rub points as it passes through the floor and over the transmission.
Installed shifter onto floorbed 1968 C10
6. The gate plate in the Side-Detent Shifter eliminates the need for a reverse lockout button, which opens the door to just about any handle and shift knob combination you can think of. We chose a Machined Billet Shift Lever (PN 91603269) to lend a cool hot rod look to our truck.
Custom upholstered driver's seat installation 1968 C10
7. With the carpet kit rolled out, we were ready to install our customized Procar by Scat seats. They bolted in using a Speedway Motors Seat and Console Mount (PN 91098213) and were paired with a stock-style console (PN 92637410) for a cool twist on the stock CST “buddy buckets.”
Custom Gauges ready to be installed 1968 C10
8. The New Vintage USA “1967 Series” gauges were chosen for their hot rod look and direct fit to our C10’s dash.
Preparing wiring for custom gauge cluster 1968 C10
9. The gauges came with everything needed to install them. We had previously bundled the wires in our Universal 22-Circuit Wiring Harness (PN 91064022) so we were ready to hook up the gauges when the time came.
Custom gauge cluster being fitted and wired into dash 1968 C10
10. The NVU gauges installed neatly behind a stock-style bezel. Ours is a reproduction unit (PN 92636413) to replace the dilapidated original.
Gauges installed and fitted into dash 1968 C10
11. The vintage-style font that wraps around the gauge is just one of the things that we love about these gauges. We think they perfectly match the character of our retro muscle truck infused with modern tech.
Installing new sidesteps on the cab of 1968 C10
12. Stock-style sill plates finish the edges and add just a touch of brightwork to the subdued interior.
Installing final mount for the new shifter 1968 C10
13. Here’s a neat trick. If you’ve ever spun a drill bit through carpet you know that it’s not long before it becomes a tangled mess. Instead, try melting the clearance holes for the shift boot screws through the carpet with a soldering iron.
Adjusting and fitting new door panels 1968 C10
14. At this point, we were on the home stretch, but the trailer was already waiting to hit the road to SEMA. We chose stock reproduction door inner panels that were painted to match the truck.
Installed custom door panel driver side 1968 C10
15. Nothing fancy here, but that’s the point. We really wanted this interior to be functional but economical. It was important to us that it still felt like an old truck from behind the wheel.
Speedway Motors labeled glovebox 1968 C10
16. We had these custom stickers made up to add another C10-appropriate nod to the Speedway Motors brand. That font was taken from the “Custom Camper” emblem of the later trucks and the “52” indicates the year the company was founded.
Two-Tone custom shifter silver and yellow 1968 C10
17. A Rectangle Shifter Boot with Billet Aluminum Ring (PN 9165005) perfectly matched the billet arm on the shifter.
Custom interior installed, new gauges, carpet, shifter, and door panels
18. The finished interior is one of our favorite parts of the entire truck. All the details that we know and love about C10 trucks are still there, but with some little tweaks to make it a cozy place for us to pass all the miles that we plan to drive this truck.
SOURCE