CTP Tech
InTheGarageMedia.com
OBS Steering Box
1. Turning time! Borgeson Universal Company now offers a bolt-in Quick Ratio steering box that bolts into your OBS truck to tighten up and improve the overall steering prowess on the road. Follow along as we make the upgrade on an ’88 pickup with an early LS swap.
Quick-Turning Truck
OBS Steering Box Upgrade With Borgeson Universal Company
BY Todd Ryden
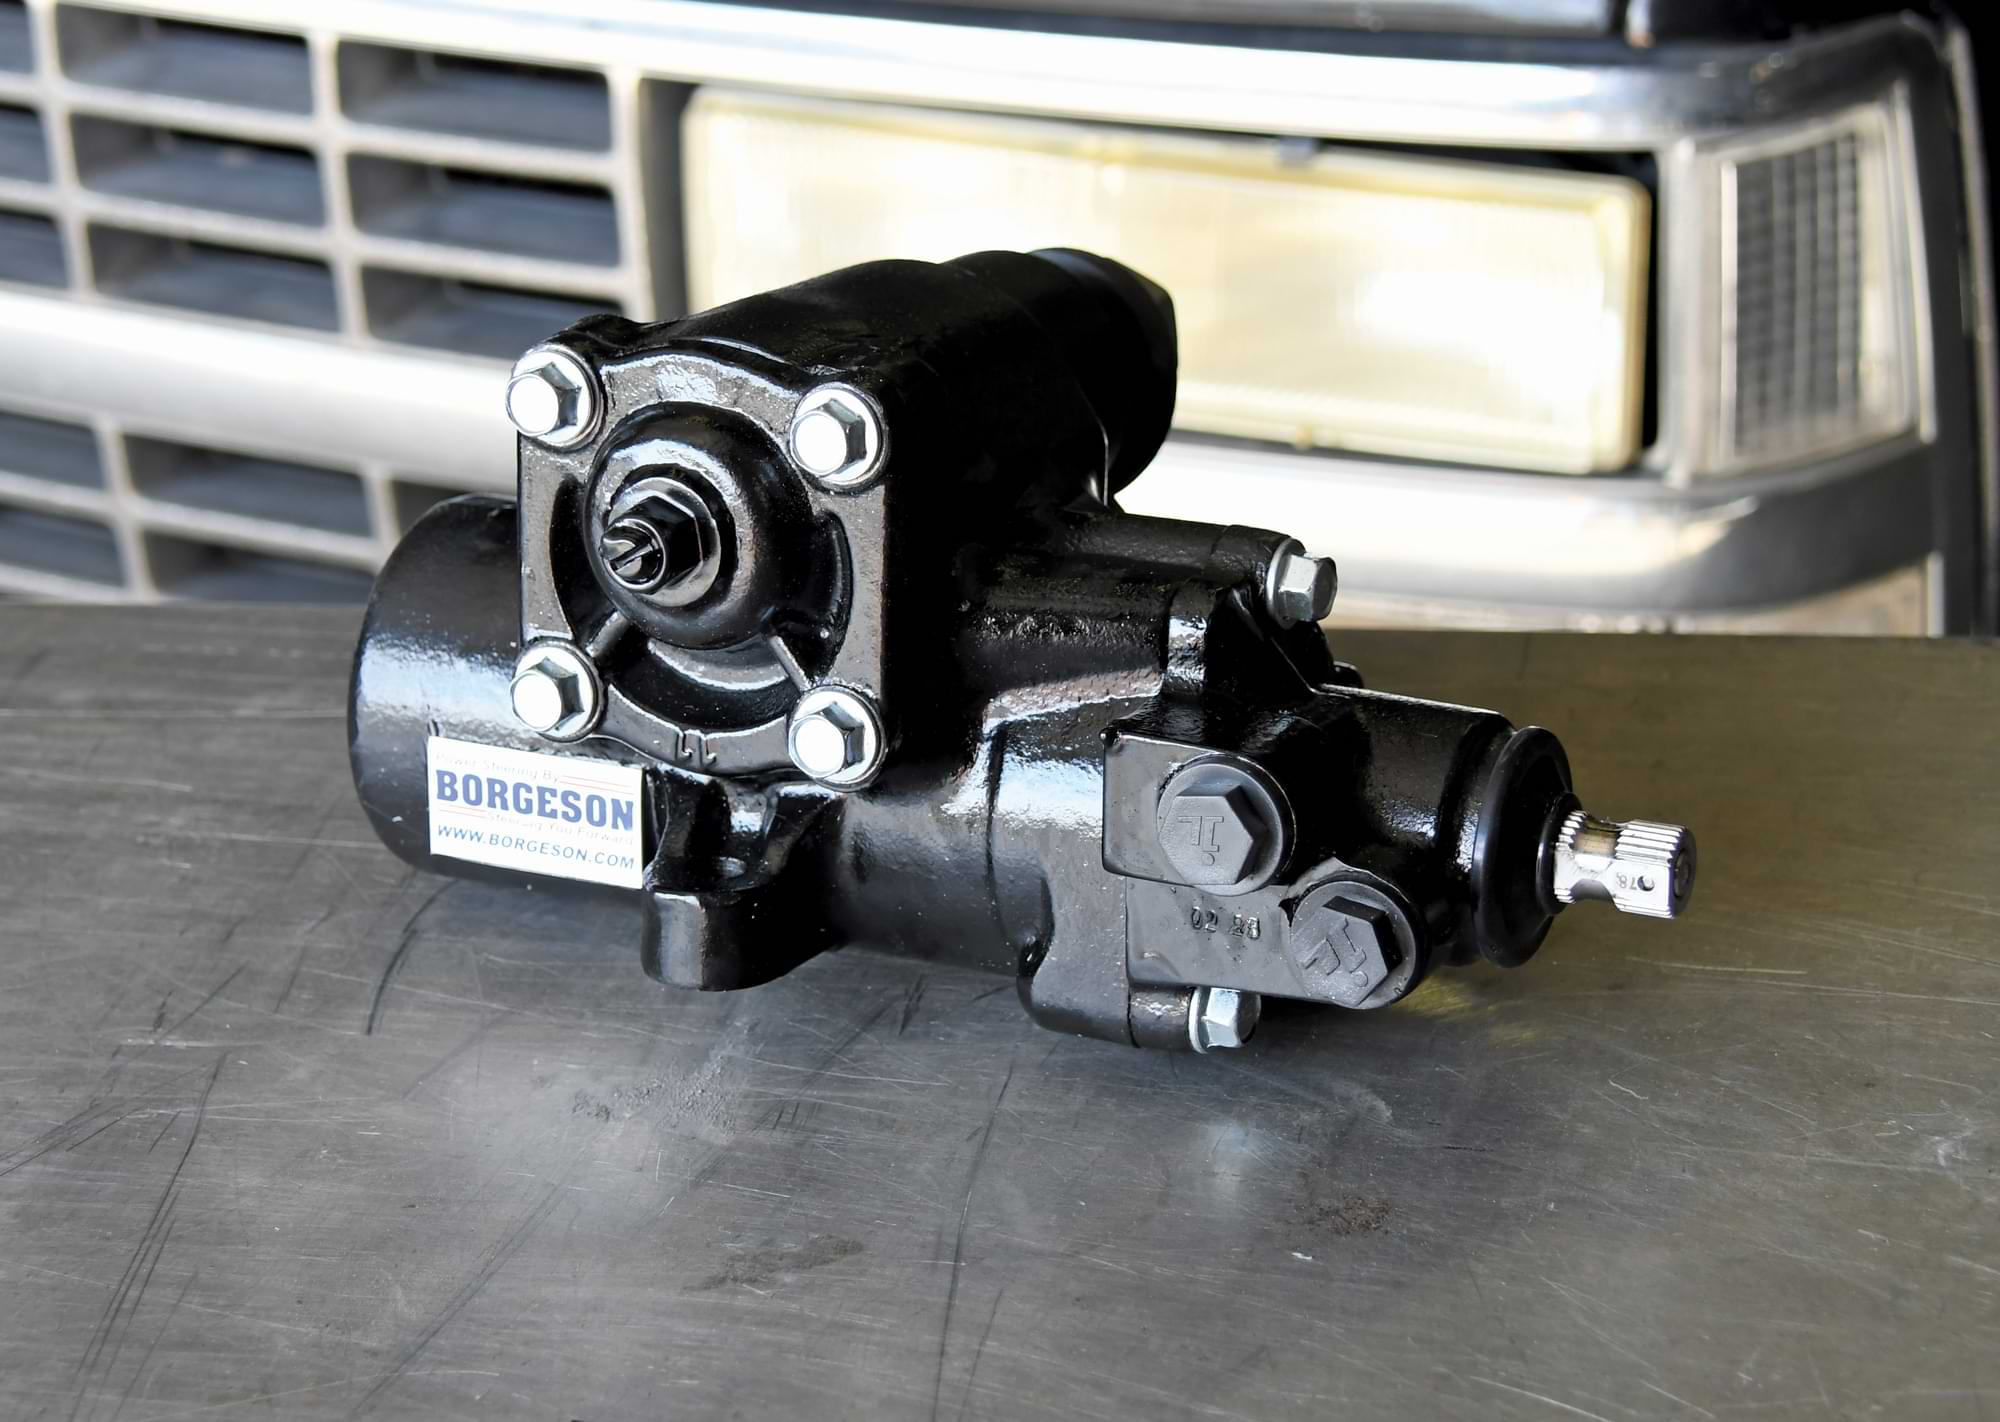
Photography BY THE AUTHOR
C

onsidering how your truck drives usually leads to thoughts of coilover upgrades or sway bars, but have you ever thought about the steering action and feel? Unless you’re still rocking a slow, stock, manual box, a steering upgrade may not have ever been on your radar—but you may want to rethink that!

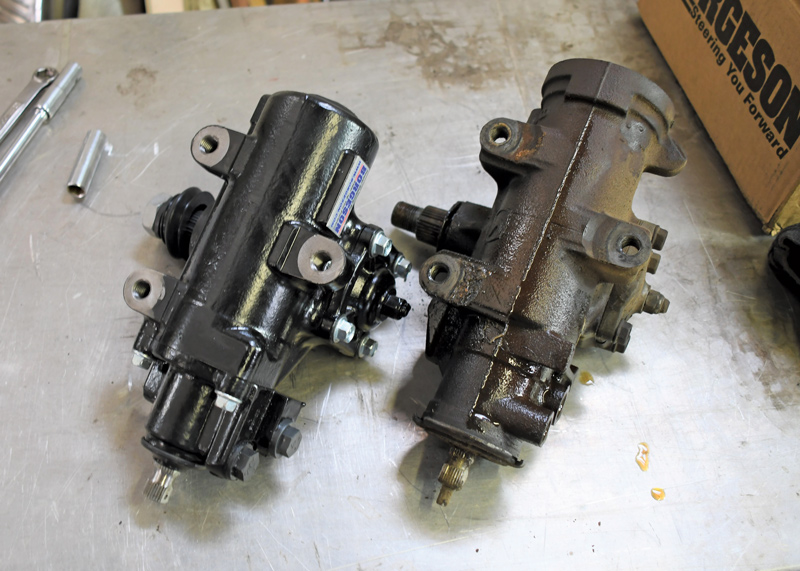
After being in business for over 100 years, Borgeson Universal Company knows a bit about steering! They recently introduced a new steering box for GM OBS trucks that has a turning ratio of 12.7:1 versus the stock ratio of 14:1 or the factory 16/13:1 variable ratio unit. This means that for every 12.7 degrees of steering wheel movement, the output shaft rotates 1 degree. In the case of our OBS, the new box now turns lock-to-lock within three turns of the wheel compared to the four and more from the worn-out original.

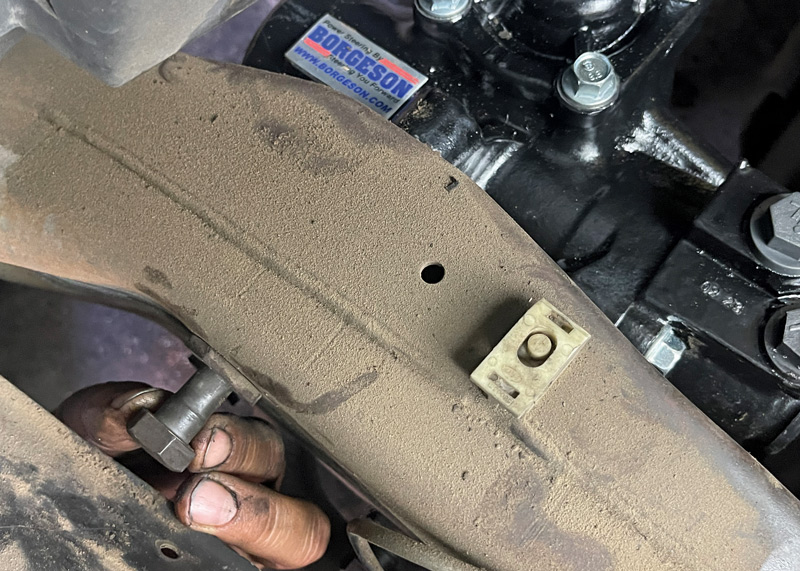
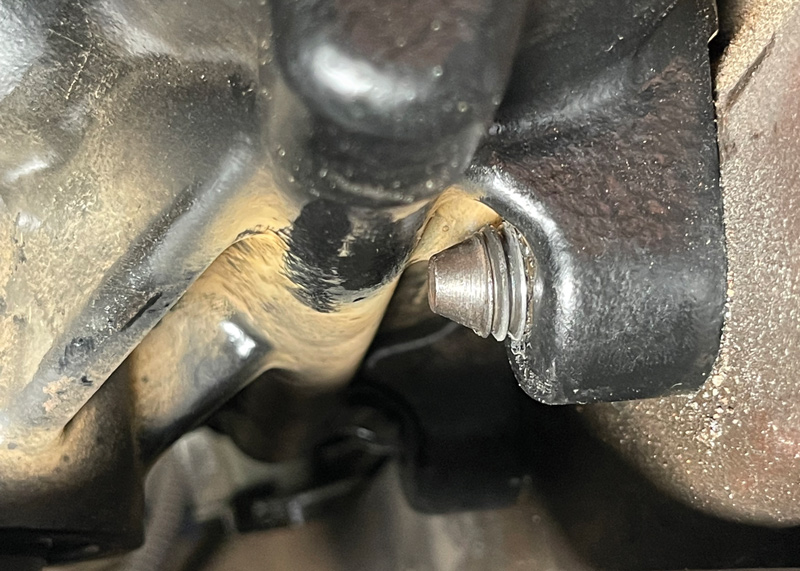
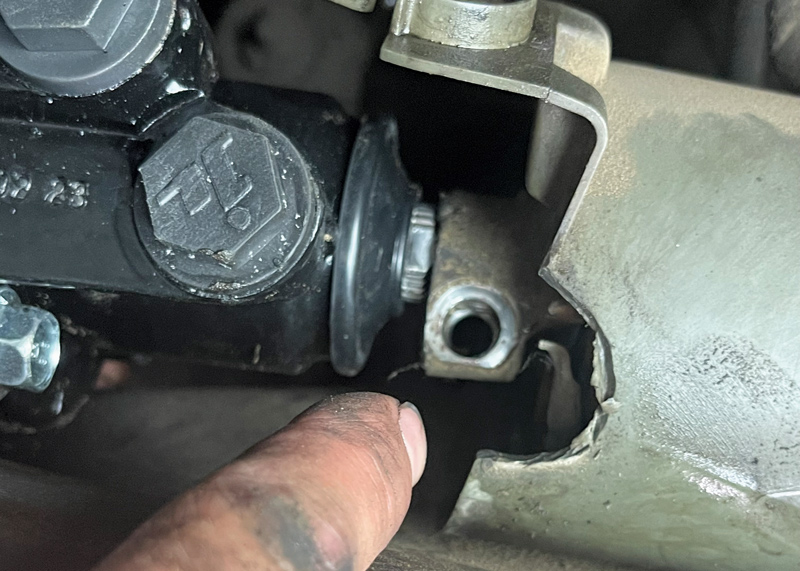
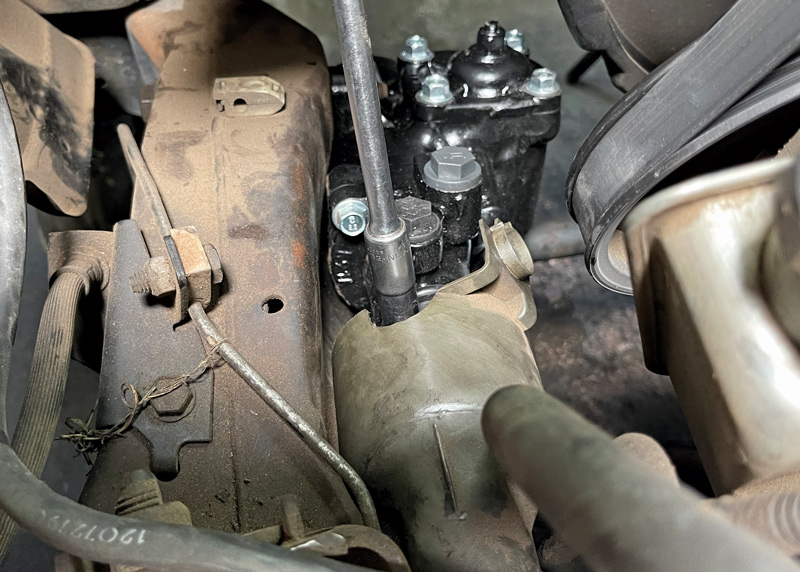
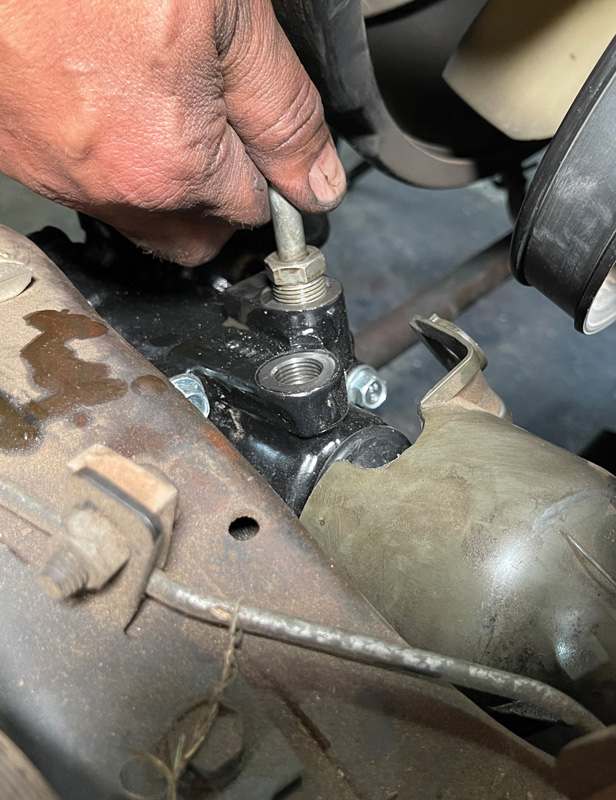
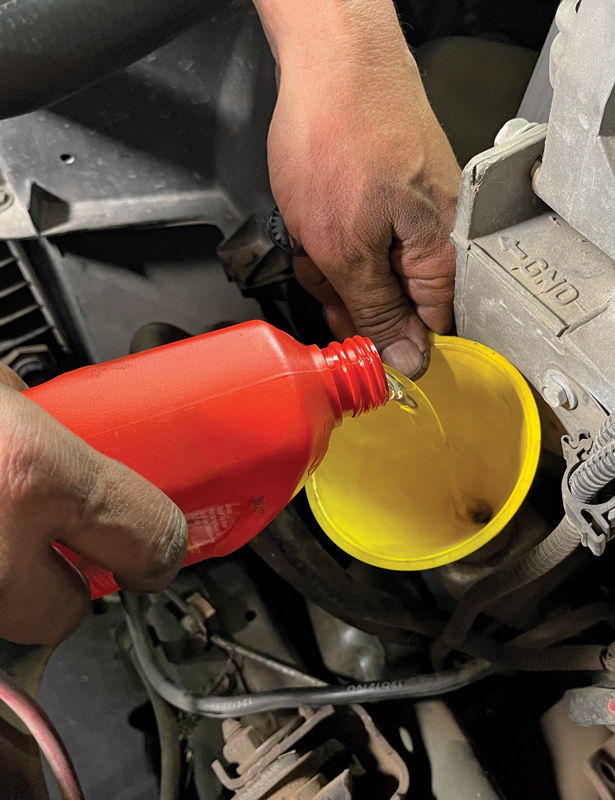
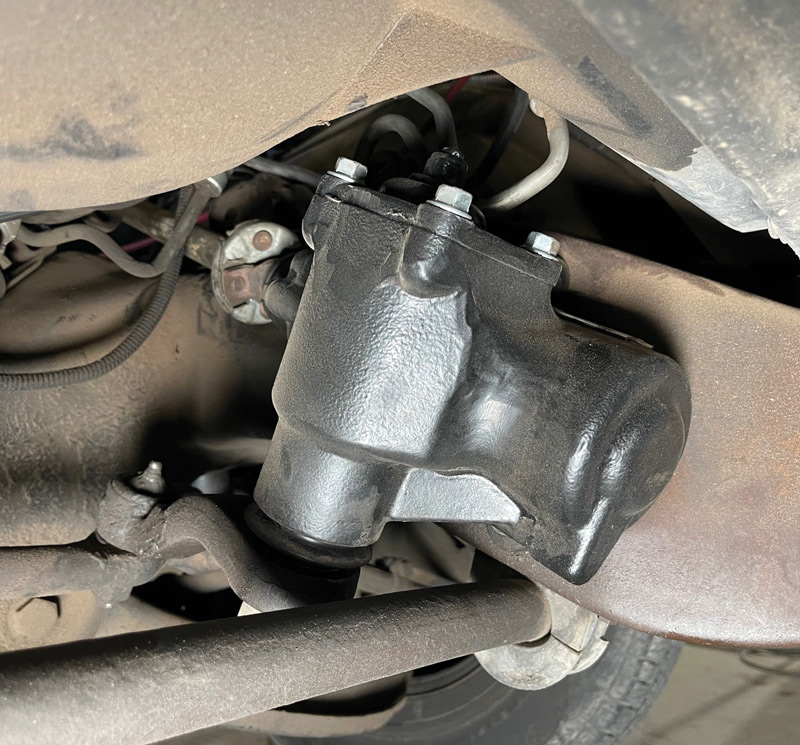
For two-wheel-drive OBS fans, Borgeson has you covered as their new box is a bolt-in for ’88-96 models. The box is a touch shorter in length than the factory but installs with the same three mounting points and connects directly to the factory steering shaft. The OEM fluid lines bolt right into the 16mm and 18mm x 1.5 O-ring ports of the steering box, making this upgrade a true direct bolt-in affair.

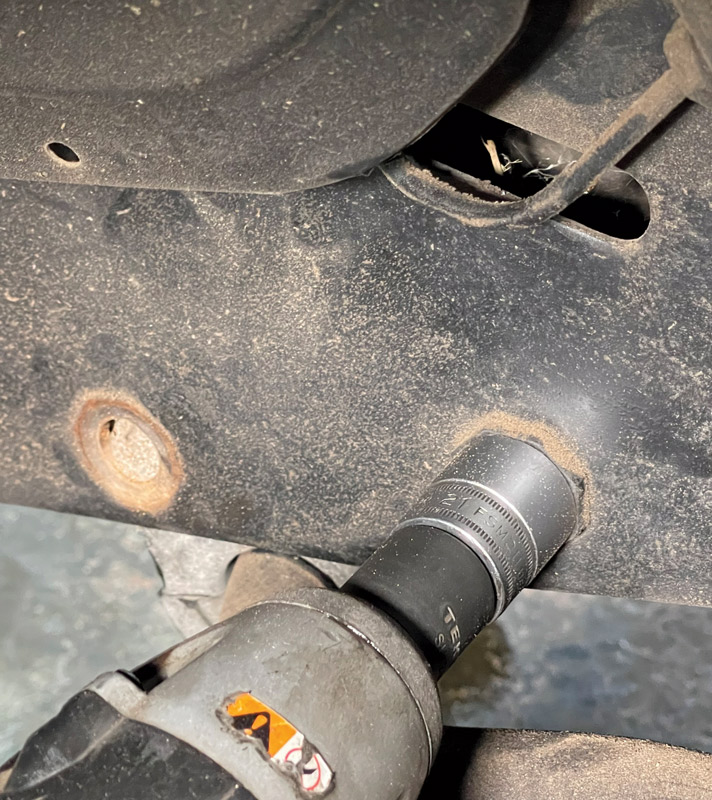
It should be noted that if you’re upgrading a manual steering truck to power steering, you’ll need a new Pitman arm to finish the installation. Also, if you’re in need of a new steering shaft or U-joints, Borgeson can help you with everything. The installation can easily be done with hand tools, other than needing a Pitman arm pulling tool, which can be rented at most parts stores—and make sure you have a socket large enough to remove the Pitman arm nut or you’ll be making two trips to the store.

The quick ratio of the steering box was a huge improvement, especially at slow speeds and around the neighborhood, however we’re still surprised at what a difference the new box made to the feel of the truck at speed on back roads and even the highway. It definitely made an overall improvement to the way the truck drives.

 Start by draining the power steering fluid then remove the two lines at the box.
2. Start by draining the power steering fluid then remove the two lines at the box.
With the fluid dripping away, we removed the rag joint bolt then pried the shaft up toward the firewall.
3. With the fluid dripping away, we removed the rag joint bolt then pried the shaft up toward the firewall.
If you’re replacing a worn-out OEM power steering box, the original Pitman arm may be reused, but if you’re going from a manual box to the Borgeson unit, be sure to order a new Pitman arm. An impact gun, or a long breaker bar, will help with the nut removal, then you’ll need a puller to get the arm off the steering shaft.

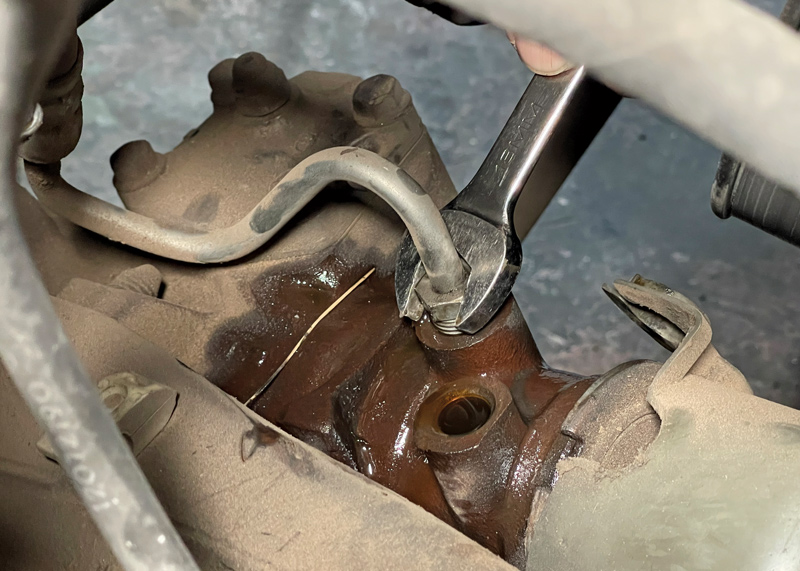
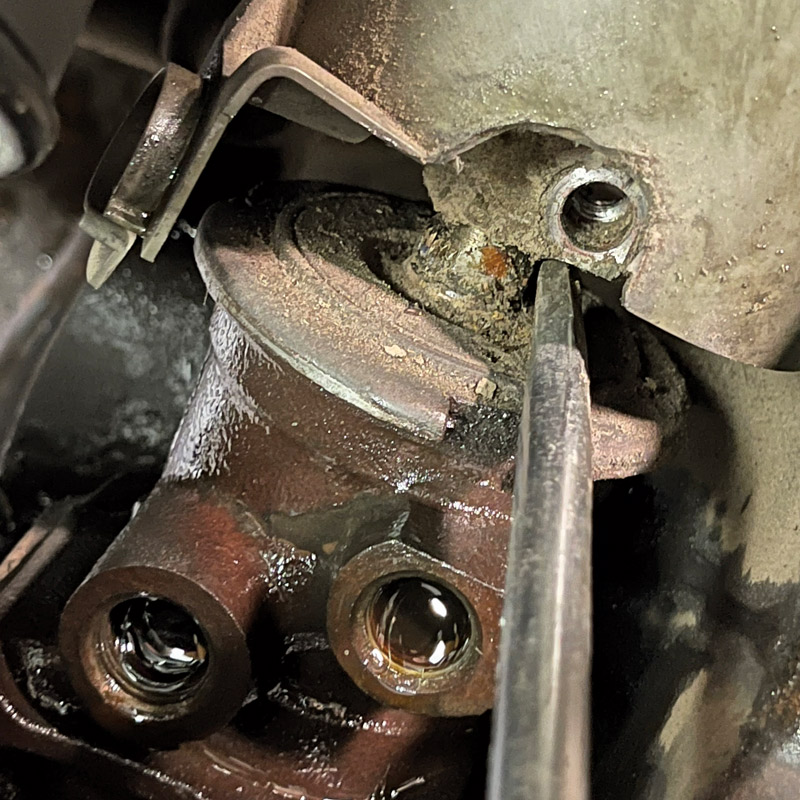
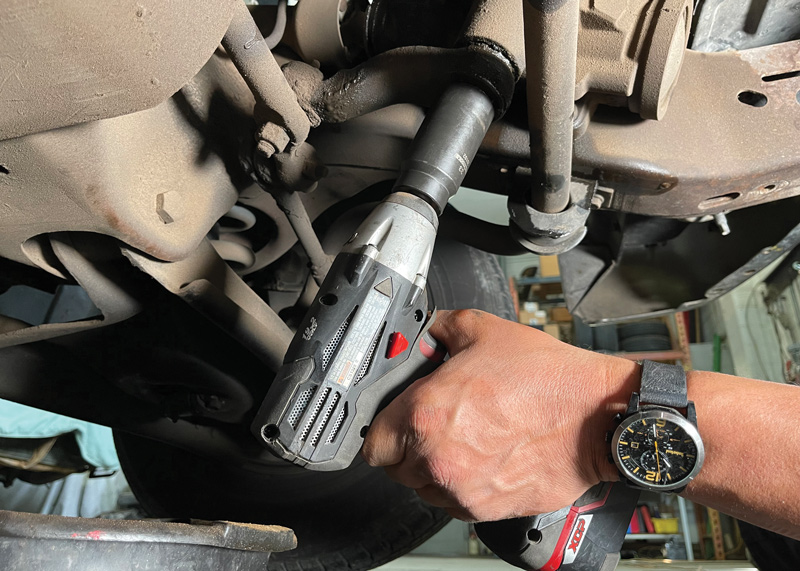
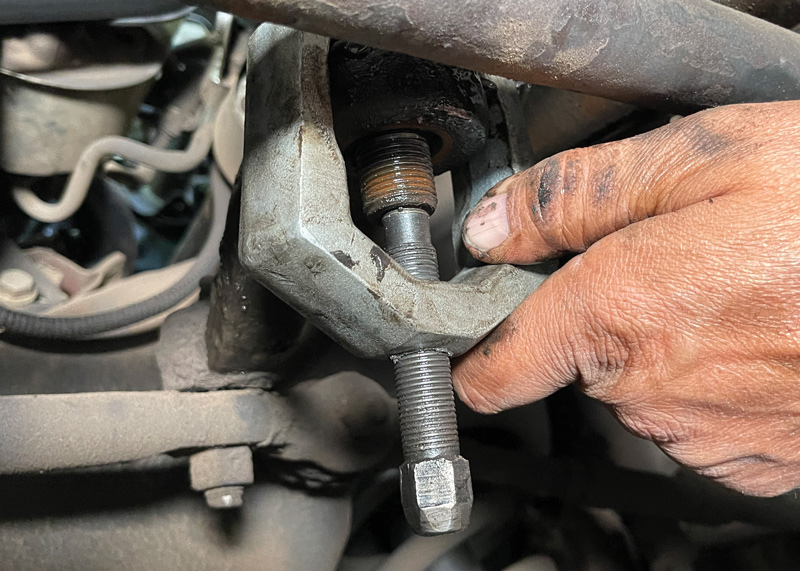
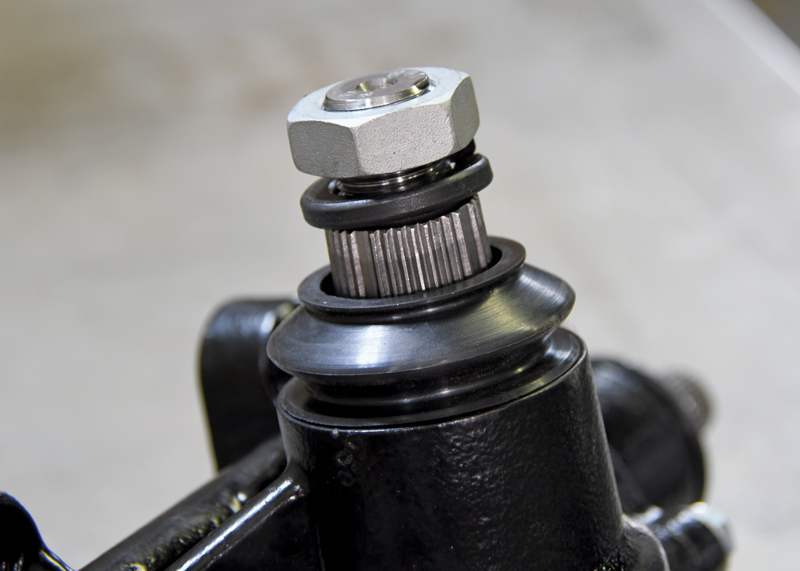
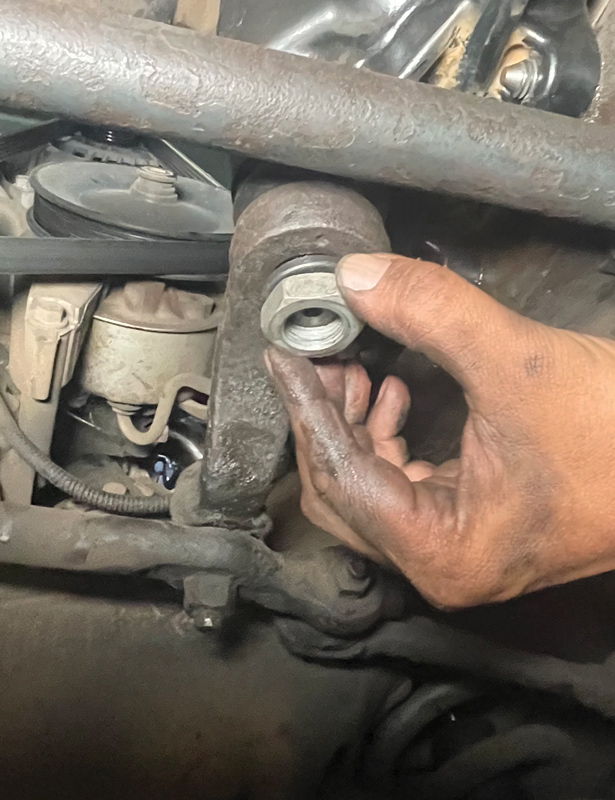
4-5. If you’re replacing a worn-out OEM power steering box, the original Pitman arm may be reused, but if you’re going from a manual box to the Borgeson unit, be sure to order a new Pitman arm. An impact gun, or a long breaker bar, will help with the nut removal, then you’ll need a puller to get the arm off the steering shaft.

 Three bolts secure the steering box firmly to the framerail and are accessible from inside the fenderwell.
6. Three bolts secure the steering box firmly to the framerail and are accessible from inside the fenderwell.
The Borgeson unit is slightly shorter than the OEM model but still bolts directly in place with the three same mounting holes.
7. The Borgeson unit is slightly shorter than the OEM model but still bolts directly in place with the three same mounting holes.
A new bolt, lock-washer, and seal are provided for the steering shaft. Note the four flat, indexing marks every 90 degrees on the shaft that help align the Pitman arm. It is recommended to turn the shaft its full sweep, about three turns from the steering shaft side, then position it in the center so the steering linkage connects properly.
8. A new bolt, lock-washer, and seal are provided for the steering shaft. Note the four flat, indexing marks every 90 degrees on the shaft that help align the Pitman arm. It is recommended to turn the shaft its full sweep, about three turns from the steering shaft side, then position it in the center so the steering linkage connects properly.
The factory box is quite heavy so an extra set of hands will help when lining up the steering shaft rag joint and the mounting holes.
9. The factory box is quite heavy so an extra set of hands will help when lining up the steering shaft rag joint and the mounting holes.
Borgeson supplies new bolts for the installation but if you end up using the factory bolts, check to make sure they don’t interfere with the housing. Due to the bolt length variances from the original assembly line, there could be interference that causes the box not to be tightened in place properly.
10. Borgeson supplies new bolts for the installation but if you end up using the factory bolts, check to make sure they don’t interfere with the housing. Due to the bolt length variances from the original assembly line, there could be interference that causes the box not to be tightened in place properly.
With the box mounted, we connected the steering rag joint to the shaft by sliding it into position. There’s a relief on the shaft that allows the bolt to go through to help secure the connection. Once aligned, tighten the bolt.
11-12. With the box mounted, we connected the steering rag joint to the shaft by sliding it into position. There’s a relief on the shaft that allows the bolt to go through to help secure the connection. Once aligned, tighten the bolt.
Make sure the O-ring seals are installed and in good condition before connecting the fluid lines. The lines have different size fittings, but for the record, the low-pressure line is closest to the input shaft and the high pressure is closer to the four-bolt cover. (In this picture, we’re connecting the high-pressure line.)
13. Make sure the O-ring seals are installed and in good condition before connecting the fluid lines. The lines have different size fittings, but for the record, the low-pressure line is closest to the input shaft and the high pressure is closer to the four-bolt cover. (In this picture, we’re connecting the high-pressure line.)
The seal, Pitman arm, and new lock washer and bolt were installed to finish the linkage connection. This is a great time to inspect the tie-rod ends and update the steering linkage.
14. The seal, Pitman arm, and new lock washer and bolt were installed to finish the linkage connection. This is a great time to inspect the tie-rod ends and update the steering linkage.
With the front end still off the ground, fill the reservoir with a high-quality fluid, start the engine, and slowly turn the steering from lock to lock to purge any air from the system. Add fluid until the proper level is achieved.
15. With the front end still off the ground, fill the reservoir with a high-quality fluid, start the engine, and slowly turn the steering from lock to lock to purge any air from the system. Add fluid until the proper level is achieved.
Be sure to check for leaks before your testdrive. The steering wheel should be centered in the right position—as long as you centered the steering shaft properly before mounting and connecting the rag joint. The improvements in steering feel were evident as we turned onto the street!
16. Be sure to check for leaks before your testdrive. The steering wheel should be centered in the right position—as long as you centered the steering shaft properly before mounting and connecting the rag joint. The improvements in steering feel were evident as we turned onto the street!
 SOURCE
Borgeson Universal Company
(860) 482-8283
borgeson.com