Tech
InTheGarageMedia.com
Wilwood’s Iron Drop Pro Spindle/Forged Narrow Superlite Six-Piston C10 Brake Kit
Wilwood’s Iron Drop Pro Spindle/Forged Narrow Superlite Six-Piston C10 Brake Kit Closeup
Stop, Drop & Roll!
BY Rob Fortier 
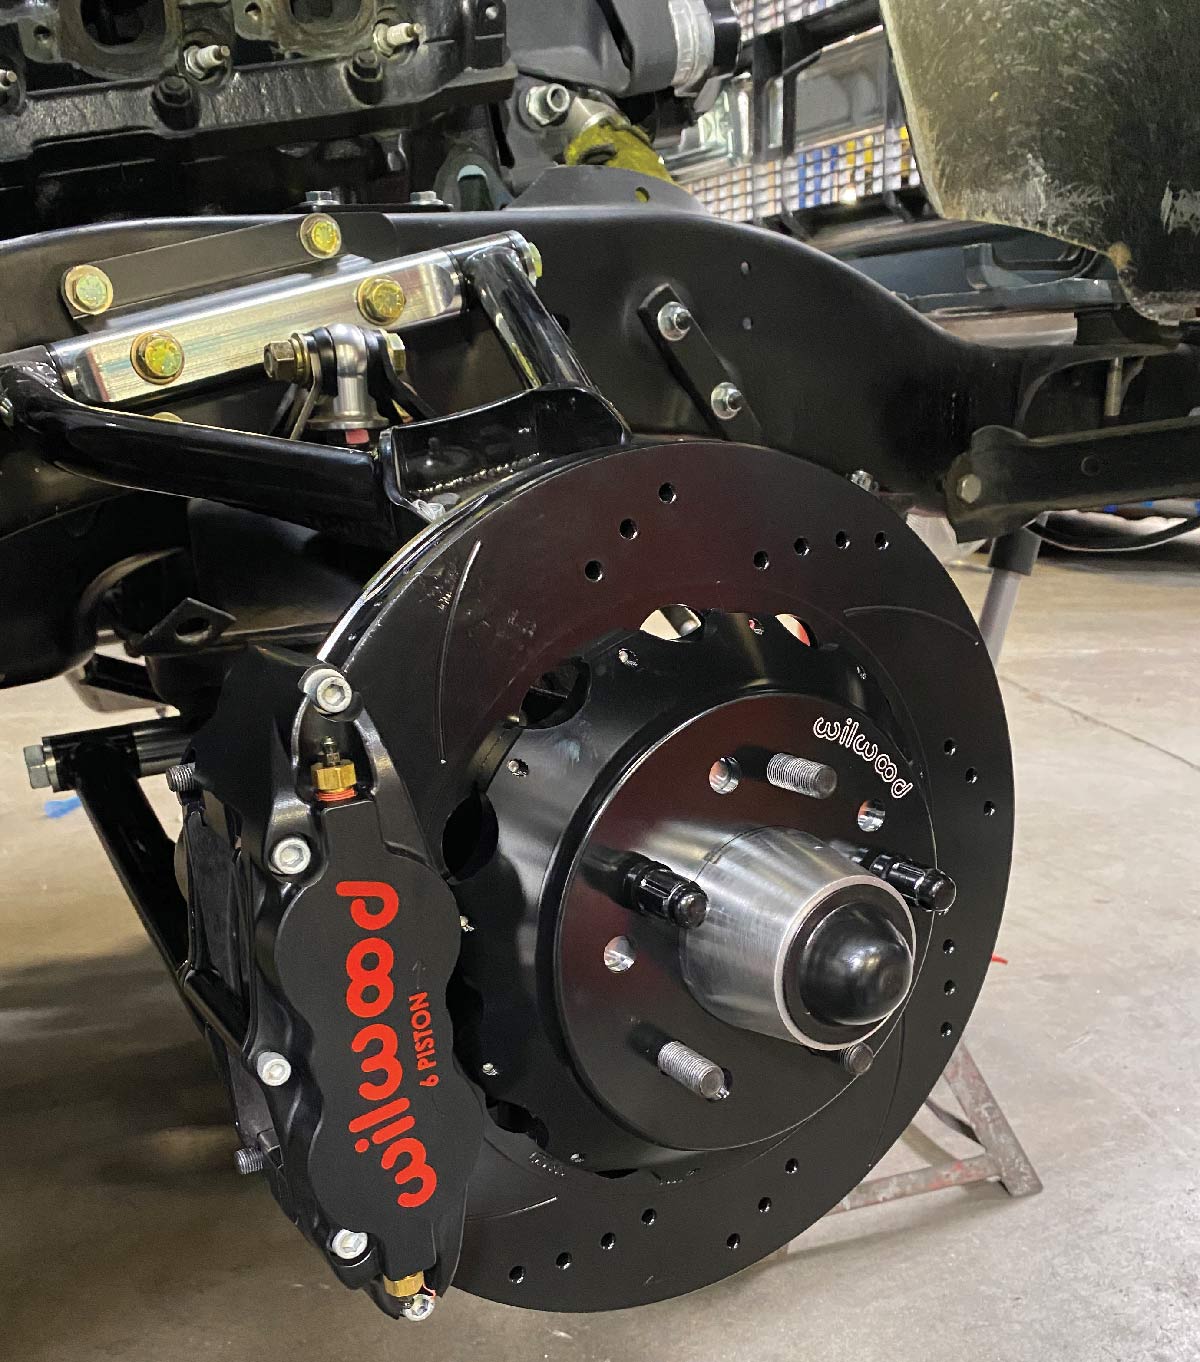
Photography By The Author
Wilwood’s Iron Drop Pro Spindle/Forged Narrow Superlite Six-Piston C10 Brake Kit
I

f you recall, back in our May ’22 issue, we equipped my “polished turd” ’69 C10 with Wilwood’s state-of-the-art electronic parking brake rear disc kit. So, it was only natural that I enlist the folks at Jimenez Bros. Air Ride & Rod Shop to complement that with Wilwood’s tried-and-true Forged Narrow Superlite 6R big front brake setup with their all-new one-piece Iron Drop Pro Spindles (2.5-inch drop).

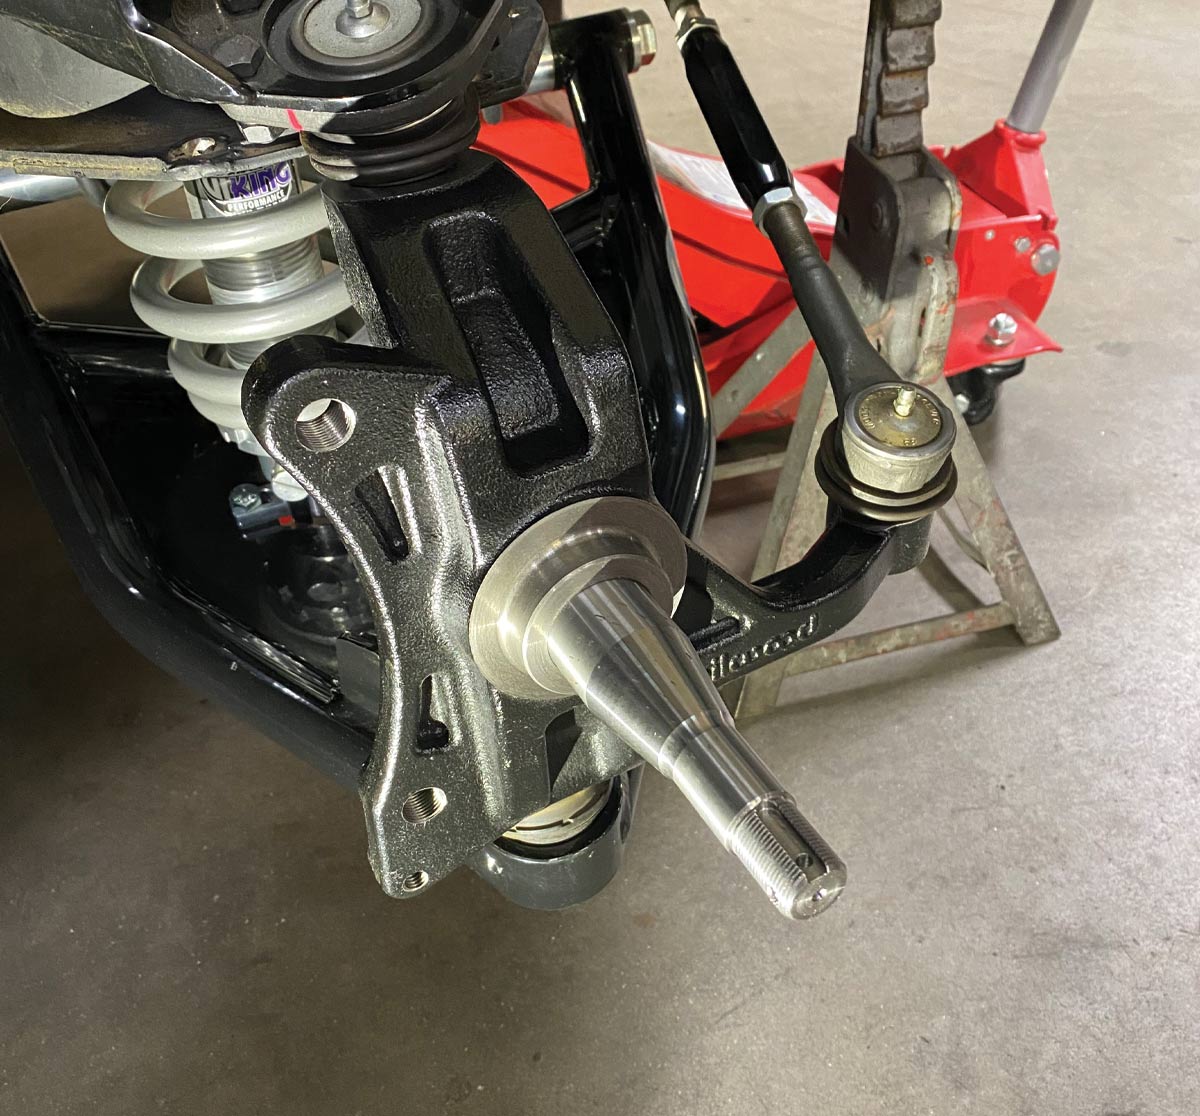
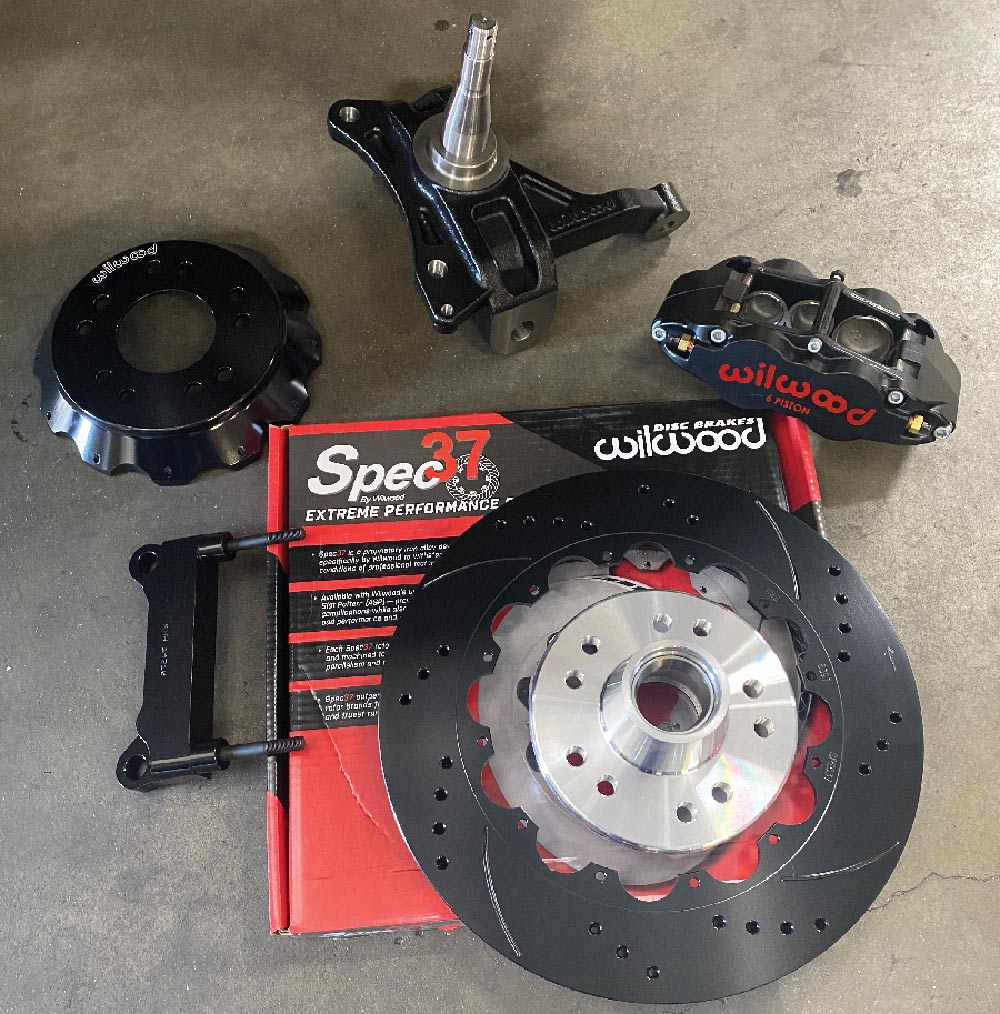
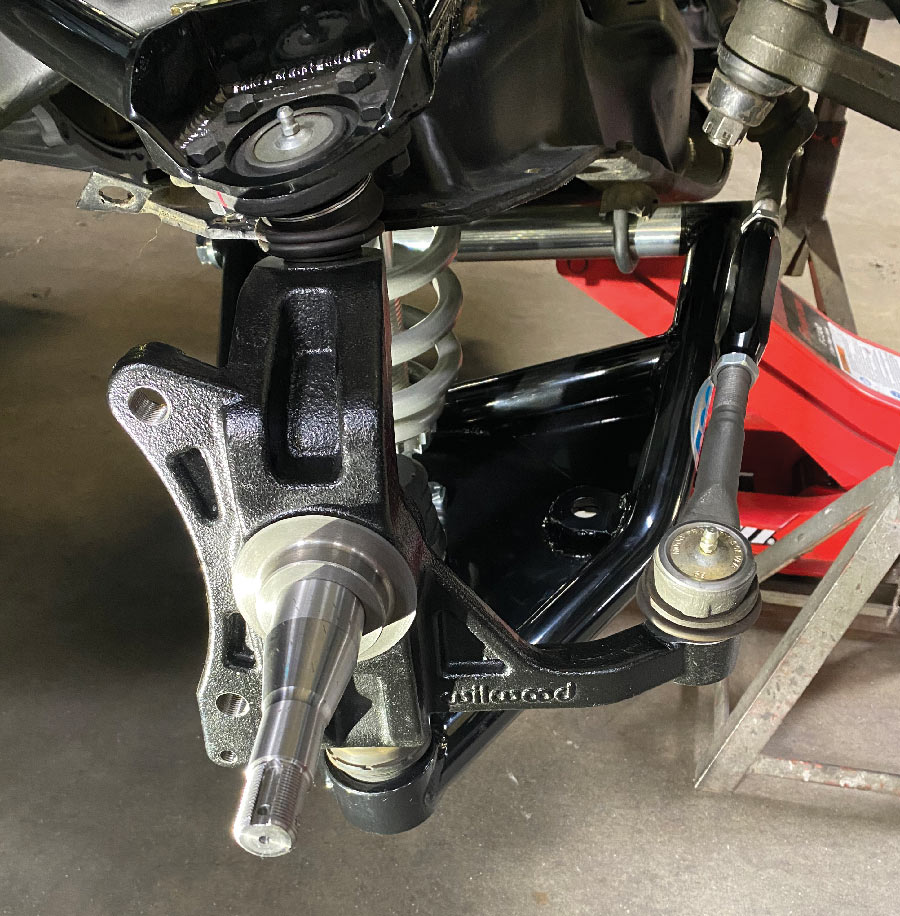
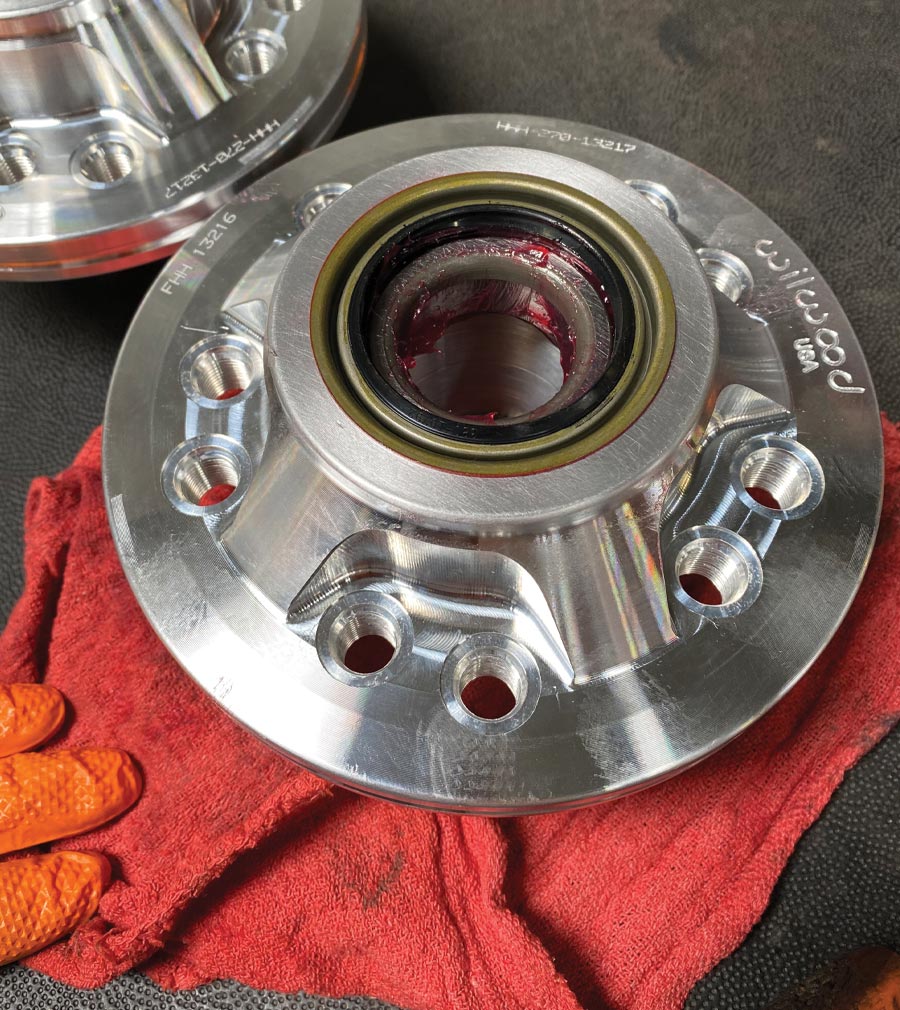
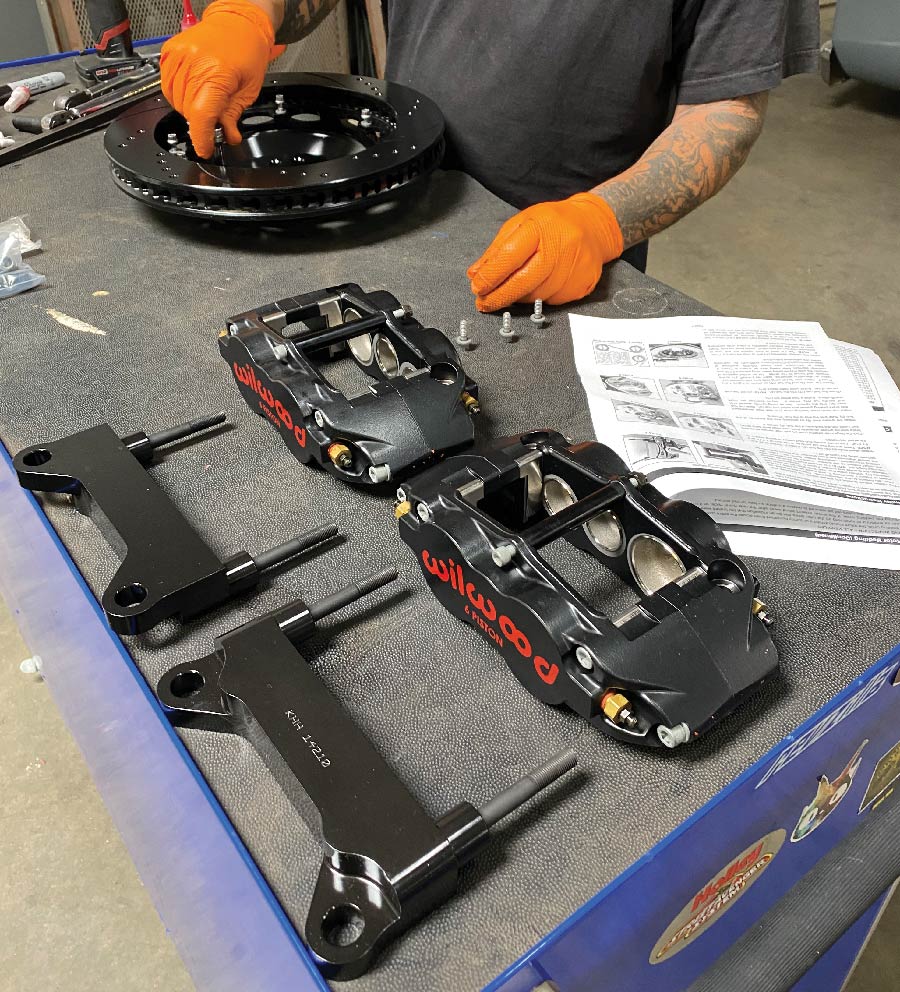
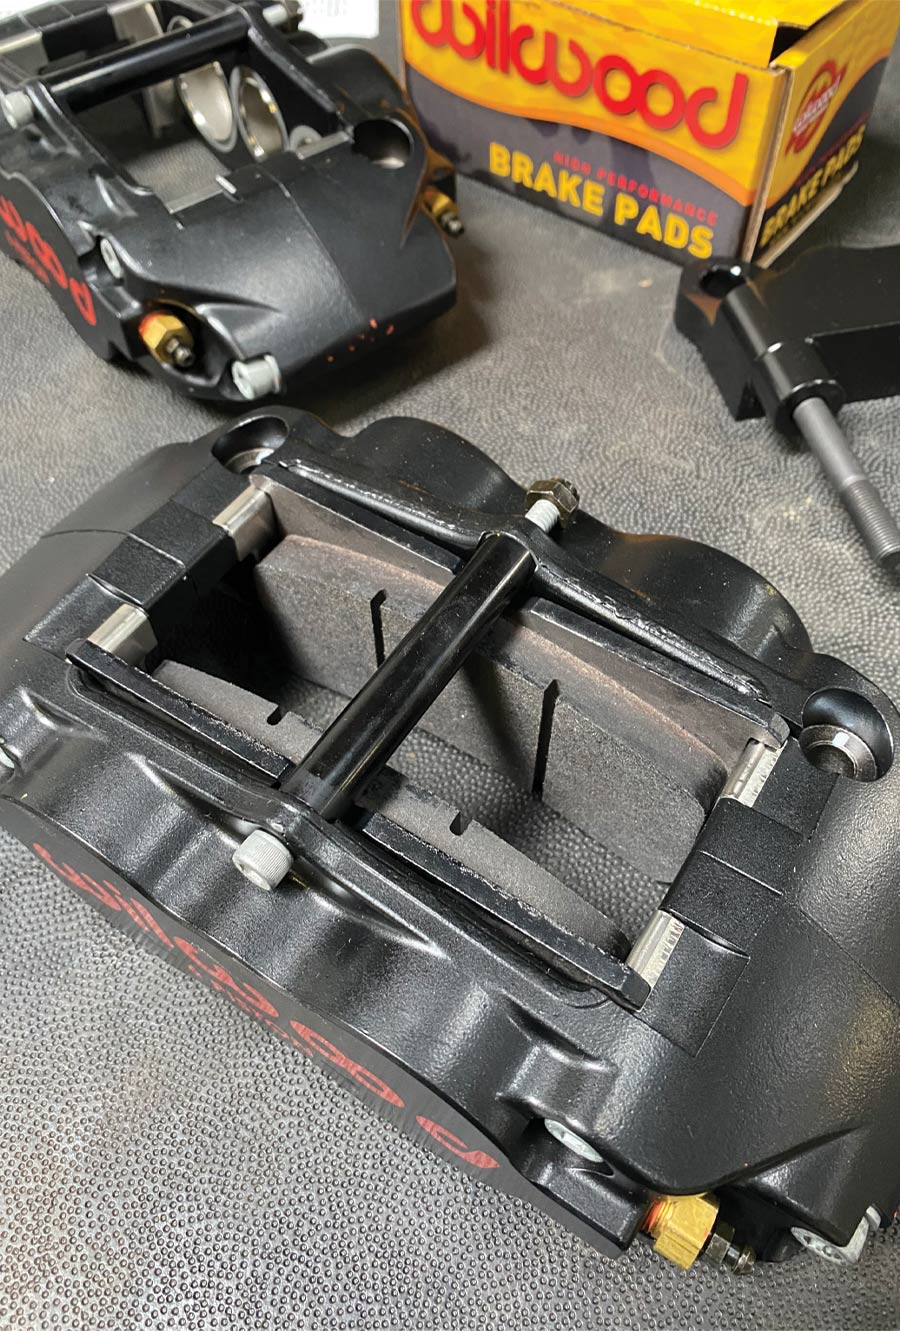
Wilwood’s complete brake kit (PN 140-15942) is just that: 100 percent complete. From the aluminum dual-pattern hubs and hats (5×5 and 5×4.75) to the SRP drilled-and-slotted 14-inch rotors with six-piston Superlite calipers, everything you need brake component–wise is included. However, this kit is produced specifically to work with their new Iron Drop Pro 2.5-inch dropped spindles, as it will not work with stock spindles due to the radial mount caliper brackets and hub-specific bearing snouts. We used the ’71-87 spindle kit (PN 831-15932 ) to accommodate the later-model C10 ball joints on the Classic Performance Products (CPP) Totally Tubular Control Arms installed on the ’69.

It should definitely be mentioned that as I was initially communicating with Wilwood regarding all the component particulars, they’d just started pushing their caliper personalization program. Rather than the standard black or red powdercoating options we’re all used to, they now offer an array of 23 additional custom color options with logos available in black, white, red, silver, or blue. As you’ll see in the photos, the choice was made to go with Bristol Matte Black calipers adorned with red insignias to complement the forthcoming bronze-centered Schott wheels I’ll be running.

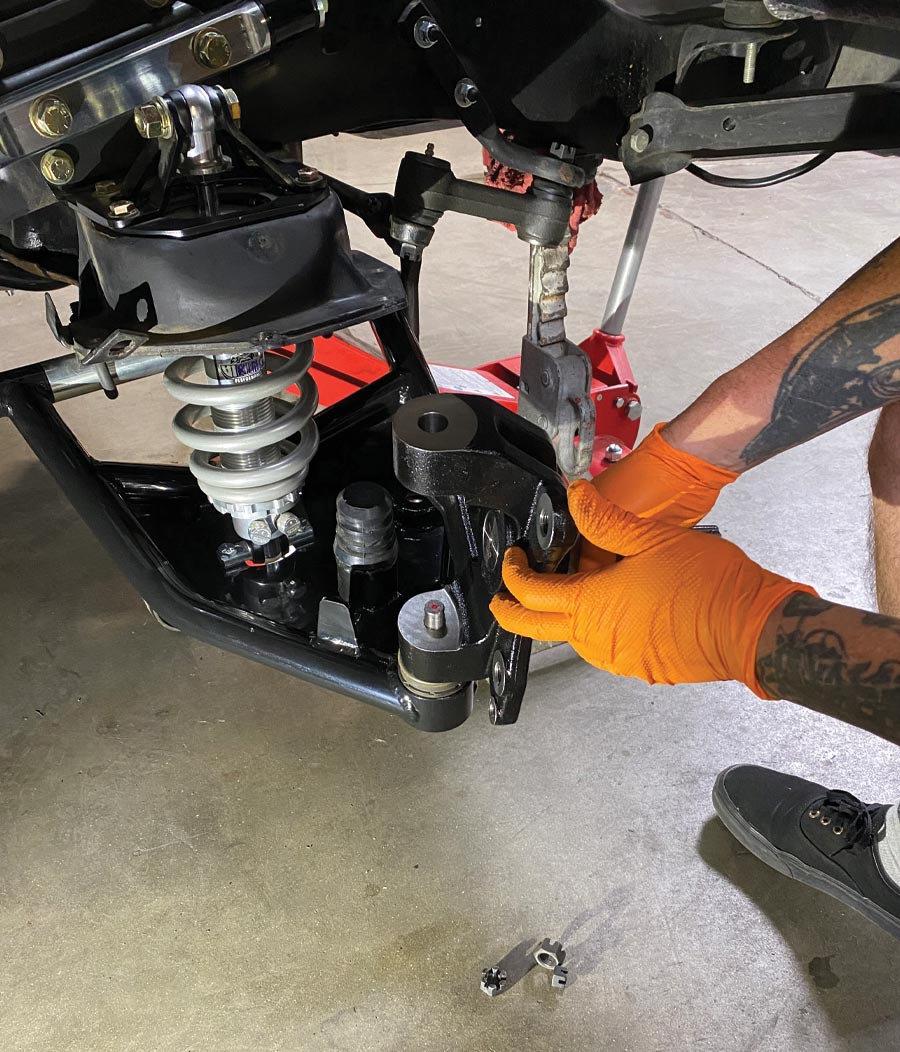
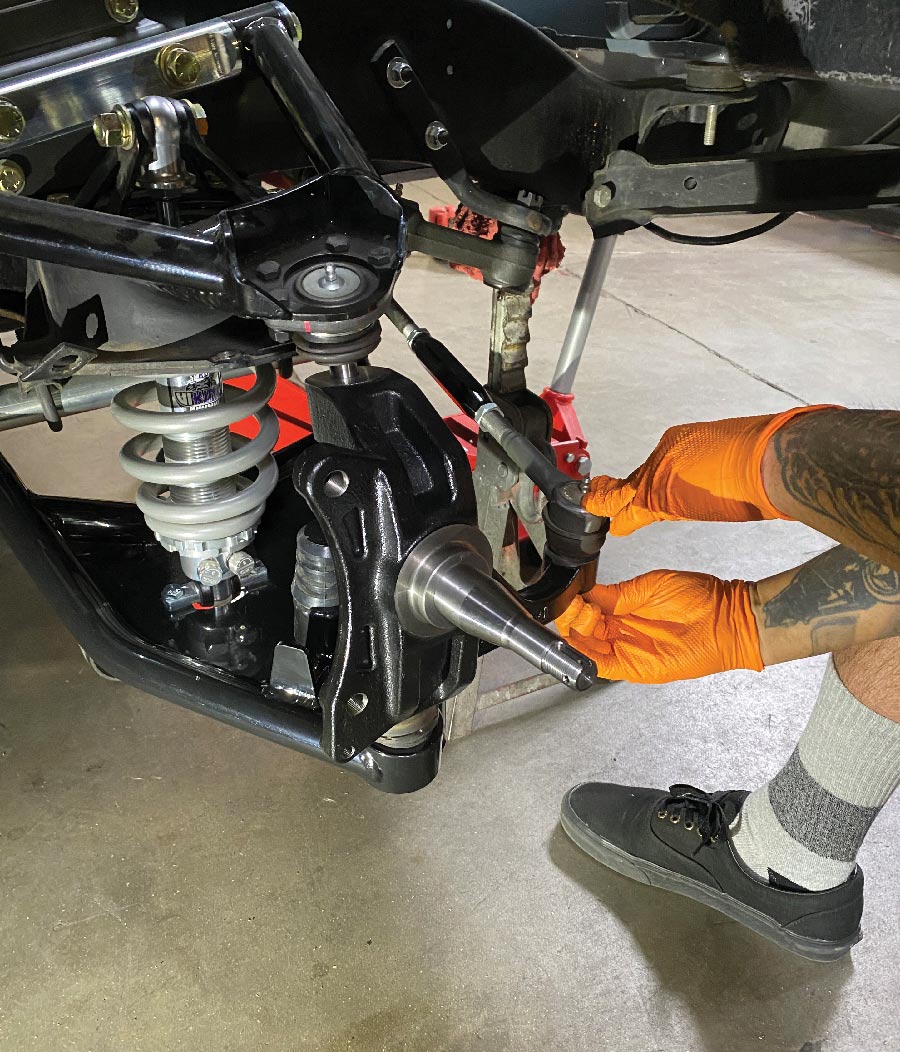
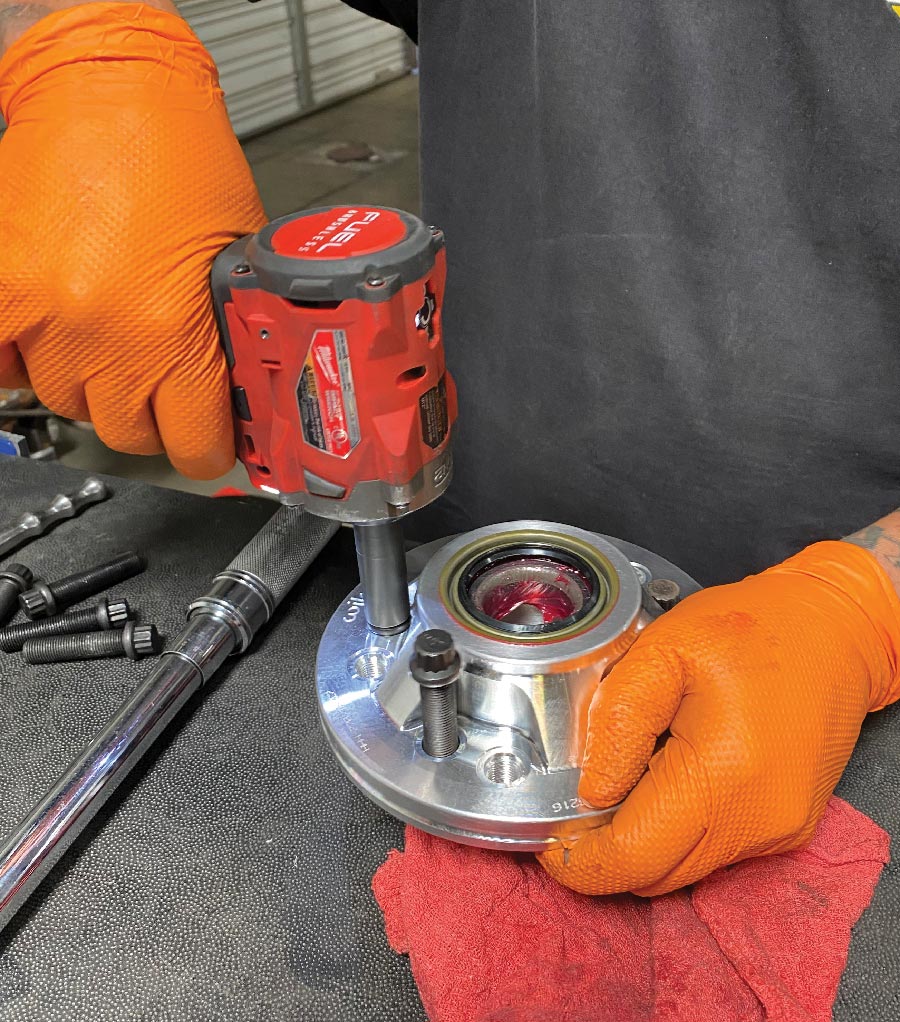
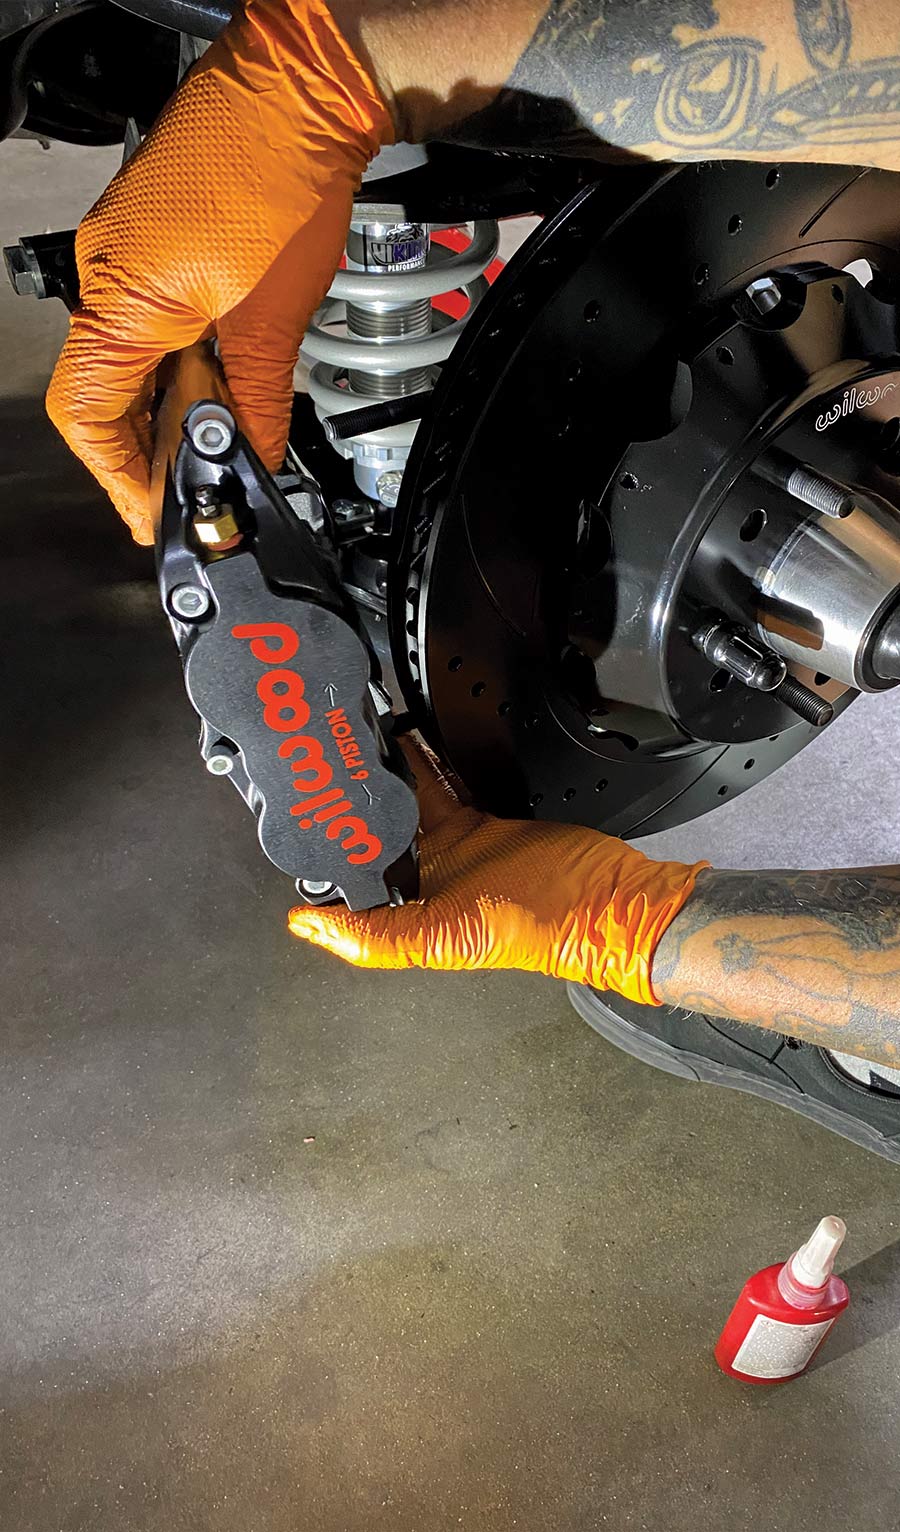
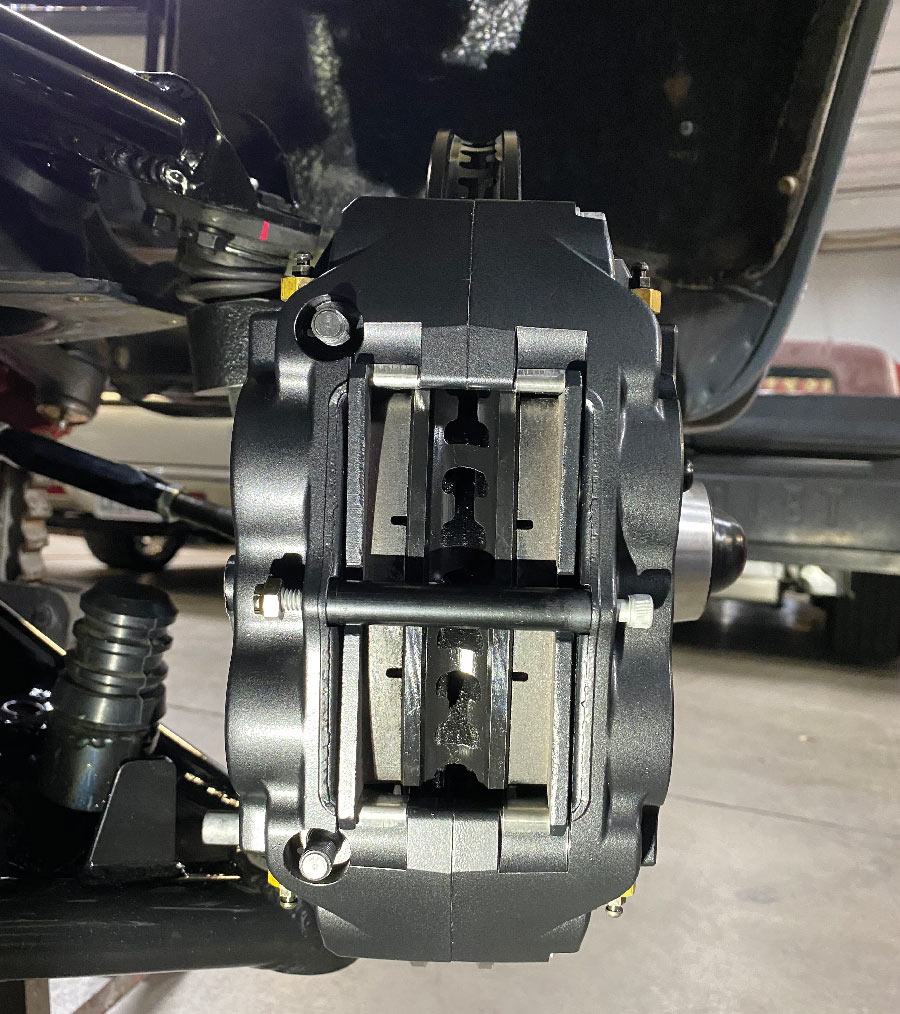
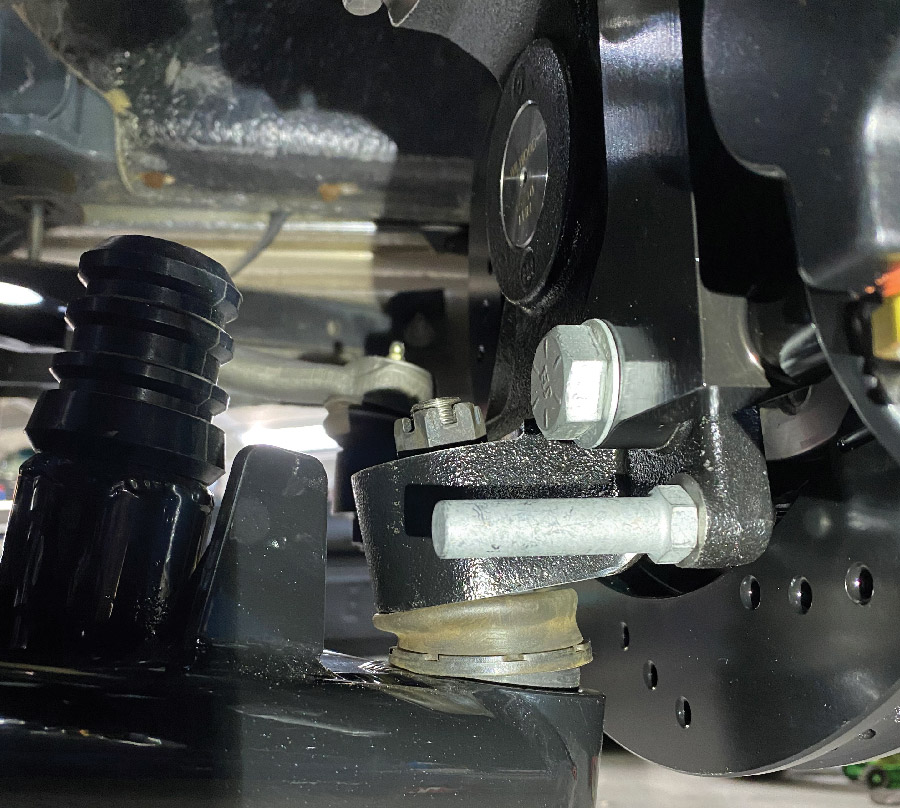
Since we’d recently installed the aforementioned control arms and subsequent upgraded steering linkage, we were saved the hassle of having to disassemble, let alone deal with greasy old suspension parts—we’d already done that once, and that’s more than enough! (The only grease we dealt with was the new high-temp we packed into the new wheel bearings.) So, suffice it to say, the entire installation was as straightforward and easy as could be. Follow along and see for yourself. If you have any questions regarding fitment, application, what have you, don’t hesitate to contact Wilwood by phone or online.

Wilwood's Brake Kit
1. Wilwood’s Forged Narrow Superlite 6R Front Brake Kit (PN 140-15942-D) and their all-new one-piece cast steel Iron Drop Pro 2.5-inch dropped spindle kit—two-thirds of the “polished turd’s” brake system upgrade (we previously installed the EPB Superlite 4R rear kit, and will subsequently finish the brakes off with their Compact Tandem master cylinder and stainless plumbing).
Wilwood designed this brake kit to work specifically with their one-piece (integrated steering arm) dropped spindles
Working on brakes
Spindles
2-3. As mentioned, Wilwood designed this brake kit to work specifically with their one-piece (integrated steering arm) dropped spindles. Available in two fitment options, ’63-70 and ’71-87, the latter of which we chose to accommodate the later ball joints used on CPP’s control arms—the Iron Drop Pro spindles are supplied in a durable/good-looking E-coat finish … so no masking or spraying or powdercoating prior to installation!
Integral steering arm
4. Along with the abovementioned integral steering arm, which geometrically is the same as factory, the Wilwood spindles also feature cast-in mounting tabs for the radial caliper brackets. (Note: If you’re upgrading to the later ’71-87–style ball joint, you’ll also need to update your tie rods, as the taper differs as well.)
Greasing out the parts
Parts closeup
Hubs
5-6. Contrary to what the supplied instructions stated, we decided to get the (minor) greasy work out of the way first and pack the new wheel bearings. We used Red Line’s CV-2 synthetic grease for two simple reasons: it’s what we (I) have used for years and it’s never failed us.
1/2-20 12-point studs were installed
7. With the hubs loaded up with freshly packed bearings and grease seals driven in flush, the 1/2-20 12-point studs were installed (on the 5×4.75 pattern, not the factory 5×5, as the wheels currently in use as well as the new ones are the smaller Chevy pattern) and torqued to 77 lb-ft.
The hub was then installed
8. The hub was then installed and adjusted to seat the bearings (yes, the cotter pin and dust cap were installed after the picture was taken!).
We moved onto the caliper brackets and rotor/hat assembly
Rotors/Calipers
9. Still working out of chronological order, we moved onto the caliper brackets and rotor/hat assembly.
Caliper
10. We did pay attention when it came to “not” using threadlocker on the caliper mount bolts upon initial installation, as there may need to be some adjustment made for caliper alignment using the supplied shims.
Right and left spindle
Closeup
11-12. While there’s a right and left spindle (the steering arm orientation is a dead giveaway), there’s only one caliper mounting bracket, so no need to stress over which goes on what side. The brackets were snugged tight for the time being.
Hat and rotor
13. As for the orientation of the hat and rotor, the hat mounts to the flush side of the rotor (the stepped side faces toward the hub).
Align the two joining pieces and attach with the supplied 12-point bolts
Installing Hubs
14-15. Align the two joining pieces and attach with the supplied 12-point bolts (with Threadlocker Red) and AN-style washers; torque to 155 in-lb (NOT lb-ft) before installing onto the hubs.
Adjust the hubs
16. At this point we adjusted the hubs one more time before installing the required cotter pin and dust cover.
Superlite calipers
17. Next, we loaded the Superlite calipers with the supplied BP-10 brake pads …
Sliding onto rotors
18. … then carefully slid them onto the rotors for the initial test-fit.
Finished brakes
19. This is what you want to see when verifying proper caliper alignment on the rotor: The seam of the caliper body centered with the veins in the rotor. We got lucky with using one 0.024-inch shim initially, so we simply removed one mounting bracket bolt at a time and added the required threadlocker.
New brakes closeup
20. And one last out-of-sequence step: installing the steering stop bolt!
Finished brakes side view
21. There you have it: As simple as can be to install yet the one of the best-performing brake kits you can equip your C10 with! Next up, finish plumbing the brake system, then put this turd back on the road and scuff those pretty rotors up!
 SOURCES
Jimenez Bros. Air Ride & Rod Shop
(951) 343-5948
jimenezbrosairrideandrodshop.com
Wilwood Engineering
(805) 388-1188
wilwood.com