Tech
TechInTheGarageMedia.com
BY “Rotten” Rodney Bauman Photography BY THE AUTHOR

ure, we can salvage an original fender, but just because it’s possible doesn’t mean it’s practical. For our ongoing ’55 Chevrolet Second-Series project we’d decided early on to salvage as much of the truck’s original sheetmetal as possible. In theory, that still sounds pretty good. In retrospect, however, we should’ve focused harder on practicality.
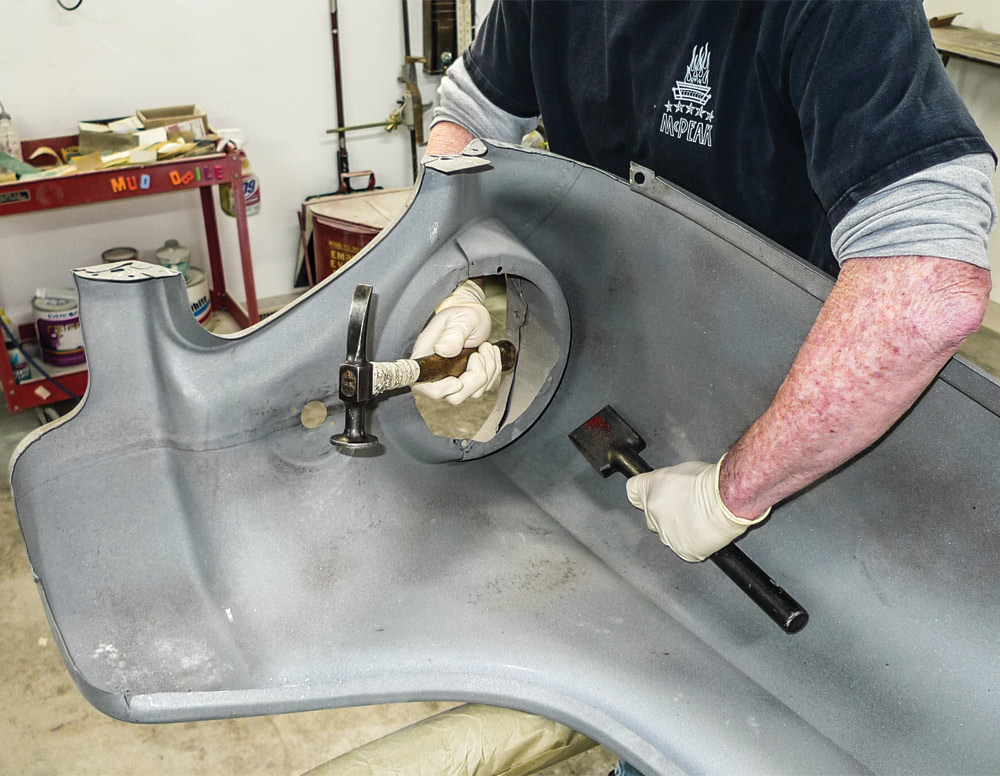
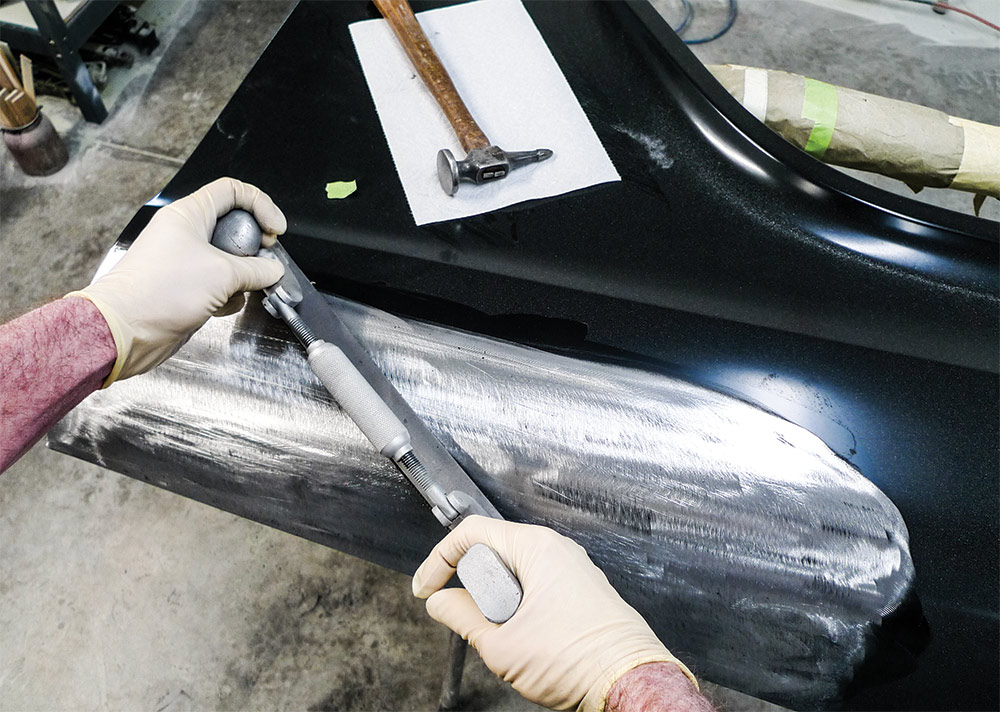
As a crash-damage estimator I’ll admit I’m hit ’n’ miss. After all these (roughly 46) years in the panel-pounding profession, I still have that tendency to underestimate metalworking, as well as fillerworking, times. Now with embarrassing hours invested, I’ve done it again. I’ve worked way too hard on this truck’s original right front fender.
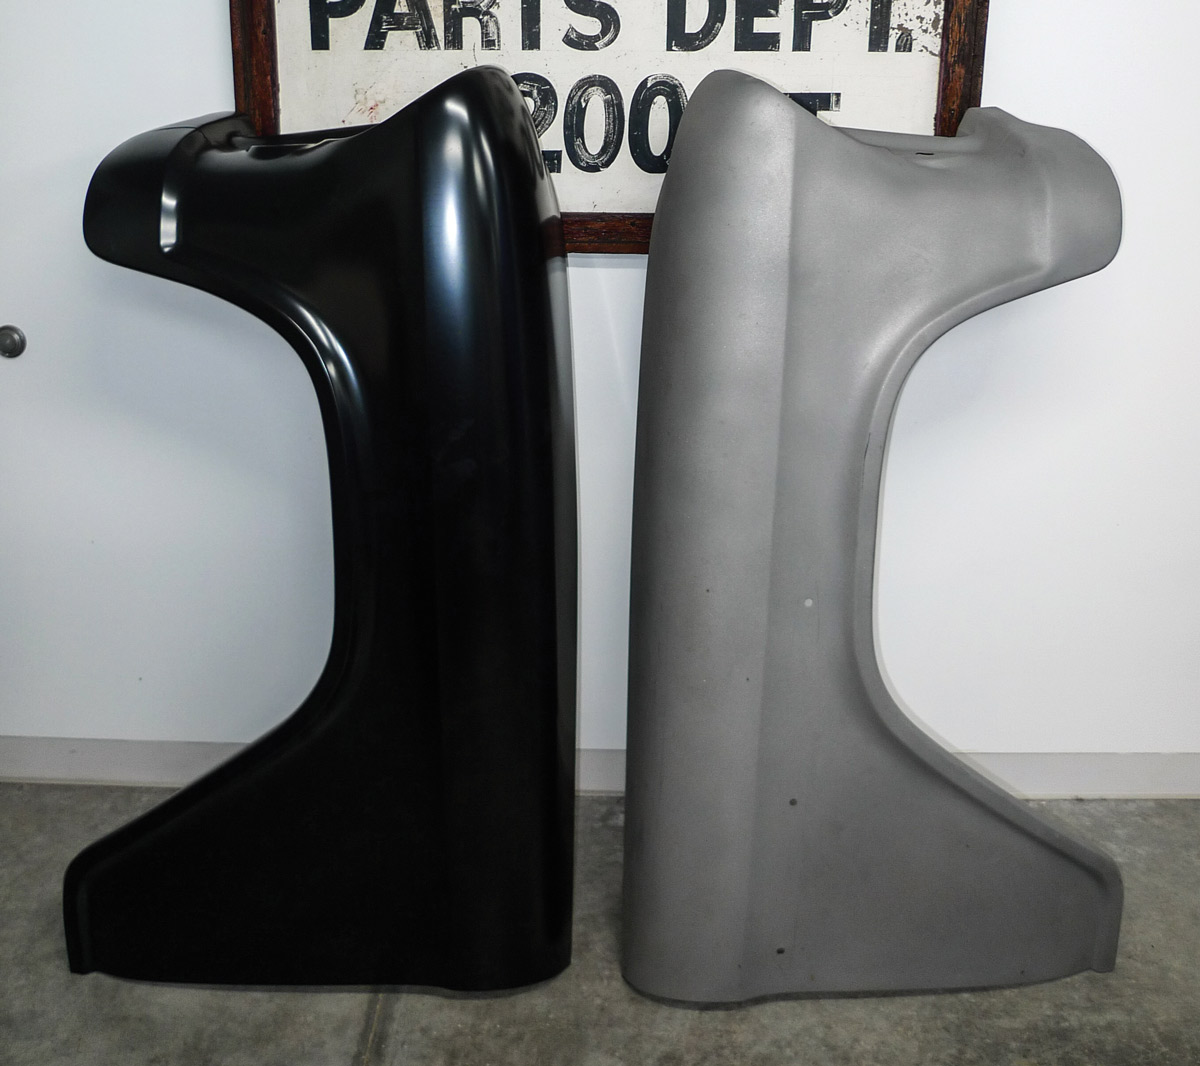
Over on the other side (the driver side) we’ve abandoned the original front fender and door in favor of reproduction panels from Brothers Truck Parts. At the time of our purchase the brand-new fender was just under $500. Even though shipping (to Montana in our case) might’ve cost about as much, it might’ve still been the better deal.
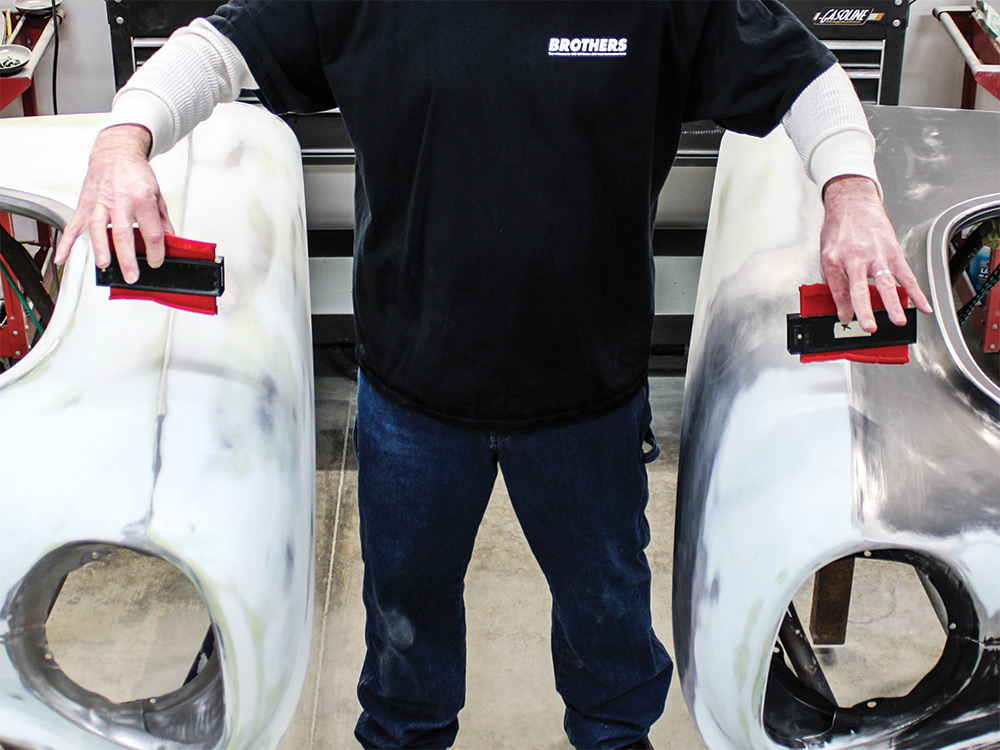
Since our project truck will be running both new-reproduction and used-original fenders, we have an opportunity to compare cost, quality, and perhaps, most importantly, that practicality we’ve been talking about.
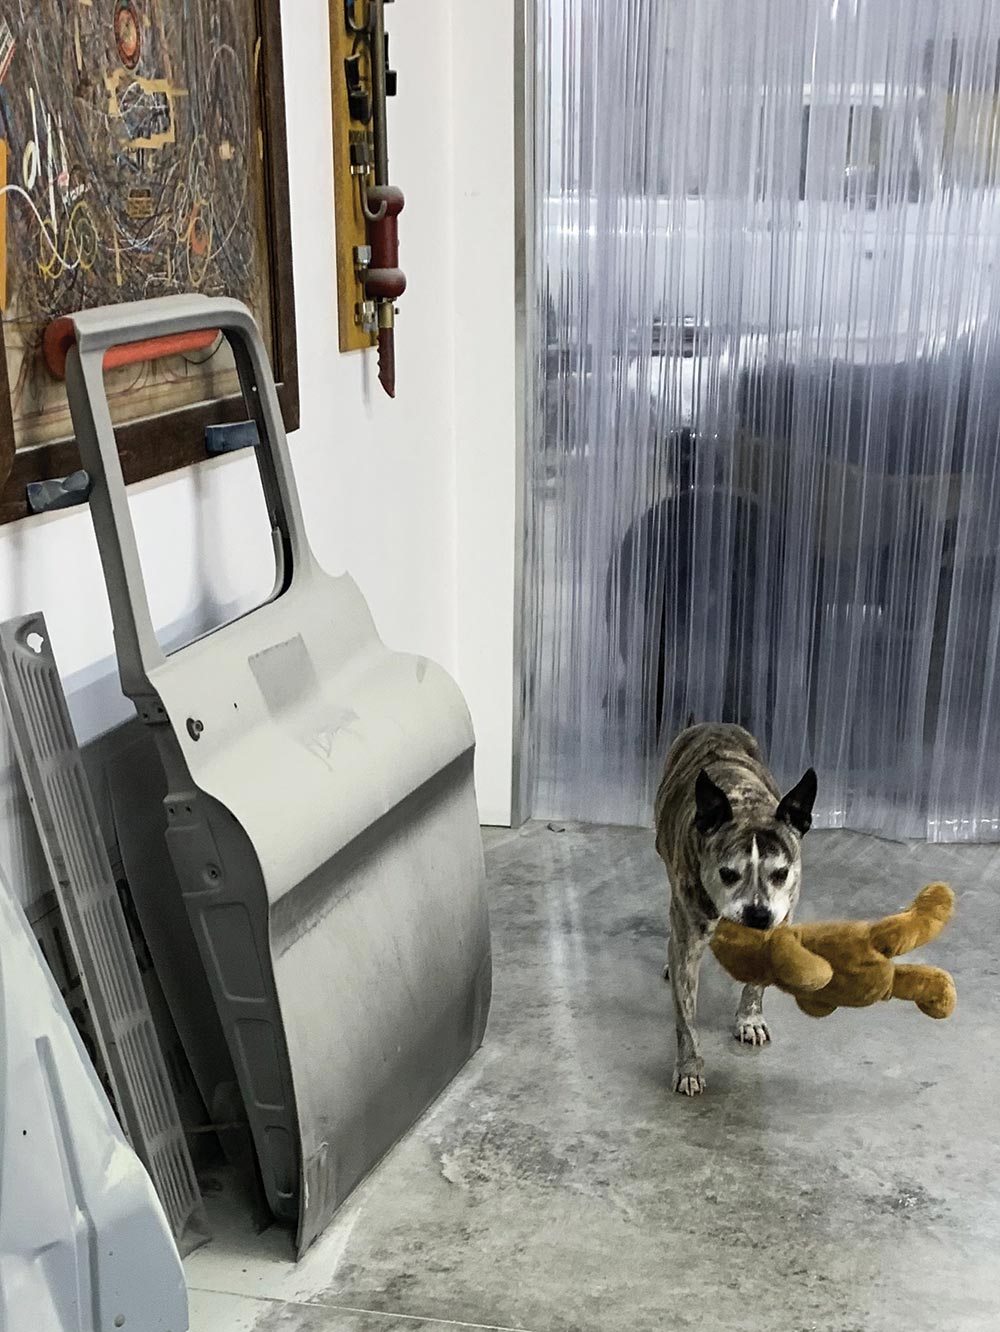
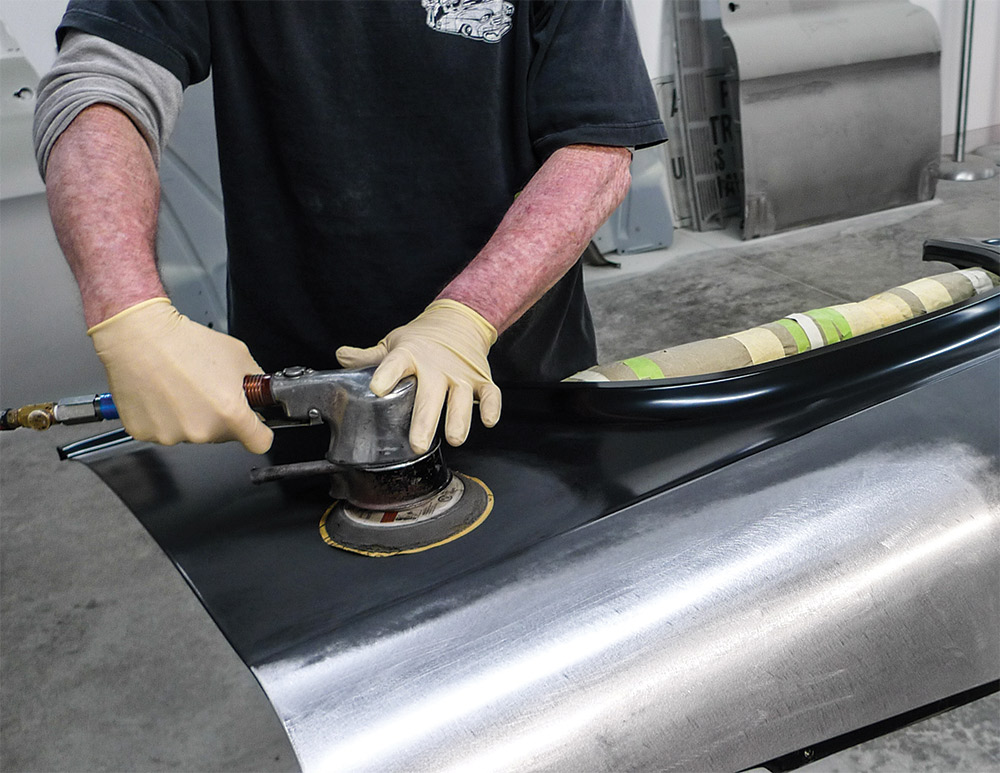
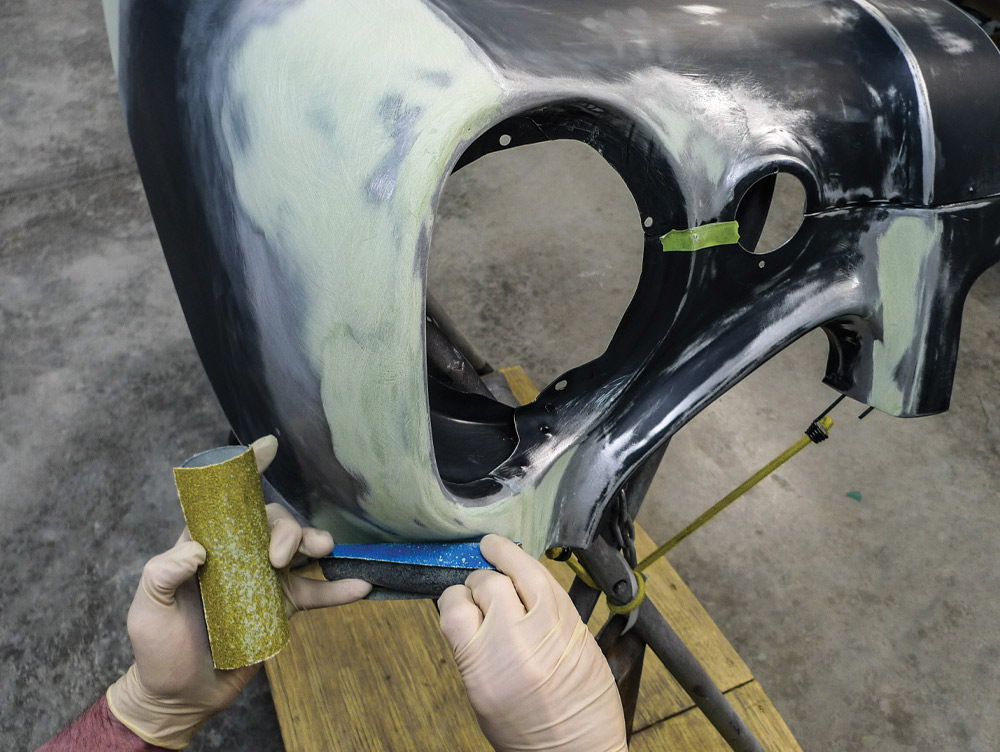
While we’ve been working on other panels (cab, hood, inner fenders) we thought our front fenders were stored safely enough against the body stall wall. The used fender has already been abrasive-blasted and, for the most part, roughed-out metalwork was done during mockup when the truck’s front group was last screwed together.
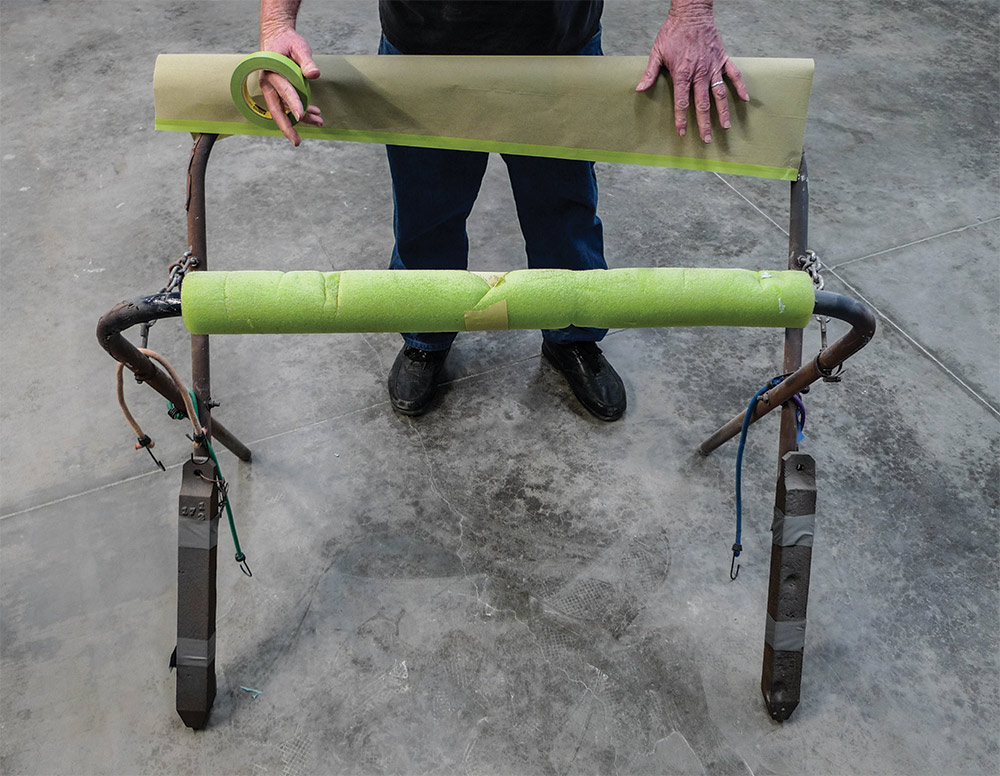
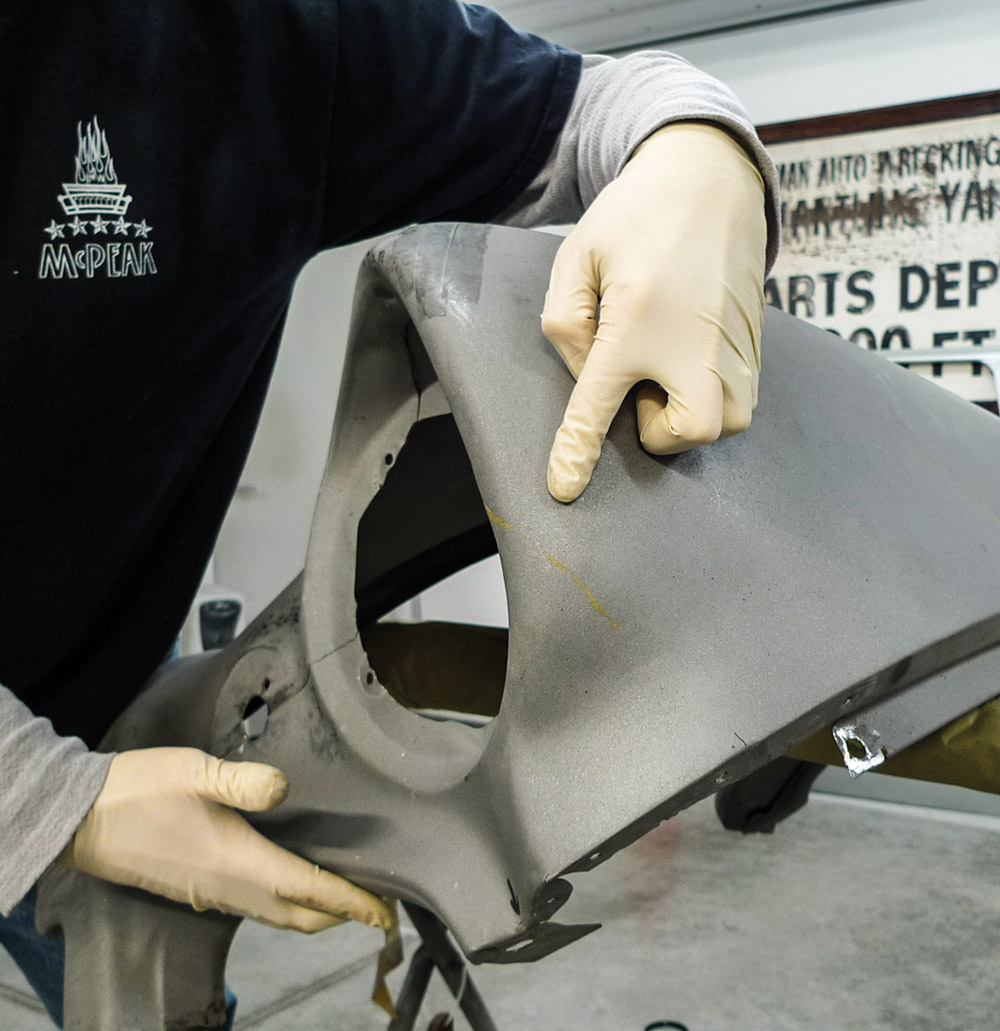
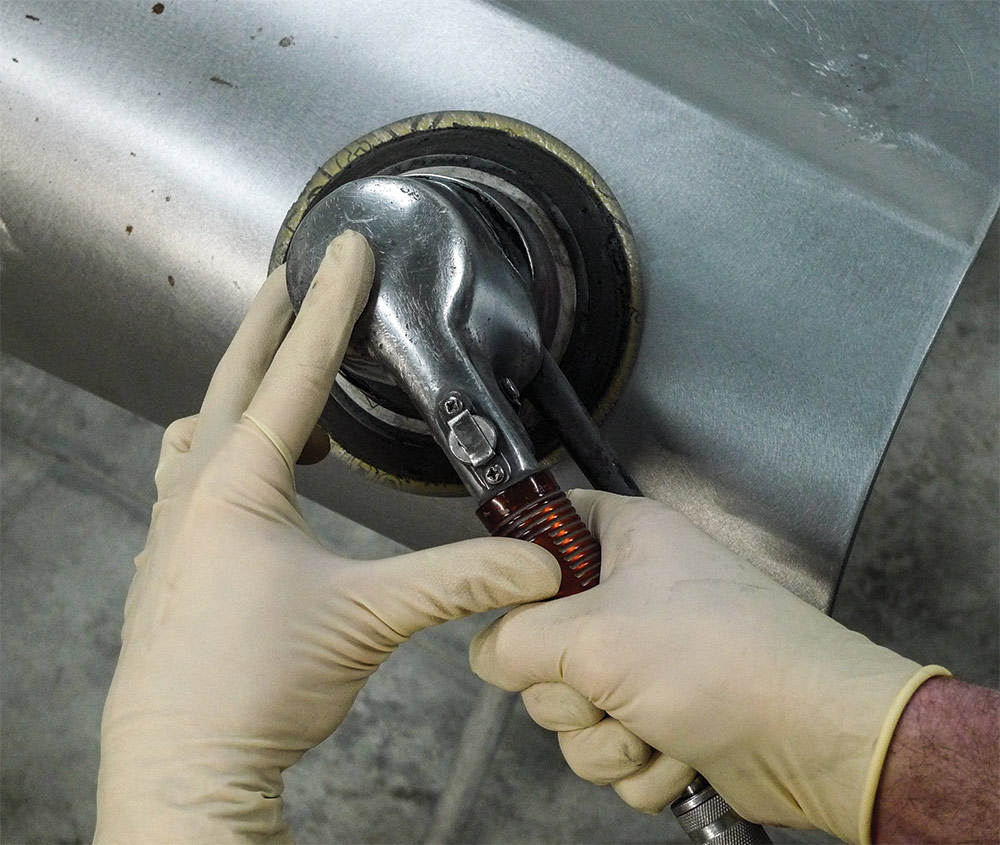
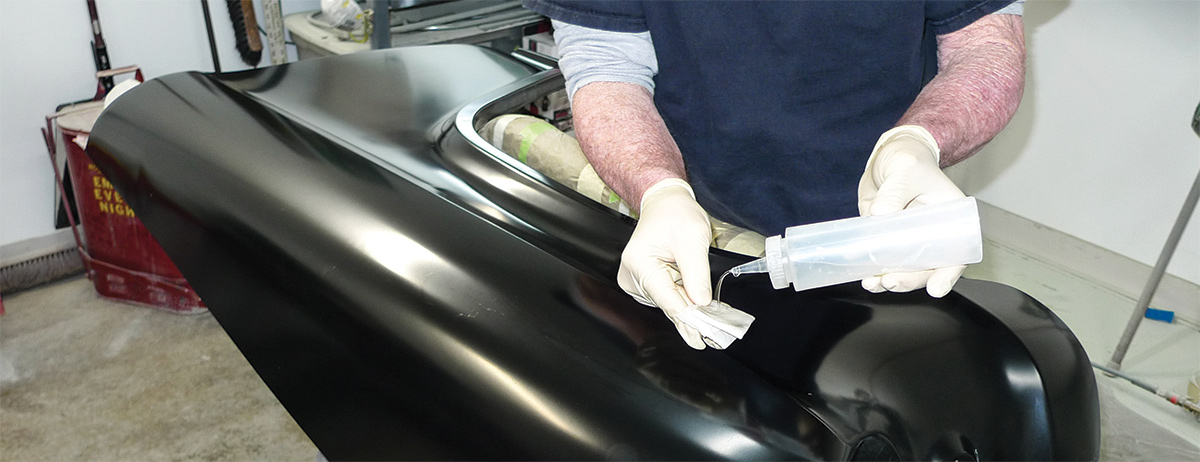
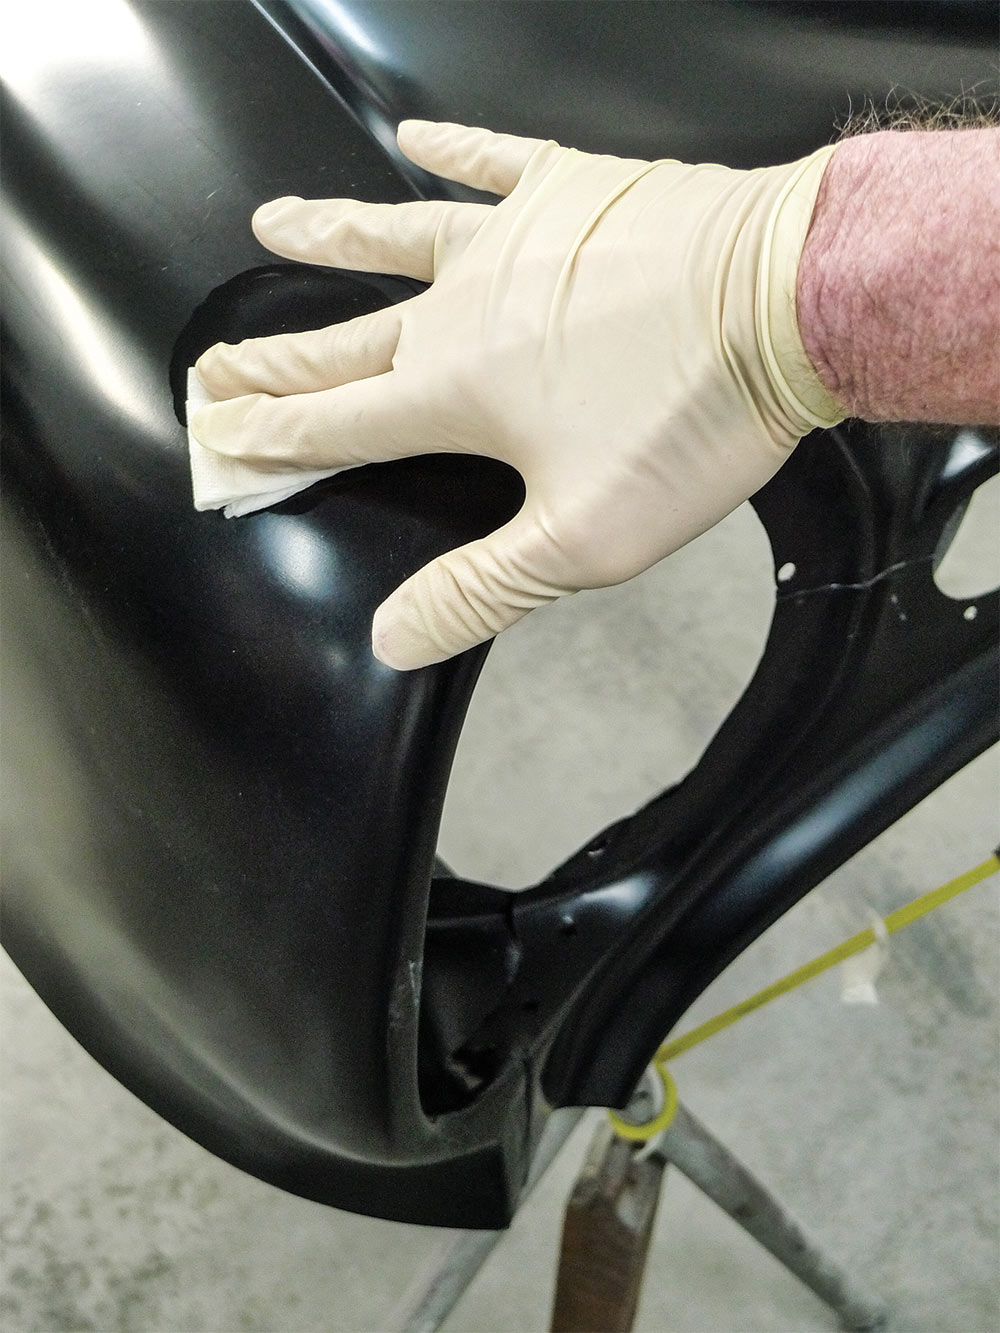
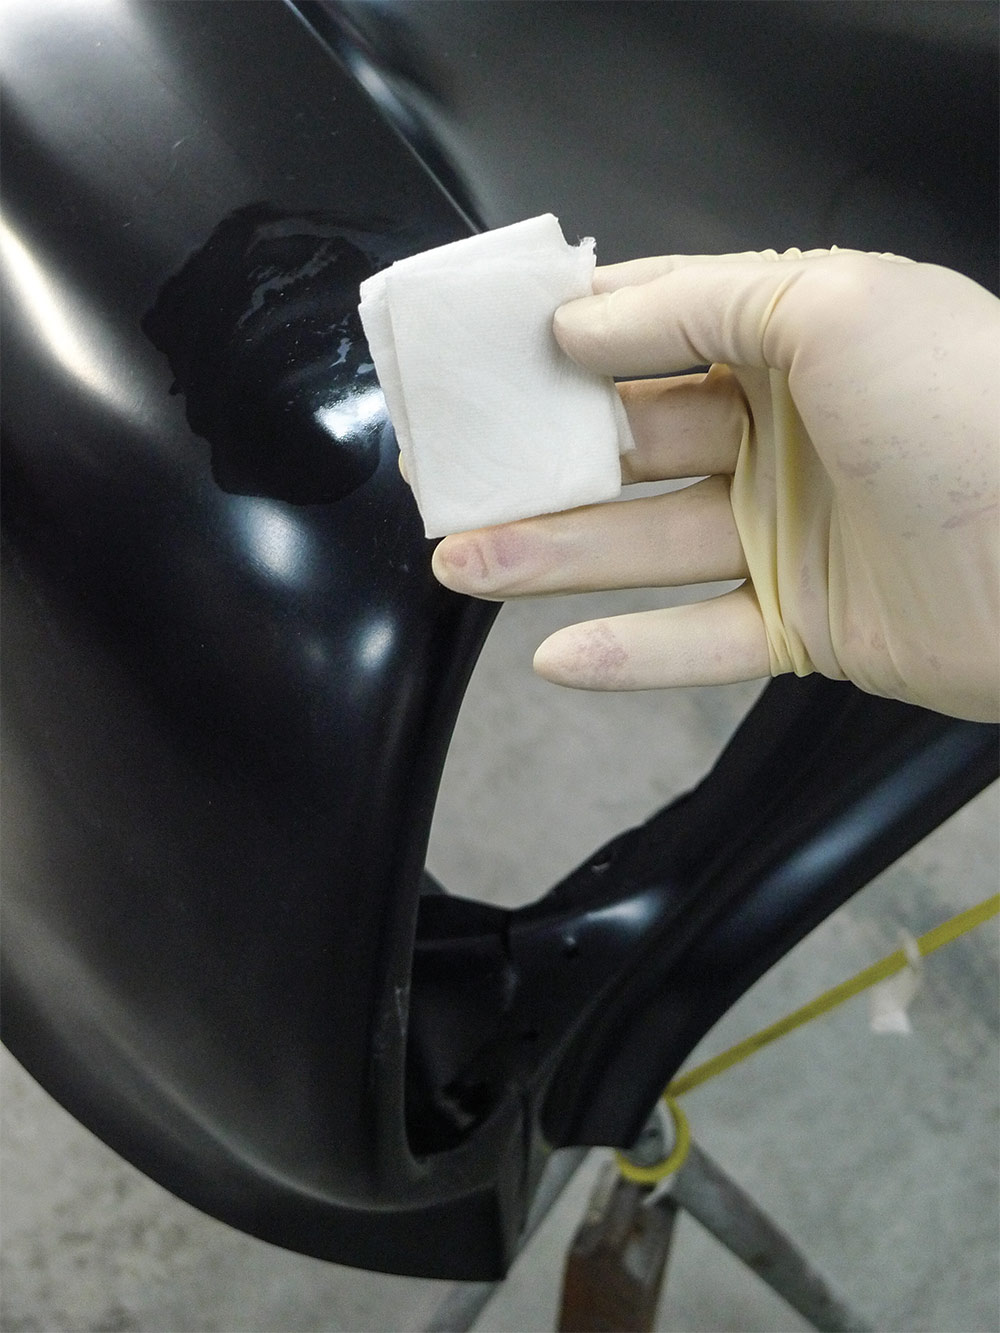
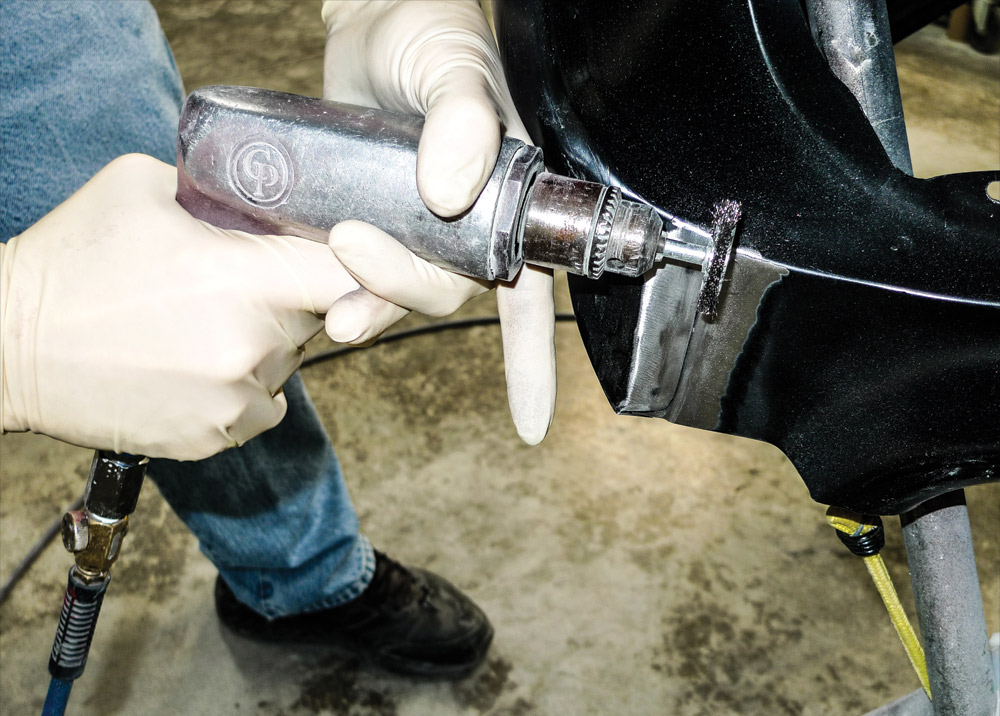
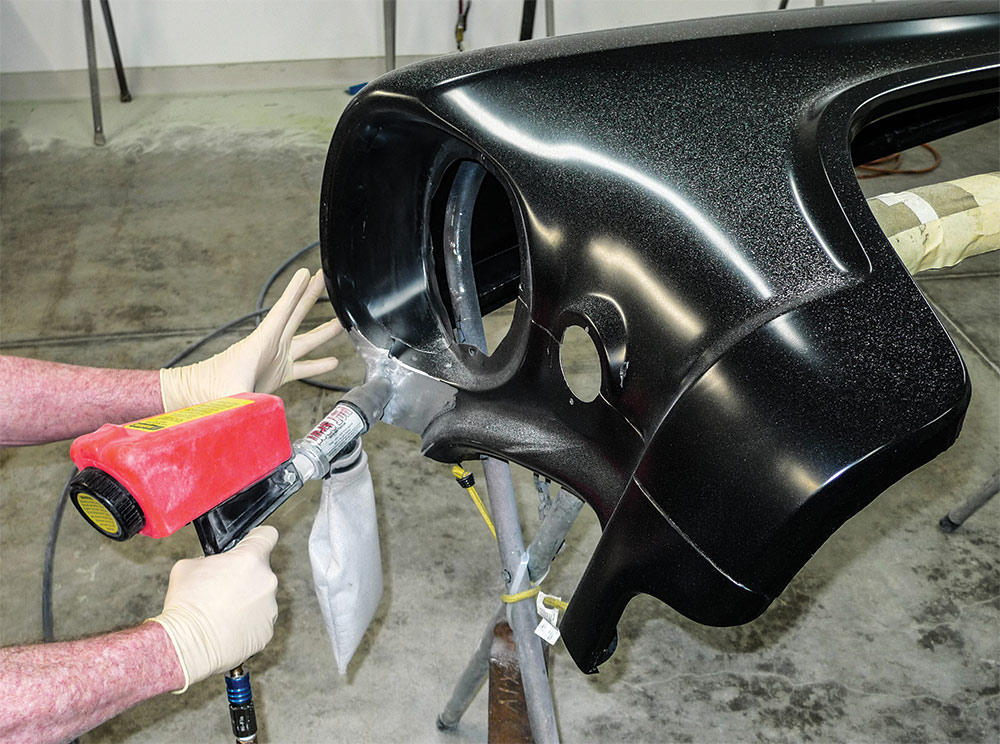
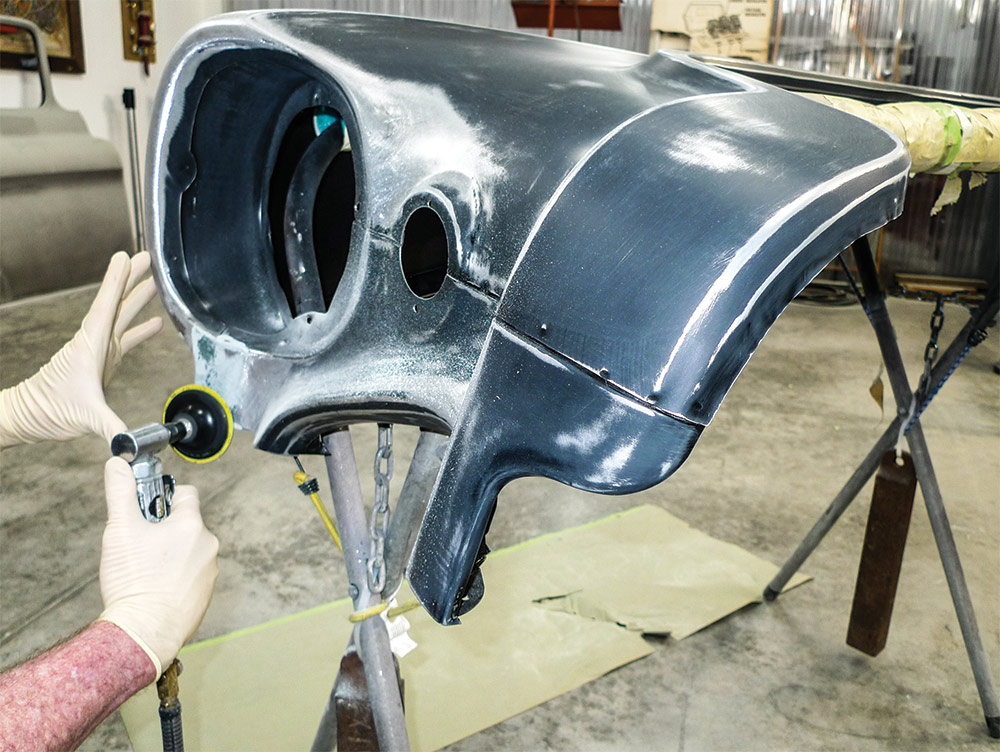
Like new OEM body panels, our new Brothers fender arrived with an E-coat or, if you prefer, an EDP (Electro Deposit Primer) coating. We think that description is a little vague as the terminology doesn’t state what the coating is actually comprised of. If by chance it’s thermoplastic (lacquer-like by nature) it should be removed. To determine our E-coat’s substrate suitability there’s an easy test. As we turn our attention to the new fender, let’s begin with a little demonstration.
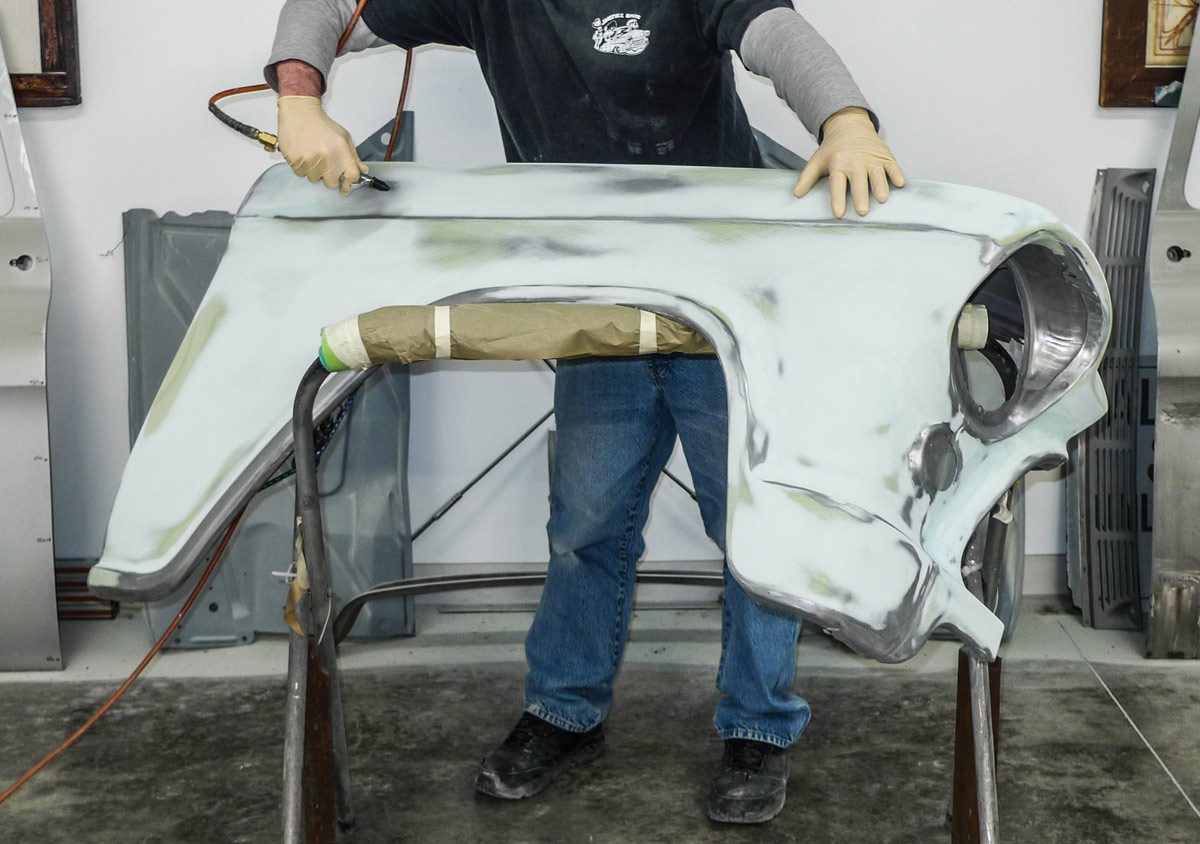
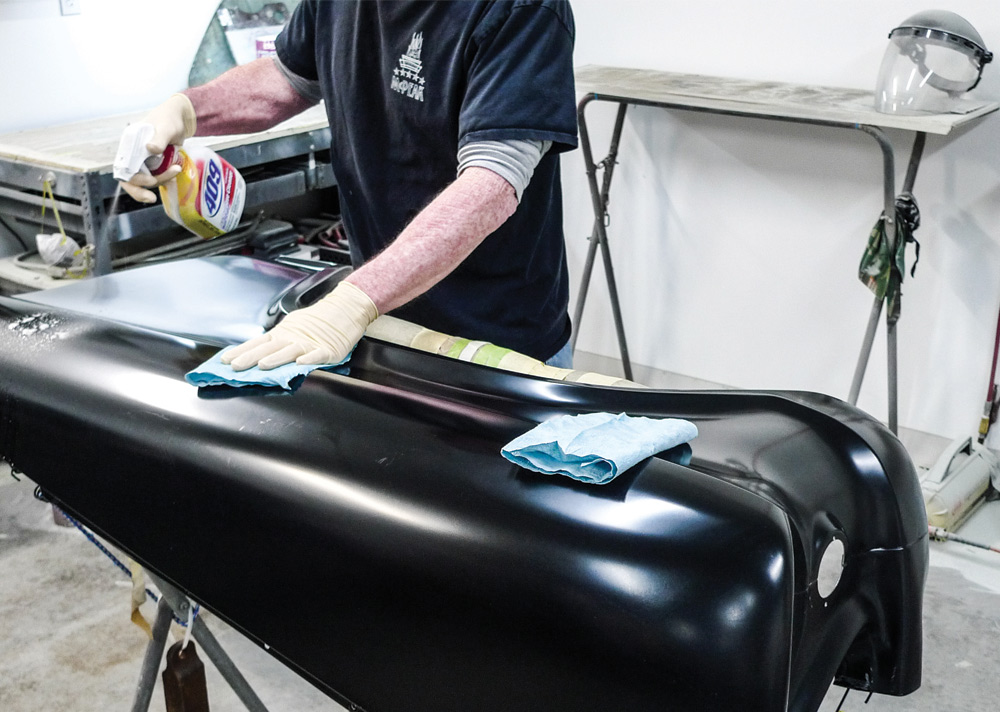
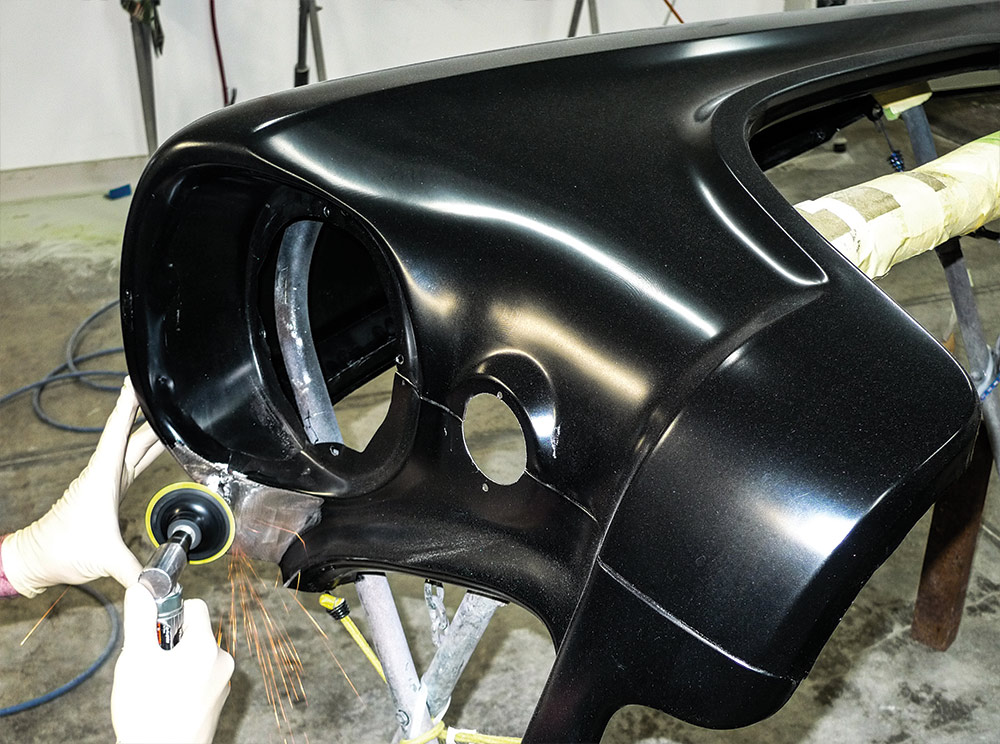
So, from the big brown corrugated-cardboard box, is our new-reproduction fender ready for the paint department? By this shop’s standards, no, but it’s seeming to be close.
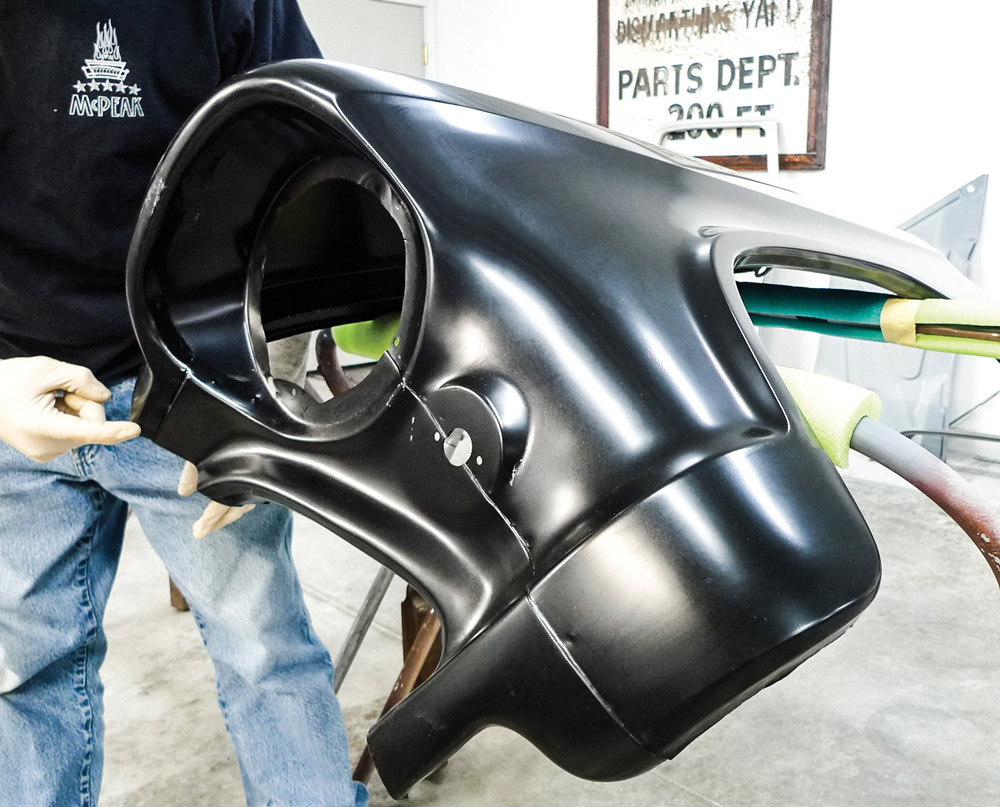
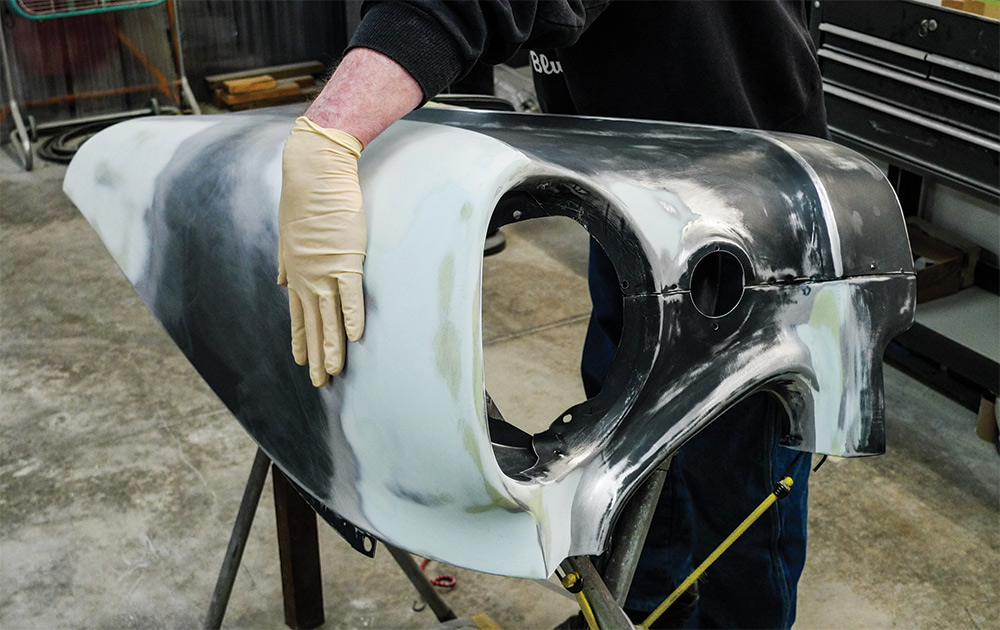
On the truck, the new-reproduction fender has already been test-aligned with new and used adjacent panels. With minimal modification, the reproduction fender’s rearward edge matches the reproduction door’s forward edge just fine. Our original hood was crash damaged anyway, so we’ve done the work to make it fit in with its surroundings.
Perhaps like you, we hear other builders’ complaints regarding reproduction panel fitment. We’re always open-minded and willing to listen to those who’ve fought those types of battles. All we can tell you here is, to this point, on this job, we’re not having their exact same difficulties. Even so, let’s leave little room for surprises.
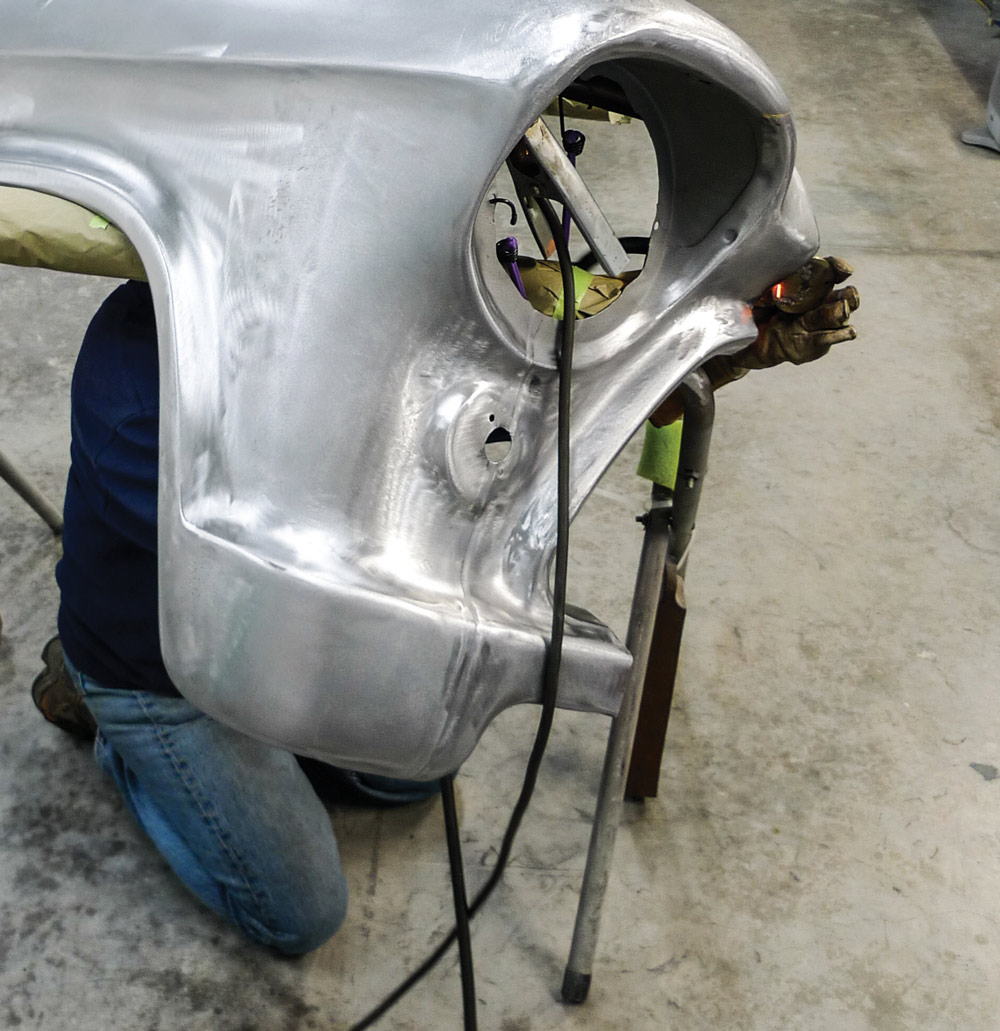
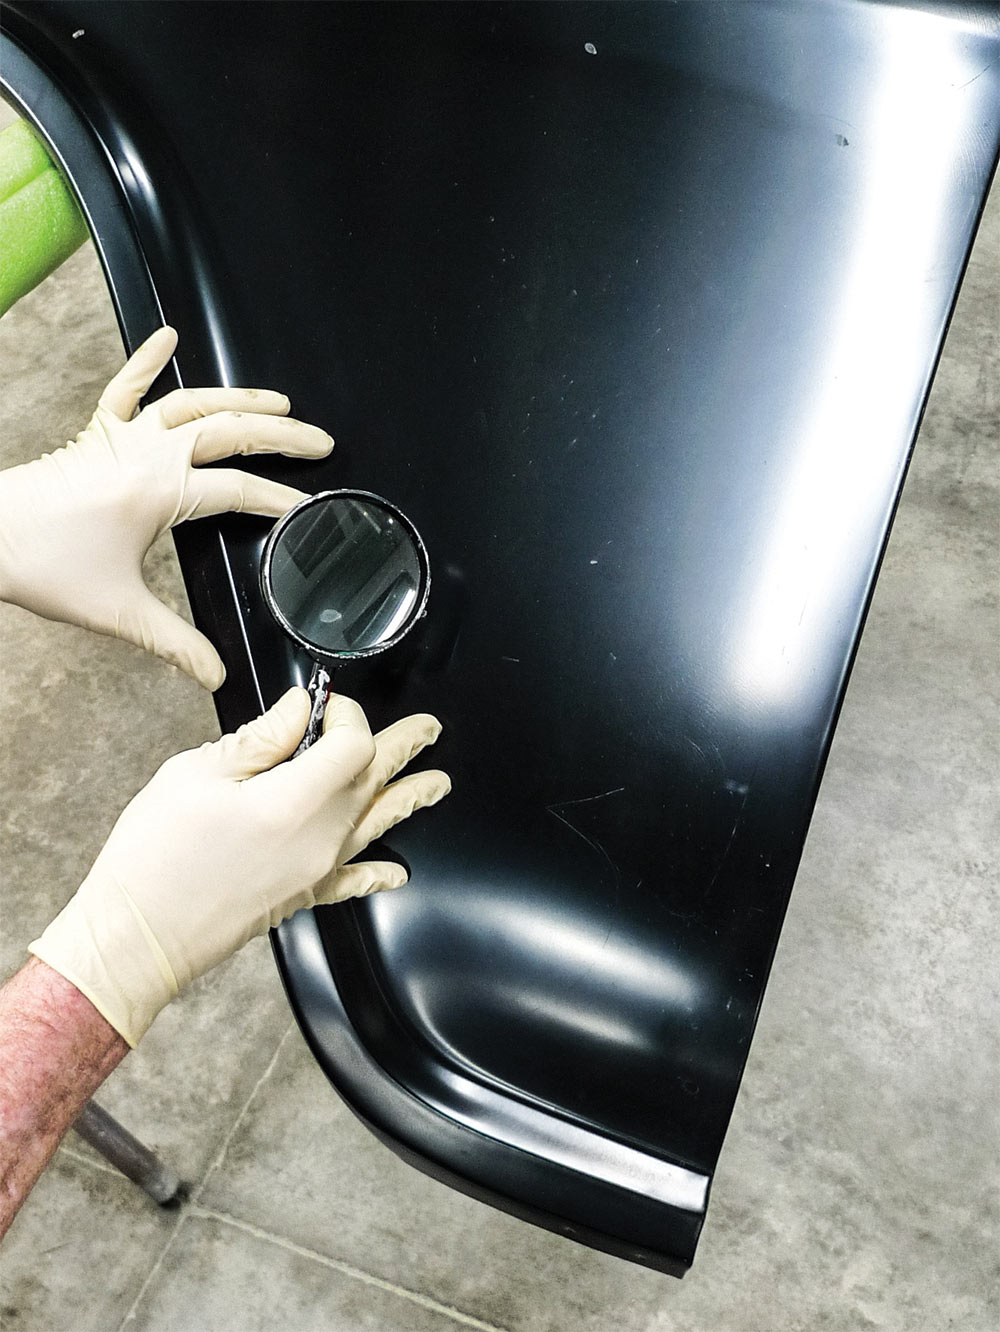
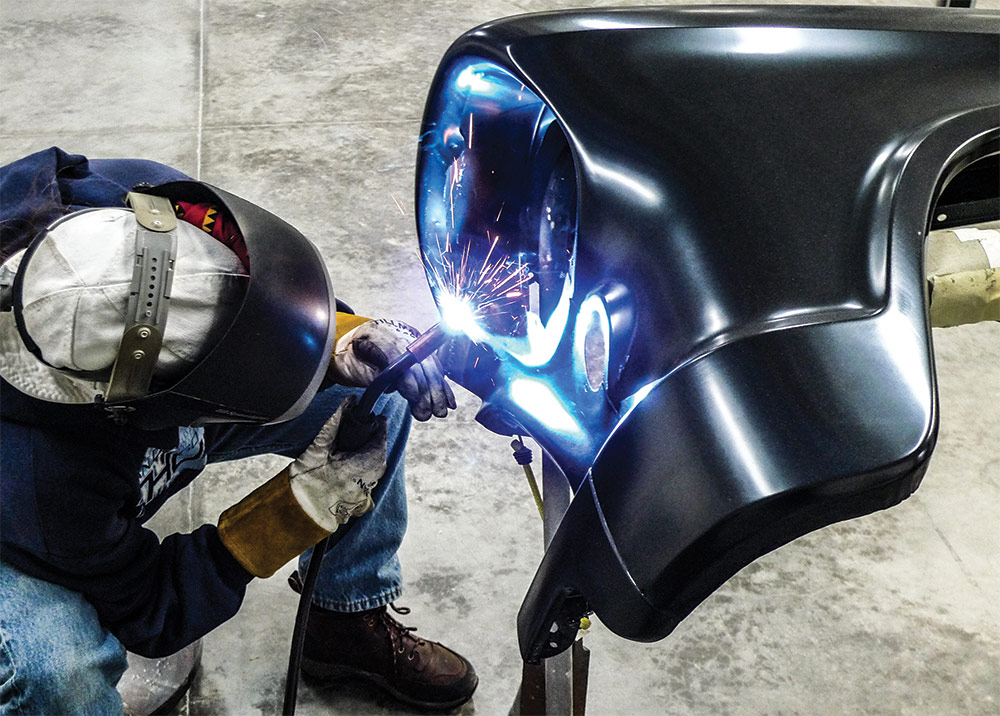
Soon you’ll see it anyway, so I might as well fess up to a little boo-boo—something that occurred months ago during our panel-alignment marathon. Back when we were going for gaps, the brand-new fender’s upper-rearward edge seemed low where it met the beltline edge of the door. Plopped atop the cowl a single body shim made the needed difference, but not before I’d hastily employed a Keysco leverage bar. If by chance you’re unfamiliar, that’s an age-old body shop tool—and it’s ordinarily my friend!
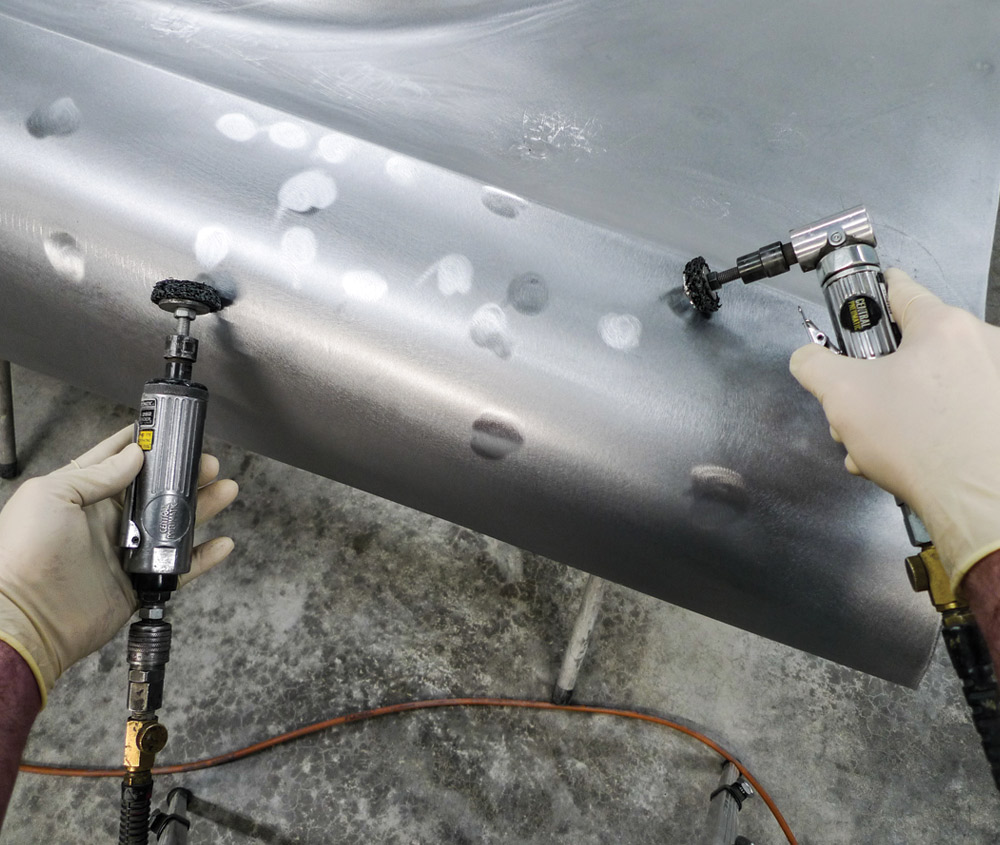
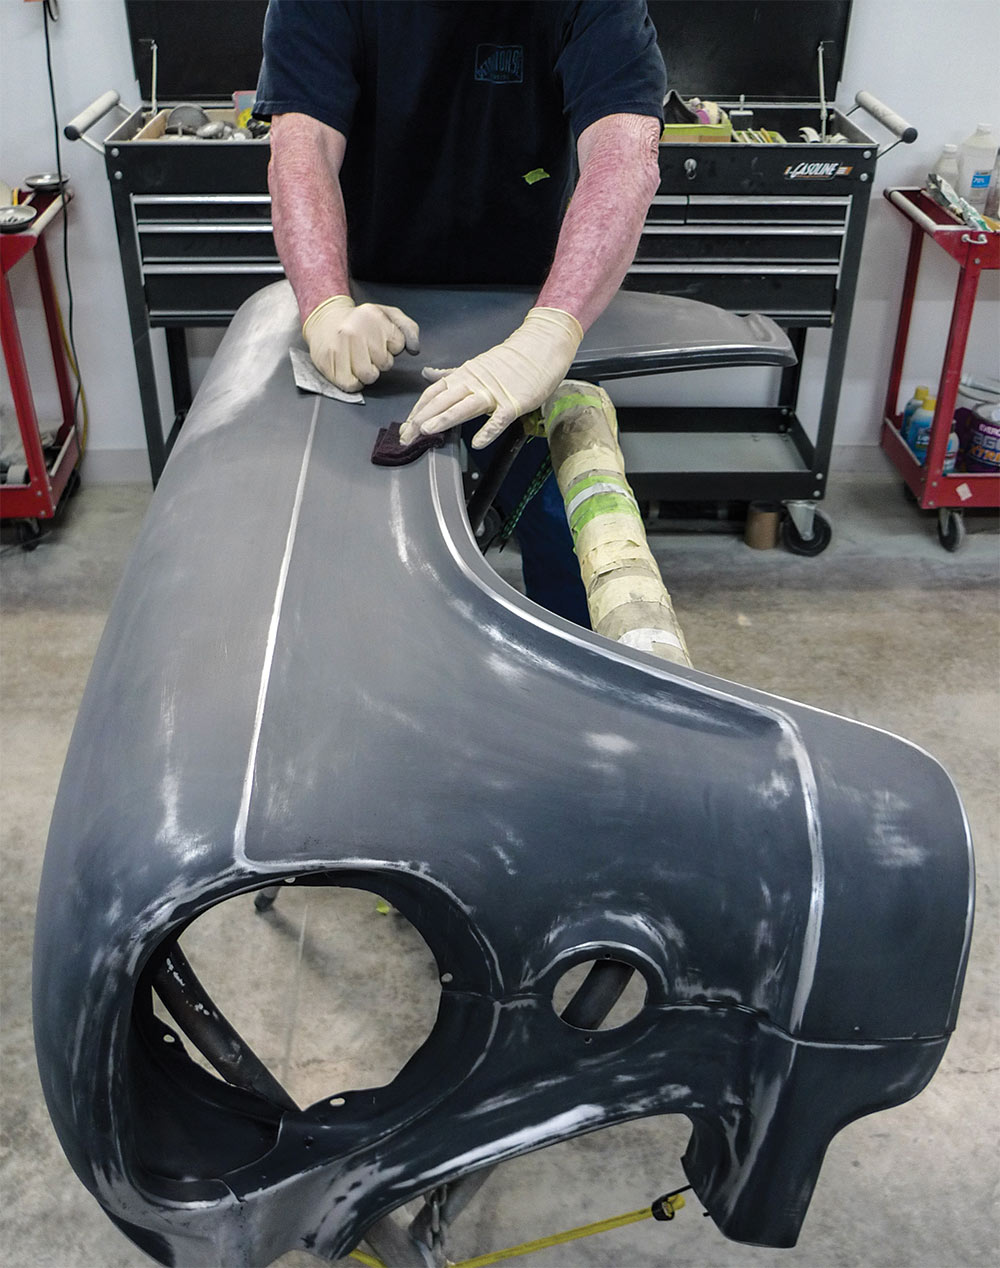
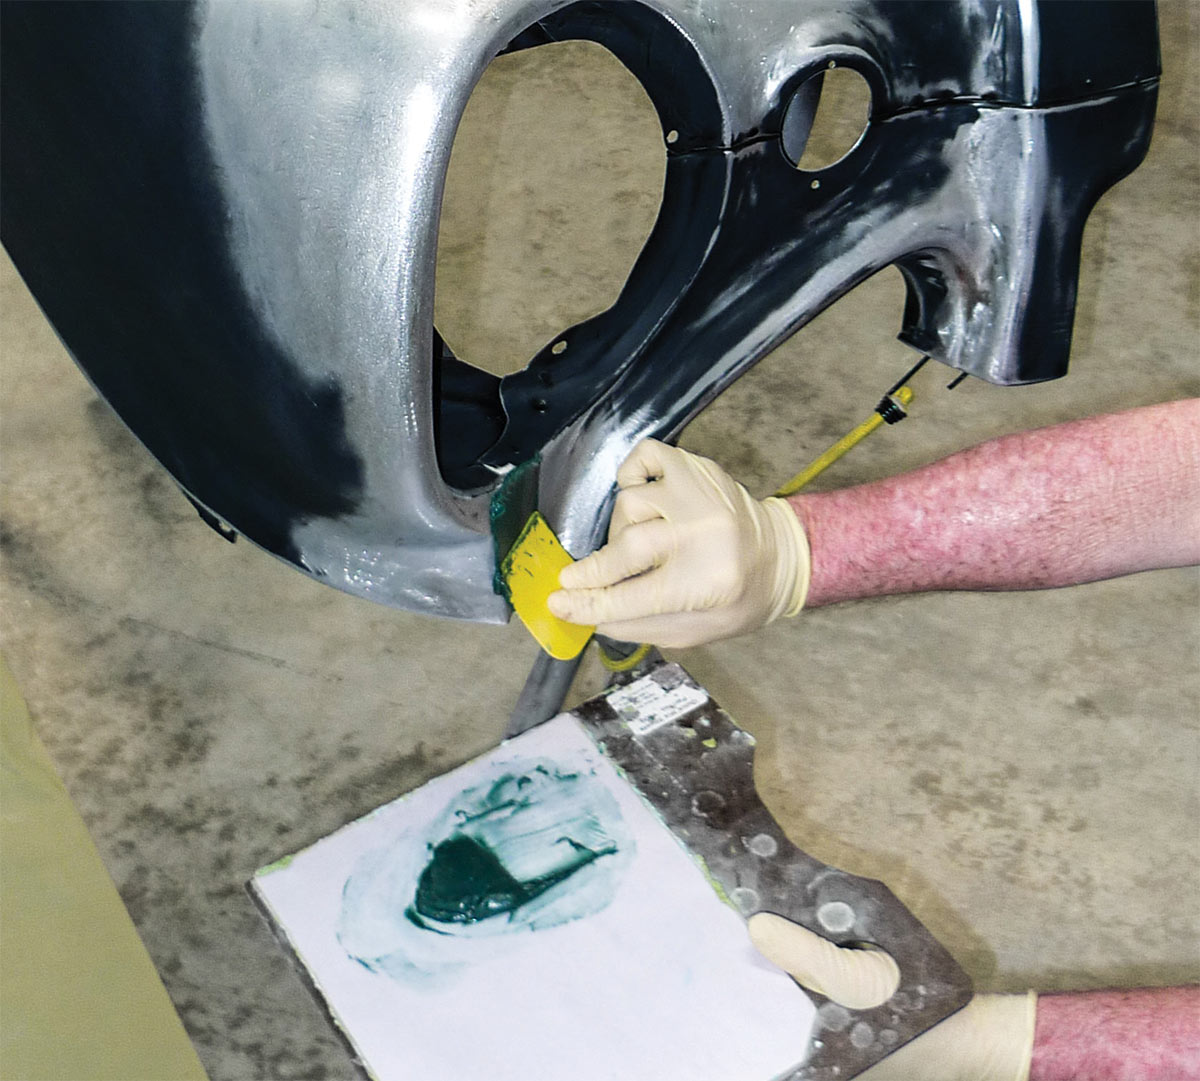
Not to distract too much from my own personal goofs, but do you ever get the feeling you’ve been somewhere before? Somehow it seems as though we’ve touched on the necessary fillerworking subject here—not so long ago. This time, rather than expounding deep technical details, let’s just focus on the aforementioned practicality. New versus old—let’s consider this a time-is-money comparison.