CTP logoFeature star Tech
InTheGarageMedia.com
Guy working on car
Keeping Cool & Keeping Track
Installing a Vintage Air SureFit In-Dash Kit in an F-100
BY Don Lindfors 
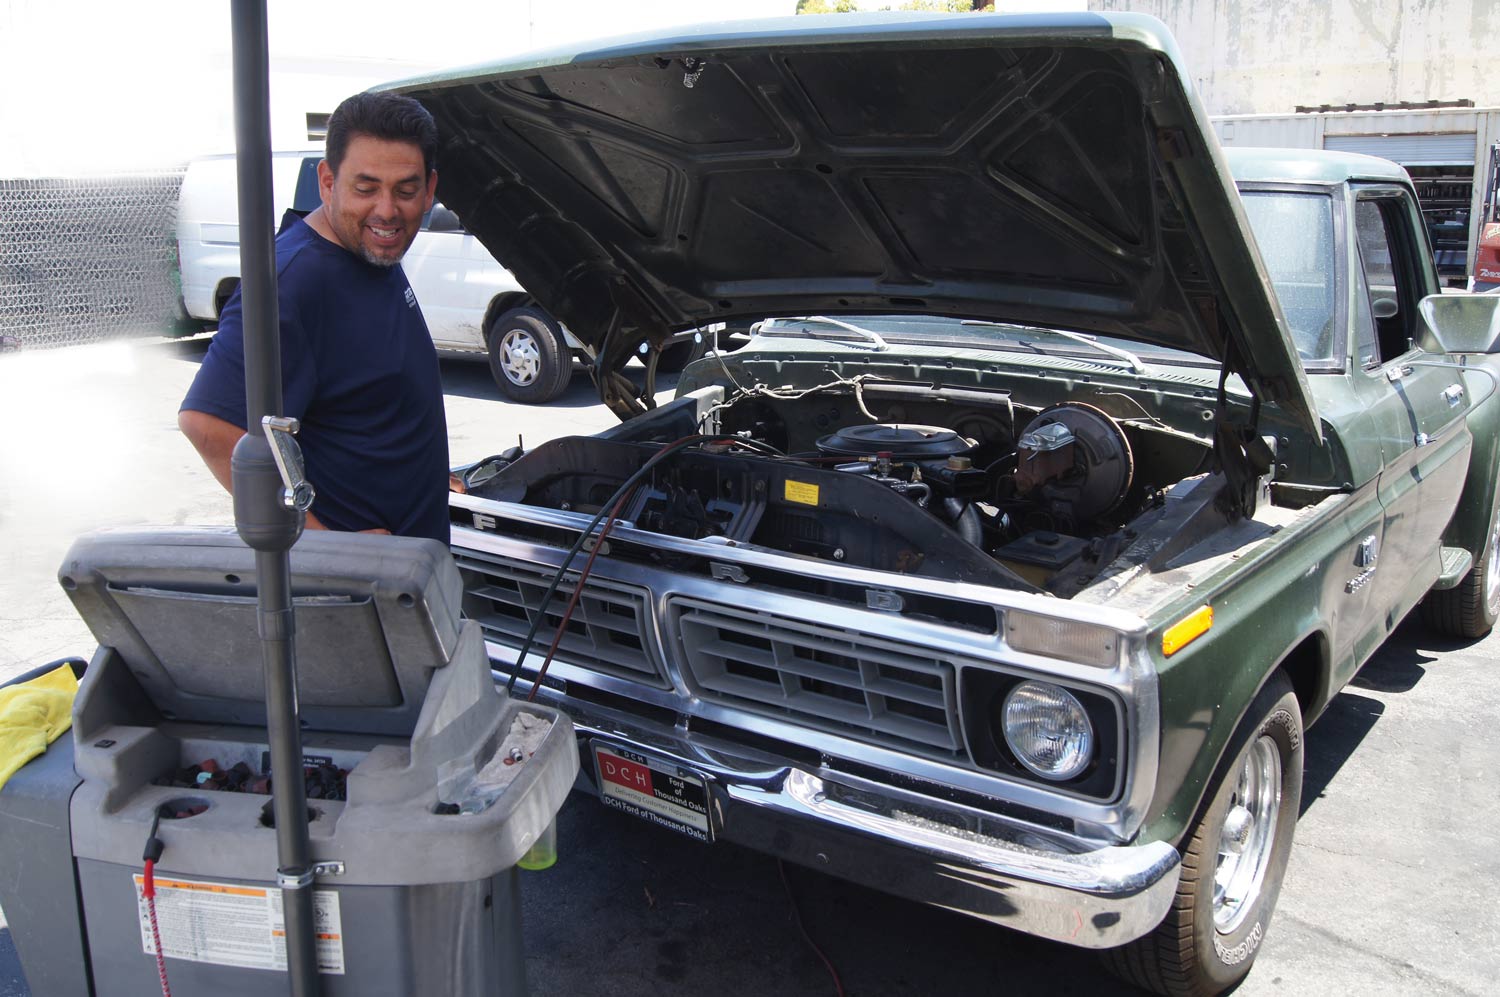
Photography by THE AUTHOR
I

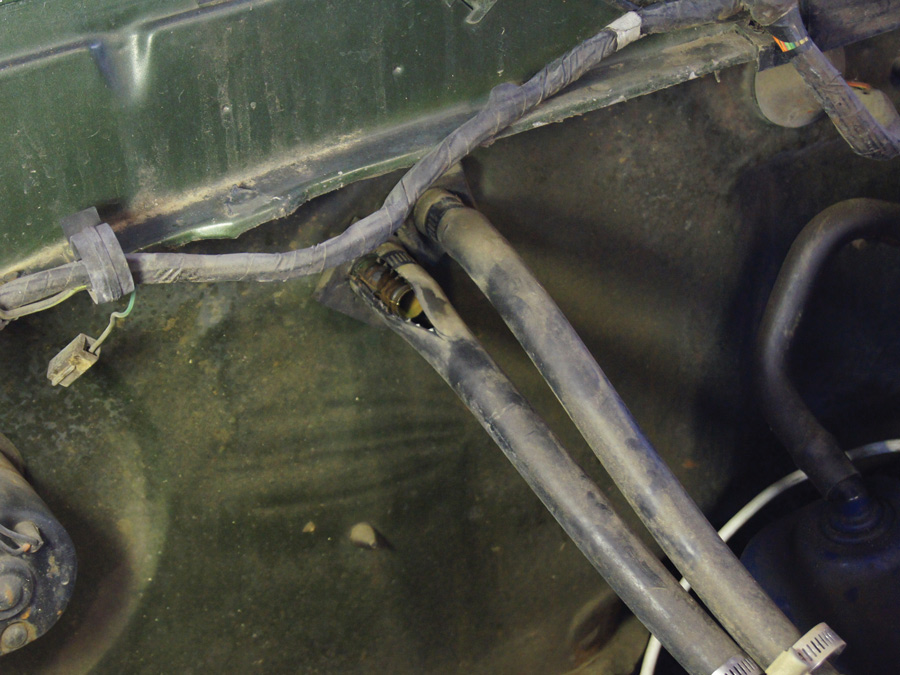
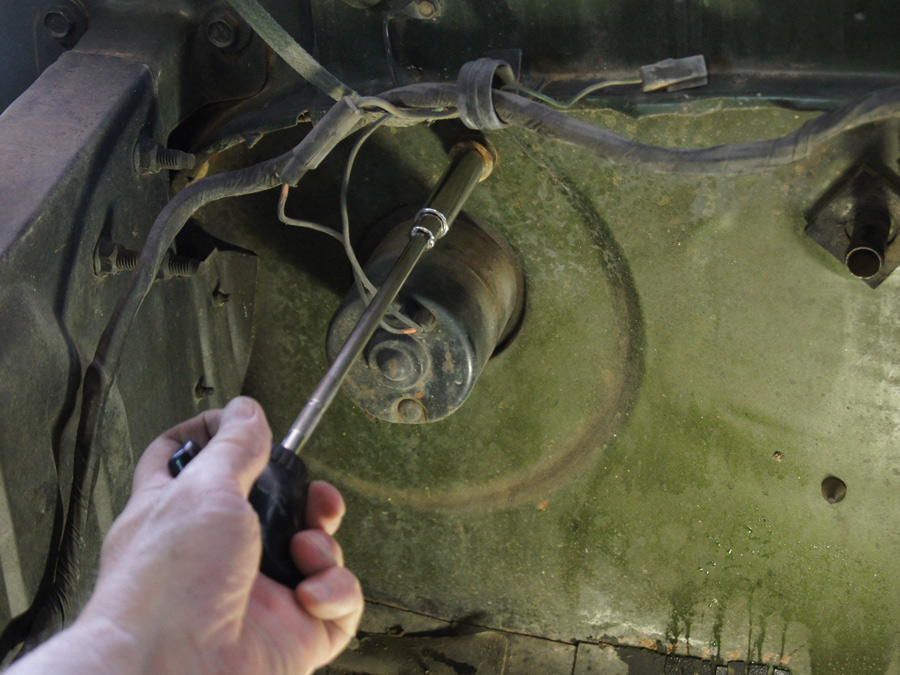
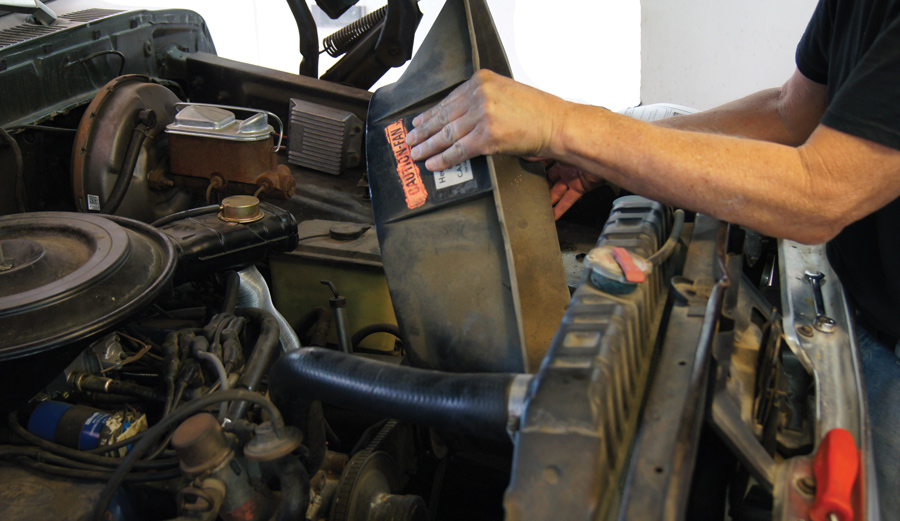
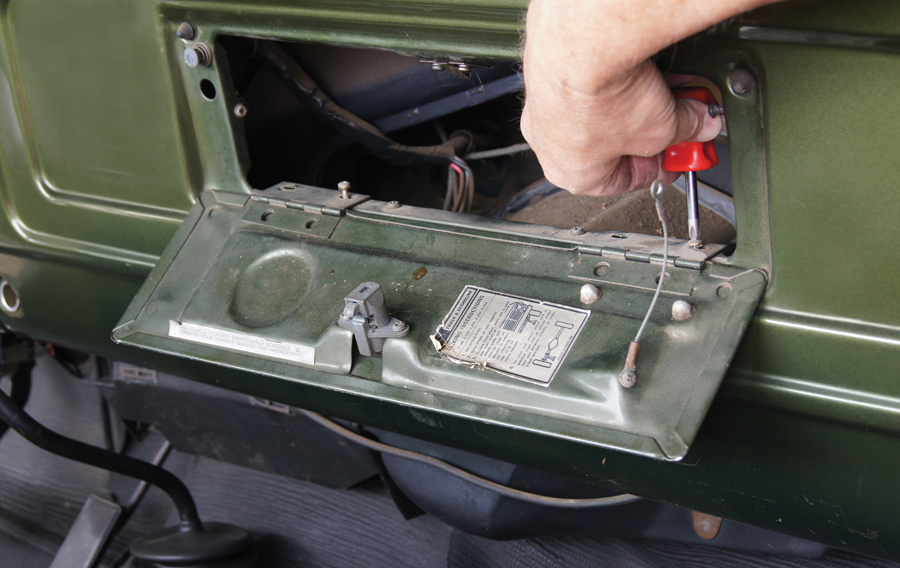
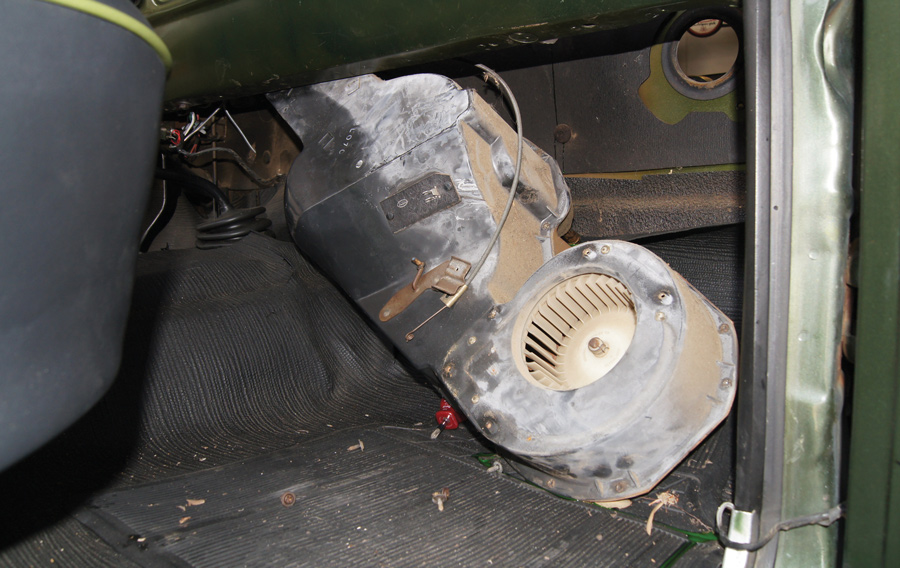
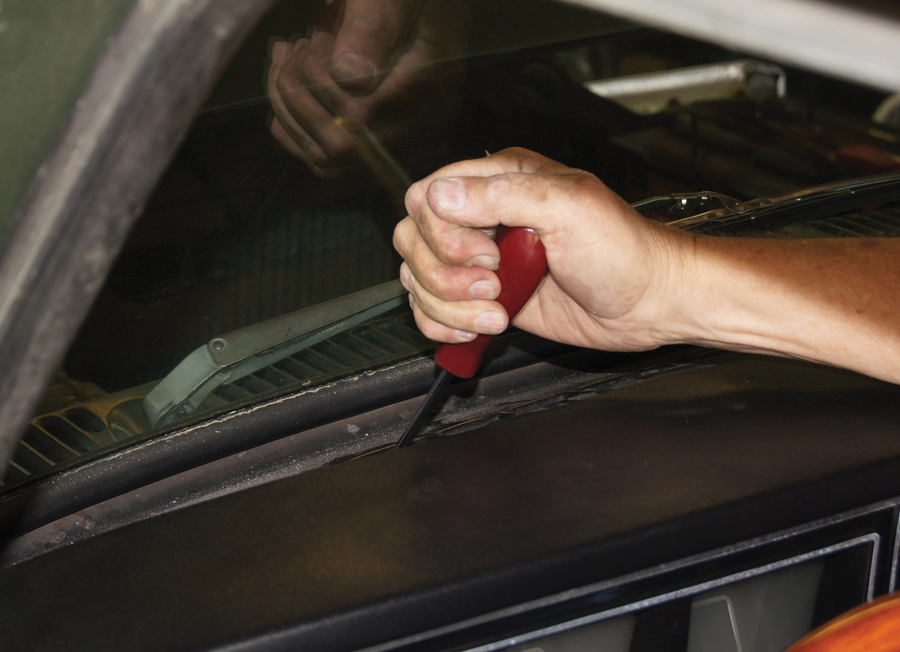
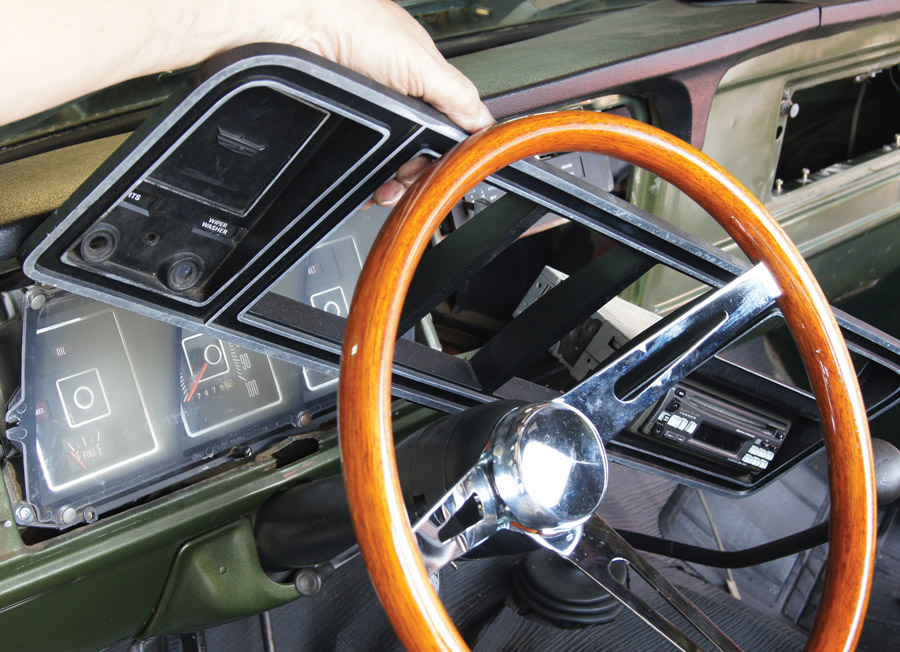
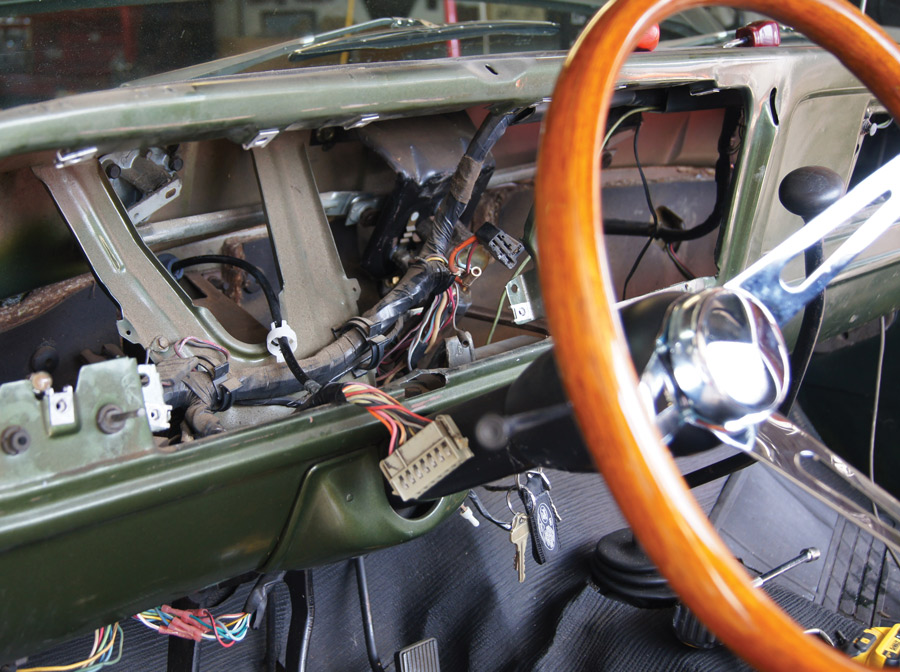
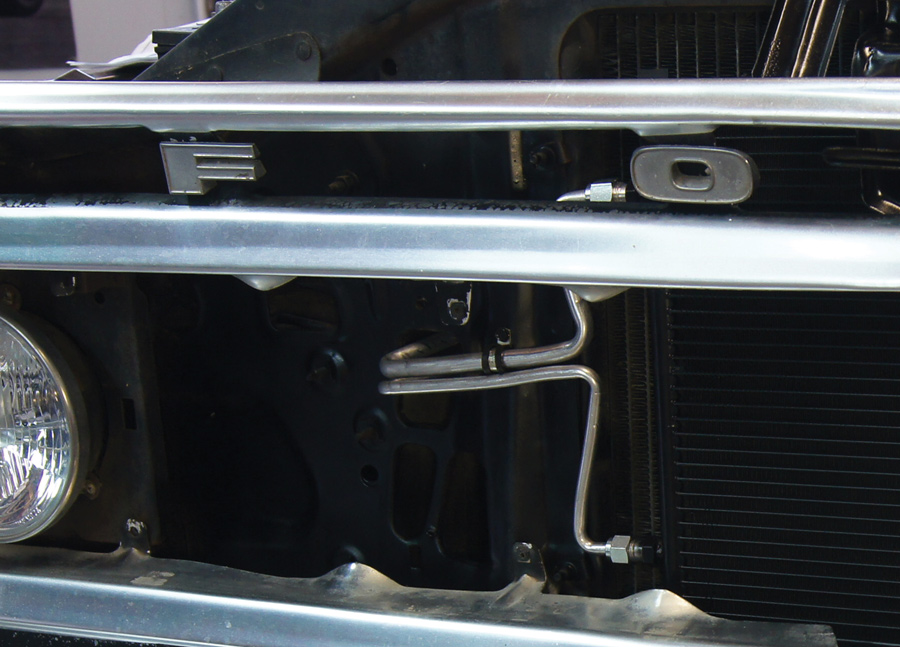
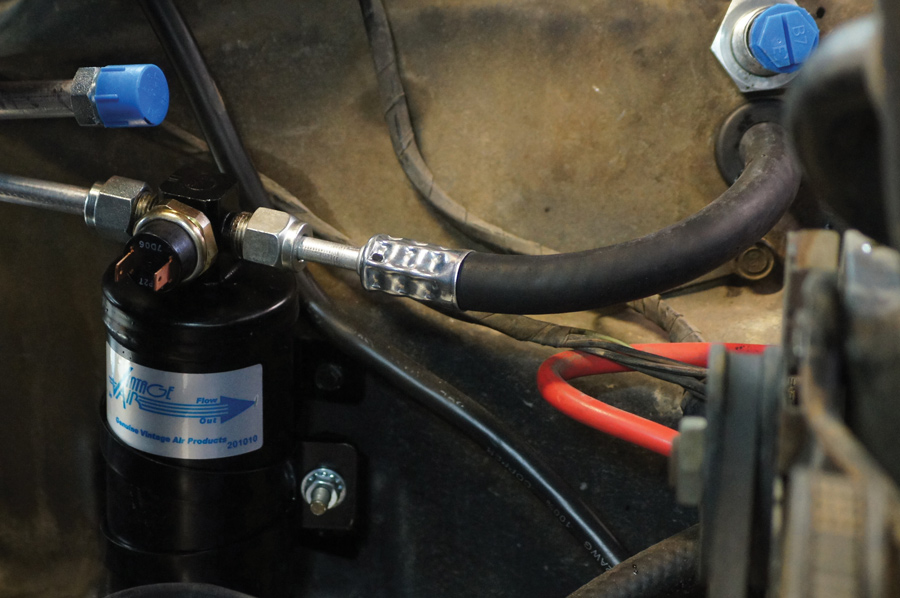
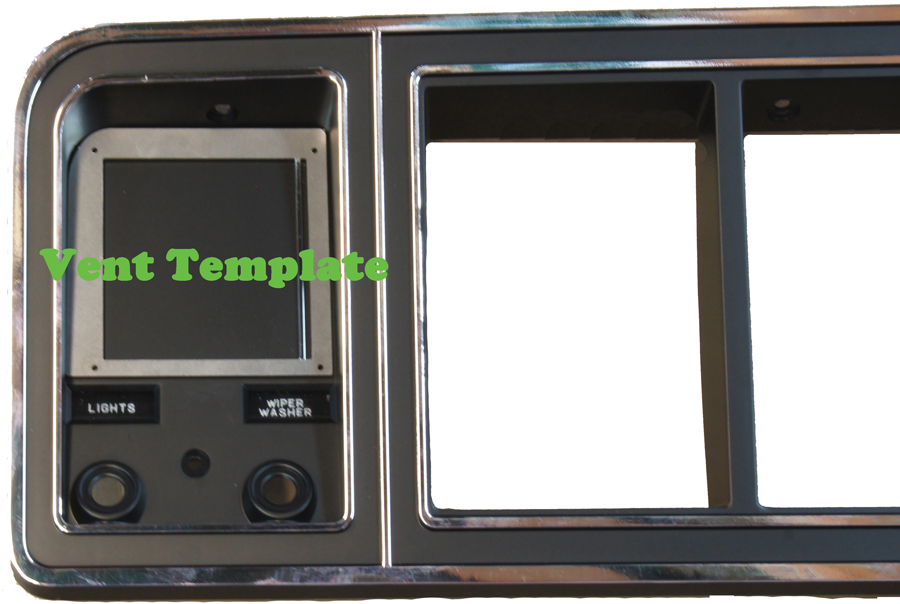
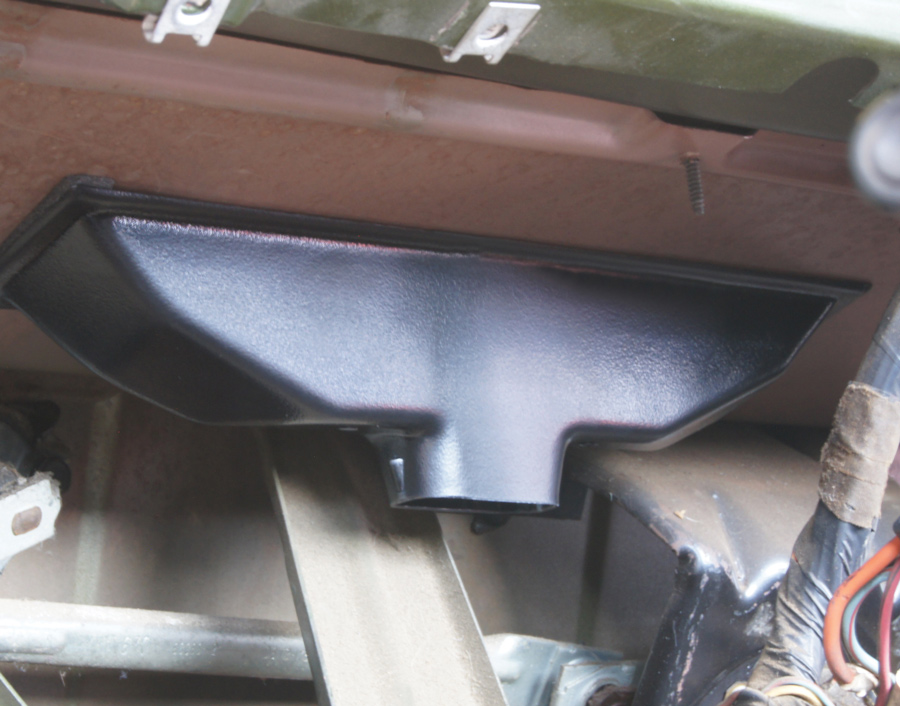
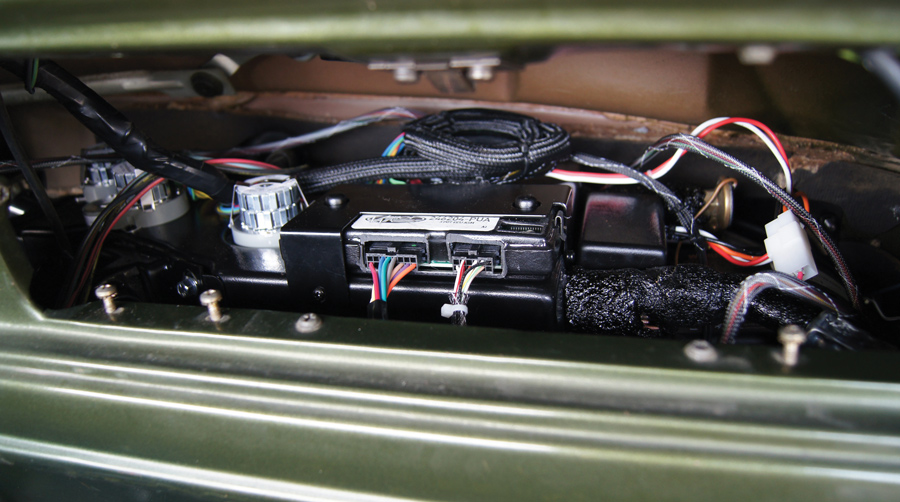
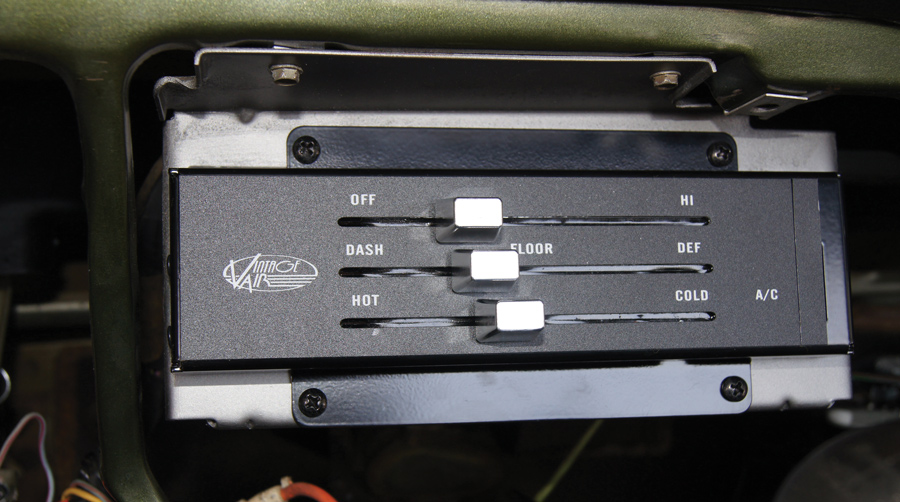
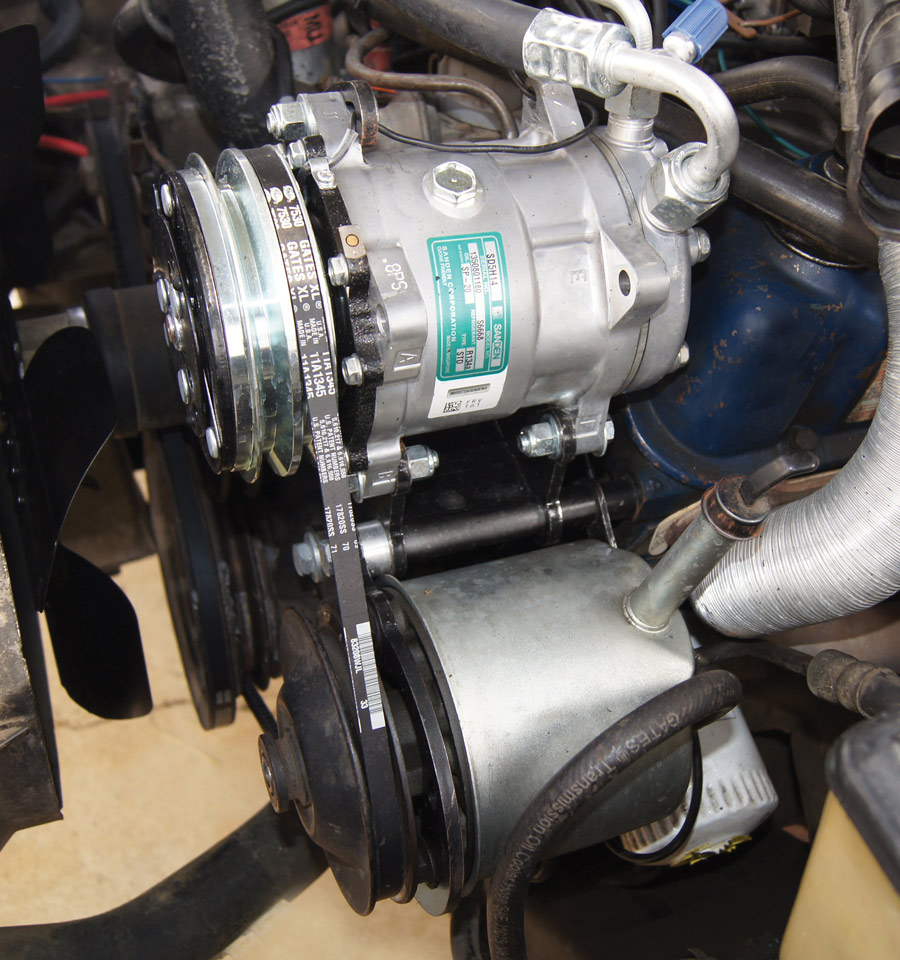
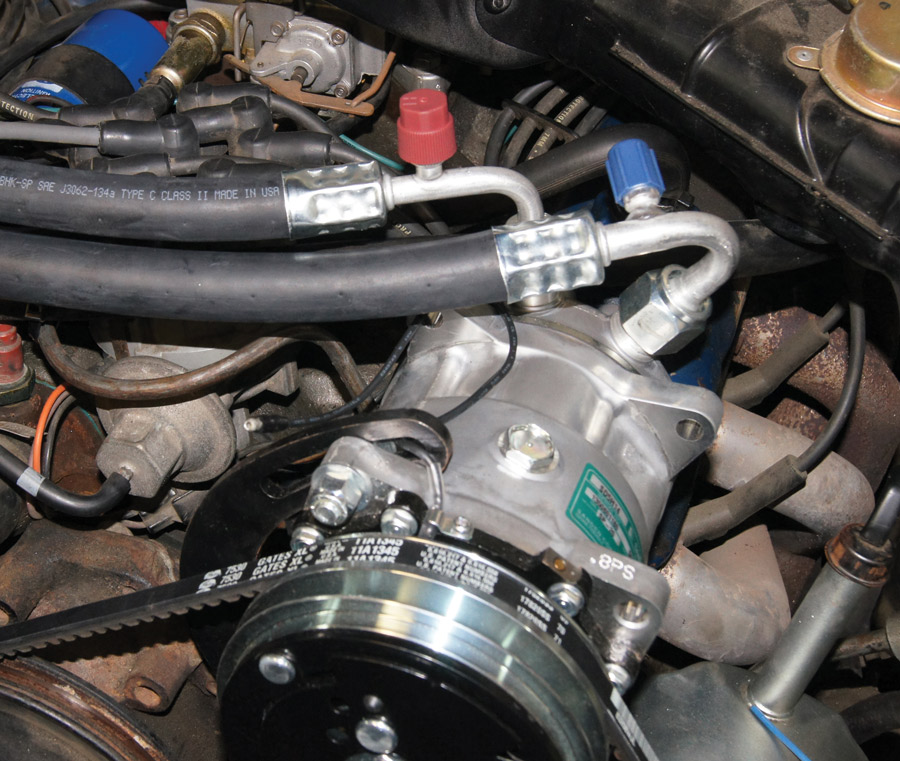
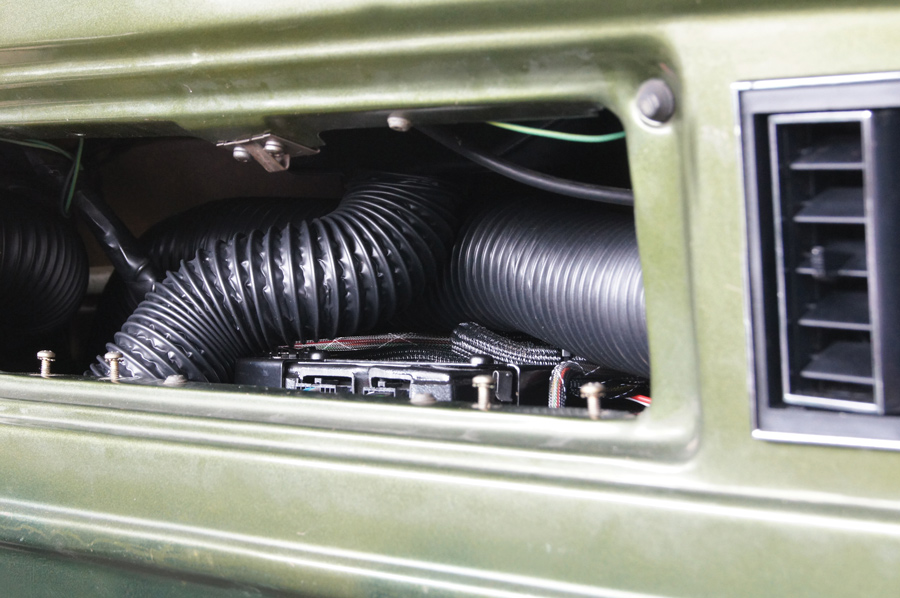
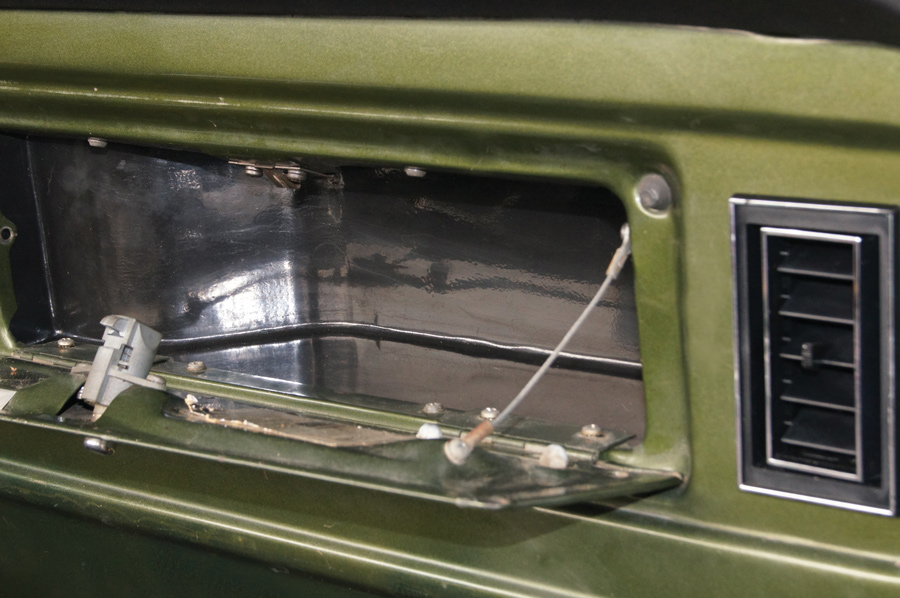
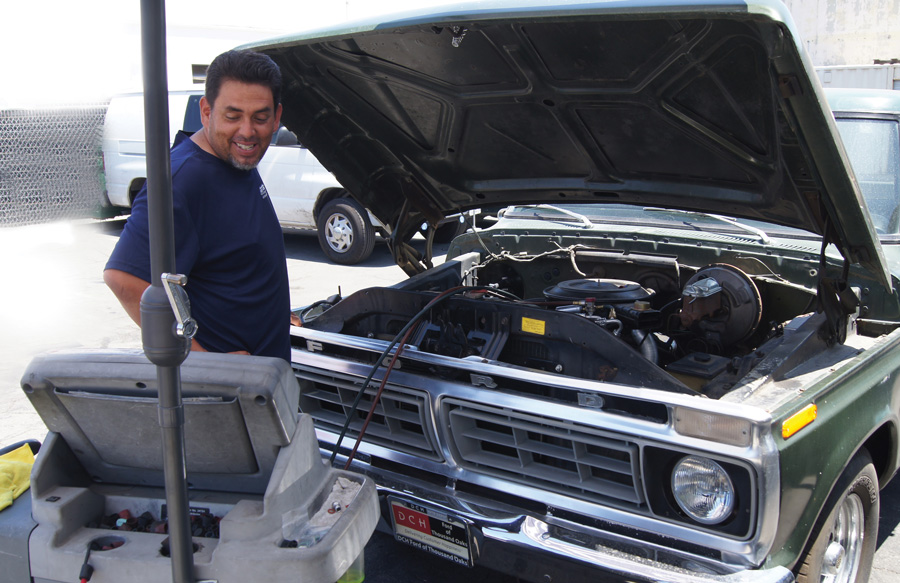
recently picked up a 1976 Ford F-100 Flareside project. It’s a somewhat unusual truck, built and sold in California. It has a 302 (where it seems most of these trucks have 360/390 FE motors or the big 460), a T-18 manual trans (affectionately called the Granny Low 4 Speed), power steering and power disc brakes but no A/C, and idiot lights in place of gauges. It was kind of a spur-of-the-moment deal, and I wasn’t sure what I was going to do with it, but I knew I “needed” it. I also knew, no matter which way I went with the project, it needed A/C and some real gauges. The dash bezel and pad were also in need of some help.

Texan Jack Chisenhall knew he wanted to be in the hot rod business, and through a contact with a friend’s dad he started selling and installing A/C parts for hot rods. Chisenhall developed a condenser and evaporator for the 1932 Ford and in 1976 went to the Street Rod Nationals to see if he could sell some. The response was overwhelming and he sold out of everything he had, launching Vintage Air, while at the same time essentially inventing the street rod and classic car air conditioning industry. They have continued to lead the industry and Vintage Air has been my go-to for over 30 years. They recently added the 1973-1979 Ford Dentside trucks (and 1978-1979 Bronco) to the lineup, so it seemed like the perfect opportunity to make this truck a bit more comfortable in these SoCal summer months. They offer a couple of different versions depending on whether the truck had the old inefficient factory air or, like ours, was a non-A/C truck. A few days later a SureFit in-dash kit arrived at our shop and it was time to get to work.

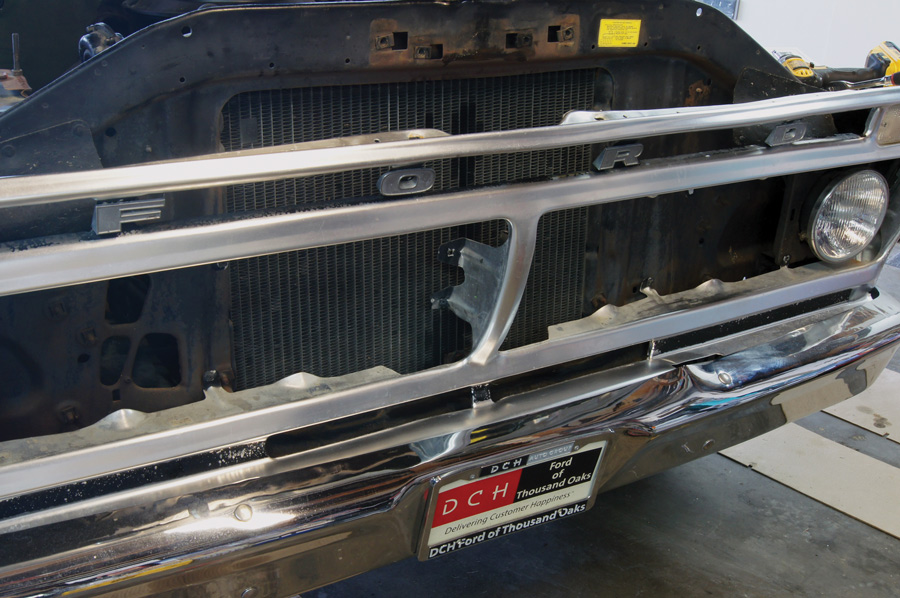
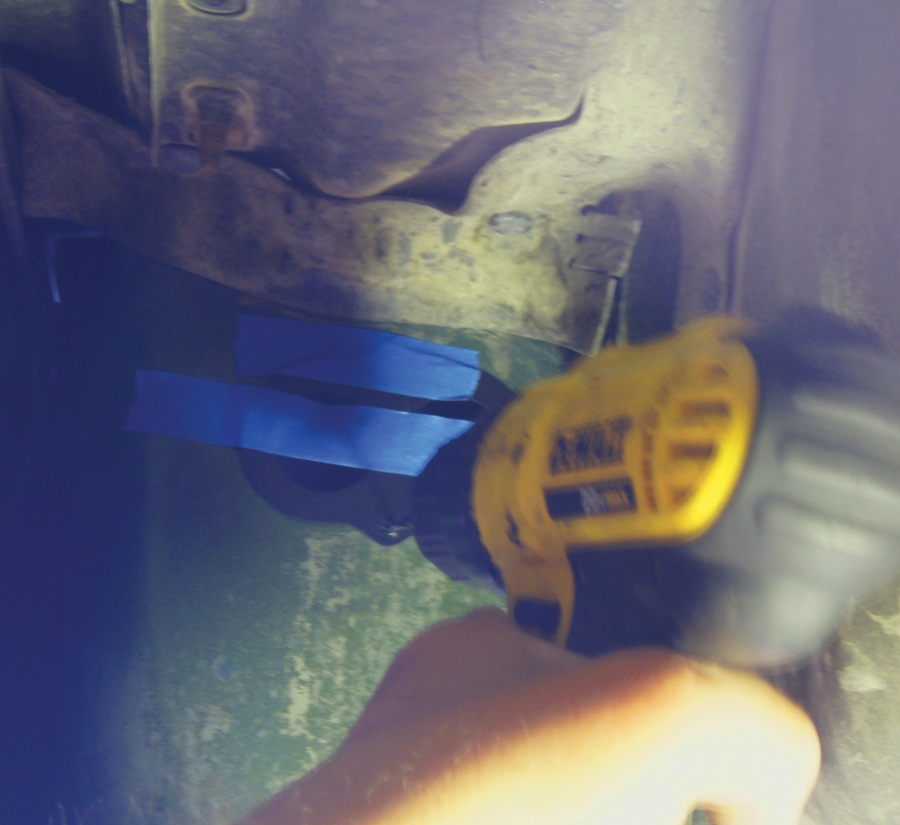
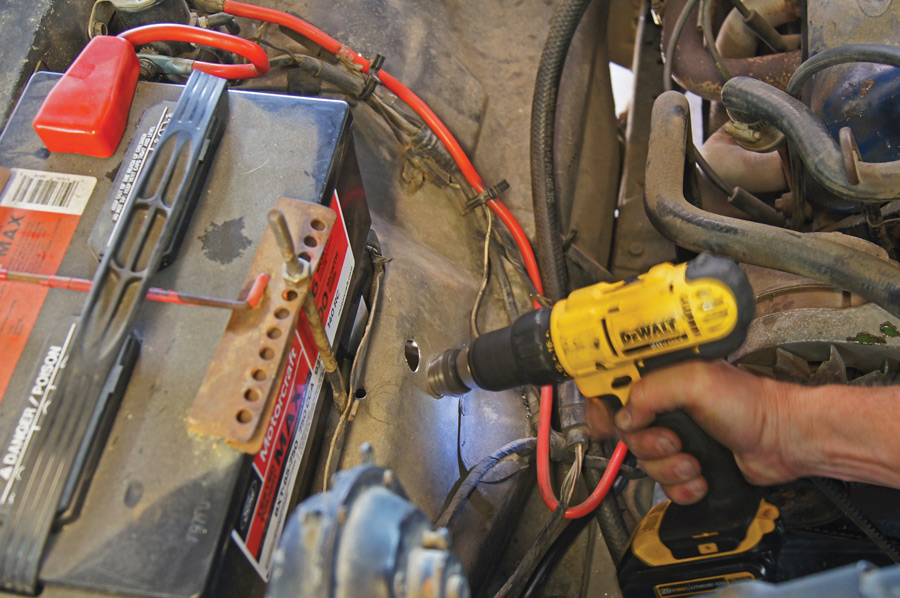
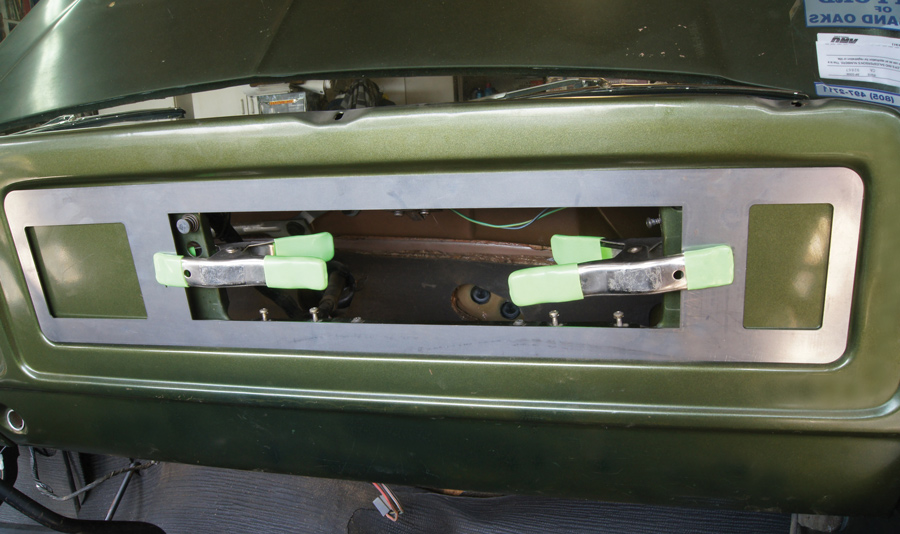
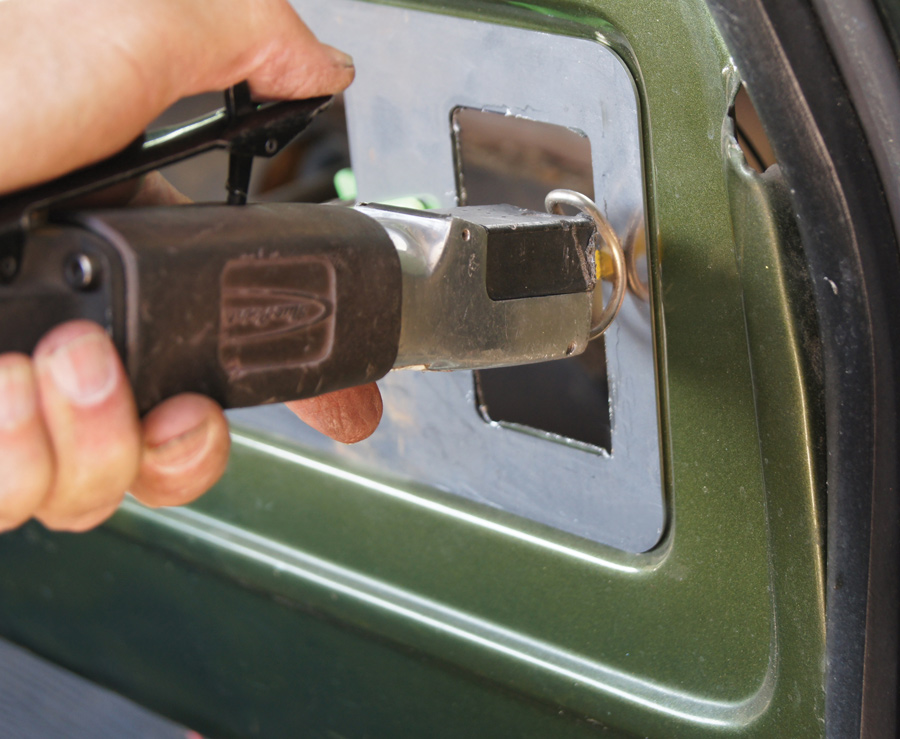
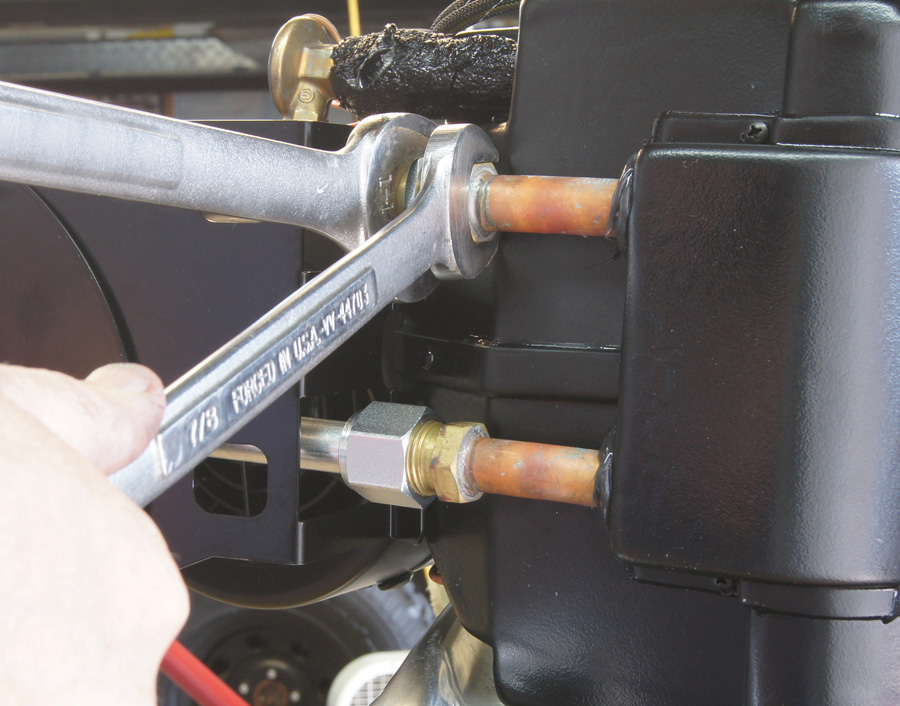
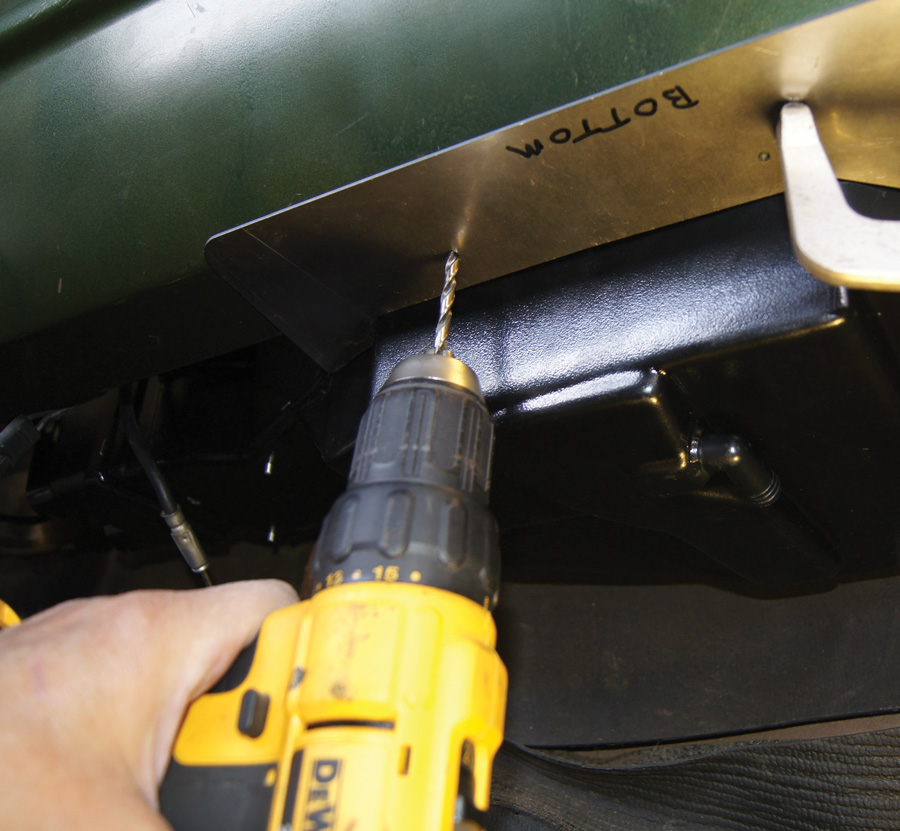
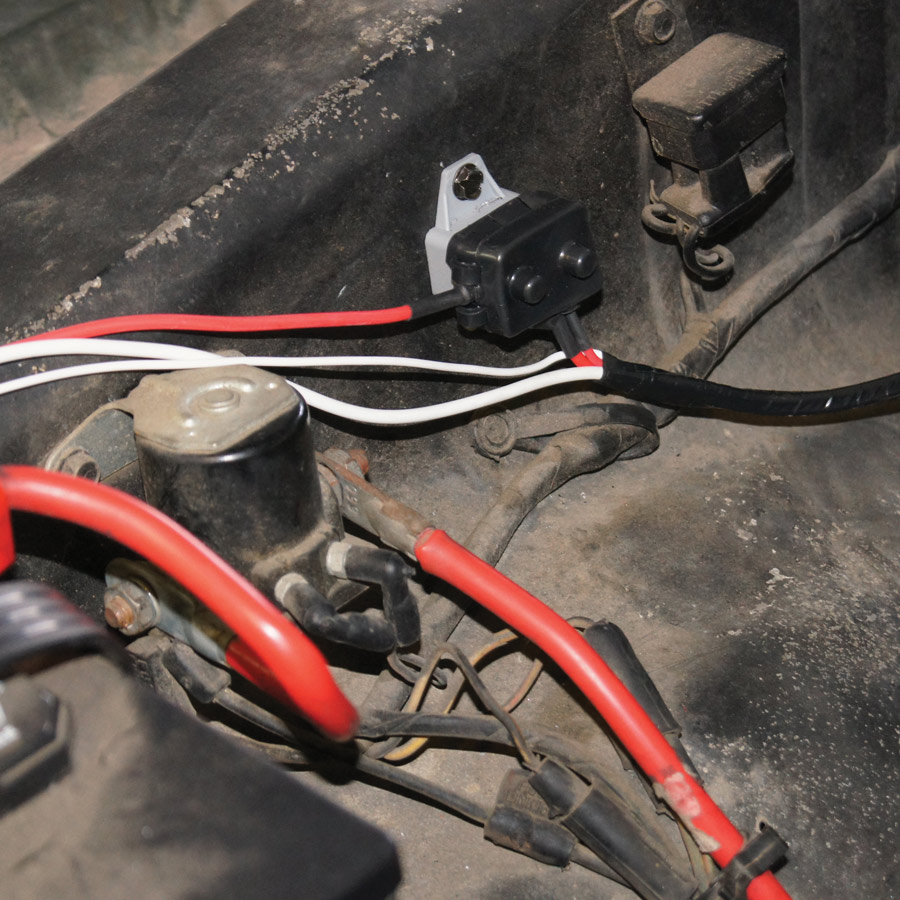
The entire transformation took us about three days in the shop, including stopping to take pictures as we went. None of the installation took any specialty tools (aside from a power steering pulley puller, which most parts stores will loan out) and the instructions for both the A/C and gauges were thorough and easy to follow. Now that we’re riding in style it’s time to decide what to do with the outside of the project.

Vintage Air boxes
1. The Vintage Air install starts on the shop floor with unpacking the boxes and checking that all parts are accounted for.
we pulled off the heater hoses at the firewall and the water pump and intake manifold
2. With the coolant drained, we pulled off the heater hoses at the firewall and the water pump and intake manifold. After 40-plus years ours were a little stuck and needed cutting.
 Next the three nuts that hold the stock heater core to the firewall were removed
3. Next the three nuts that hold the stock heater core to the firewall were removed.
Removing the fan shroud
4. The fan shroud and fan are removed next.
Removing the glovebox
5. Removing the glovebox and door gives you access to the heater and to install the evaporator. Ours was easy as the glovebox was long gone.
heater was dropped out from under the dash
6. The electrical plug and heater cables were removed and the heater was dropped out from under the dash.
The stock defroster vent screws are removed from the top side of the dash by the windshield
7. The stock defroster vent screws are removed from the top side of the dash by the windshield and the vents are removed from under the dash.
The dash bezel comes out
8. The dash bezel comes out next. Remove the radio, headlight, and wiper knobs, the screws holding the bezel, followed by the bezel itself. Ours went in the trash at this point. You can see how cloudy our gauges were.
The heater control panel, radio, and bracket are removed
9. The heater control panel, radio, and bracket are removed, and while we were at this point we took out the cracked and broken dashpad. You now have a naked dash that should look like this. On the passenger-side kick panel you’ll need to remove the fresh air vent as well. Ours was missing for some odd reason so we can’t show you that.
The hood latch and support and the grille inserts are removed
10. The hood latch and support and the grille inserts are removed in preparation of installing the condenser and hard lines.
top and bottom brackets that get installed
11. There are top and bottom brackets that get installed. The Vintage Air R&D shop had never seen a 302-equipped Dentside truck, and as it turns out the core support and radiator are different than the bigger motor trucks. We had to make a small modification to the upper bracket and eliminated the lower one. Based on our findings they will be updating the kit.
All A/C hard lines and fittings use these special green O-rings and a bit of supplied lube
12. All A/C hard lines and fittings use these special green O-rings and a bit of supplied lube. This is a very important step to prevent leaks. Make sure you cover the entire O-ring with the lube.
the pre-formed hard lines are installed through existing holes in the core support
13. With the condenser in place, the pre-formed hard lines are installed through existing holes in the core support and the upper line is secured with the supplied cushion clamp.
drilling holes
14. Remember when we pulled the front wheel off? Now you’ll understand why. On the passenger side of the firewall up behind the fender you’ll find a rubber plug. This gets removed and a metal plate with two large grommets gets installed for the A/C hoses to run through. Some trucks do not have this rubber plug and Vintage Air supplies measurements to drill holes for the lines. With the metal plate taped centered over the hole, two holes get drilled to hold it in place.
Under the battery tray in the inner fender is an existing ¾-inch hole that you will enlarge to 7/8 inch
15. Under the battery tray in the inner fender is an existing ¾-inch hole that you will enlarge to inch and then drill a 1-inch hole 1½ inches below the existing hole.
A rubber grommet is inserted in the 1-inch hole in the inner fender and the number 6 hose is inserted through the grommet from the wheel side
16. A rubber grommet is inserted in the 1-inch hole in the inner fender and the number 6 hose is inserted through the grommet from the wheel side. The drier gets mounted to the inner fender; the hard line and number 6 hose will determine exact positioning.
The number 10 hose has a bulkhead fitting that goes through the inner fender and then both lines are routed up to the top of the inner fender (above the tire) in a channel
17. The number 10 hose has a bulkhead fitting that goes through the inner fender and then both lines are routed up to the top of the inner fender (above the tire) in a channel, secured in place with the included brackets and then routed through the metal plate and grommets.
the Vintage Air metal template gets secured to the dash to cut the holes for the vents
18. Moving back inside, the Vintage Air metal template gets secured to the dash to cut the holes for the vents.
Using a keyhole saw
19. Using a keyhole saw, we cut the vent openings and then filed the edges for a perfect fit.
Next you will cut the hole in the dash bezel for the driver-side vent
20. Next you will cut the hole in the dash bezel for the driver-side vent. Due to the bad condition of our original bezel, this was a new part from LMC Truck.
New defroster vents are included in the kit and installed using the holes from the original Ford version.
21. New defroster vents are included in the kit and installed using the holes from the original Ford version.
With the evaporator on the bench (or in this case sitting on the inner fender), the brackets are installed and the hard lines are put in place
22. With the evaporator on the bench (or in this case sitting on the inner fender), the brackets are installed and the hard lines are put in place. Always use two wrenches when tightening the fittings to keep from twisting them—and don’t forget to lube the O-rings.
The A/C lines that came through the firewall exit where the passenger-side fresh air vent was, running through the supplied metal plate and grommets
23. The A/C lines that came through the firewall exit where the passenger-side fresh air vent was, running through the supplied metal plate and grommets.
After attaching the lines, the evaporator slides up under the dash with temporary studs protruding though the original heater mounting holes in the firewall
24. After attaching the lines, the evaporator slides up under the dash with temporary studs protruding though the original heater mounting holes in the firewall. You will need to support it while you drill holes for the lower mounting bracket, using the supplied template. The supplied screws attach the evaporator to the lower dash.
With the evaporator secure and leve
25. With the evaporator secure and level (so that it drains properly!), the wiring harness is plugged in. Access is easy through the glovebox hole.
The Vintage Air control panel is mounted to the factory bracket—ours has been cut off for some sketchy radio install and a new one is on the way, but it will work for now
26. The Vintage Air control panel is mounted to the factory bracket—ours has been cut off for some sketchy radio install and a new one is on the way, but it will work for now.
The main power relay mounts up under the dash
27. The main power relay mounts up under the dash (we used one of the screws for the kick panel plate), while the circuit breaker needs to be mounted as close to the battery as possible with the red power wire to the battery and the white ground wires directly to the battery ground terminal.
Vintage Air offers a line of pulleys and brackets under the name Steel-eez and here is where it can get tough when doing Fords
28. Vintage Air offers a line of pulleys and brackets under the name Steel-eez and here is where it can get tough when doing Fords. It’s well known that Ford likes to change things regularly with less interchange than other brands, or as my Ford engineer buddy says, “the parts for the red cars won’t fit the blue cars.” In our case we found that the offset of the brackets didn’t work with our combination of pulleys, probably due to this truck having a smog pump. It took a little work on our part to change the spacer lengths to get the power steering and compressor pulleys to line up. Once again Vintage Air is going to make appropriate updates for the unusual situation.
With the compressor mounted we now ran the number 10 and number 8 lines to the compressor.
29. With the compressor mounted we now ran the number 10 and number 8 lines to the compressor.
The binary pressure switch mounts to the drier and gets wired between the control panel and the compressor.
30. The binary pressure switch mounts to the drier and gets wired between the control panel and the compressor.
Since our heater hoses were crusty and brittle, we got some new 5/8-inch hose
31. Since our heater hoses were crusty and brittle, we got some new ⅝-inch hose at the auto parts store and installed the Vintage Air electronic heater control valve and the new hoses.
The evap drain hose comes out through the firewall and drains to the ground.
32. The evap drain hose comes out through the firewall and drains to the ground.
two fans
33. Vintage Air makes a recommendation for the six-cylinder trucks to up the fan and radiator size for the extra load of the A/C system. We felt our radiator would be sufficient but the little four-blade fan wasn’t going to cut it. We had a five-blade flex fan from our old Mustang Turbo race car that fit perfectly—I’d never seen a Ford factory flex fan before this.
With all the electrical hooked up and the vents snapped in place it was time to run the air ducts again with access through the glovebox
34. With all the electrical hooked up and the vents snapped in place it was time to run the air ducts again with access through the glovebox.
Now that the installation was done, the Vintage Air glovebox was slipped in place and screwed down
35. Now that the installation was done, the Vintage Air glovebox was slipped in place and screwed down.
Installation complete
36. The installation was complete and now we just needed to charge it with freon. Although we have a set of gauges for adding freon, new systems really need to be evacuated and checked for leaks before charging, so we went to see Anthony at The Air Shop in Santa Ana, California. Anthony is an authorized Vintage Air dealer and can handle all your needs from a simple recharge to a complete installation.
Vintage Air
(800) 862-6658
vintageair.com
The Air Shop
(714) 285-0108
theairshop.com