CTP logoFeature star Tech
InTheGarageMedia.com
Showing off the car body
Filler Fundamentals Title Typography
Part 3: Skimcoat Tips for Uniform Fairing
BY “Rotten” Rodney Bauman  
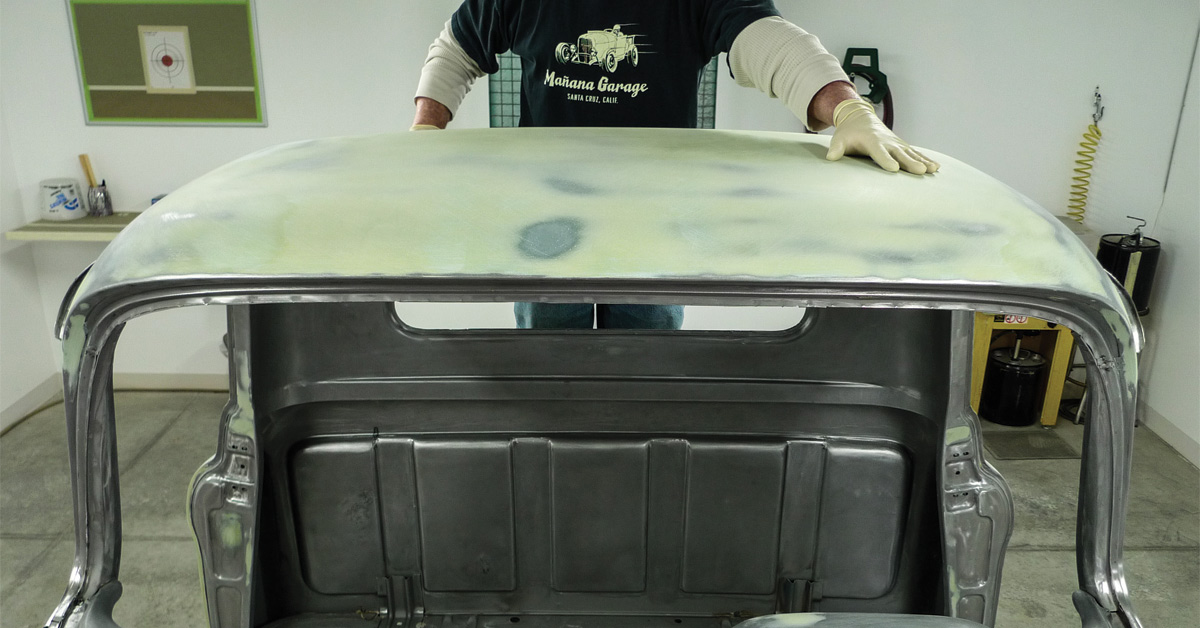
Photography & Videography by THE AUTHOR
W

hen it’s used to describe body parts of a truck as shapely as the Task Force Chevrolet, the word “straight” makes little sense. Somehow words that pertain to the autobody trade tend to end up twisted. Take the word “skimcoat” for example. No matter how loosely it’s translated, skimcoat should never mean a thick slab of polyester filler.

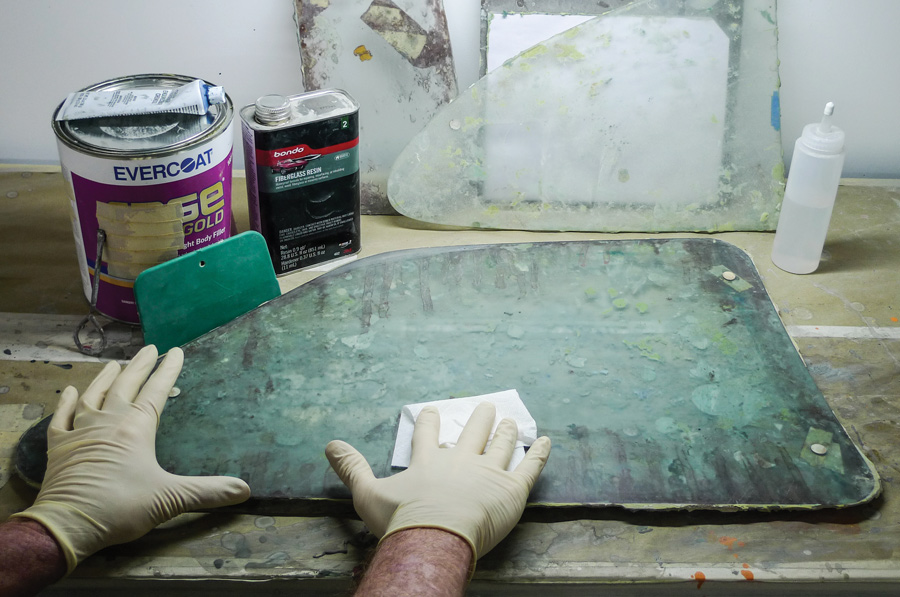
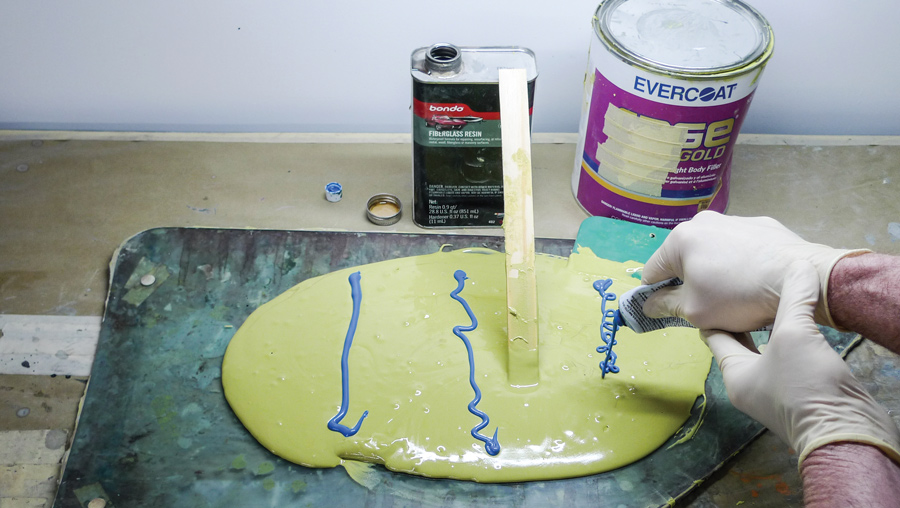
Now, as long as we’re discussing weird words and polyester fillers, let’s get this out of the way, right away: Not all polyester fillers are “Bondo!” That’s only a brand name. You can use it if you want to, but for the skimcoat job at hand we’ve already coughed-up the dough for Evercoat Rage Gold, which is among the higher-end fillers available today.

Our local parts store stocks Rage Gold, but it’s currently costing $93.92 per gallon-size can. At the time of this comparison the best deal we’ve found is $63.99 from Summit. As we go here, the majority of tools and materials used are indeed Summit staples.

In our last installment we stiffened a Task Force truck’s oil-canning roof skin. That was accomplished without further heating, beating, shrinking, and/or dinking with the stretched steel itself. That was accomplished by doing our initial fillerwork with a short-strand, fiber-reinforced polyester body filler.

As you may recall from last time, a crack was discovered in the passenger-side A-pillar’s factory-leaded seam. There, ground-away lead was replaced with the reinforced filler as well.

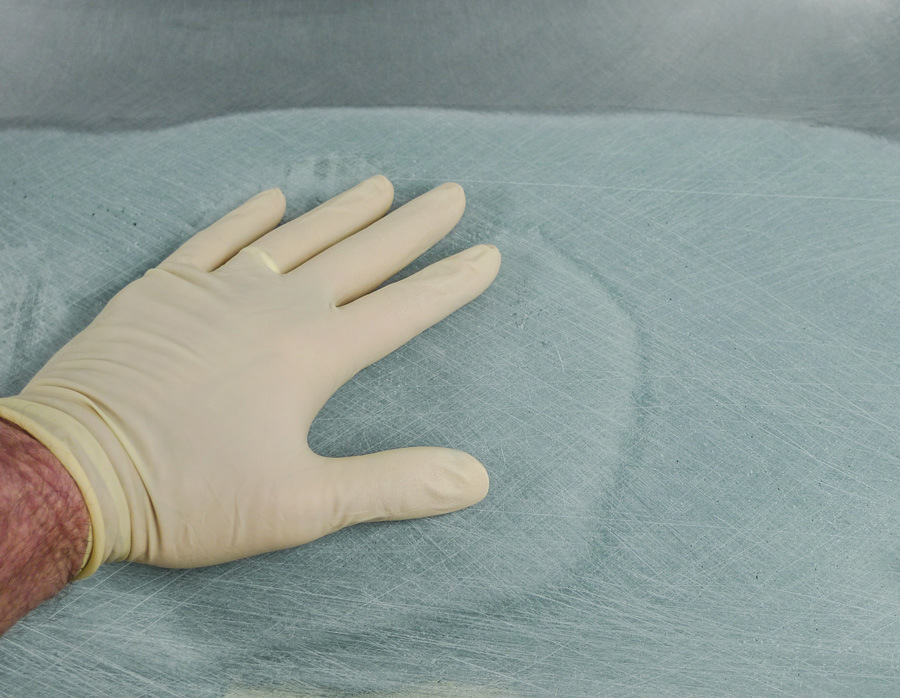
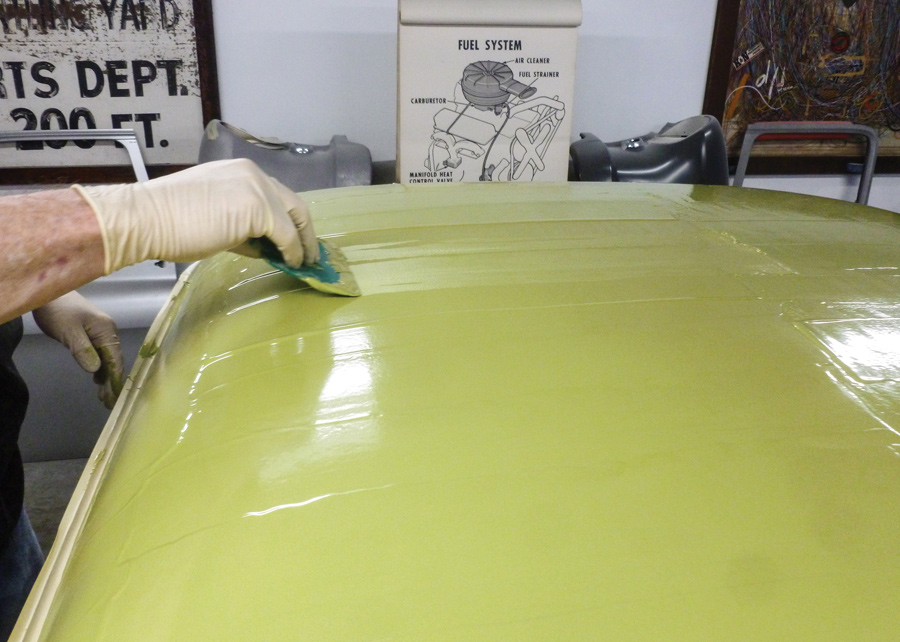
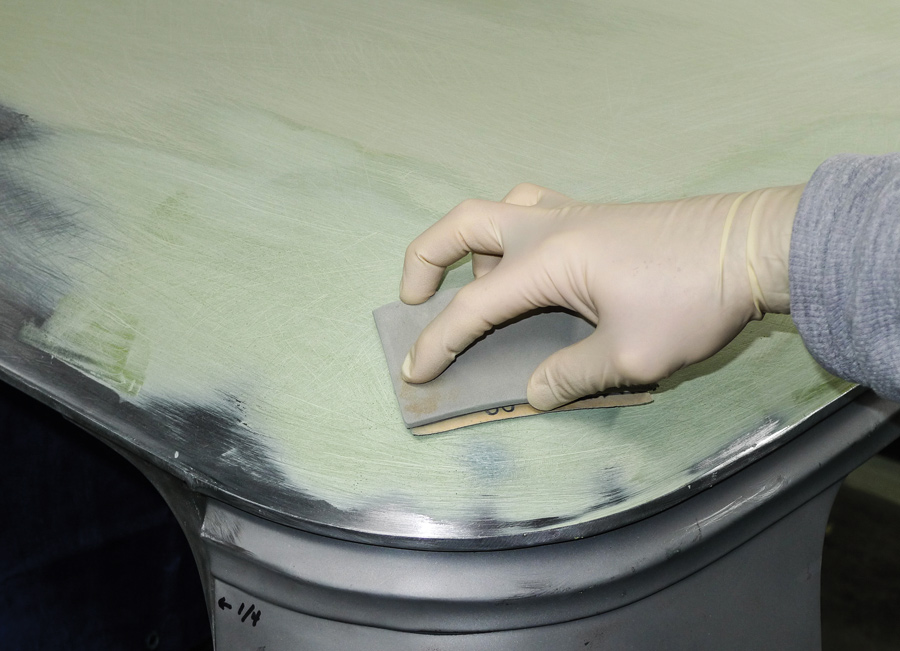
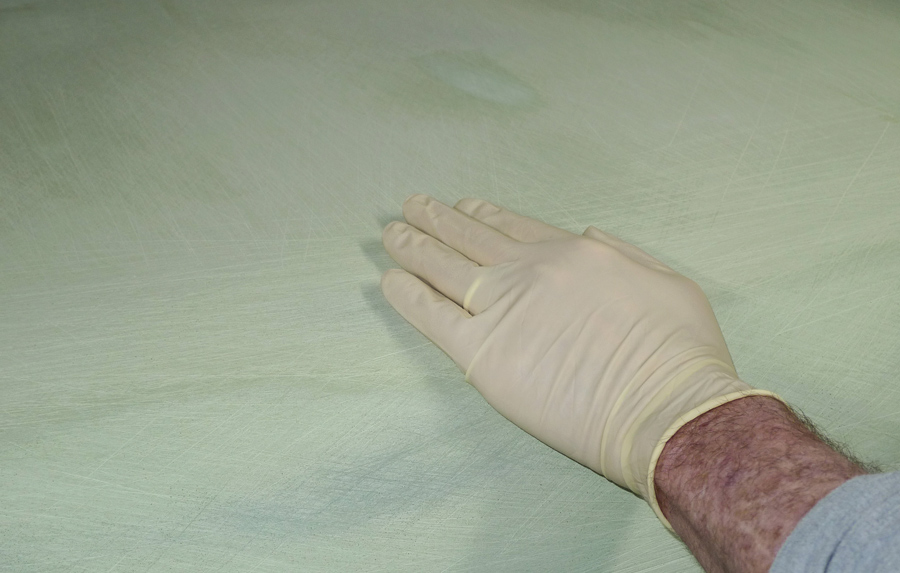
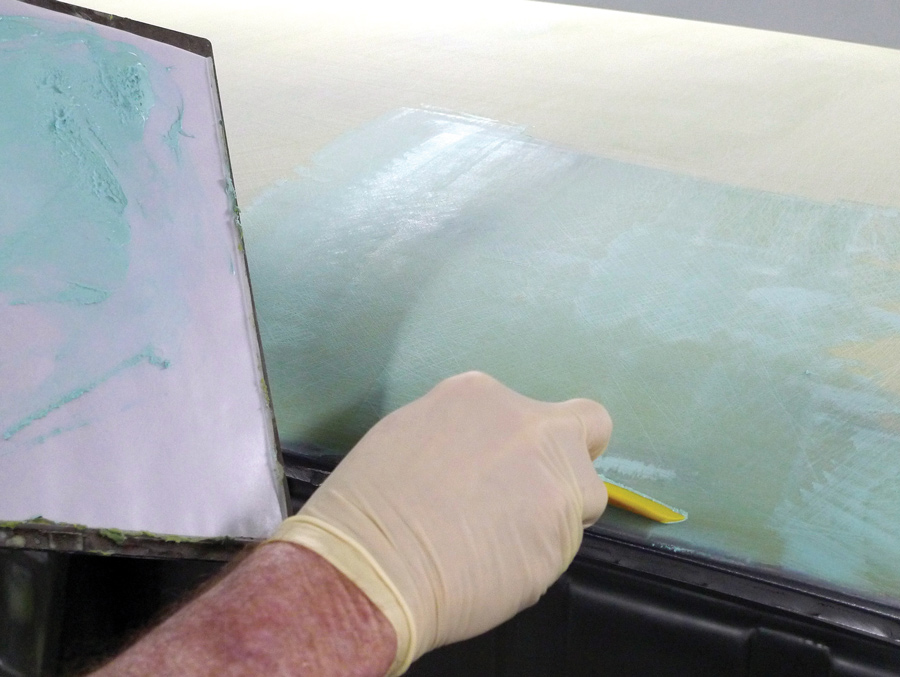
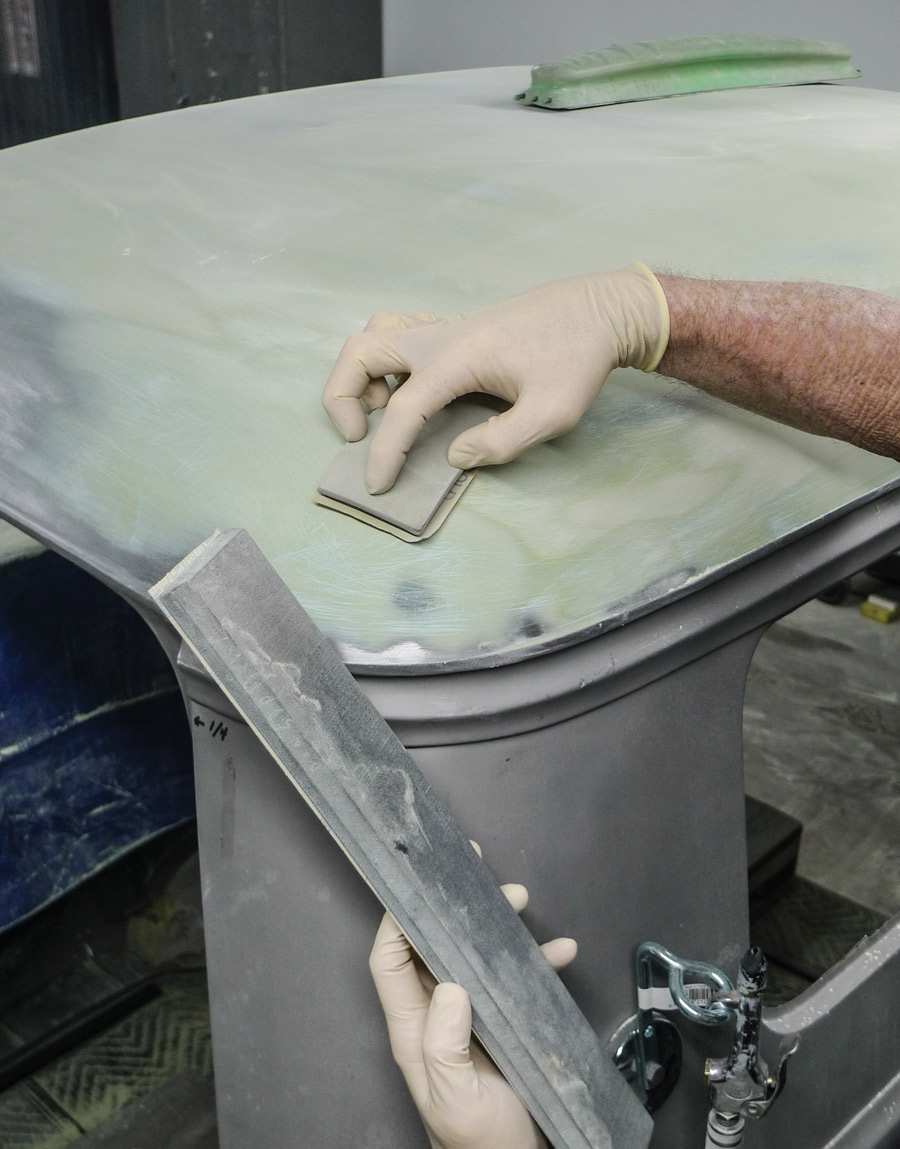
Now where were we, anyway? Oh yeah, our roof skin’s first round of fillerwork is finished, and it’s now ready for a skimcoat. At our shop, like other good ones, skimcoat means a very thin filler application. For fine-feathering purposes, a skimcoat must extend beyond initial fillerwork. Since underlying smears sand at varying rates, the skimcoat is our first opportunity for truly uniform fairing—at least ’til we’ve sanded through it, that is.

For our roof skin’s skimcoat we’ll need a filler that’ll flow. Evercoat offers a number of low-viscosity skimcoat-suitable fillers. We’ve experimented with a few, but so far we always circle back to our versatile old standby.

My own favorite all-around filler is Evercoat Rage Gold. Granted, it ain’t cheap, but then, neither are quality abrasives. If you choose to work with less-expensive fillers, you’ll burn through more abrasives. You’ll also work harder while doing so. Based on my own experience, it’s usually best to go on and spring for the first-choice filler—spendy as it may seem to be.

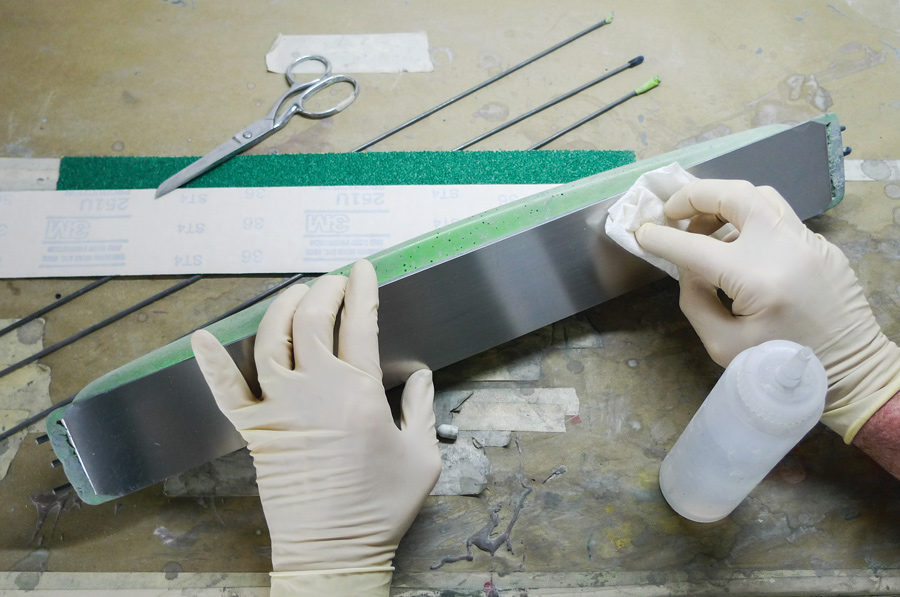
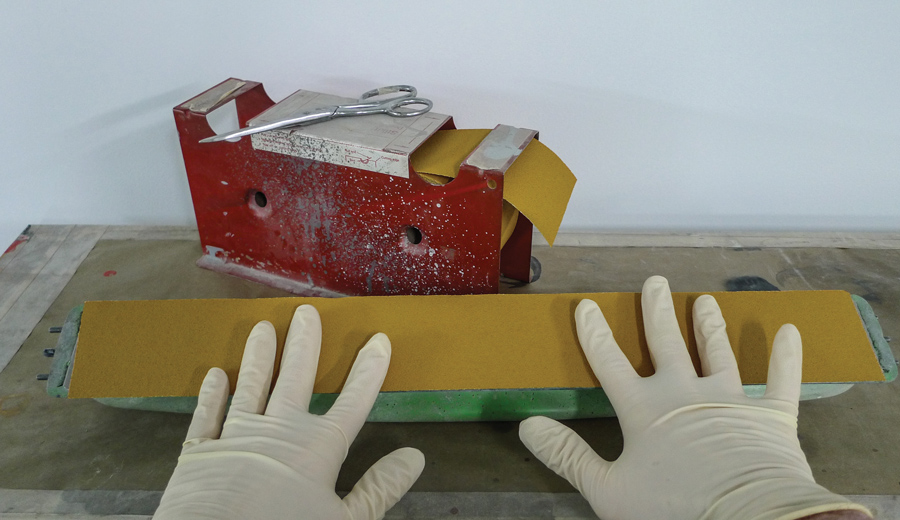
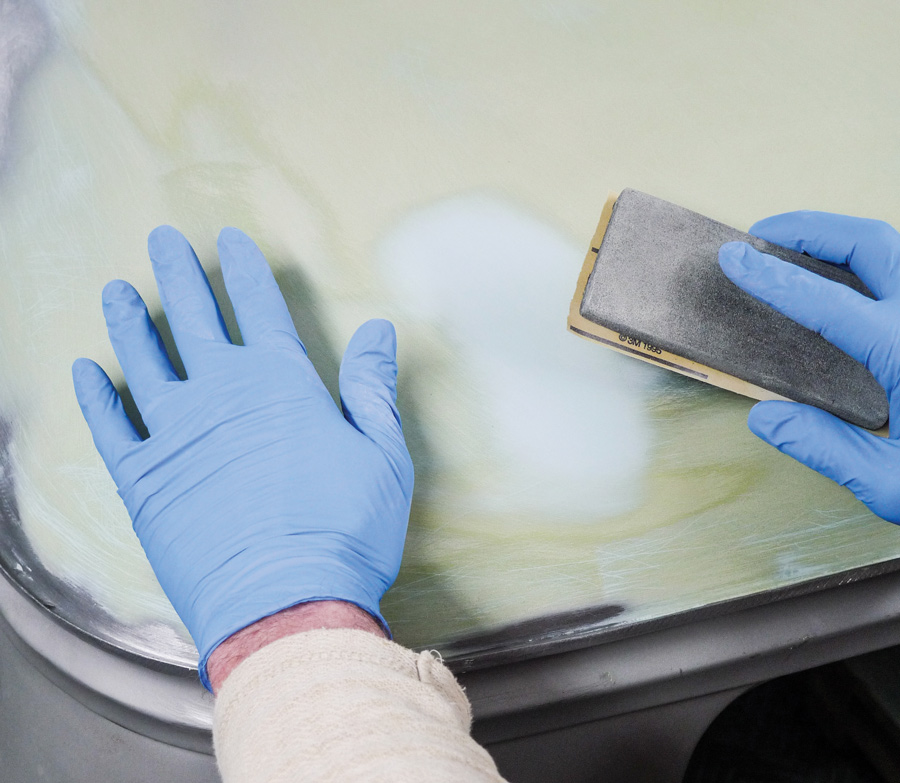
For skimcoat-reduction of Rage Gold, we’ll add polyester resin to the mix for whatever viscosity feels appropriate. The downside is that extra resin makes the curing mixture extra sticky—at first. For that reason we’ll begin sanding with previously used abrasives. Once the goo layer gives up, we’ll switch to fresh grit and continue on for accurate fairing.

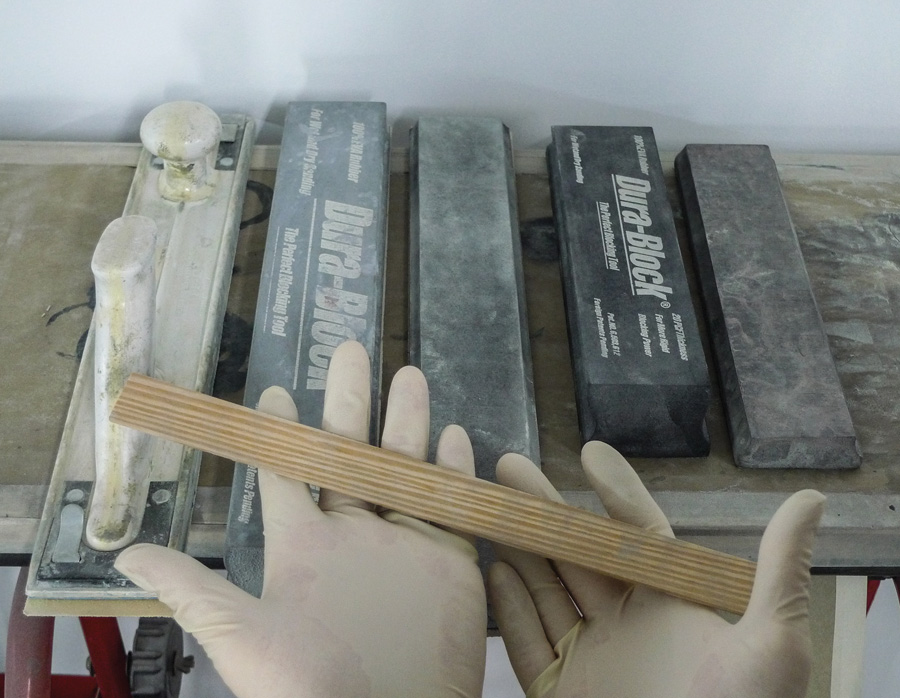
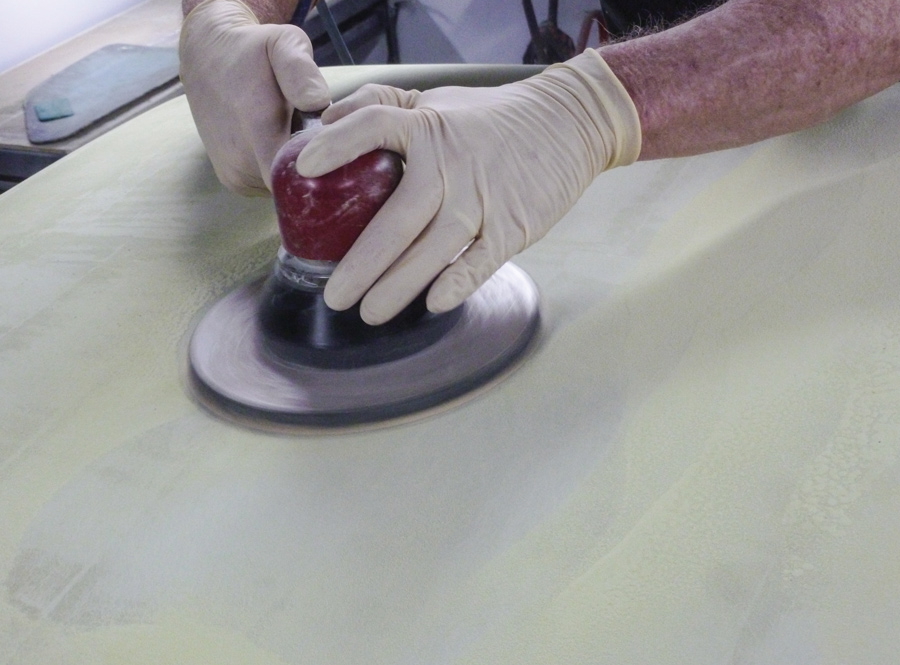
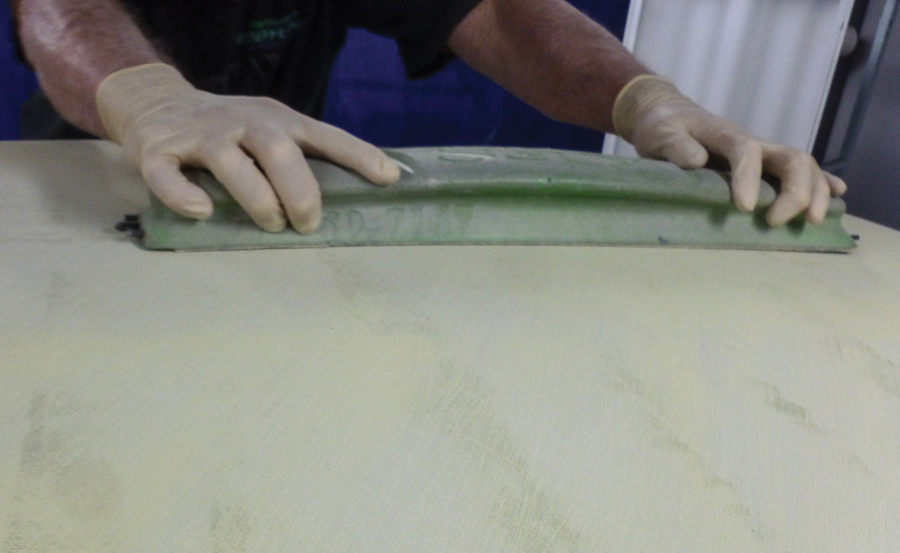
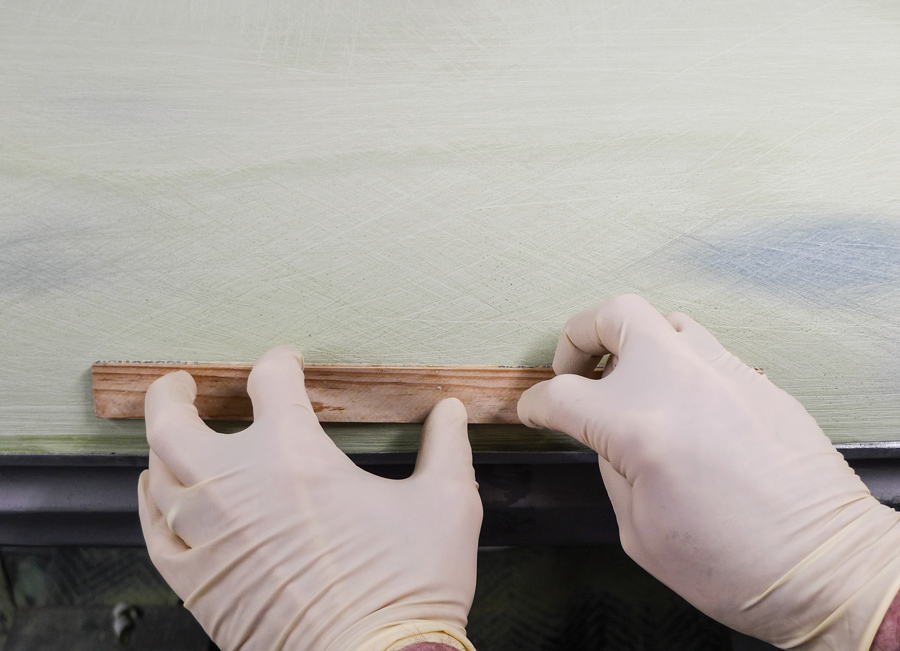
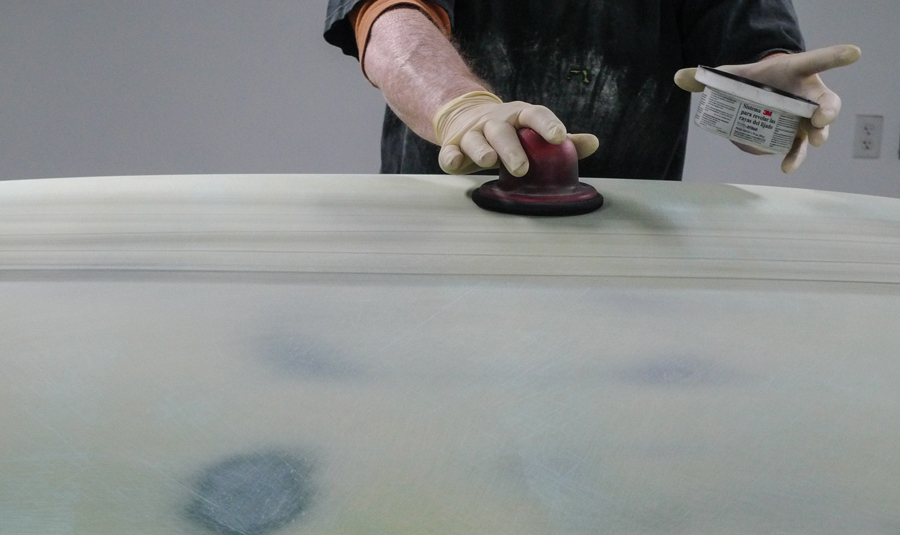
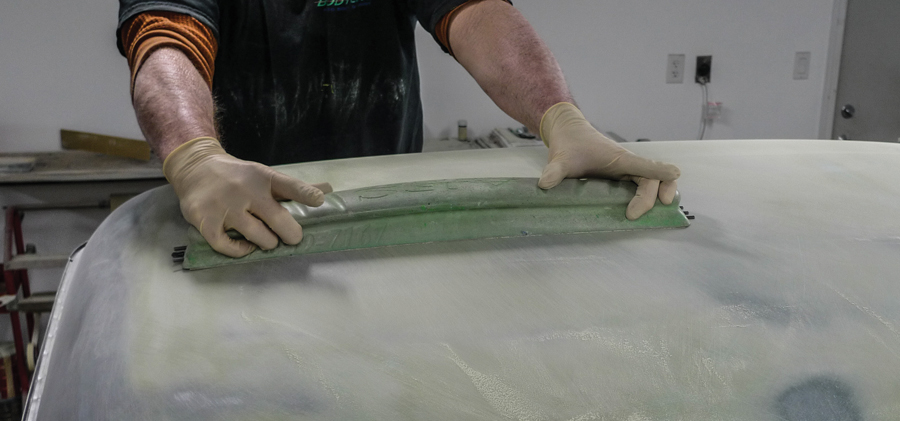
Now, it seems like we may have discussed the “mudhog” before. If not, it’s sort of like an 8-inch version of a dual-action (DA) sander, although its action is somewhat less orbital—if that helps. At any rate, it’ll be the hot-tip tool for the first bit of fairing. For sharpest-possible accuracy, however, we’ll switch to employ a number of different flexible fairing boards, blocks, hand pads, and perhaps a good ol’ fashion wooden paint stick, too.

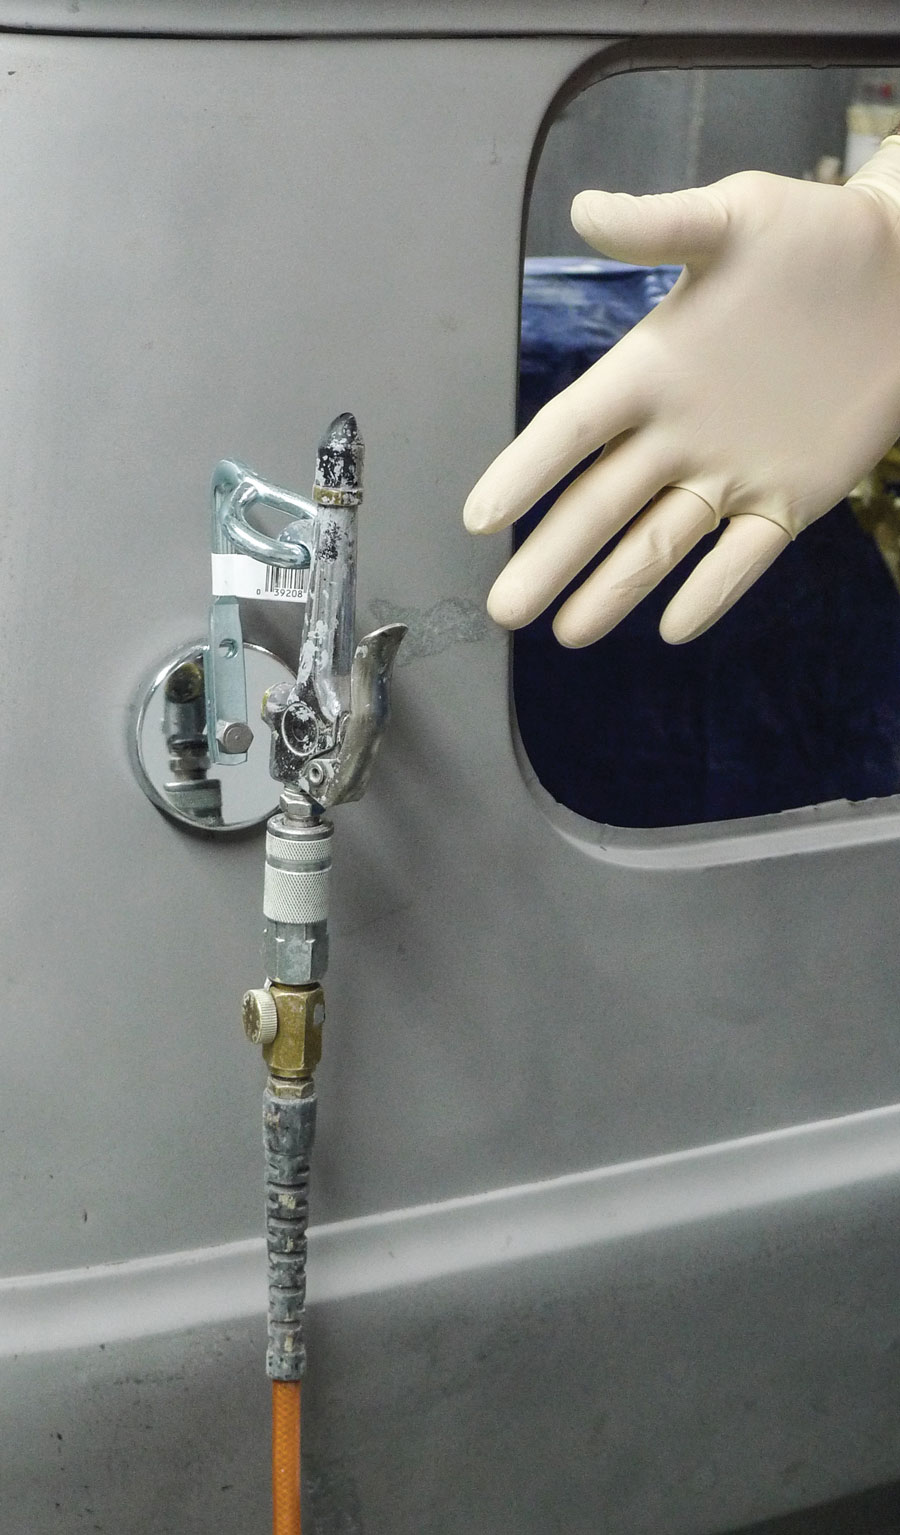
At the end of our fillerwork marathon, this cab’s exterior will receive an application of epoxy primer, followed by three wet coats of urethane primer-surfacer for finer fairing in the paint-prep stages. We won’t be using a “primer filler” from a ’gun with a fire hose fluid tip. Providin’ you’ll work your polyester filler of choice far enough along, you won’t need the big ’gun either.

Gloved hand feeling the surface of a car
1. With initial fillerwork finished in short-strand, fiber-reinforced filler, we’ve also cheated our way free of an oil can situation. Once cured, this is ridged filler.
a few fairing boards from Hutchins and Dura-Block
2. So, here are a few fairing boards from Hutchins and Dura-Block. Some are modified, but the wooden paint stick is stock.
tunable board is an early model AFS unit
3. Now this tunable board is an early model AFS unit. It and a longer 36-inch model were purchased in the ’90s directly from their inventor—who I really liked a lot.
convenient tear-off-type mixing board
4. Last time, for smaller smears, we used a convenient tear-off-type mixing board. When a skimcoat job demands it, a TE-31 Corrolla quarter glass still has its place.
shape of this experienced palette is ideal for larger skimcoat application
5. The shape of this experienced palette is ideal for larger skimcoat applications. Here Rage Gold is resin reduced to the desired viscosity.
Extra resin slows the curing but we’ll move quickly just the same
6. It’s cool in the body stall. Extra resin slows the curing but we’ll move quickly just the same. Smeared firmly at first then further finessed, the thinned-down filler flows.
Before complete curing we’ll sneak up with spent 40-grit on the mudhog to remove the extra-resin goo
7. Before complete curing we’ll sneak up with spent 40-grit on the mudhog to remove the extra-resin goo. So, how does this flatfooted tool find fairness on a convex panel?
Here for the larger expanse, the AFS board is our buddy
8. In our shop, the mudhog is only used as a timesaving shortcut. Final fairing is always done by hand. Here for the larger expanse, the AFS board is our buddy.
Still using 40-grit
9. Still using 40-grit for now, we’re alternating back and forth between tools. Here for the most-rounded corners, the curly old Motor Guard hand pad has the needed shape.
wooden paint stick
10. You can have a box of blocks and longboards, too, but without a wooden paint stick you’re underequipped. For these driprail areas the stick is an invaluable tool.
with a Harbor Freight magnet we’ve fashioned a handy blowgun holster
11. Youngsters won’t yet relate, but up and down from scaffolds to floor level for a blowgun gets old. So, with a Harbor Freight magnet we’ve fashioned a handy blowgun holster.
Feeling the car body with a glove
12. At this point we like what we see, but seeing ain’t enough. As we were taught back there in body school we’ve got to feel our work as we go to know.
Glove feeling body of car
13. But let’s not sell eyesight short. When we’re seeing shiny metal in deep sand scratches that’s a good indication that our feathered edges will end up undercut.
Evercoat for Metal Glaze 416
14. We’ve already achieved uniform fairness. The deep sand scratches won’t require a second skim, thanks again to Evercoat for Metal Glaze 416.
cramming Metal Glaze 416 into my sand scratches
15. If I could name this step myself, I think I’d call it “cramcoat.” I’m not going for build, I’m only cramming Metal Glaze 416 into my sand scratches.
spreader
16. For our fully cured cramcoat we’ll take the first few strokes with 80-grit on each block and board we’ll use. Then we’ll switch to 120-grit when the spreader trails are leveled.
applying a dry guidecoat
17. To monitor our progress, let’s apply a dry guidecoat. This will make any low spots, pinholes, or sand scratch imperfections stand out visually.
finer 120-grit abrasives affixed
18. Here we’re using the same tools as before but now with finer 120-grit abrasives affixed. When the dark guidecoat is no longer apparent we just might be done.
taking long strokes on the larger expanse
19. We’re taking long strokes on the larger expanse, in an evenly alternating cross-hatch pattern. Pointed fingers denote the direction of this particular stroke.
At this corner only, we’ve come back with Metal Glaze 416 to feather in a small ripple where we sanded our skimcoat through to an earlier fill
20. At this corner only, we’ve come back with Metal Glaze 416 to feather in a small ripple where we sanded our skimcoat through to an earlier fill. This is working.
panel feels good and it’s nearing primetime
21. As it’s intended to be our skimcoat is very thin. Here we see some transparency, and feathered edges transition smoothly. This panel feels good and it’s nearing primetime.
Harbor Freight Tools
(800) 423-2567
harborfreight.com
Summit Racing Equipment
(800) 230-3030
summitracing.com