CTP TECH
InTheGarageMedia.com
1951 Chevy AC vacuum pump manifold gauges Freon charge LS swap garage install
1. Paul Willis prepares for the last but critical step in the installation of an Old Air Hurricane heat and cool system in his 1955 Ford F-100, evacuating and charging the system. The following photos show how he got to this point.
Making a Classic F-100 Cool
Installing Old Air Products’ Hurricane Heat & Cool System
By Ron Ceridono Images by THE AUTHOR
W

hen our buddy, Paul Willis, decided his new project would be building a 1955 Ford F-100 from the ground up he had two goals: one was to incorporate some classic mild-custom features like a tube grille, quad headlights, a rolled rear pan and early Ford taillights, among other modifications; the second was to include modern mechanicals, like a Chevy Gen V direct-injected L83 V-8, 6L80 automatic, and independent suspension on both ends. Of course, a climate-control system would also be part of the modernization effort, and for that he turned to Old Air Products for one of their Hurricane A/C, heat, and defrost units.

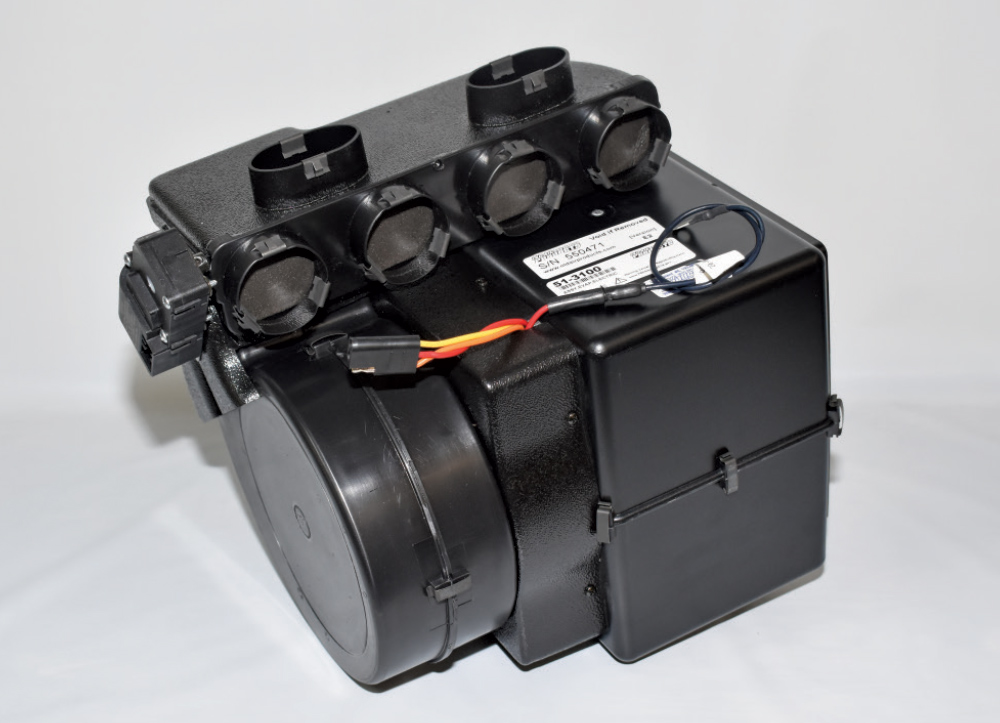
Old Air Products was established in 1989 with the intent to produce a compact climate-control system that would fit any vehicle, be easy to service, and install. The result of their efforts was the popular Hurricane series that met all those goals. There are three variations of the Hurricane, the differences being where the connections exit the case to go through the firewall. The kit Willis chose was Old Air’s CAP-5100 series that is specifically designed for 1953-56 Ford F-100s. It provides A/C, heat, and defrost functions.

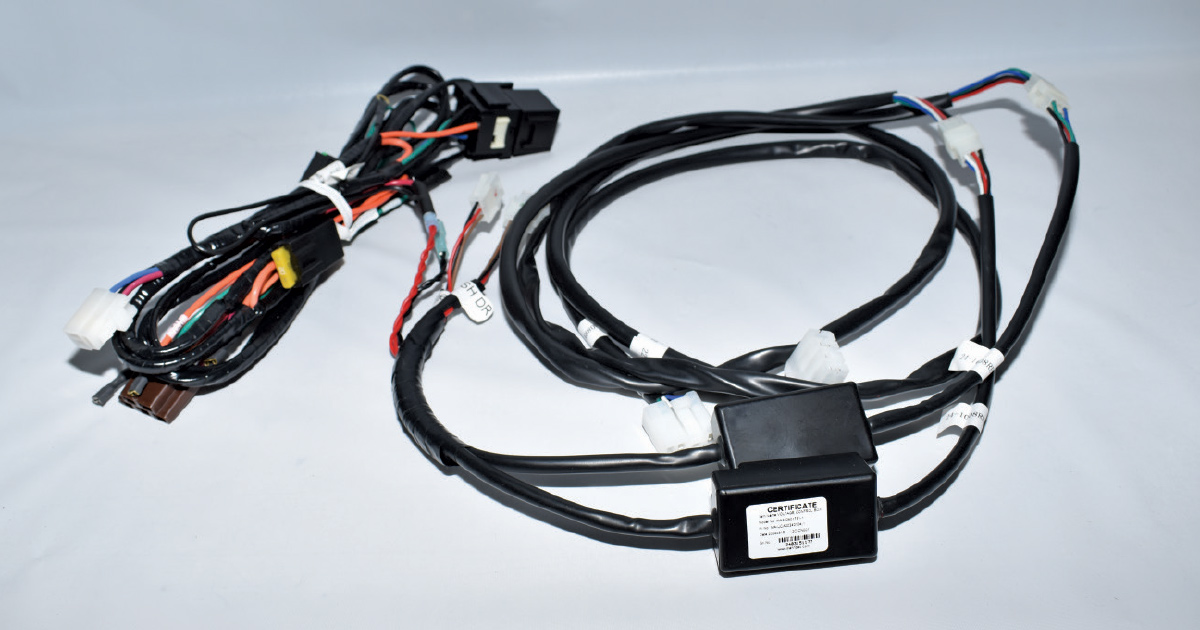
Included in the complete Hurricane kit is the heat, cool, and defrost unit, mounting hardware, switches, wiring, electronic heater control valve, receiver/drier, duct hose, hardware, compressor, custom fit condenser with custom tubes and brackets, and A/C hoses—everything necessary for installation. Old Air kits come equipped with a binary switch to protect the A/C system from excessive high or low system pressures. An optional trinary switch is available (PN 24-0103) to protect the compressor from head pressure that is too high or low, but will also activate the electric engine cooling fan as needed.

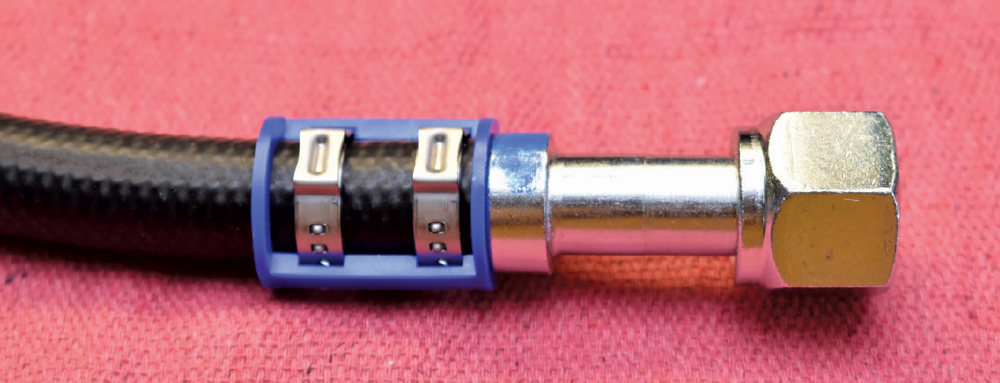
Old Air offers universal hose kits but for our application we opted for the new Simple-Crimp hose kit. It comes with a reduced-diameter hose that is easier to install and route compared to standard barrier hose and comes with a variety of fittings and the required clamps.

When selecting an A/C compressor, Old Air has several to choose from, including the popular and reliable Sanden 508. These compressors have five cylinders and a displacement of approximately 8.4 ci per revolution. However, for LS applications Old Air recommends using the Sanden 709, which has seven cylinders and a slightly larger displacement of 9.36 ci. These compressors put out more volume at idle and are suggested to eliminate possible vibration issues and better cope with potentially high engine operating speeds. Since the L83 Chevy didn’t come from the factory with a power steering pump (which was needed), Willis used brackets from LSX Innovations that mount both a power steering pump and will accept a Sanden 508 or 709 compressor.

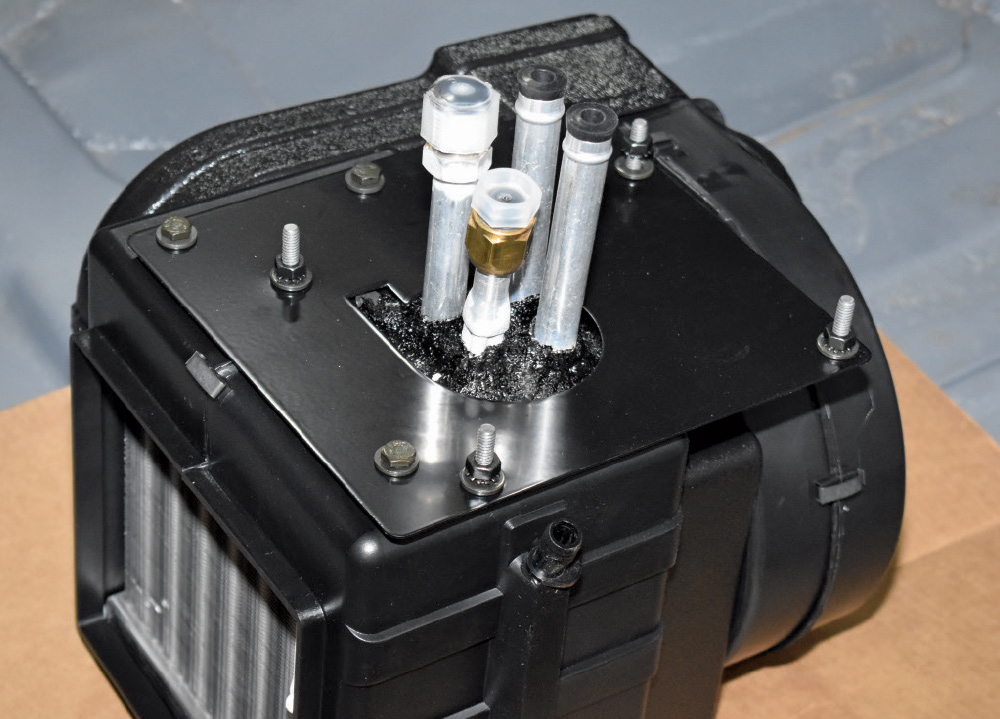
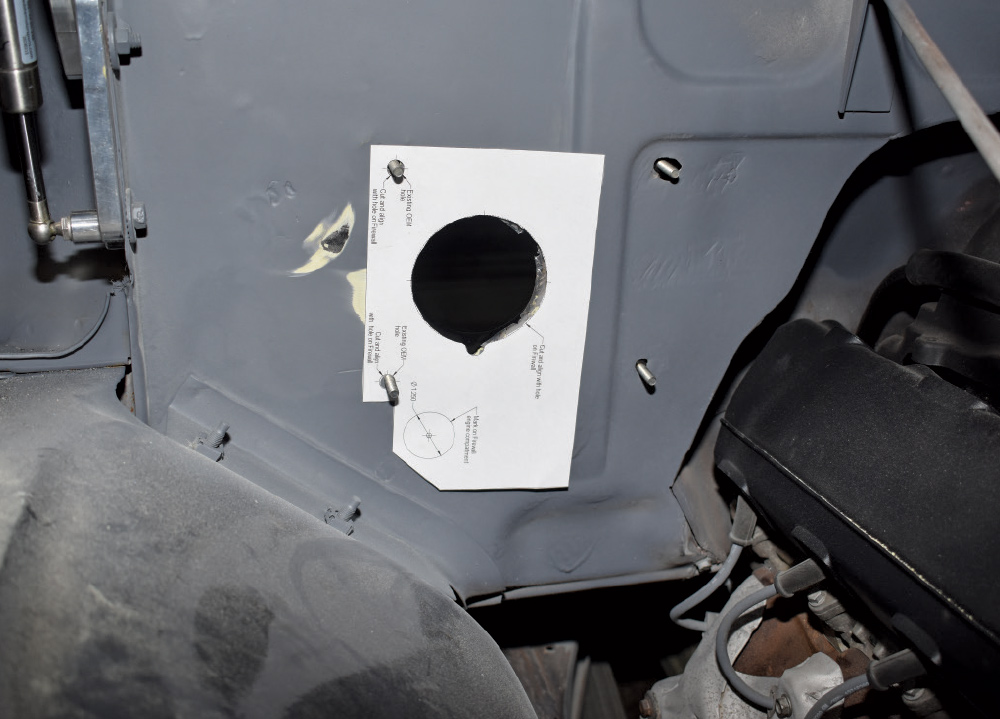
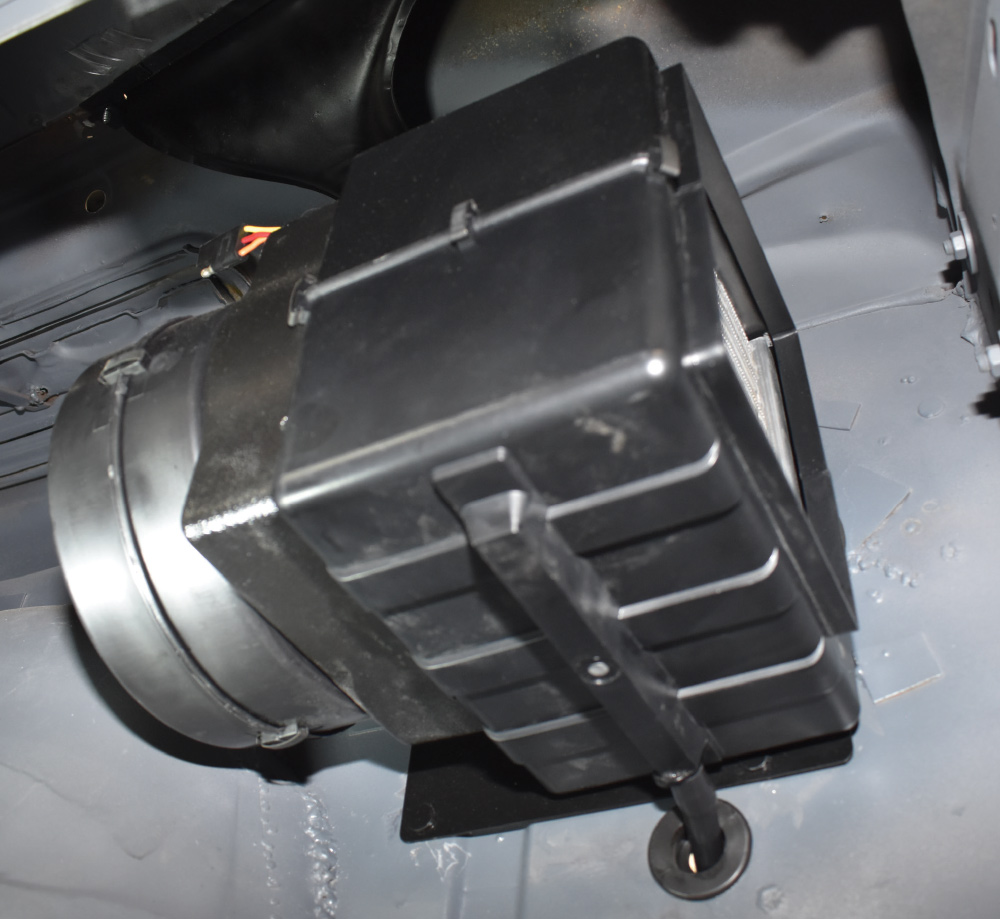
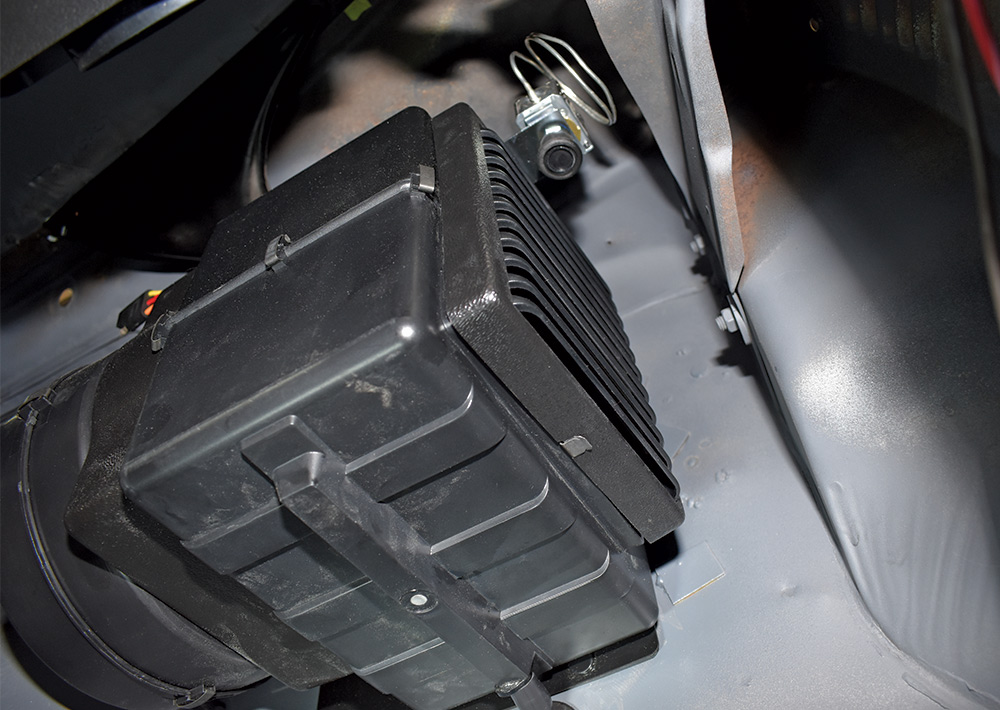
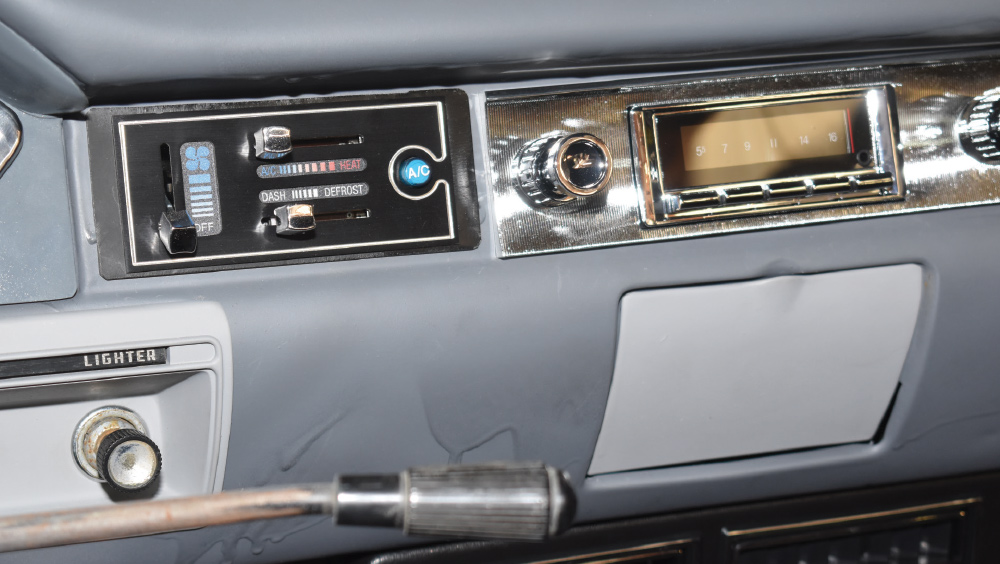
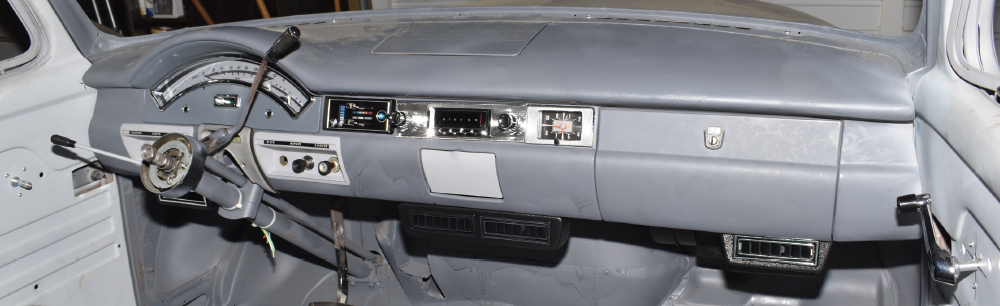
Installing the Old Air Hurricane interior unit containing the A/C coil and heater core couldn’t be easier. It mounts to the firewall using factory holes; the heater and A/C hoses pass through the existing opening in the firewall for the original heater blower motor. The discharge louvers and switches to operate the fan, A/C, and heat normally mount to the lower edge of the truck’s dash. However, in this case the optional electronic slide control was found to be a perfect fit in the 1957 Ford passenger car dash Willis had gone to great lengths to make fit.
 
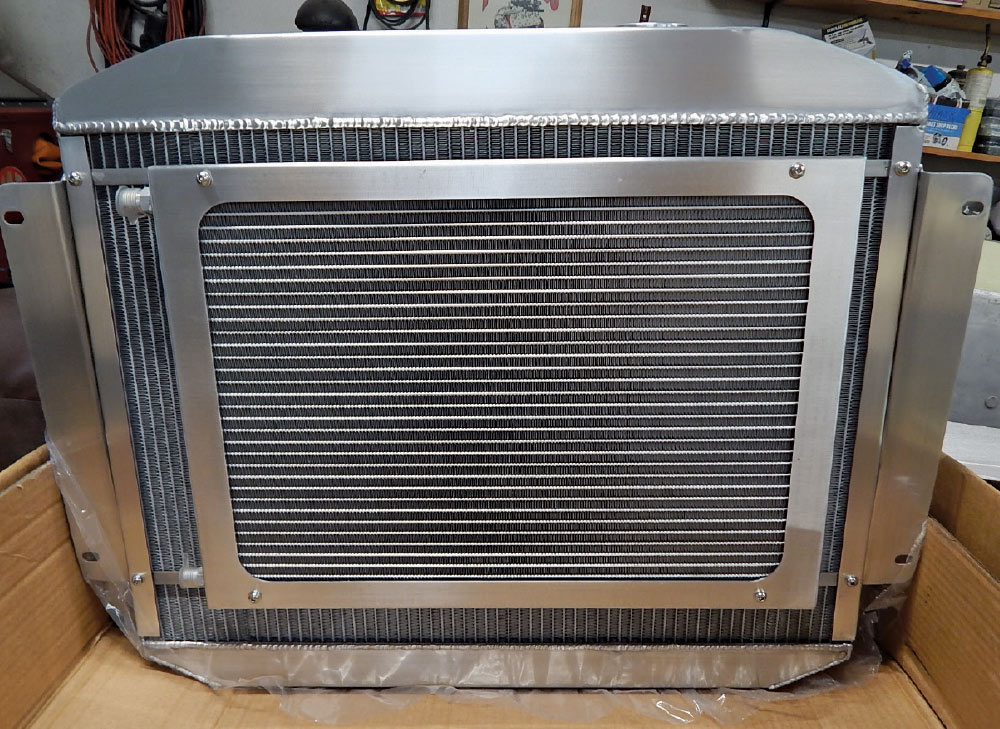
In most cases the custom condenser assembly Old Air offers for F-100s is the way to go. It includes mounting brackets that use the OEM bolts to mount the condenser, receiver/drier, and pre-formed aluminum lines to pass neatly through the core support. However, the aluminum radiator the truck was already equipped with included a condenser that was the proper size for the application, so that’s what was used.

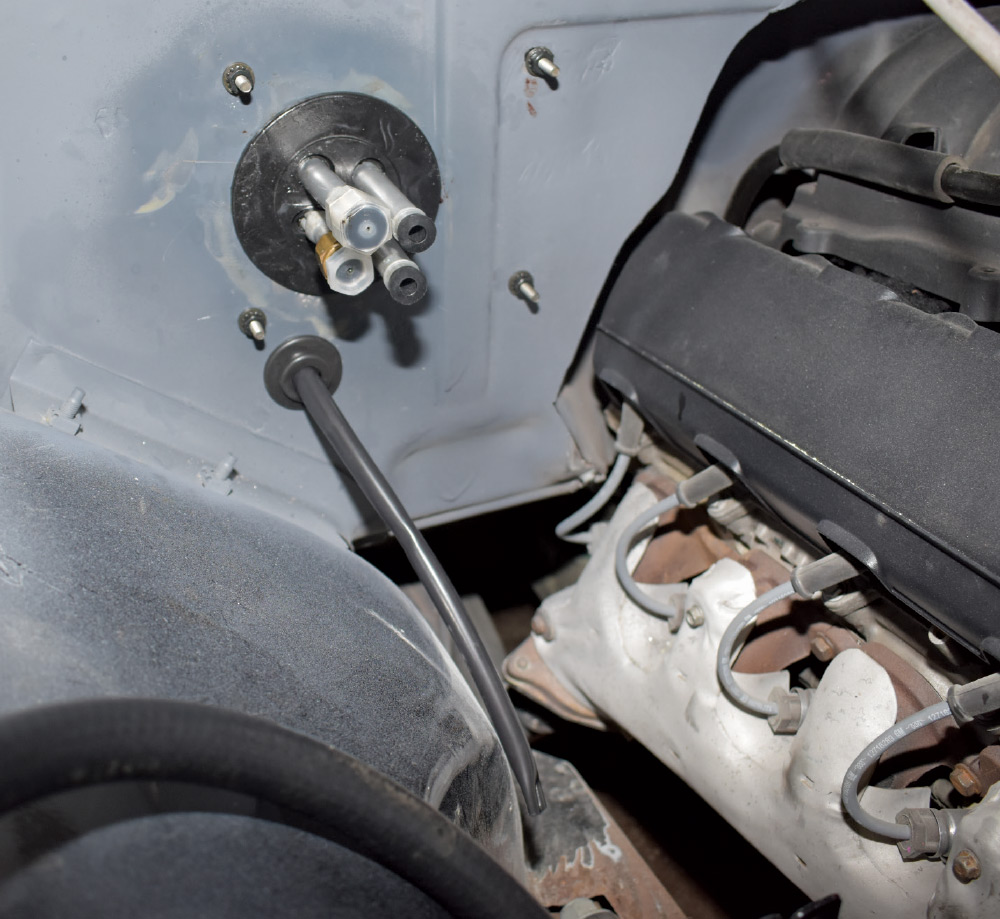
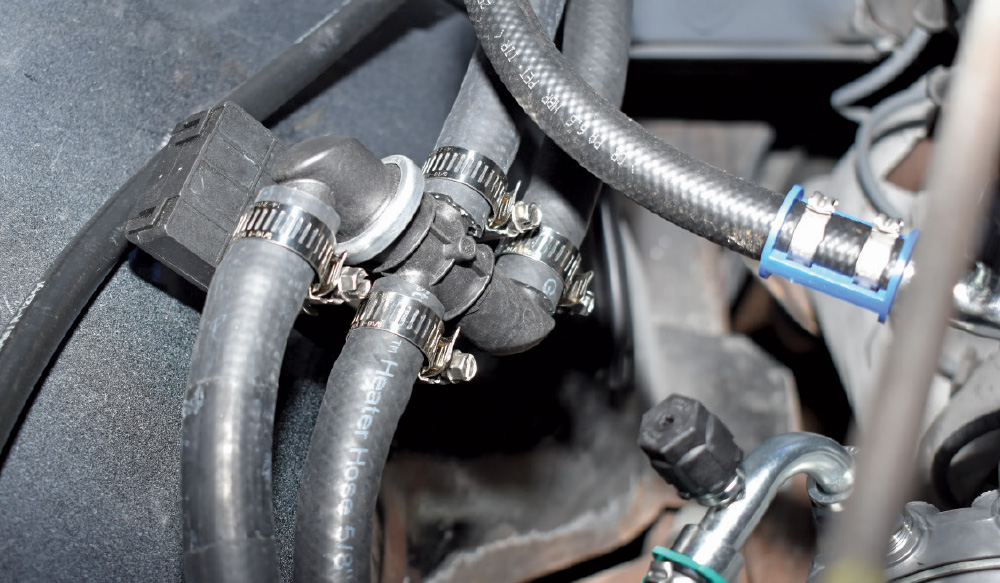
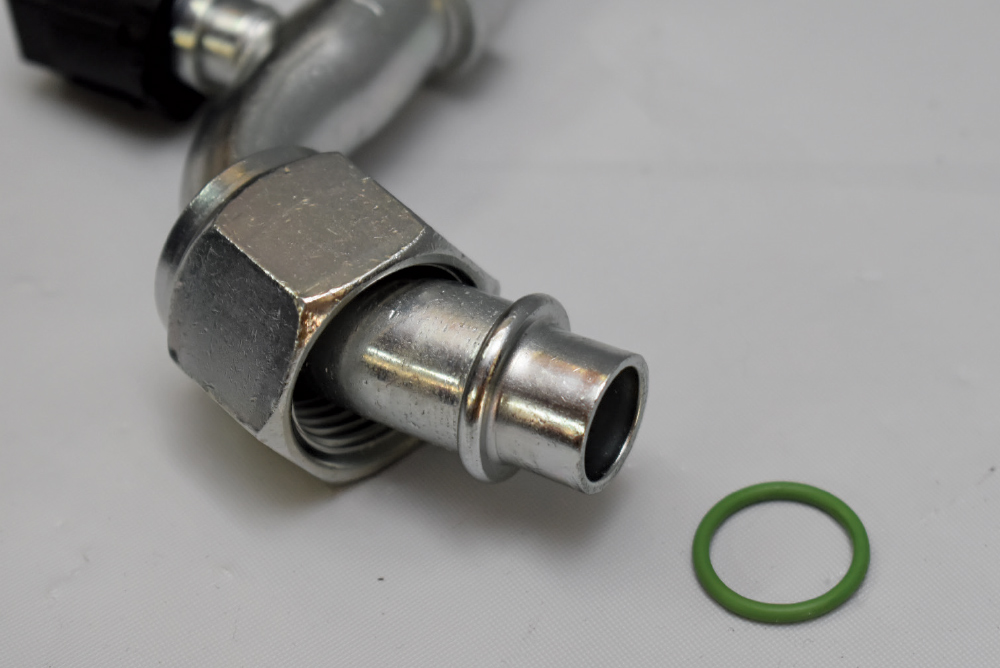
Installing the heater and A/C hoses is quick and easy. The heater control valve can be located anywhere that is convenient. It is important for LS and Coyote engines; a bypass heater valve is used to recirculate the coolant/antifreeze back to the motor. We particularly liked the Easy-Crimp A/C hoses as they could be cut to the exact length needed and the ends installed without the crimping tool the standard hose requires. Old Air’s Jose Balderas points out that while the benefit of the reduced barrier hoses being easy to route in tight spaces, it is imperative that the hose does not kink as it will cause major problems with the A/C system.

As the purpose of a climate-control system like the Hurricane is to control the temperature of the passenger compartment, it’s always advisable to add insulation to the roof, floor, and firewall to optimize the performance of the heater and A/C. Make sure the weatherstripping around the doors and windows is in good shape; tinted windows will help reduce interior heat gain in the summer, making the A/C more effective. There are also mechanical considerations when installing a heat and cool system. The engine must be equipped with an effective fan (mechanical or electric) that provide sufficient air through the radiator and condenser. In addition make sure the charging system is capable of handling the increased electrical load and is properly grounded to ensure proper operation of the electronic controls.

Once all the components are in place all that is left to do is charge the system with refrigerant. This is a job for an experienced technician as it requires evacuating the system with a vacuum pump for a minimum of 45 minutes, then adding 28-32 ounces of 134a refrigerant. Once charged, a dedicated set of A/C gauges should indicate the pressure on the high side of the system (the discharge and liquid lines) to be approximately 2-1/2 times the outside air temperature. On the low side (suction line) the system pressure will initially be 35 to 45 psi then and drop lower as the passenger compartment cools.

Old Air’s complete Hurricane package includes everything necessary for the installation. It comes with detailed instructions and their helpful tech experts are a phone call away, if needed. It’s an easy way to make your F-100 cool.

1951 Chevy underdash AC unit black plastic HVAC heater evaporator core housing
2. Old Air’s Hurricane heat/cool/defrost system is compact, which allows an operational cowl vent to be retained, if desired. The top two outlets supply the defroster ducts while the four below supply the center and side louvers on the dashboard.
1951 Chevy AC evaporator core ports heater core lines front view HVAC unit
3. The Hurricane system for 1953-56 F-100s have A/C and heater connections that fit through the firewall, simplifying the connections. The three threaded inserts accept the mounting plate that attaches to the firewall.
1951 Chevy AC evaporator input output port close-up fittings heater core plumbing
4. Here the mounting bracket has been attached to the evaporator assembly. Note the four studs that will secure the assembly to the firewall.
1951 Chevy AC firewall template cutout heater core access port custom install
5. Included in the Hurricane kit is a template for the 1-1/4 inch hole necessary for the evaporator drain hose—that’s the only modification to the firewall required.
1951 Chevy AC firewall port fittings installed LS engine bay view
6. Here the evaporator has been bolted in place. A rubber grommet for the A/C and heater hoses fits the factory heater motor hole in the firewall; a grommet for the drain hose is also included.
1951 Chevy AC evaporator unit mounted underdash interior HVAC wiring visible
7. The compact evaporator assembly fits easily behind the dashboard and is virtually hidden from view. The hose at the bottom of the case drains any moisture that accumulates in the case.
1951 Chevy AC floor vent assembly with capillary thermostat temperature control
8. This is the air inlet grille for the system. It mounts the adjustable thermostat for the A/C system that cycles the compressor to prevent the A/C coil from freezing.
1951 Chevy AC floor vent grille mounted to underdash HVAC housing interior view
9. With the inlet grille in place, the thermostat’s capillary sensor tube (that coil above the knob) is inserted into the A/C coil at a designated location.
1951 Chevy AC heater core lines routed through firewall LSX engine swap
10. The heater hose connections on the L83; the heater control valve has 5/8-inch connections. Old Air Products includes hose adapter sleeves for 3/4-inch heater hoses with their bypass heater valves. NAPA offers a hose that is 3/4 inch then necks down to 5/8 inch (PN NBH 10083).
1951 Chevy AC heater hose shutoff valve hose clamp routing LS swap firewall
11. There are four 5/8-inch hose connections on the electronic heater control valve, each with a dedicated connection—to and from the water pump and in and out of the heater core as shown in the instructions.
1951 Chevy AC control panel switch sliders HVAC vintage air electronic controller
12. Old Air offers a variety of system controls. We chose their horizontal electronic slide style (PN 45-0114B).
1951 Chevy AC control panel installed dash vintage air underdash system retrofit
13. With the addition of a fabricated filler panel, the Old Air horizontal control panel was installed in the slightly larger original heater control opening in the 1957 Ford passenger car dashboard.
1951 Chevy AC underdash vent kit three-piece black plastic louvers dash mount
14. For dash outlets Paul opted for two single rectangular louvered assemblies (PN 32-1) on each side and a dual center outlet (PN 32-3F) that also includes floor outlets.
1951 Chevy dash interior AC vents full view installed underdash dual outlet
15. The passenger car dashboard is substantially different than the original, however the stock F-100 defroster ducts are still in place.
1951 Chevy AC vent install routing hose duct to passenger side underdash outlet
16. Thanks to the Hurricane evaporator’s compact size there’s plenty of room to route outlet and defroster duct hose and make electrical connections.
1951 Chevy AC hose color clip set blue green yellow spring lock retainer kit
17. Our Hurricane kit came with Old Air Products’ new Simple-Crimp Fitting and Hose Kit; plastic guides are used to locate the clamps on the hose.
1951 Chevy AC hose blue spring lock clip with Oetiker clamps close-up
18. There are three sizes of color-coded guides: blue for the #10 evaporator to compressor hose, green for the #8 compressor to condenser hose, and yellow for the #6 condenser to evaporator hose.
1951 Chevy AC line hose crimped with dual Oetiker clamps and spring lock
19. Before the fittings are inserted in the hose, the supplied lubricant is applied.
1951 Chevy AC hose clamp crimper tool iCrimp F2098 red handle ratcheting jaws
20. With the Simple-Crimp clamps and guide in place on the hose the fitting is installed.
1951 Chevy iCrimp F2098 tool Oetiker ear clamp crimping close-up AC hose install
21. Old Air offers the pliers necessary to secure the Simple-Crimp clamps (PN 97-1357).
1951 Chevy AC hose end lube prep barb fitting with plastic cap and sealant
22. The clamps are secured by squeezing them until the pliers automatically release. The result is a simple but secure connection.
1951 Chevy AC hose Oetiker double clamp install with blue clip retainer detail
23. A before (left) and after (right) of the Simple-Crimp clamps being crimped with the pliers.
1951 Chevy AC line green O-ring seal close-up aluminum fitting refrigerant connection prep
24. O-rings are used at all the A/C connection points; they must be lubricated before installation.
1951 Chevy AC compressor with blue and green spring lock clamps installed lines
25. For use with the Chevrolet Gen V L83, a Sanden 709 compressor was installed. Note the service ports on the hose connections for evacuating and charging the A/C system.
1951 Chevy LS engine bay full AC system mockup lines routed compressor installed
26. Due to the evaporators clever mounting system and hose routing, the underhood installation is clean and simple.
1951 Chevy aluminum radiator with integrated AC condenser and billet frame
27. Mattson Custom Radiator supplied the aluminum radiator, which came with an A/C condenser. Old Air offers condensers for all their systems.
1951 Chevy AC system drier mounted behind grille support hard lines and wiring
28. The receiver/drier was mounted to the core support; it mounts an optional trinary switch.
1951 Chevy complete AC system wiring harness labeled multi-connector relay setup
29. Wiring for the electronic Hurricane system is completely plug-and-play. The wires are labeled and the plugs are specific for each device.
SOURCE