CTP Tech
InTheGarageMedia.com
Four Days in Tempe Building the Ultimate C10 Dash
A large group of men, many wearing black "HOT ROD" t-shirts, stands in a brightly lit workshop. They are gathered behind a table displaying several colorful, custom-built vehicle dashboards. The men are smiling and looking at the camera. A couple of classic car bodies are visible in the background on the left.
A Behind-the-Scenes Look at MasterTech Hot Rod 3D Build at Mobile Solutions
BY CTP StaffImages BY IVAN MARTINEZ
I

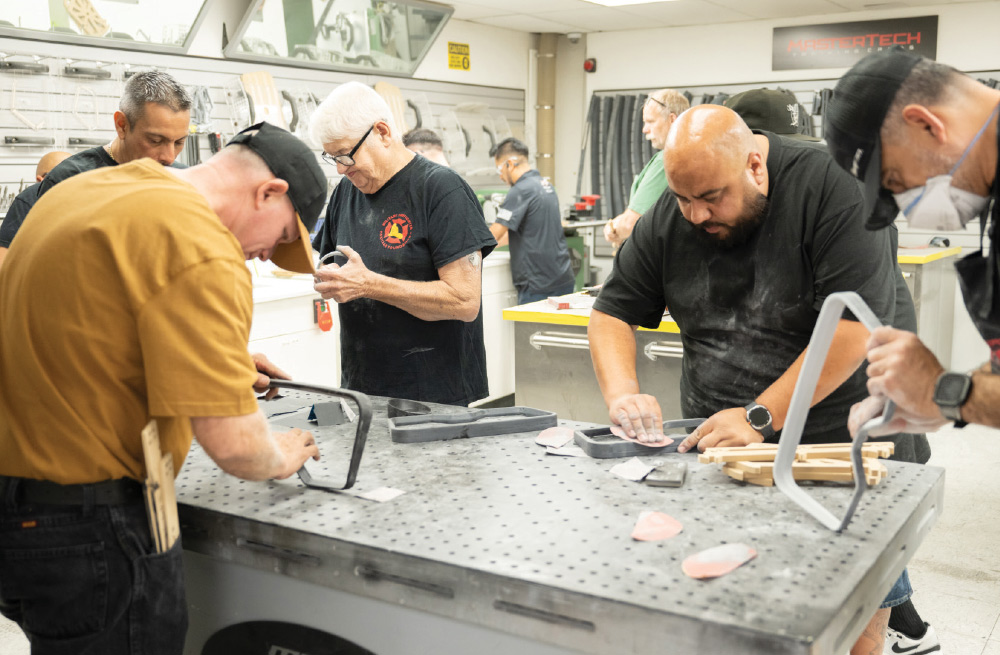
t’s 8:30 a.m. in Tempe, Arizona. The roll-up doors are open at Mobile Solutions’ fabrication training center, and the desert heat is already beginning to settle in. Inside, a fullsize C10 truck cab shell sits front and center, its bare metal dash a blank canvas. Around it, a group of fabricators from all over the country gather—some returning for their 10th class, others attending for the first time.

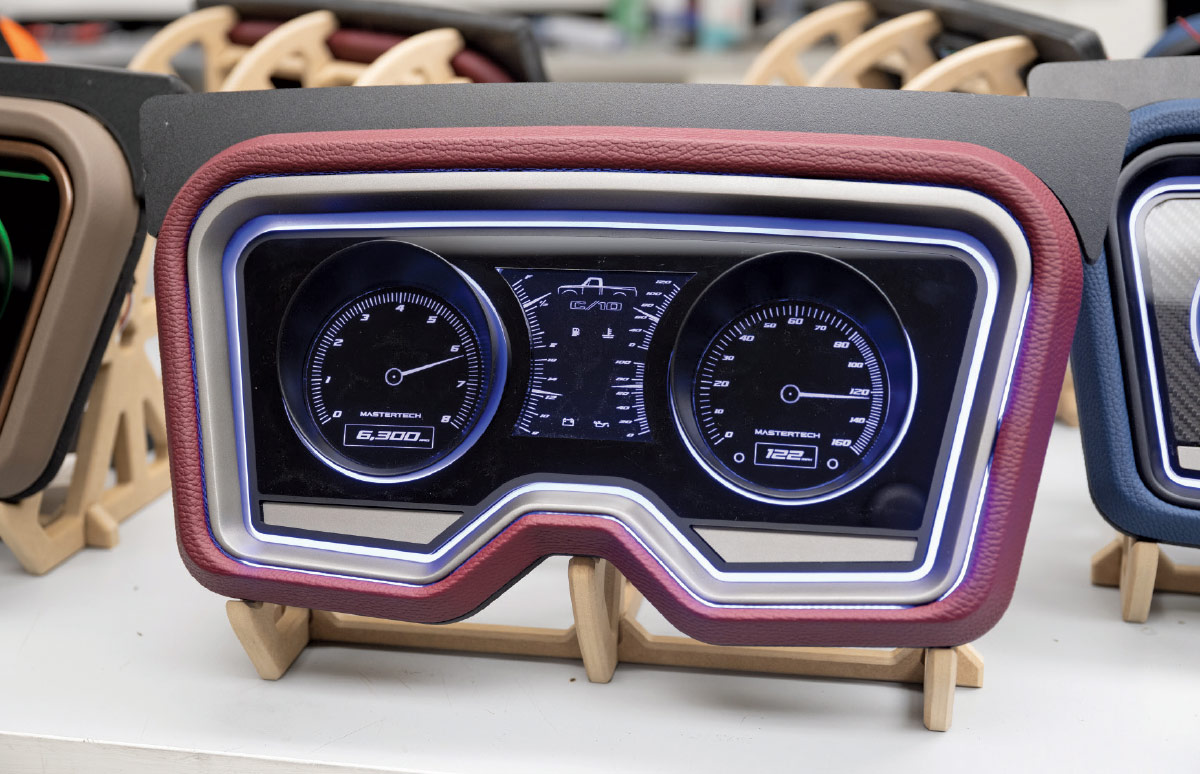
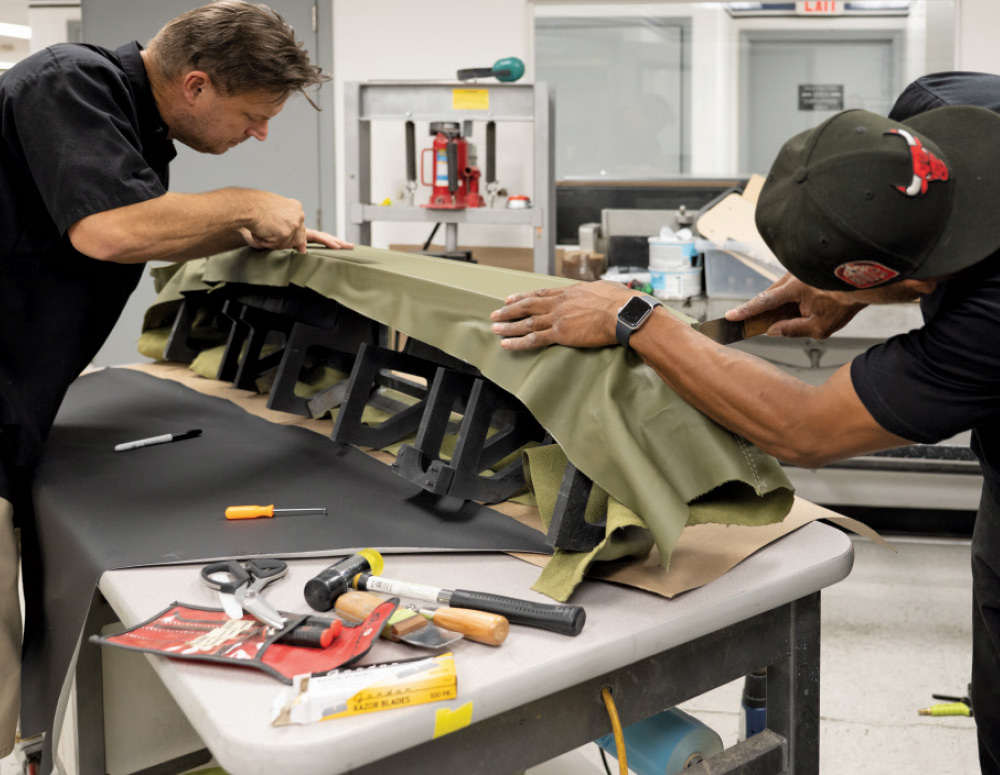
Over the next four days, they’ll work through the complete process of building a fully custom dashboard from the ground up—design, structure, electronics, upholstery. This is MasterTech 3D: Hot Rod Dash Build, a hands-on course designed not just to teach fabrication techniques but to walk attendees through the real-world process of turning raw materials into something refined, functional, and truly custom.

Laying the Groundwork
The first day set the tone. After introductions and safety briefings, the class was given a broad overview of the project scope. Unlike typical seminars that focus on isolated skills, this course was centered on building a complete dash assembly, start to finish, with each module feeding into the next.

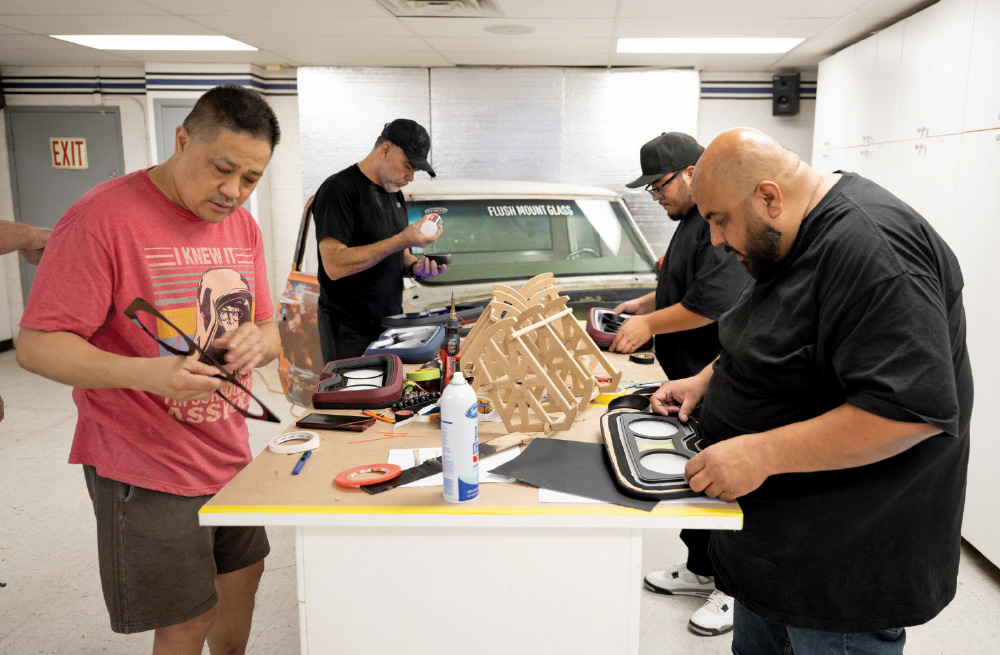
A live vehicle inspection began the process—studying the C10 cab’s geometry, identifying mounting points, and exploring how to blend modern visual language into a classic form. Using Peel 3D scanning tools, instructors demonstrated how to capture the cab’s interior dimensions, providing a digital foundation for conceptual sketching. Students sketched their ideas on paper and tablets, weighing layout options for gauge clusters, LED zones, and layered trim.

From Concept to Construction
By day two, theory gave way to sawdust and resin. Templates were drafted and refined. CNC-cut shapes and router techniques were demonstrated in detail, with each attendee tasked with building their own dash stand and structural frame. Fiberglass mold-making, bracket fabrication, and ergonomic adjustments followed—each step carefully considered for serviceability, strength, and alignment with the original scan data.

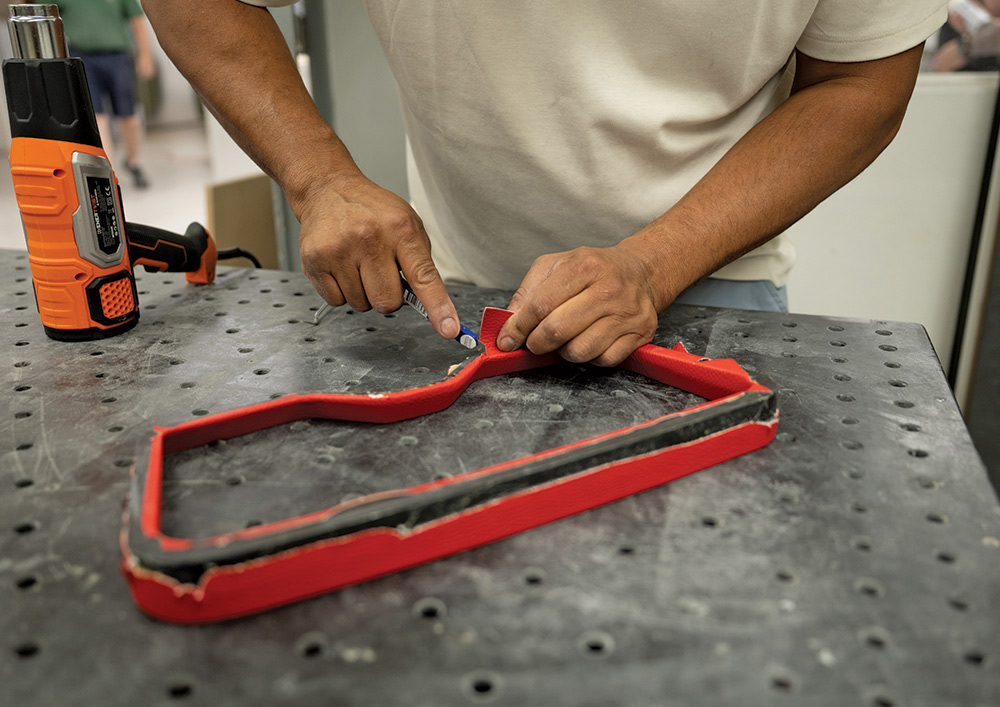
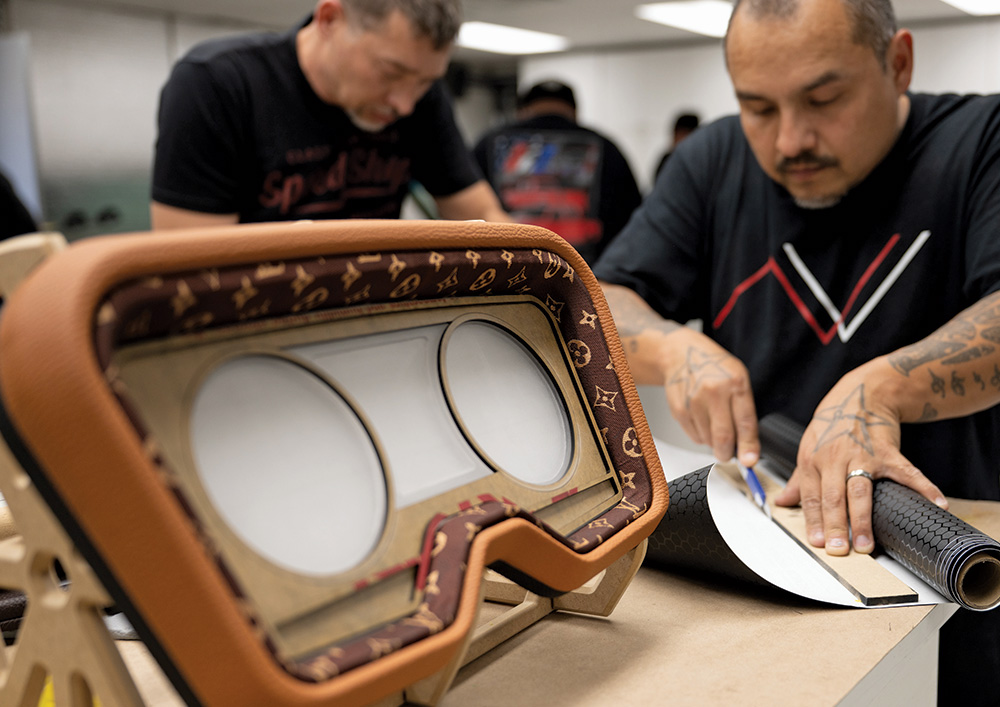
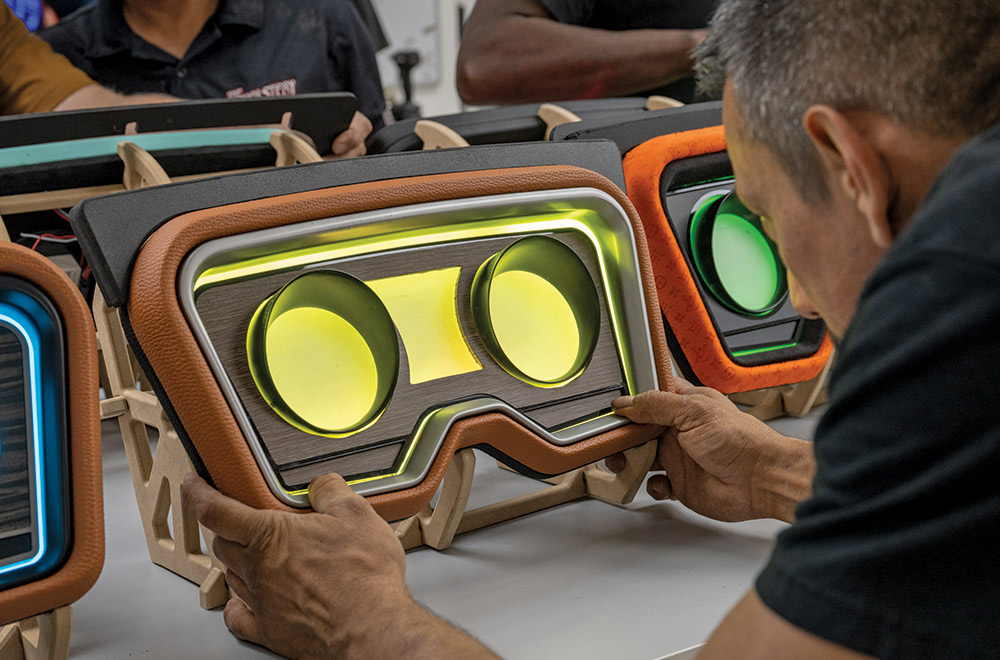
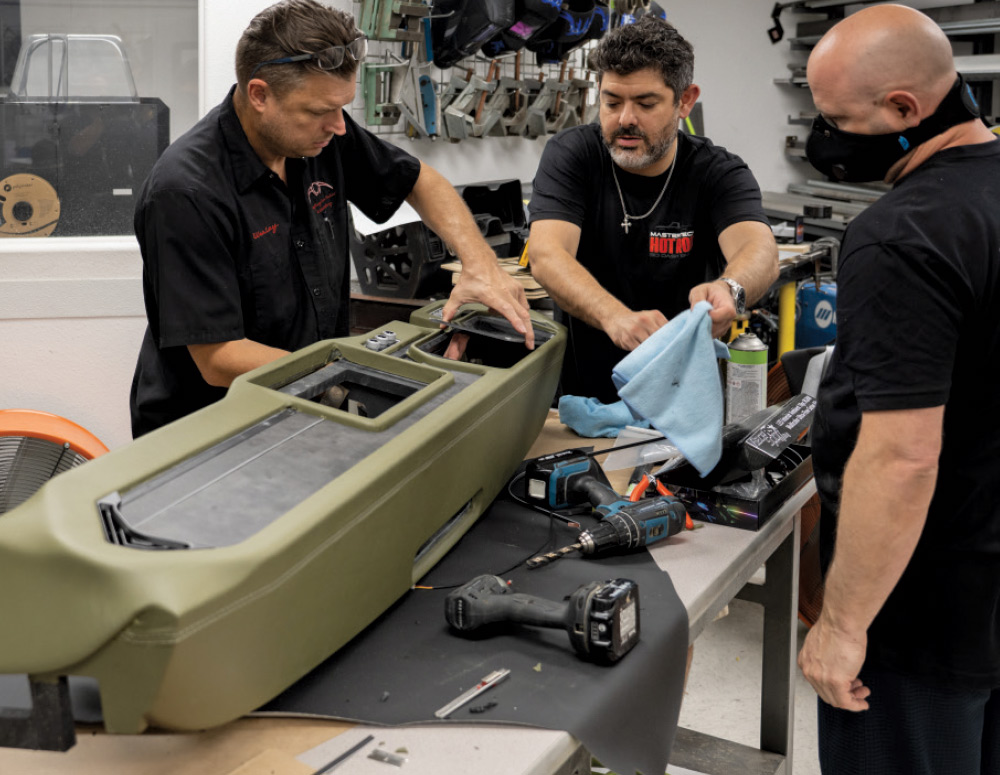
This wasn’t a class about shortcuts. Every decision had a reason. Brackets were adjusted for driver sightlines, bezels were designed with upholstery tolerances in mind, and the layering of panels was treated more like sculpture than assembly.

Wiring the Future
Sunday brought electronics into the mix. LED strips were installed and tested, gauges mounted, and digital components integrated. Discussions turned to power distribution, wiring harness layout, and best practices for service-friendly installation. Students worked closely with instructors to fine-tune each interface—nothing was rushed. Even the placement of USB ports and HVAC controls sparked thoughtful debate.

By afternoon, the nearly complete dash sections were test-fit into the C10 cab shell. Some required fine-tuning. Others dropped into place with little more than a light push and the audible click of brackets locking in. That moment—that dry fit coming together—was a turning point.

The Finish Line
Monday was the final stretch. With tools in hand and upholstery materials laid out, attendees turned their attention to finish work. Techniques for stretching vinyl, hiding seams, and heat-forming around complex curves were demonstrated, then practiced. There was no pressure to complete every section—but there was encouragement to attempt something new.

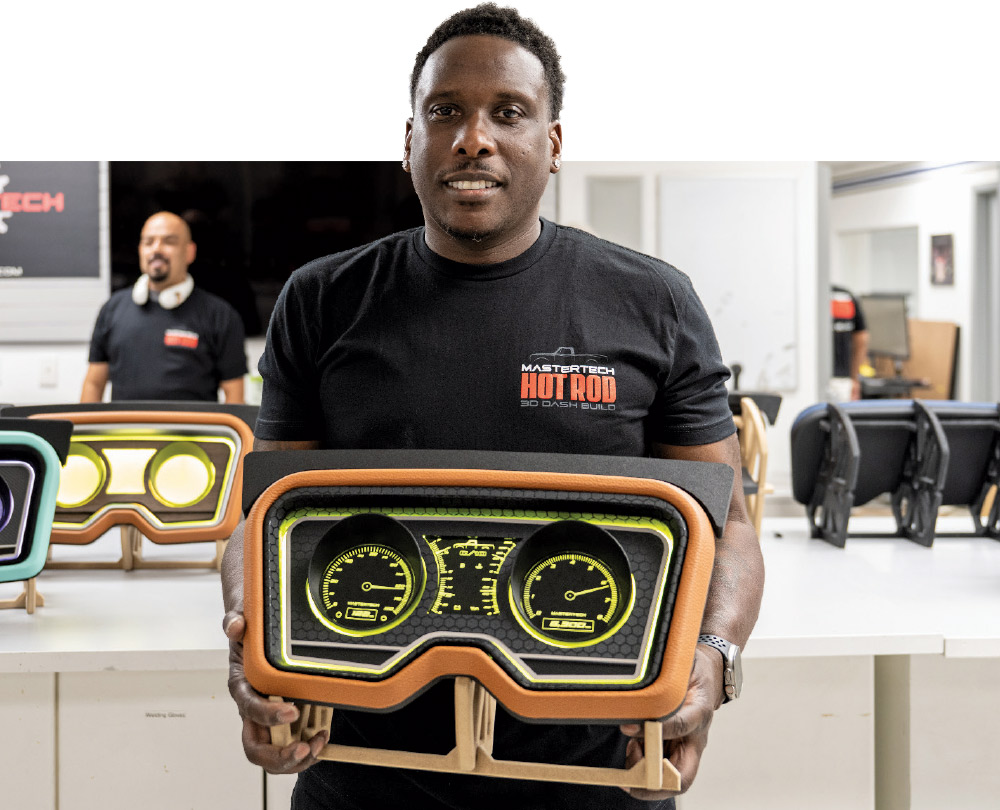
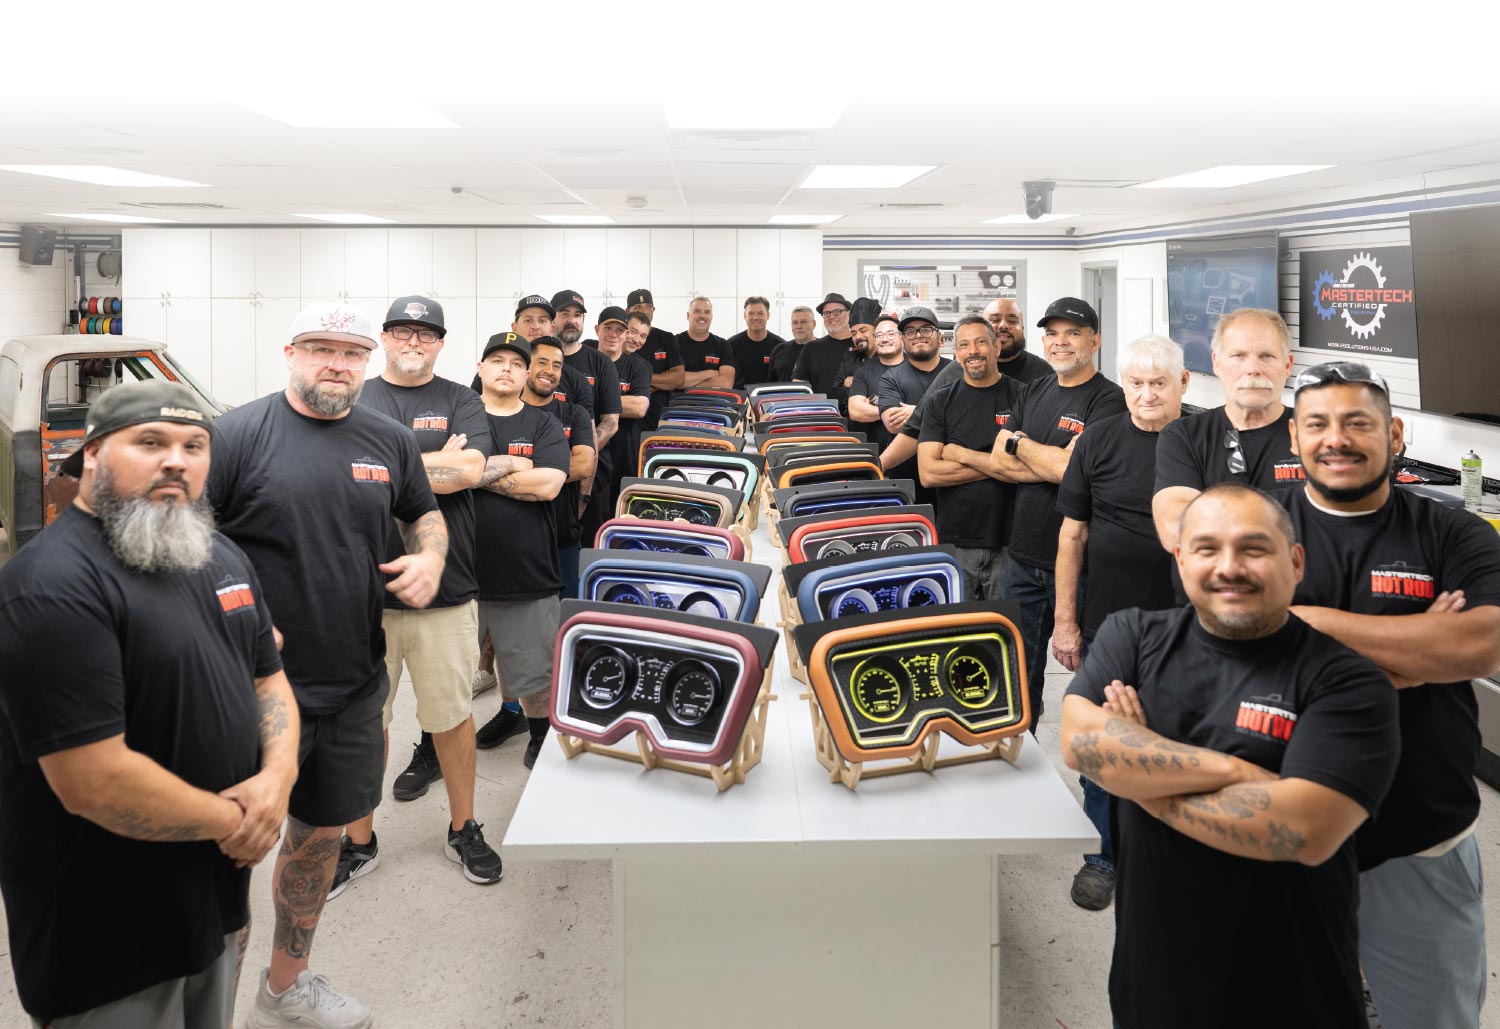
By late afternoon, the shop had taken on the quiet, focused energy of a studio. Students assembled their final pieces, cleaned edges, and prepped for presentation. One by one, they shared their work with the class—some polished, some still in progress, all shaped by intention.

A Different Kind of Education
What set this training apart wasn’t just the techniques—it was the structure. Each module mirrored a step a builder would follow in the real world. Mistakes were welcome. Collaboration was constant. And while the instructors—Bryan Schmitt, Christerfer Pate, Phil Cantu, and Wesley Cato—shared decades of knowledge, they did so more like mentors than lecturers.

By the time the shop floor was cleared, everyone left with more than a finished project. They left with a deeper understanding of their craft—and a renewed respect for the process behind it.

A close-up, low-angle shot shows a line of custom-built, modern vehicle dashboards displayed on wooden stands along a white table. Each dashboard features two large openings for gauges and is upholstered in different colors, including tan, blue, red, and black. The nearest dashboard is tan with a black center and features bright yellow-green digital gauges.
A group of men in a workshop is gathered around a table assembling and inspecting custom vehicle dashboards. In the foreground, a man wearing safety glasses and a black shirt is focused on adjusting a dashboard with purple-lit gauges. A brightly lit dashboard with a red frame is prominently displayed on the left. Other men are visible further down the table working on similar units.
A group of men in a workshop is gathered around a large metal workbench, focusing on tasks involving sanding and preparing parts. The man in the foreground on the right is sanding a dark, curved component. Other men are similarly engaged in working on pieces of custom automotive parts.
Four men are working on automotive projects in a brightly lit workshop. In the foreground, a man in a red t-shirt examines a pair of glasses while three other men, wearing black shirts, are gathered around a table assembling custom dashboard components. A white vintage pickup truck is visible in the background.
Two men are working at a table in a workshop. The man on the left is intently focused on assembling a dark gauge bezel with small tools. The man on the right, wearing safety glasses, looks down and gestures toward the work. Other men are visible working in the background, with several custom dashboards lined up on a surface behind them.
A close-up of a workbench shows various parts for a custom vehicle dashboard. In the foreground, a silver, curved bezel rests on a black, carbon-fiber textured panel along with two black gauge cups and a small black electronic box with wires. Other parts, including wooden templates and a piece of red upholstered material, are scattered on the brown work surface.
A close-up shot of a person's hands working on a custom car part. The person, wearing a light-colored shirt, is using a small tool to carefully trim or tuck the edge of a piece of red vinyl or leather upholstery wrapped around a black, rectangular bezel. An orange and black heat gun is visible on the work surface to the left.
A close-up shot of a man, wearing a black t-shirt and baseball cap, intently working on assembling a custom automotive part. He is pressing a tan, upholstered bezel onto a wooden piece on a workbench.
A close-up of a custom vehicle dashboard being upholstered. The dashboard frame, which has two large circular openings for gauges, is wrapped in tan material and an inner bezel features a patterned fabric. In the foreground, a man is focused on cutting a piece of black patterned vinyl from a roll, while another man works in the background.
A close-up shot of a custom vehicle dashboard assembly in progress on a workbench. The part features an outer frame upholstered in tan/brown material around a white center panel with two black circular gauge cups. In the background, a stack of wooden templates or jigs is visible.
A close-up of a man examining a custom vehicle dashboard unit that is illuminated with bright yellow-green light. The dashboard is upholstered in tan leather with a black top and features a simulated woodgrain center panel with two circular gauge openings. Several other colorful custom dashboards are visible lined up on the table next to it.
A man wearing a black t-shirt with "MASTERTECH HOT ROD DASH BUILD" printed on it holds up a custom-built vehicle dashboard. The dashboard features a tan upholstered frame, a dark center panel, and two bright yellow-green digital gauges. He is smiling and looking directly at the camera. Another man is visible in the background.
A close-up of a finished, custom-built vehicle dashboard with a tan leather frame. The inner bezel is upholstered with a luxury designer-style monogram pattern fabric. The center panel is black with a honeycomb texture and features two large, glowing purple digital gauges with an illuminated digital screen between them. The dashboard is mounted on a wooden stand.
A close-up of a custom vehicle dashboard unit. The frame is upholstered in a dark red textured material, and the inner bezel is silver with a white/light blue neon glow border. The center panel is black and features two digital gauges with white needles and markings and a screen in the middle, all glowing with a cool white light. It rests on a wooden display stand.
A man in a black t-shirt is holding a long, flat component wrapped in a black vinyl with a wood grain or carbon fiber texture. He is using a bright yellow heat gun to apply heat to the material, likely to help the vinyl adhere or contour to the part.
Two men are working together to upholster a large, custom vehicle dash component with olive green fabric or vinyl. They are standing over a workbench that holds the component on a black frame. Various tools, including scissors, a hammer, and razor blades, are scattered in the foreground.
Three men are working on a large, custom vehicle dashboard wrapped in olive green vinyl or leather on a workbench. The man on the left is fitting a black panel into the dash. The man in the center is holding a light blue cloth and looking down at the work. The third man who is wearing a face mask around his neck, stands to the right. Power drills and other tools are on the table in the foreground.
A close-up of a finished, custom-built dashboard installed in the cab of a vintage truck. The dashboard is upholstered in olive green material and features a large, modern touchscreen display in the center. To the left, behind the silver steering wheel, is a small digital gauge cluster illuminated with green light. The passenger side of the dash has a dark, simulated wood grain panel with a thin, illuminated orange ambient light strip running across it.
A group of six men stands in a line behind a large, custom-built olive green dashboard unit, which is resting on a row of stainless steel workshop cabinets. A large screen behind them displays the "MASTERTECH CERTIFIED" logo. The men are all smiling and posing for the camera.