CTP Tech
InTheGarageMedia.com
Two Vintage Air boxes on display in front of a customized blue 1990s Chevrolet CK 1500
1. Thanks to the help of Vintage Air, this step of making the truck more roadworthy and comfortable is possible due to the Gen 5 SureFit Complete Kit for 1988-1994 OBS trucks.
Next-Gen Cool typography
Vintage Air’s Latest SureFit A/C for the 1988-1994 OBS
BY Jon Barefoot & Jessica RoachIMAGES BY THE AUTHORS
T

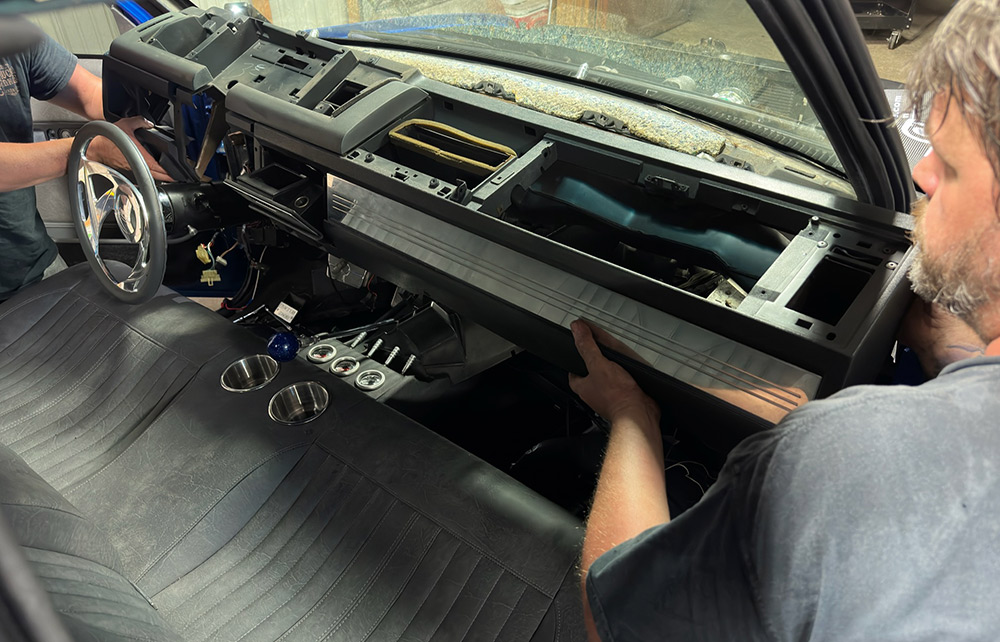
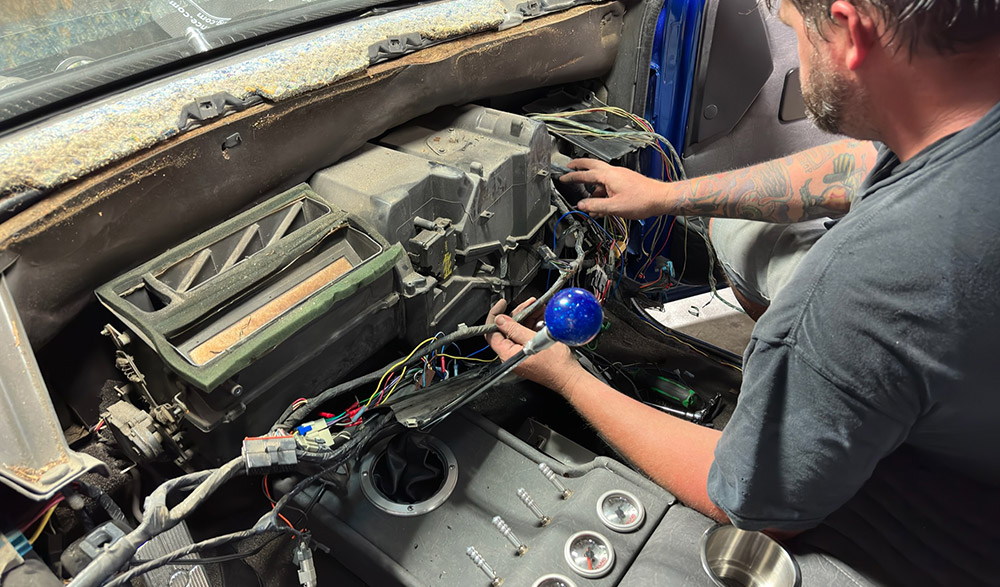
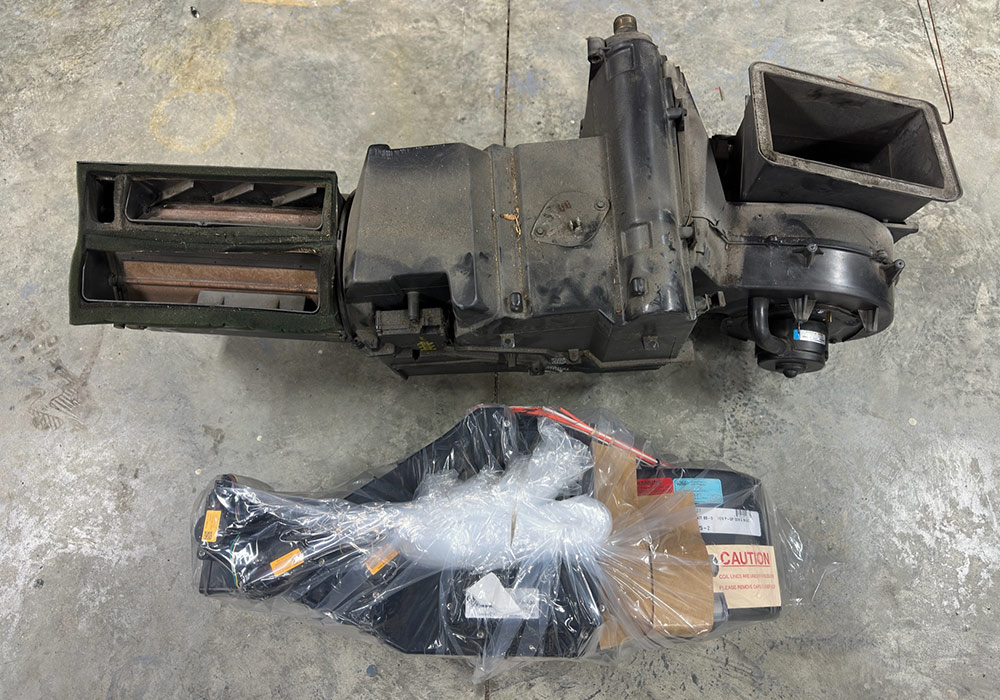
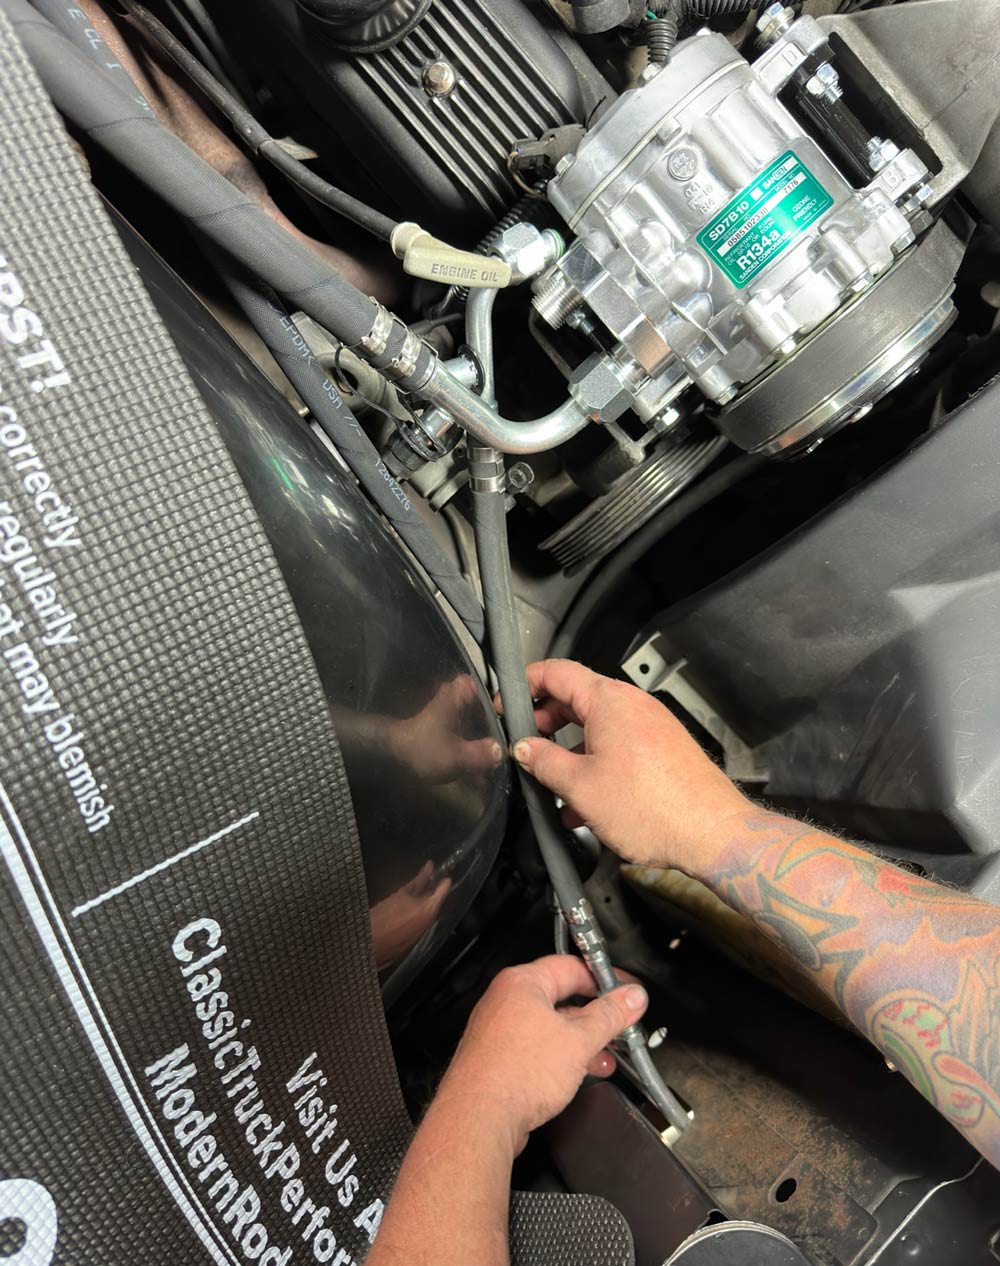
hree years ago, the journey of this project had every intention of being a dependable driver. Unfortunately, like most sport trucks from the 1990s, the further we dove into the project, the more neglect we found. It is ironic that everything on our 1990 Chevy 1500 has everything modified besides the interior cooling system, making it a no-brainer to add this upgrade. With air conditioning being one of the most important aspects of a daily driver (especially here in the legendary heat and humidity of Alabama), we quickly came to realize that none of the factory air conditioning was working nor was it repairable. With 20 years of personal experience installing Vintage Air and being part of the team at Johnson’s Hot Rod Shop where their products are installed in every build, we knew immediately what our solution was.

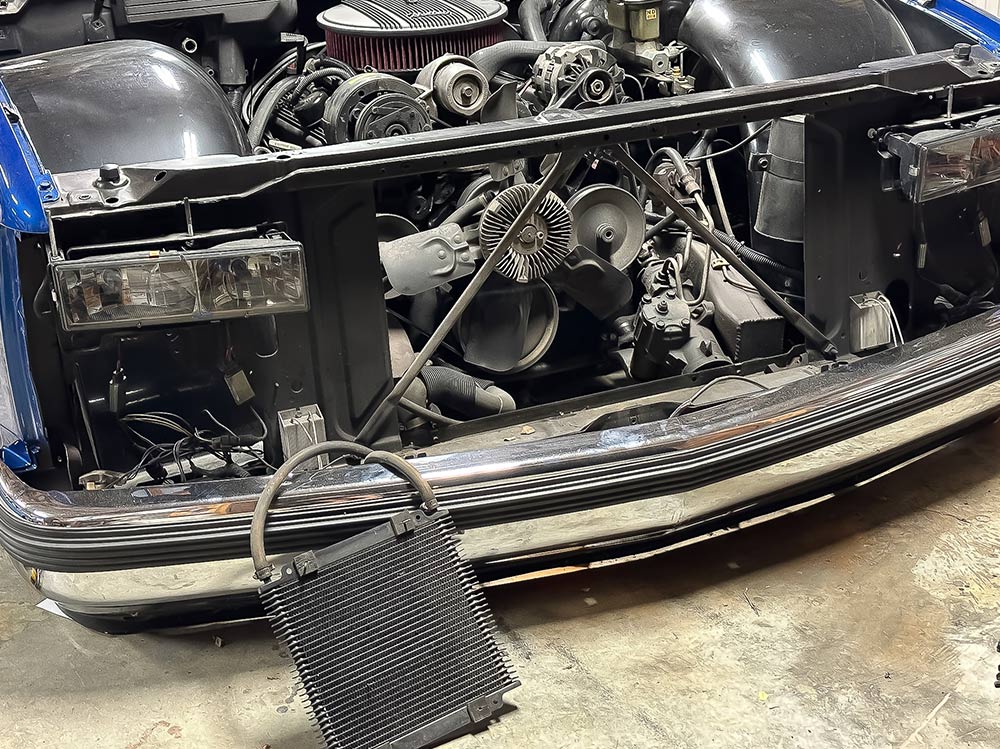
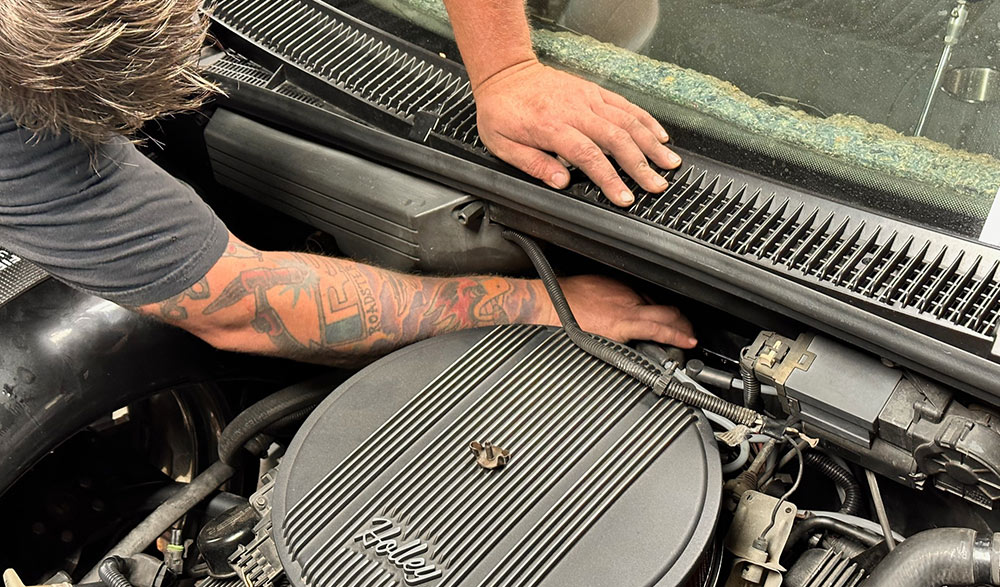
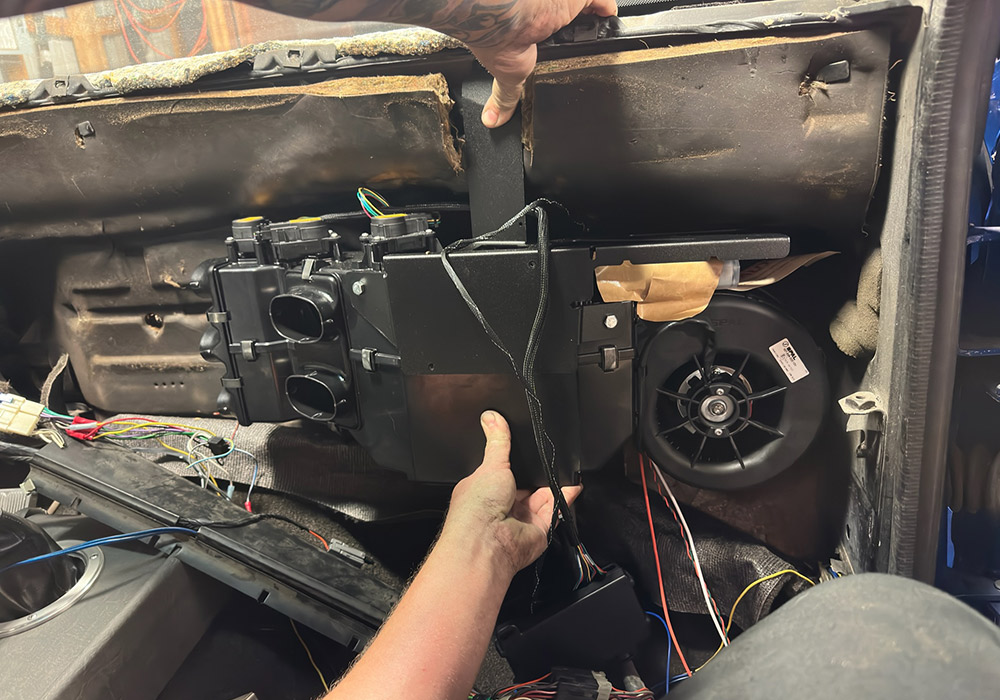
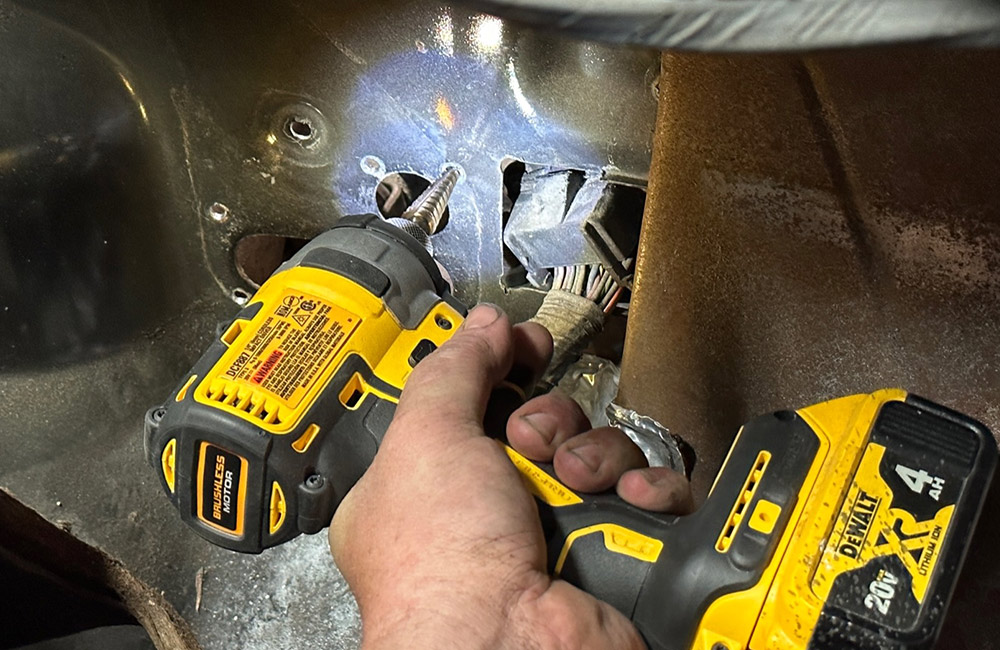
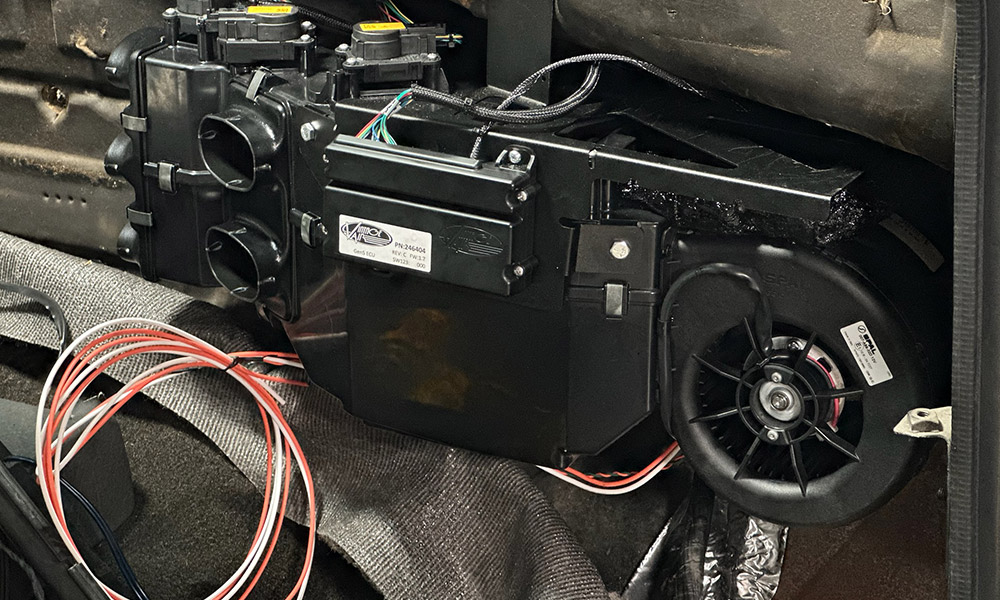
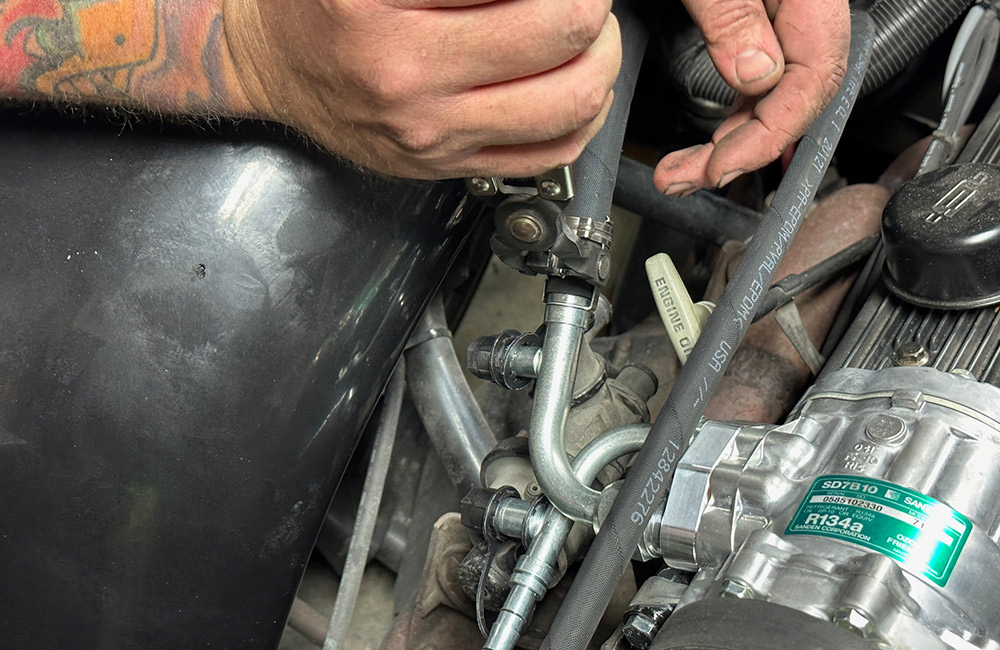
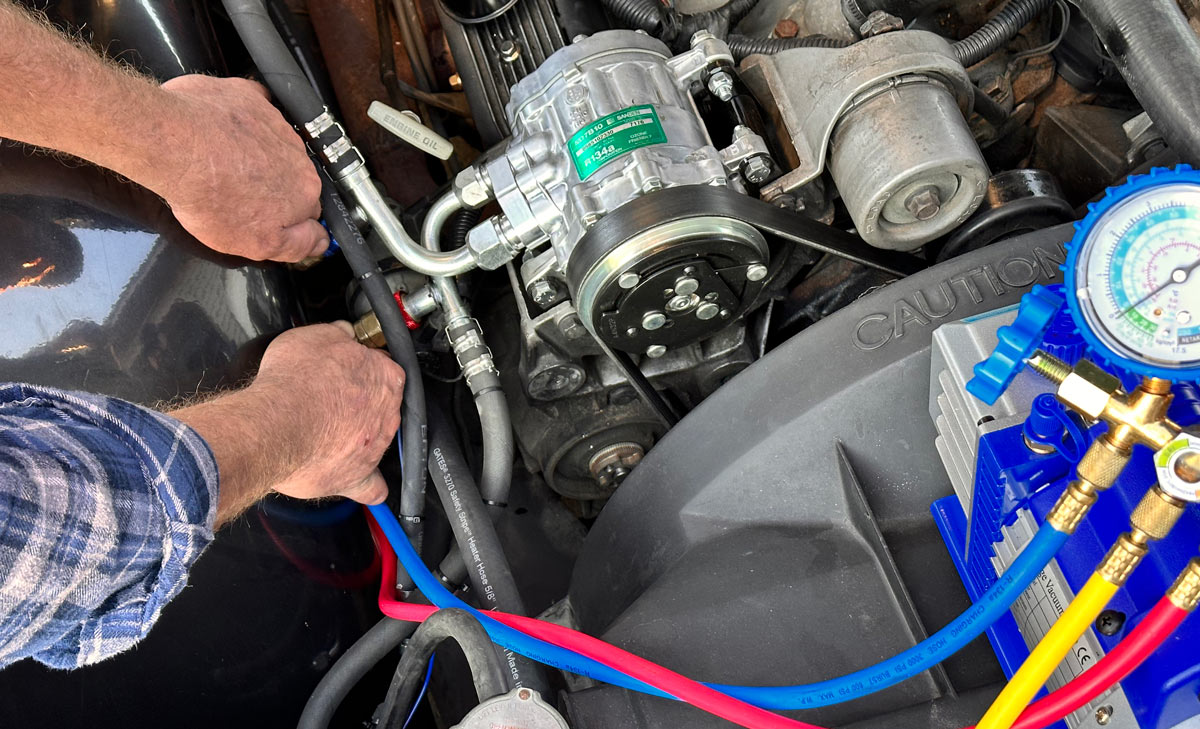
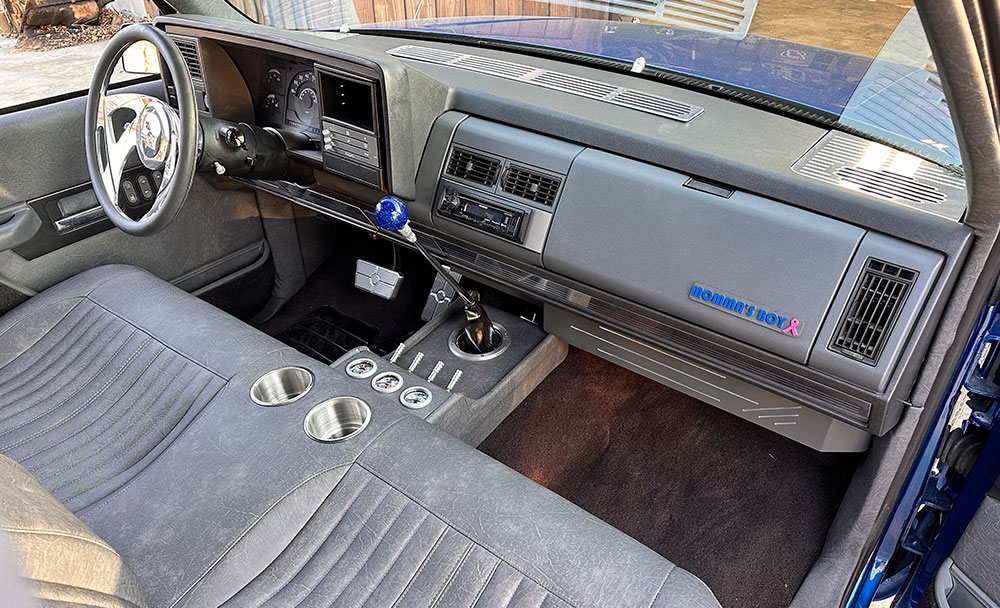
With the knowledge of Vintage Air adding new options to their injection-molded lineup, including the recent Gen5 SureFit kit for 1988-1994 Chevrolet/GMC CK1500s, it was the perfect opportunity to upgrade this project with the small challenge of adapting it around the fiberglass Slosh Tubs, a modified firewall, and custom adjustable suspension. Vintage Air SureFit kits are designed to give you the factory clean look, which is exactly what we wanted to keep, eliminating any modifications to the dash. It took us about 18 hours (modifications included) from start to finish spread out through nights and weekends right in our home garage.

A man working on the front grille of a blue 1990s Chevrolet CK 1500 during an air conditioning installation
Front grille removed, exposing the engine bay of a blue 1990s Chevrolet CK 1500 during installation
2-3. Disassembly was minimal. To gain access to the factory condenser, the grille, hood latch support, and core support bracing had to be removed to make room for placement of the new condenser.
Tightening bolts on an air conditioning component for a 1990s Chevrolet CK 1500
4. Because the instructions are very clear we were able to assemble the condenser on the bench, including the appropriate brackets and hardlines.
Applying sealant to an air conditioning hose fitting for a 1990s Chevrolet CK 1500
Connecting air conditioning lines to the radiator of a 1990s Chevrolet CK 1500
5-6. Installing the hardlines includes lubricating the O-rings using the supplied lubricant from Vintage Air. Be conscious when tightening hardline fittings that all A/C parts are aluminum and can accidentally be overtightened.
Installing a new air conditioning condenser in the front of a 1990s Chevrolet CK 1500
7. Using the stock locations on the core support and supplied hardware, bolt in the new condenser and stock hood latch support. Placement of the condenser does not allow room for the factory core support crossbracing to go back in.
A man removing the old air conditioning compressor from a 1990s Chevrolet CK 1500 engine bay
8. With the supplied condenser bracket for the kit and the stock hood latch support we were able to build a simple bracket to hold the transmission cooler in its original location.
Securing a bracket for the air conditioning system in a 1990s Chevrolet CK 1500
9. After removing the serpentine belt, unbolt and remove the stock A/C compressor.
Aligning and securing the new compressor mounting bracket on a 1990s Chevrolet CK 1500 engine
Pointing out a specific mounting bolt location on the compressor bracket of a 1990s Chevrolet CK 1500
10-11. With the original compressor removed, we took this time to clean up the original mounting locations, test-fit, and paint the new brackets. The bolt heads are indexed from the factory to make for easier removal.
Positioning the new air conditioning compressor in a 1990s Chevrolet CK 1500 engine bay
12. Once the compressor was mounted it was time for disassembly of the dash.
Two people carefully removing the dashboard from a 1990s Chevrolet CK 1500
13. OBS dashes are delicate. When taking this out make sure you have a friend nearby.
Inspecting the wiring and air duct connections behind the dashboard of a 1990s Chevrolet CK 1500
Working under the hood near the windshield of a 1990s Chevrolet CK 1500 to install air conditioning components
14-15. After the dash is out, it was time to remove the stock A/C unit. The instructions explain where the bolt locations are inside and out to help remove the evaporator easily.
Comparing the old air conditioning unit with the new replacement for a 1990s Chevrolet CK 1500
16. A simple side-by-side comparison shows the size difference and room you will gain under the dash.
Installing the new air conditioning unit inside the dash of a 1990s Chevrolet CK 1500
17. Once we mounted all the accessory vents and brackets to the evaporator we were able to test-fit the unit into the truck, drilling all needed mount hole locations.
Drilling holes to fit the new air conditioning system into a 1990s Chevrolet CK 1500 firewall
Mounting a bracket for the air conditioning system inside a 1990s Chevrolet CK 1500 firewall
18-19. Using the supplied template, we were able to drill the holes in the required location for the hose and wire exits, despite the firewall tub and wiring harness location.
Applying sealant around the edges of a gasket for a 1990s Chevrolet CK 1500 air conditioning component
20. With the evaporator removed, 3M strip caulk was the perfect sealant for the upper cowl seal supplied with the kit.
Newly installed air conditioning unit secured behind the dashboard of a 1990s Chevrolet CK 1500
21. Now that the firewall hose exits are drilled and the supplied grommets and cowl seal are installed, we can install the evaporator for the final time.
Crimping an AC hose fitting to ensure a secure connection on a 1990s Chevrolet CK 1500
Attaching an AC hose to the compressor in a 1990s Chevrolet CK 1500 engine bay
22-23. At this point, we decided to switch the crimp-style hoses supplied over to EZ-clip hoses to make our own at custom lengths. This was dictated because of the aftermarket fiberglass Slosh Tubs and adjustable suspension.
Close-up of the installed AC receiver drier and connected hoses in a 1990s Chevrolet CK 1500
24. One slight modification that had to be made was mounting the dryer. The -6 hardline had to be slightly bent to clear the wheeltub.
Routing and securing AC hoses in the engine bay of a 1990s Chevrolet CK 1500
25. The -8 hardline from the compressor to the condenser went together as the instructions intended.
Inspecting an AC valve before installation in a 1990s Chevrolet CK 1500
Securing an AC valve and hose connection inside a 1990s Chevrolet CK 1500
26-27. The heater control valve placement was dictated by the wheeltubs and other existing hoses. It makes for a tight package, but it all fits comfortably.
Positioning the dashboard vent assembly for installation in a 1990s Chevrolet CK 1500
28. After wrapping up the plumbing and making sure everything is tight, it is time to install the supplied molded vent to the bottom of the dash with the hardware given and install the dash.
Wiring the AC system under the dashboard of a 1990s Chevrolet CK 1500
Close-up of battery connections and wiring for a 1990s Chevrolet CK 1500
29-30. After the dash is reinstalled, it’s time to route the supplied power wires to the battery and the ignition. Always refer to the instructions, which offer detailed schematics for any confusion.
Installed AC ducting and wiring behind the dashboard of a 1990s Chevrolet CK 1500
31. Using supplied cut lengths listed on the instructions, cut all duct work to appropriate size and install in sequence.
Adjusting the Vintage Air AC control unit within the dashboard of a 1990s Chevrolet CK 1500
32. Mounting the control panel will be the easiest part of the whole installation—four screws in the stock location. Plug the harness off from the control to the module on the front of the evaporator.
Connecting AC lines and performing a system check in the engine bay of a 1990s Chevrolet CK 1500
33. It is now time to charge the unit with R134a refrigerant. Take this time to check for leaks or bring it to a trusted Vintage Air dealer to help you.
Completed installation of the Vintage Air AC control unit in a 1990s Chevrolet CK 1500 dashboard
Interior view showcasing the dashboard and center console of a modified 1990s Chevrolet CK 1500
34-35. Vintage Air once again doing an excellent job at improving the driving experience, with minimal modifications even for a modified vehicle and keeping the factory look we all know and love.
SOURCE
34-35. Vintage Air once again doing an excellent job at improving the driving experience, with minimal modifications even for a modified vehicle and keeping the factory look we all know and love.