CTP  Tech

InTheGarageMedia.com

Uncle Jack's Jimmy
Part 2: The Harrison’s Rod & Custom ’71 GMC
BY Bryan Harrison
T

his month, we’re giving Bryan Harrison the podium once again, so to speak, to recap the build on Uncle Jack’s Jimmy, the very cool ’71 GMC that Harrison’s Rod & Custom just wrapped up—which some of you may have seen at the most recent NSRA Street Rod Nationals or a number of other events. We’ll have a full feature on this patina’d beauty before long—but not before we show you the NSRA Giveaway Squarebody that also just debuted (and just as quickly found a new owner at the Nats as well)!

Engine
For the engine we stayed with the tried-and-true SBC dressed in vintage fins. Basically stock, with the exception of an MSD Street Fire HEI, Edelbrock intake, Carter fuel pump, Sanderson headers, Comp Roller Tip Rockers, and a Boss Hog 2000 stall converter, the performance is more than adequate for a cruiser. Using Powermaster for the starter and alternator is an amazing upgrade above stock and the Optima 34/78 never fails. All plumbing is Fragola AN fittings; Gates “Powergrip” Heat Shrink Hose clamps were used throughout for a clean look. Lokar Performance Products throttle and kickdown cables/brackets were utilized along with their engine and trans dipsticks. Billet Specialties wire hold the plug wires nicely with Alan Grove brackets for the front accessory drive. The engine is cooled by a Cold Case radiator with dual fans. The truck goes down the road smoothly and maintains its 180-degree temp regardless of the situation. The end result of all the work is an underhood that leaves little indication that it’s in a truck with such a well-worn exterior. It’s an engine worthy of a second look but usable and cleanable with a good hot rod deep tone from MagnaFlow round mufflers turned down just before the axle.
A/C
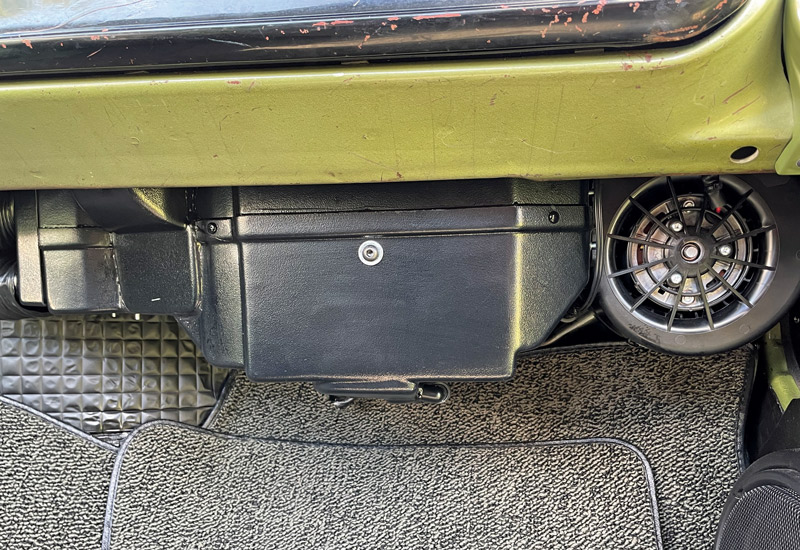
Since we were going this far we didn’t want to just put generic A/C vents in so we installed factory A/C vents using some templates from Old Air Products. Take your time and install the templates right, make slow accurate cuts on the small side, then open up with a Dynafile and the results will be what we have here.
Gauges
I’ve been a dealer for Classic Instruments for several years and for this one they were a natural choice. Combines with a new gauge bezel from Auto Metal Direct (AMD), the cluster couldn’t look better. The added benefits of full gauges and electronics are even better. The speedometer calibrated right the first time and is perfectly accurate. I mounted the buttons in the column plate below the column after slicking it up and painting it.
Exterior
When Jack got the truck it had a previously installed wide bed bumper out back that had been painted green when the truck was painted. We installed an AMD rear bumper and made the needed mods to the bed and brackets to tuck it nice and tight right up under the tailgate. The result is a cleaner look that most will probably need a minute to figure out the difference.

Utilizing more AMD parts and some fresh paint on the fenders, the entire grille was replaced with a new one, including the headlight bezels and fender extensions. The lights were regrounded as well and the parking light housings restored with new lenses when reinstalled.

The owner, who is an avid woodworker, did his own bed floor utilizing a process of vinegar and steel wool to produce a patina gray finish with stainless strips and the polished gas cap for the relocated gas tank put back behind the rearend.

Miscellaneous
Given the fact we were going this deep into the truck for suspension and drivetrain, it just made sense to pull the front clip to do some frame and firewall paint. Pictured is Vic putting in some of the numerous hours that went into getting the frame slicked and clean for paint. Then the firewall was sprayed with a fresh coat of the Medium Olive Metallic, as well as the inner tops of the fenders and related Vintage Air plates for the A/C install. Then two new AMD inner fenders, the factory core support, and all the related brackets and battery tray were sent to Black Label Coatings for their “Signature Satin Black.” Their work is second to none and the durability gained will make these parts last for a long time. Once painted, the front suspension and steering assembly began.
old engine
engine removed
new engine
using tape to outline cut in infotainment
preparing cut
air vent
old radio and a/c vent
close up of door seal
tape with circle drawn for cut
preparing cut
components under dash
close up of air bag system
close up of gauges and speedometer
close up of engine hoses
front end stripped before restoration
interior stripped before restoration
before grill restoration
after grill restoration
close up of new headlights
new engine
close up of wood grain bed
before rear end restoration
after rear end restoration
rear side angle of fully restored truck