
 Tech
Tech

Photography by the Author
ounger paint professionals may not yet relate, but for yours truly, every time I spray the interior of an old truck cab it gets harder—and harder. It’s been a while or more since I’ve had a job of this type to do. The last one I recall was an old familiar Chevy Task Force cab. With younger knees and all-around better physical agility, it wasn’t so difficult then, but that truck was properly disassembled with doors off and glass out.
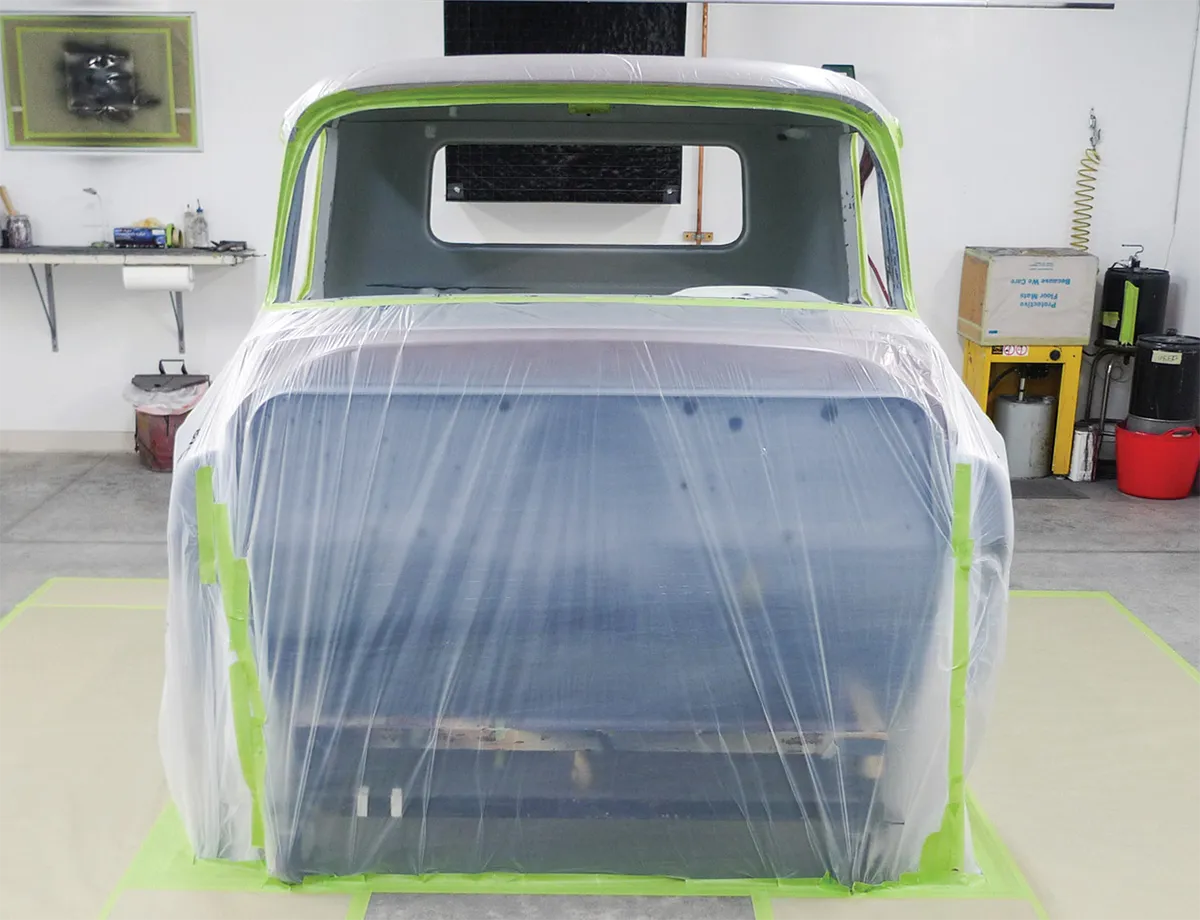
The current job at hand will involve another old familiar Task Force Chevy. This one’s properly just a cab on a cart. The finished truck will end up two-toned Poppy with Vanilla Shake accents. Since they’re formulated solid colors it doesn’t seem too risky to paint the truck in pieces. For this long-awaited first bit of actual color, let’s begin with the difficult part: the cab’s interior.
Before we shoot, shall we talk about paint materials? Because ours are not available for body shop use everywhere, perhaps we needn’t dwell on this subject. In a nutshell, we’ll be using straightforward solvent-borne stuff (basecoat/clearcoat over epoxy sealer) that’s still quite commonly used in body shops here.
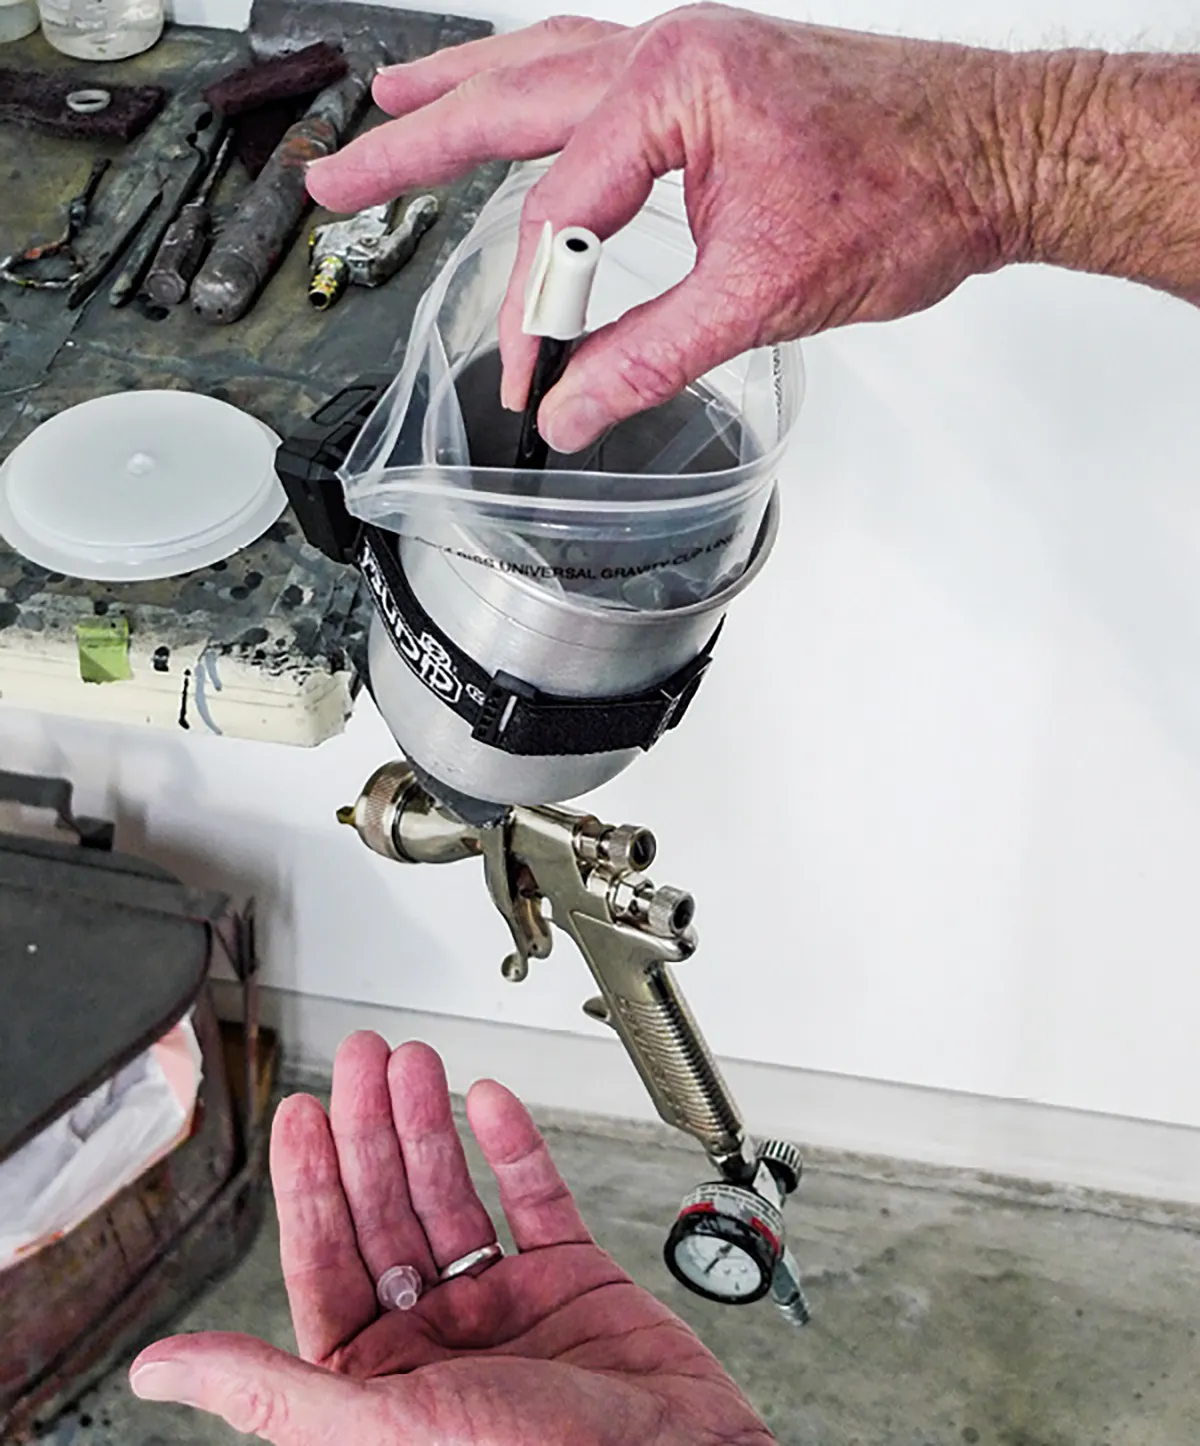
We might as well talk about spray guns—at least a little as we go. The three we’ll actually use are older HVLP (high-volume-low-pressure) gravity-feed rigs with 1.3 and 1.4 fluid tips to cover this job’s varying viscosity requirements. Since we’ll be spraying certain areas where spray guns must be tilted back, we’ll try to share a few old tricks to compensate for sputtering.
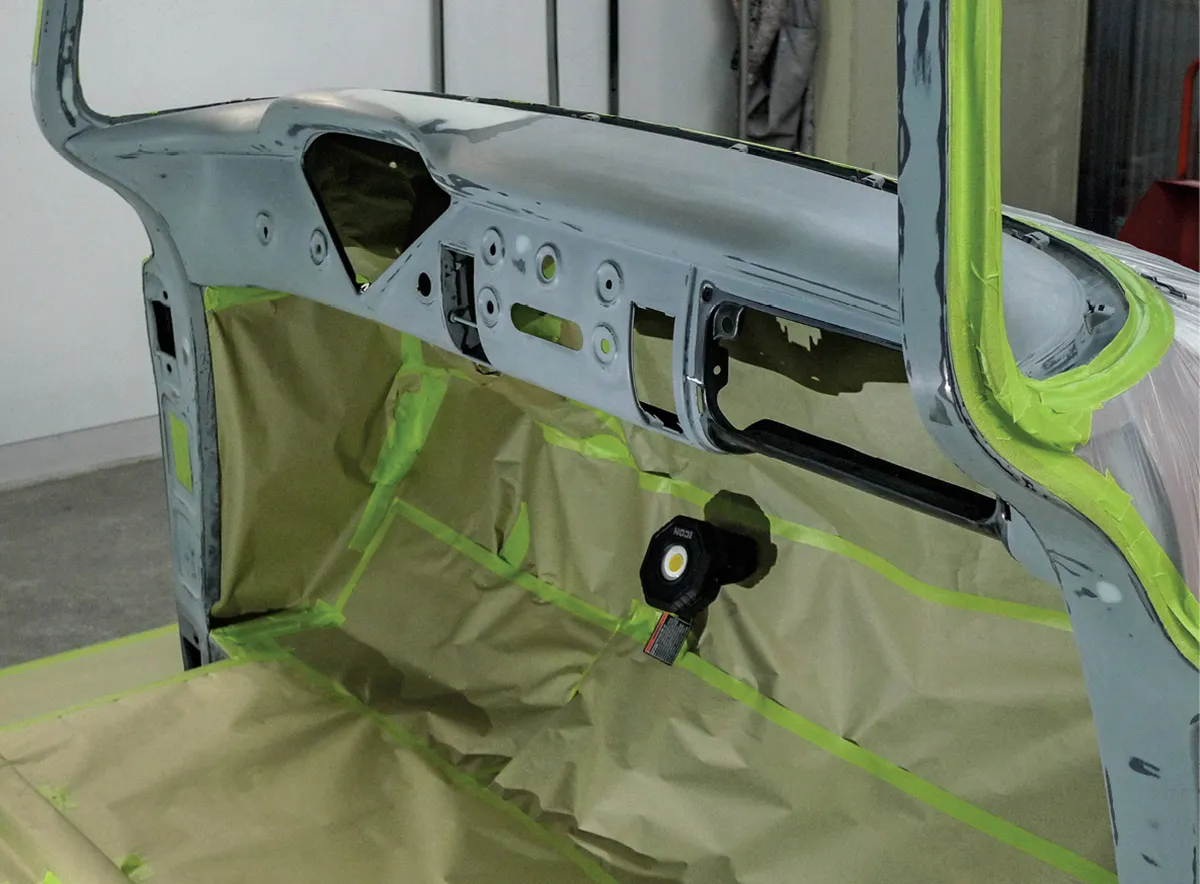
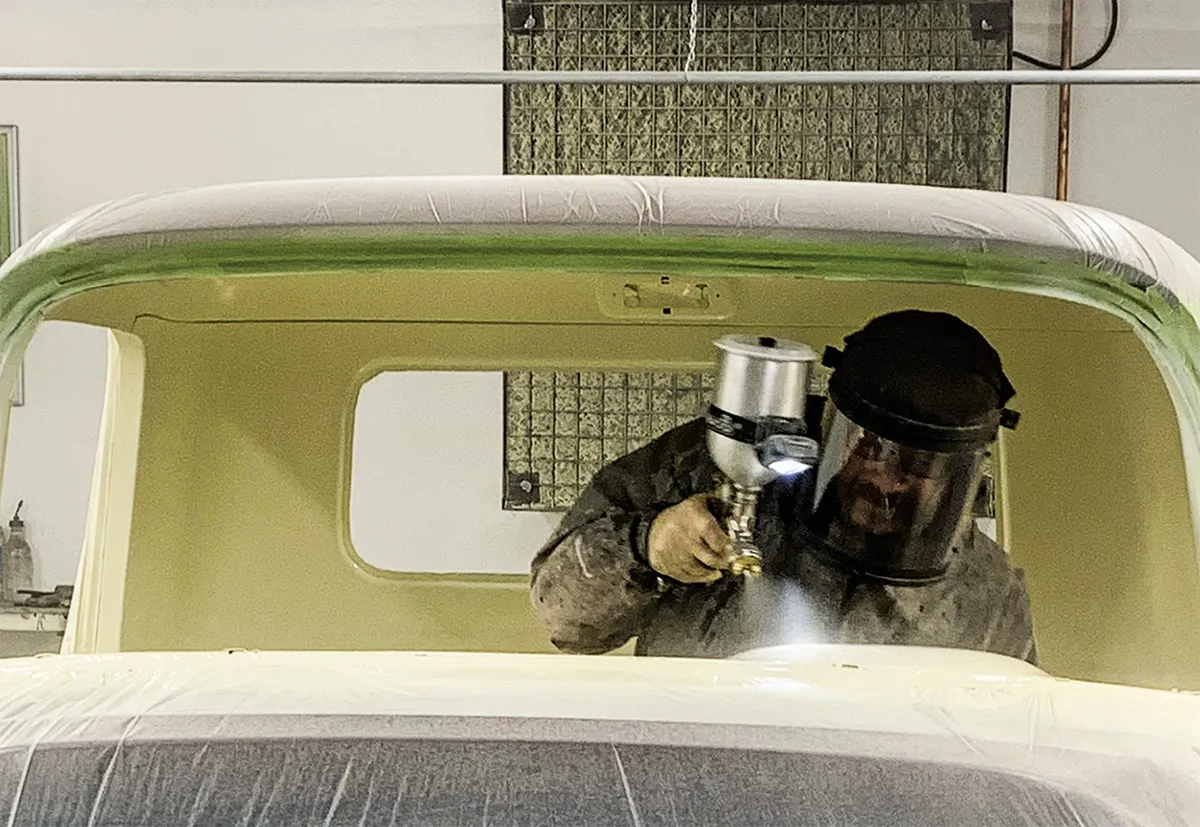
While we’re at it, shall we also touch on basic safety precautions? To paint this cab’s interior I’ll need to get all the way up inside it, then be able to smoothly exit to spray doorjambs and rocker steps. Although our spray booth does have excellent airflow, sprayed material still tends to linger in the confines of a cab.
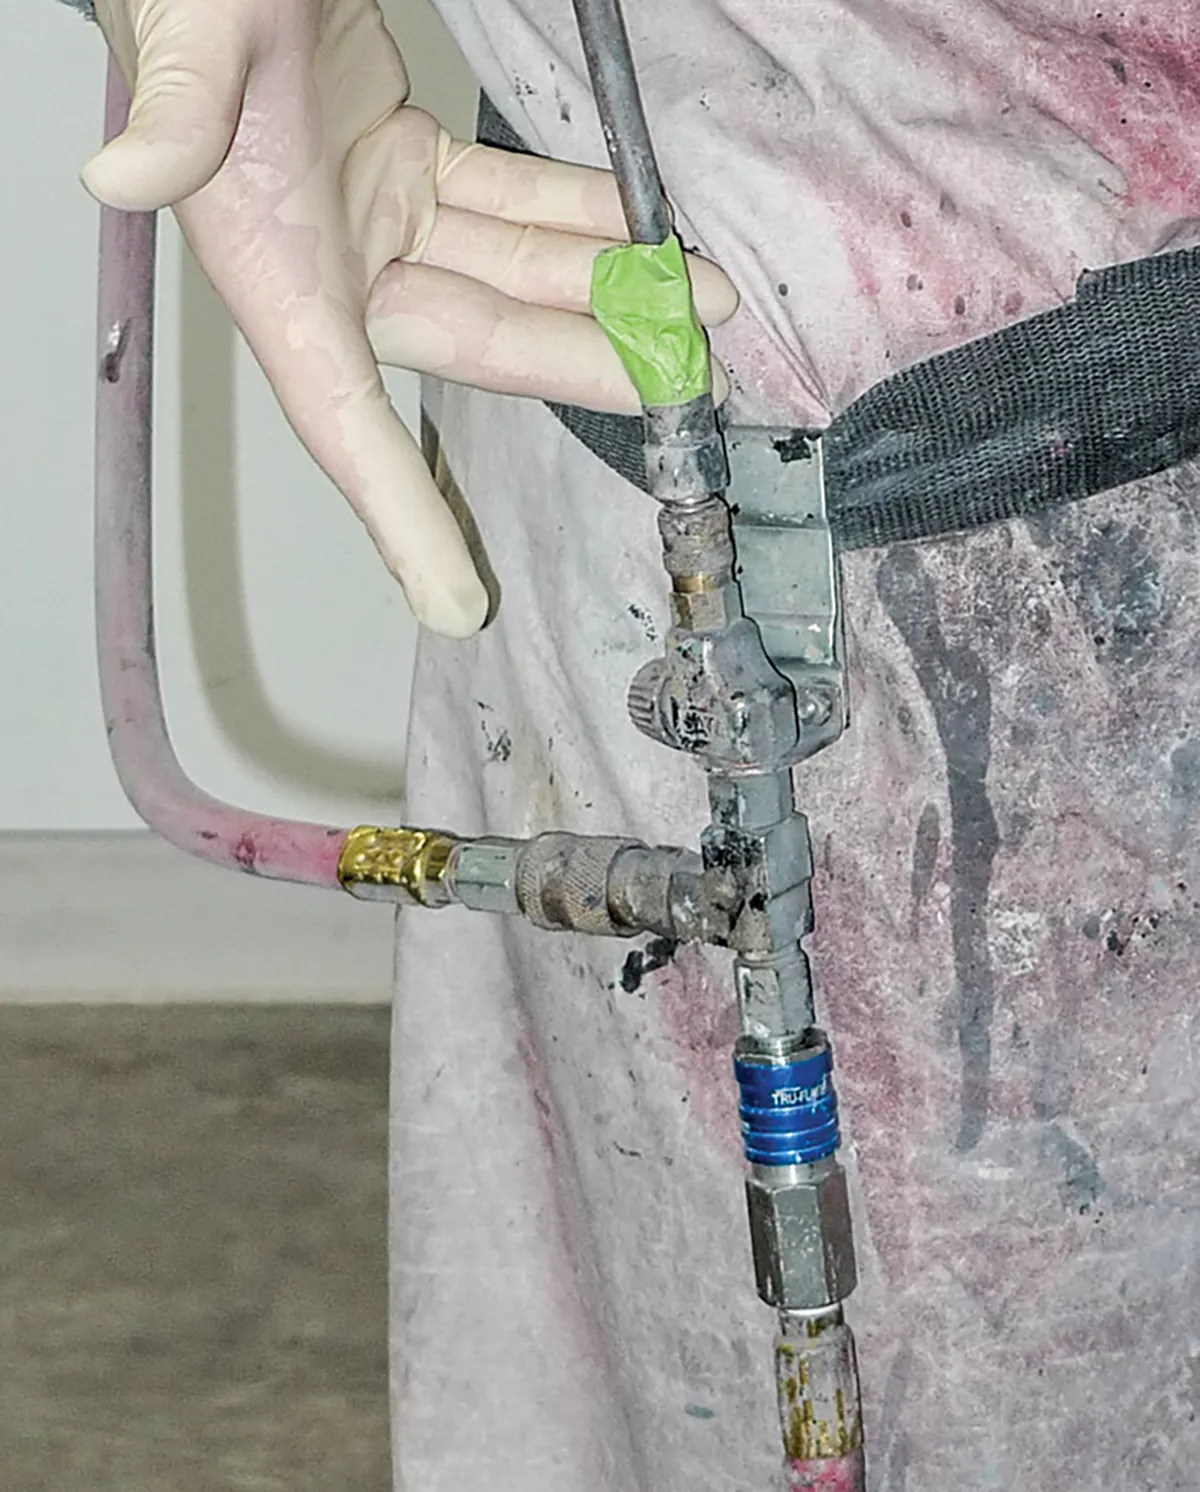
Thinking I’ll be protected as always, I’ll again don my trusty supplied air setup. It’s older stuff from the ’90s, which purifies our shop’s compressed air to “Grade-D breathable.” New parts for this apparatus are pretty spendy, but at least they’re still available. Through the years I’ve kept it well maintained, and so far to this day it’s never let me down.
At the time of this typewriting our prep is all done. So is our masking, and our booth setup is pretty far along. Even so, there’s no way to overthink the steps that must now follow. No matter how much thoughtful planning, no matter how well rehearsed the actual steps may be, let’s always leave a little room for the unexpected.

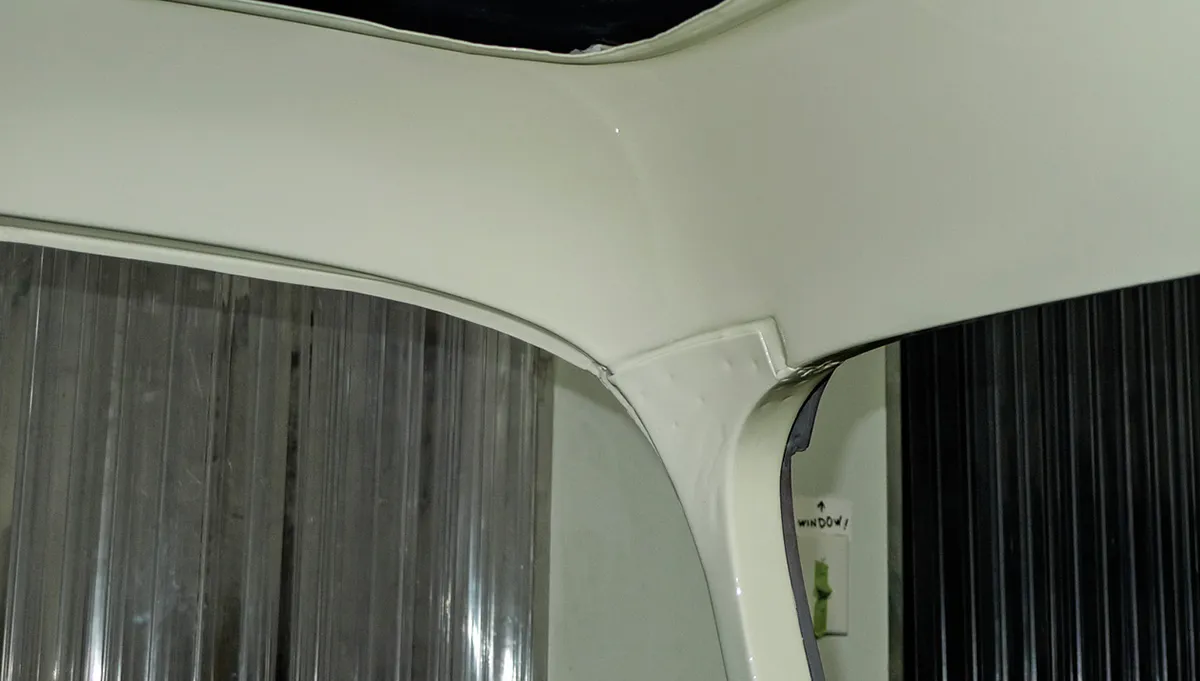
2. From one side or the other I’ll need to be able to step inside, move around freely, and see what I’m doing through a haze of nasty overspray.


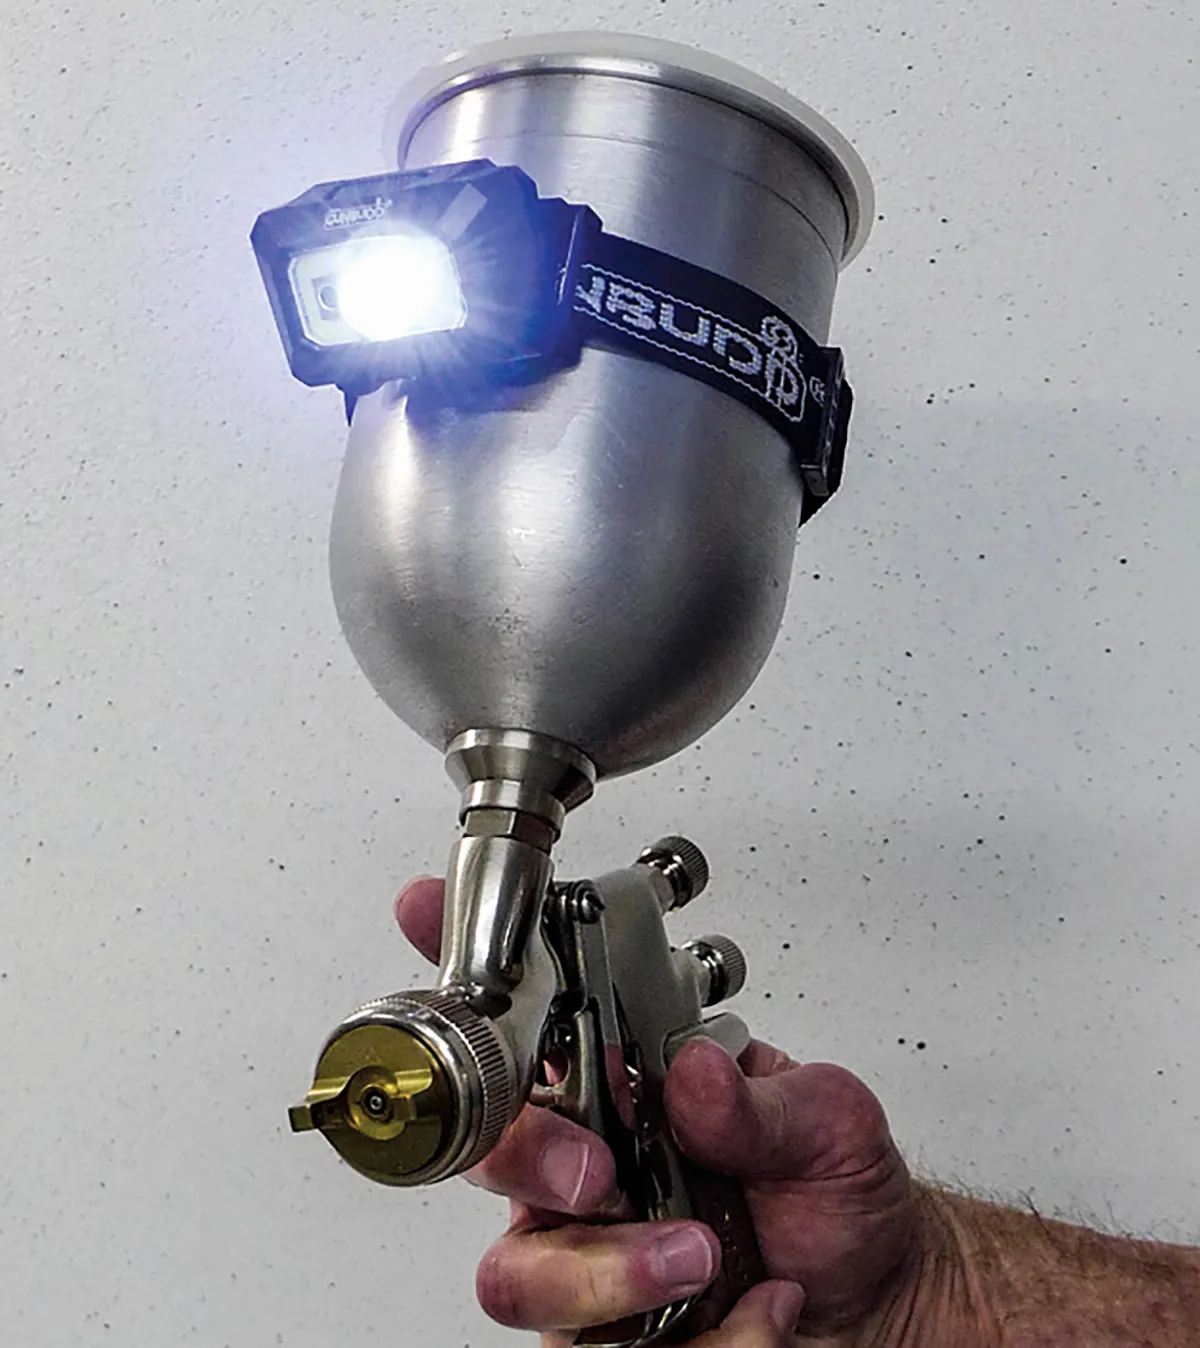
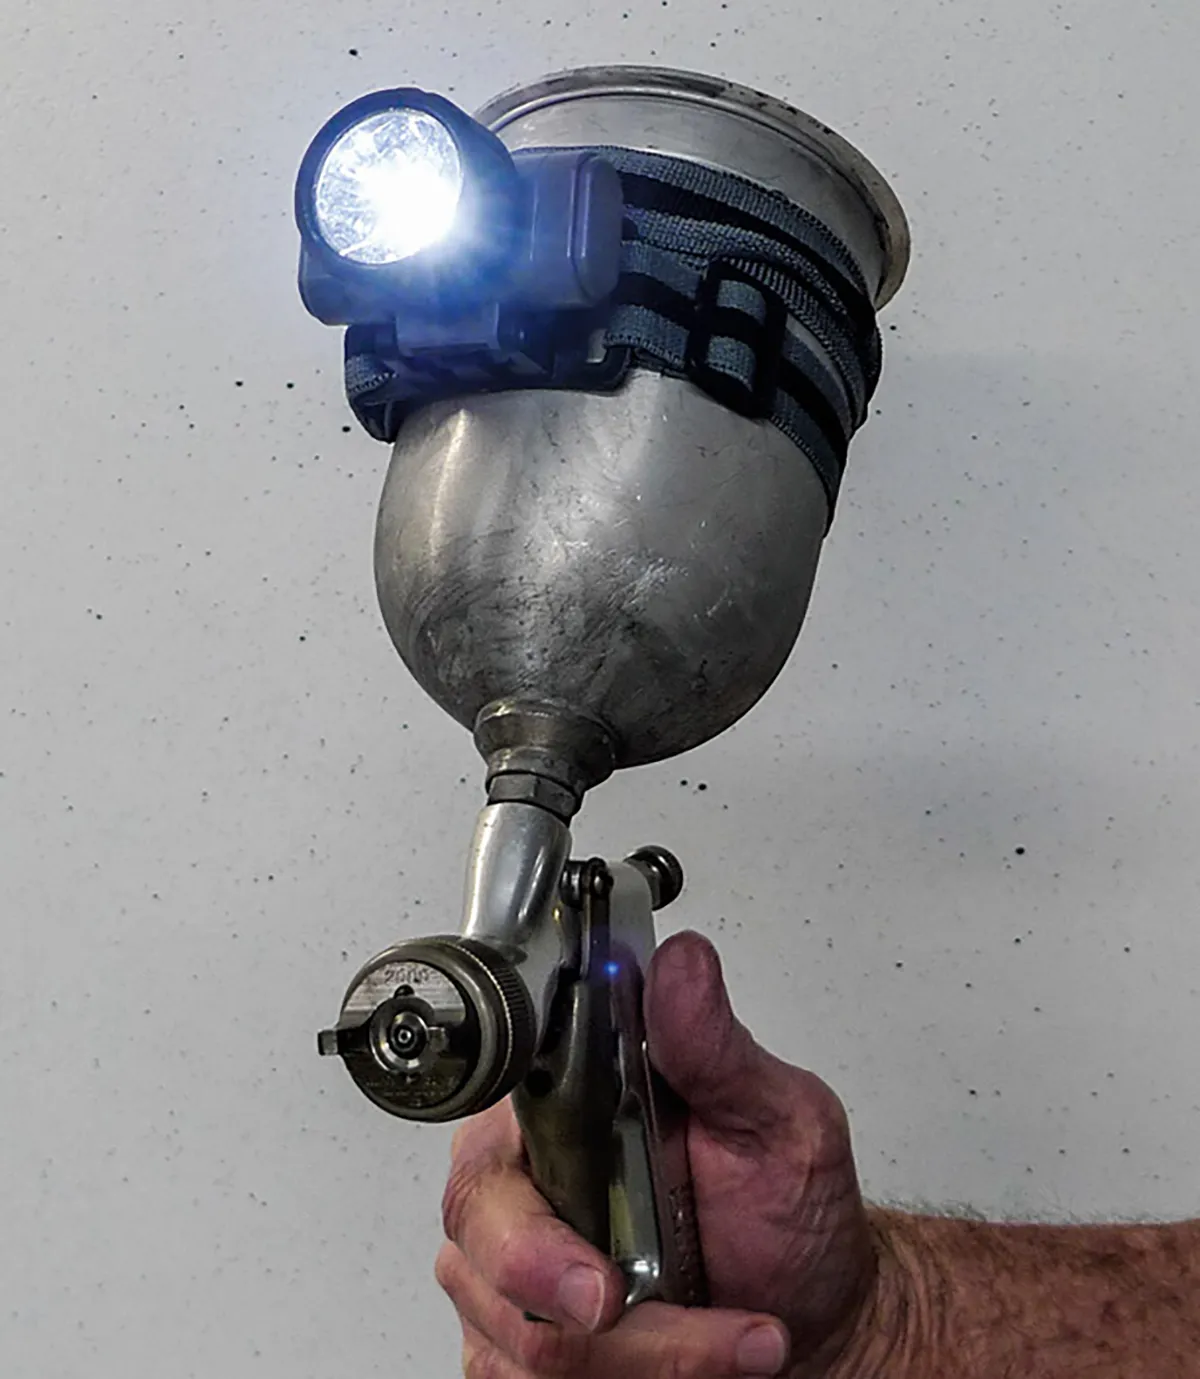
4. A quick trip to Harbor Freight has rendered this partial lighting solution. I’ll be clumsy enough in the cab anyway, so the rechargeable/cordless feature is a plus.

6. Here’s the same test for the forward floodlight. So far the plan is to operate them separately as needed as we go.
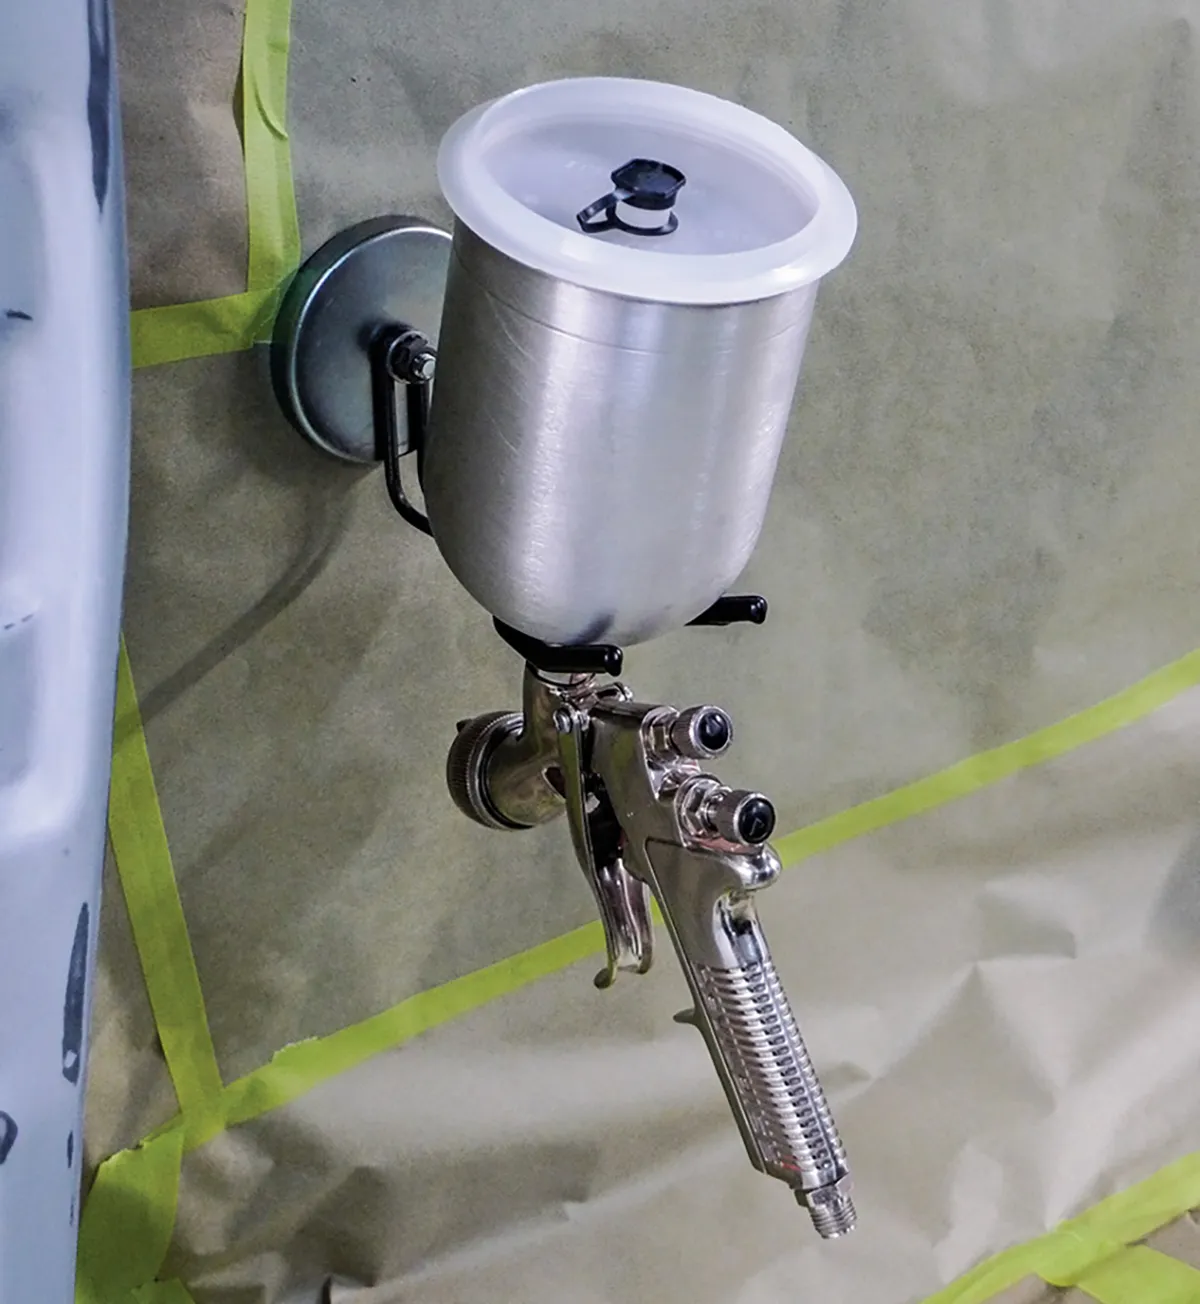
8. Later when it’s really showtime I’ll be suited up with hose-in-tow. Rather than toting a loaded gun, a Harbor Freight magnet makes an excellent holster base.


 SOURCES