CTP logoFeature star Tech

BY TOMMY LEE BYRDPhotography BY The Author

a rough K5 Blazer with a flat black paint job
Budget Black typography
We Give a Rough K5 Blazer New Life With a $100 Flat Black Paintjob
T

he old adage “you get what you pay for” rings true for just about every aspect of building an old truck. Whether it comes to parts, supplies, or labor costs, a “cheap” job usually doesn’t produce the best possible outcome. But, in the case of our rough and ragged K5 Blazer, we wanted to freshen up its appearance without spending much money. We know the truck will get used and abused, but the idea is to give it a much cleaner appearance. With so many options for paint, we opted for the most affordable, which is Rust-Oleum oil-based enamel. This is not standard automotive paint, so it can be found on the shelf of your local hardware store or it can be sourced online.

If we wanted to upgrade our materials to something nicer, Summit Racing has several great choices for affordable flat black paint, but the idea in this article is to show you how we took a rough K5 and made it a little more presentable for about $100 all together. That includes the cost of the paint, acetone (thinner), masking tape, masking paper, sand paper, and even the spray gun! We’ve had great luck out of the purple HVLP Gravity Feed guns from Harbor Freight—they’re usually priced at less than $20 and they are an excellent value.

We shopped around to find the best deals on supplies, but we did splurge when it came to masking tape, as the cheap stuff is usually more trouble than it’s worth. Between Harbor Freight and Summit Racing we were able to pick up everything that we needed. Our truck needed a little bit of additional work, so we also spent some money on body filler and primer, but the basic paintjob could’ve been accomplished without the underlying bodywork. You will also need to spend a few bucks on a respirator if you don’t already have one in the shop. For the average “scuff and shoot” paintjob, you can expect to spend about $100, which is well worth the money and time when you consider the big difference it made on our project. The Rust-Oleum paint is also great for using on frame and suspension components, so it’s a good idea to keep some of this stuff around the shop for all types of projects. Take a look at how it transformed our worn-out Blazer and put these tips to use on your budget-friendly project.
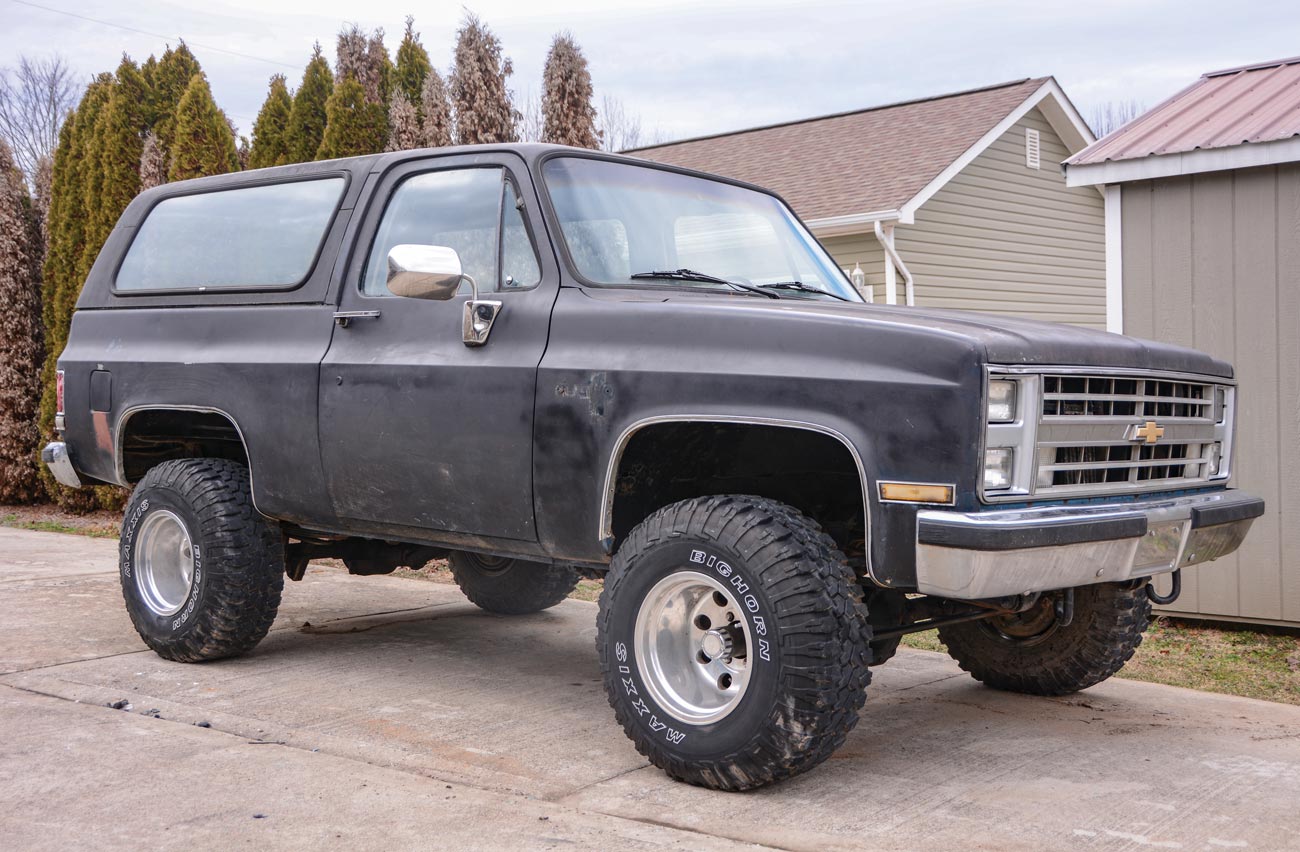
full view of a parked ’87 Chevrolet K5 Blazer with paint wear
1. Here’s our starting point: an ’87 Chevrolet K5 Blazer that has beaten its way through the woods quite a few times. The truck was originally blue but has been spray painted flat black in the past. To put it plain and simple, the truck is rough.
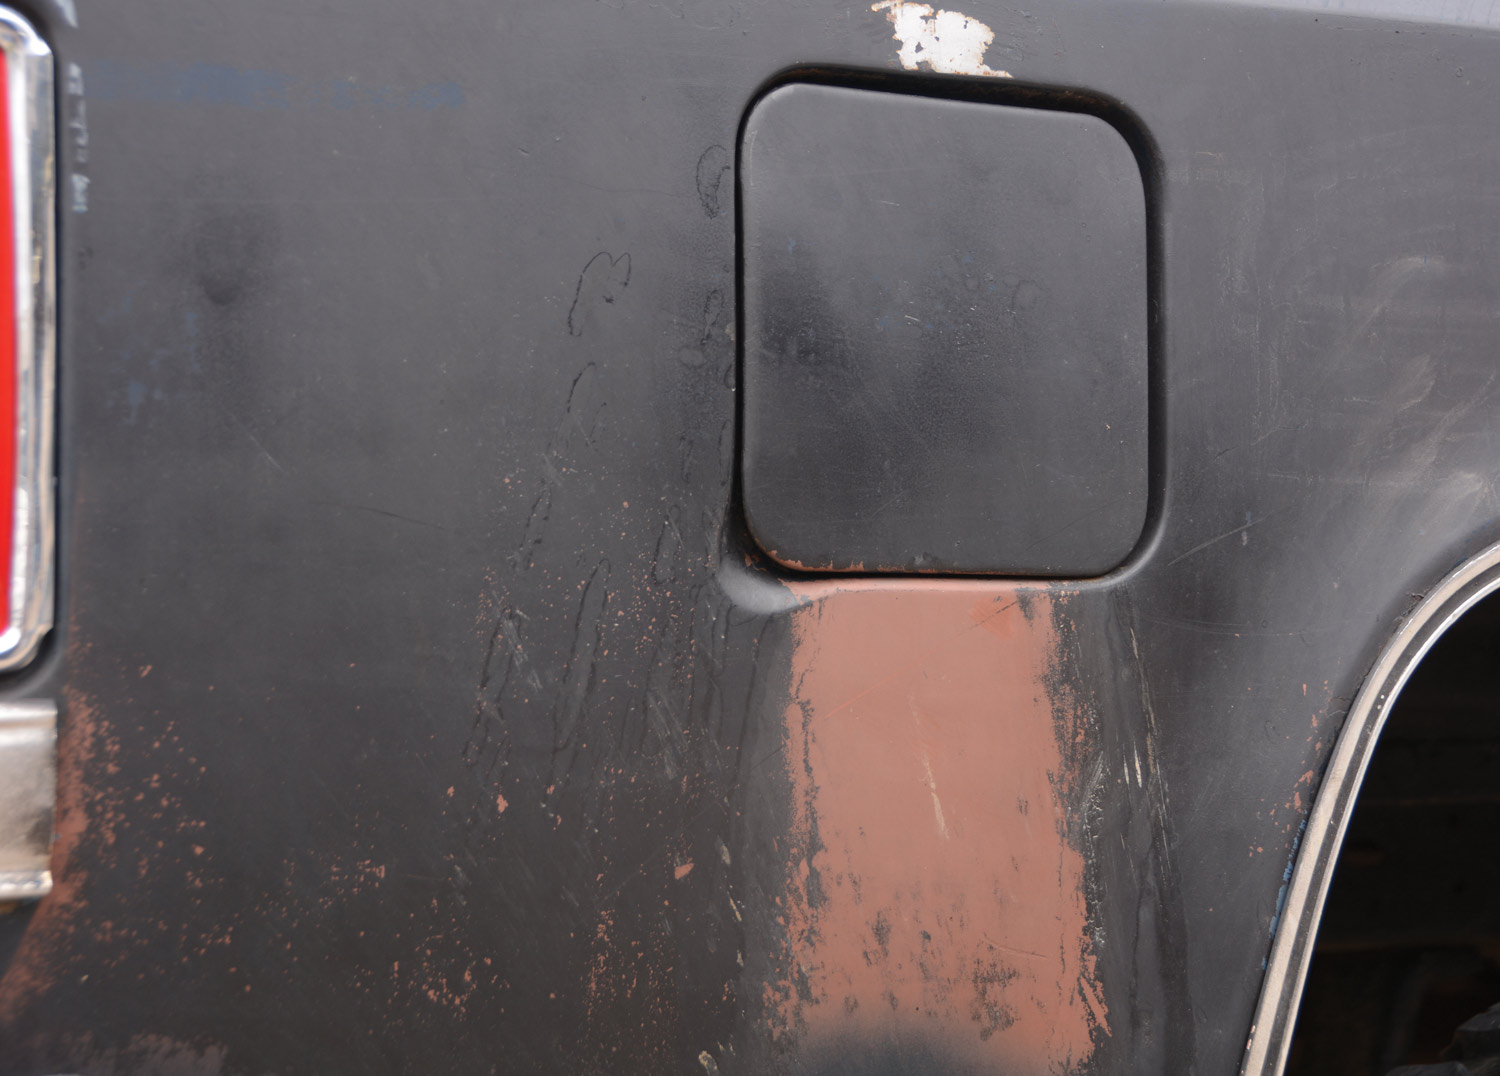
view of the fuel door with faded paint directly below
2. You can see where the flat black spray paint didn’t hold up to fuel sloshing out of the filler neck and you can also see the chipping and scratches due to poor prep underneath. Our goal is to feather out the chips and imperfections and give it some fresh black paint.
mechanic removes the crudely trimmed wheelwell moldings
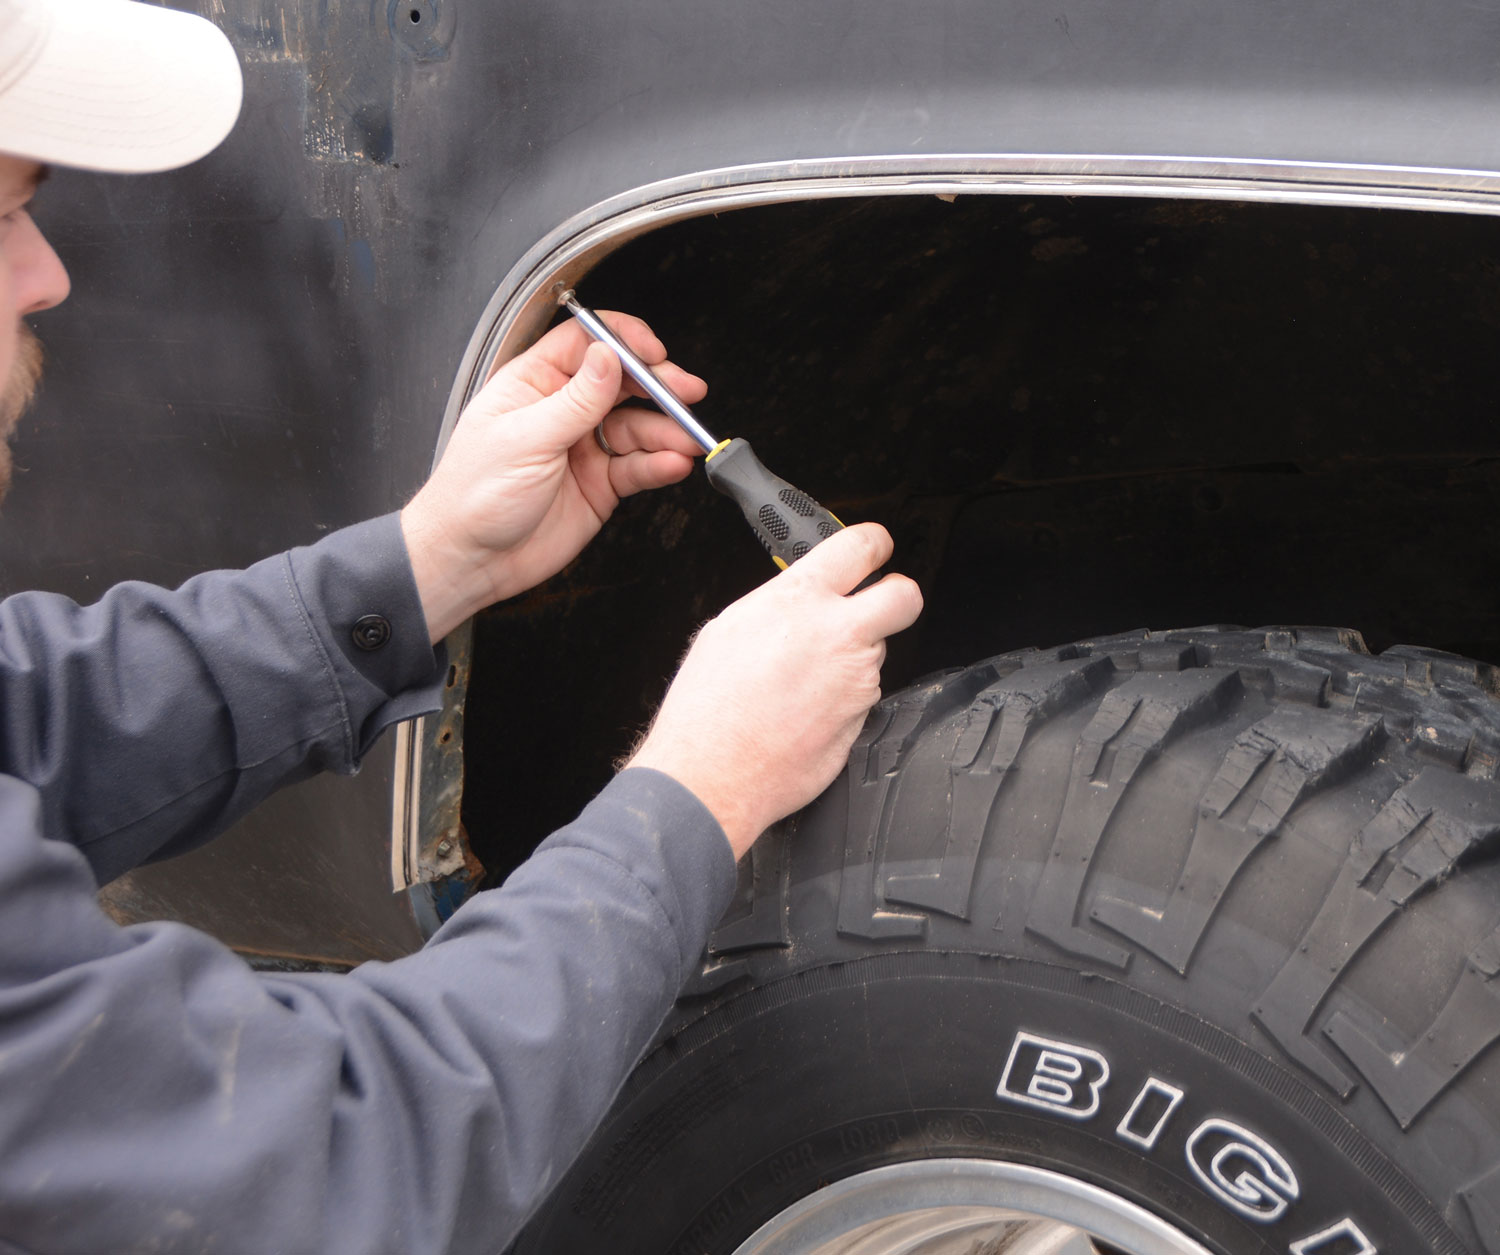
3. Most of the items we’re removing will not be going back onto the Blazer. The banged-up and crudely trimmed wheelwell moldings are going away, and in our case, we’ll also be filling in the emblem holes in the front fenders.
passenger side of vehicle post sanding
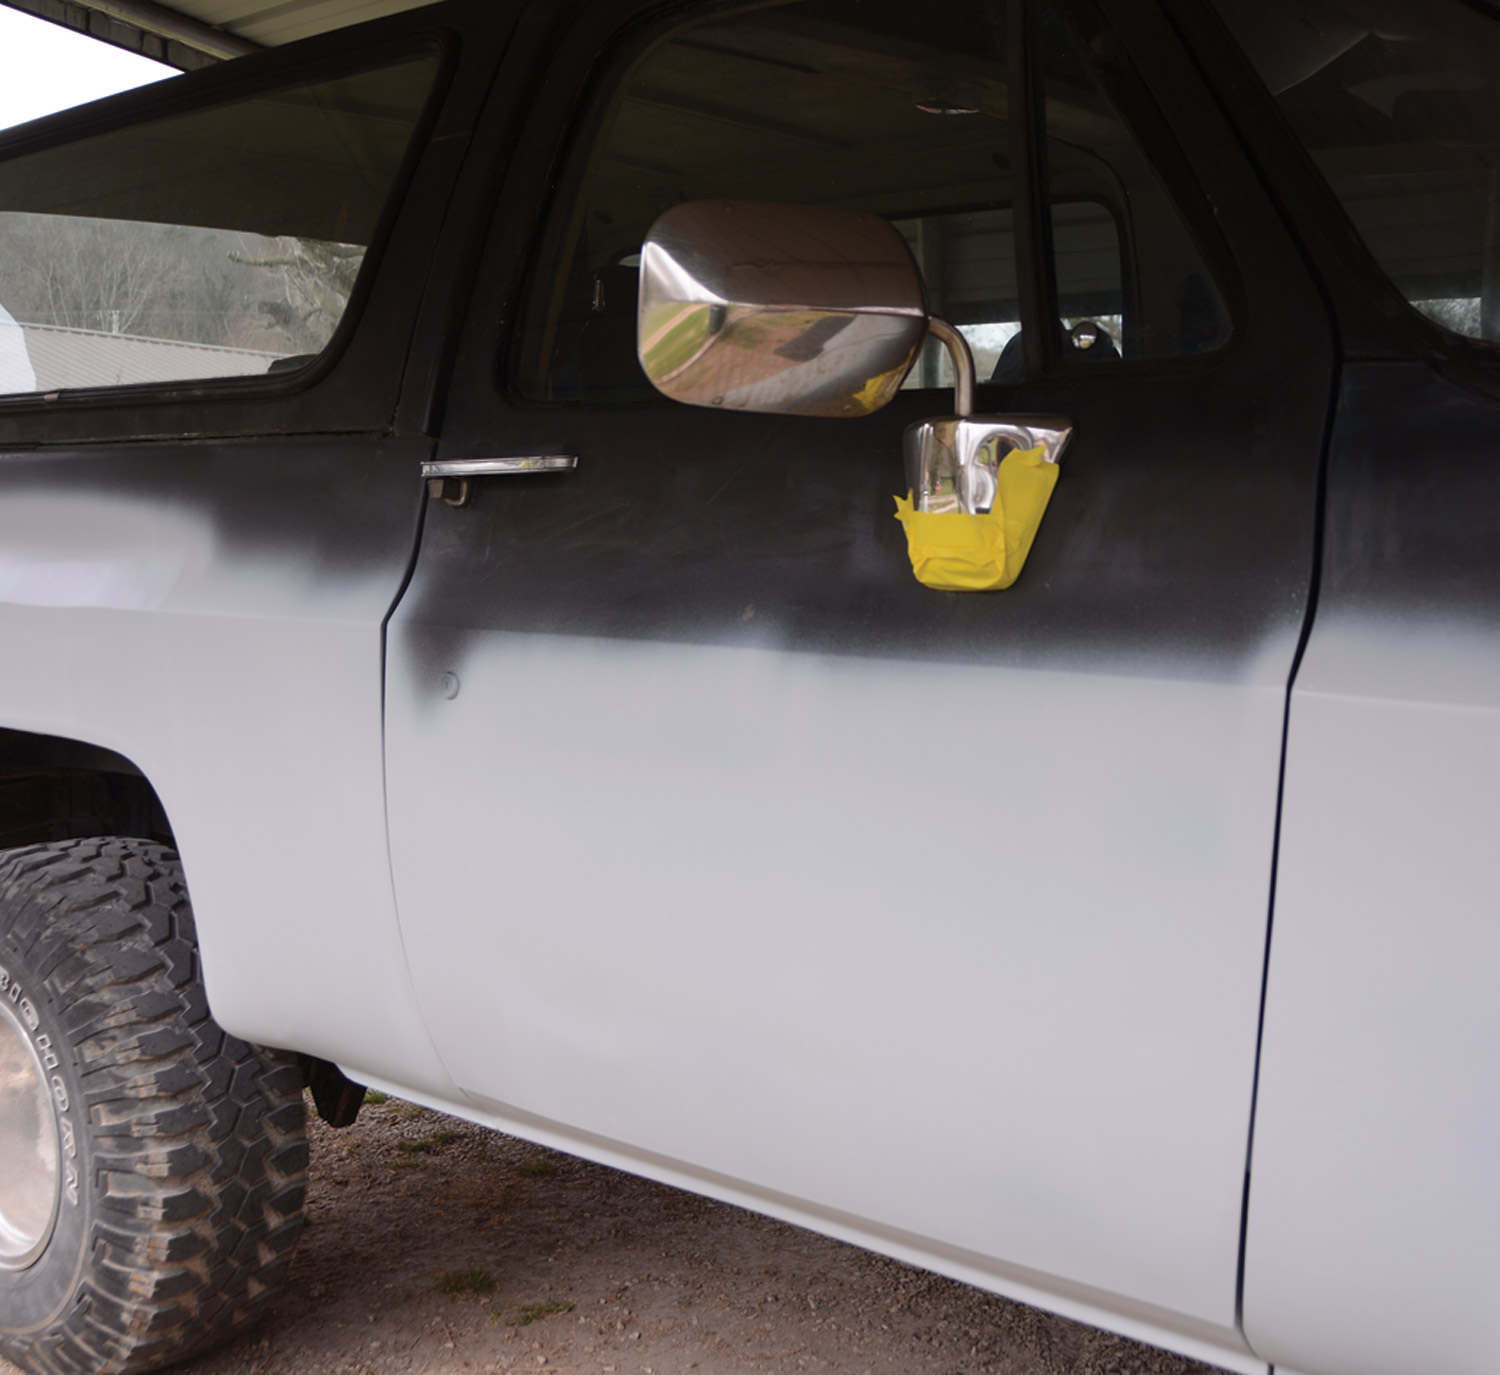
4. Every project is different and everyone’s expectations are different, but our example had some problem areas that needed to be addressed, so we did some body filler work and covered it with urethane primer. We sourced our sandpaper and other materials from Summit Racing.
mechanic uses 320-grit wet-or-dry sandpaper to sand the back driver side
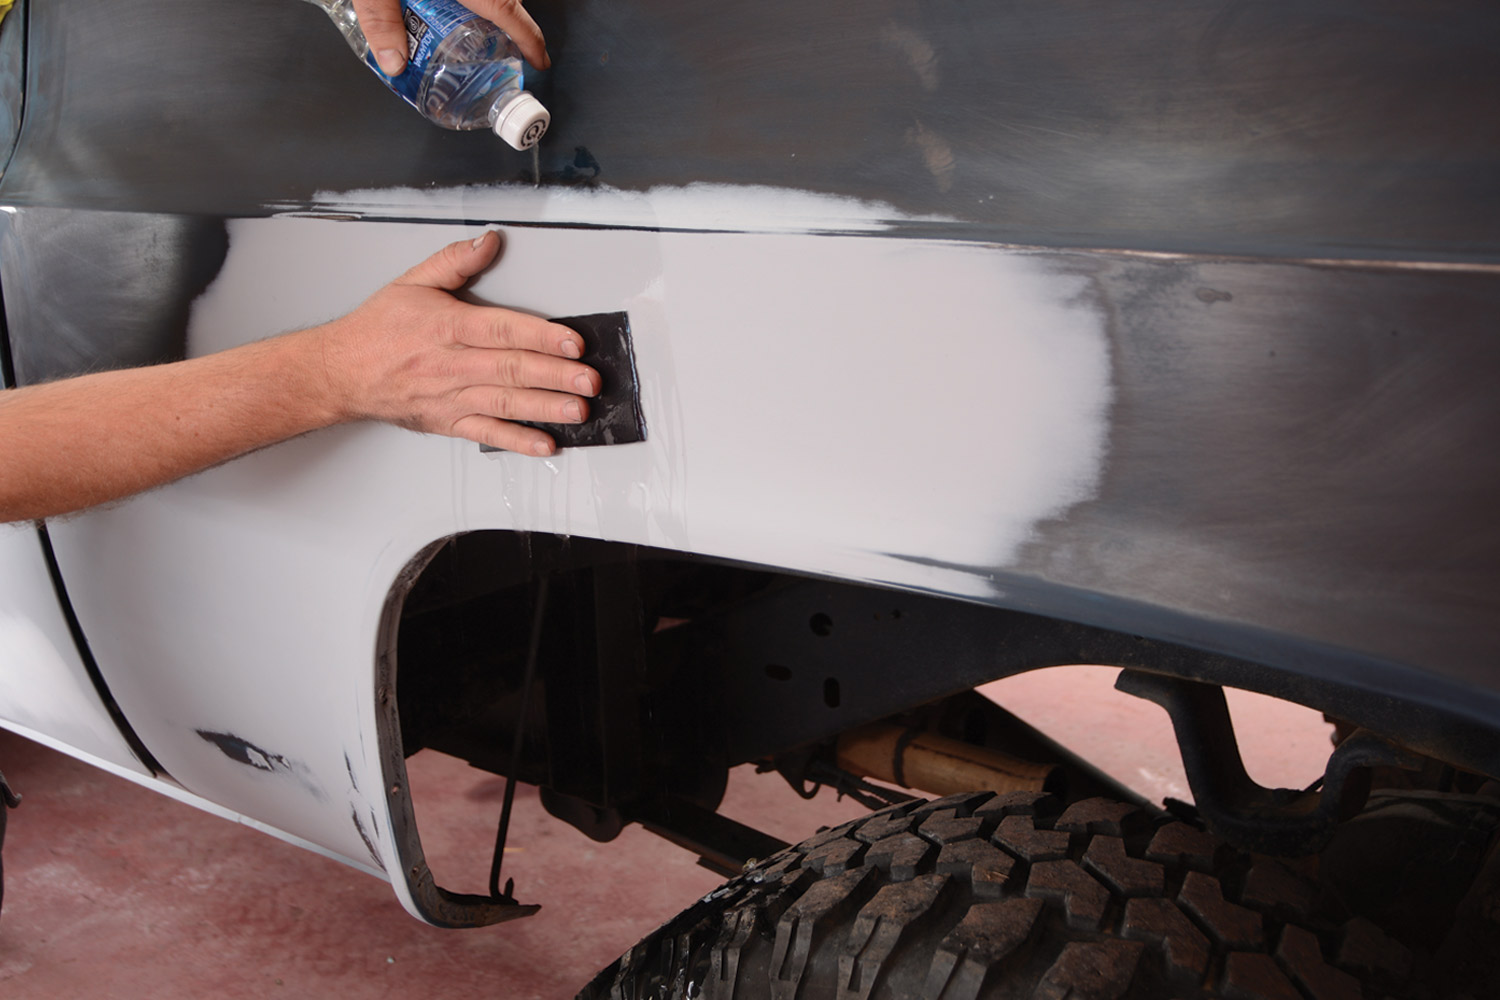
5. After letting our primer cure, we did all of our final sanding with 320-grit wet-or-dry sandpaper. We prefer wet sanding, as it keeps the sandpaper from clogging, which is usually a problem when sanding rattle can paint.
mechanic goes over sanded are with a red scuff pad
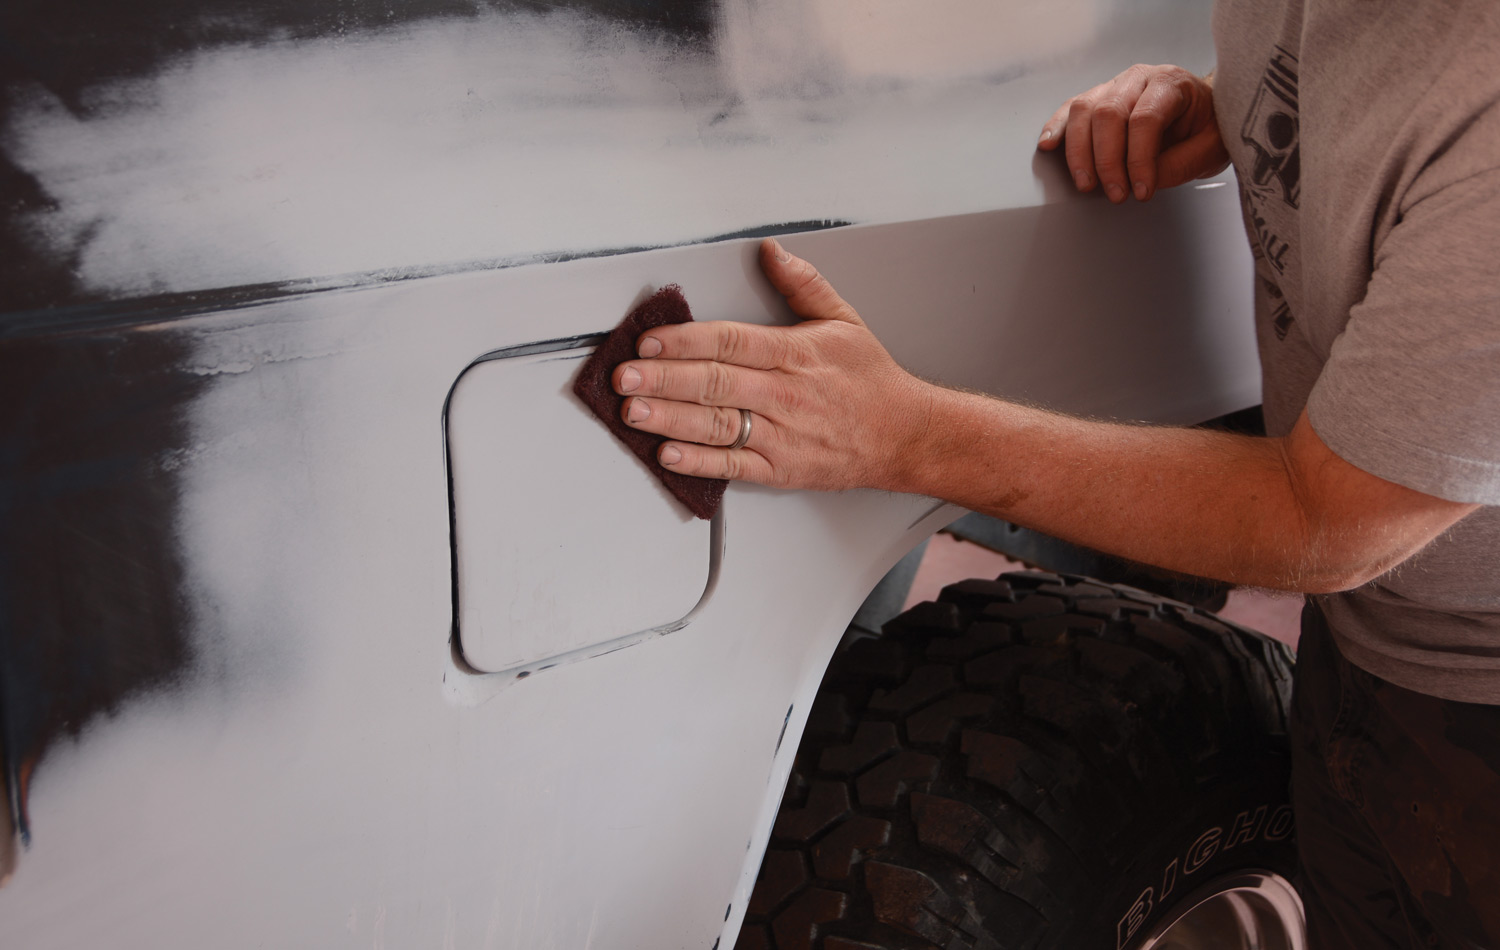
6. Even though we thoroughly sanded the truck with 320-grit, we went back over it with a red scuff pad to get into some of the edges that we missed. This can be sanded dry (as shown) or you can use a little dish washing liquid on the pad and then rinse with the water hose, which helps wash away any residue from water sanding.
mechanic masks and tapes the car windows
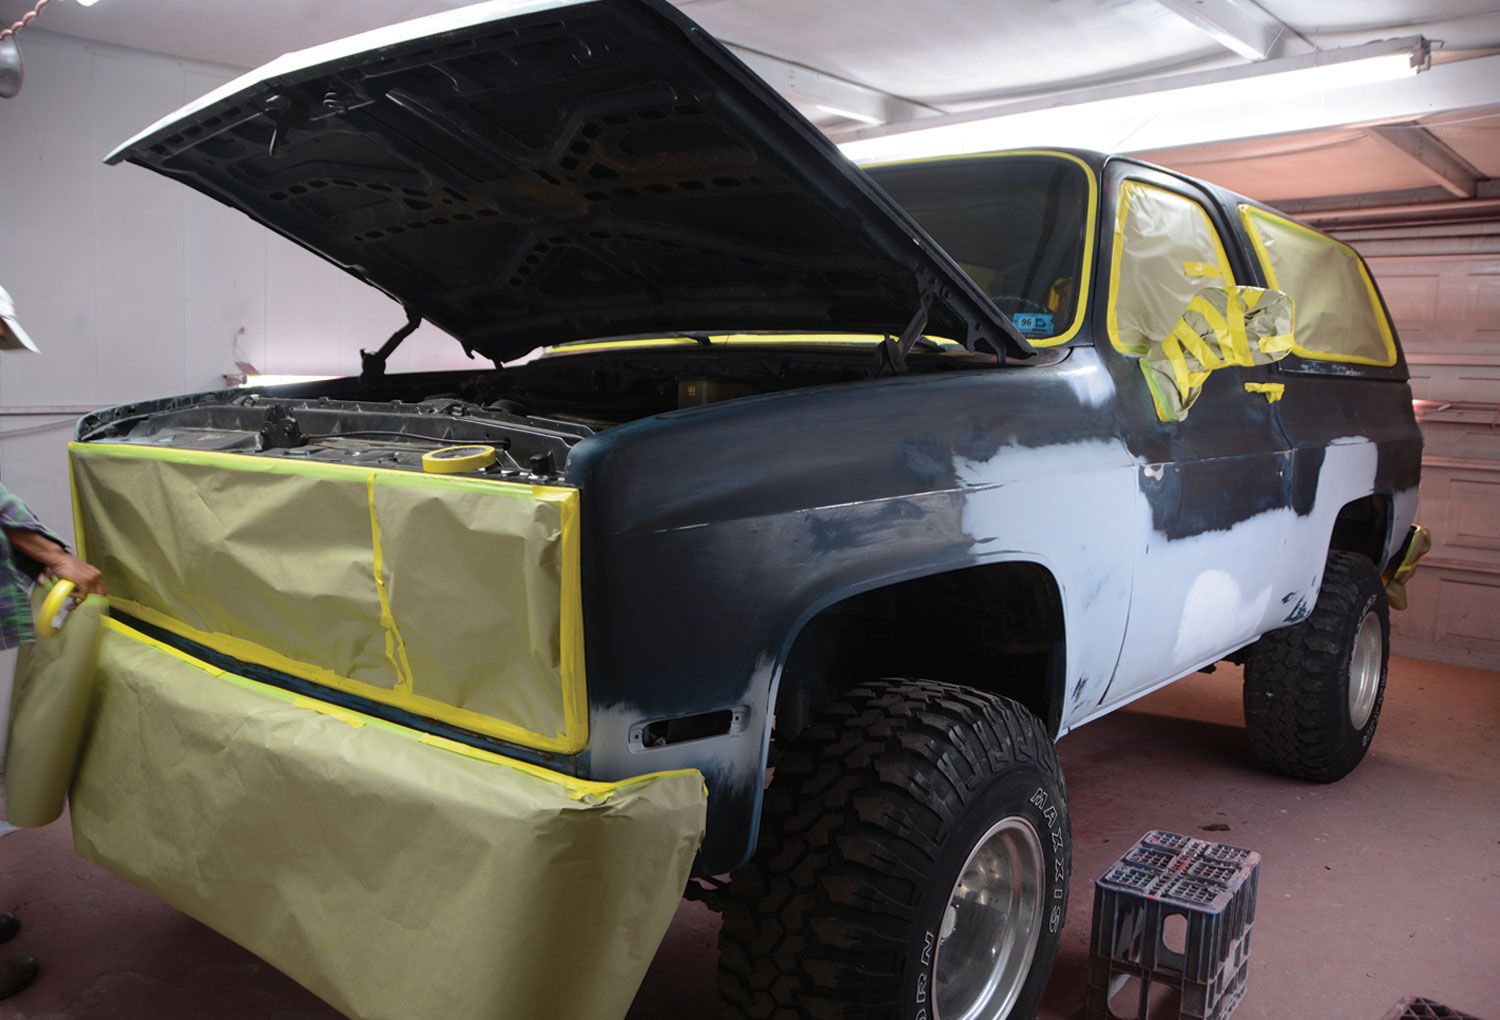
7. Tape can definitely cut into your budget, but good tape is worth a few extra bucks. We bought a couple rolls of 3M yellow 3/4-inch tape and lined everything out first. Then we went back with the masking paper to cover the windows.
view of the car in a garage with all openings masked and taped
8. If this were a nicer paintjob, the mirrors, grille, and bumpers would be removed, but since this is a quick weekend project we’re masking off these items. If you’re concerned about your tires and wheels, large trash bags can be used to cover them.
wax and grease remover are used to clean the surface of the car
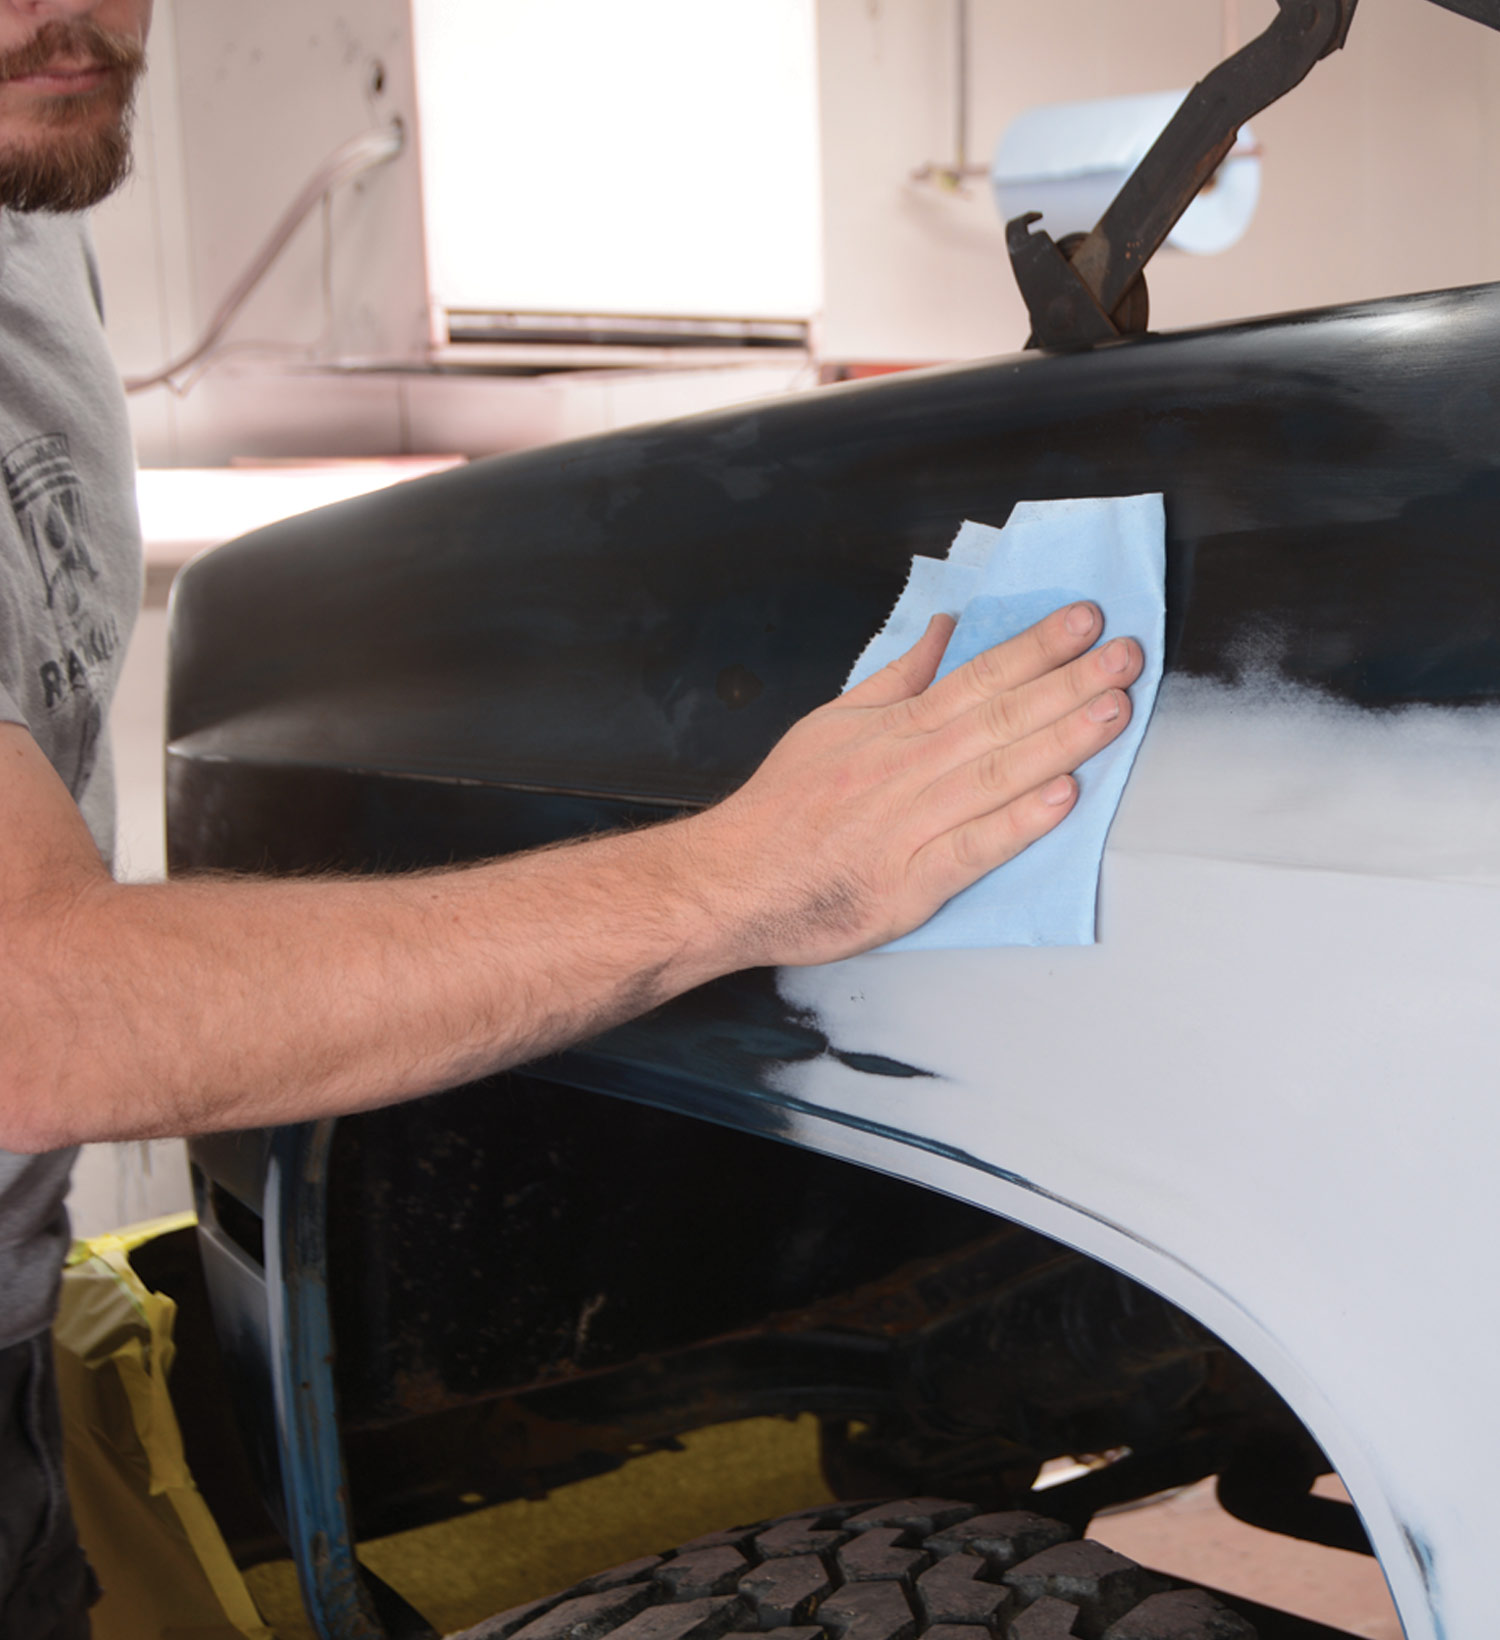
9. We used a few splashes of wax and grease remover on a shop towel to make sure the surface was clean. The flat black paint we’re using will spray over just about anything, but this extra step is always worth it.
a new can of Rust-Oleum oil-based enamel paint
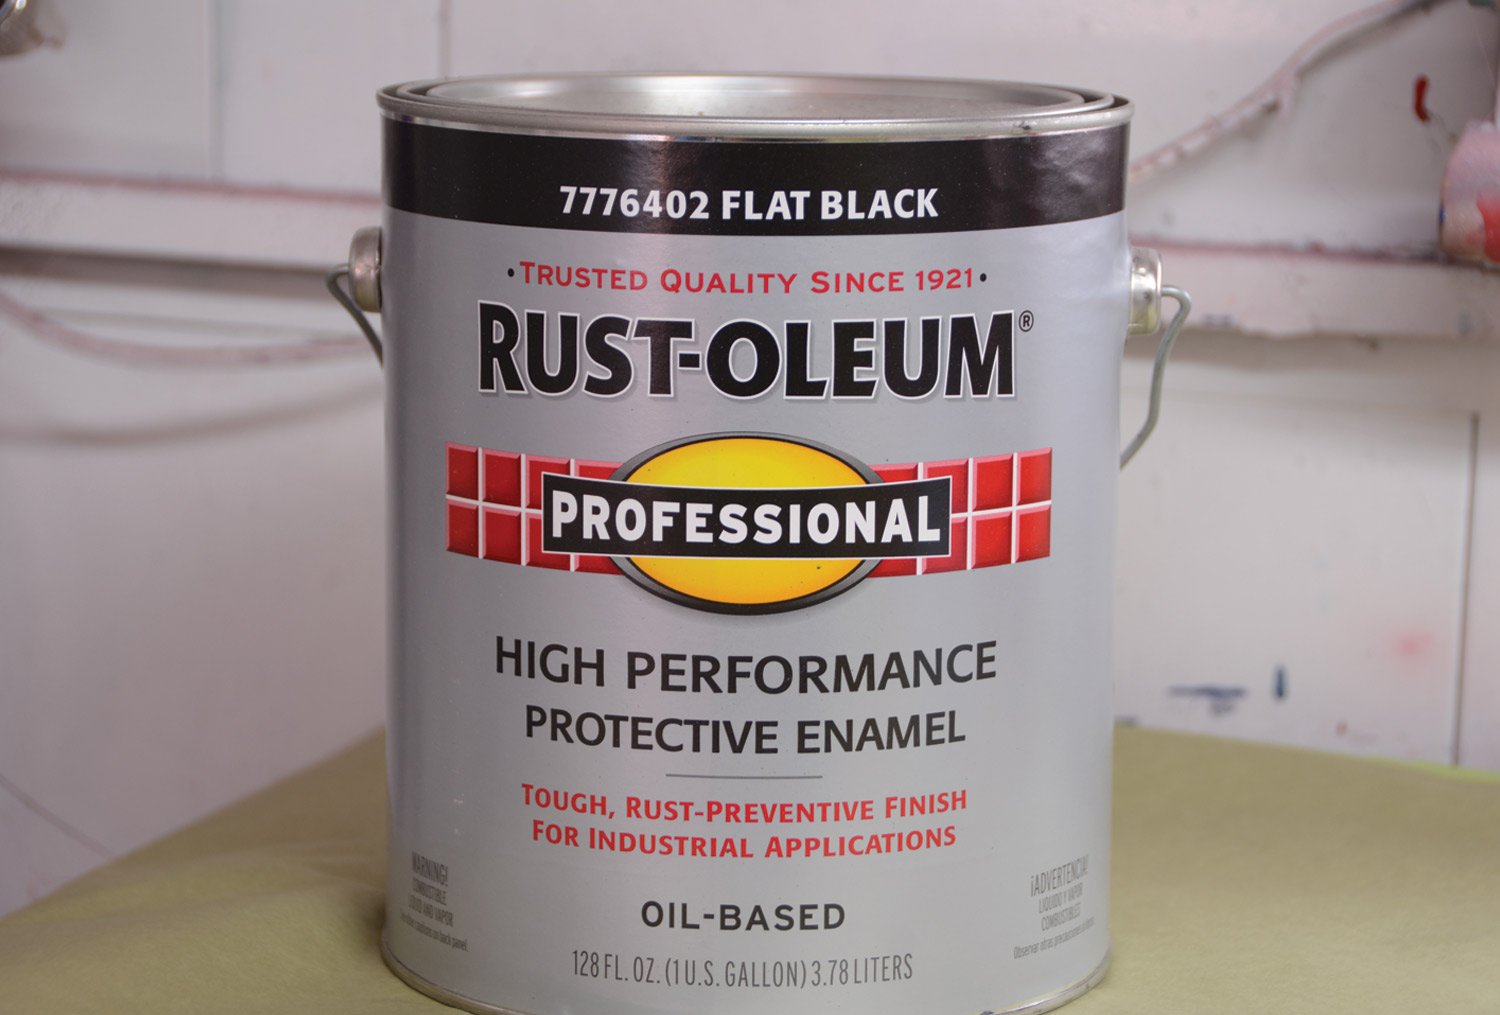
10. Rust-Oleum oil-based enamel paint can be purchased online, or at your local hardware store. We bought a gallon of flat black paint and a gallon of acetone (for thinning) and spent just a touch under $50. This is enough to make 1.5 gallons of sprayable material and plenty of acetone leftover for cleaning the gun.
the Rust-Oleum oil-based enamel paint is mixed and prepared for use
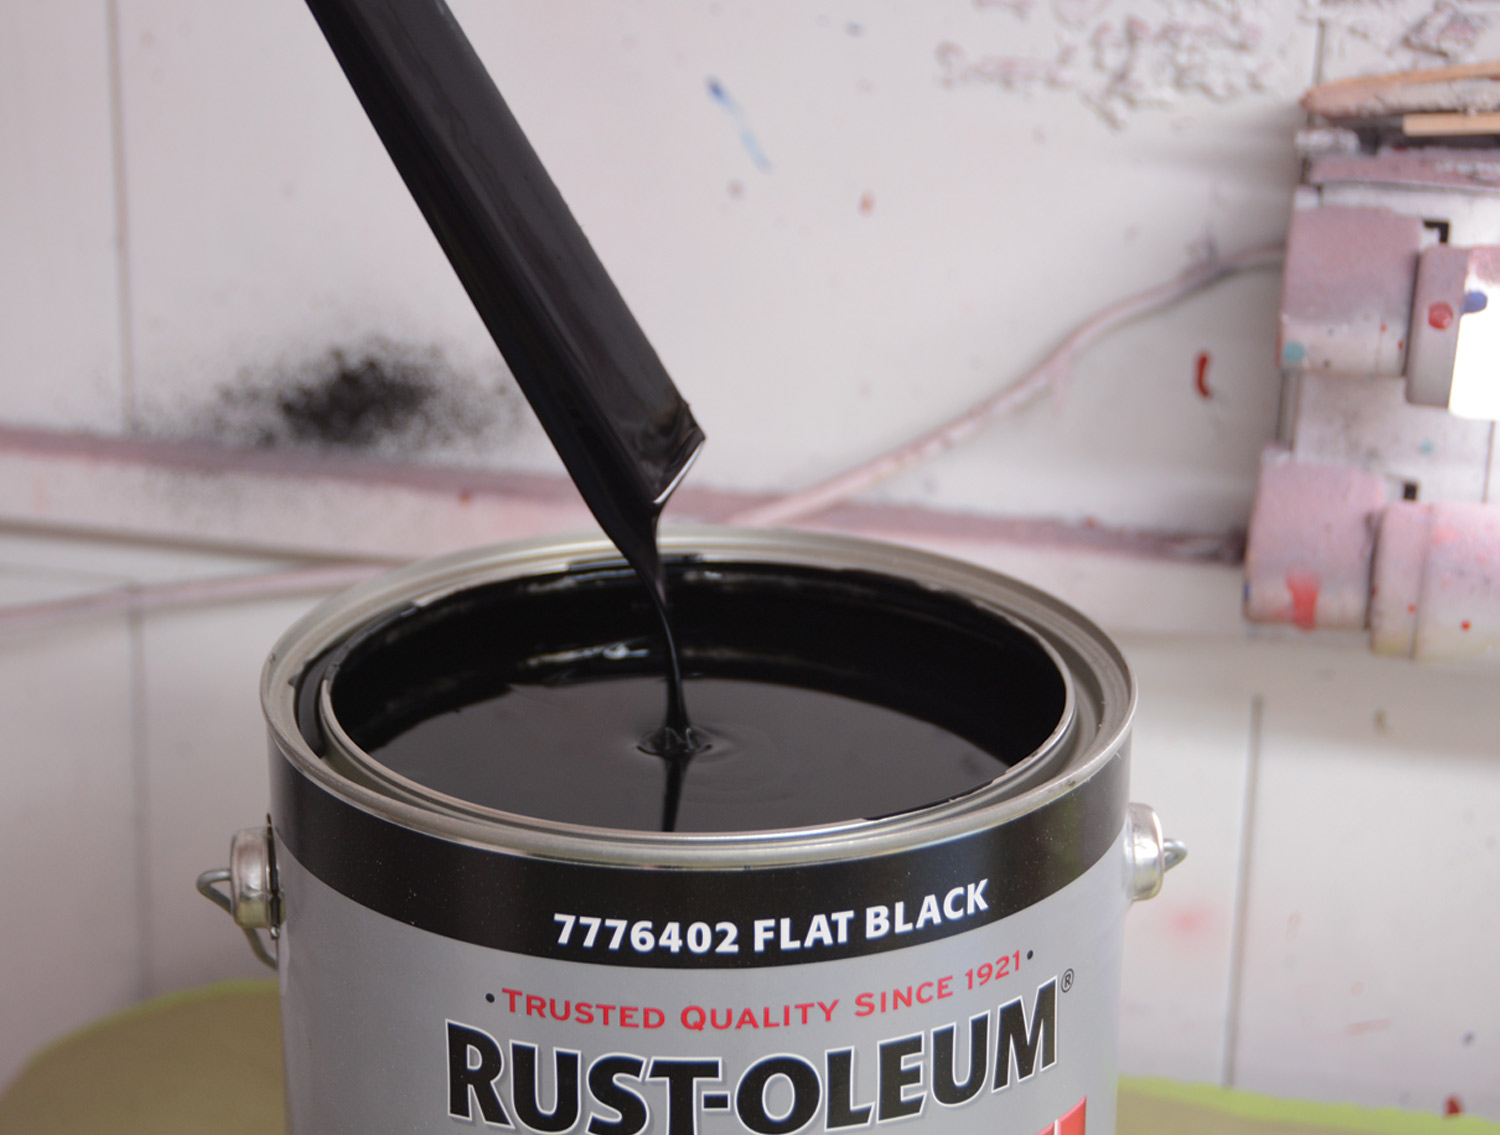
11. After thoroughly shaking the can, we pop the lid and stir the paint to make sure the consistency is the same throughout. The paint is very thick and can be applied with a brush or roller in this state. For our application, we’re spraying it through a cheap Harbor Freight spray gun, so we’re using acetone to thin it.
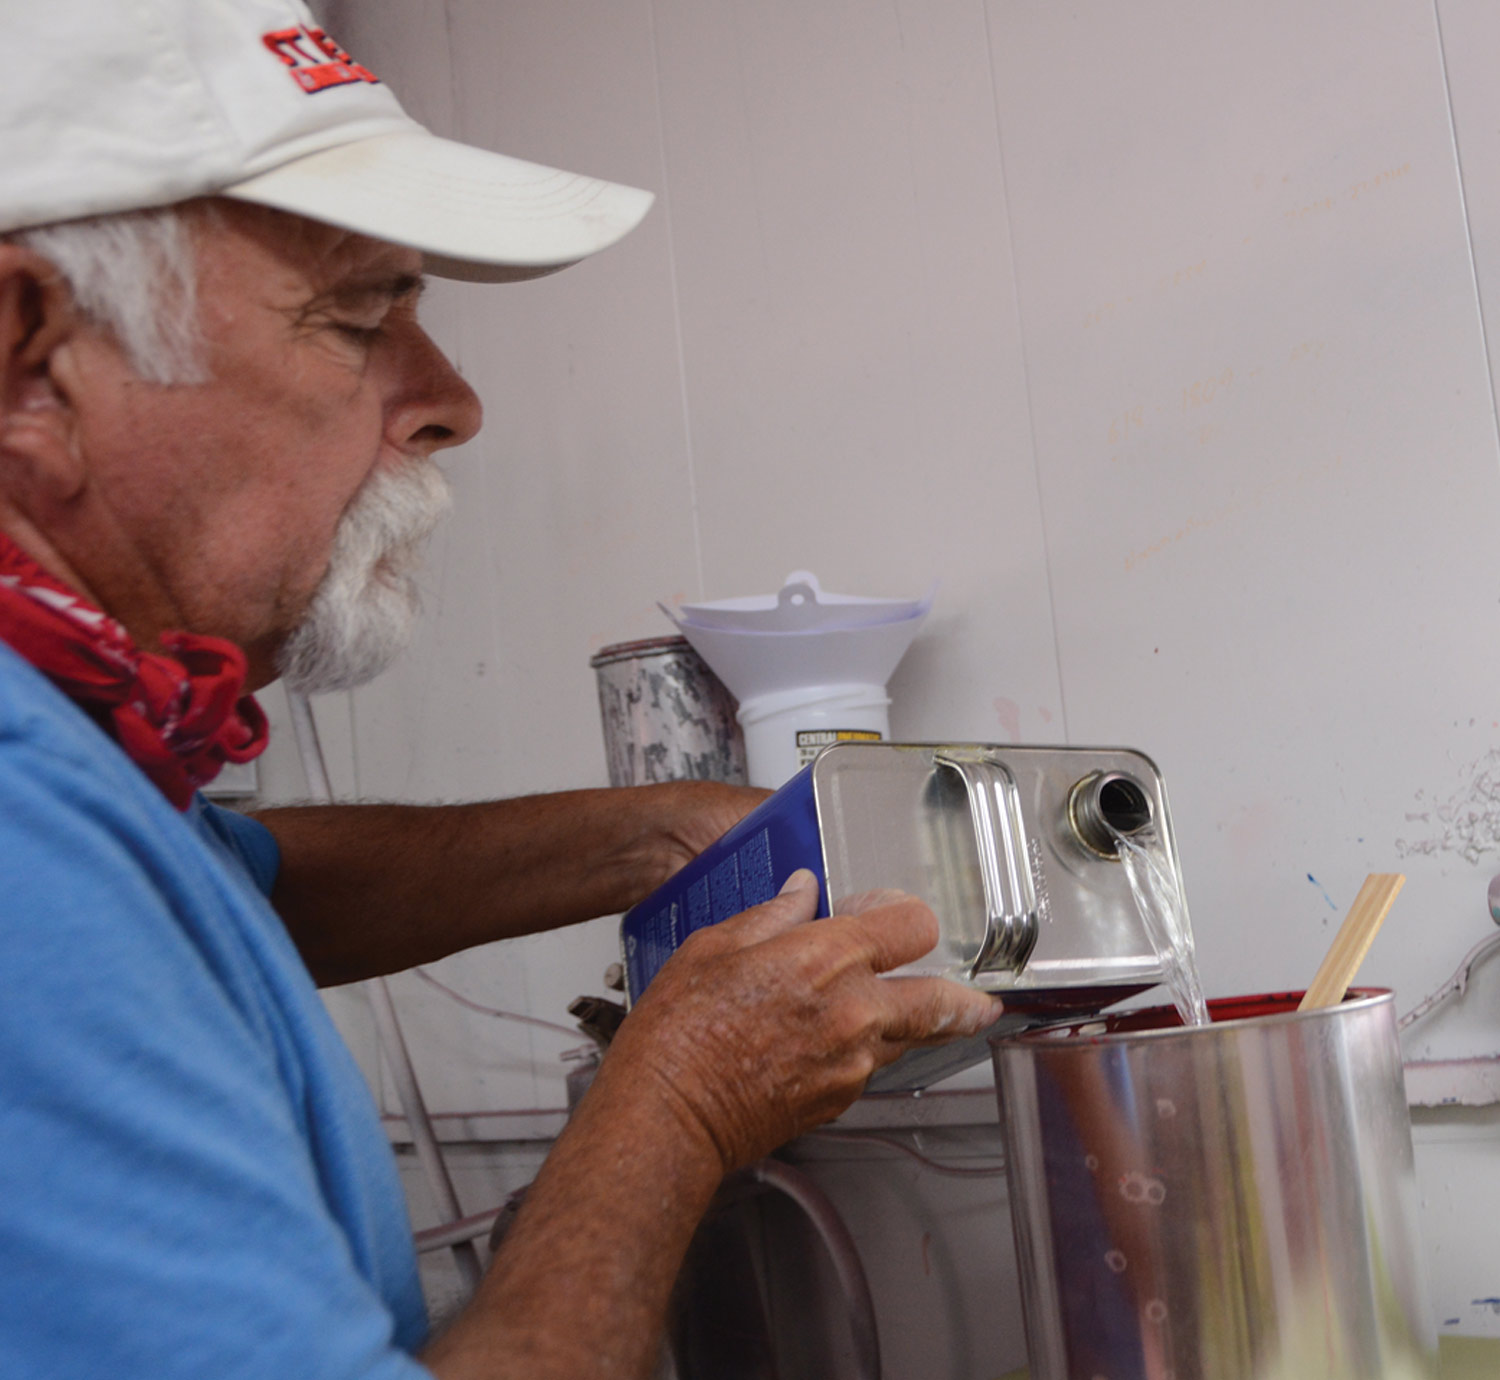
mechanic creates paint an acetone mixture
12. We use two parts paint and one part acetone (2:1 ratio) to get the right mixture for our preference, but everyone likes it a little different. With this ratio, it sprays through the 1.4 tip on the Harbor Freight gun.
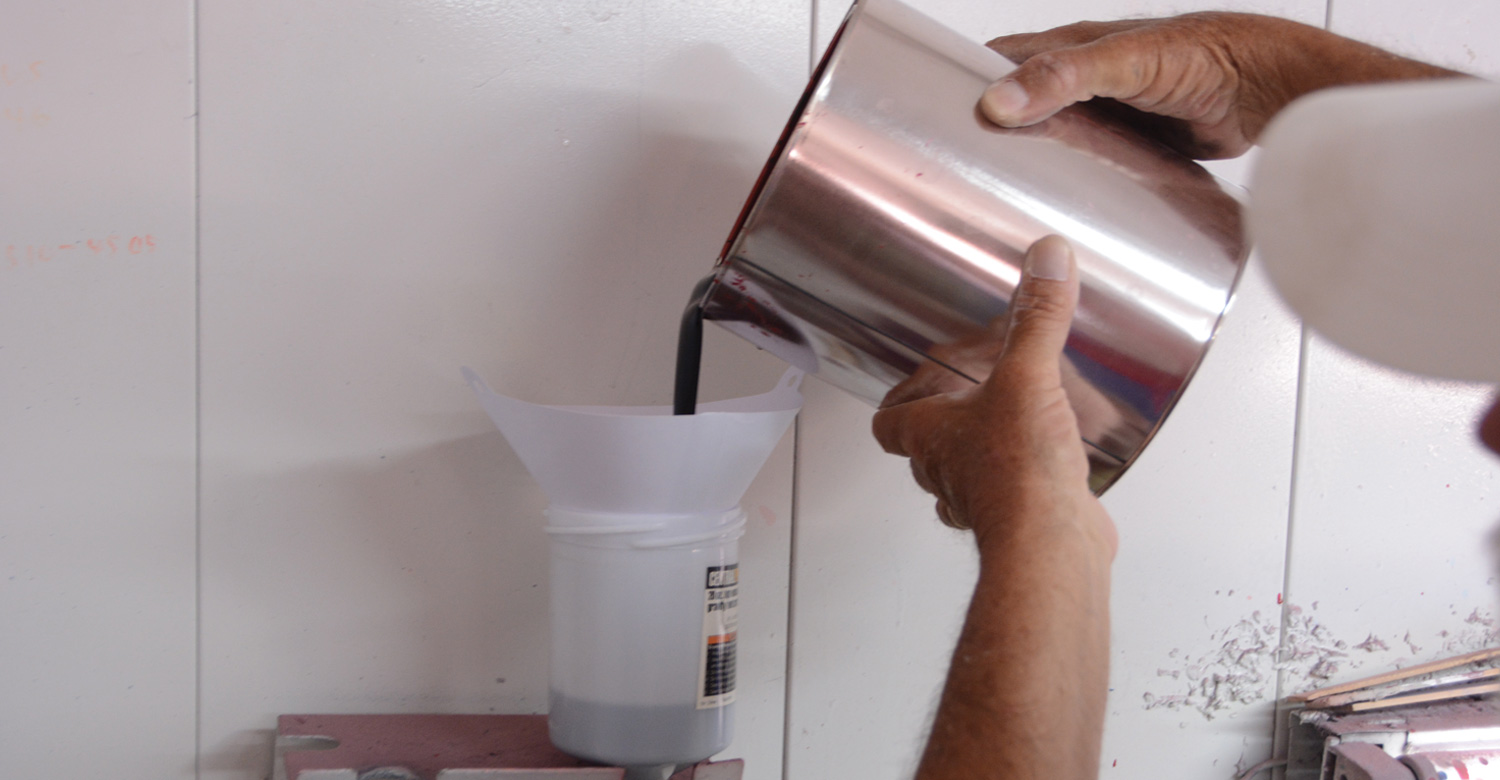
a strainer is used to keep debris out of the cup as it is poured into the paint gun
13. A strainer is used to keep debris out of the cup as we poured the mixed paint into the gun. Keep in mind that Rust-Oleum enamel paint is not catalyzed, which means it does not require hardener. You can add a splash of enamel hardener if you’d like, but it is not necessary.
mechanic test sprays the car to get the right pattern and pressure
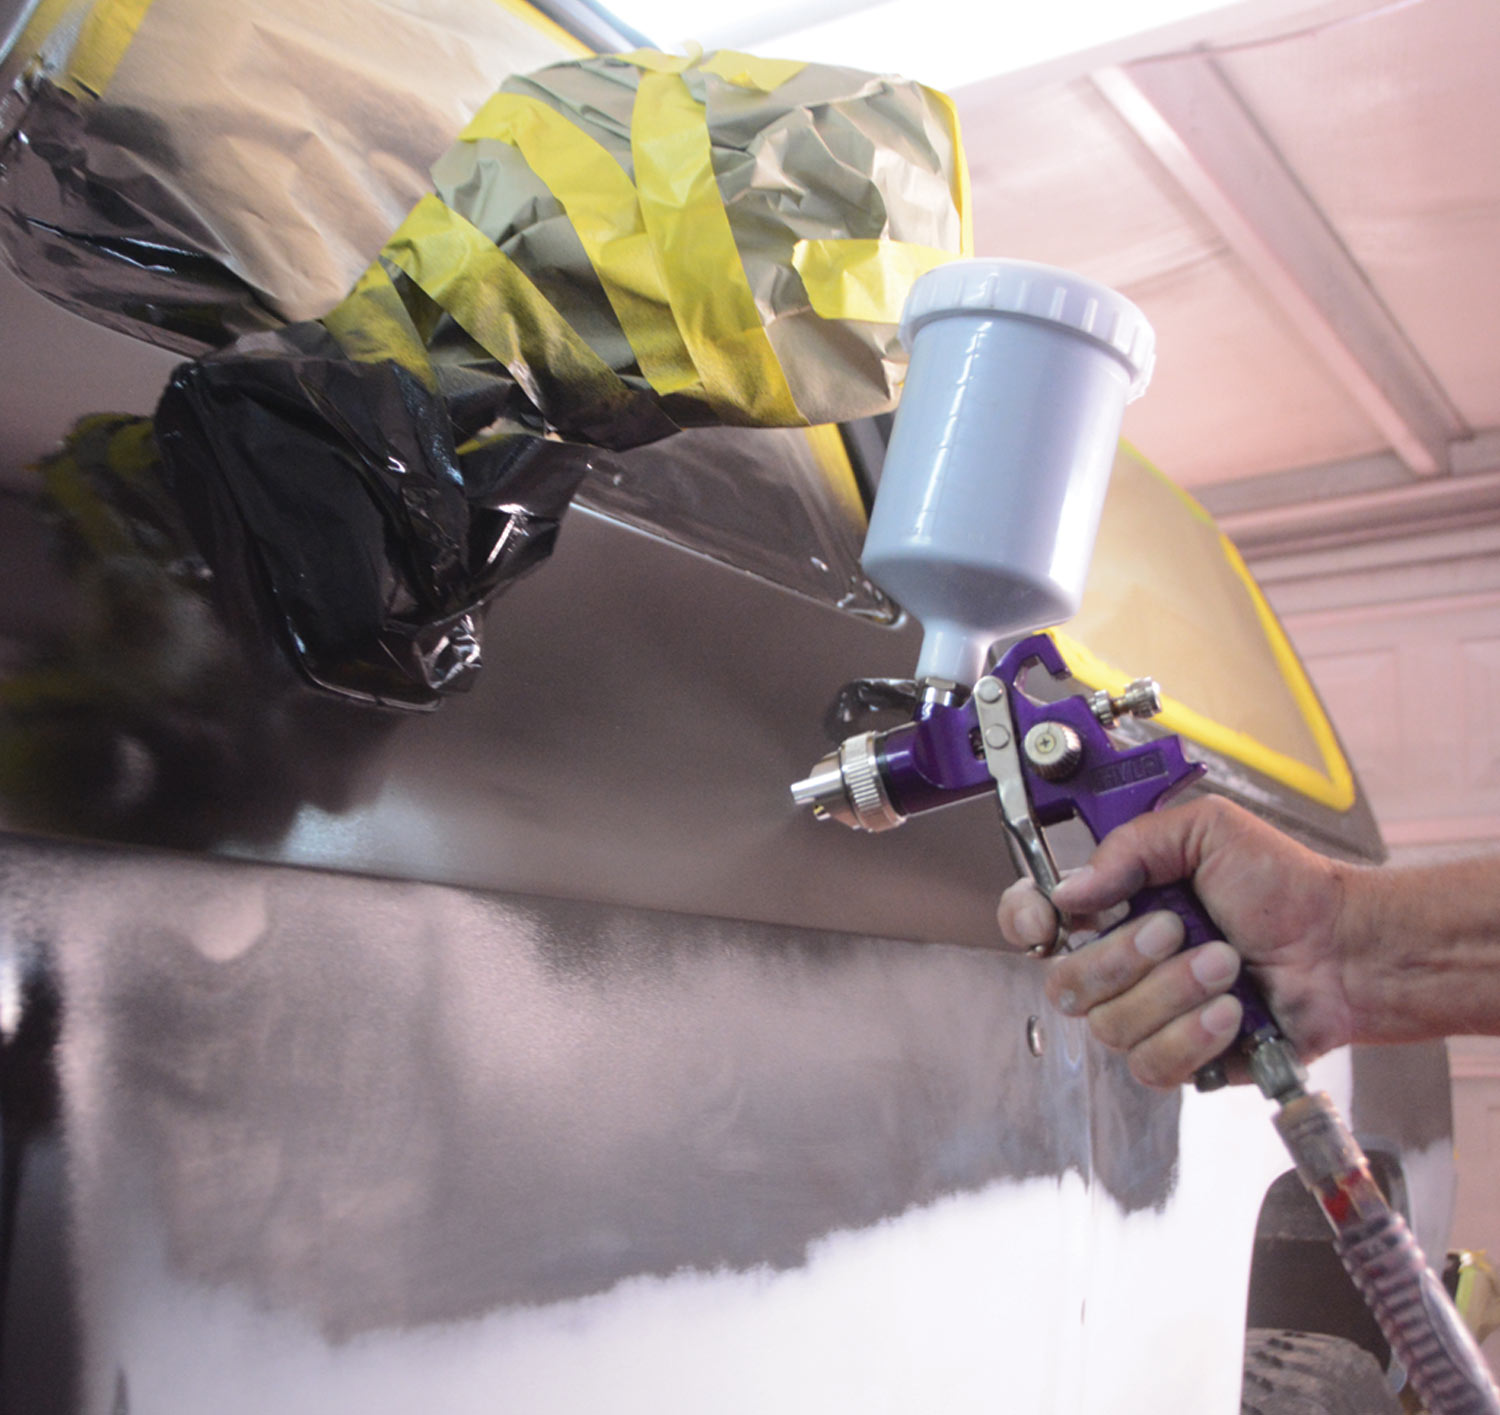
14. After spraying some test panels and getting our pattern and pressures adjusted, we start painting the Blazer. With the relatively thick paint mixture, we get very little overspray, which helps with visibility inside of our makeshift “spray booth.”
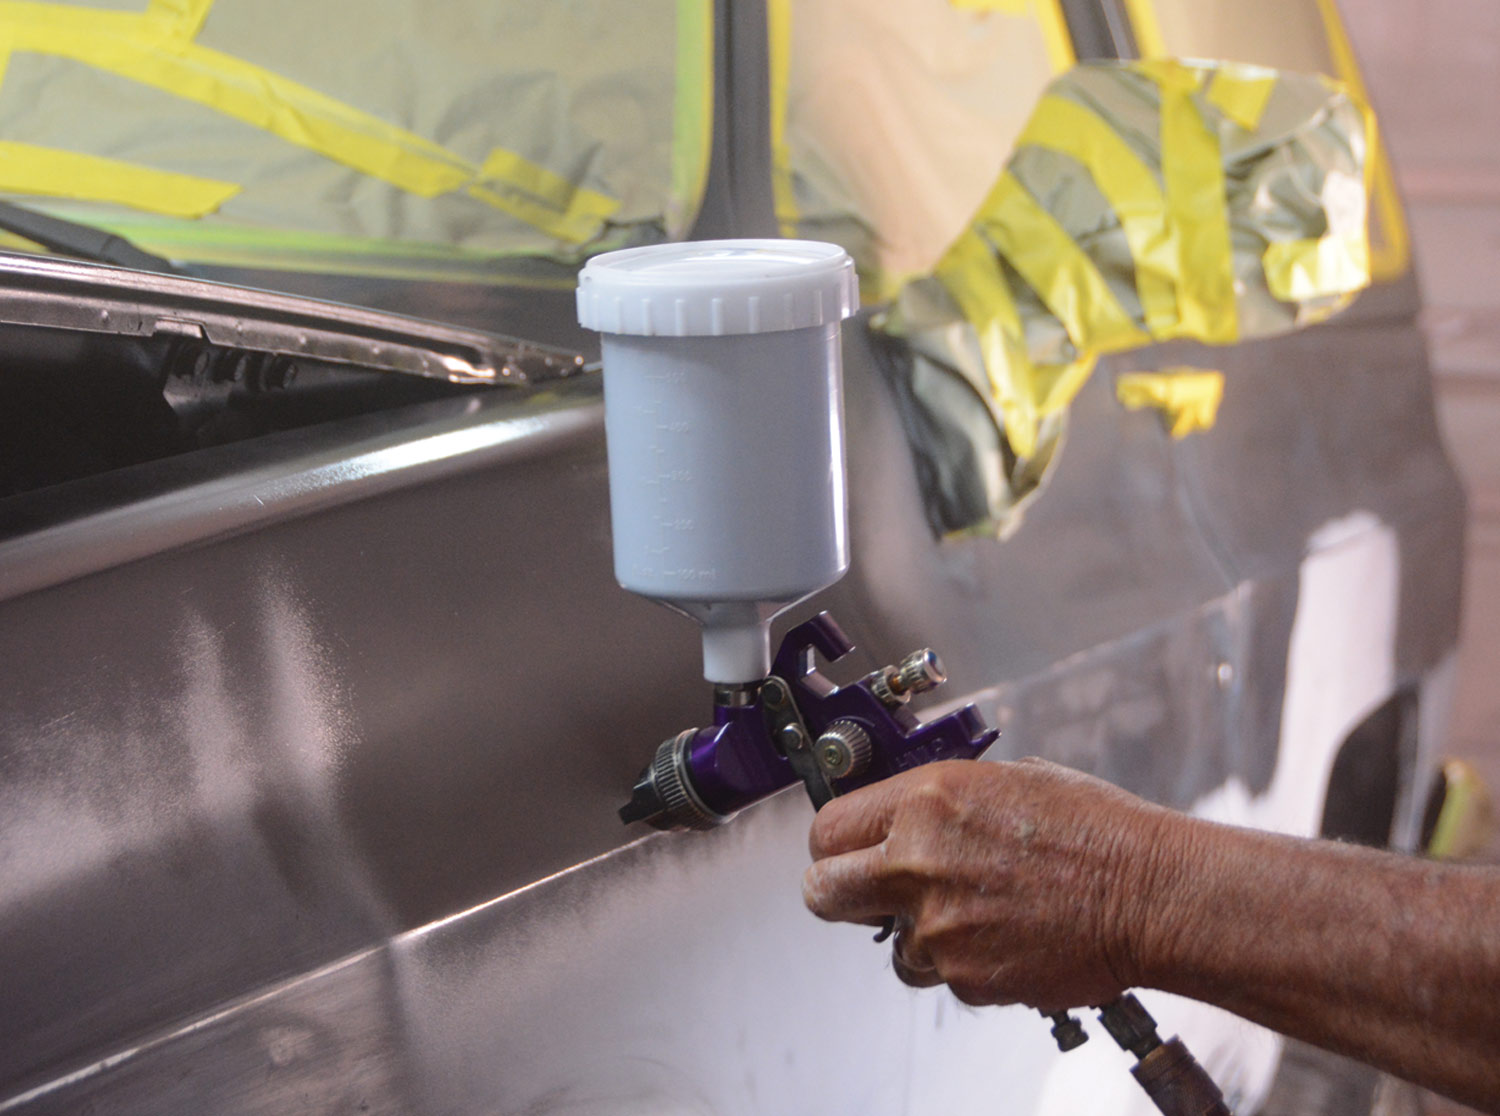
mechanic uses a Harbor Freight HVLP Gravity Feed gun to find the right paint spray pressure
15. Everyone likes their pressure settings a little different, but we found a happy medium on the Harbor Freight HVLP Gravity Feed gun. If you want to dial in the pressure and keep track of it, you can add on an external regulator. The paint covers wonderfully, even on the first coat.
mechanic uses pre-mixed paint and acetone mixture to cover large areas
16. Making our way around the Blazer, fill-ups were pretty common, especially as we covered large areas like the roof and hood. We used an empty paint can to pre-mix our paint and acetone, so we could fill up the gun without having to mix materials every time.
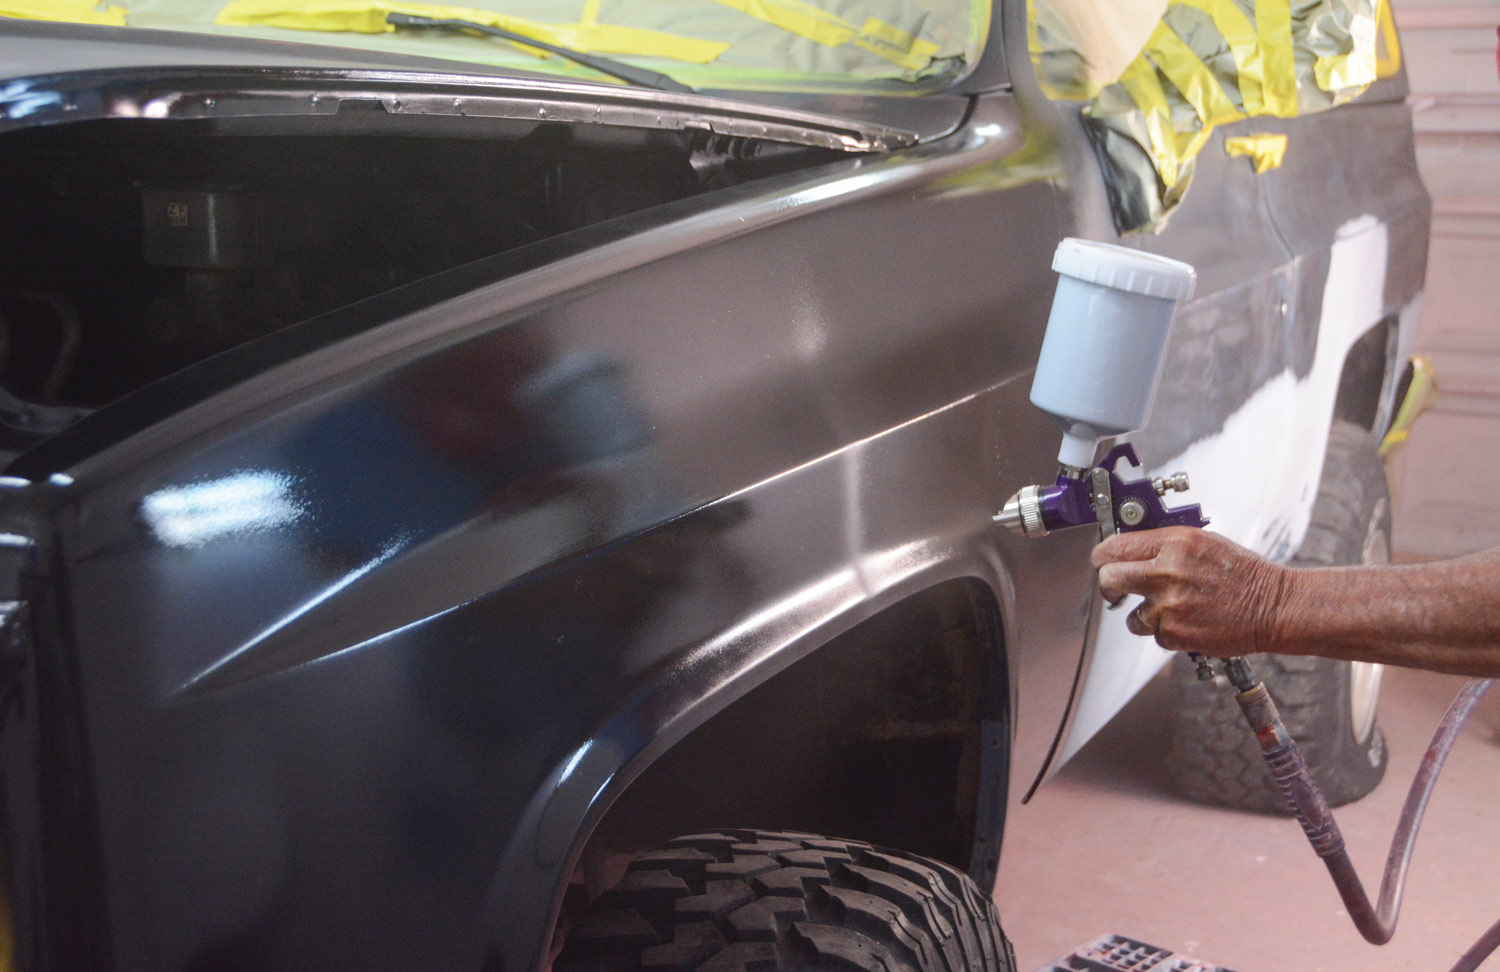
close angled view of rough glossy appearance of freshly applied paint
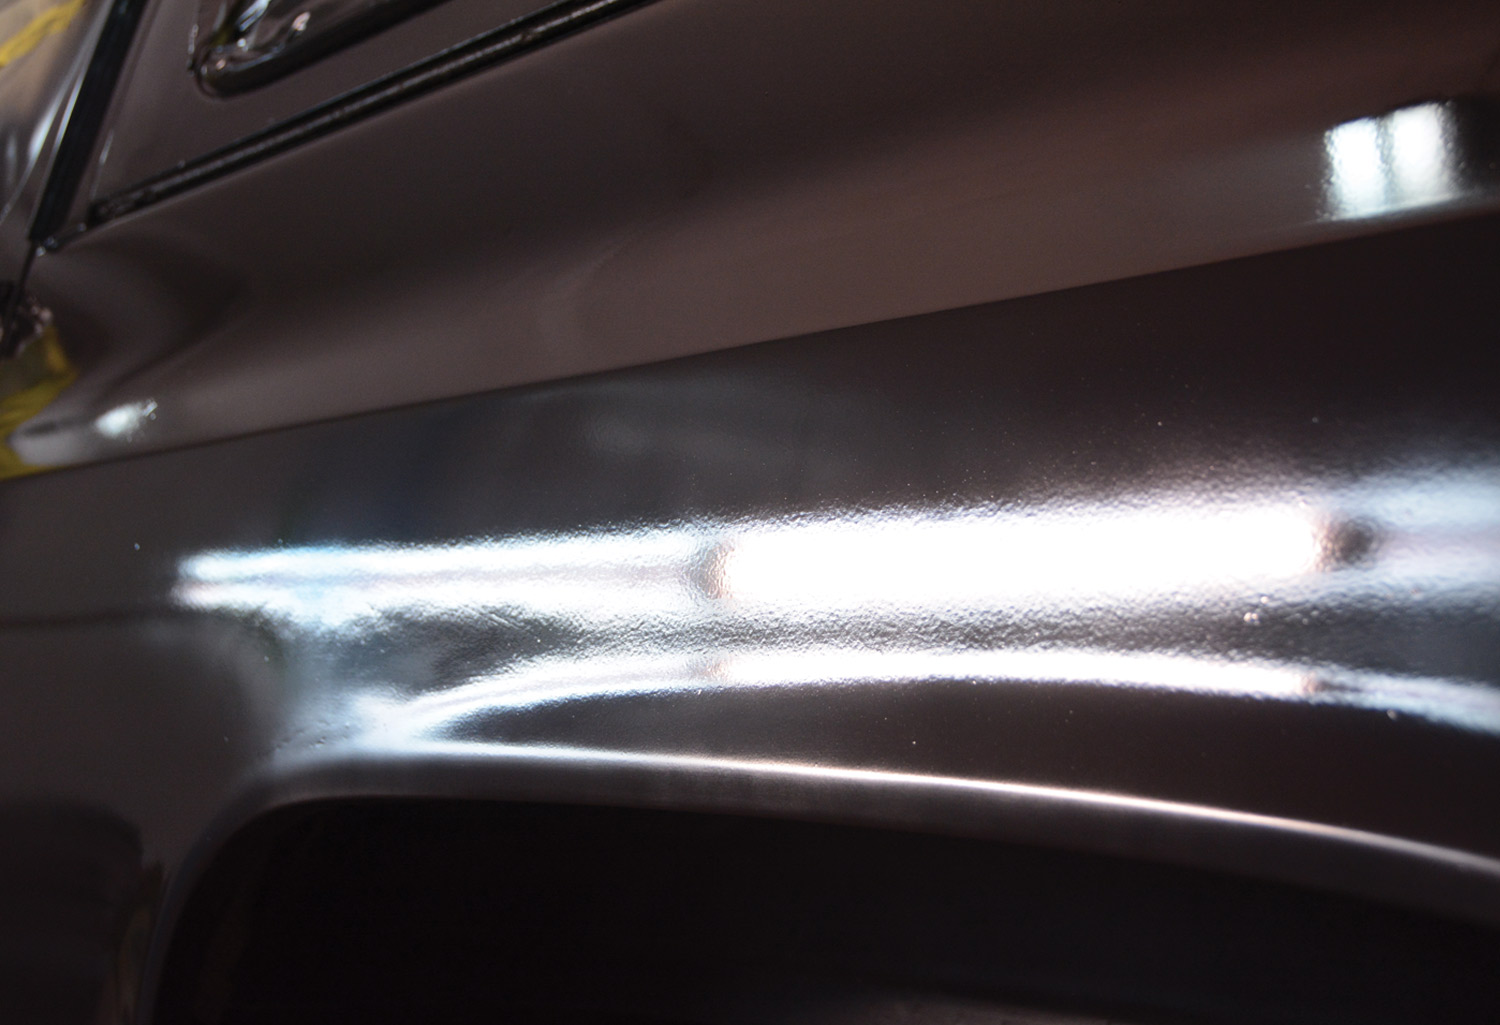
17. The purpose of this photo is to show the glossy sheen as soon as the paint is applied. The gloss shows all of the imperfections, and quite honestly looks a little rough, but the peely texture and flaws seem to disappear as the paint dries to a satin look.
front view of the Blazer with one coat of flat black paint
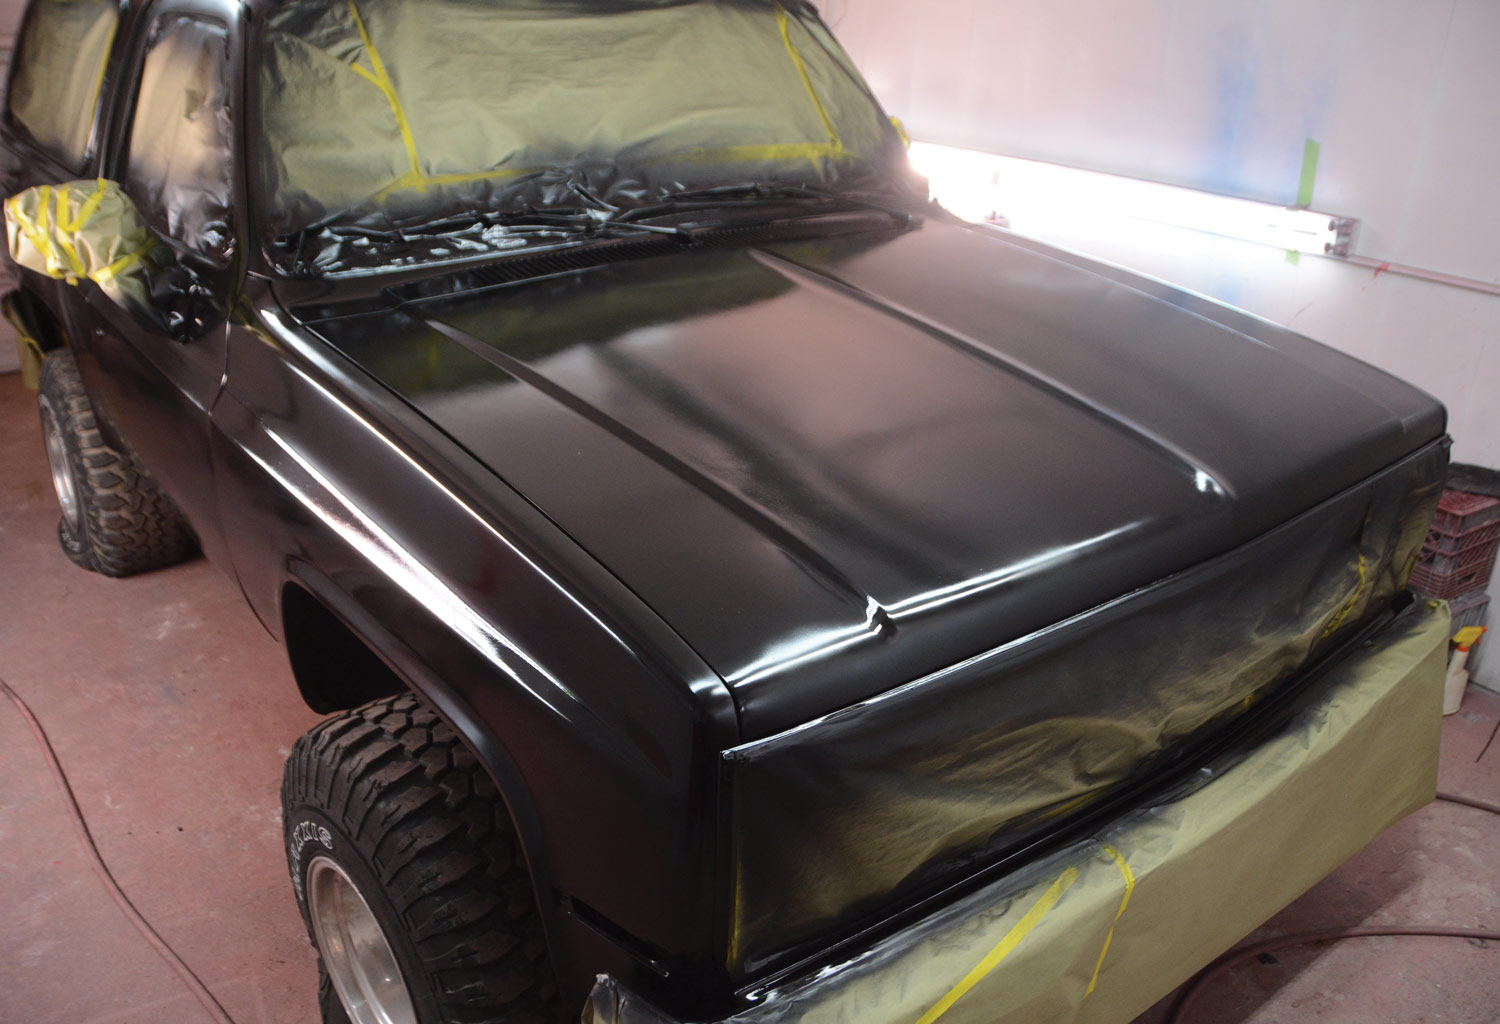
18. We let the first coat dry for about 30 minutes before getting started on coat number two. Our rough project is looking a lot better already, but we’re expecting the shine to calm down and give us the desired sheen.
front view of the Blazer with two coats of flat black paint
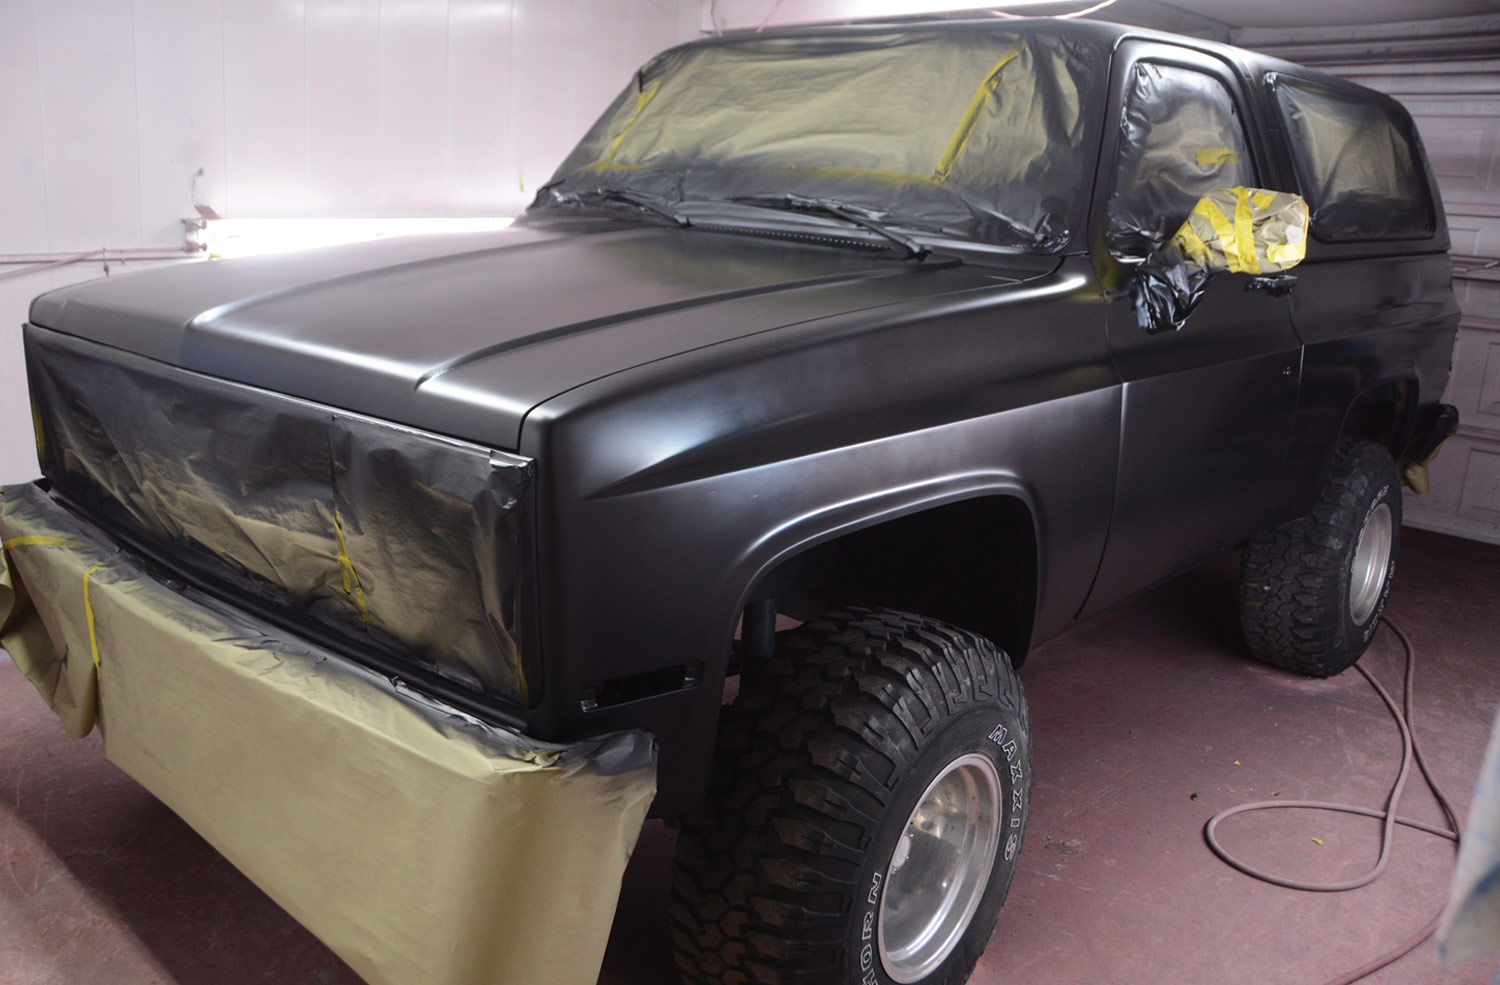
19. After coat number two was complete, we stepped back into the makeshift spray booth to see how it looks. This is what it looked like after an hour, as the paint began to cure. We let it sit for another couple hours before removing the tape, as the paint does not dry quite as quickly as regular automotive paint.
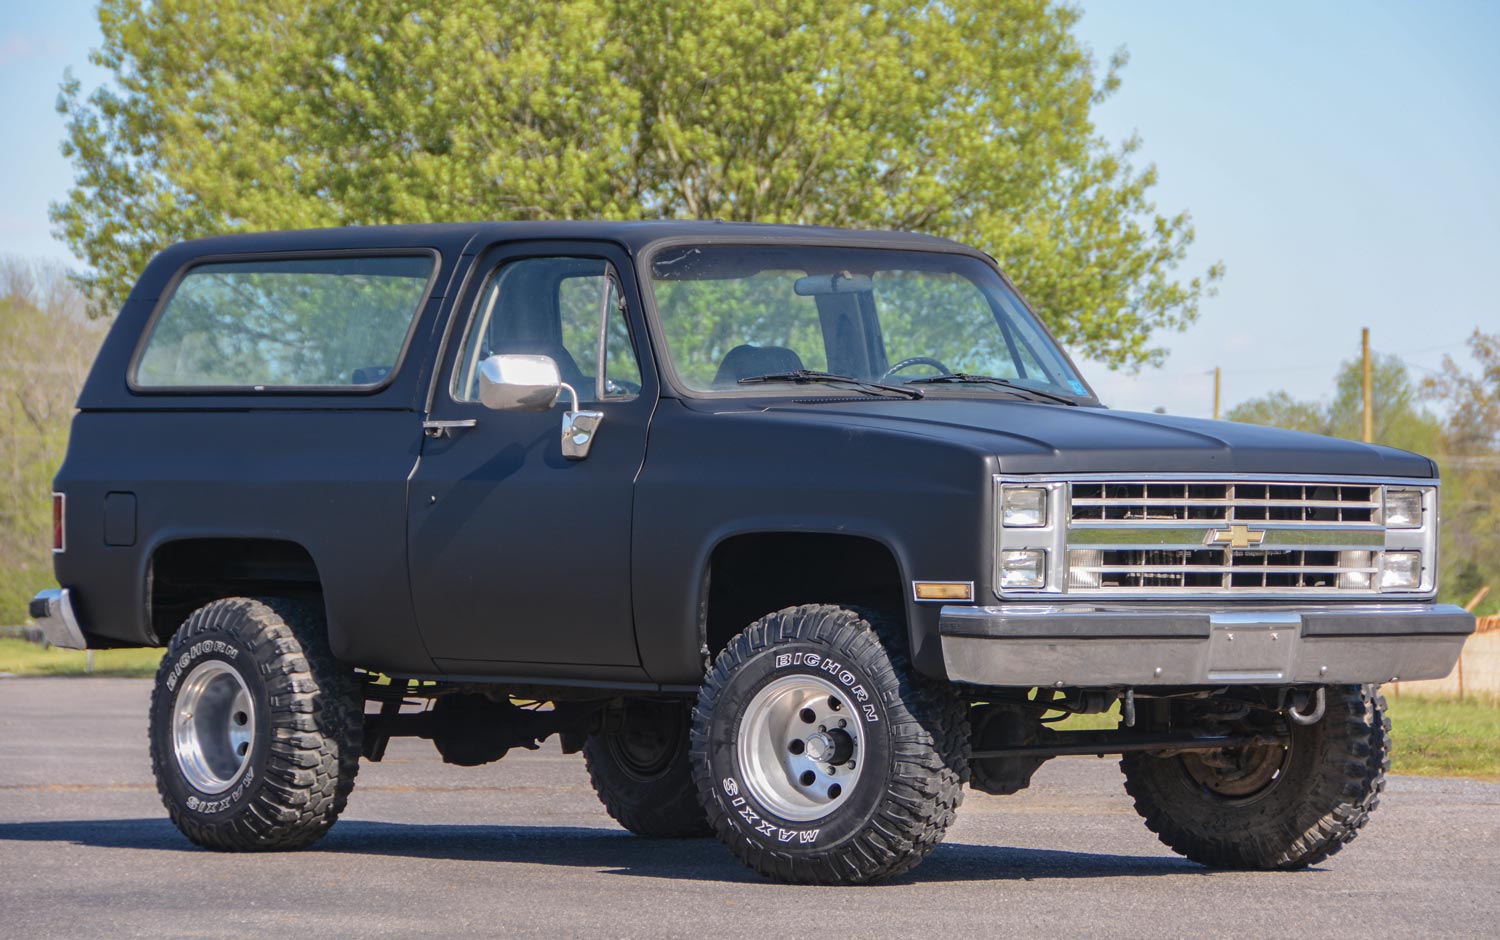
full view of the finished Blazer with a new, budgeted flat paint job
20. If you choose not to add hardener to the paint, it will stay soft for a few days. Keep in mind that this is cheap paint, so it has some disadvantages in the long run. We have found that it water spots pretty easily if you do not dry it immediately after washing or rain showers.
close, angled view of the flat black Blazer
21. We still plan to use the Blazer off-road, but we wanted something that looked a little better when we drove around town. With the marker lights installed and everything cleaned up, we’re extremely happy with the results, considering we spent $50 on paint and about $50 more on the spray gun and other supplies to get it done.
Summit Racing
(800) 230-3030
summitracing.com
Harbor Freight
(800) 444-3353
harborfreight.com