CTP logoFeature star Tech
InTheGarageMedia.com
Make No Mistake
Correcting a Crash-Crunched Cowl
BY “Rotten” Rodney Bauman  PHOTOGRAPHY BY THE AUTHOR
Y

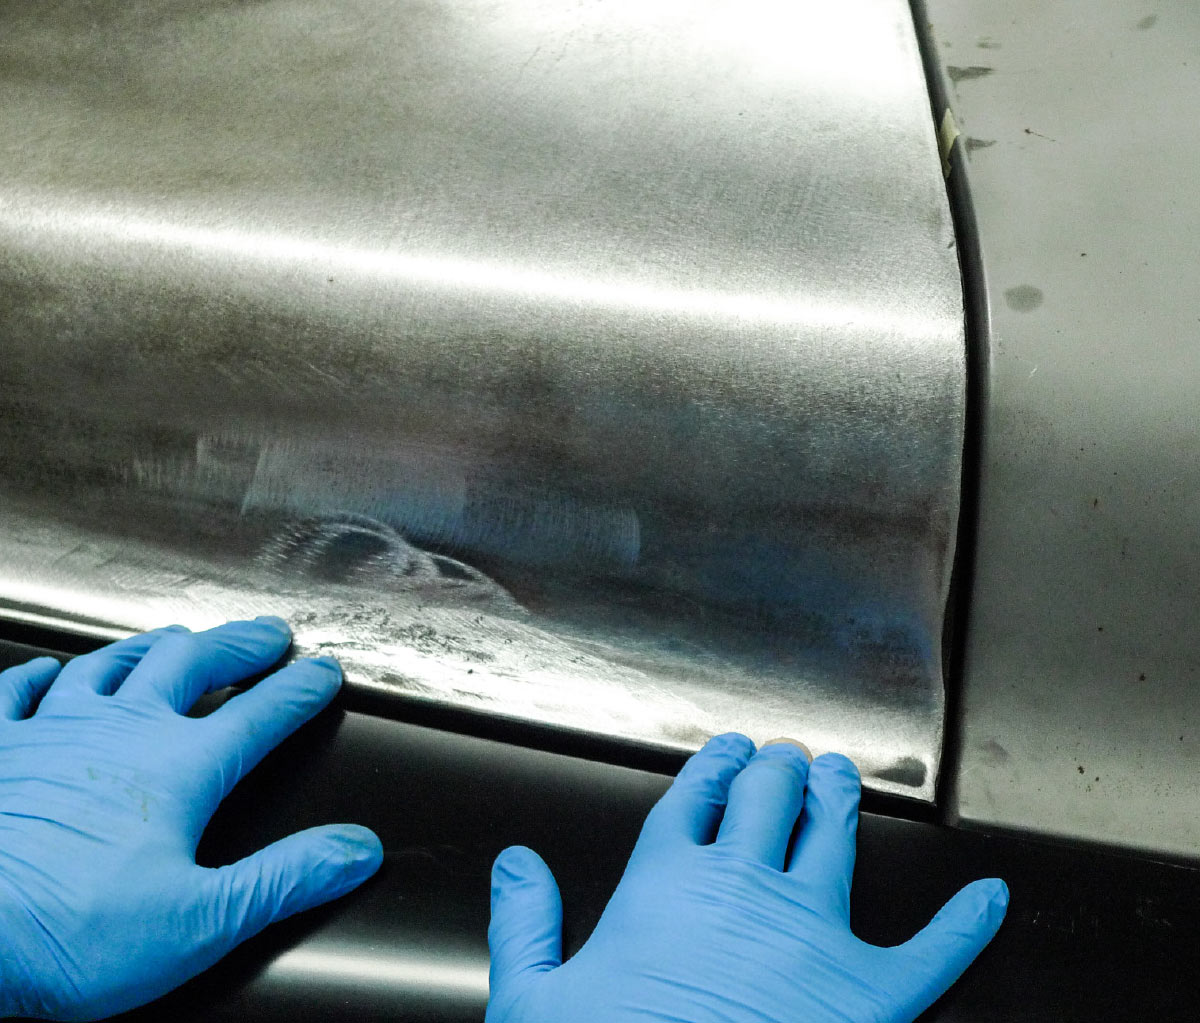
eah, sure, we all make mistakes. We don’t have to admit it every time, but if ’n’ when we do, maybe someone else won’t have to make the same ones. In this particular instance it’s more like an oversight—or perhaps an undersight, since I’ll blame it partly on my own failing vision. Way back in autobody school, my mentors stressed the importance of feelin’ panels with an open hand. That’s because we can’t always see everything, no matter how well we can see.

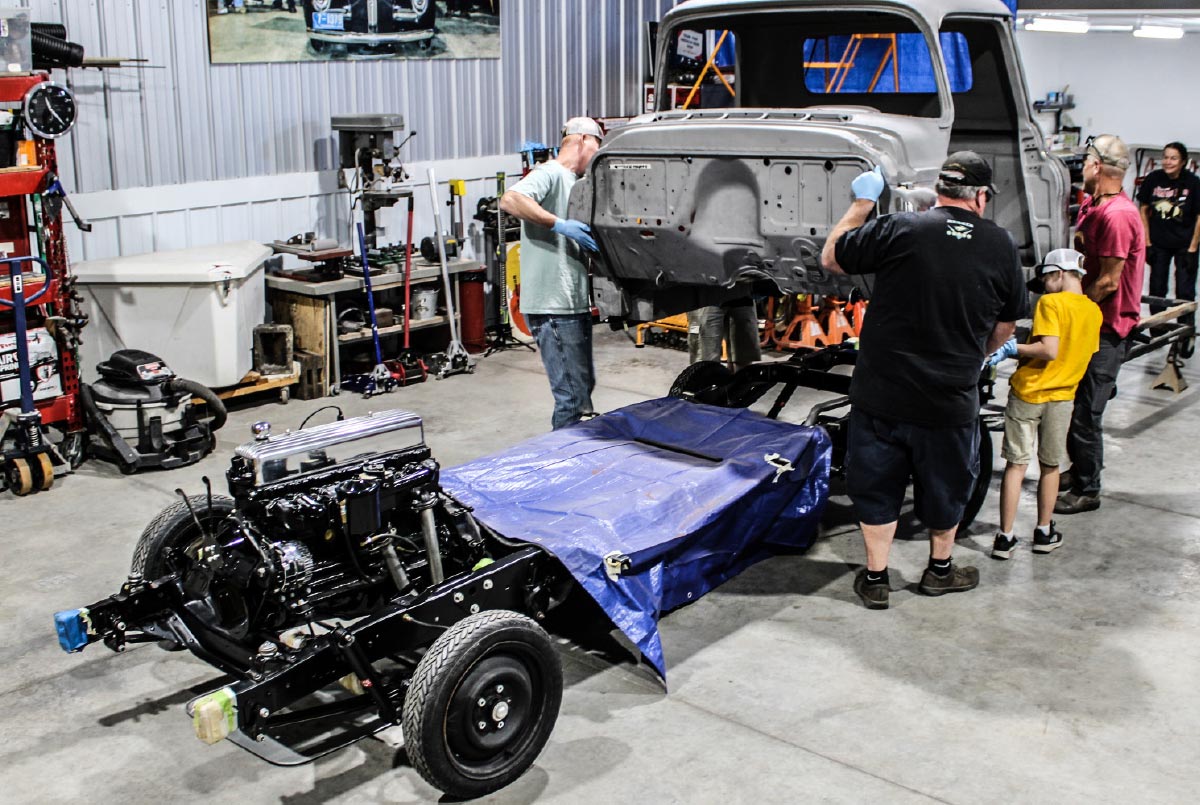
Here today, in our own cozy body stall, we’re actually gaining ground on our ’55 Chevy Second Series build. The engine, drivetrain, and chassis have been finished for some time. With a moving blanket and a blue tarp for protection between the black-finished frame and bare-steel cab, we’ve just about won the panel-alignment marathon. Now with rough-out bodywork and rust repairs behind us, we’re nearing the point where sheetmetal can be disassembled for finish bodywork and paint. Before we do that, however, there’s one little body part that we might as well test-fit.

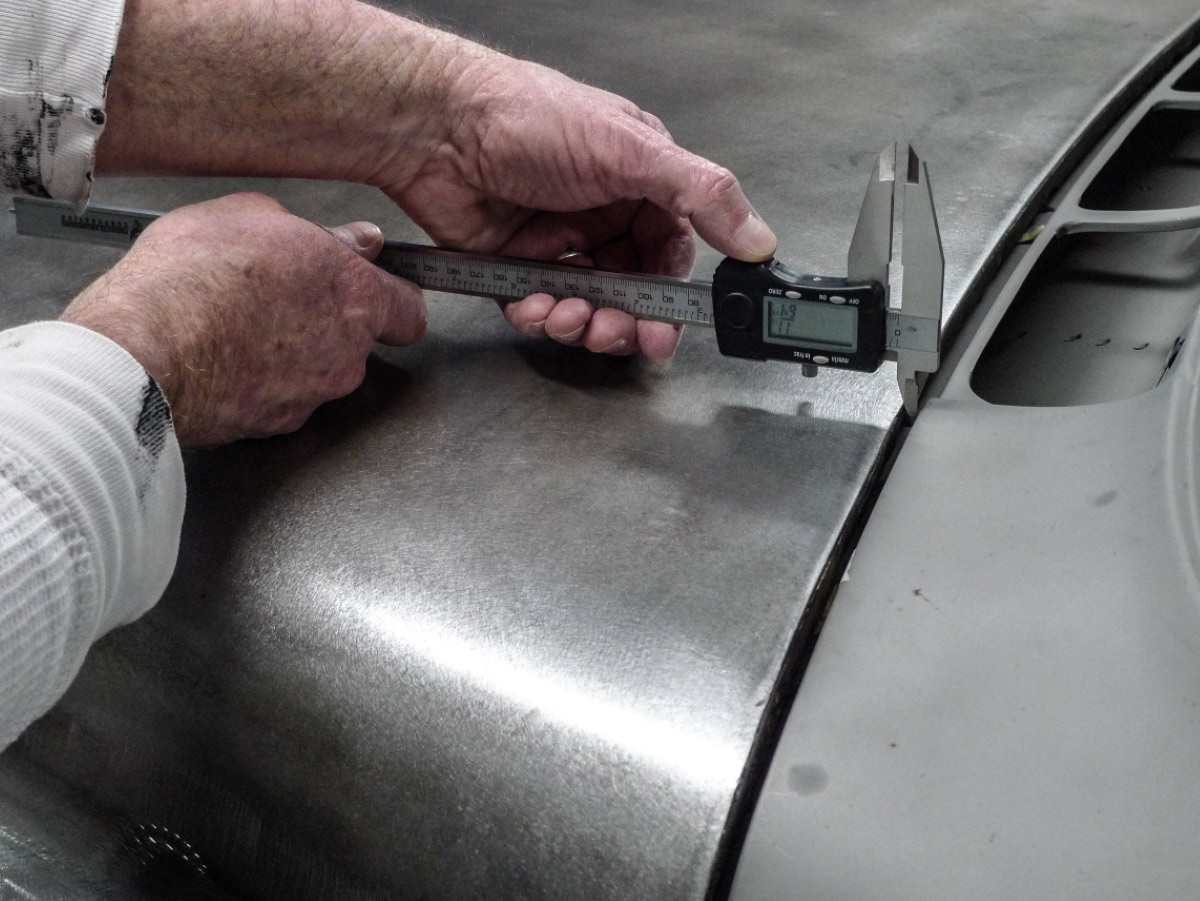
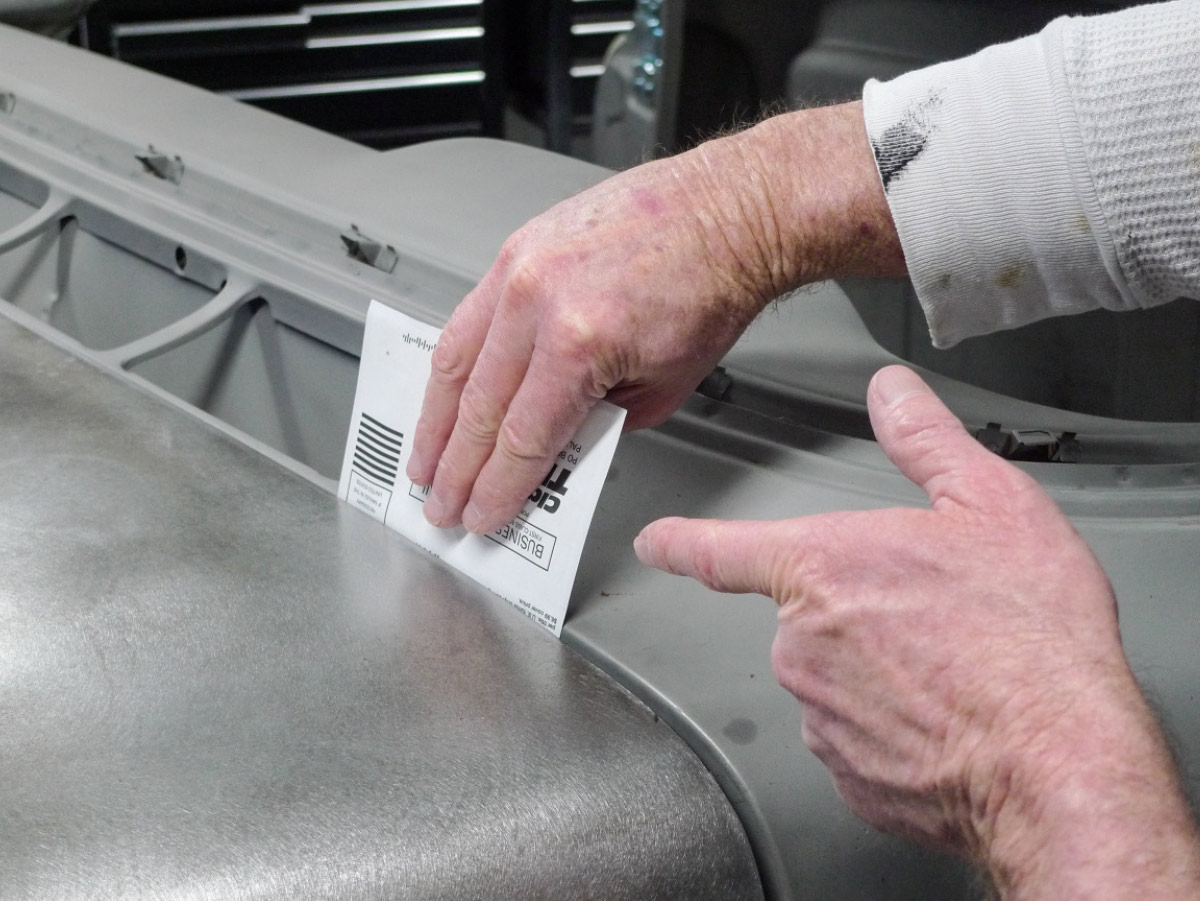
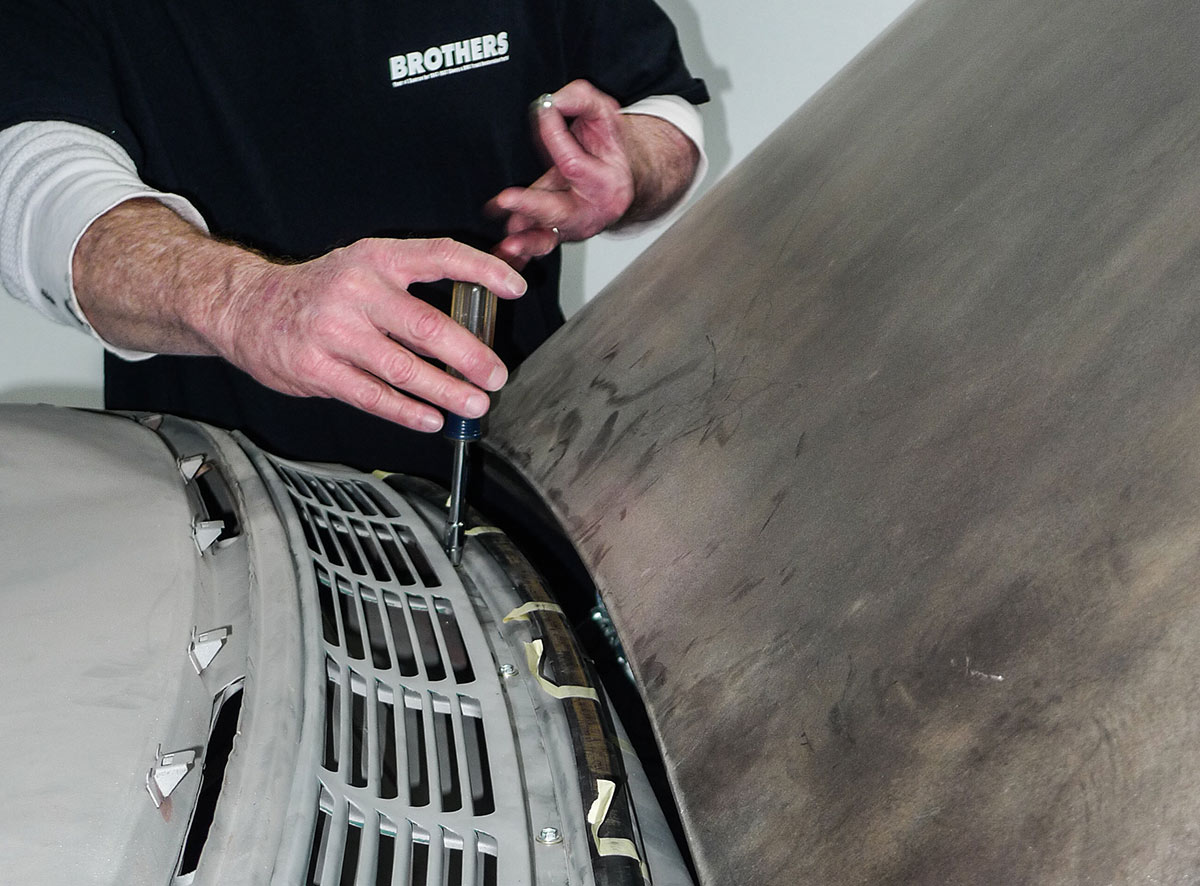
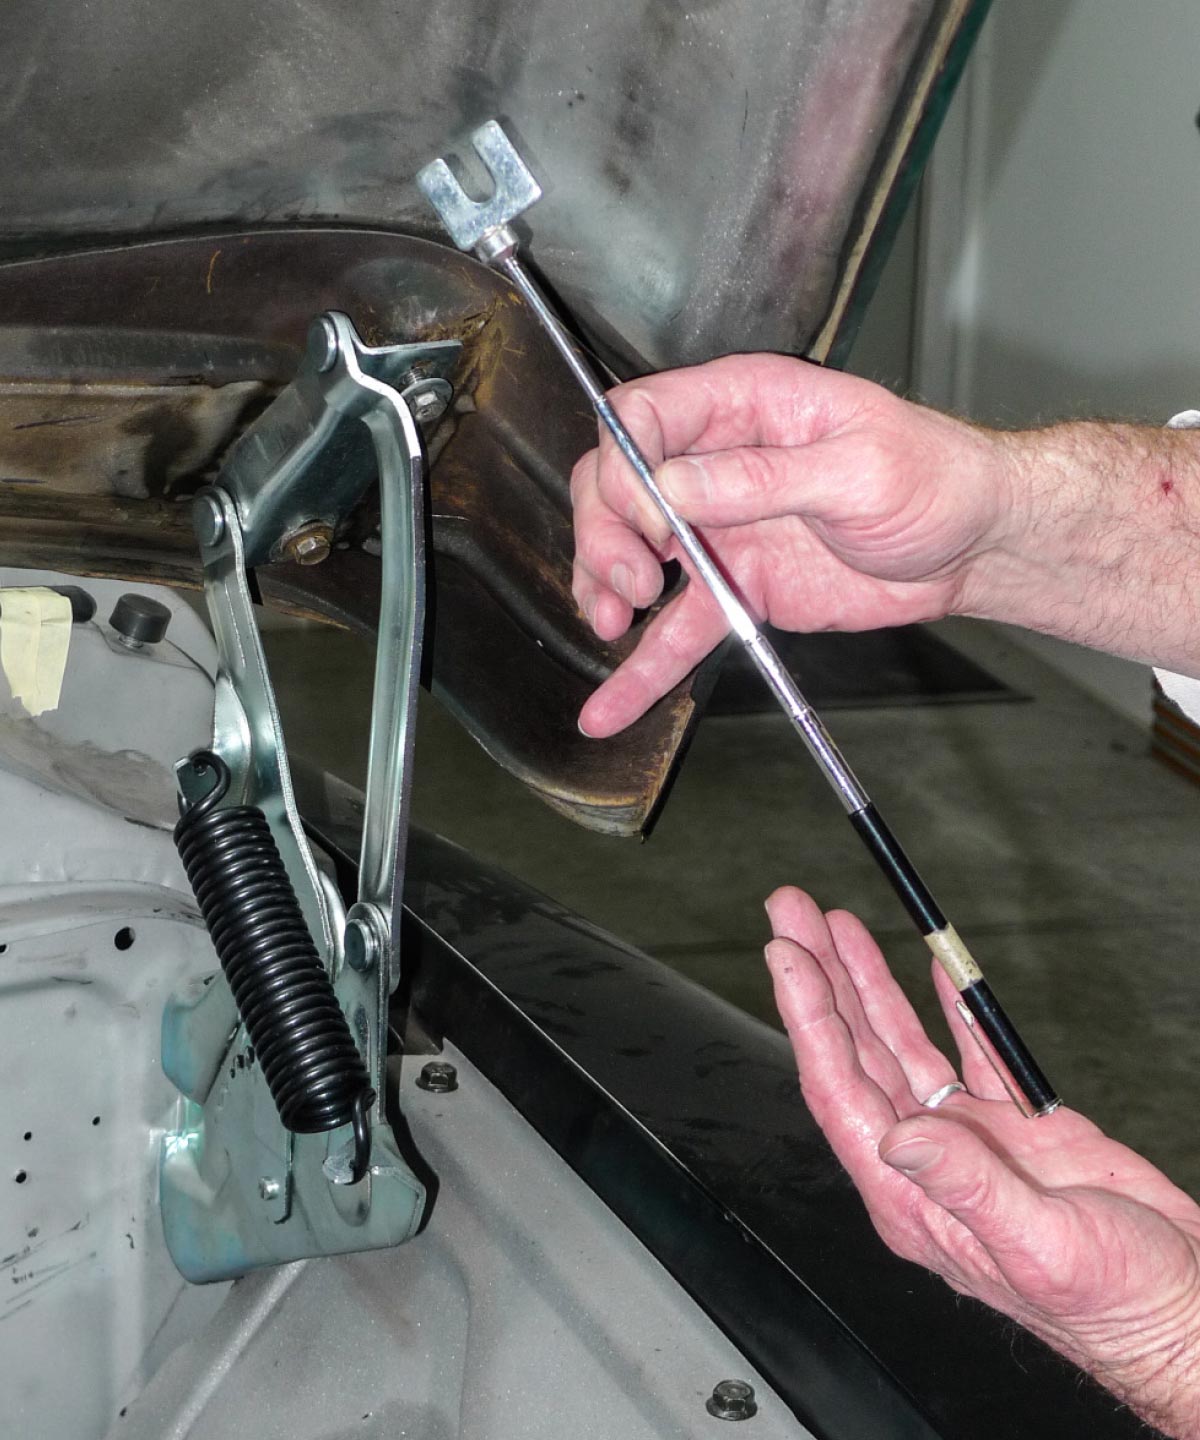
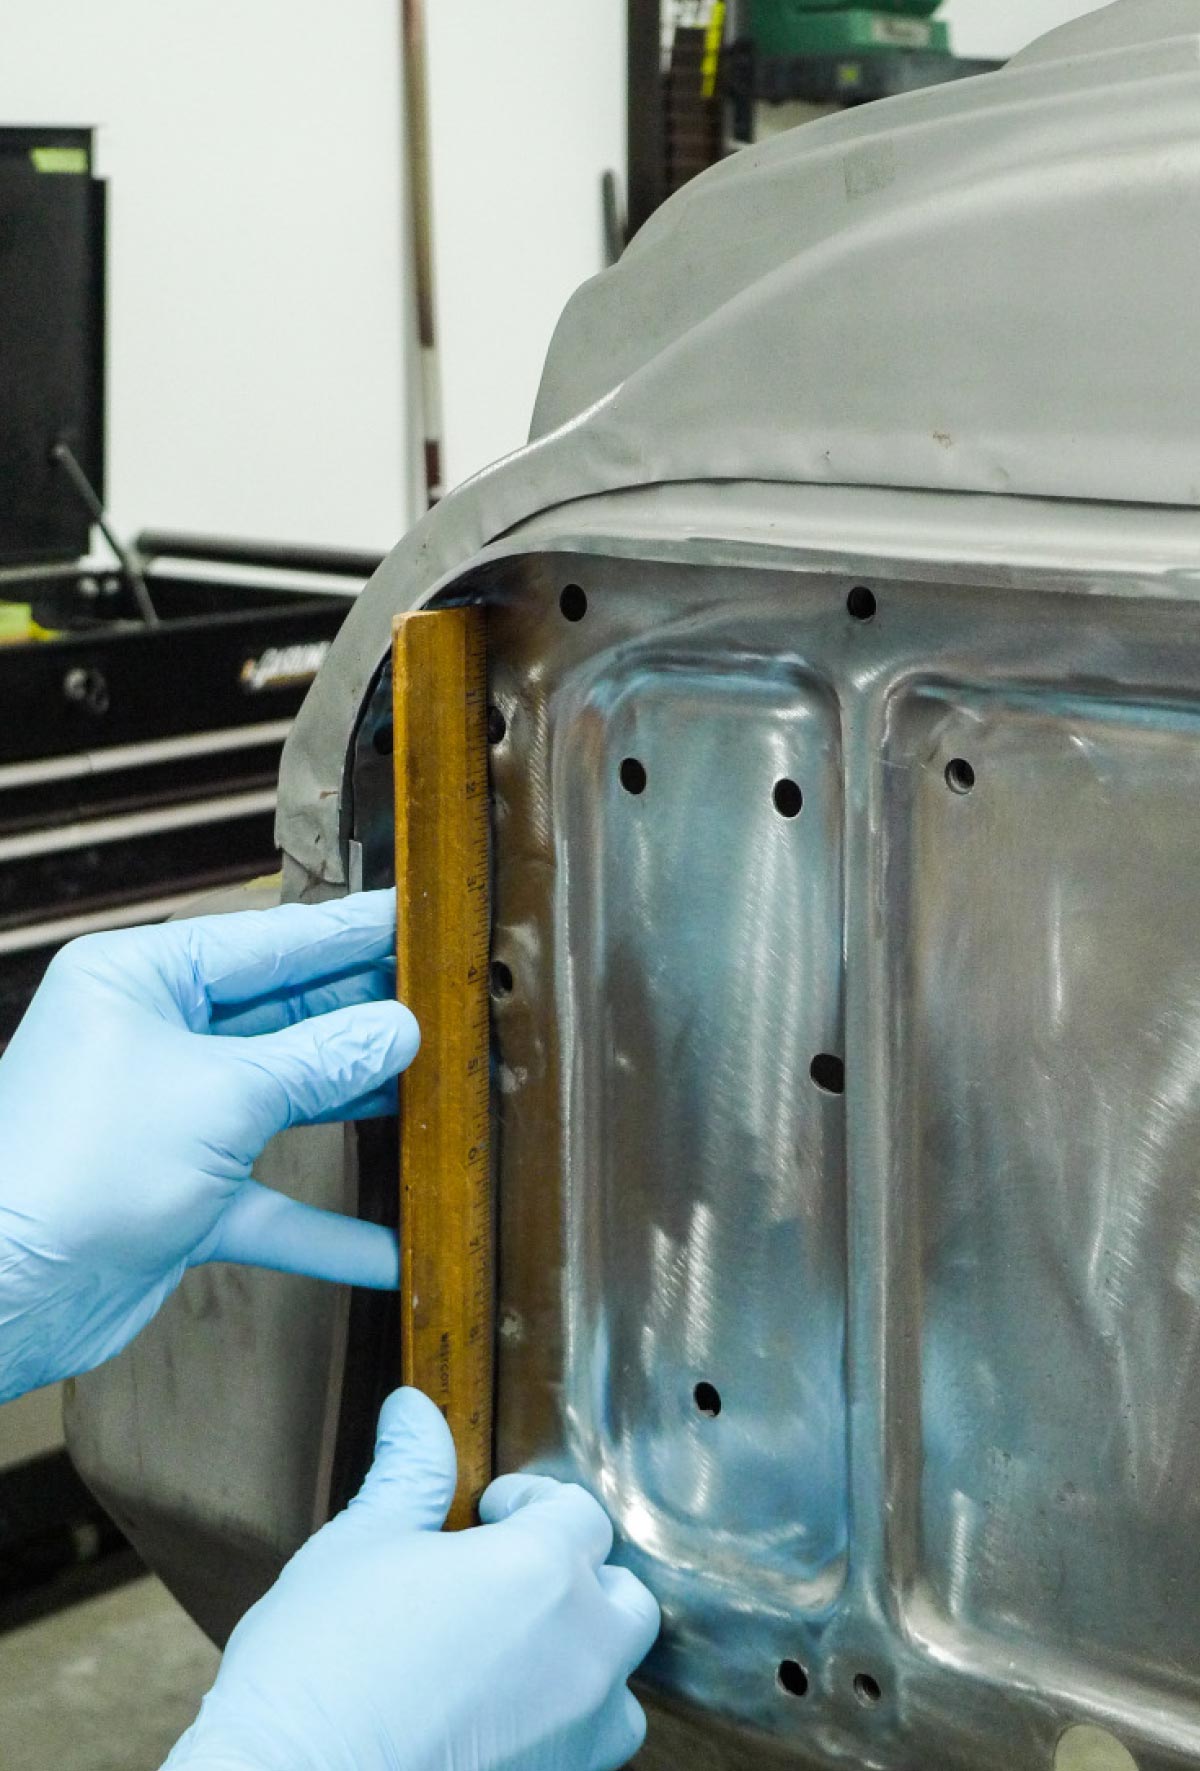
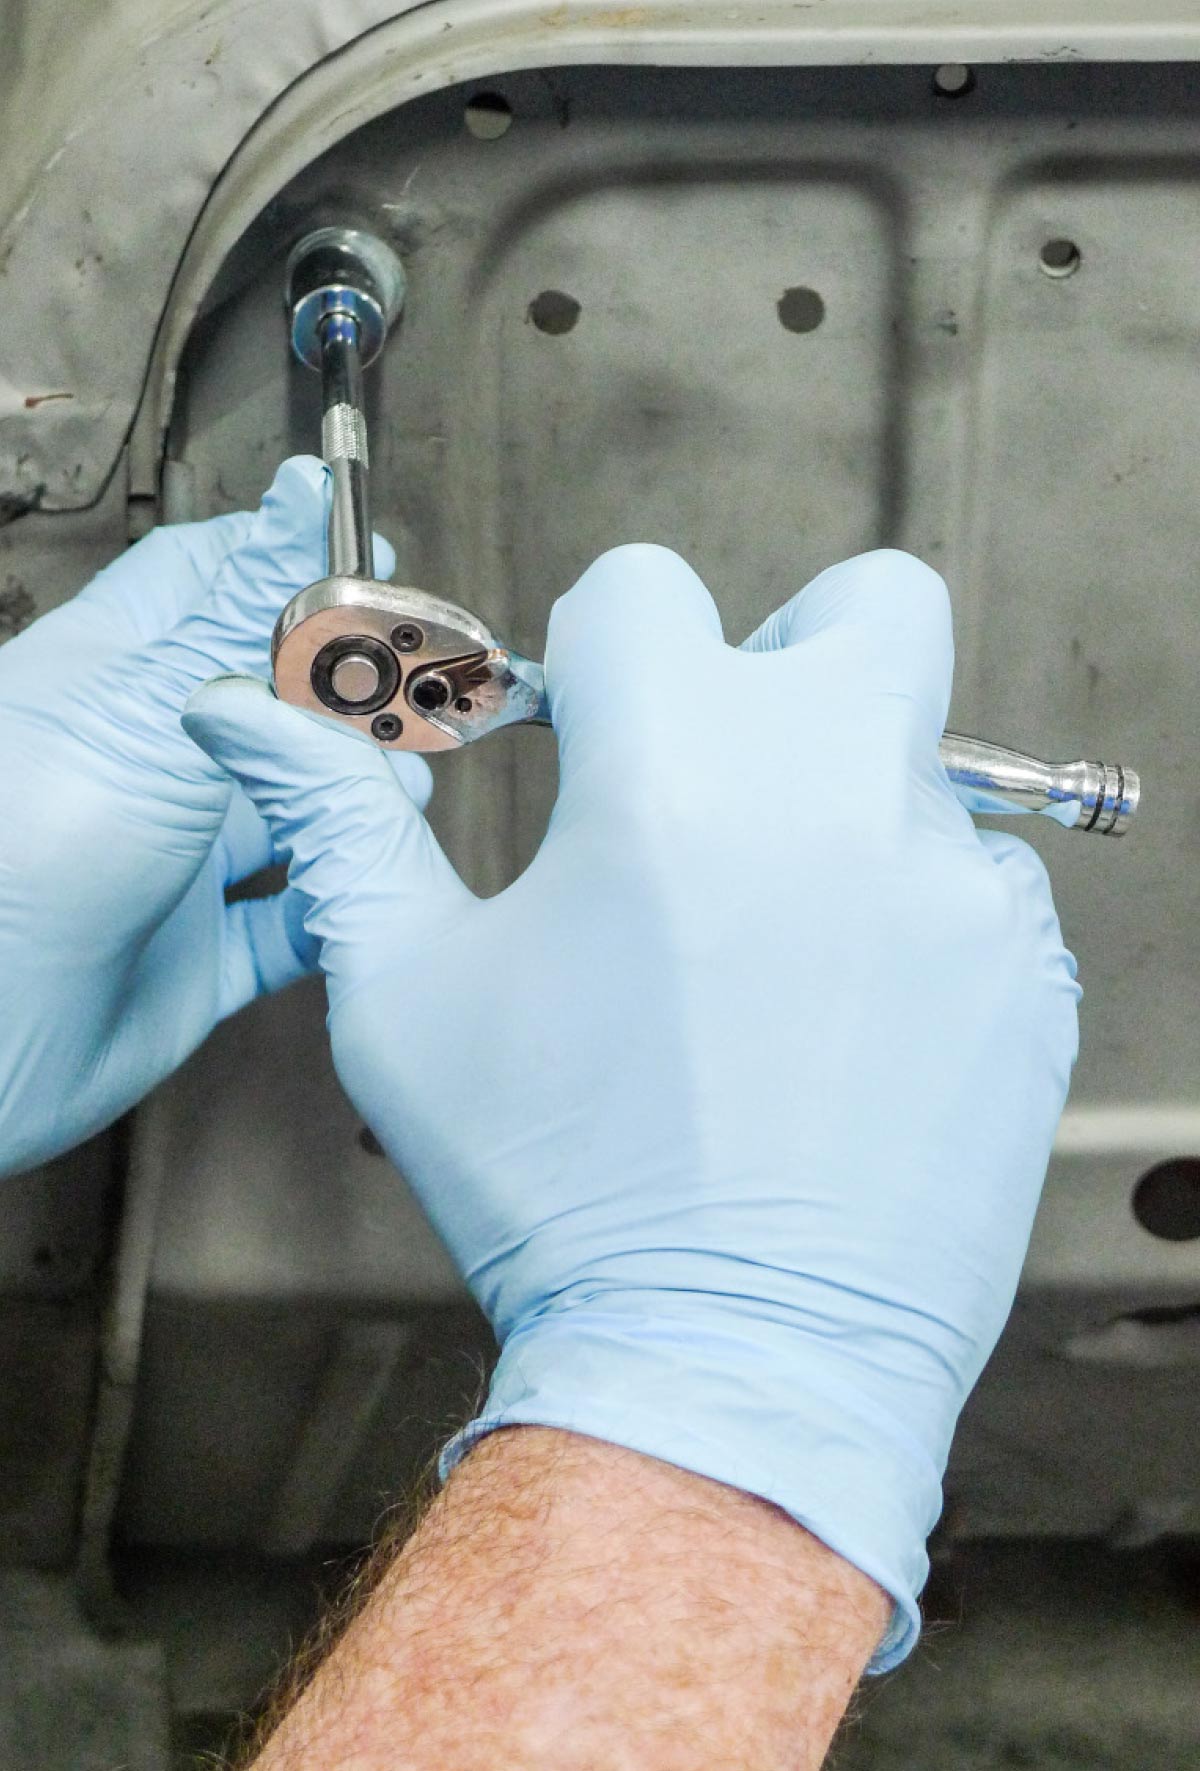
Our hood hinges are brand new from Brothers, and we’ve taken steps to break them in. With a uniform 3/16-width hood-to-cowl gap established, we weren’t anticipating any clearance issues with the cowl grille assembly. For the test, hood adjustment screws were dialed in with new rubber cushions and a new Brothers hood-to-cowl seal was temporarily installed. As the hood was raised slowly, its rearward edge just barely scuffed the cowl grille. Minor as it was, it would’ve eaten paint down the road for sure.

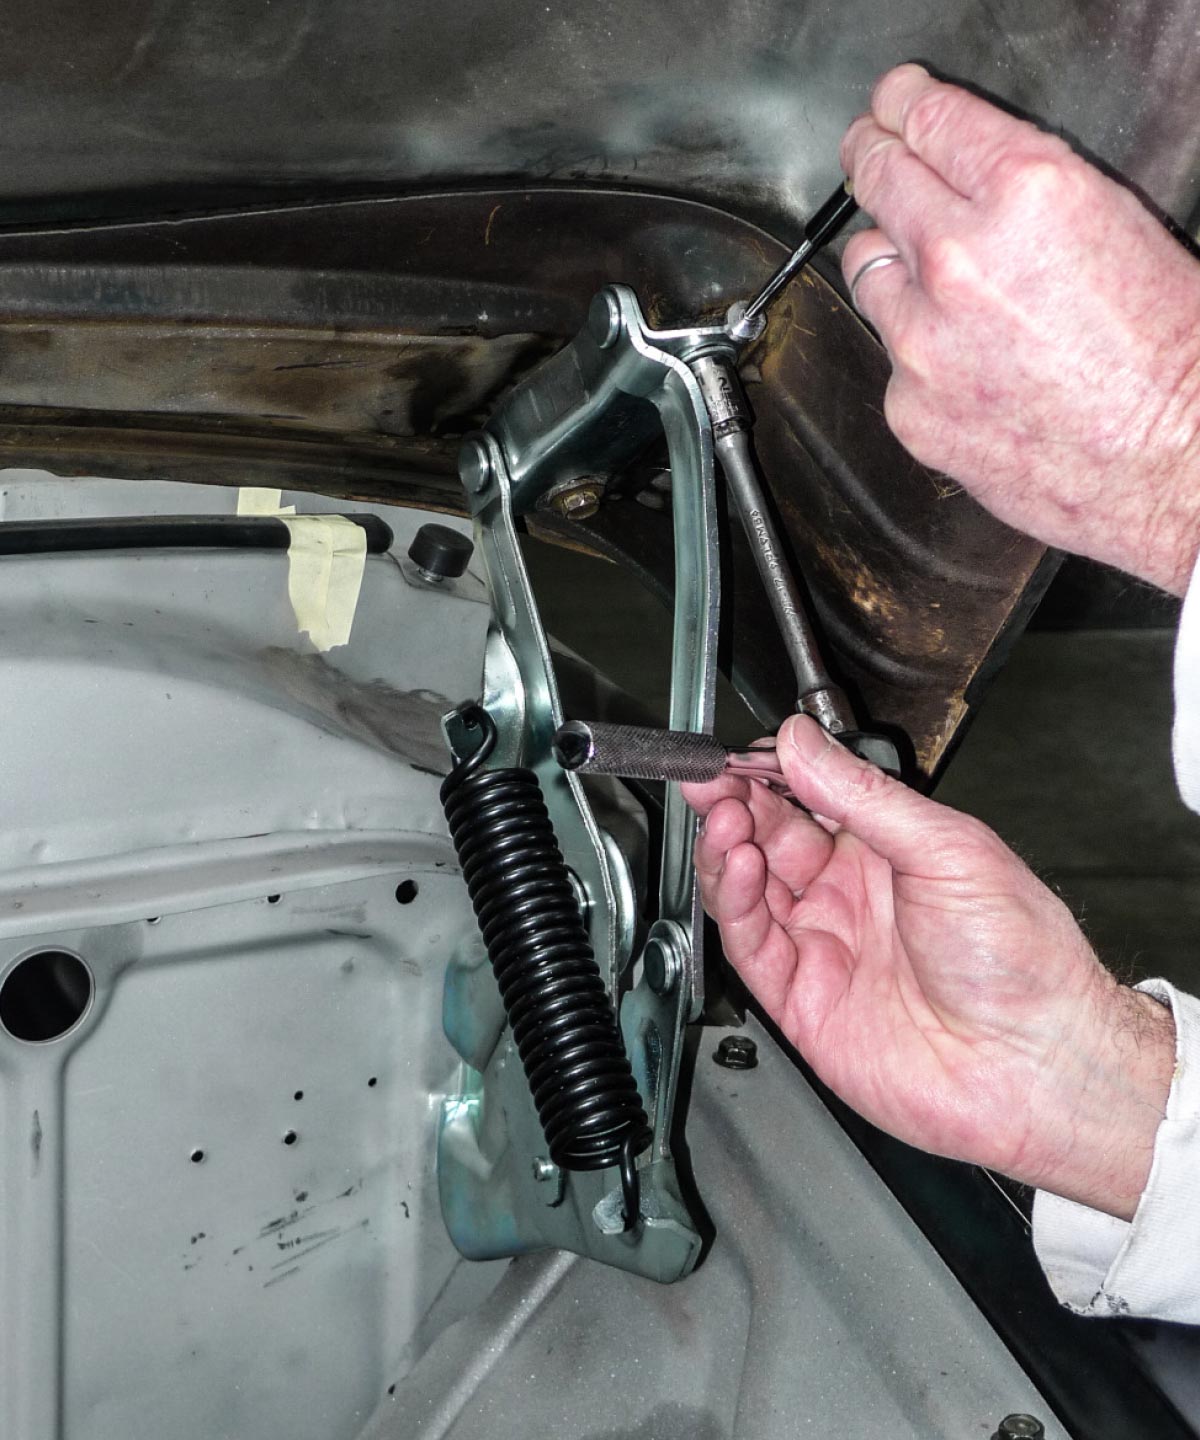
Pulling back on the front of the hood as it’s raised gives us the needed clearance, but we’re not about to tell the truck’s owner that he’ll need to do that every time. To this point we’d been thinking we just had a little geometry glitch—something that a thin shim and a minor adjustment would compensate for. Sadly, as it worked out it took a fair stack of shims—some at the forward hood-to-hinge bolts, and more at the lower hinge-to-cowl bolts. That many shims didn’t seem quite right. Since they were somewhat visible, they didn’t look quite right either.

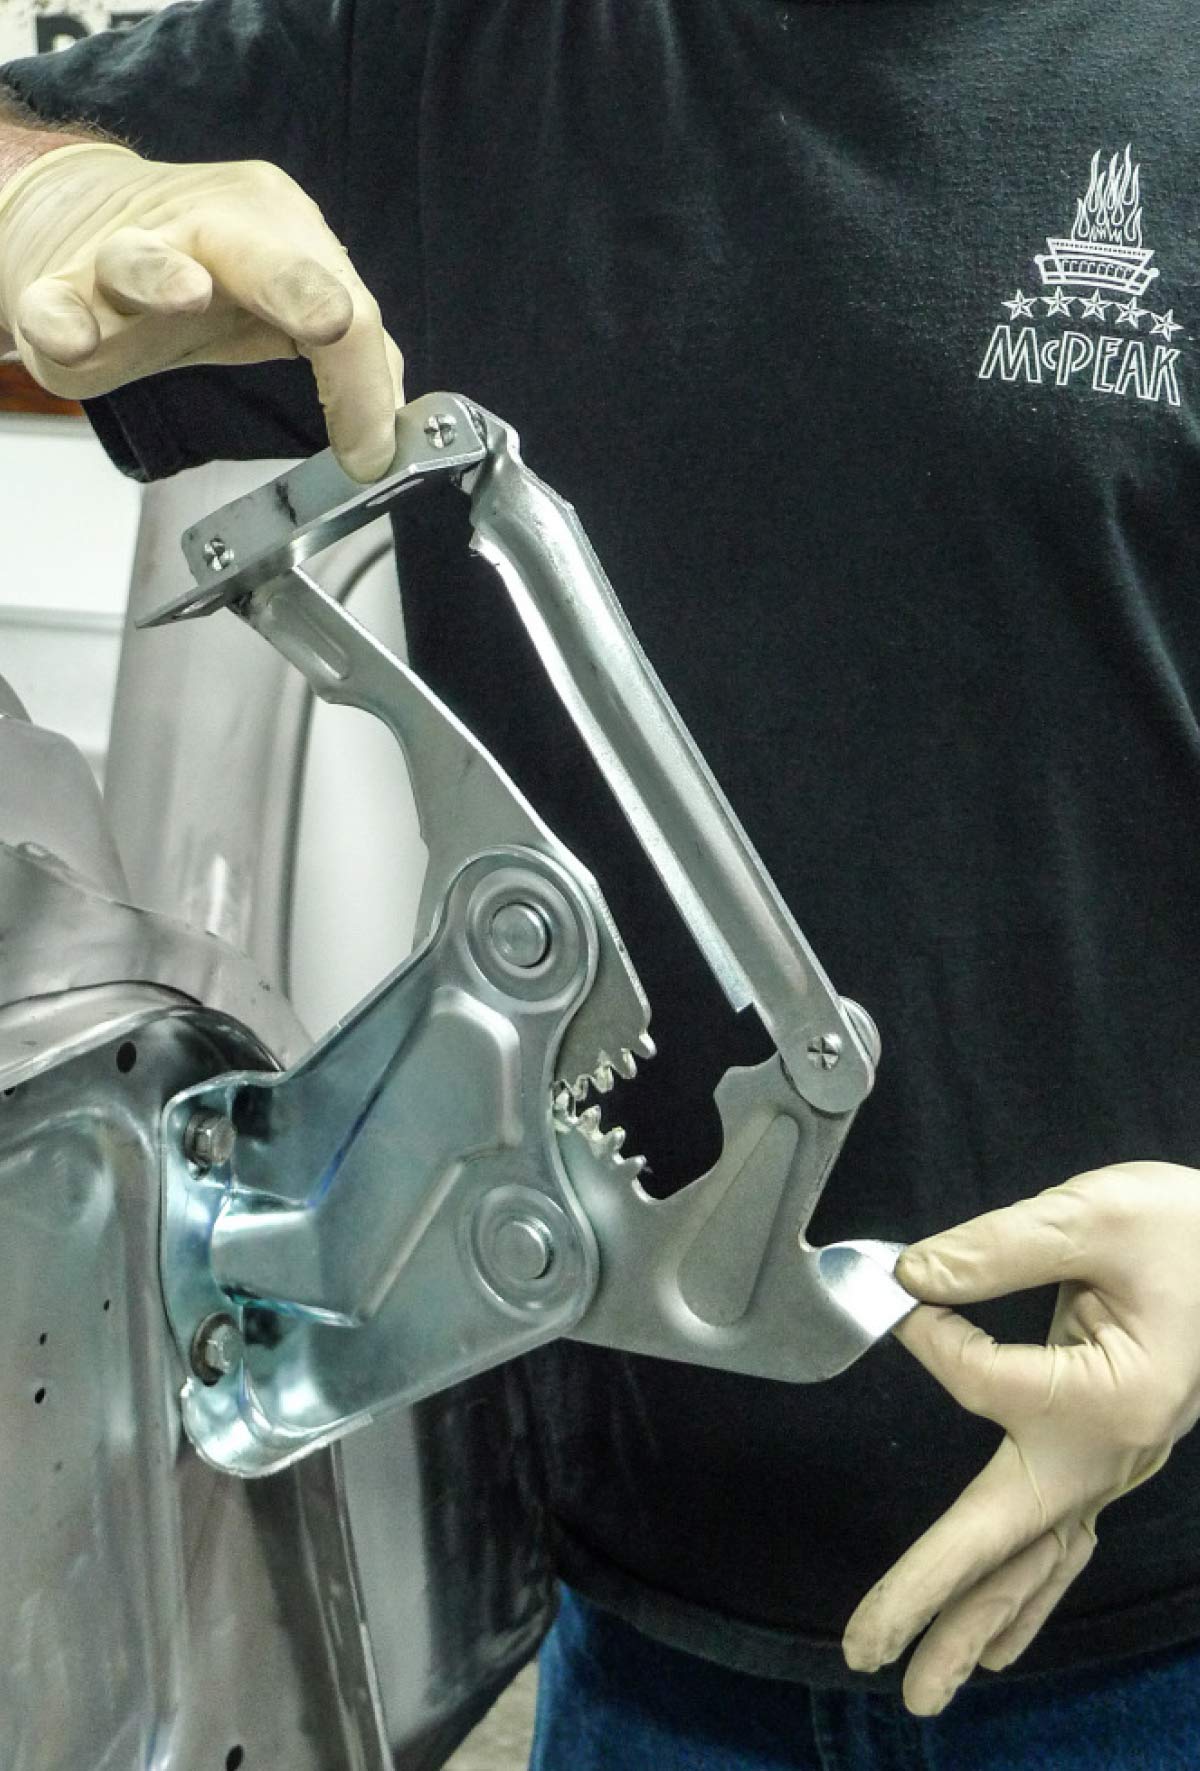
When all else fails, read the instructions. Of course, we don’t usually refer to our library until we’re already stumped. On a nearby shelf, we do have an original ’55 shop manual, and for even-deeper detail we’ve obtained a reprint assembly manual from Brothers. We had to look for it but the needed information was indeed in those books. Now, according to their authors and illustrators, there are only two “shim-as-required” spots for lowering the hood’s rearward edge. Those two spots are at the forward hood-to-hinge attachment points. All other adjustments come by way of eight slotted holes.

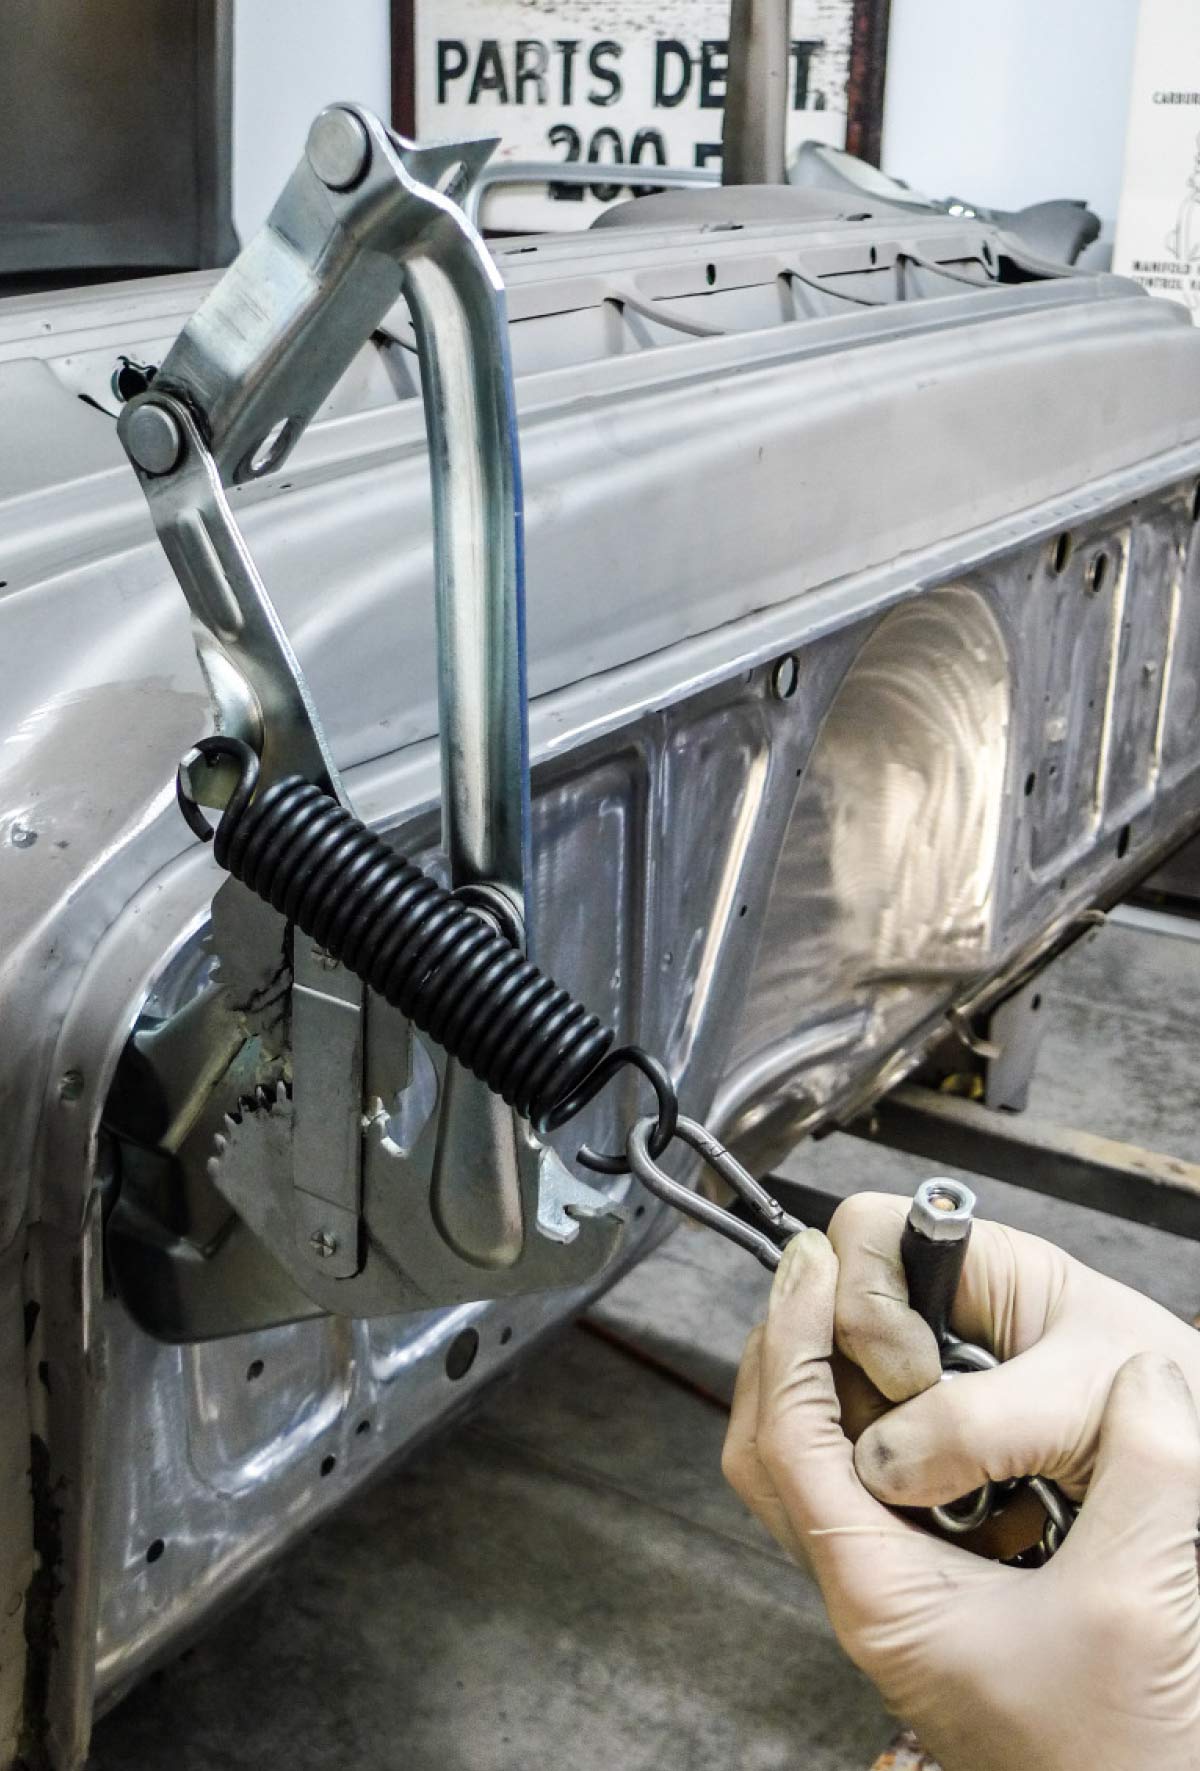
So, what did we do? Well, we started all over by removing every shim that could possibly affect the fitment and function of our new Brothers hood hinges. Then once again we just couldn’t gain the needed hood-to-cowl clearance—at least not with the factory-suggested 3/16 gap. No matter what we did, the hood’s rearward edge still, just barely, scuffed the cowl, as well as its grille. To this point, extra shims in unusual places have been the only solution for that.

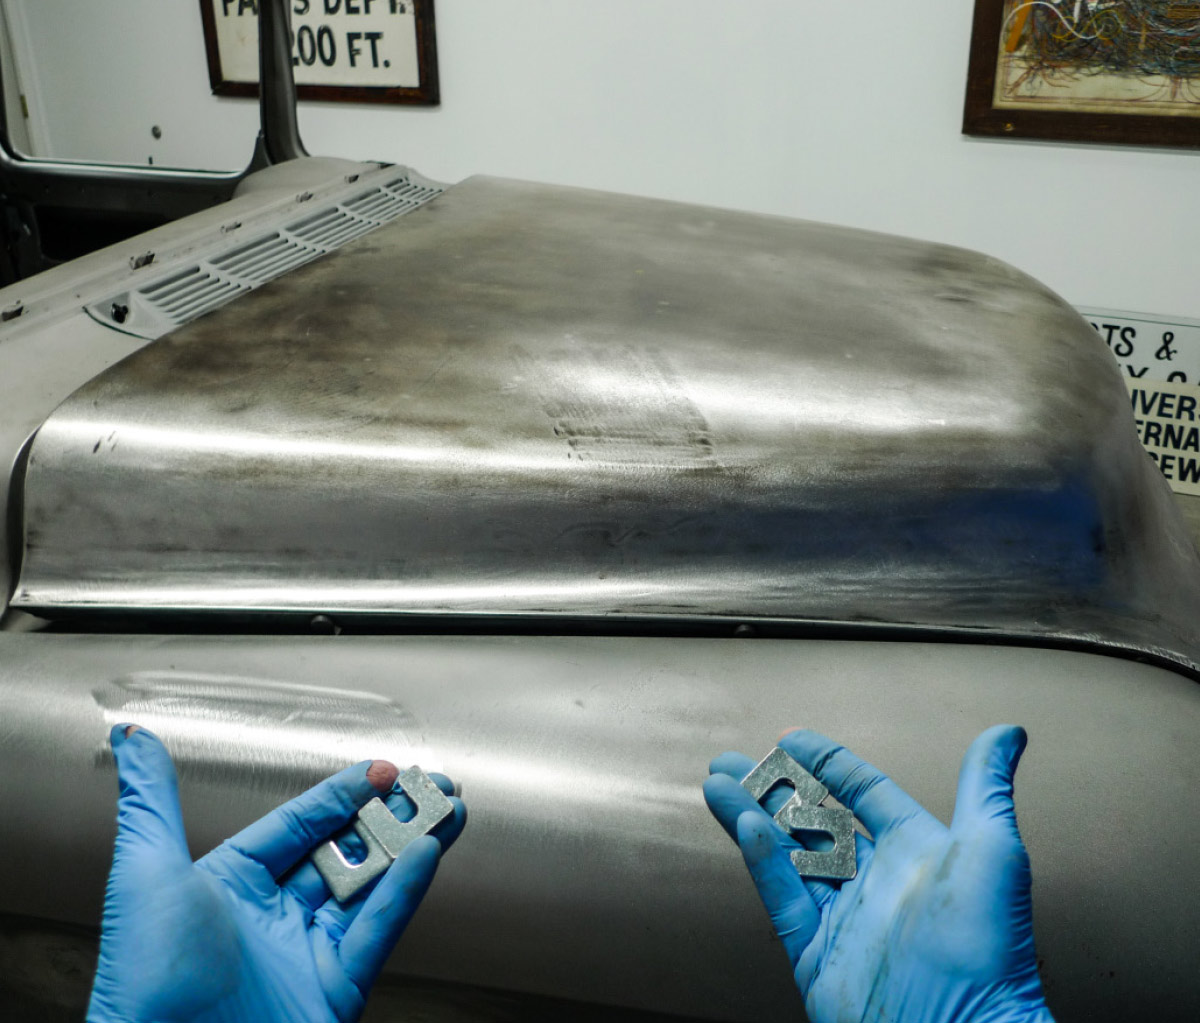
Backing up a bit—maybe two bits this time—we’ve been dealing with collision damage throughout this entire build. Initial evidence pointed to a straight-on frontal impact, which bent this truck’s frame. With nowhere else to go, the Unisteel-design cab followed. At the same time the roof pillars took on some extra forward slant, and it appeared that a load in the bed clobbered the rear panel and roof. Long story short, this build pretty much began at the frame shop and the cab has received a whole lot of attention since then.

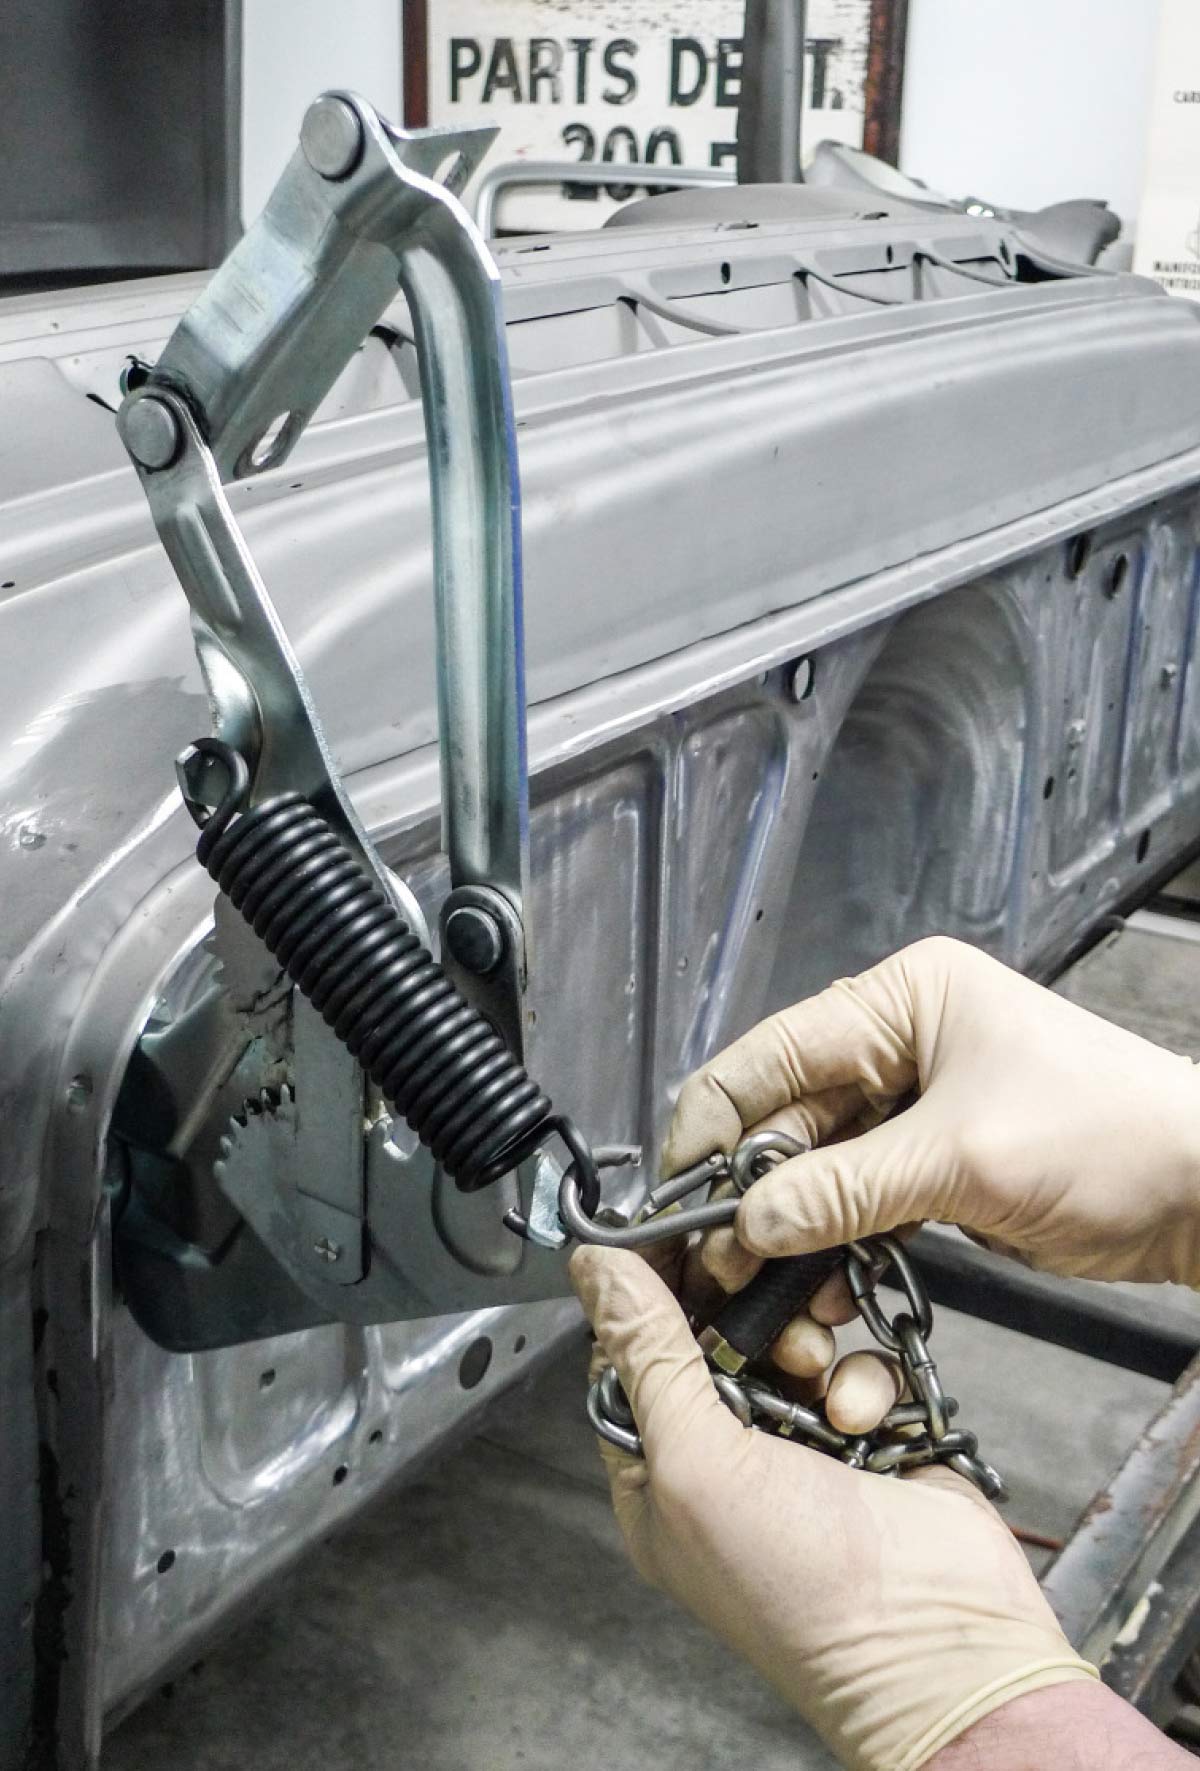
At the time of this typewriting we’re satisfied with 3/16-average gaps all around. The excessive number of shims required for hood-to-cowl clearance still perplexes us, but at this point we’ve done all we know to do.

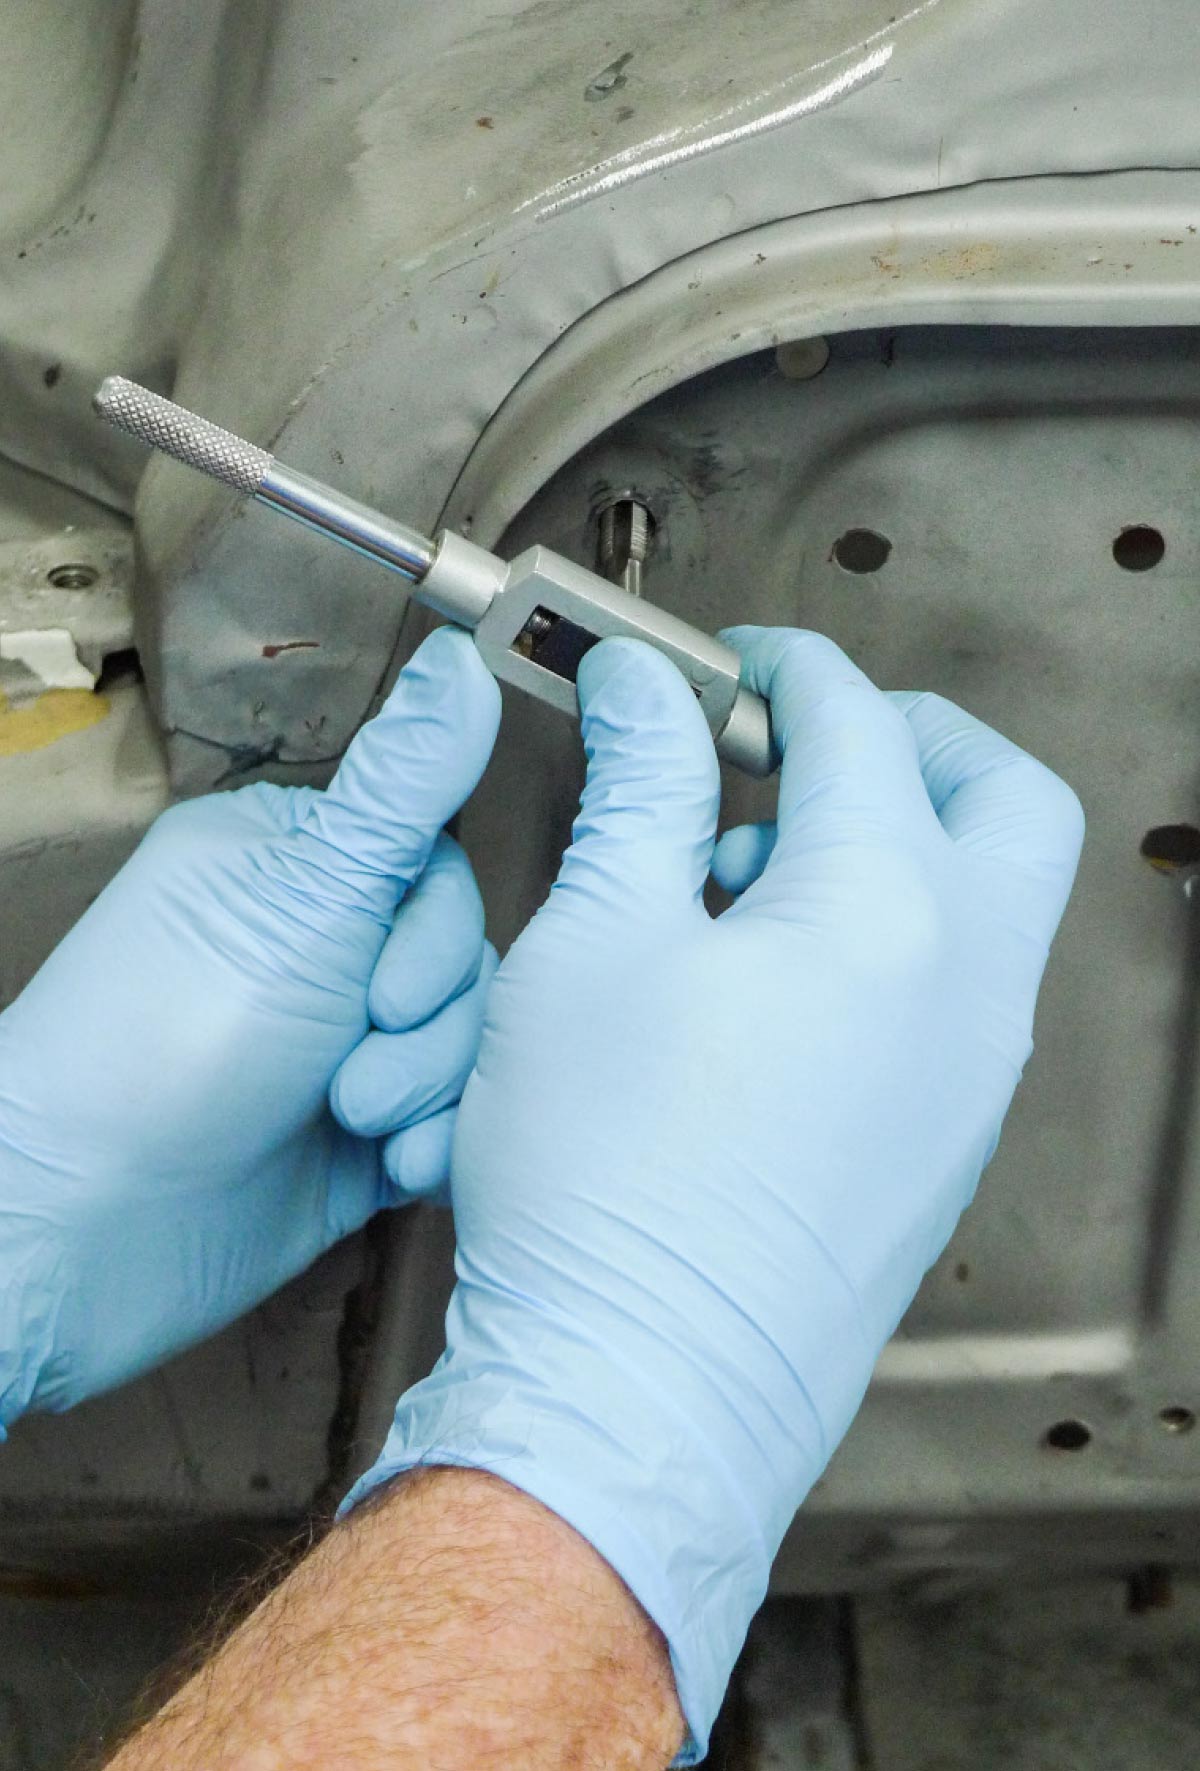
For future ease of final assembly, we’ll drill some tiny guide pin holes. From there we’ll bag ’n’ tag our hood hinges’ shims, and call it good—unless we happen to discover a better cure when the mocked-up truck is back in pieces. Sometimes we can overlook—or underlook—things when there’s too much to look at. On that, let’s refocus on this truck’s bare cab.
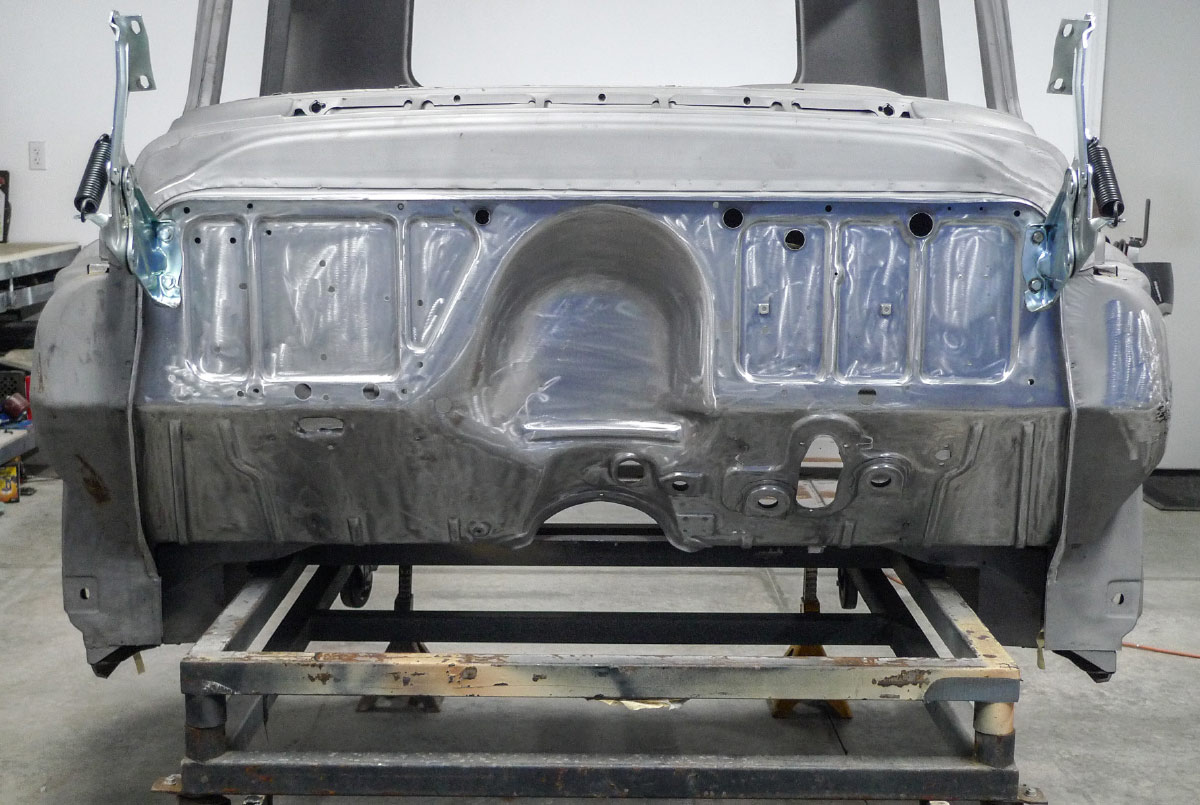
Shooting for a uniform 3/16 hood-to-cowl gap
1. We’re shooting for a uniform 3/16 hood-to-cowl gap, but so far it still varies slightly. Here in this spot we’re right at 11/64. We’re getting closer, but not without a box of shims.
As gap gauges, a deck of cards or Polaroid pictures work
2. As gap gauges, a deck of cards or Polaroid pictures work, but here old magazine subscription slips are still useful for something, too. We’re feelin’ some resistance.
Noticeable resistance in a couple more spots
3. This might be a good time to check clearance with our cowl grille in place. As we’re about to discover, there’ll be noticeable resistance in a couple more spots.
Brothers stocks reprint versions of both
4. Having our doubts about placement of shims, let’s rethink and check our shop manual—or better yet, our assembly manual. Brothers stocks reprint versions of both.
Believing what we’ve read, we’ll definitely be pulling the shims at the lower hinge-to-cowl bolts
5. Believing what we’ve read, we’ll definitely be pulling the shims at the lower hinge-to-cowl bolts, as they shouldn’t even be there.
Remove shims from our forward hood-to-hinge bolts
6. For a total fresh start, let’s remove shims from our forward hood-to-hinge bolts, too. With bolts loosened, a magnet on a stick is pretty helpful. Now, let’s see what we get.
The hood-to-cowl relationship is this far off
7. Oh, very terrible! Even with hinges bolted to the cowl as low as their adjustment slots will allow, the hood-to-cowl relationship is this far off. Once again, let’s add some shims.
Gained needed clearance and a better 3/16 gap
8. After a lengthy adjustment period, we’ve gained needed clearance and a better 3/16 gap, but as before it’s taken extra shims. Calling this good, let’s disassemble the truck.
Nitrile gloves
9. With parts now stored away, we’re down to a bare-steel cab. We’ll need a little help to lift it, but we don’t need rusty fingerprints. We’ll have our burly buddies glove up for this.
From the same source the moving blanket and tarp have protected paint ’n’ powdercoating
10. Nitrile gloves seem tough to get lately, but our Harbor Freight store had them. From the same source the moving blanket and tarp have protected paint ’n’ powdercoating.
Autobody professionals will agree that eyesight is not enough
11. Autobody professionals will agree that eyesight is not enough. Here a keen sense of openhanded feeling is essential. On bare steel, so are surgically clean gloves.
Straightedge confirms the feeling
12. The finger points at me. I’m not sure how I missed this before, but now this section of cowl doesn’t feel quite right. Sure enough, a straightedge confirms the feeling.
Opposite side we find the same damage—from the aforementioned frontal impact
13. At the opposite side we find the same damage—from the aforementioned frontal impact. Now we understand our need for all the extra shims.
Let’s begin by fashioning a specific-purpose tool
14. We know this’ll change things for final assembly, but we must go back and repair this damage. Let’s begin by fashioning a specific-purpose tool.
Bolt, an old spring leaf, and a chunk of square tubing
15. Here a bolt, an old spring leaf, and a chunk of square tubing are quite helpful for pulling the depressions at the hinges’ lower threaded holes.
Unisteel-design cab is particularly strong at the cowl.
16. The Unisteel-design cab is particularly strong at the cowl. At these vertical braces additional persuasion is required, but we do believe we’re gaining.
Corrective efforts here will diminish the need for shims
17. Although it’s yet to be tested, we’re fairly well certain that our corrective efforts here will diminish the need for shims. For me, I just wish I’d seen the problem sooner.
This is also likely the result of the same frontend collision
18. Even though I knew these upper threads were toast, I didn’t catch the clue. This is also likely the result of the same frontend collision.
Damaged threads are now somewhat restored
19. Damaged threads are now somewhat restored. If by chance it’s needed, we’ll add another square weld-nut to the old one inside to match.
Crash-smashed cowl straightened, let’s again test the fitment and function
20. So, with our crash-smashed cowl straightened, let’s again test the fitment and function of our new Brothers hood hinges. Broken-in, sans springs, they now glide very easily.
Here’s a slick little trick that one of them taught me
21. Early on, in the ’70s, I was fortunate to work with some clever, older bodymen. Here’s a slick little trick that one of them taught me.
Type of hinge, a chain makes a good spring installation tool
22. For this type of hinge, a chain makes a good spring installation tool. Since I usually end up on the wrong side of the hook, I’ve added a safety clip at the end.
Brothers hood hinges
23. And, speaking of things ending up on the wrong sides, take a good look at these brand-new Brothers hood hinges and tell me, what’s wrong with this picture?
Hood hinges
24. Yeah, sure, we all make mistakes. We don’t have to admit it every time, but if and when we do maybe someone else won’t have to make the same ones.
 SOURCES
Brothers Truck Parts
(800) 977-2767
brotherstrucks.com
Harbor Freight Tools
(800) 423-2567
harborfreight.com