CTP Tech
InTheGarageMedia.com
1955 chevrolet 3100 door panels removed during restoration shop rebuild process
It’s Only Nuts ’N’ Bolts
Painted Door Installation— A Less-Stressful Way
BY “ROTTEN” RODNEY BAUMAN
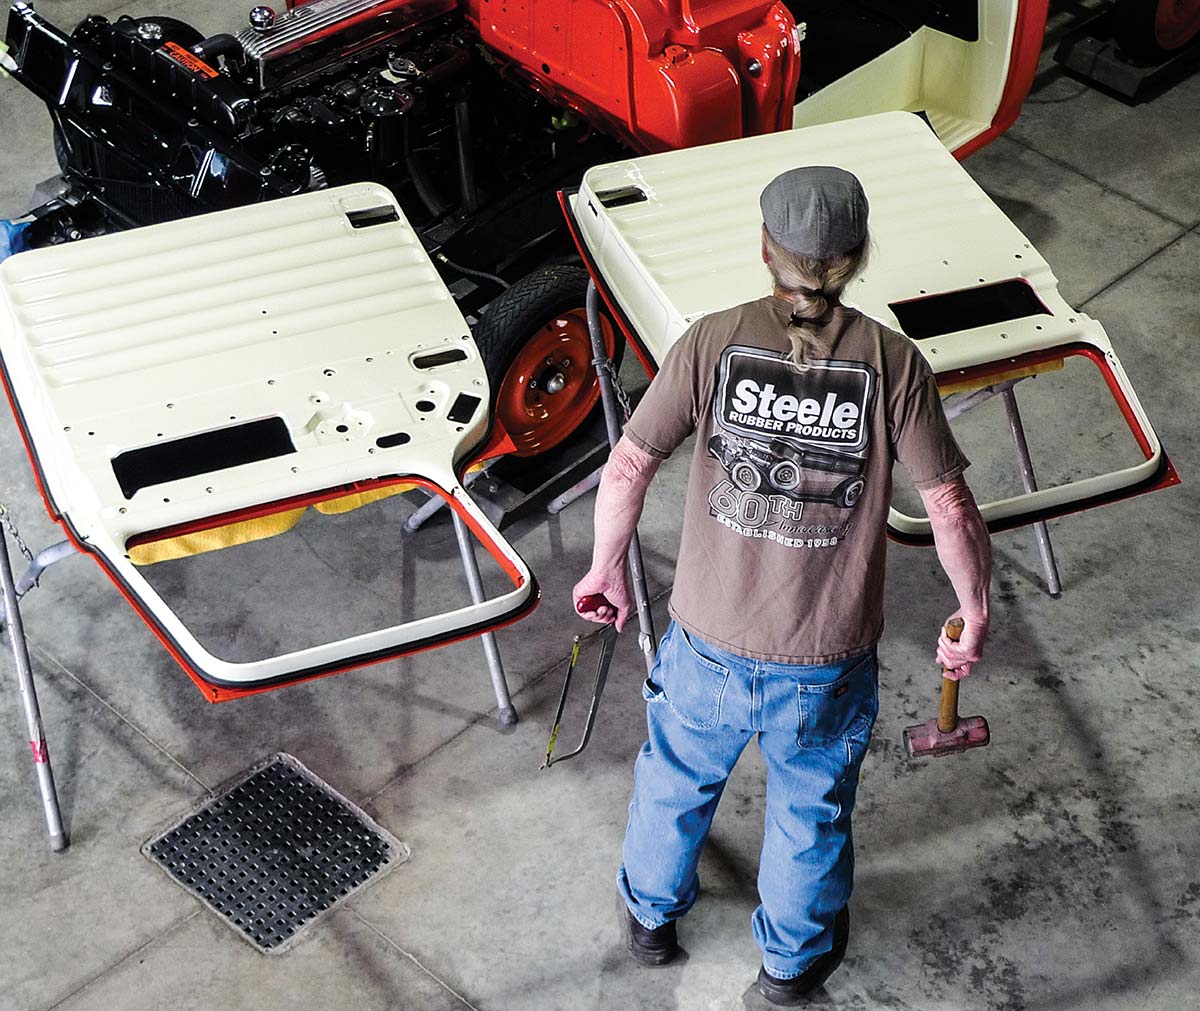
Images BY THE AUTHOR
J

ust a short while or two back in the Sept. ’25 issue, we endeavored to illustrate the installation and easier break-in of slightly slimmer (PN 60-0485-72) door weatherstrips from Steele Rubber Products. That was for our ongoing 1955 second-series Chevy build, and as always those particular weatherstrips truly made the easier break-in difference.

If you happened to catch the aforementioned story before ordering Brand X online door weatherstrips for your own Task Force or Blue Chip truck project, we’re pleased if we’ve saved you frustration. Even so, our own work is still not quite finished here.

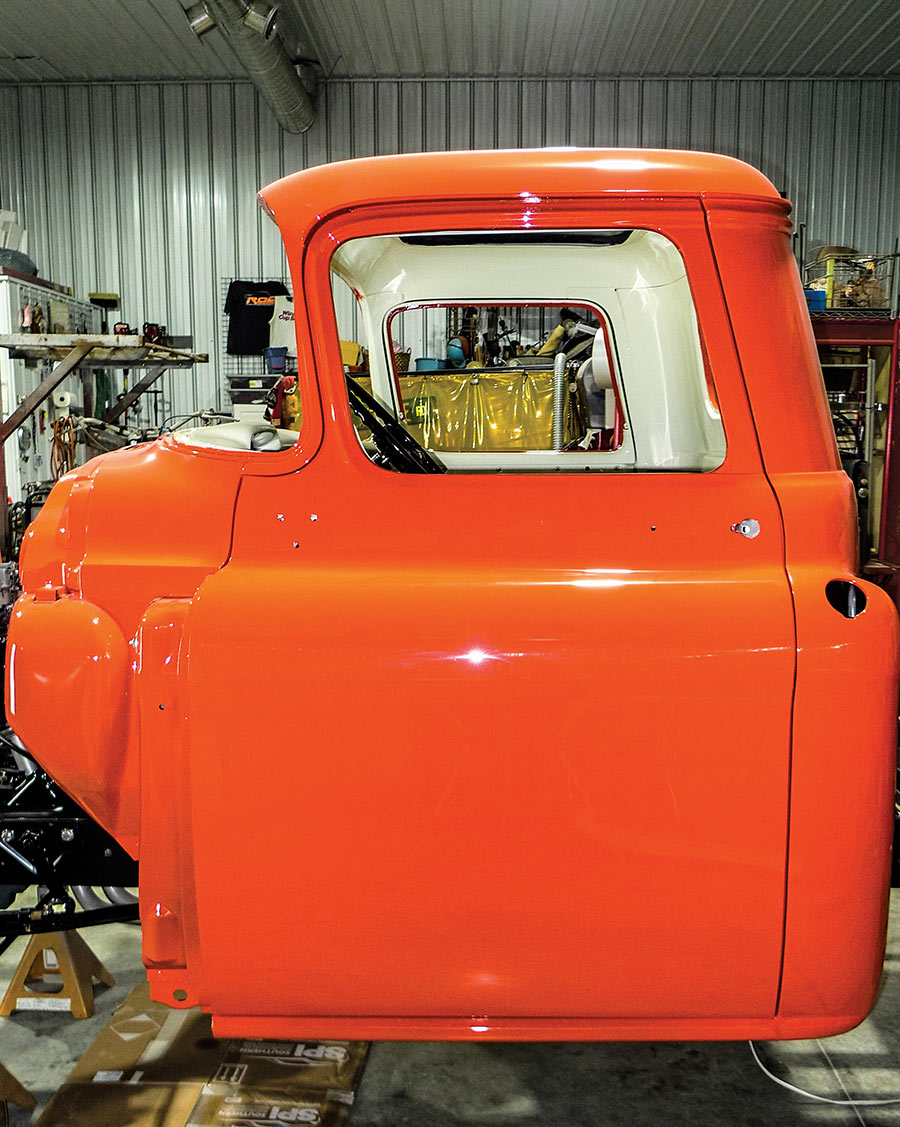
We’ve talked about the weatherstrips, but it seems to yours truly that the nuts ’n’ bolts of the job might be worth a mention as well. At this stage of our subject truck’s build, panels are painted. Yes, for the most part, they’re in living color, and hopefully for keeps.

Even this late in my own painterly game, I still enjoy painting. On the flipside, I don’t enjoy repainting! What comes next here will count. This is where preventative steps taken earlier are about to finally pay off.

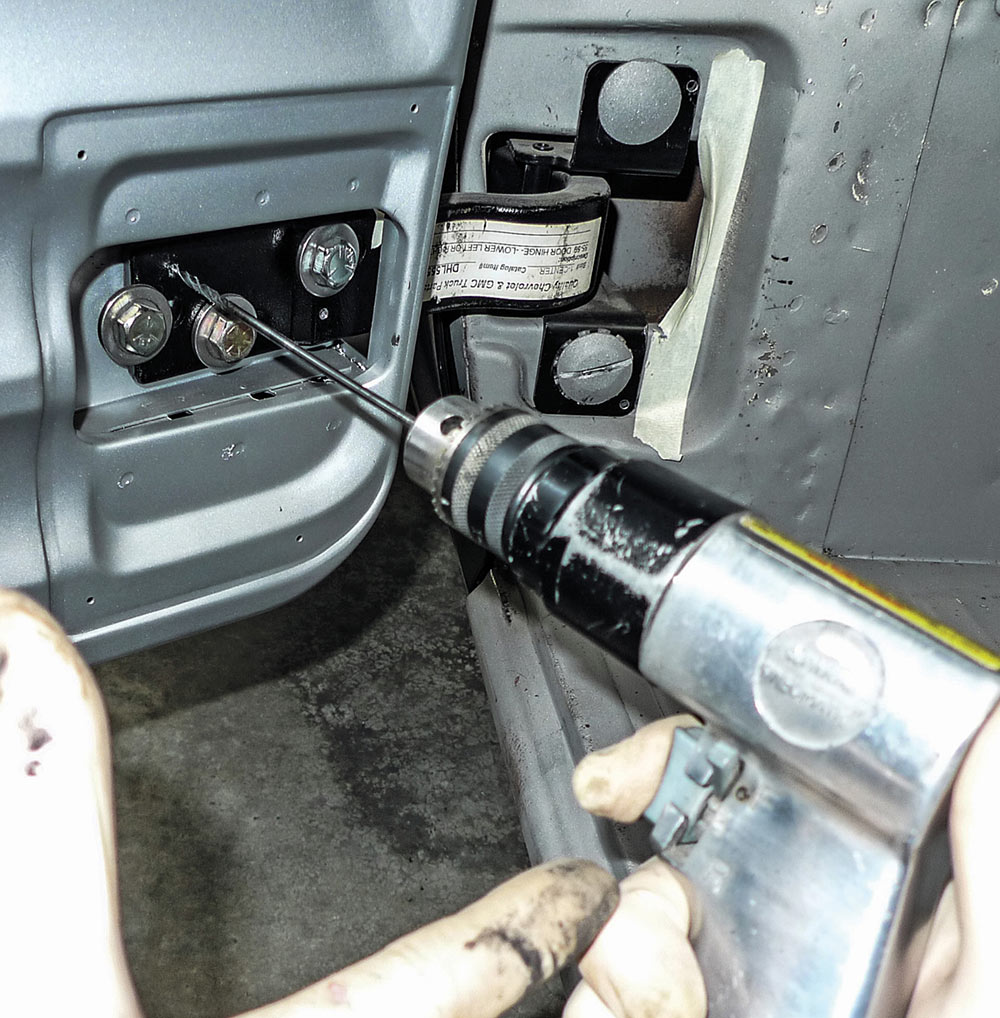
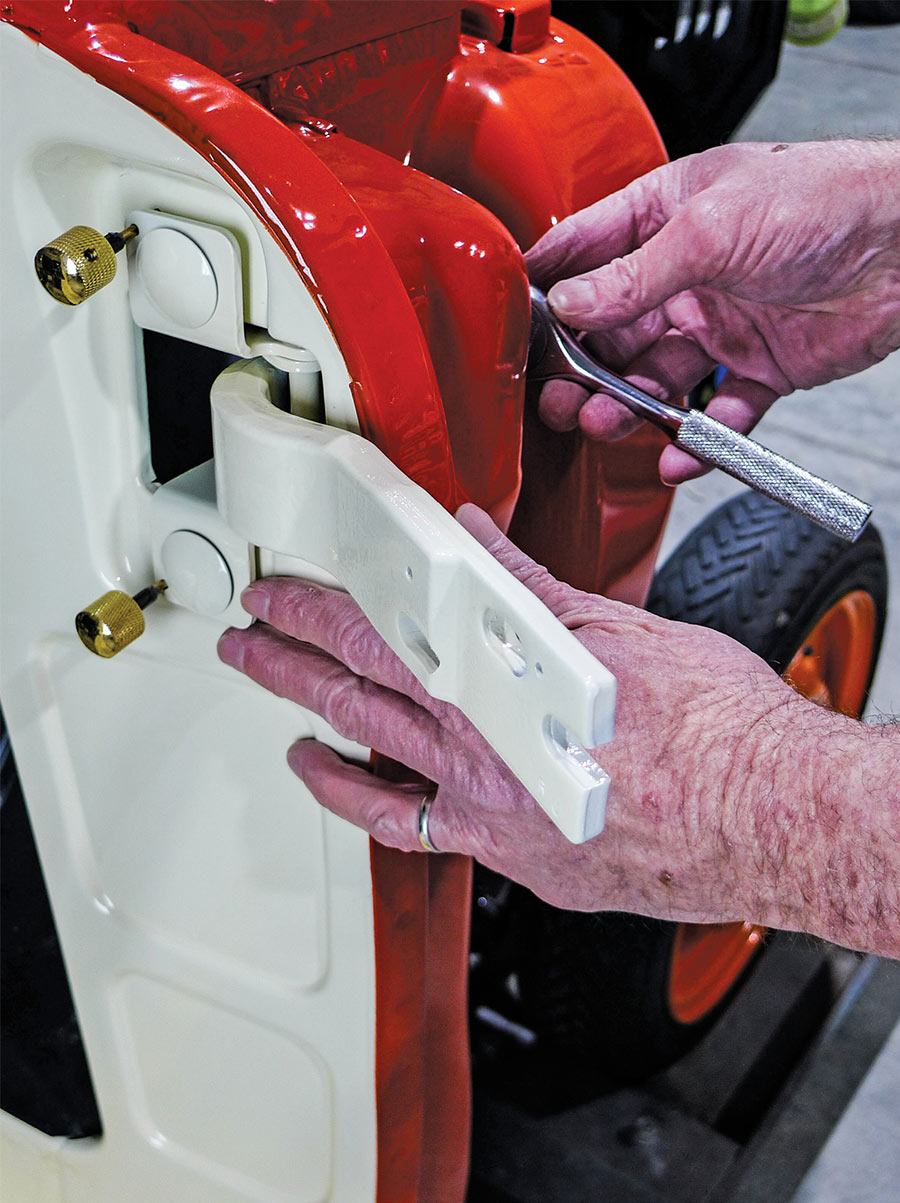
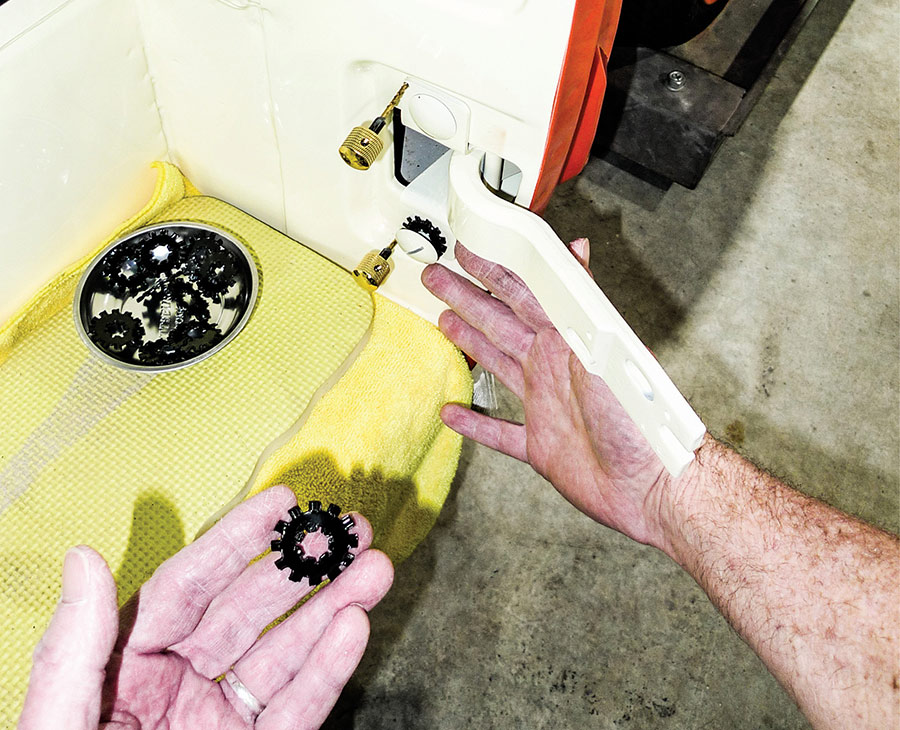
When we were focused more on weatherstrip installation and break-in, we might’ve mentioned a little trick for realigning doors, as we liked ’em once before. Several months back, at the end of a marathon dry-fit exercise, we called our fitment good. Regaining those gaps would be difficult from scratch, especially now with doors painted and new weatherstrips already installed.

The little panel realignment trick is hardly anyone’s secret. Others may’ve done it routinely for eons, but honestly, I didn’t know ’til I witnessed it in Riverside, California, at the original Ed Martin Garage. There, it wasn’t so much about panel gap perfection. It was merely a means of relocating a hood. It was how they’d put it back exactly as it was when the customer brought it in. Here at our own shop, we’ve adopted the method for hoods, doors, and occasional decklids as well.

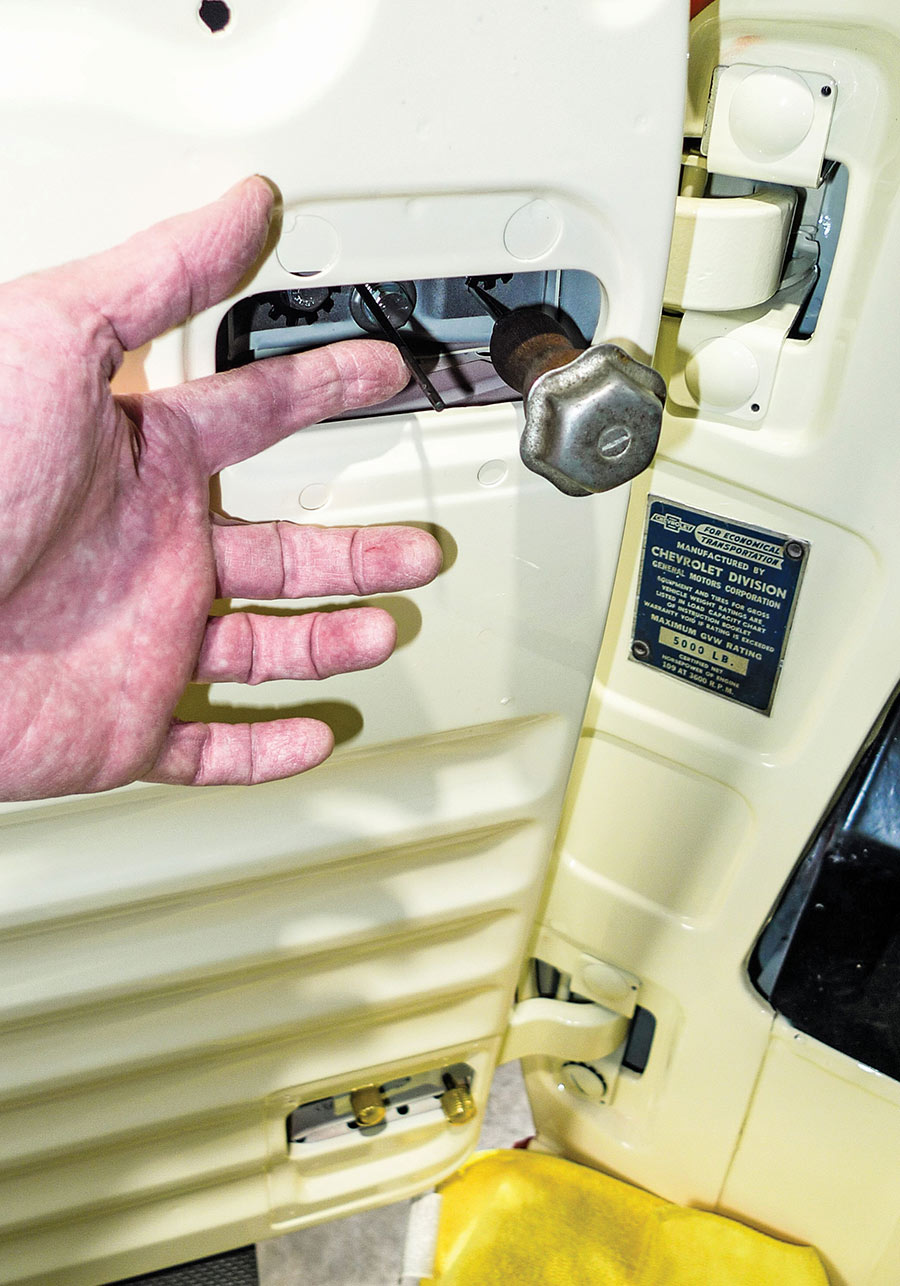
So, as we ease into the nuts ’n’ bolts segment of our story, I might as well confess: I’m what you might call a hardware hoarder, or a fastener amasser if you prefer. In short, I just like having my nuts ’n’ bolts all gathered. For those occasions when there’s truly a difference, I’ll restore the original stuff.

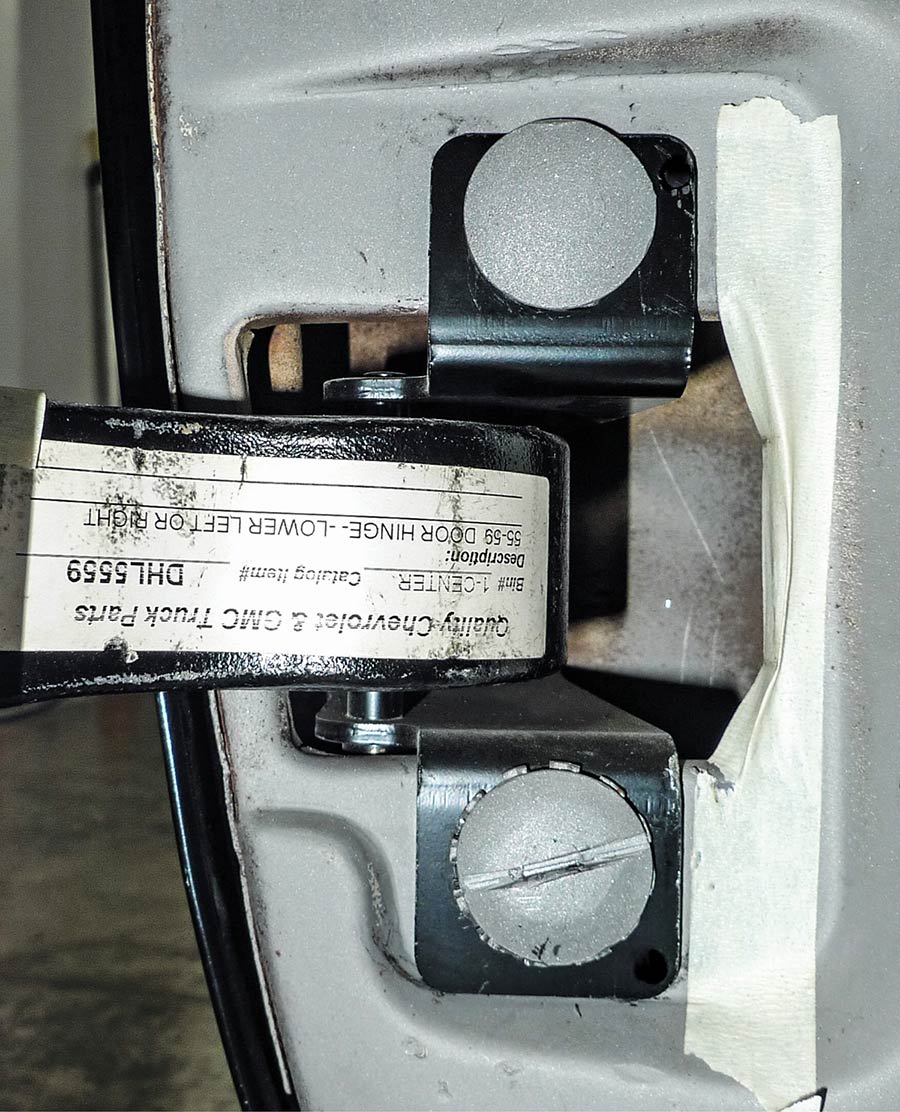
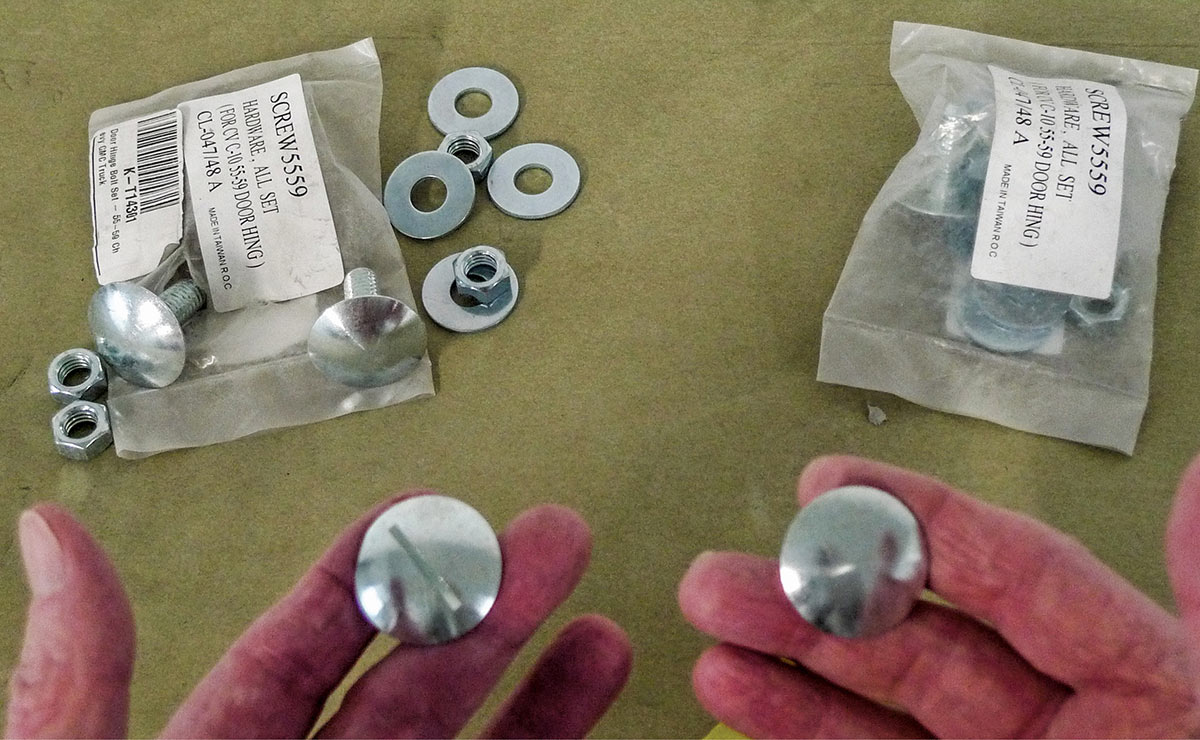
While most Task Force and Blue Chip trucks we see use hex-head body bolts to secure door hinges to the cowl, our Oakland-assembled project ’55 came with smoother fasteners. Hopelessly unable to resist, I went ahead and restored them. Back when that story ran, I received a surprise from reader, Ralph Hernandez, who knew something I did not. As it turns out, the same smoother door hinge bolts I’d labored to restore are now reproduced. In fact, they’re quite affordable through Auto Metal Direct (AMD), so let’s have a look at those also as we go.

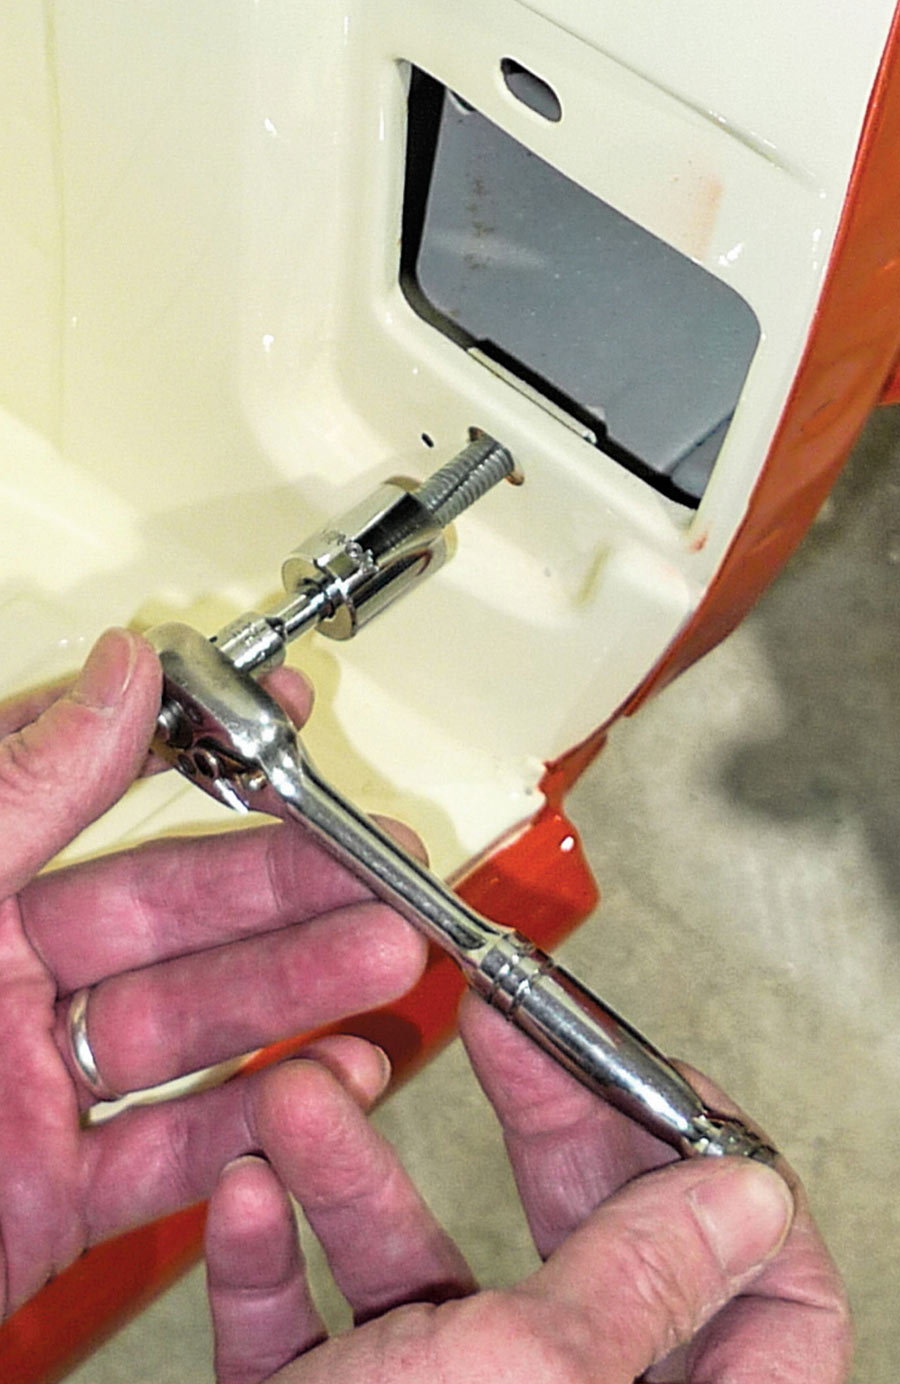
Granted, you might say “it’s only nuts ’n’ bolts.” With body parts in living color, however, final assembly is far from stress-free. This might likely require every ounce of finesse we can muster. With that said, here we go—again.

1955 chevrolet 3100 original factory door hinge close up patina hardware detail
1. Here for example, in this old wrecking yard, we see the usual hinge-to-cowl hex-head body bolts. This is how most Task Force and Blue Chip trucks tend to be.
1955 chevrolet 3100 replacement door hinge kit installed with backing plates
2. Back at the shop, we’ve replaced our worn-out door hinges. The smooth-style hinge-to-cowl bolts, however, are 1955 originals, and we’ve got some time invested.
1955 chevrolet 3100 door hinge drilling modification for updated hinge pins
3. Thanks again to Ralph Hernandez, we’re now aware of these beautiful reproduction bolts from AMD. When our project goes back together for keeps, these will be the bolts we’ll use.
1955 chevrolet 3100 hinge bolt alignment and tightening with air ratchet tool
4. Earlier we alluded to a little panel realignment trick. Here in dry-fit stages, we’re satisfied with our gaps. Semi-discrete 1/8-inch holes will help us regain our gaps later on.
1955 chevrolet 3100 hinge pin guide tool positioning for installation
5. We’ll do the same thing here, with two 1/8-inch holes through door hinges, and the underlying sheetmetal of our doors’ hinge pockets.
1955 chevrolet 3100 door hinge arm installation and torque tightening process
6. Now skipping to final assembly, let’s expect the usual paint buildup in threads. An oily tap will clean them out, but a slotted hex-head bolt will do a cleaner job of it.
1955 chevrolet 3100 hinge pin star washer detent replacement hardware detail
7. Fashioned from 1/8-inch drill bits, our realignment tools are dual-purpose. Here for example, they’re the just-right fit for cleaning out this bit of paint buildup.
1955 chevrolet 3100 door hinge assembly final adjustment and fitment
8. Here, as we tighten things up, they’re dead-on precise for relocating door hinges to cowl.
1955 chevrolet 3100 completed hinge pin replacement restoration detail
9. For lower hinges, the steps are the same, except for the lowermost bolt. Here we’ve restored some extra-toothy OE lock washers. Restorer-types might notice this.
1955 chevrolet 3100 door alignment check using bubble level during hinge adjustment restoration
10. With hinges now accurately reaffixed to the cowl, it’s time to hang a pair of doors. To make that a little easier, let’s first get this truck sitting level with the concrete floor.
1955 chevrolet 3100 passenger door installation and fitment on freshly painted orange cab
11. As it came years ago from Harbor Freight, this hydraulic motorcycle jack sees occasional motorcycle use, but here at this shop its primary purpose is hanging doors.
1955 chevrolet 3100 interior door panel hardware adjustment and latch alignment detail
12. For the deeper upper pockets, we could’ve/should’ve made longer realignment tools. We do have longer 1/8-inch bits, but in a pinch an icepick works just about as well.
1955 chevrolet 3100 door hinge cover inspection with magnifying glass restoration process
13. If the semi-discrete holes bother you, the same job might be possible through the deep recesses of the hinges. For best accuracy, we prefer the wider spread between holes.
1955 chevrolet 3100 painted cab rear window and door fitment alignment check
1955 chevrolet 3100 driver side door body gap alignment after hinge replacement restoration
14-15. Should additional weight from glass and such affect our gaps later we’ll fine-tune as necessary then. Here we have gaps—just as we liked them once before.

14-15. Should additional weight from glass and such affect our gaps later we’ll fine-tune as necessary then. Here we have gaps—just as we liked them once before.