CTP  Tech

InTheGarageMedia.com

bucket list
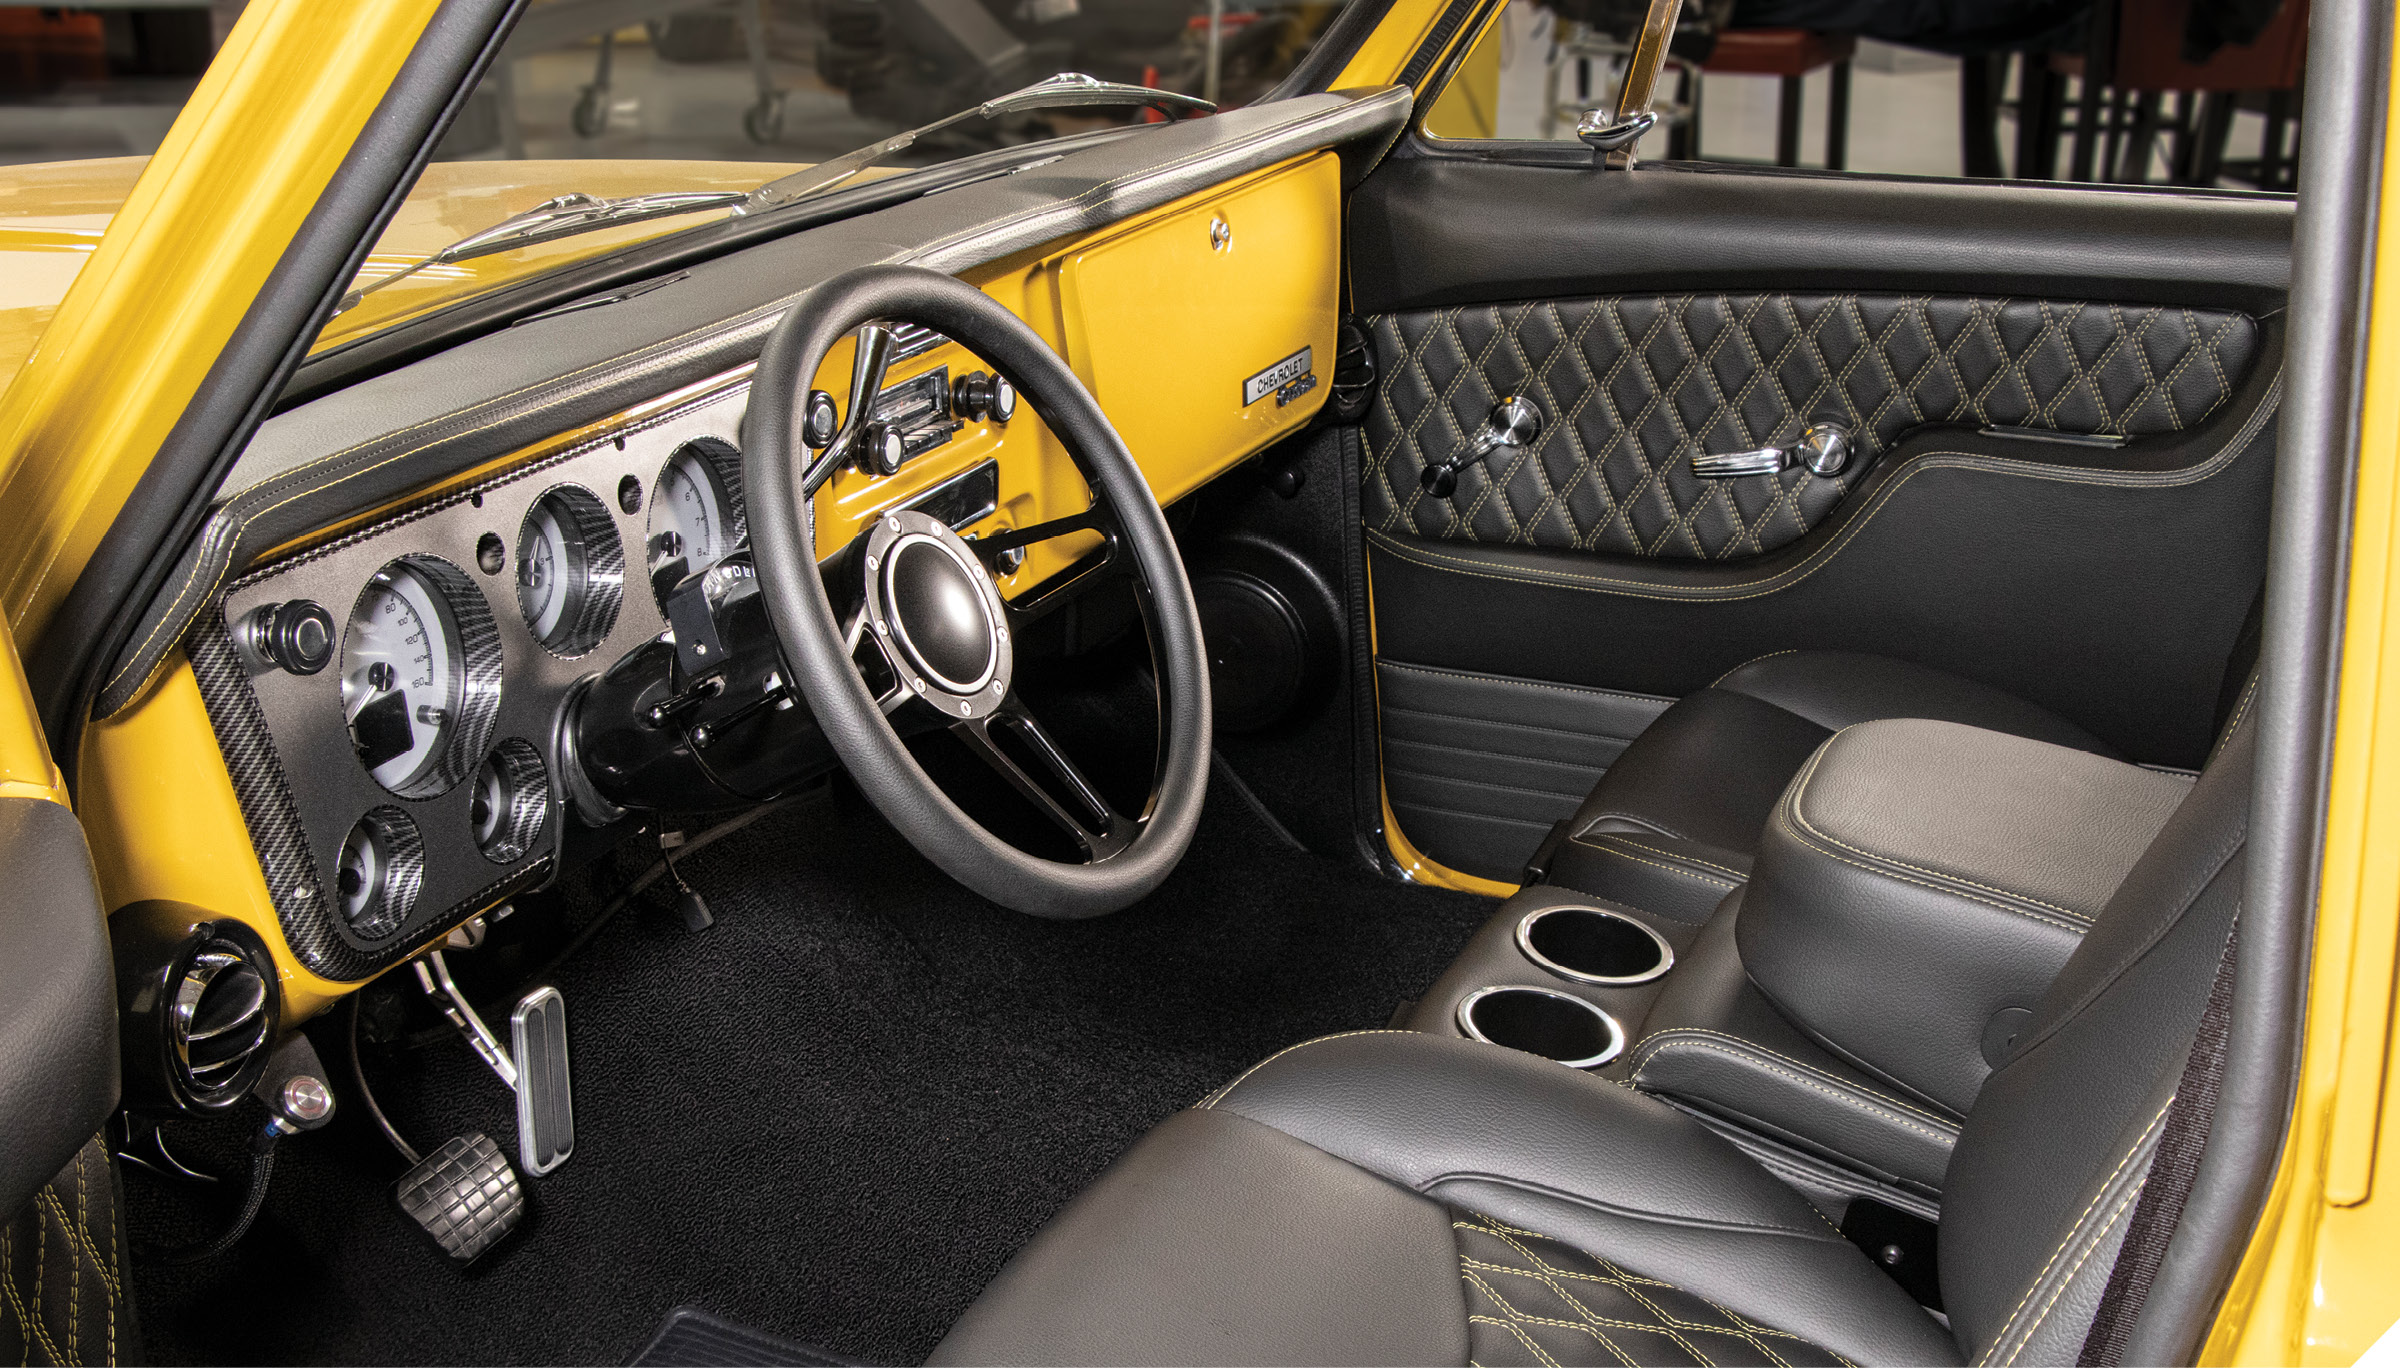
1.TMI Products’ Pro-Classic Sport bucket seats in their latest stitch design offering—Double Diamond—paired with a Pro-Series Sport-R buddy console/Sport-R dashpad and matching Sport-DD door panels give new life to the interior of the first Week to Wicked C10.
TMI Products’ Professional-Classic Interior Face-Lift for Your C10
BY Rob FortierPhotography BY Taylor Kempkes
T

here are two things that can—and will—severely stonewall the progress of a truck project, regardless of the level of the build: body/paint and interior. (They don’t call it “paint/upholstery jail” for nothing!) Unfortunately, unless you’re the proprietor of a paint and body shop, which more often than not causes even more delay, there’s really no way around the lengthy time frame of that portion of the overall build process. The interior, on the other hand, is definitely something you can take full control over with one simple phone call or a few clicks of the mouse. (Note to upholsterers reading this: we know you’re not all like that!)

TMI Products, located a stone’s throw from where I grew up in SoCal’s Inland Empire, has become a leader in aftermarket interior for their reputation of manufacturing top-of-line bench and bucket seats, center consoles, door panels, and dashpads for not only classic trucks but muscle cars, hot rods, and so forth—ALL in-house! I’ve had the luxury of touring their Corona facility on more than one occasion and I’ve seen start-to-finish not only the level of quality put into each product but the design process behind developing and creating new products (including their all-new Pro-Series Universal Sport deluxe bench seat, which I’ll be installing in my ’69 C10 here very shortly).

From TMI’s Pro-Classic and Pro-Series bucket seat options to their Pro-Series bench options with matching panels and accessories already upholstered (in your choice of a wide array of material/stitching color combinations) you can literally order ready-to-install upholstery and avoid any potential delays and, ultimately, have a new interior in a day!

Follow along as Jason Scudellari gives his namesake truck, the very first Week to Wicked C10, a whole new interior outlook on life with TMI’s Pro-Classic Sport Double Diamond bucket seats and matching center console, door panels, and dashpad.
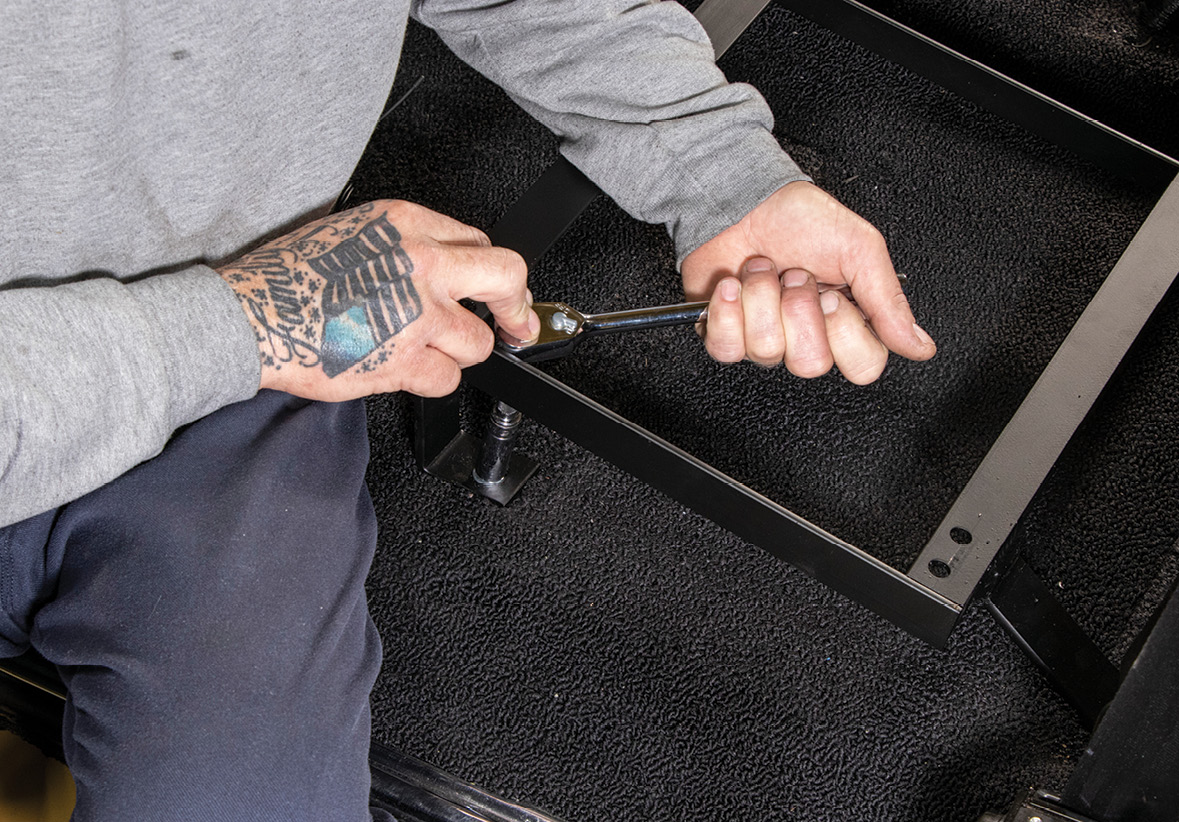
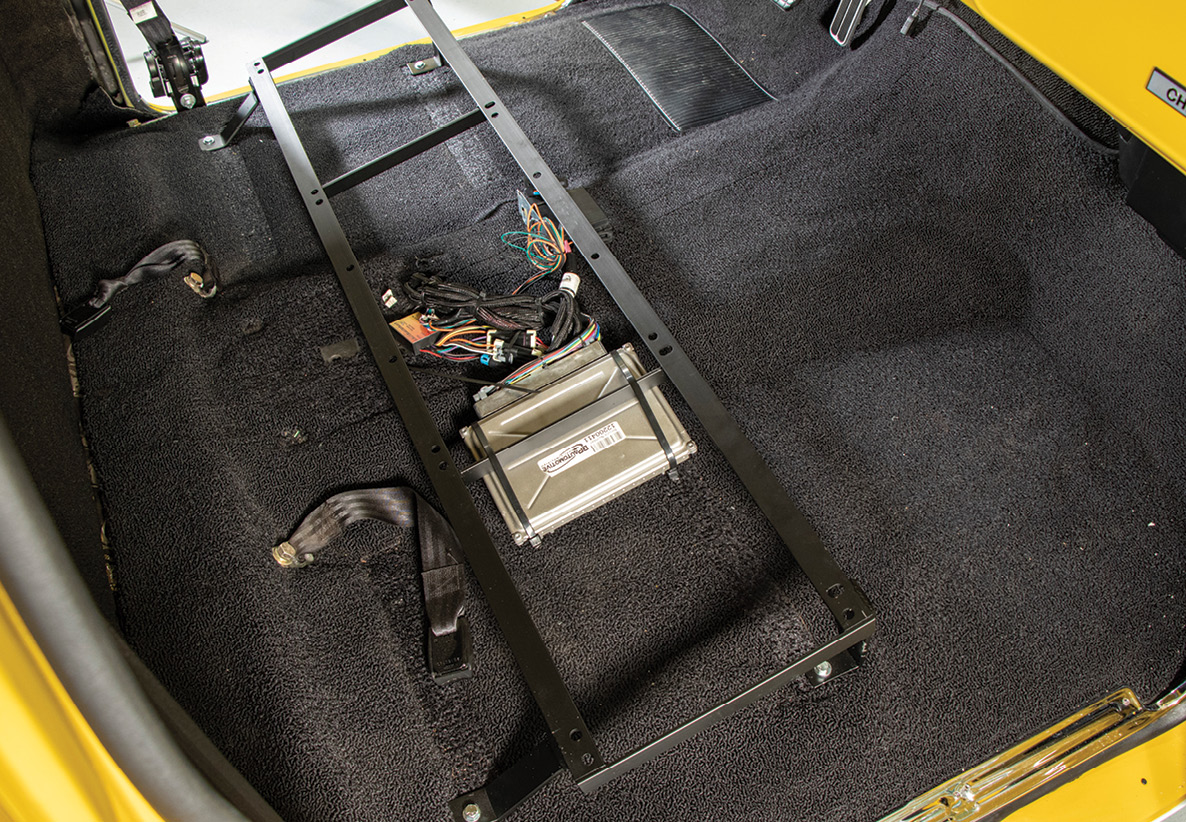
With the old, well-used interior removed down to the base carpet, the first order of business is to install the supplied TMI bucket seat bracket.
2-3. With the old, well-used interior removed down to the base carpet, the first order of business is to install the supplied TMI bucket seat bracket.
With the base securely fastened to the truck’s floor, the buddy seat/console is installed first.
4. With the base securely fastened to the truck’s floor, the buddy seat/console is installed first.
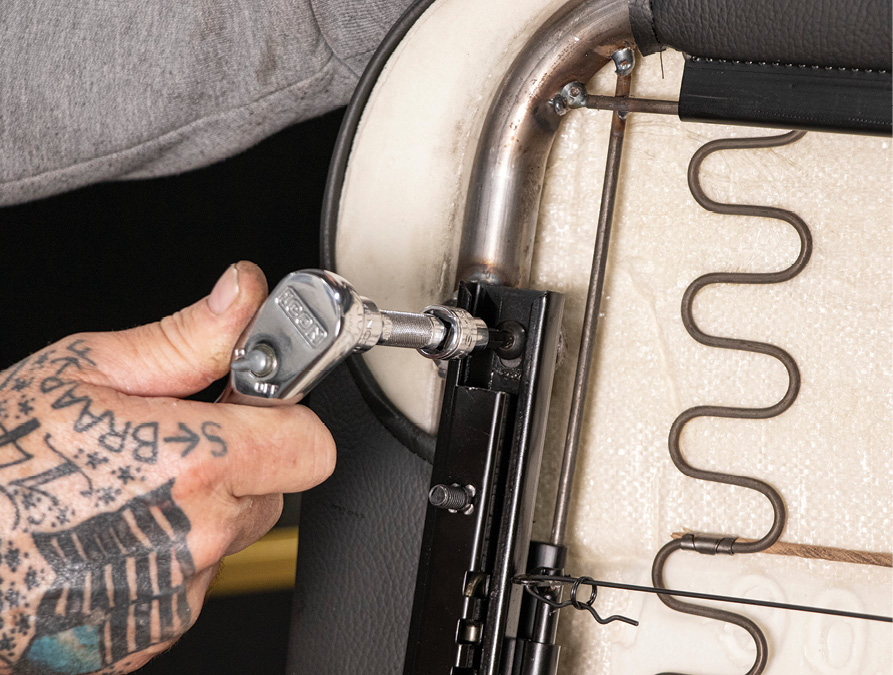
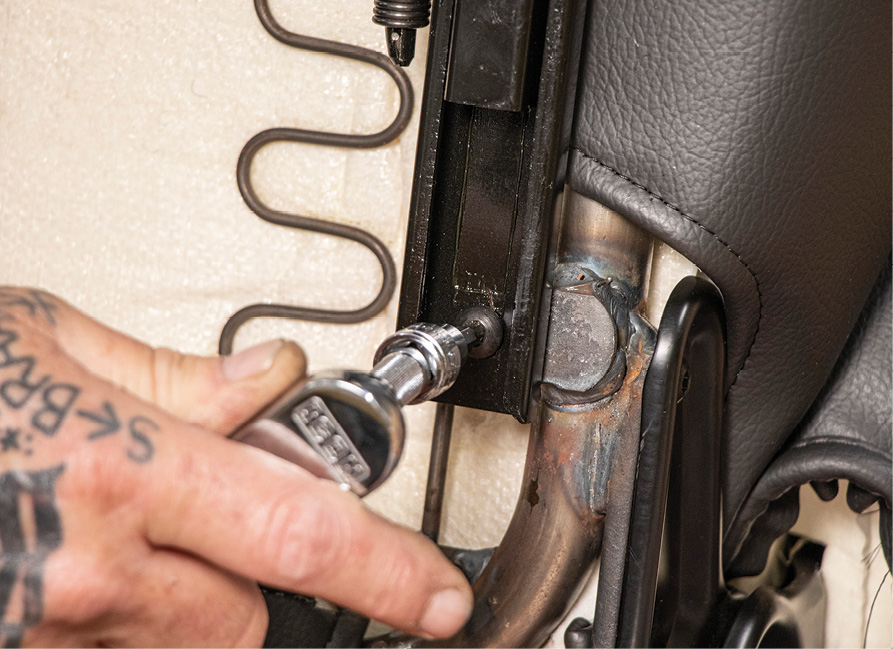
Before the bucket seats go in, first the supplied slider tracks need to be installed onto the seat frames, as shown.
5-6. Before the bucket seats go in, first the supplied slider tracks need to be installed onto the seat frames, as shown.
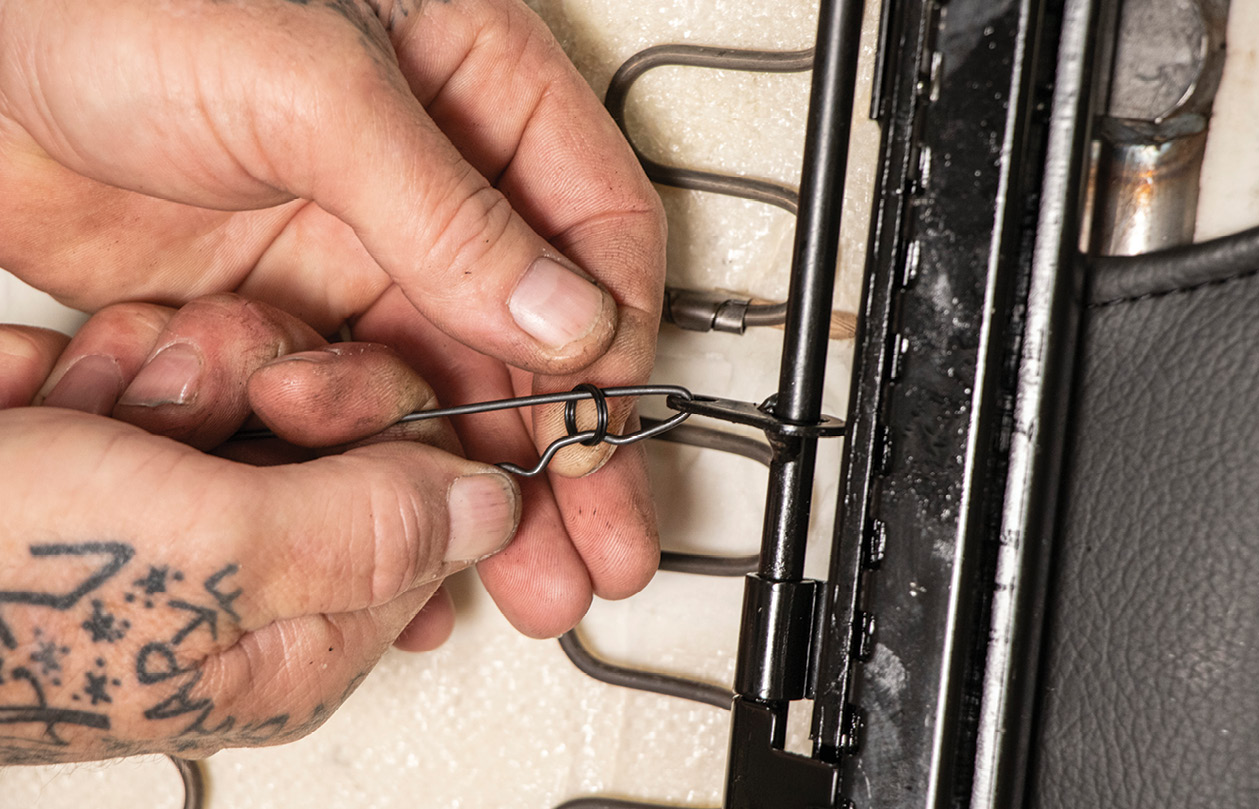
Next, the adjuster pull wire is connected and secured.
7. Next, the adjuster pull wire is connected and secured.
Now the bucket seats can finally be installed onto the fabricated steel bracket.
8. Now the bucket seats can finally be installed onto the fabricated steel bracket.
With the two seats now securely in place and full adjustability verified on each base, the plastic recliner hinge cover and lever handle can be installed.
9. With the two seats now securely in place and full adjustability verified on each base, the plastic recliner hinge cover and lever handle can be installed.
Seating installation complete; now onto the paneling!
10. Seating installation complete; now onto the paneling!
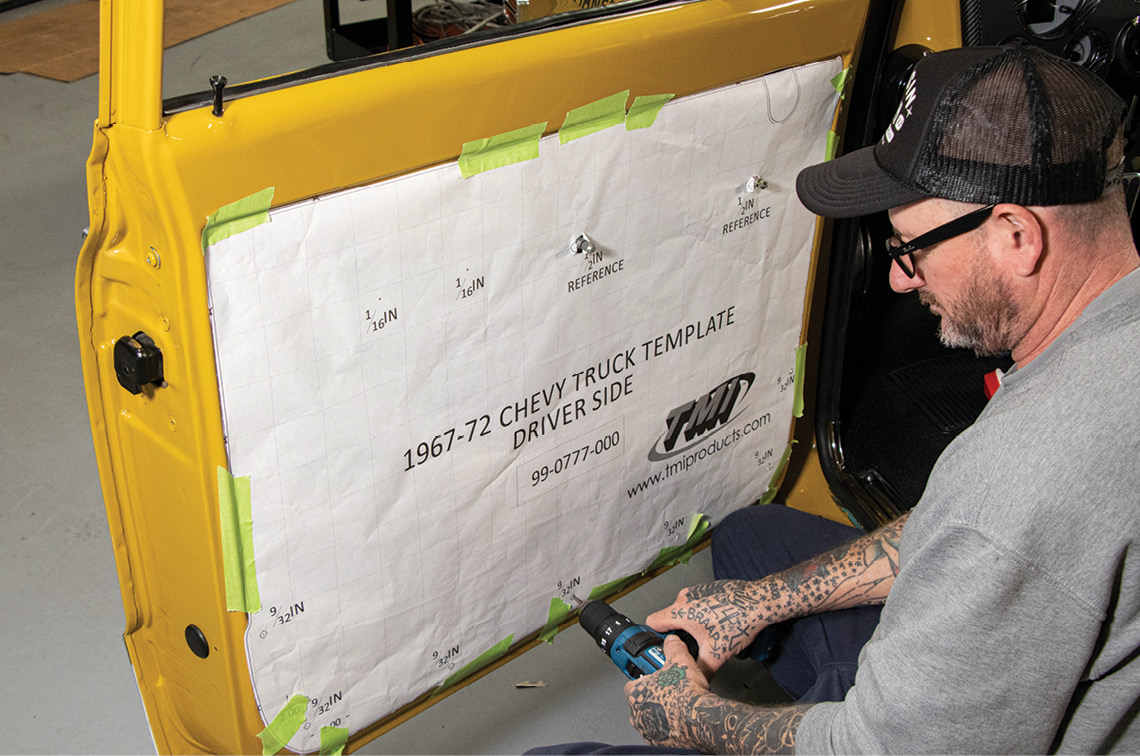
Being that TMI’s door panels cover the entire inner door, they supply a handy paper template for locating and drilling the mounting clip holes.
11. Being that TMI’s door panels cover the entire inner door, they supply a handy paper template for locating and drilling the mounting clip holes.
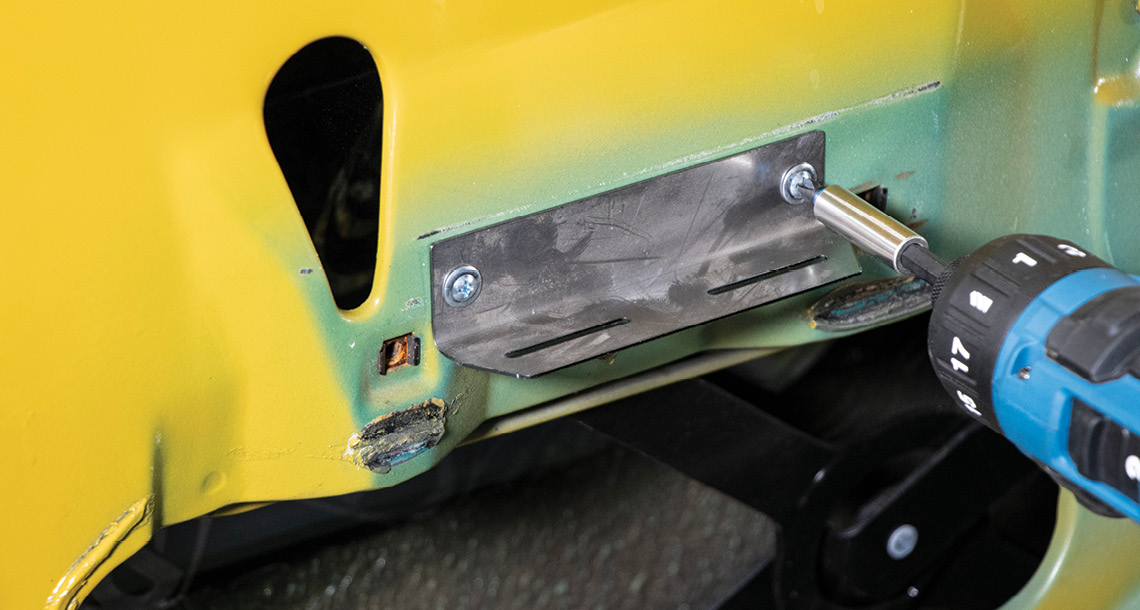
Same for the integrated door handle, which uses its own mounting bracket (shown).
12-13. Same for the integrated door handle, which uses its own mounting bracket (shown).
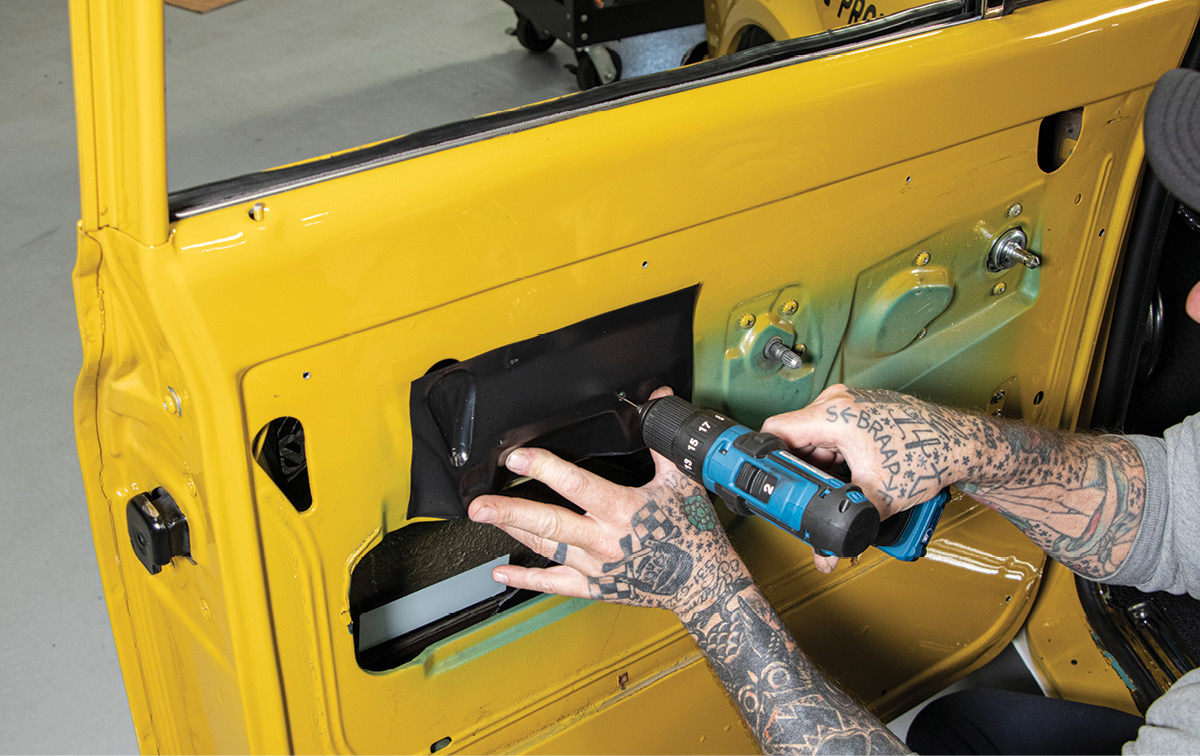
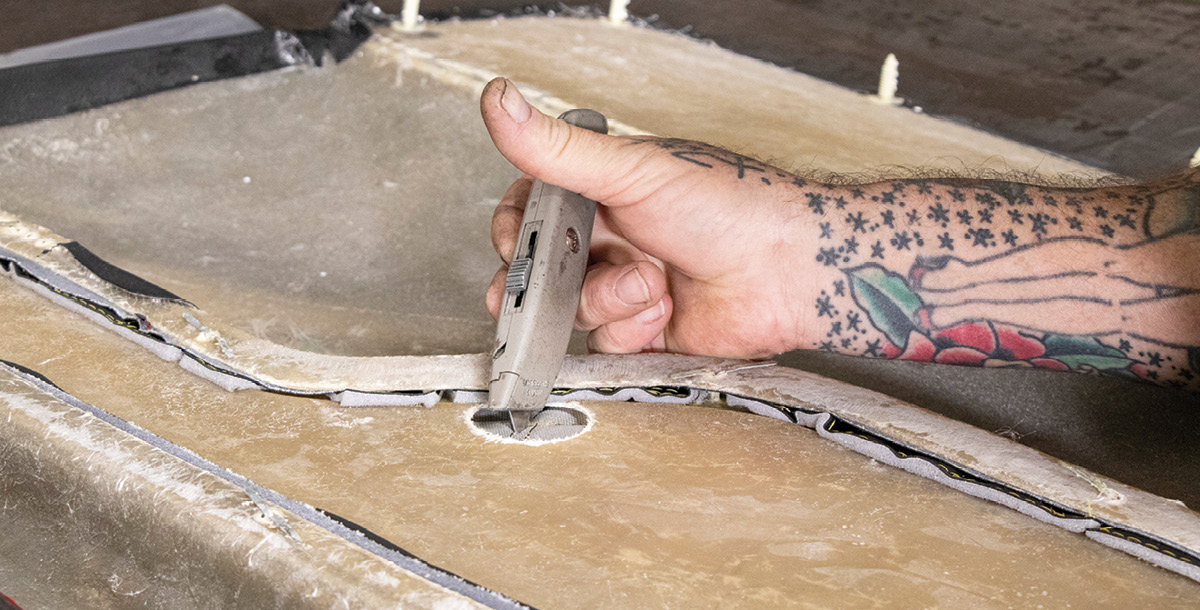
Prior to mounting the door panels, first locate and provide access for the door handle and window crank (or electric window switch).
14. Prior to mounting the door panels, first locate and provide access for the door handle and window crank (or electric window switch).
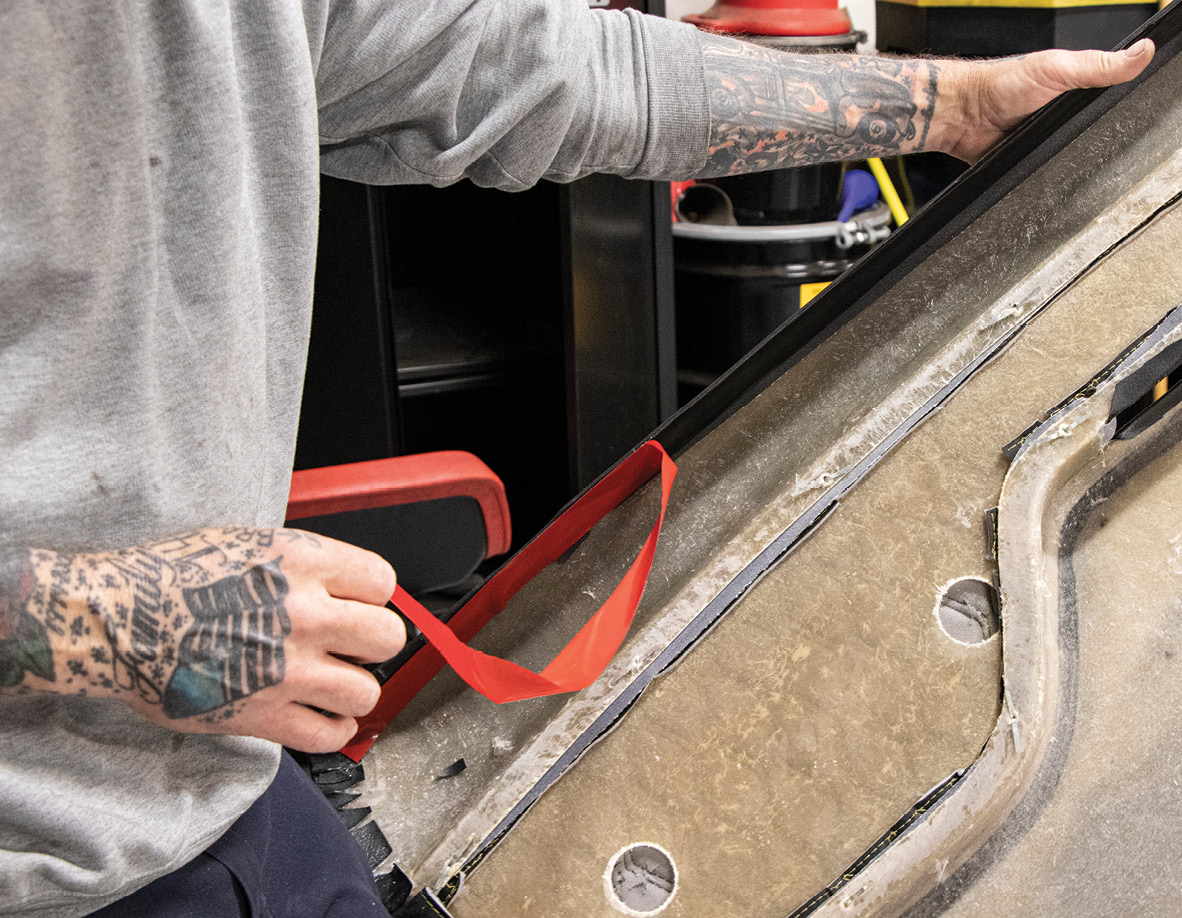
With the door panel prepped and ready to install, peel the backing off the two-sided tape along the inside of the upper edge, and …
15. With the door panel prepped and ready to install, peel the backing off the two-sided tape along the inside of the upper edge, and …
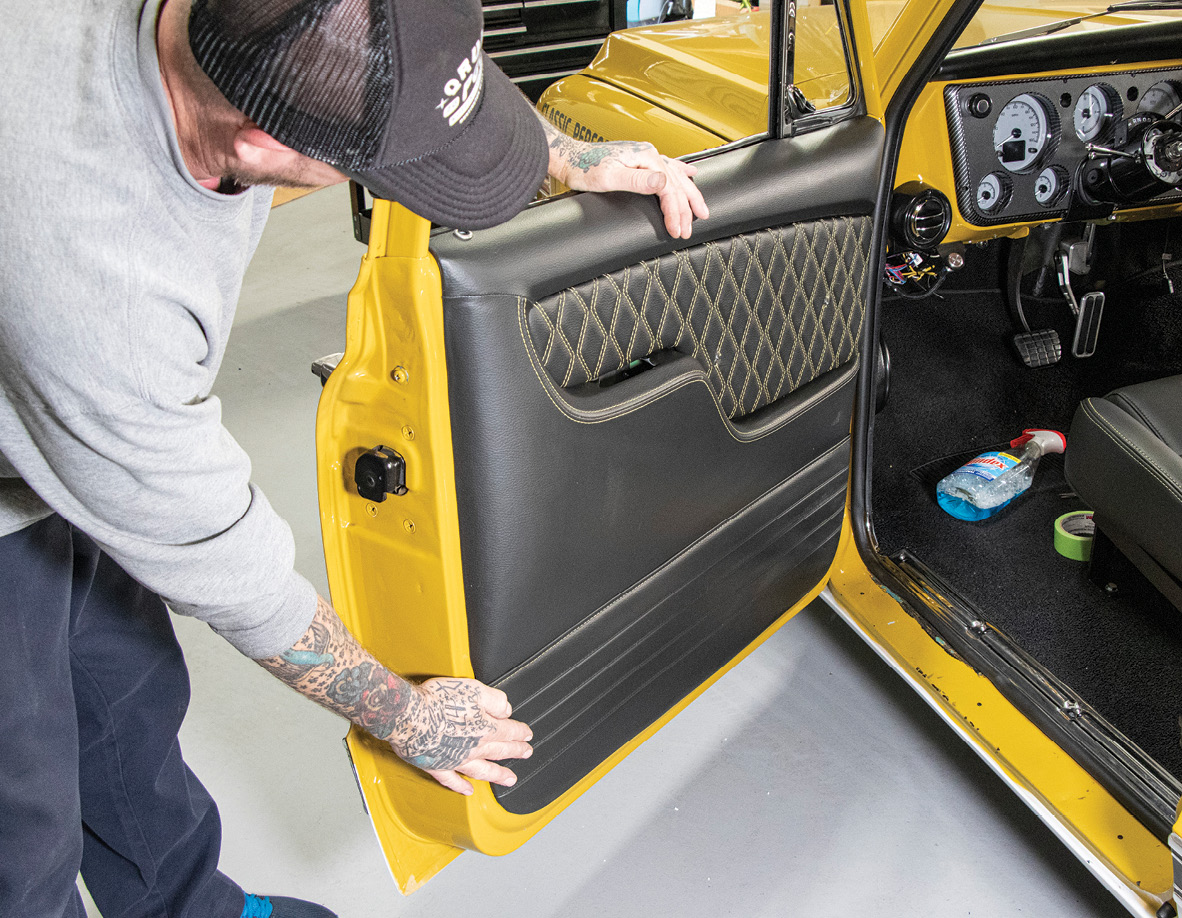
… attach to your willing-and-ready door!
16. … attach to your willing-and-ready door!
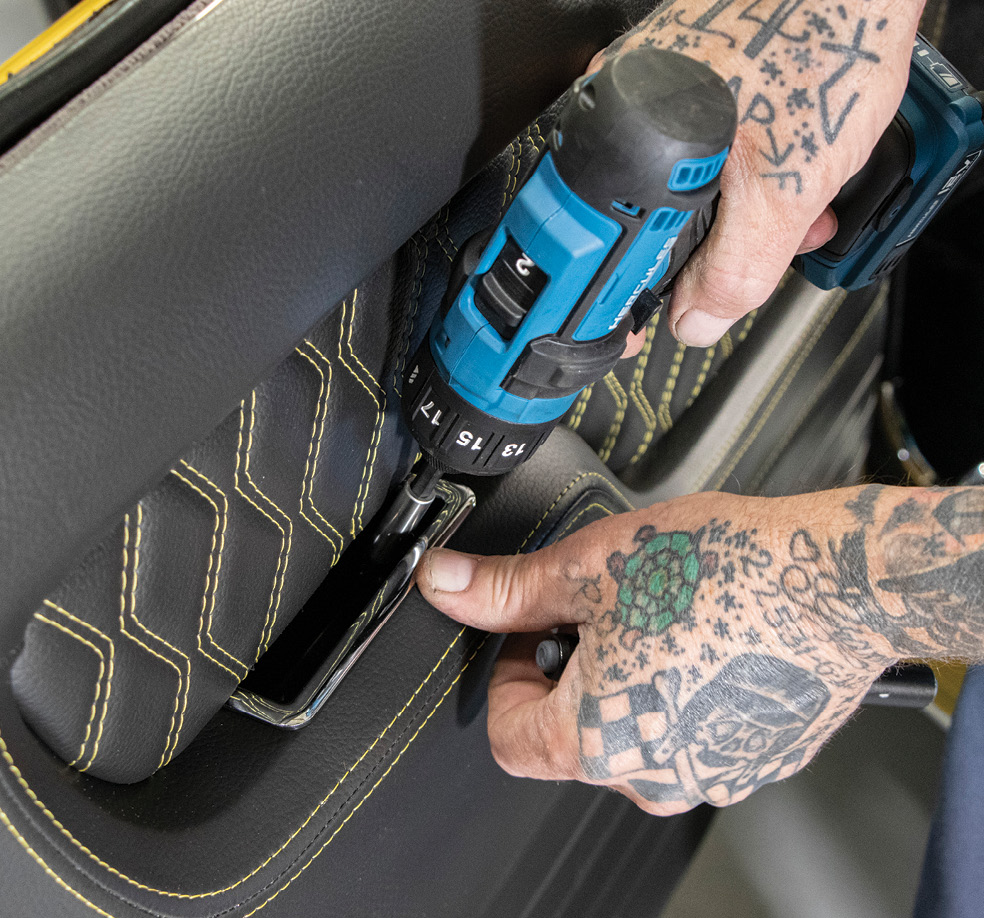
Secure the pull handle/armrest with the provided chrome trim piece.
17. Secure the pull handle/armrest with the provided chrome trim piece.
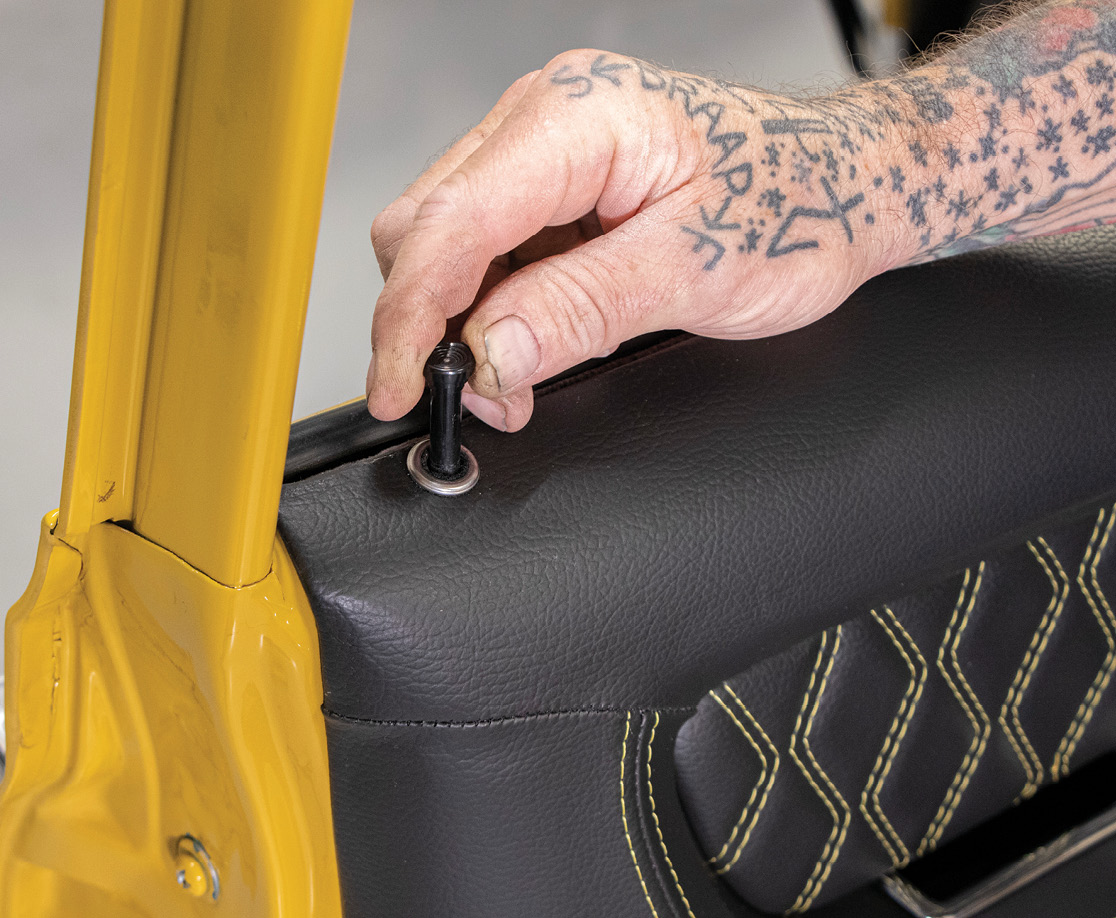
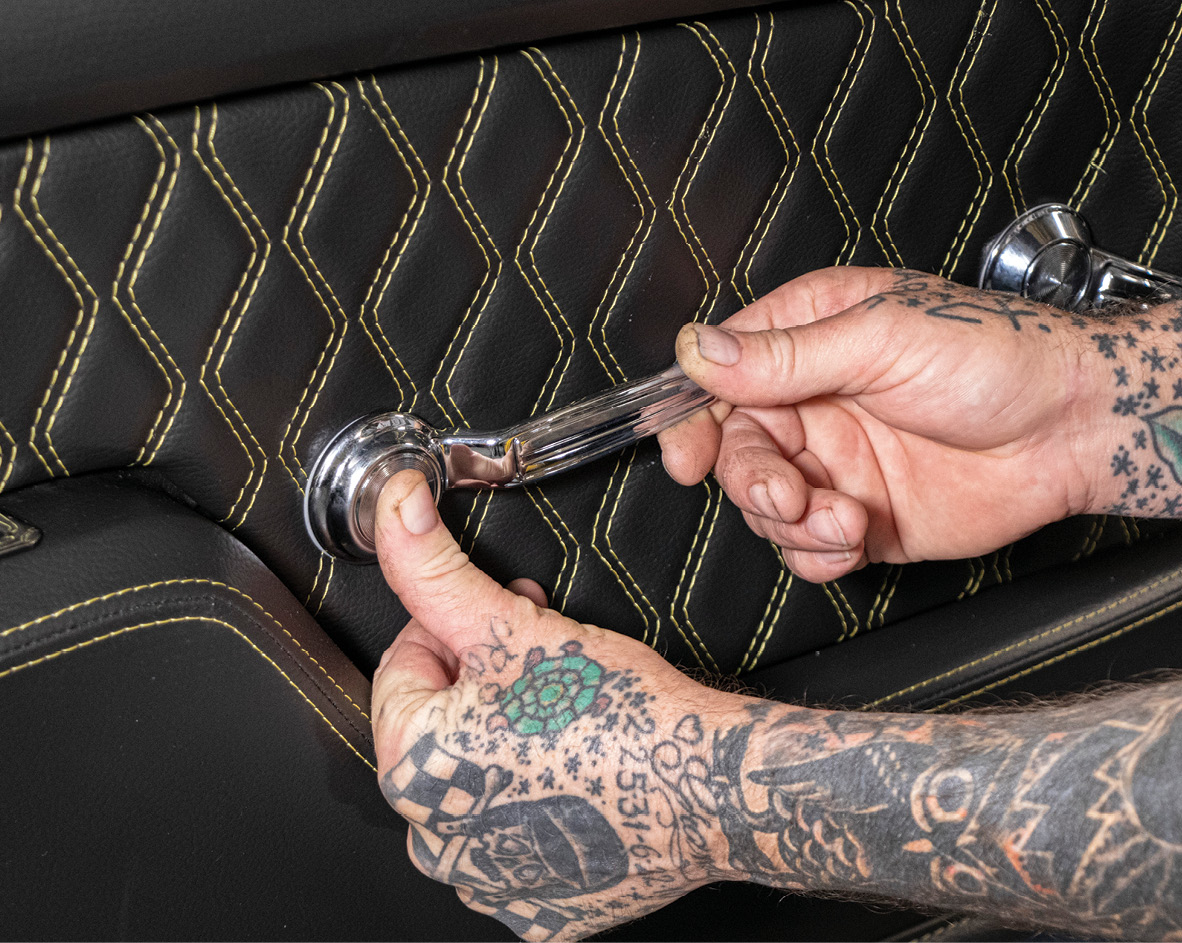
Then attach the window cranks/door handles of your choice (now would definitely be the perfect time to upgrade!).
18-19. Then attach the window cranks/door handles of your choice (now would definitely be the perfect time to upgrade!).
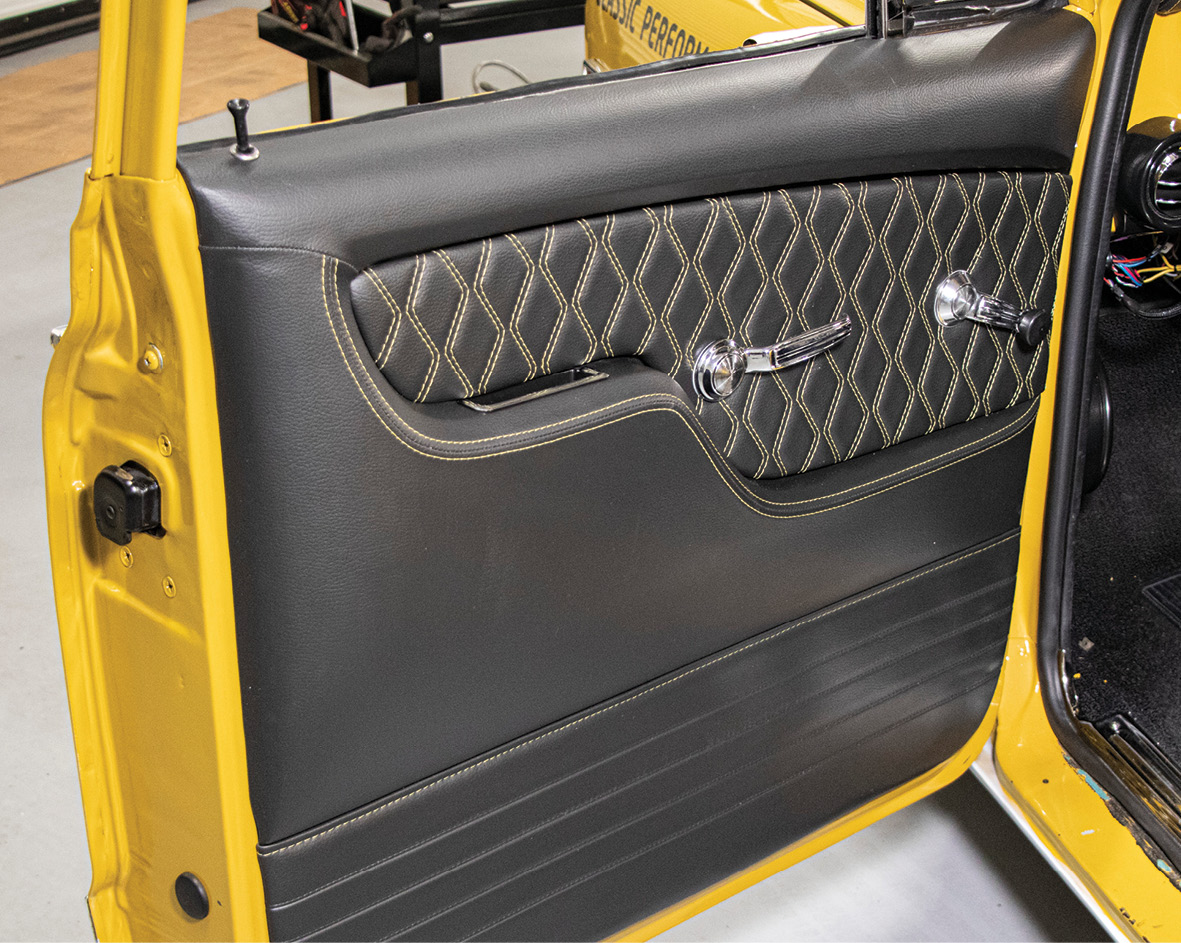
Door panel installation complete, now to wrap up the job with the new dashpad.
20. Door panel installation complete, now to wrap up the job with the new dashpad.
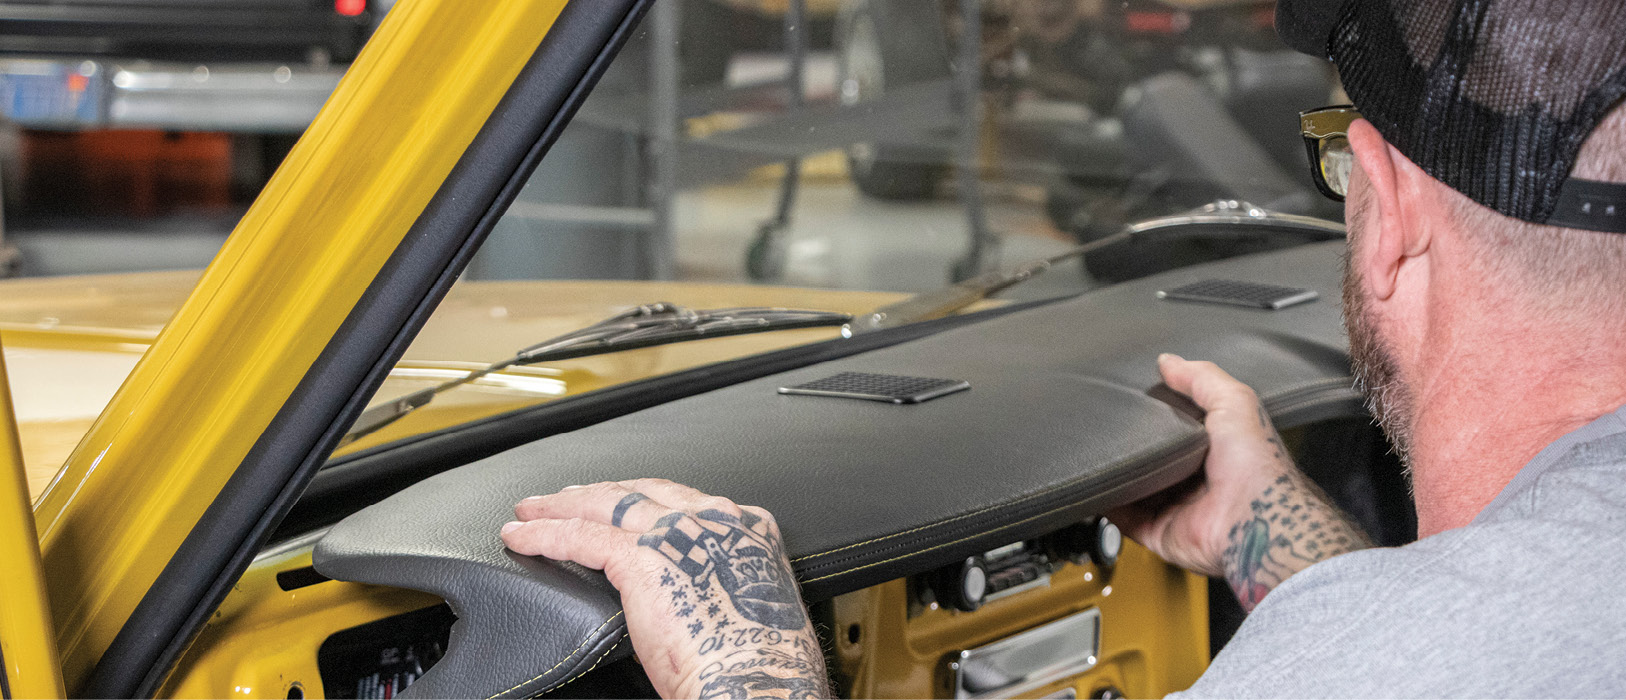
In order to gain full access, you’ll need to remove the gauge panel/cluster, glovebox, and, just to be safe, the steering wheel—then reinstall everything a few minutes later!
21-22. In order to gain full access, you’ll need to remove the gauge panel/cluster, glovebox, and, just to be safe, the steering wheel—then reinstall everything a few minutes later!
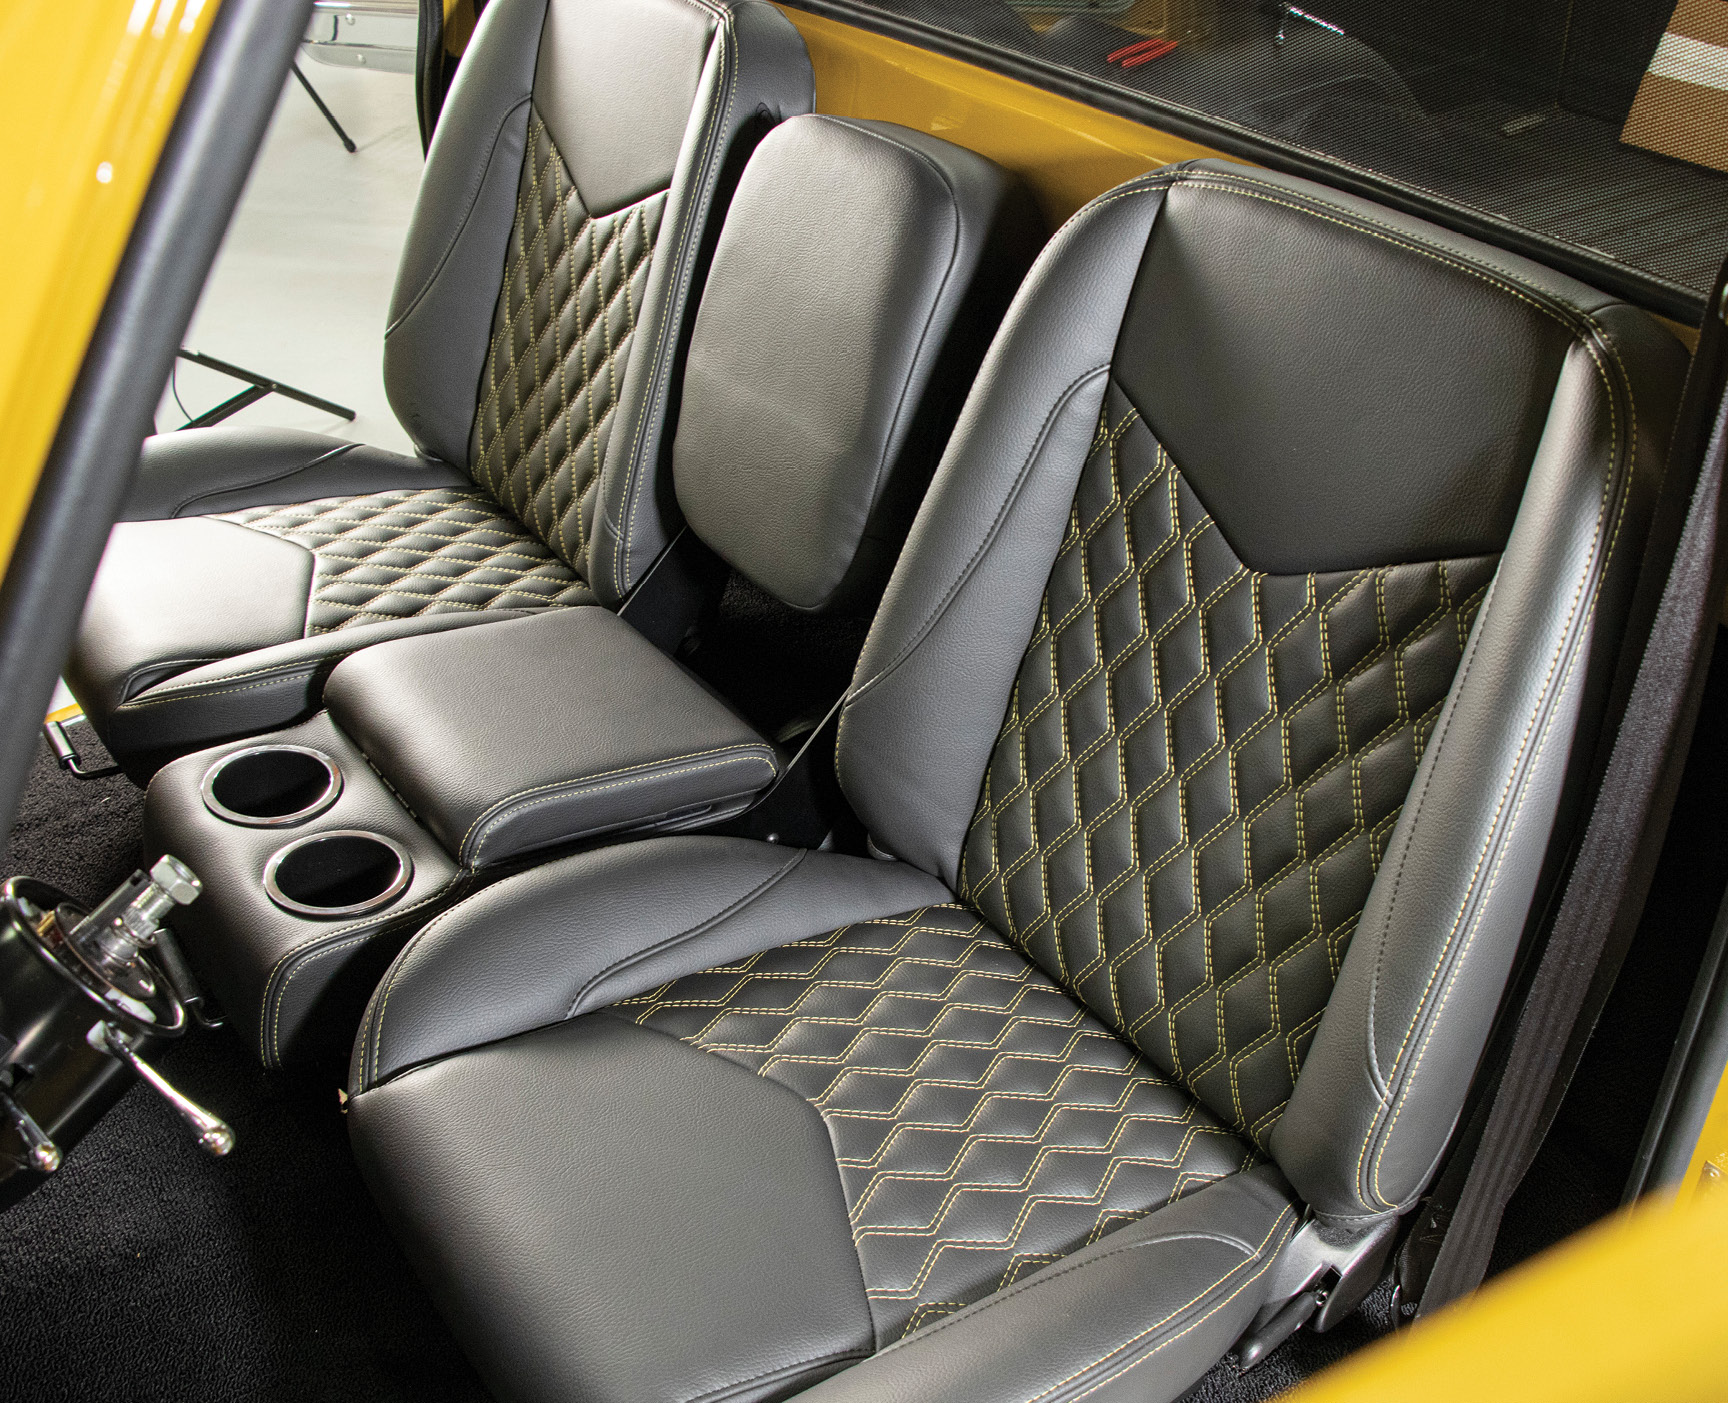
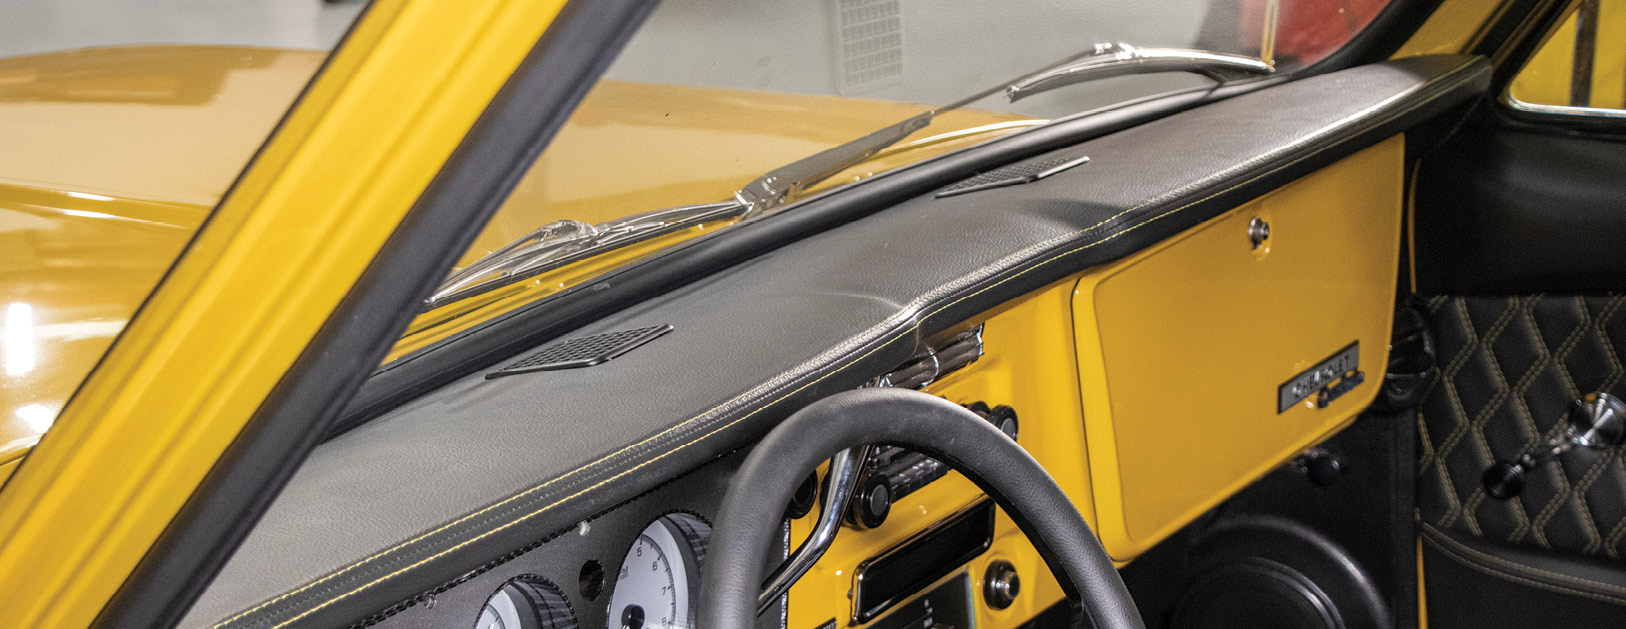
When all’s said and done, this is the new interior outlook your C10 (or F-100 or?) will have on life with a fresh, new TMI Products interior … without waiting on anyone but yourself and the parcel delivery person!
23. When all’s said and done, this is the new interior outlook your C10 (or F-100 or?) will have on life with a fresh, new TMI Products interior … without waiting on anyone but yourself and the parcel delivery person!
Tech Center - Duralastparts.com / Frontiersupplies.com
 SOURCE
TMI PRODUCTS
(888) 460-0640
tmiproducts.com