CTP logoFeature star Tech
InTheGarageMedia.com
Clear Vision
Upgrading Your Old Crank-Out Windshield and Wipers with Parts from Chevs of the 40’s
BY Chuck Vranas Photography BY The Author
R

olling through the years of classic truck innovations, each decade can claim an endless score of achievements as their products went from the drawing boards to the assembly line. It’s easy to see that Chevrolet raised the bar from 1941-1946 with their Art Deco Series of trucks showcasing design elements never seen before. From the alluring horizontal- and vertical-styled grille to the flowing headlights that melted into the fenders and distinct crank-out V-shaped windshield, these era-defining looks made them truly memorable.

Imagine pulling back a set of barn doors revealing a cobweb-covered 1946 Chevy truck that somehow managed to survive through years of use before being parked and forgotten about. Wearing a well-earned patina, it’s decision time as you haul it out of suspended animation and make the commitment of bringing it back to life. Thankfully, the truck in our tech article managed to eventually escape from its hard-working past, making it a perfect subject to maintain its well-earned good looks while getting treated to a number of updates.

While assessing many of the areas needing to be addressed, it was easy to see a pronounced de-lamination of the two-piece windshield as well as evident scratching from the single wiper. A closer look revealed that the windshield-to-cab gasket was severely cracked along with the crank-out regulator being nearly seized and the wiper system definitely needing replacement. Wanting to talk with the experts on Art Deco Series trucks, we contacted Chevs of the 40’s in Vancouver, Washington, and spoke with their knowledgeable team regarding our needs. Being the world’s most complete supplier of 1937-1954 Chevrolet car and truck parts it was easy for them to lead us in the right direction.

To handle the updates we met with Scott Roth, co-owner of Rothspeed in Milton, Vermont, who got started by carefully disassembling the entire windshield frame, crank-out regulator, and wiper system. It’s cool that Chevs of the 40’s offers the replacement windshield frame kit in either chrome or bare steel. For our purposes we selected the bare steel version that Roth worked his magic on by adding a newfound patina, matching the truck’s vintage surface. In taking on the job it was refreshing to know that Chevs stocks all of the parts needed, including windshield frames, glass, crank regulators and handle, gaskets, setting tape, and replacement wiper systems. In preparation for removal of the windshield frame it’s a great idea to give all the original hardware a healthy spray of penetrating oil to ease their removal. With safety always being a concern, be sure to wear protective glasses and gloves when taking on the job.

When it came time to addressing the original vacuum-operated windshield wiper system, Chevs offers a number of options, including a full rebuilding service for your original factory unit as well as numerous 6- and 12V offerings. For our purposes, we chose the Newport Engineering 12V system available for 1939-1946 Chevy trucks incorporating their exclusive “Clean Wipe” Wiper Drive. Newport Engineering features the latest technology and engineering in their kits to make upgrading from the obsolete vacuum single wiper system to a dual wiper system created to fit behind the factory interior header panel.

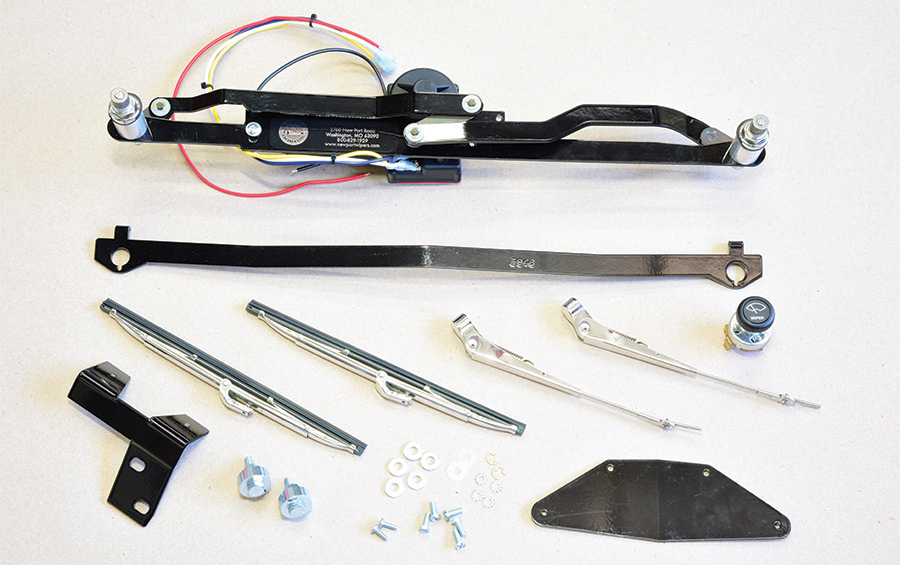
They include everything needed for a flawless installation in the kit, including a heavy-duty two-speed 12V motor, bronze oilite bushed transmissions, linkage, wiring harness, all mounting brackets, switch and polished stainless wiper arms, and blades. There’s even an easy-to-use drill jig to add the driver side mounting hole and drill the passenger side hole if your truck was originally equipped with a single wiper unit (as ours was) to make installation a snap. The completed upgrades look great and also restored full functionality of our crank-out windshield ventilation system as well as increased visibility with fresh glass and a new 12V electric two-speed dual windshield wiper system.
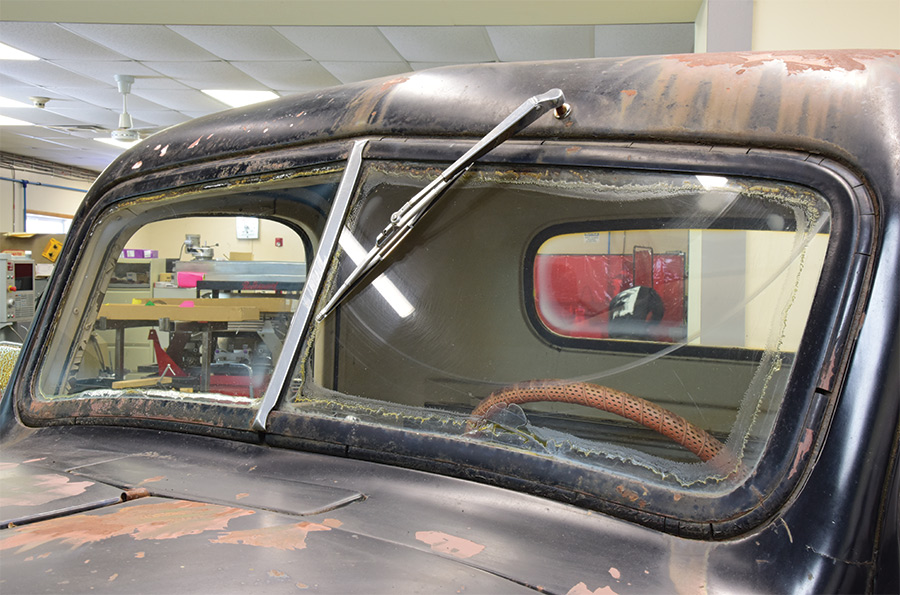
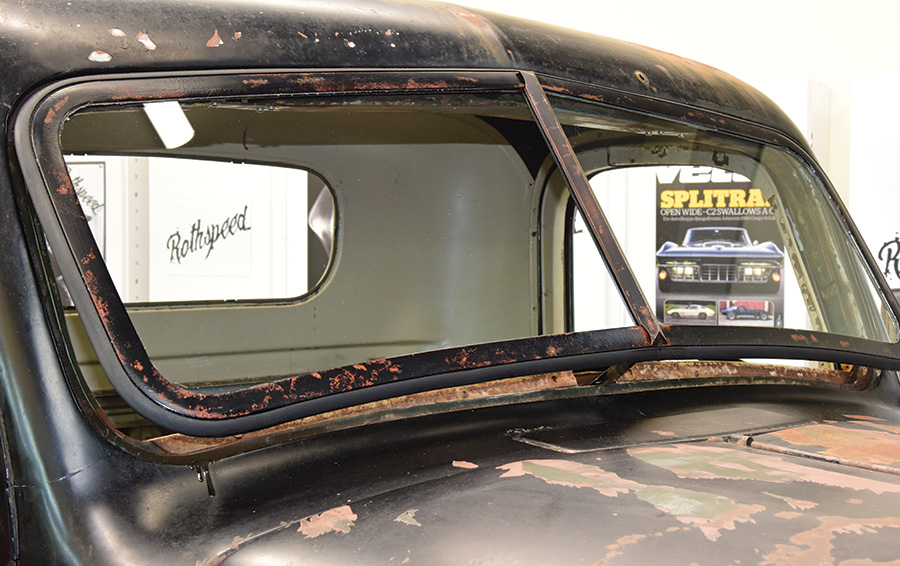
windshield heavily de-laminated and scratched
1. With our windshield heavily de-laminated and scratched along with a nearly seized crank regulator, badly cracked windshield frame-to-cab gasket, and non-functioning wiper, it was prime time to freshen up the entire system.
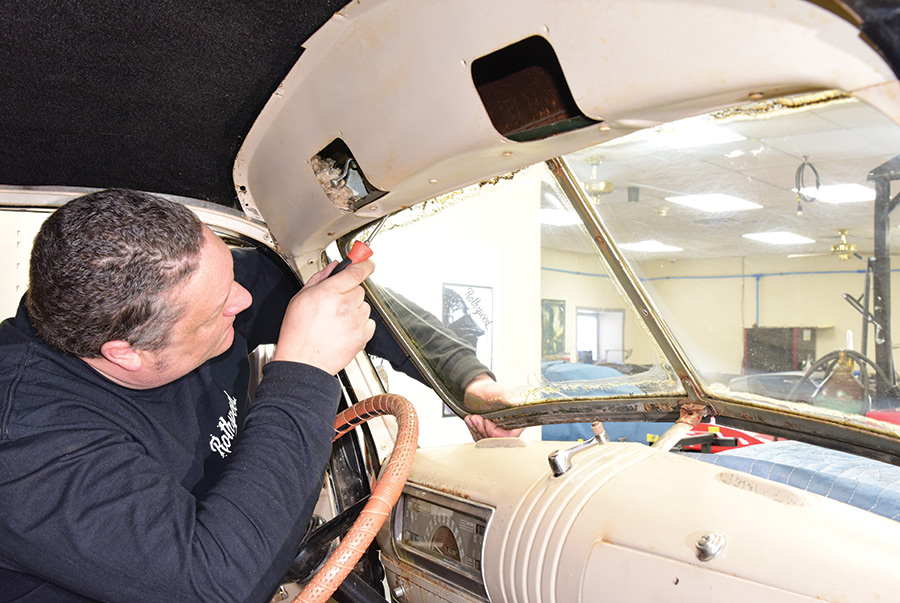
Scott Roth removing the windshield
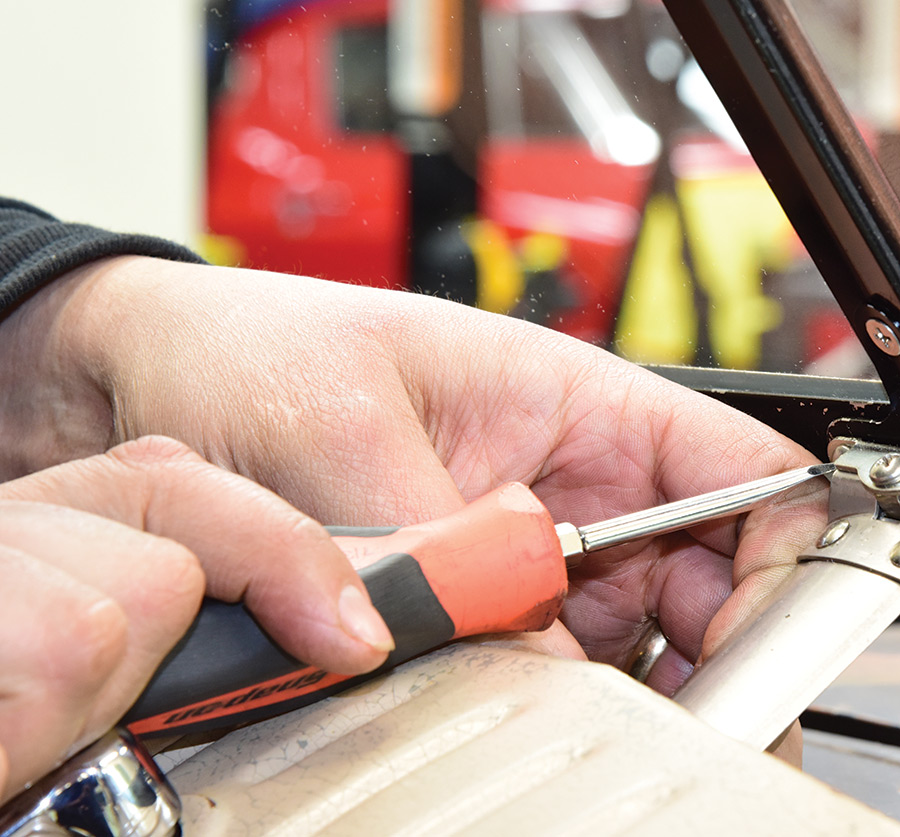
2. Getting started, Scott Roth from Rothspeed in Milton, VT, first removed the windshield wiper and followed with a Vise-Grip to carefully crank open the nearly seized windshield regulator. Having the windshield open allowed him access to remove the upper frame hardware using a flathead screwdriver.
screws for the lower windshield bracket frozen
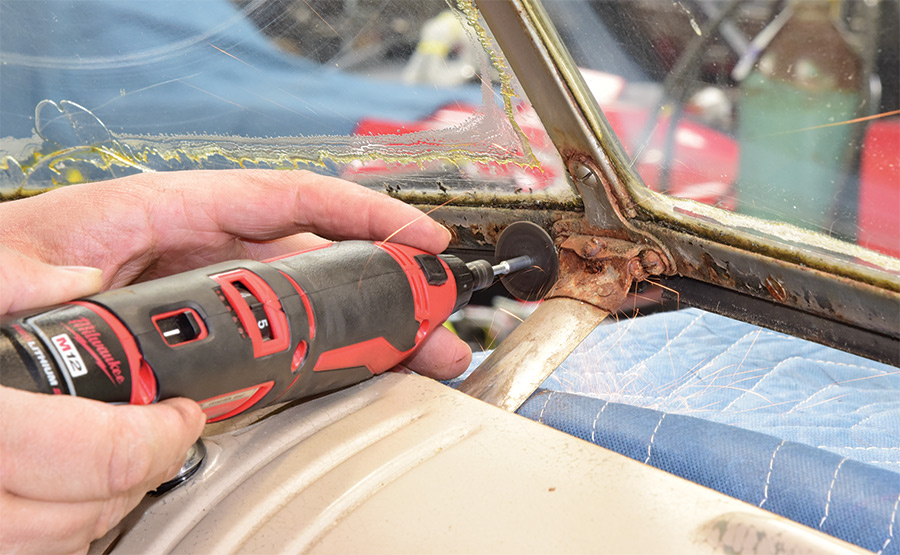
3. Since the screws for the lower windshield bracket were frozen, a cordless rotary tool with a cutoff wheel was used to remove them. Be sure to wear eye protection for a step like this.
padded blanket being used to protect the cowl
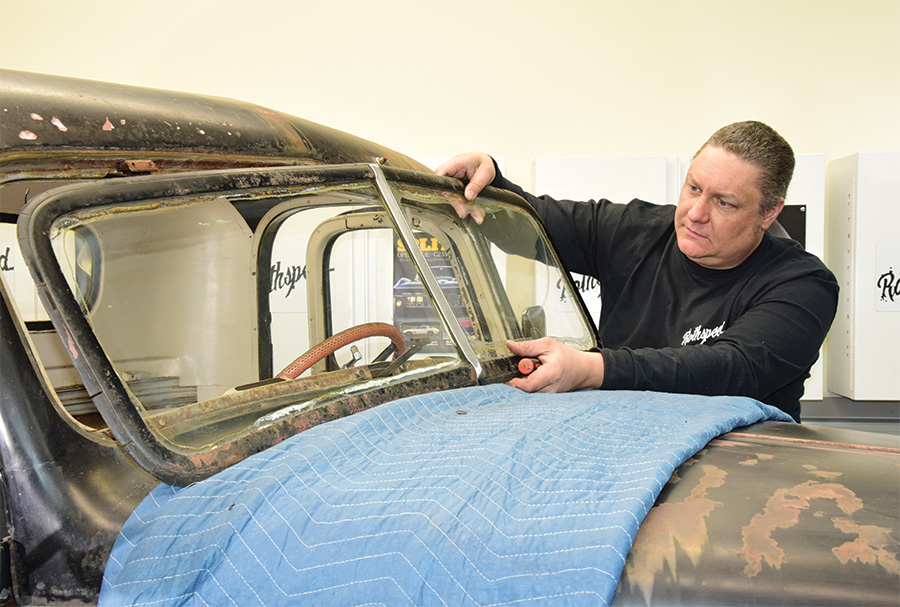
4. Using a padded blanket to protect the cowl and hood, the windshield was removed as a complete unit. With the area now open, it was a perfect time to lubricate the upper windshield pocket hinges. Thankfully, the inner windshield channel was free of any corrosion damage.
steel windshield frame kit from Chevs of the 40's
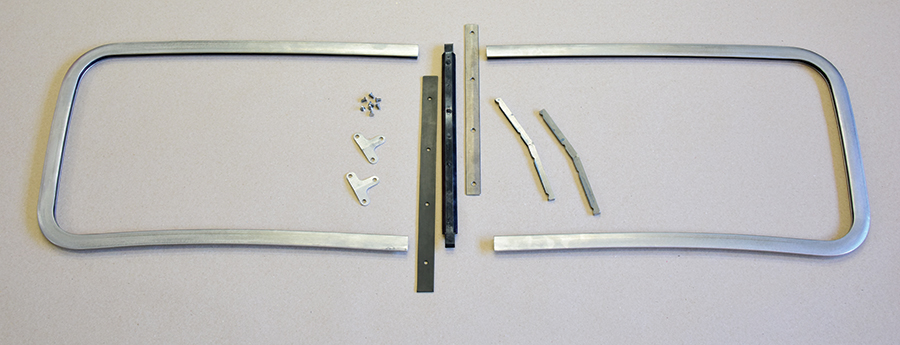
5. Chevs of the 40’s supplied us with a fresh steel windshield frame kit, which included the frame halves, frame connecting inserts, center divider, and all related installation hardware. To complement the frame to match our truck’s patina, Roth first prepped the bare steel followed with coatings of red oxide primer. To add texture he used a sponge tip to mottle additional primer in spots and then gloss black, which he lightly scuffed to add an aged look.
new glass sections by Chevs
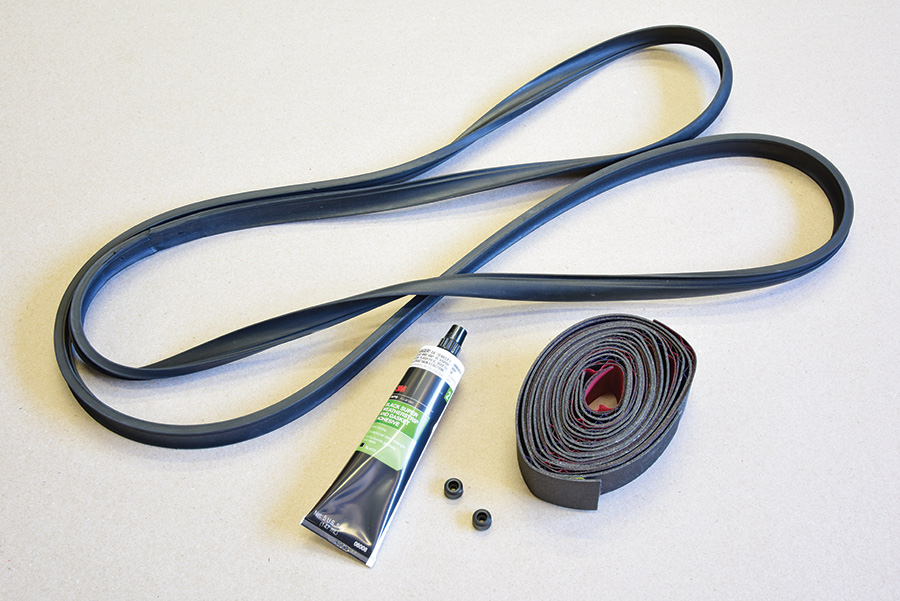
6. To complete the windshield, Chevs also supplied new glass sections along with a roll of setting tape, vulcanized frame-to-cab seal, rubber bumpers, and weatherstrip cement.
section of setting tape being measured
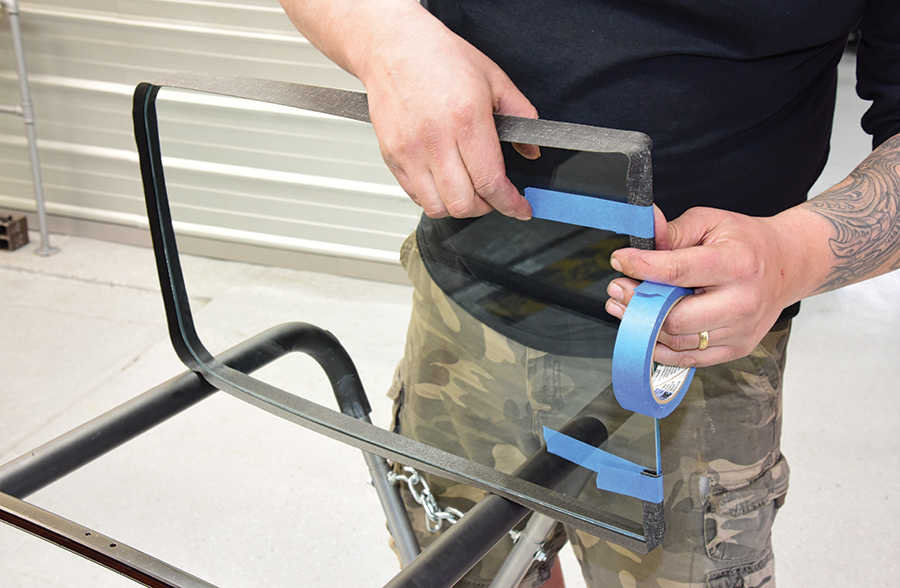
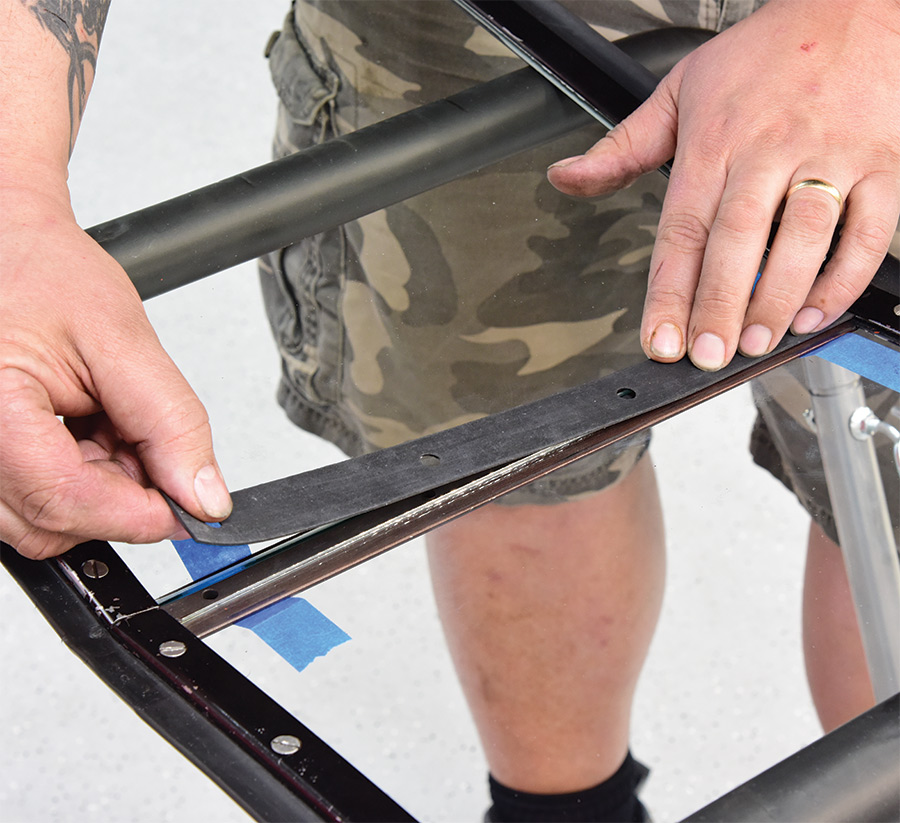
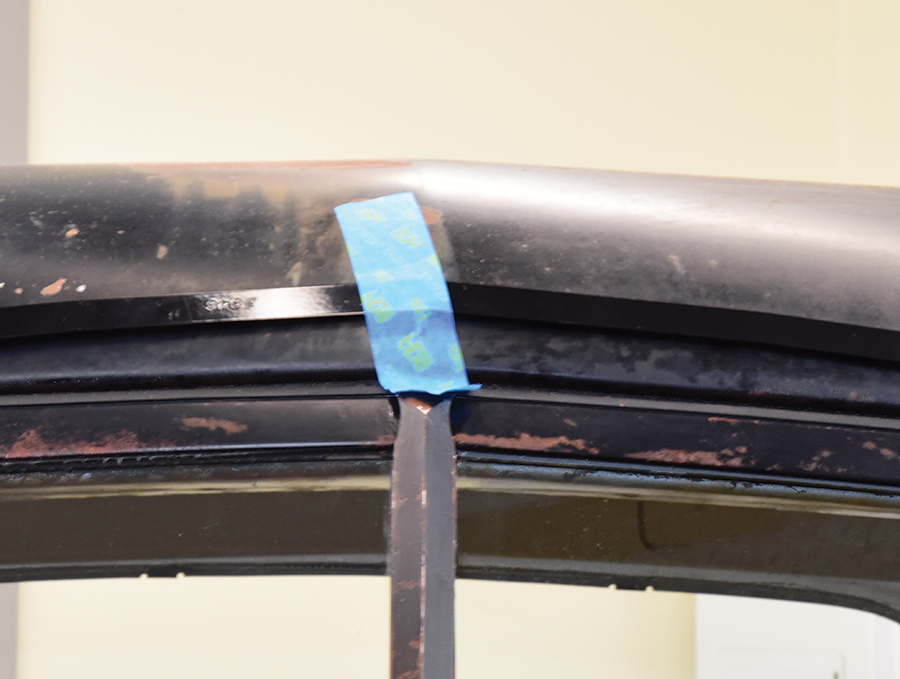
7. A section of setting tape was then measured, cut, and secured in place to the flat side of the glass using 3M blue masking tape to prepare it for installation to the frame half.
the glass being pushed into the inner frame half
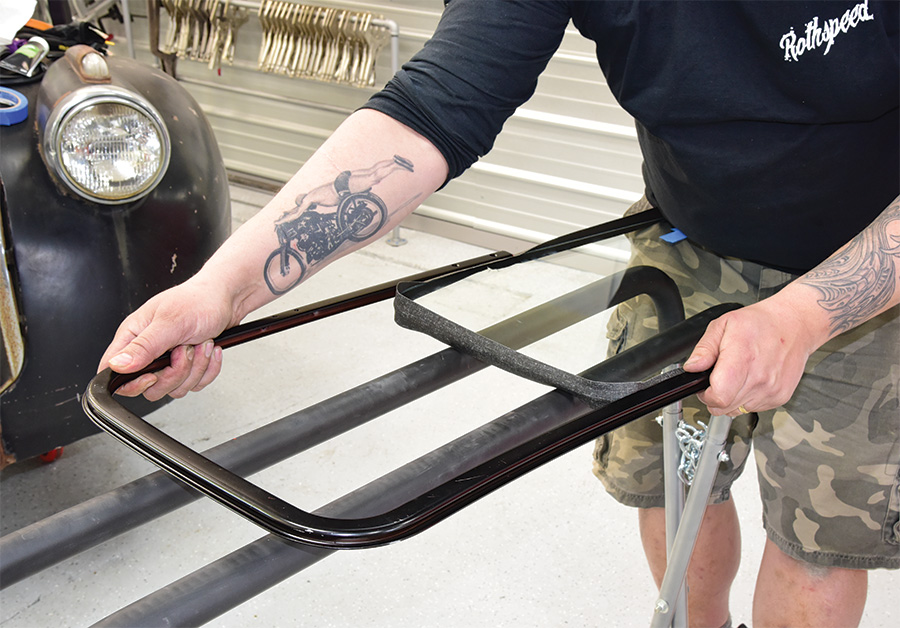
8. Carefully, the glass was then pushed into the inner frame half with any remaining setting tape being trimmed off using a razor. This was then repeated for the second frame half.
Windshield frame connecting inserts being installed
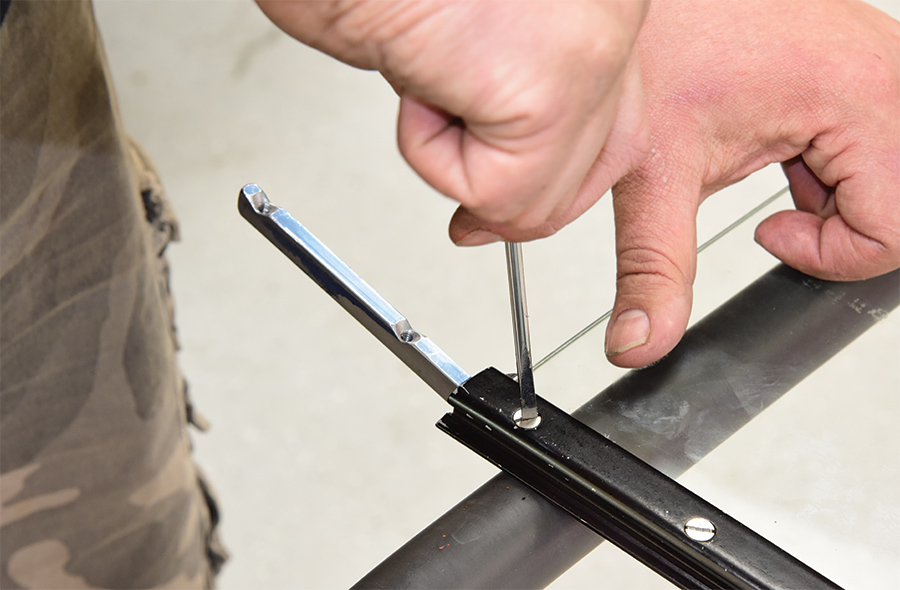
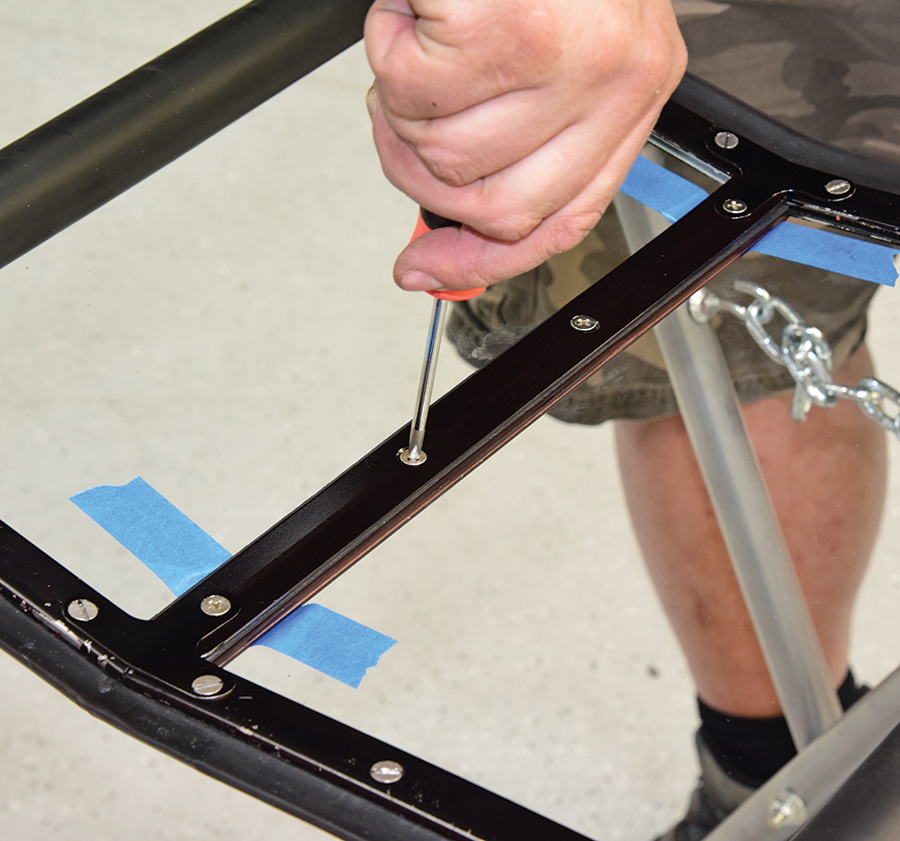
9. Windshield frame connecting inserts were installed next using the supplied stainless hardware, secured in place with a flathead screwdriver.
windshield frame-to-cab seal set in place
10. Next, the windshield frame-to-cab seal was set in place using a gasket installation tool. The replacement exterior windshield center divider (with newly added patina) was then matched to a fresh inner mounting rubber retainer (with a threaded steel core).
windshield turned over and a rubber center gasket
11. The windshield was then turned over and a rubber center gasket was laid into place.
stainless hardware used to install the freshly painted steel center divider
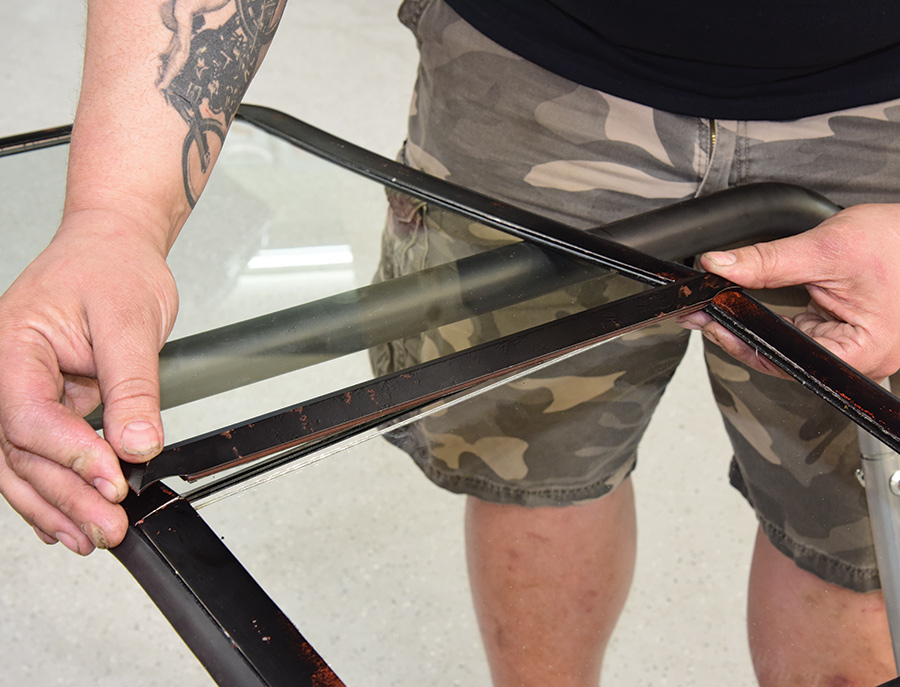
12. The supplied stainless hardware was then used to install the freshly painted steel center divider along with the beveled upper and lower T-brackets in place to complete the windshield.
front mounting screws of the windshield regulator being removed
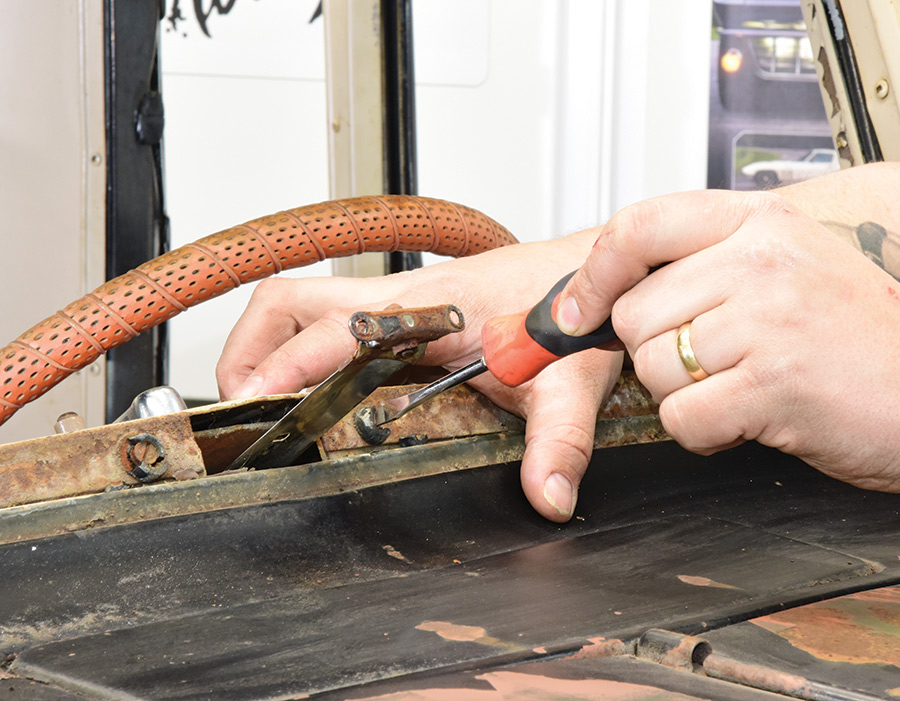
13. The front mounting screws of the windshield regulator along with the interior regulator crank handle were removed. It’s easy to see that the rubber bumpers are long gone. Next, the remaining underdash hardware attaching the regulator was removed.
rebuilt regulator along with a new windshield strap bracket, crank handle, and knob
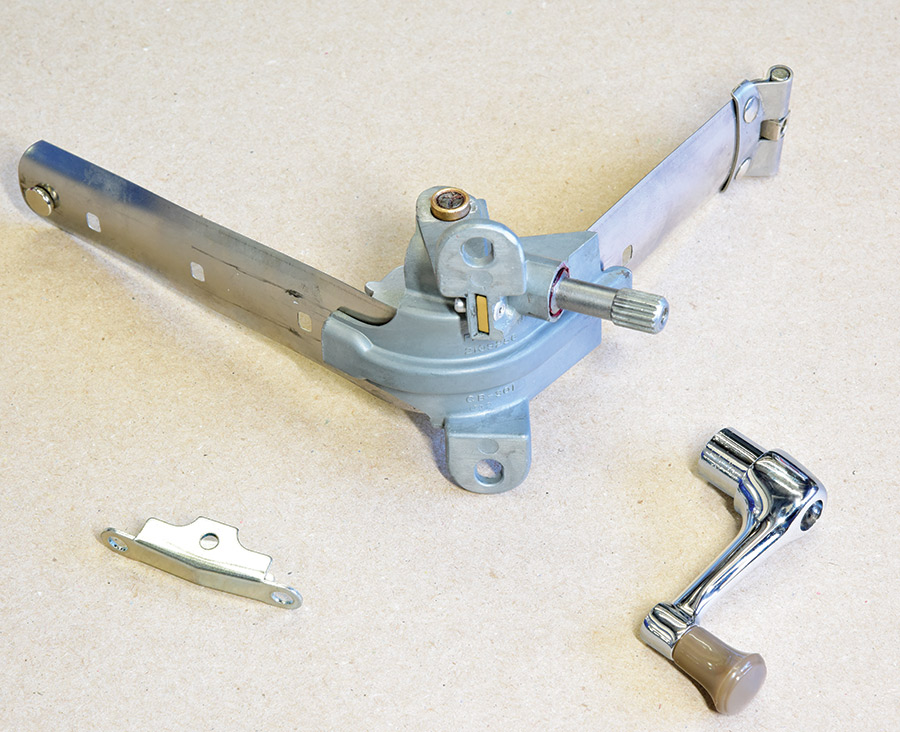
14. Looking through Chevs of the 40’s extensive restoration catalog we were able to source a freshly rebuilt regulator along with a new windshield strap bracket, crank handle, and knob.
new regulator in place under the dash, the bottom of the windshield
15. Make sure you have help on hand when reinstalling and aligning the new windshield. Ours was secured in place to the upper hinges with fresh stainless hardware. With the new regulator in place under the dash, the bottom of the windshield was then mounted to the regulator using a new strap bracket.
a fresh crank handle and knob installed using a flathead screwdriver
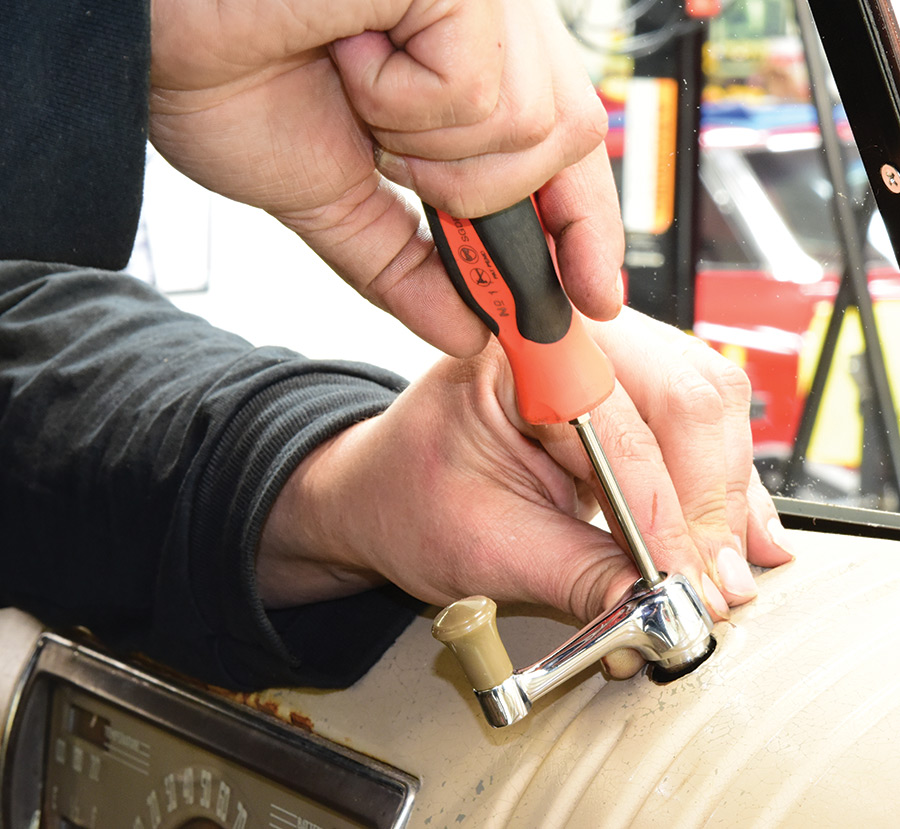
16. Inside, a fresh crank handle and knob were installed using a flathead screwdriver. Outside a pair of fresh rubber bumpers were added to the lower inner windshield channel.
completed windshield installation looking great
17. The completed windshield installation looks great and will provide plenty of crystal clear driving with fresh air flowing into the cab as well as a perfect seal from the elements when closed.
a 7/16 wrench removing the wiper
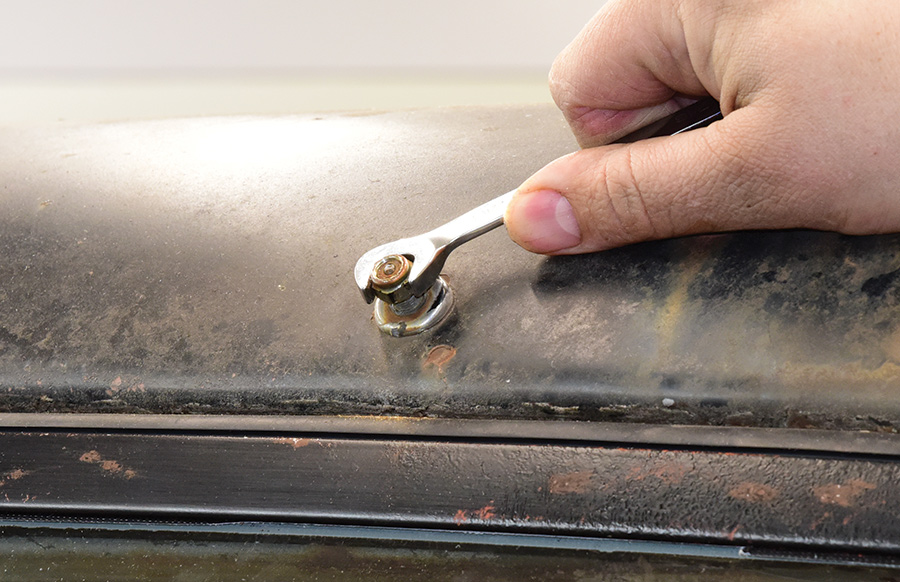
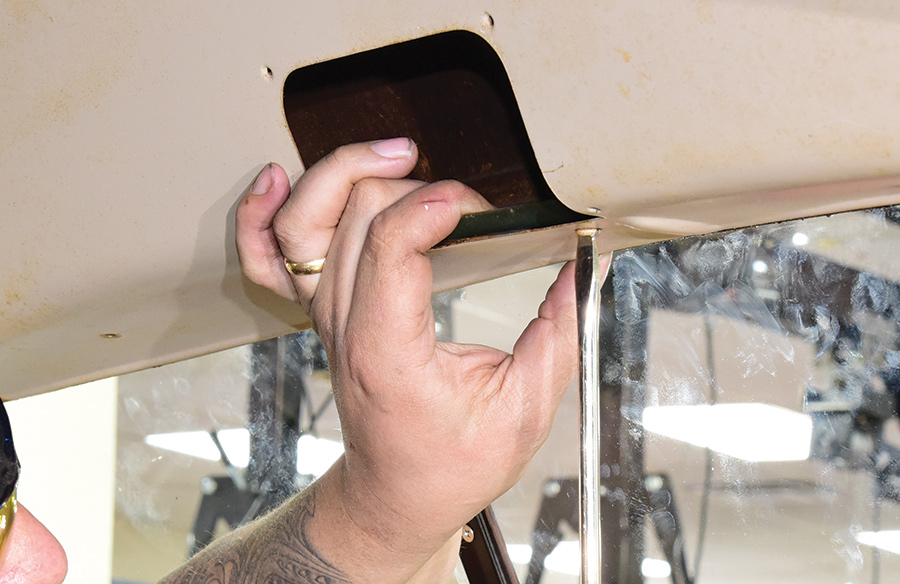
18. To eliminate the antiquated vacuum-operated single wiper system from the cab, the wiper was first removed followed by the exterior hardware using a 7/16 wrench, including the wiper transmission bezel securing the vacuum wiper motor in place.
the A-pillar panels and header panel cover being removed
19. Follow inside the cab by removing the A-pillar panels and header panel cover to gain access to the factory wiper system.
original factory vacuum wiper system about to get replaced
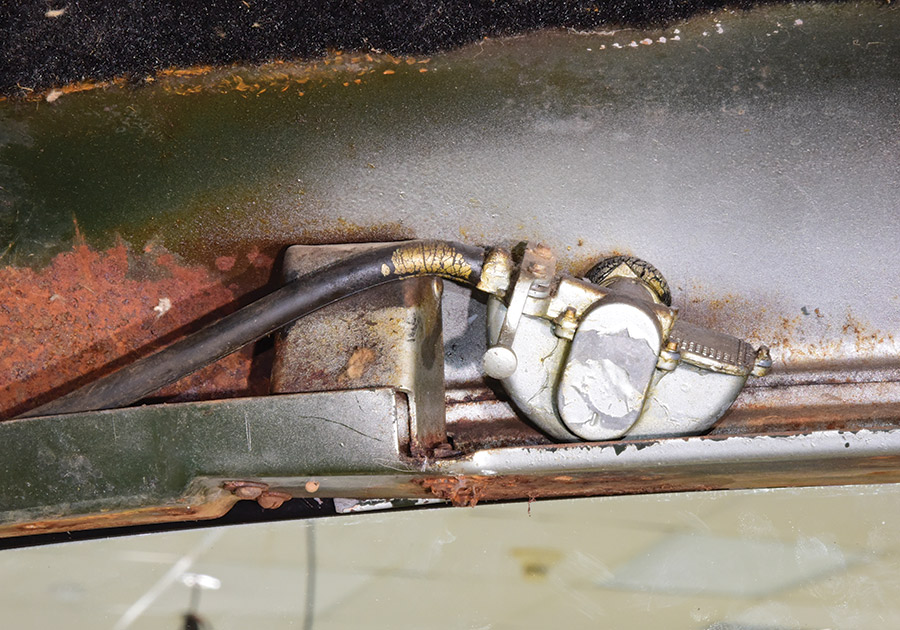
20. The original factory vacuum wiper system was as basic as it gets, easily seen in this closeup image. Let’s bring it up to date with some cutting-edge technology!
drill jig plate preparing the cab for the Newport Engineering DeLuxe “Clean Wipe” Wiper Drive system
21. Our kit came with a drill jig plate to prepare the cab for the Newport Engineering DeLuxe “Clean Wipe” Wiper Drive system. With the drill alignment bushings installed, the plate was fastened in place to the driver side wiper motor hole with a 5/16-inch hex head bolt and nut.
A locating tab hook secured in place on both sides of the windshield frame
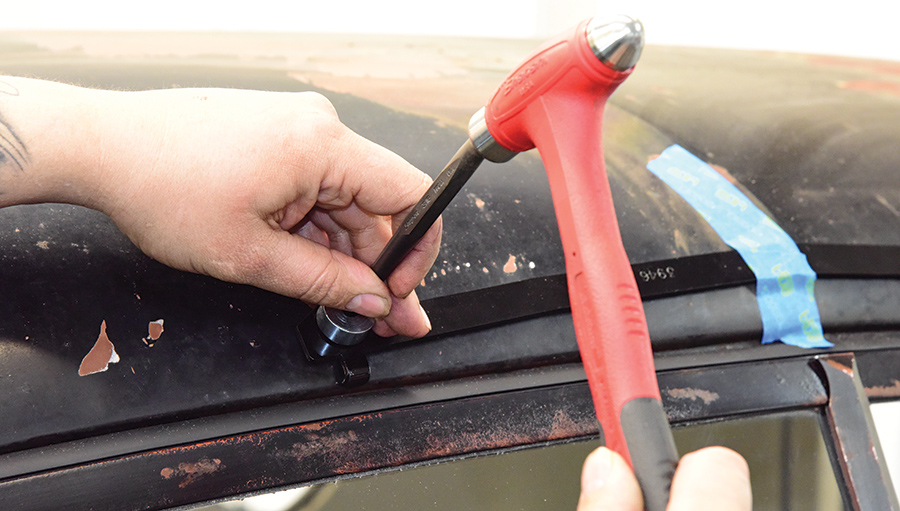
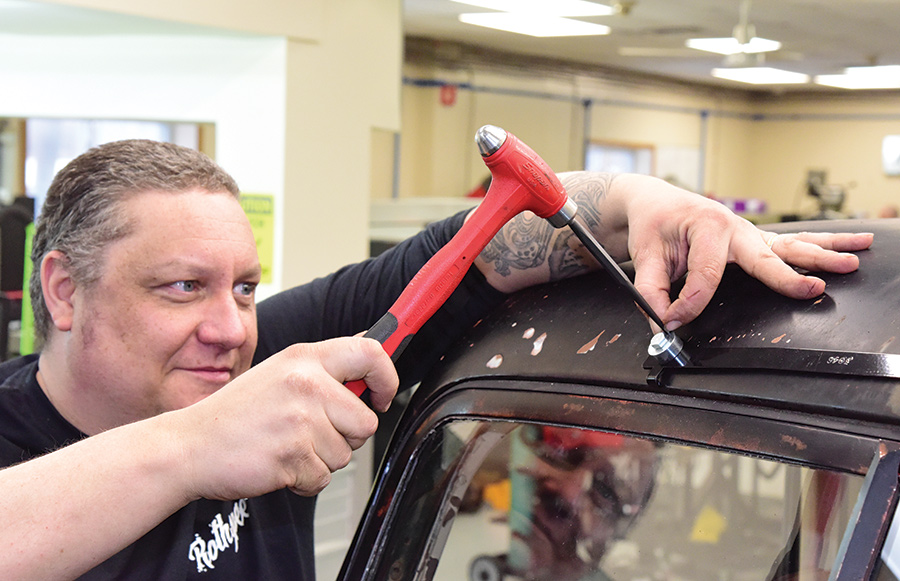
22. A locating tab hook is secured in place on both sides of the windshield frame rubber recess area and a 5/16-inch transfer punch was used on the passenger side to locate a hole for the wiper transmission.
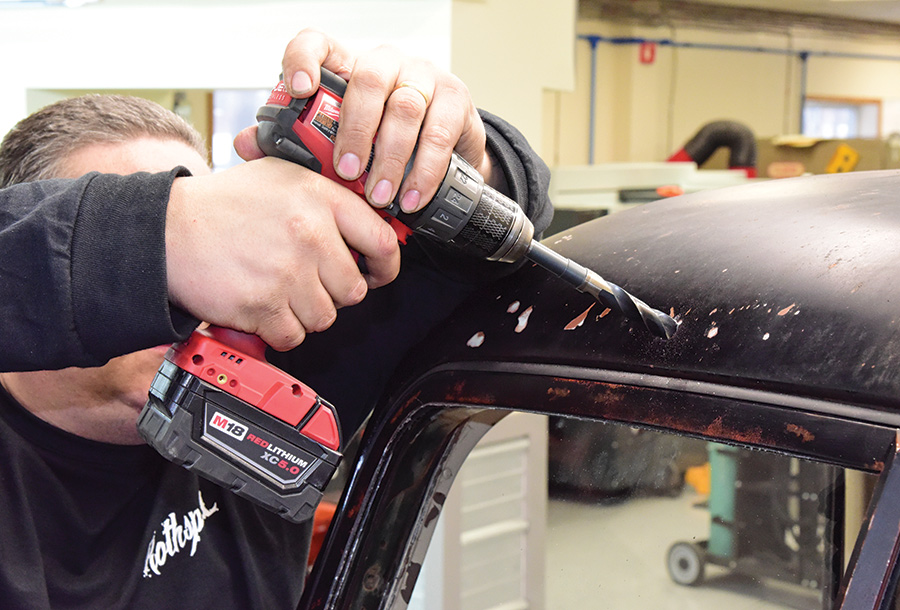
a 5/16-inch pilot hole was drilled into the cab
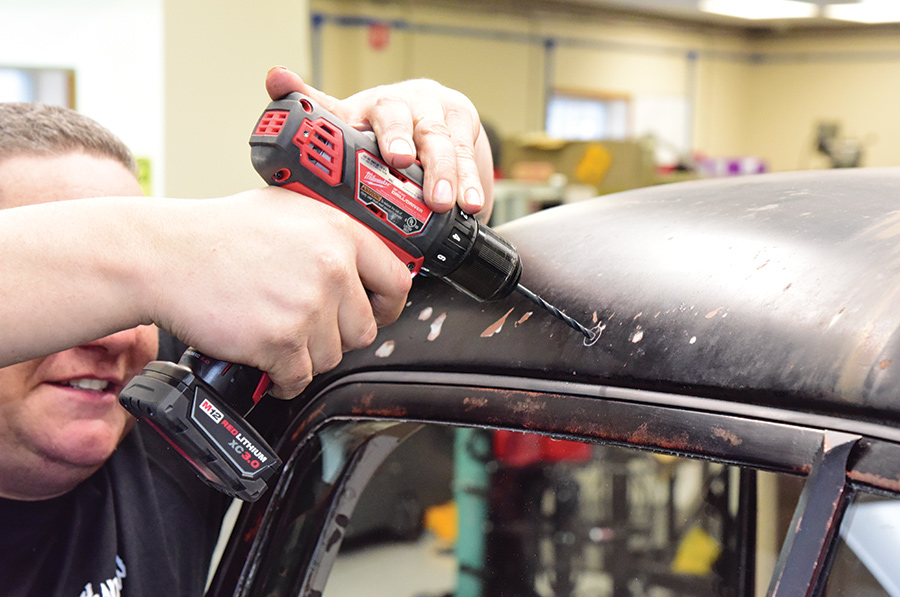
23. Once the jig plate was removed, a 5/16-inch pilot hole was drilled into the cab.
the drill jig plate reinstalled positioning the alignment bushings to the existing holes
24. With the drill jig plate reinstalled positioning the alignment bushings to the existing holes, a 1/8-inch transfer punch was used to set the mark for additional pin holes.
1/8-inch holes being drilled into both sides
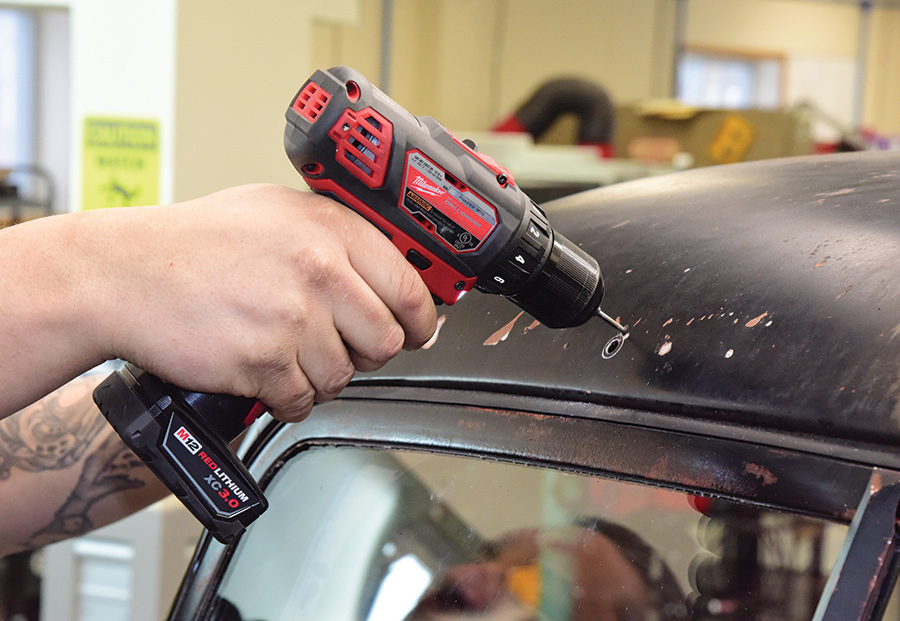
25. After the drill jig was removed, 1/8-inch holes were drilled into both sides of the cab above the existing wiper transmission openings.
the driver side to aligned using a 1/8-inch transfer punch
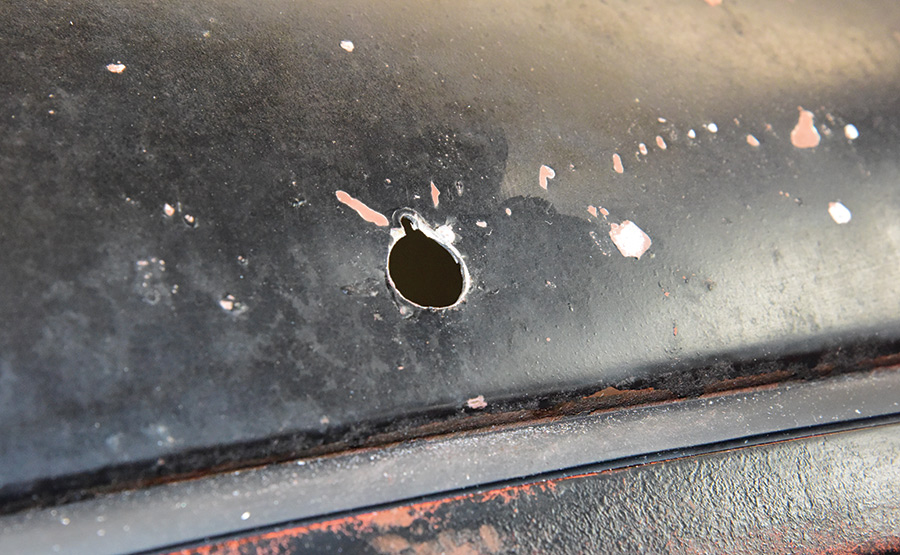
26. With the drill jig plate reinstalled for a final time it was first secured on the passenger side, allowing the driver side to align using a 1/8-inch transfer punch. A 5/8-inch hole was then scribed using the drill plate as a guide and then reversed to handle the passenger side. With the drill plate removed (pictured), a 5/8-inch-diameter hole was then added to each side to enlarge the existing pilot holes.
the mounting holes being removed
27. In order to complete the mounting holes, the remaining material between the 1/8- and 5/8-inch holes was removed using a small cutoff wheel and finished using a small round file to deburr the area. Follow by testfitting the wiper transmission from inside the cab.
a kit including everything pictured to handle the complete installation
28. The Newport Engineering DeLuxe “Clean Wipe” Wiper Drive system received from Chevs of the 40’s included everything pictured to handle the complete installation. This included the wiper transmission with a heavy-duty two-speed motor, polished stainless wiper arms and blades, wiring harness and switch, drill jig, and mounting hardware.
the main and support brackets installed to the interior header panel
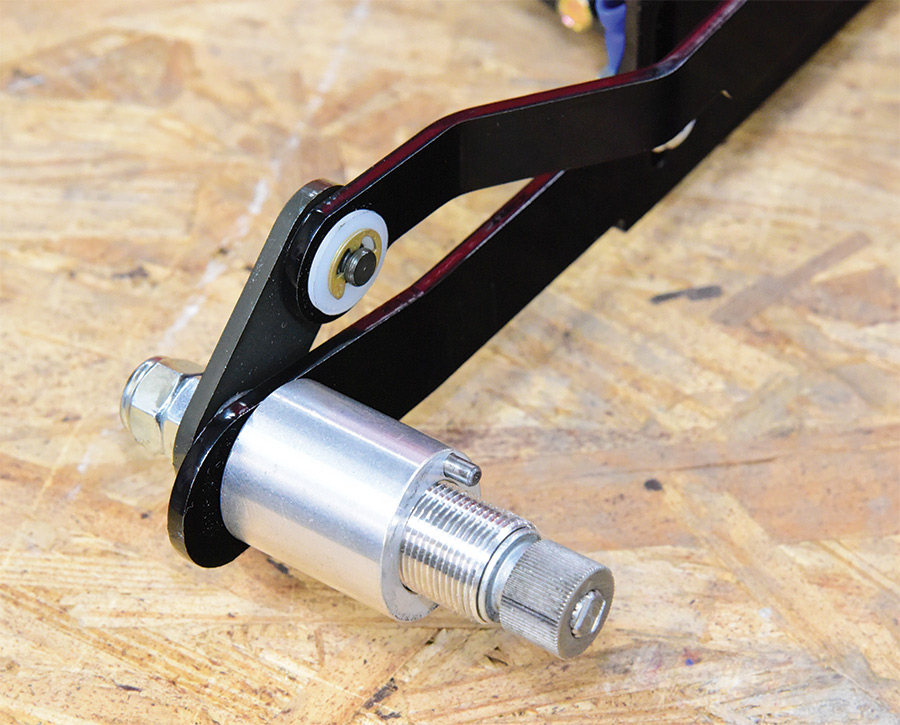
29. After installing the main and support brackets to the interior header panel with the provided hardware, slide the alignment sleeves onto the wiper transmission with the alignment pins facing toward the header panel to begin the installation.
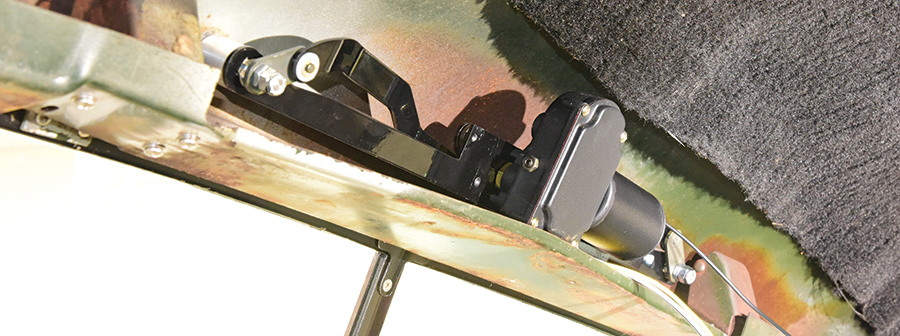
the final placement of the wiper drive secured in place to the main and support brackets
30. Here you can see the final placement of the wiper drive secured in place to the main and support brackets as well as outside, including the wiper transmission bezels and gaskets. Finally, the two-speed wiper motor control switch was wired and the header panel cover was set in place.
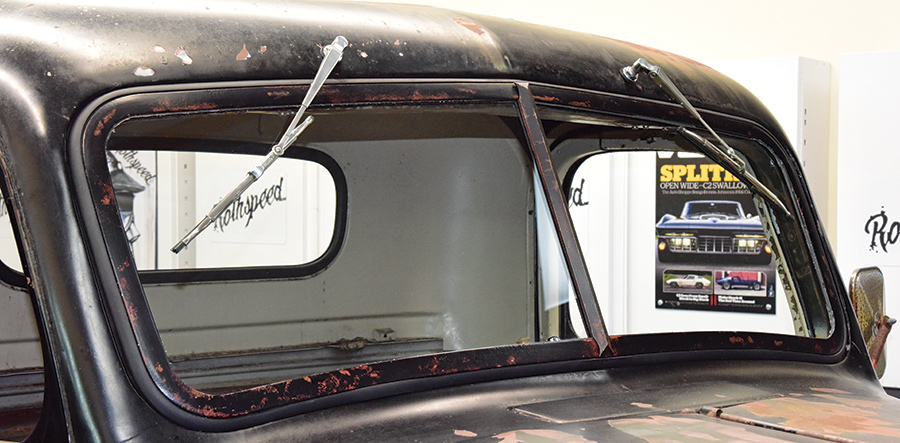
completed system looking great
31. The completed system looks great and will provide plenty of crystal clear visibility through any elements the truck might encounter thanks to Chevs of the 40’s and Newport Engineering.

 SOURCES

CHEVS of the 40’s
(877) 735-0587
chevsofthe40s.com
NEWPORT ENGINEERING
(636) 239-1698
newportwipers.com
ROTHSPEED
(802) 777-2886
rothspeed.com