Holley Big-Block Mid-Mount Accessory Drive close-up
Holley Big-Block Mid-Mount Accessory Drive
Holley’s LT1-Style Mid-Mount Accessory Drive—for Big-Block Chevys!
By Rob Fortier Photography By the Author
Ok, in case you’re still scratching your head thinking, “LT1 accessory drives don’t fit on big-block Chevys!”, you’re right—an OE Chevrolet LT1 accessory drive does not fit an old 396…or any other big-block for that matter. That said, Holley’s new Complete Mid-Mount Accessory Drive Kit does—and the heart of their new system just happens to be an LT1-style water pump, to which the LT1-derived alternator, power steering pump, A/C compressor, and pulley/tensioner all mount off!

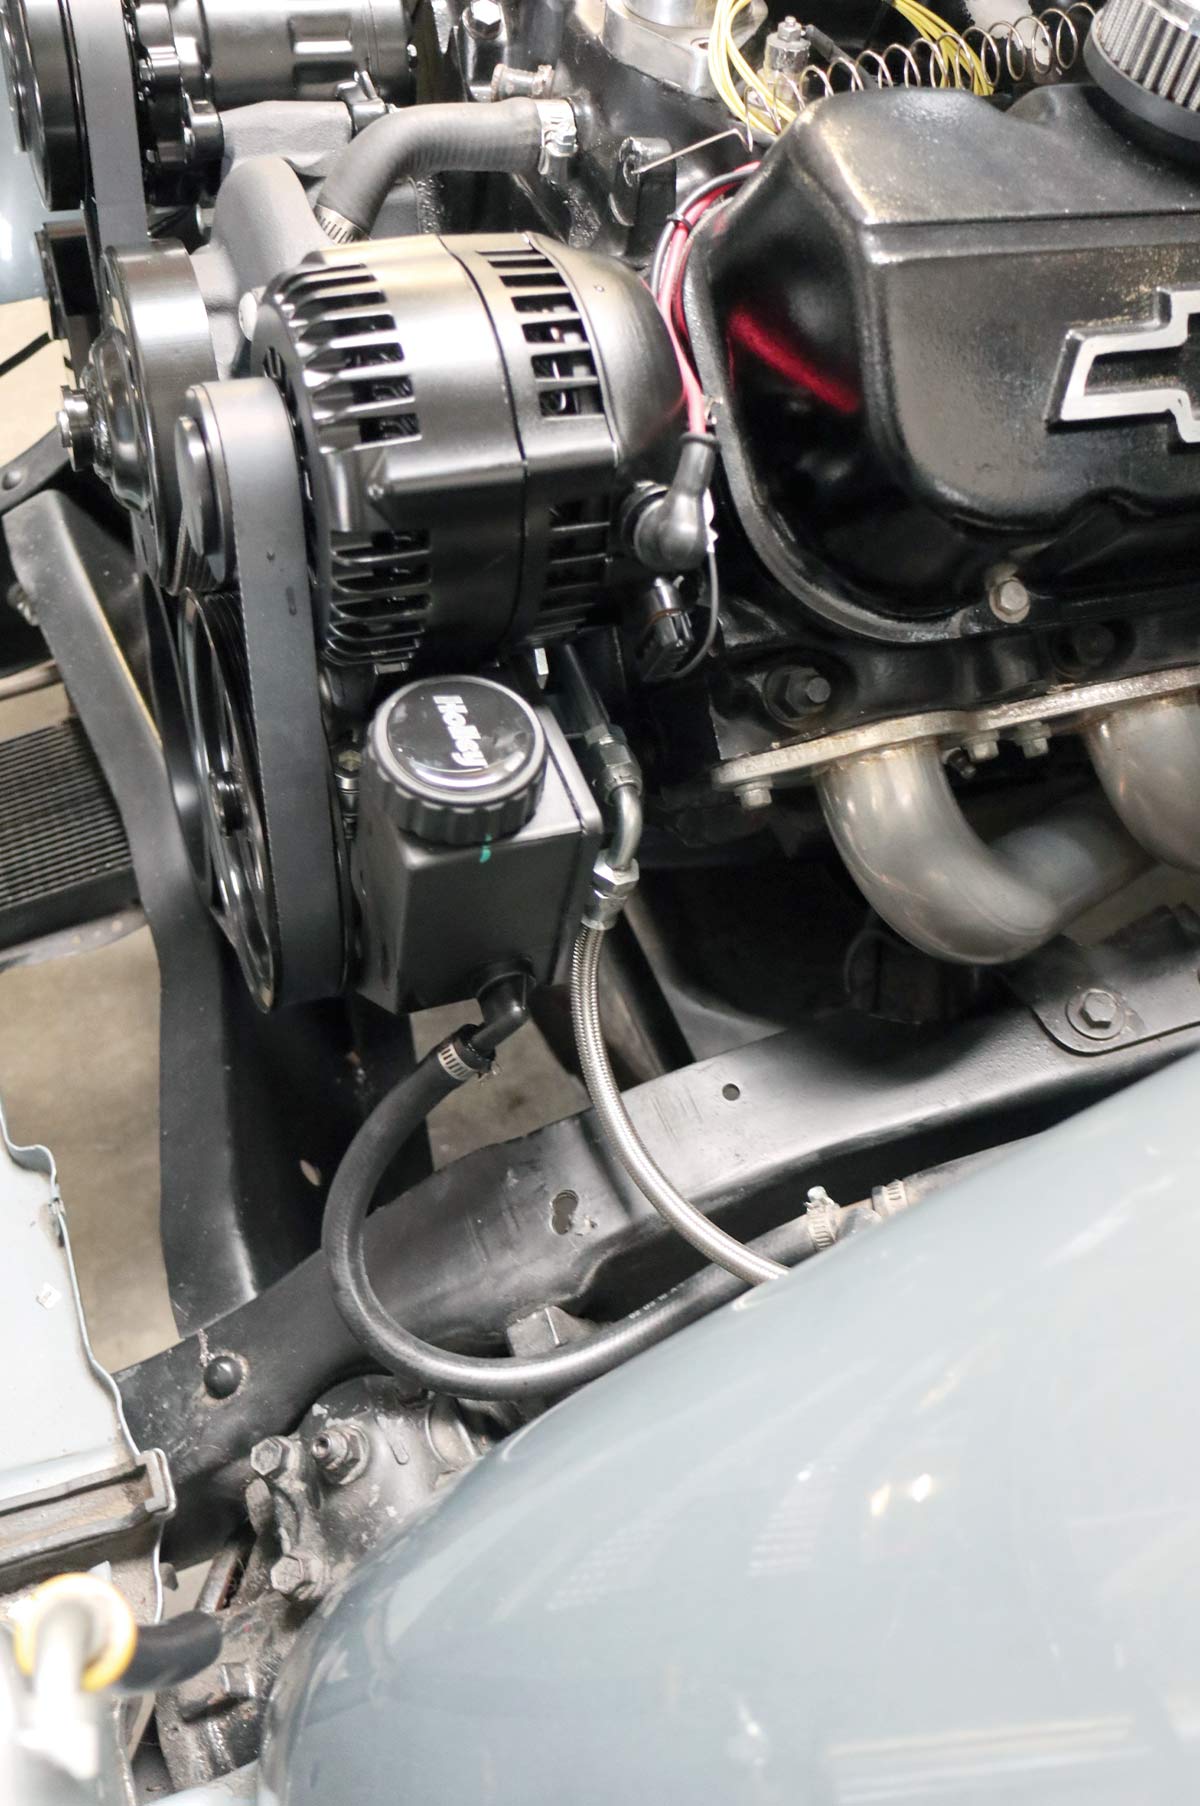
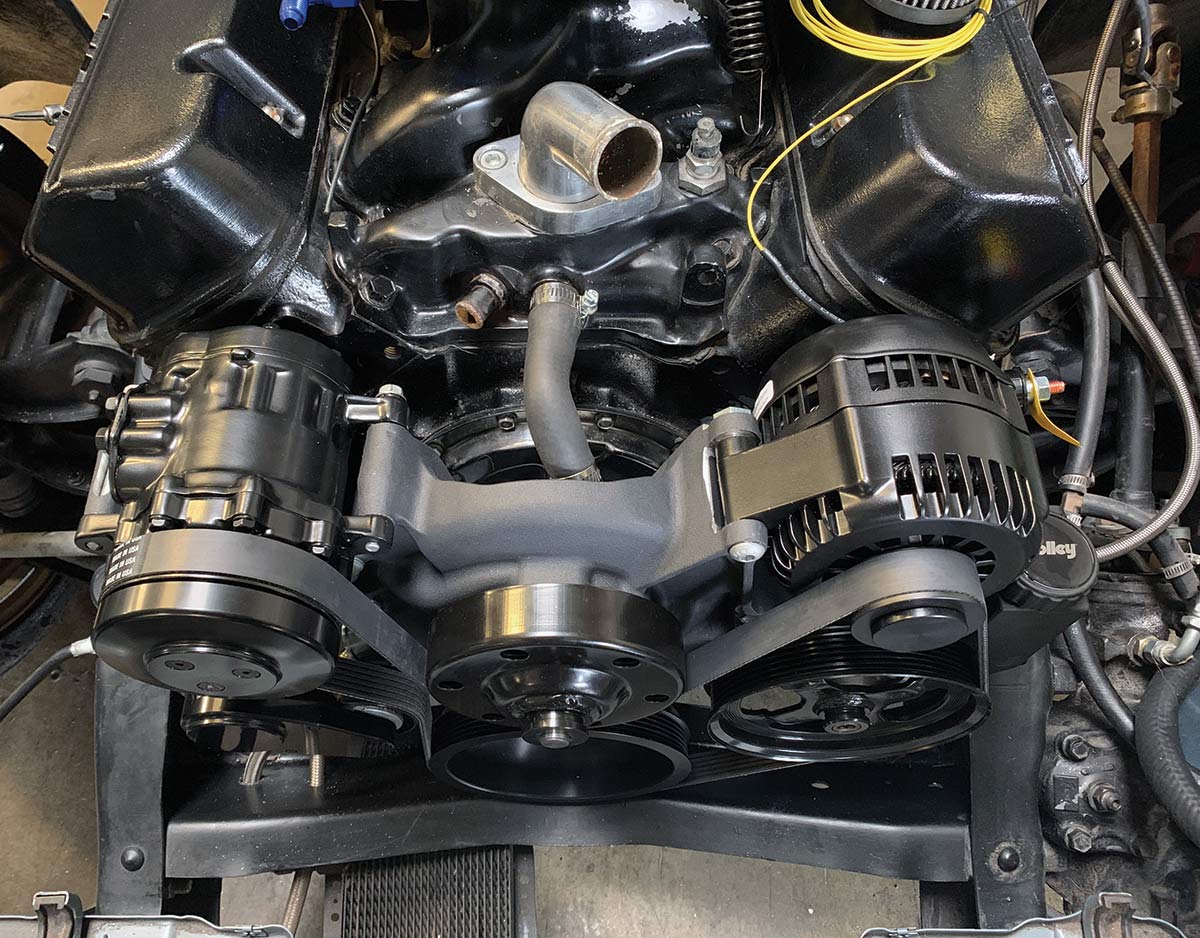
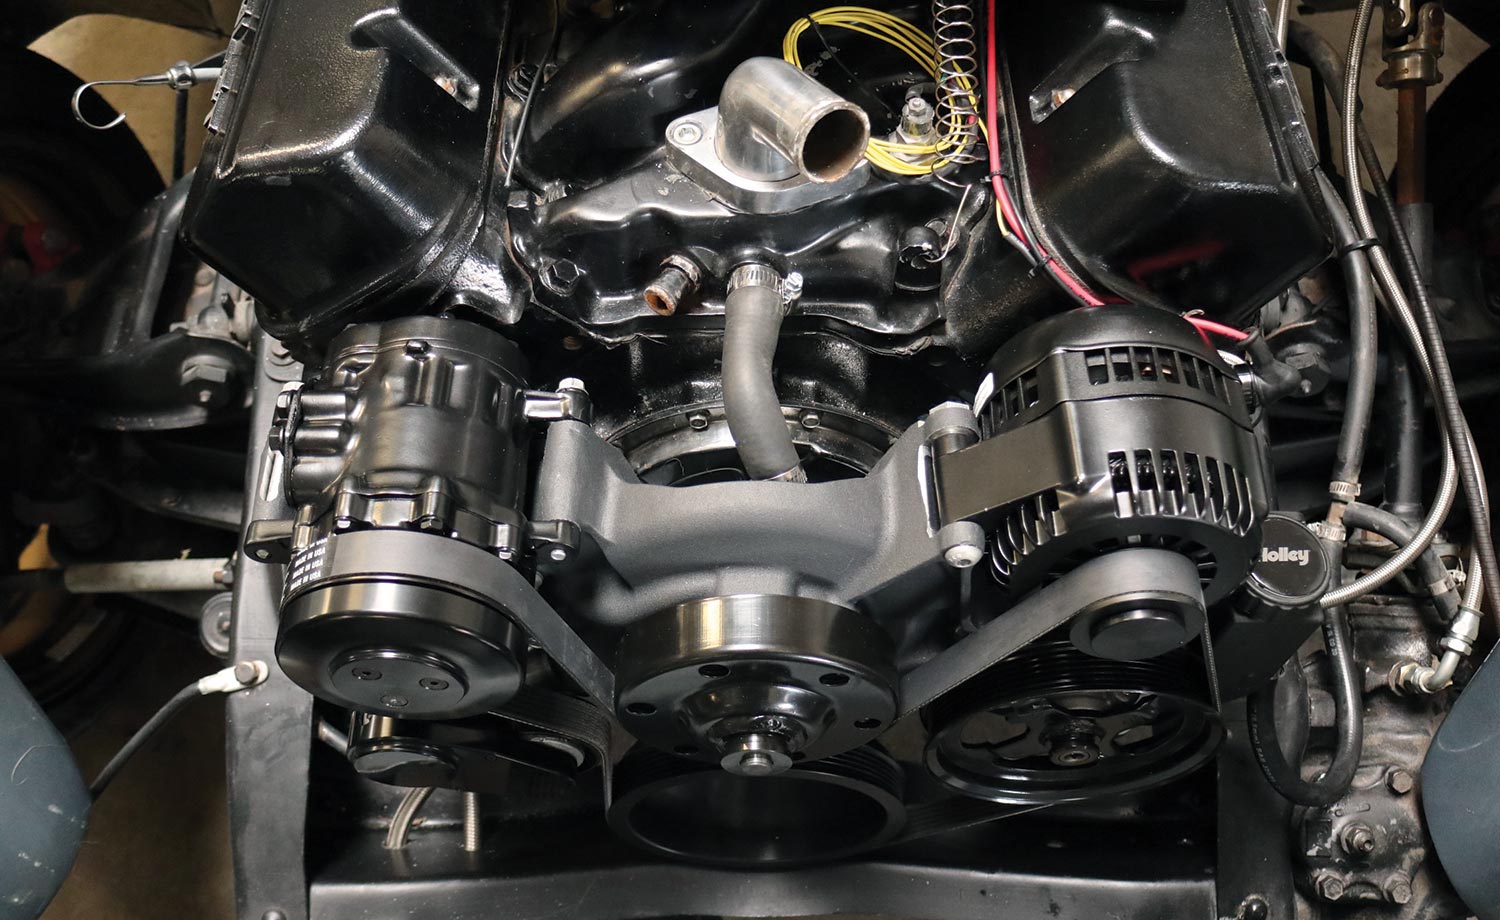
Holley’s Mid-Mount is so simple it’s pure genius. For starters, they’ve managed to group all the accessories in such a tight manner that nothing protrudes past the valve covers—and without a single bracket. And then there’s the alternator, which isn’t your ordinary LT1 knockoff, rather, Holley’s six-phase square-wave 150-amp Premium alternator (akin to what you’d find under the hood of a C7 Corvette). And Holley officially named both the big- and small-block Mid-Mount kits “Complete” for that exact reason: when you open the box, everything you need down the last bolt—as well as individual instructions for each component—is included.

Holley’s Complete Mid-Mount Accessory Drive Kit is without question one of the most innovative yet practical, easy-to-install front drive kit for old non-LS Chevy engines—and it works just as good, if not better, than it looks!
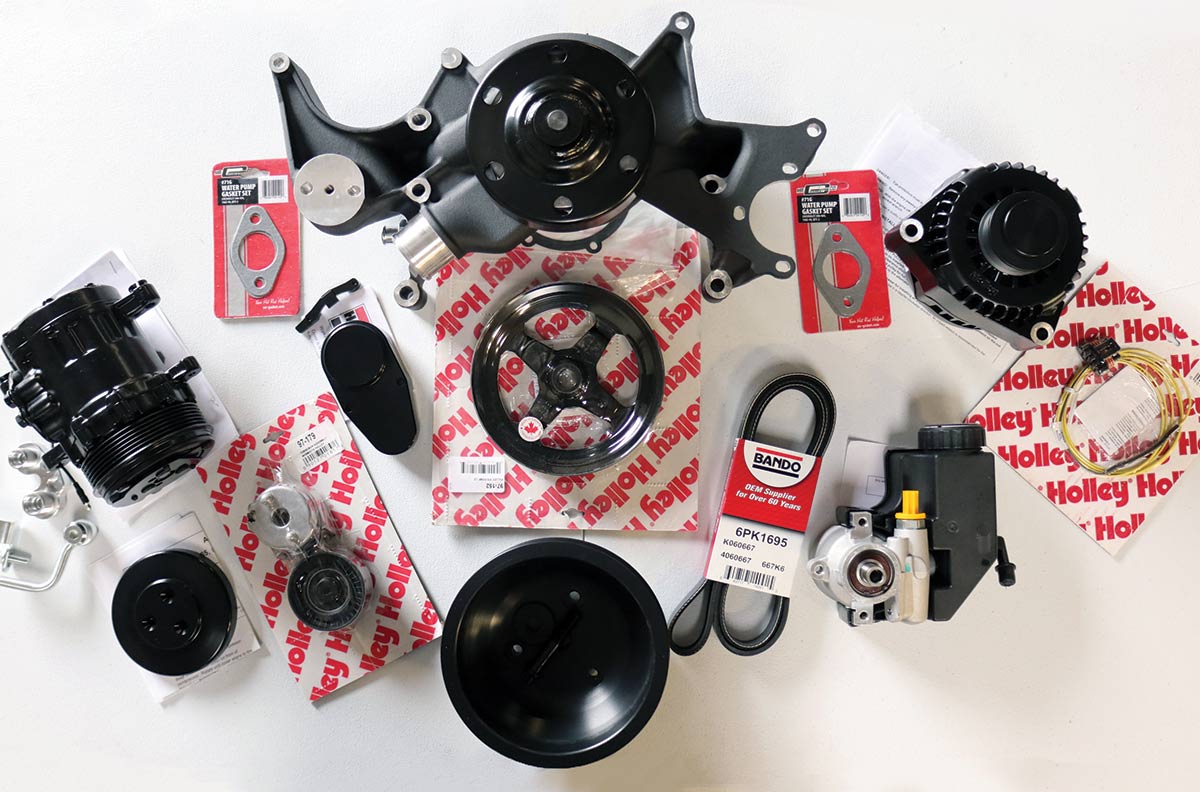
Holley’s Complete Mid-Mount Accessory Drive Kit top view
Holley just released their cutting-edge LT1-style Mid-Mount Accessory Drive for both small- and big-block Chevys this past year—and despite their claim it’s a complete system, it is missing one thing we’re all used to dealing with…brackets! That’s right, Holley used the LT1 ingenuity and incorporated that bracket-less technology into these kits.
Sources:
Holley Performance

(866) 464-6553
www.holley.com

A look at Holley's bypass hose fittings
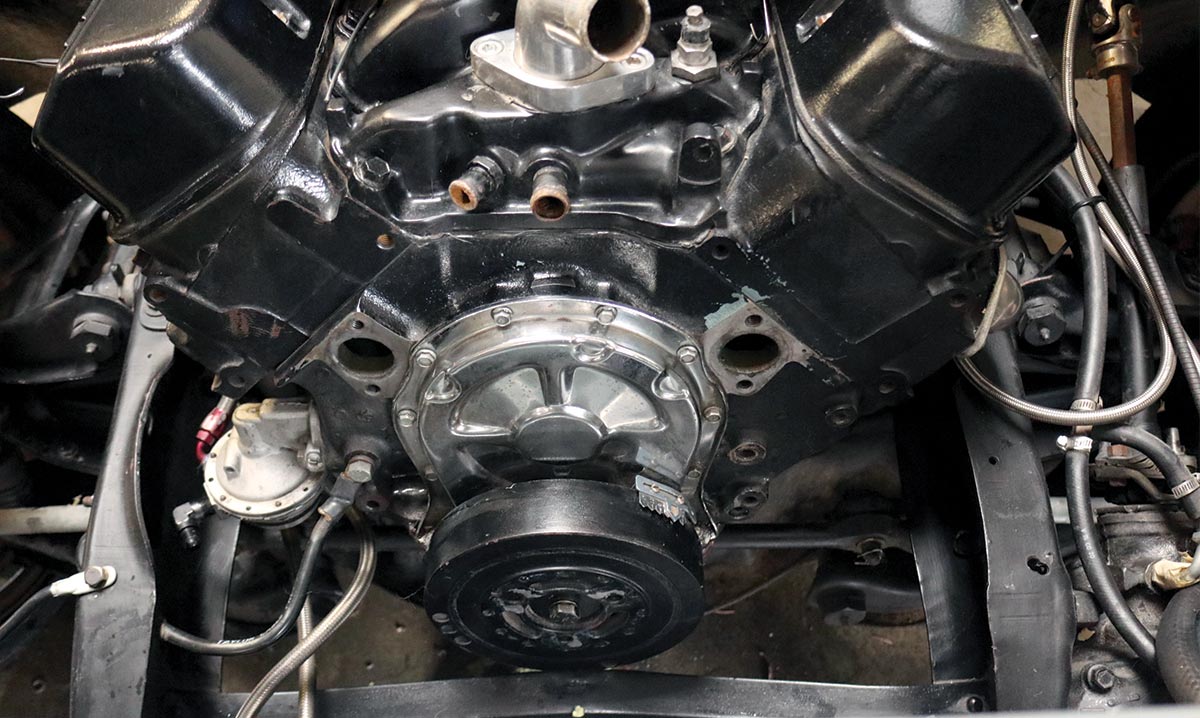
Underneath all that billet she’s not much to look at—but even in its tightly designed nature, the new accessory drive ought to do wonders for this old gal. Before we jump right in with the install, since this is a big-block we should mention that Holley does supply new bypass hose fittings; however, if your actual hoses need replacing, those can be sourced from Speedway Motors and Summit, among other outlets.
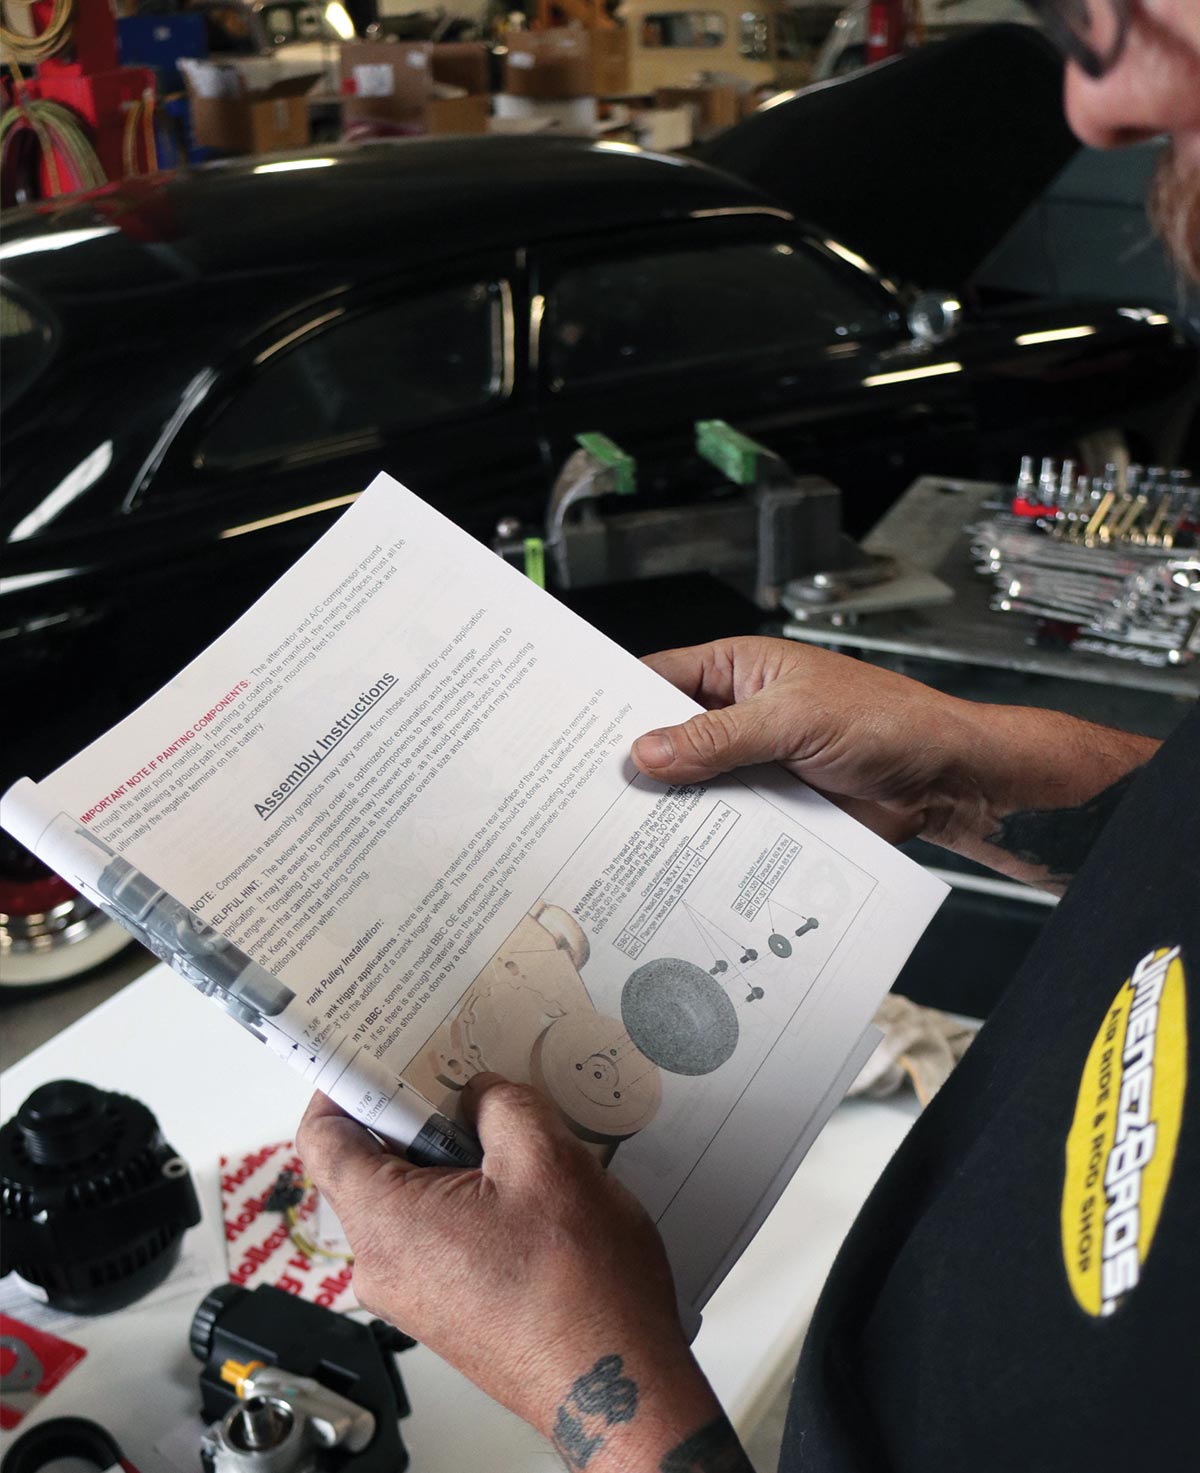
Making sure to read the directions!
Remember what your mama told you—always wear clean underwear…and read the directions! Along with a detailed, step-by-step overview of the complete install, Holley also provides individual instruction sheets for each of the component groups.
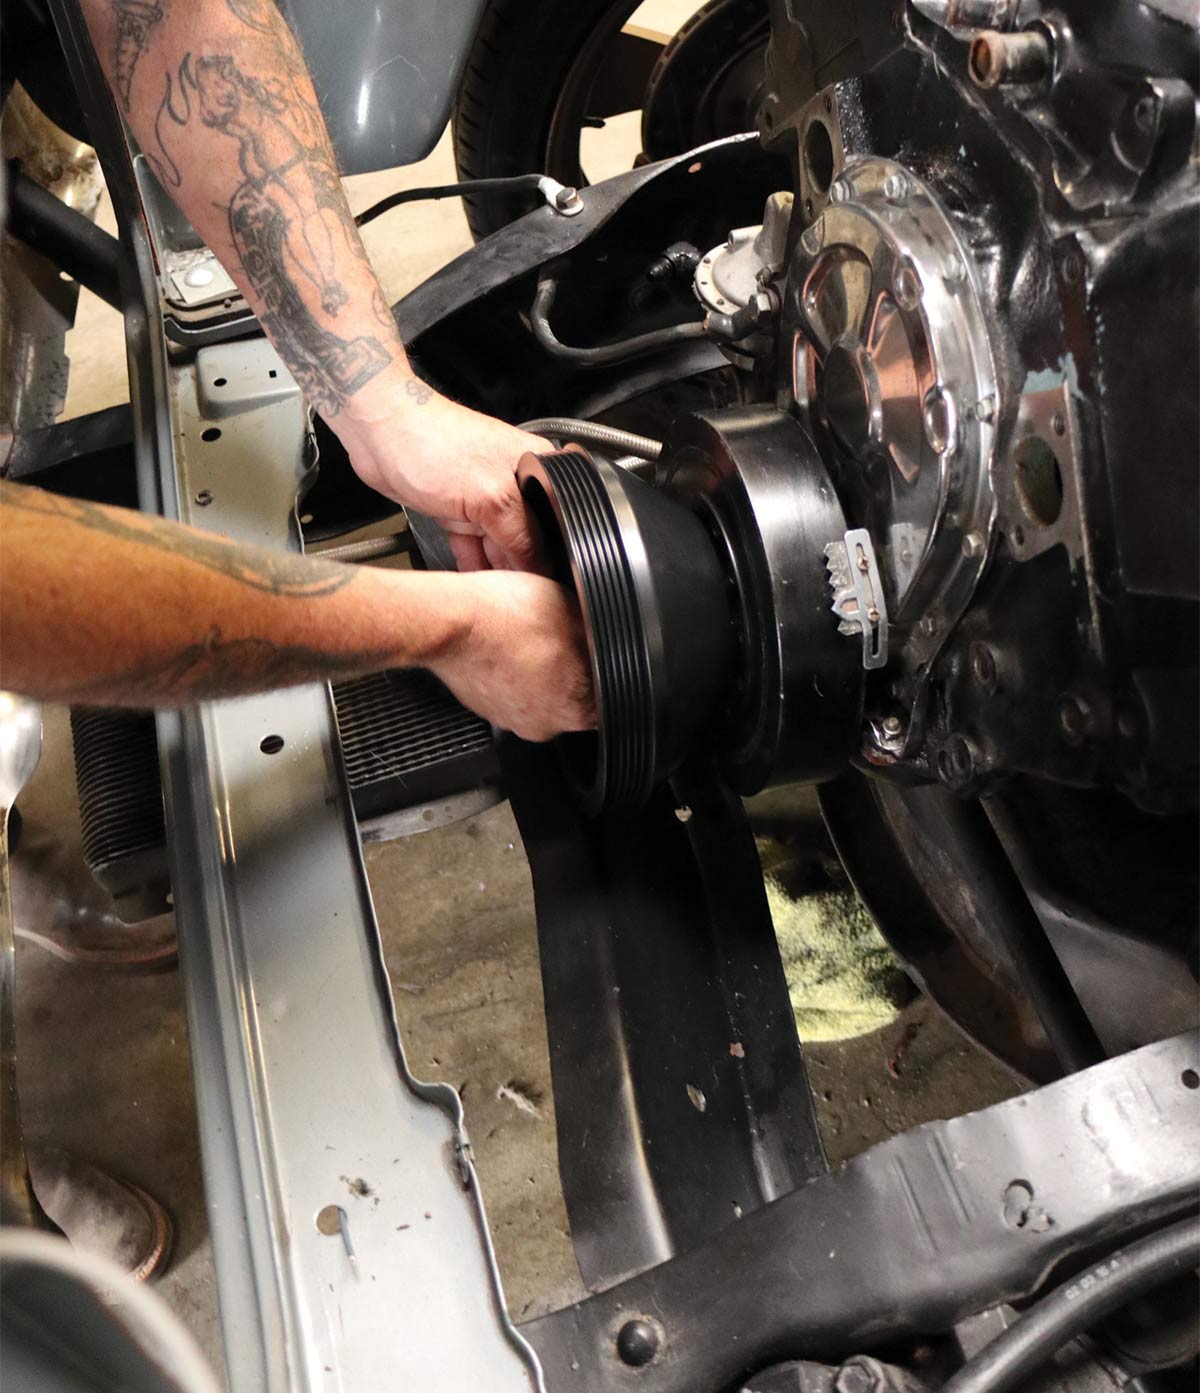
Setting up the crank pulley
With the front the of big-block cleaned up and ready to go, the crank pulley is first verified to locate properly into the damper, as some later OE balancers have smaller diameter recesses for the pulley’s locating boss (which if that is the case, the pulley can be machined—professionally—to fit correctly), before being installed.
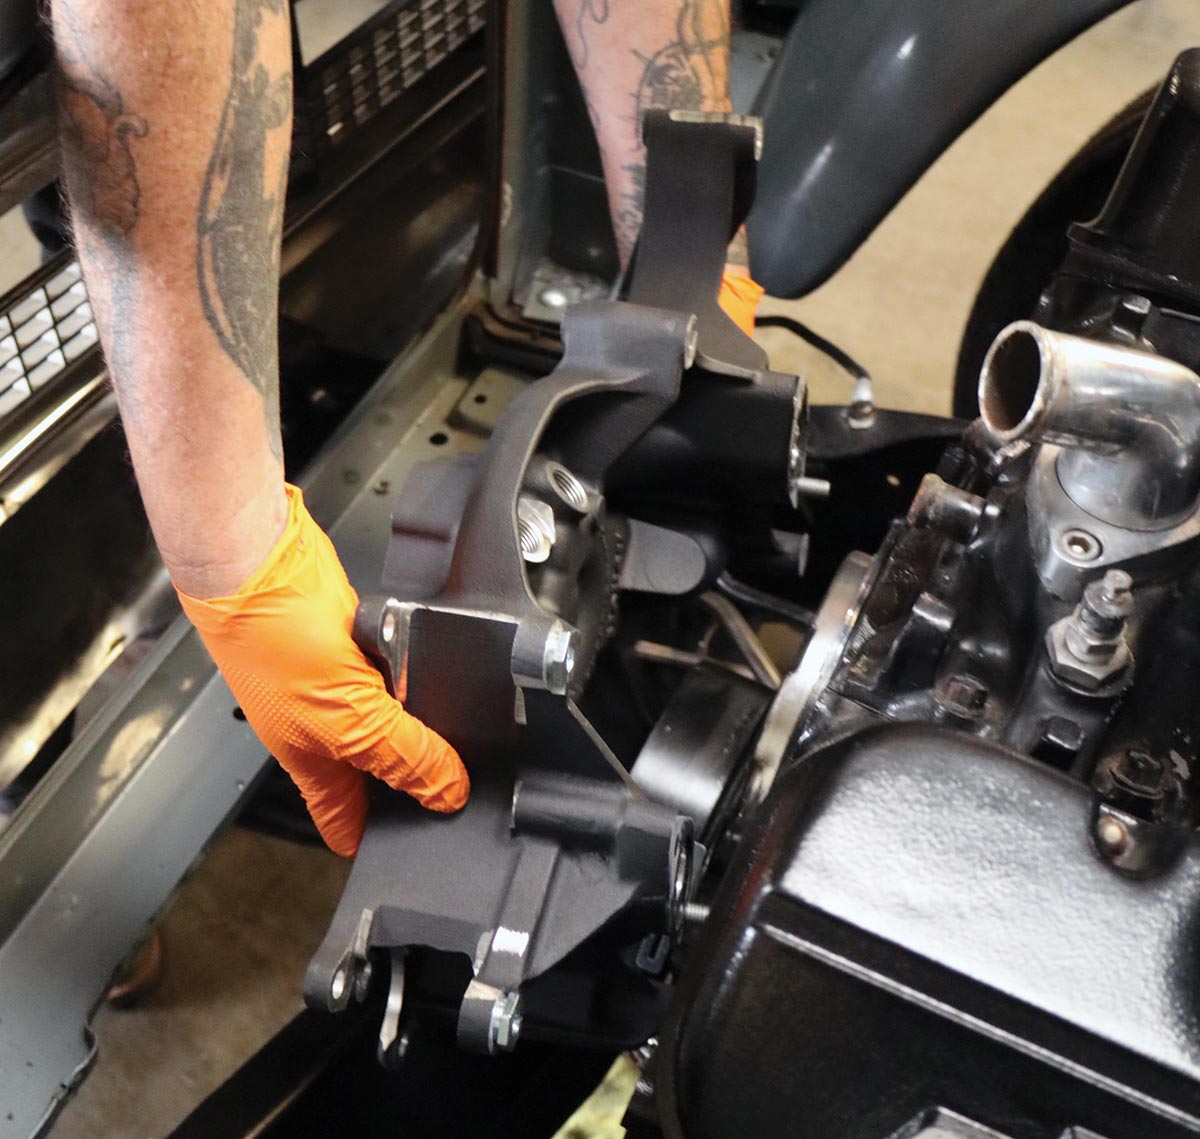
Handling the centerpiece of the kit
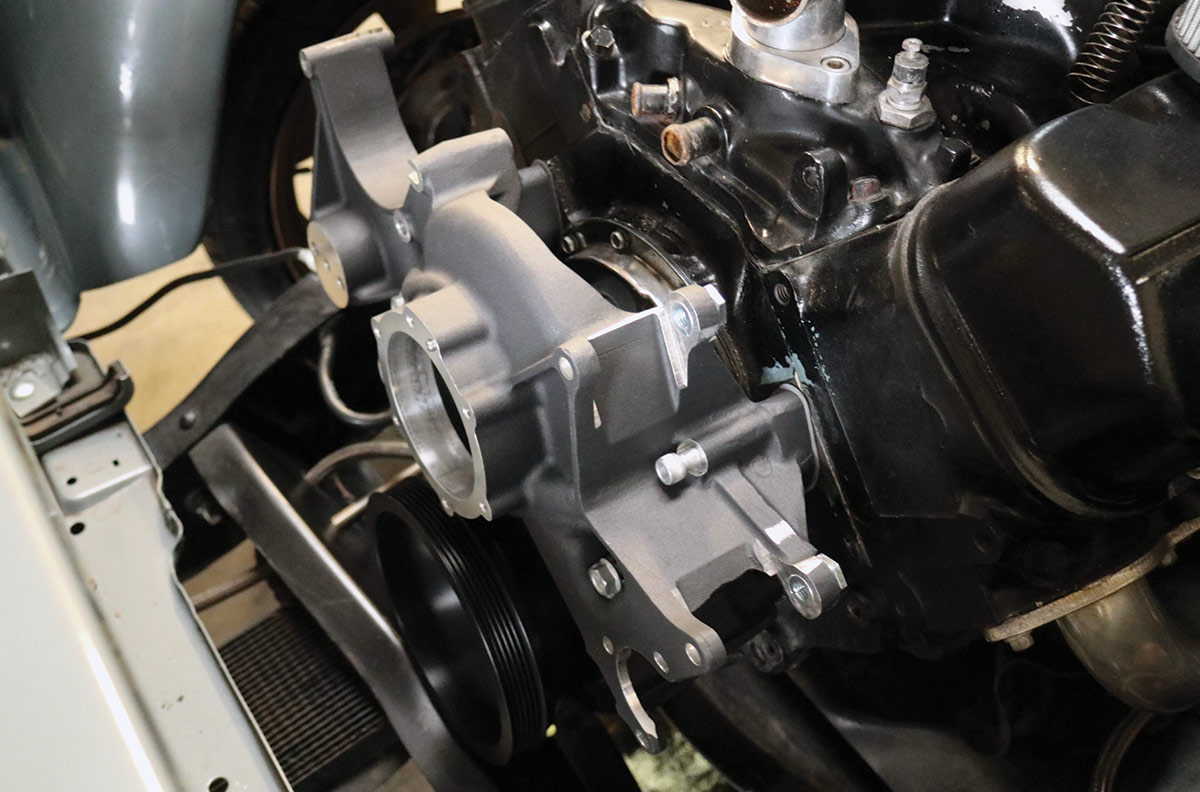
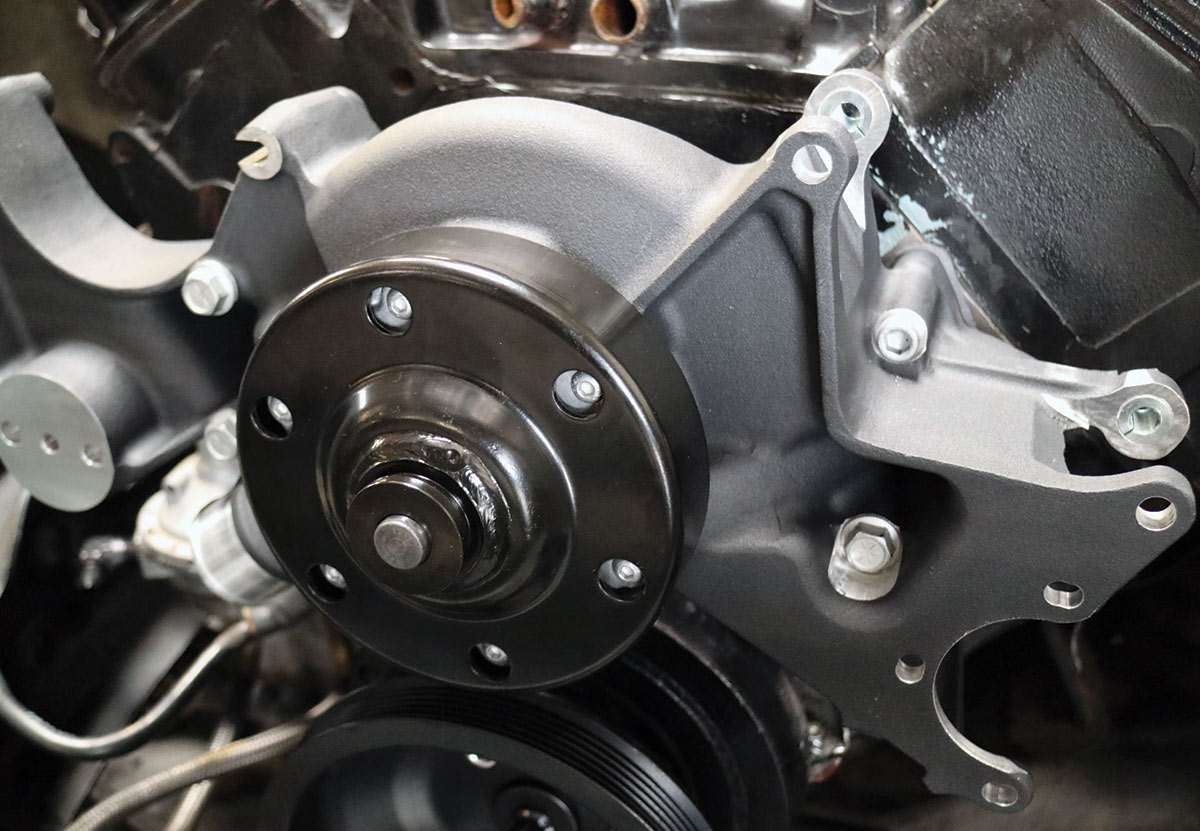
Next to go on the front of the engine is the centerpiece of the kit: Holley’s own design and cast (big-block specific) water pump manifold assembly (the actual pump is separate) with supplied gaskets—including the extra set, which are trimmed down for spacers for the lower mounts.
Side view of the centerpiece
A closer look at the LT1-style cartridge drive
The belt pulley
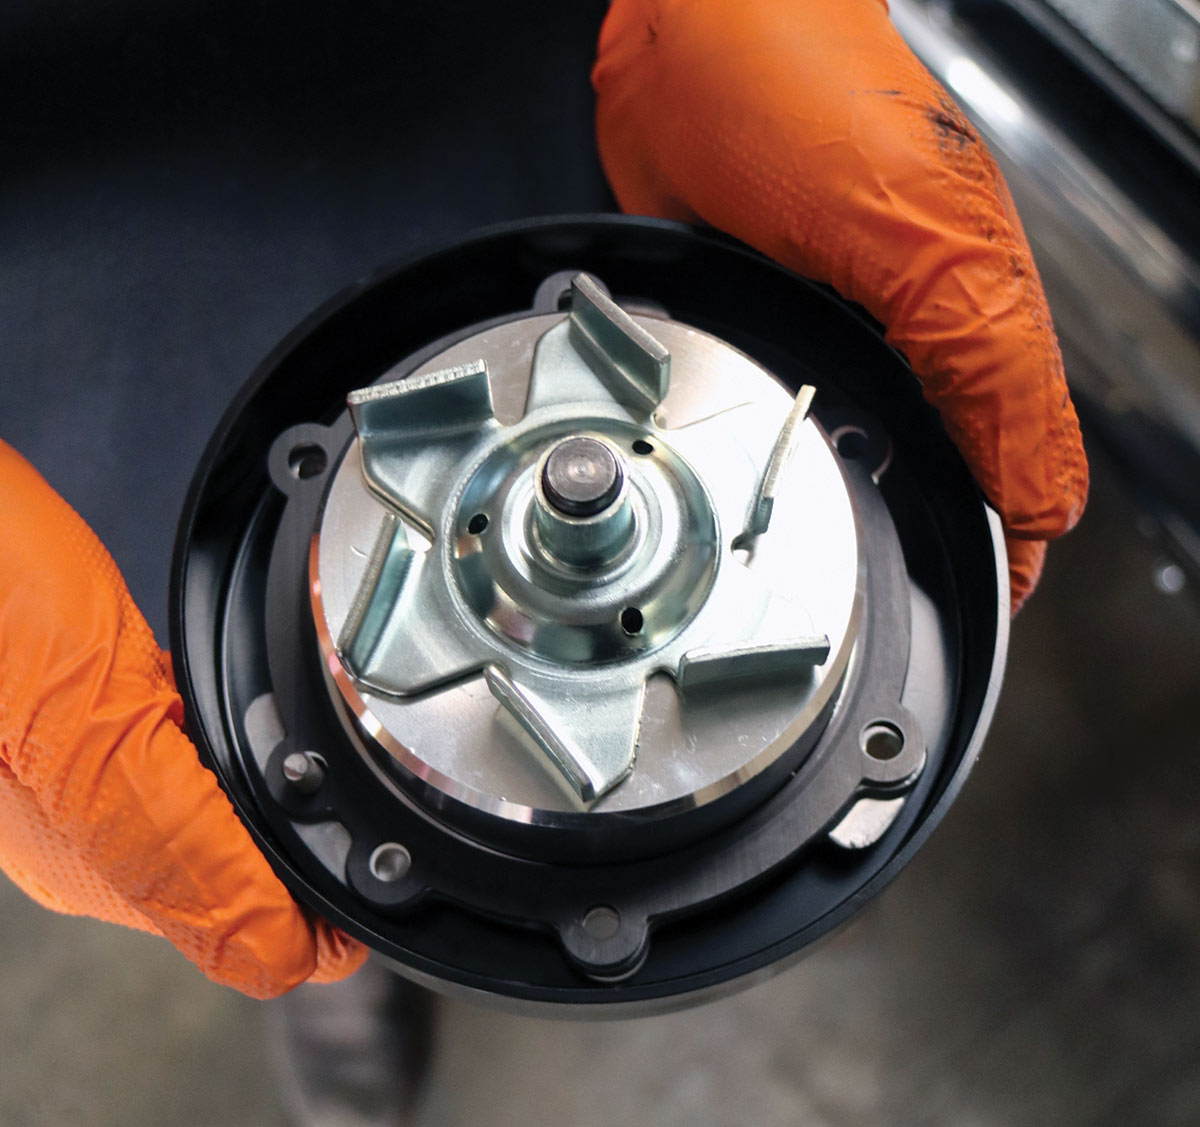
The actual pump is Holley’s LT1-style cartridge drive with integrated serpentine belt pulley—once installed with supplied gasket, it’s torqued to 85 in-lb.
Holley’s high-tech Premium 150-amp alternator
Holley’s high-tech Premium 150-amp alternator simply drops into its mounting cradle location and is secured with the accompanying M10x80 button heads.
A closer look at the O-ring retention
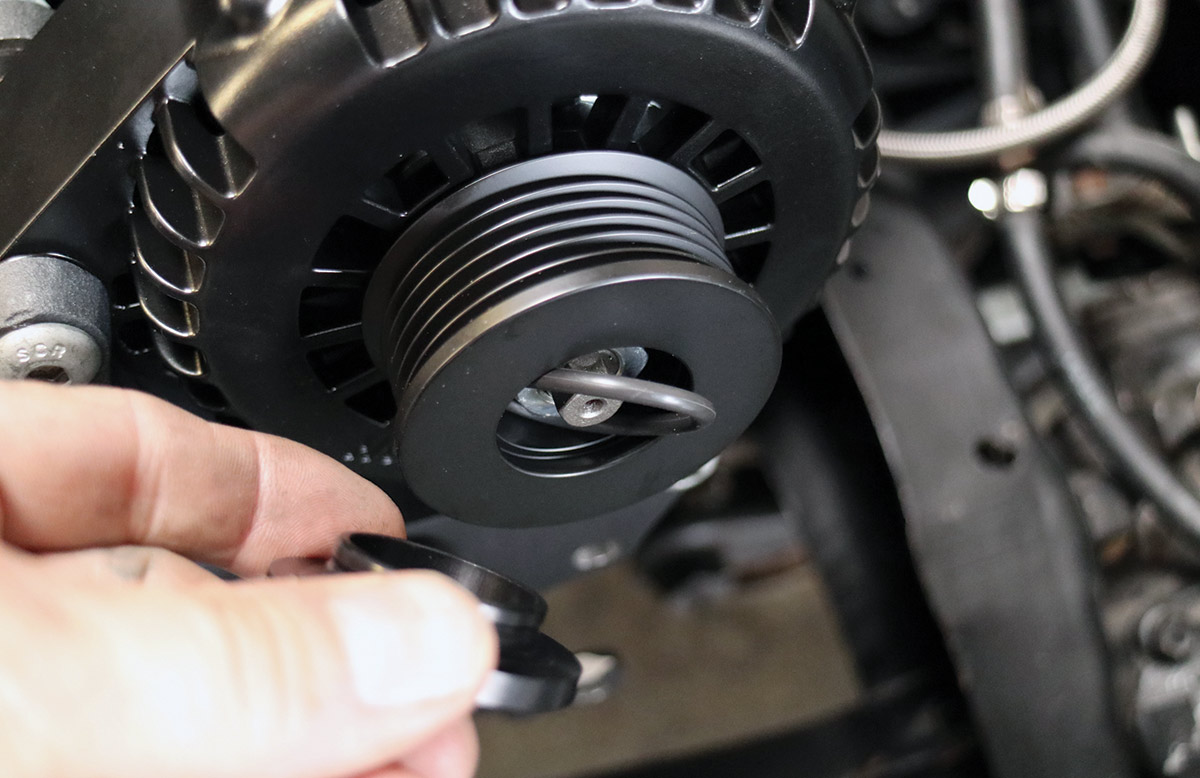
Yet another clever aspect of the Mid-Mount system is the use of O-ring retention to secure the alternator pulley’s aluminum cosmetic cover.
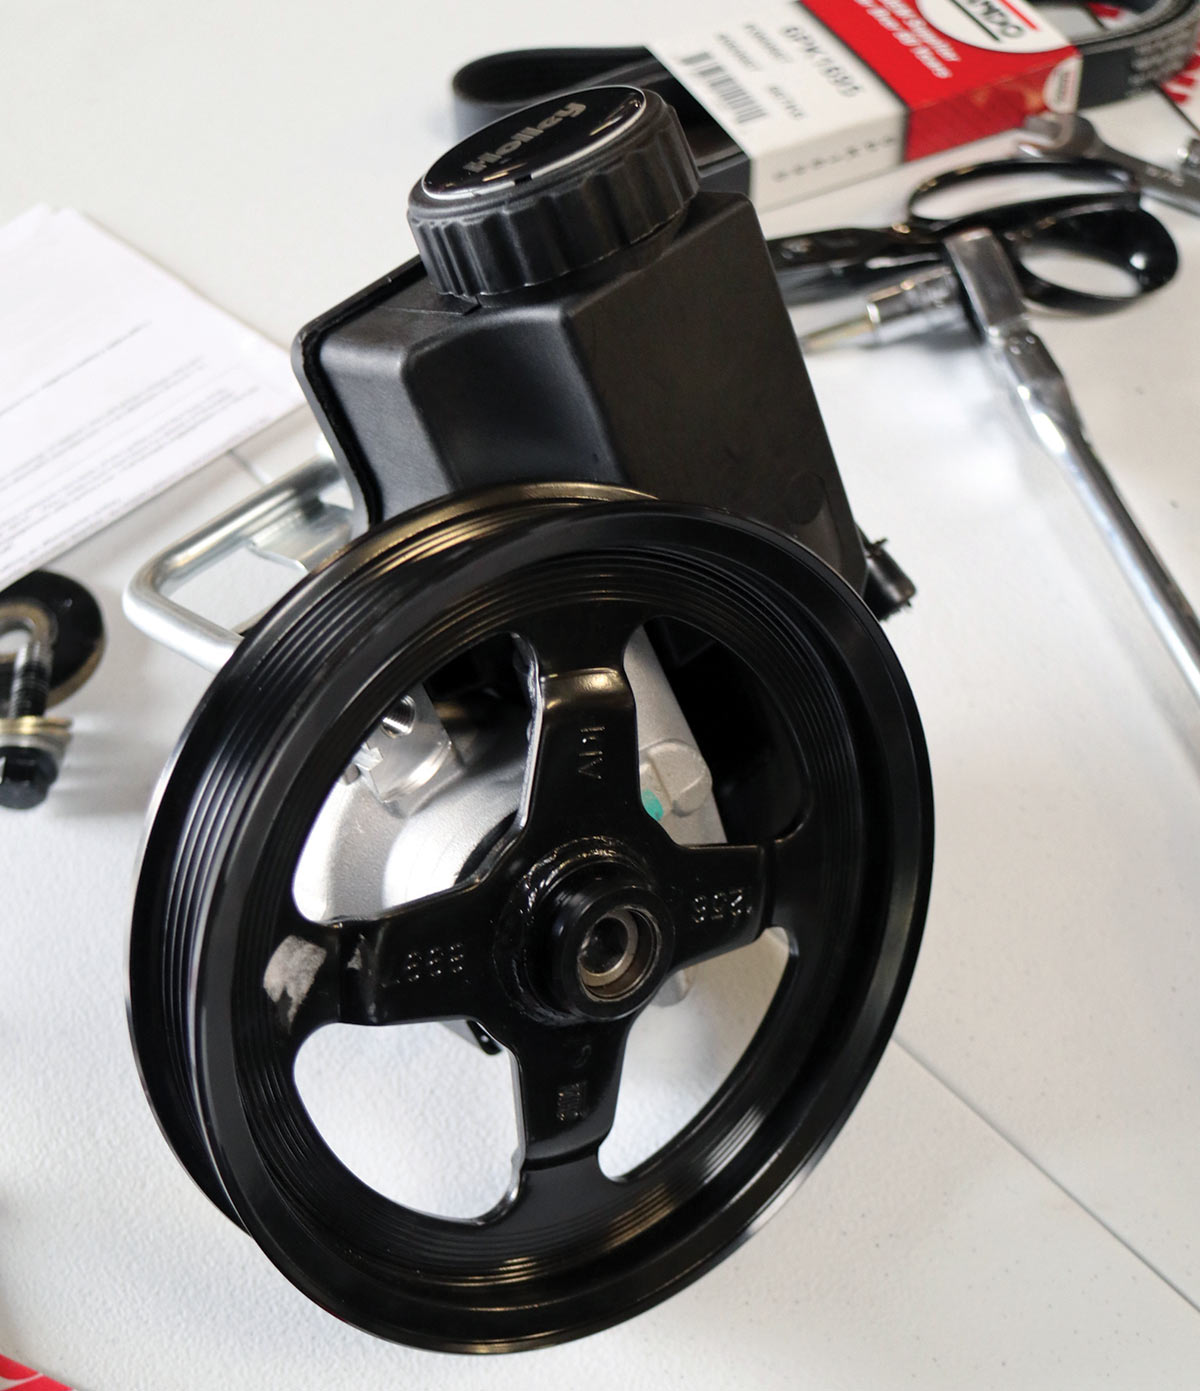
Type II power steering pump mechanism
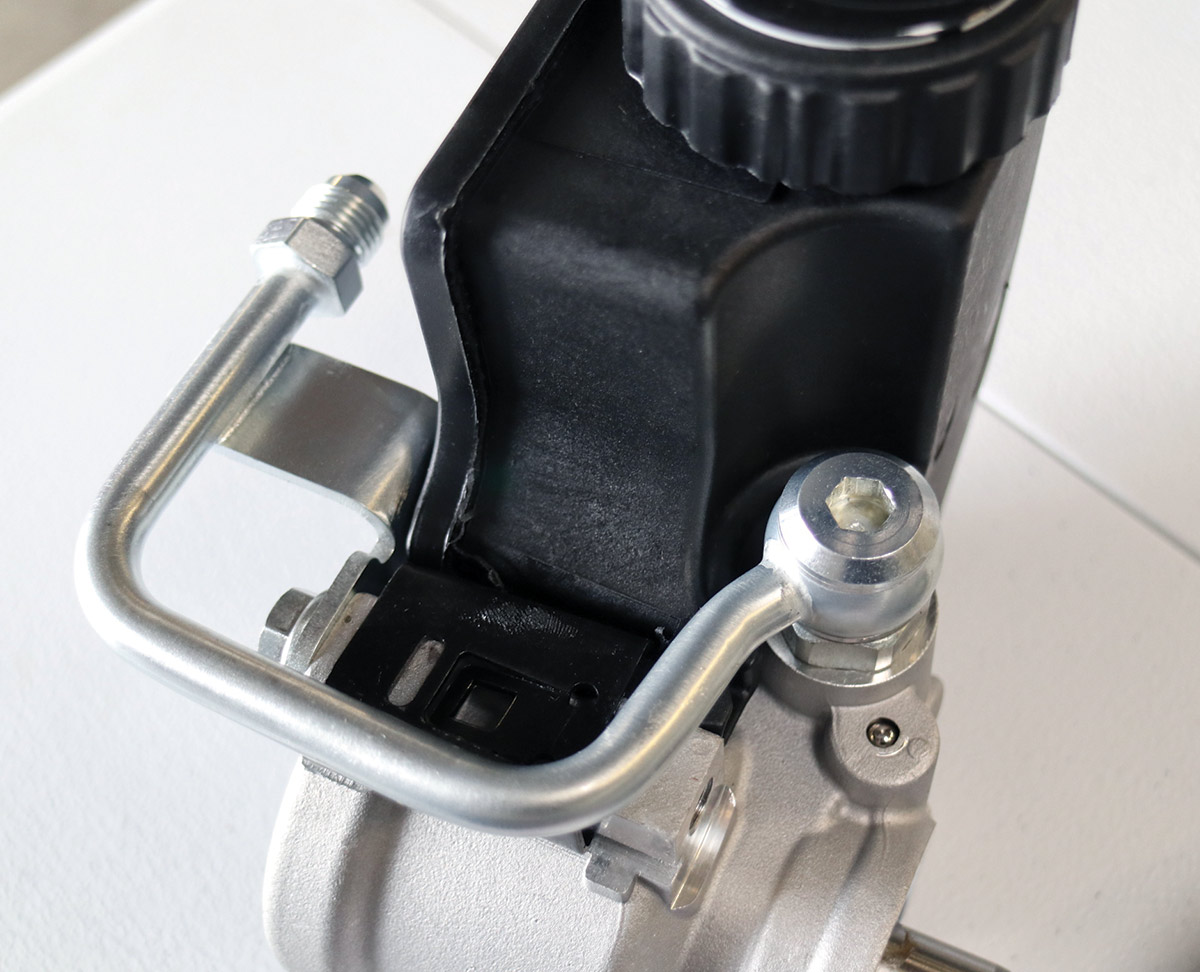
Now onto the Type II power steering pump, which first requires some pre-assembly starting with the reservoir adapter hardline assembly. Once installed onto the drive system, the -6AN fitting and hold-down bolt can be torqued to spec.
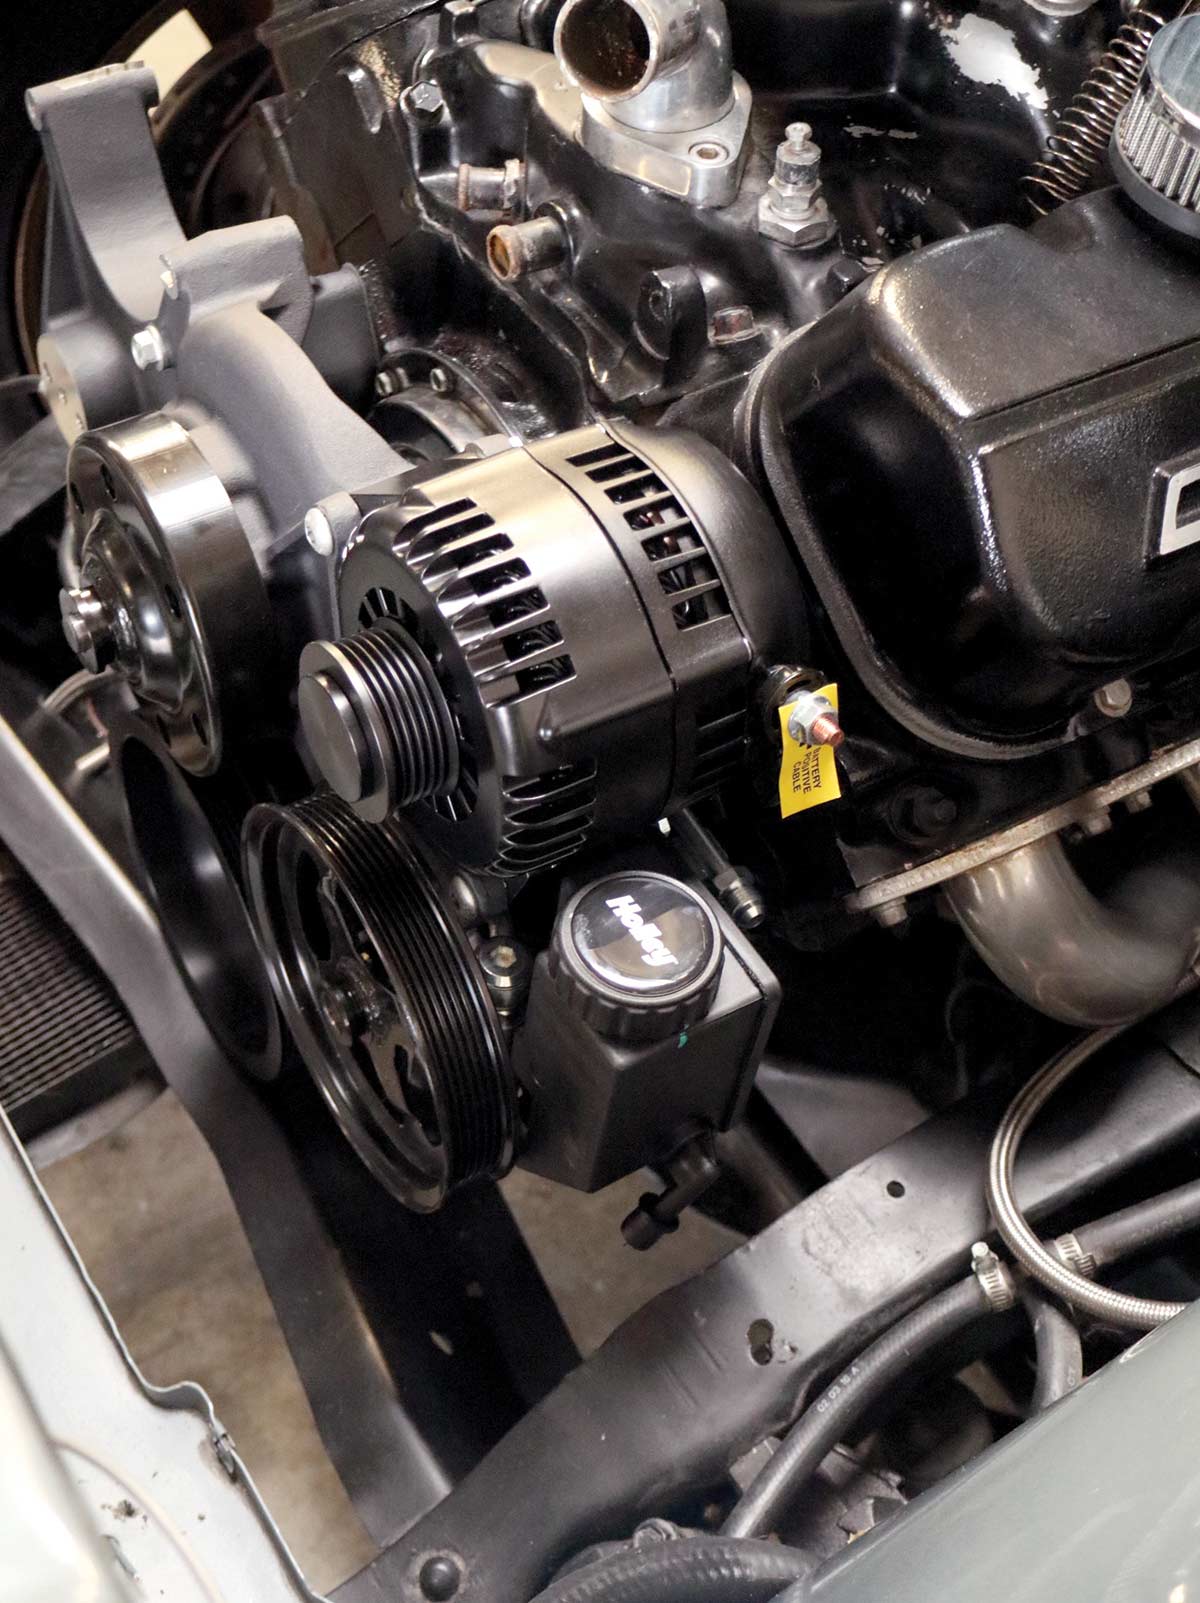
Type II power steering pump installed onto the drive system
Using the proper installation tool (which can be rented from most popular chain auto parts stores), the P/S pump pulley is pressed on—and though it clearly isn’t (yet) in the photo, the center of the pulley should be flush with the pump shaft to ensure accurate belt alignment.
The pump's placement
Once those two steps are done, then can the pump go in its rightful place below the alternator—its rightful place with added-in adjustment (for clearance and positioning purposes), no less.
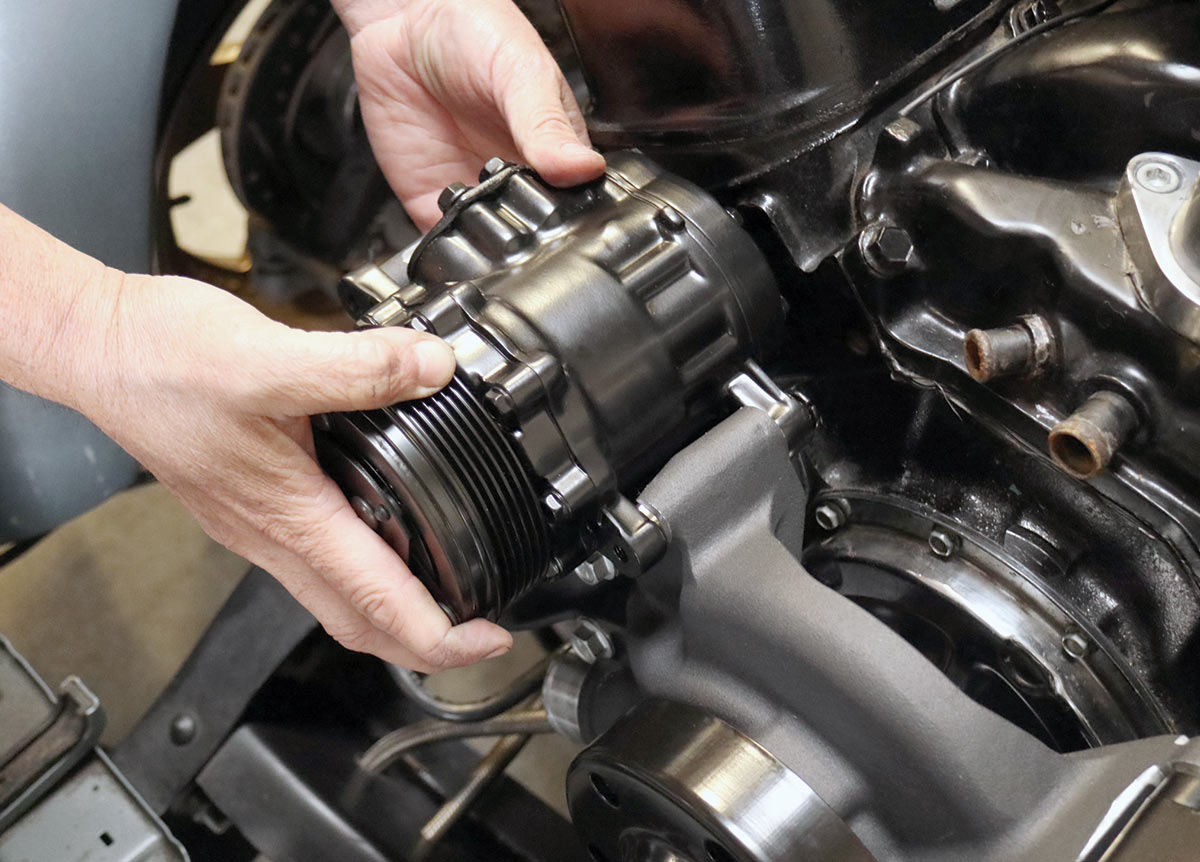
Setting the SD7 A/C compressor
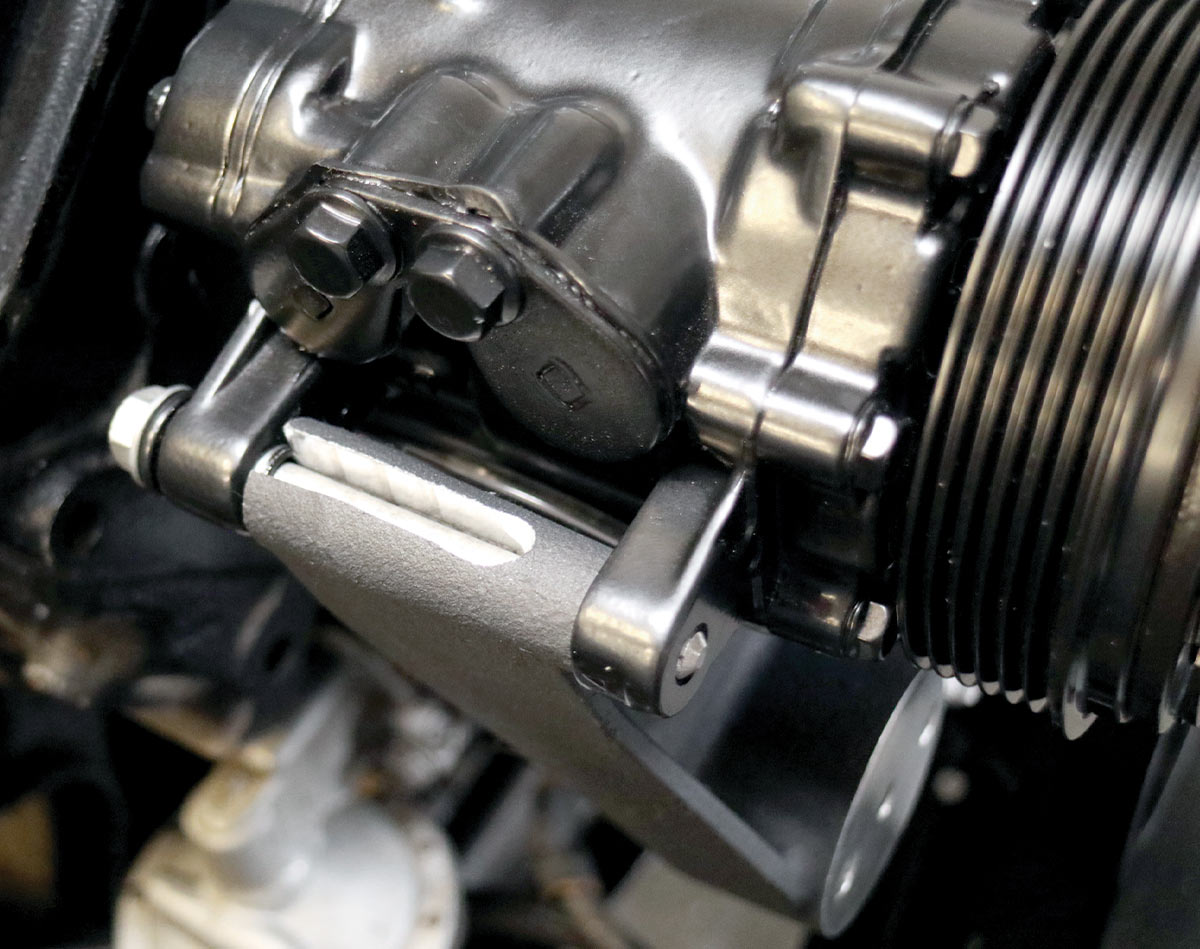
Taking two steps to the left side of the engine, with its innermost M8x95 flange-head bolt hand-threaded in (preloaded), the SD7 A/C compressor is set partially into the specially slotted mounting bosses on the water pump manifold. The other mounting bolt is then started halfway before the compressor can be rotated down and into the outer mounting boss.
A closer look at the mounting bolt
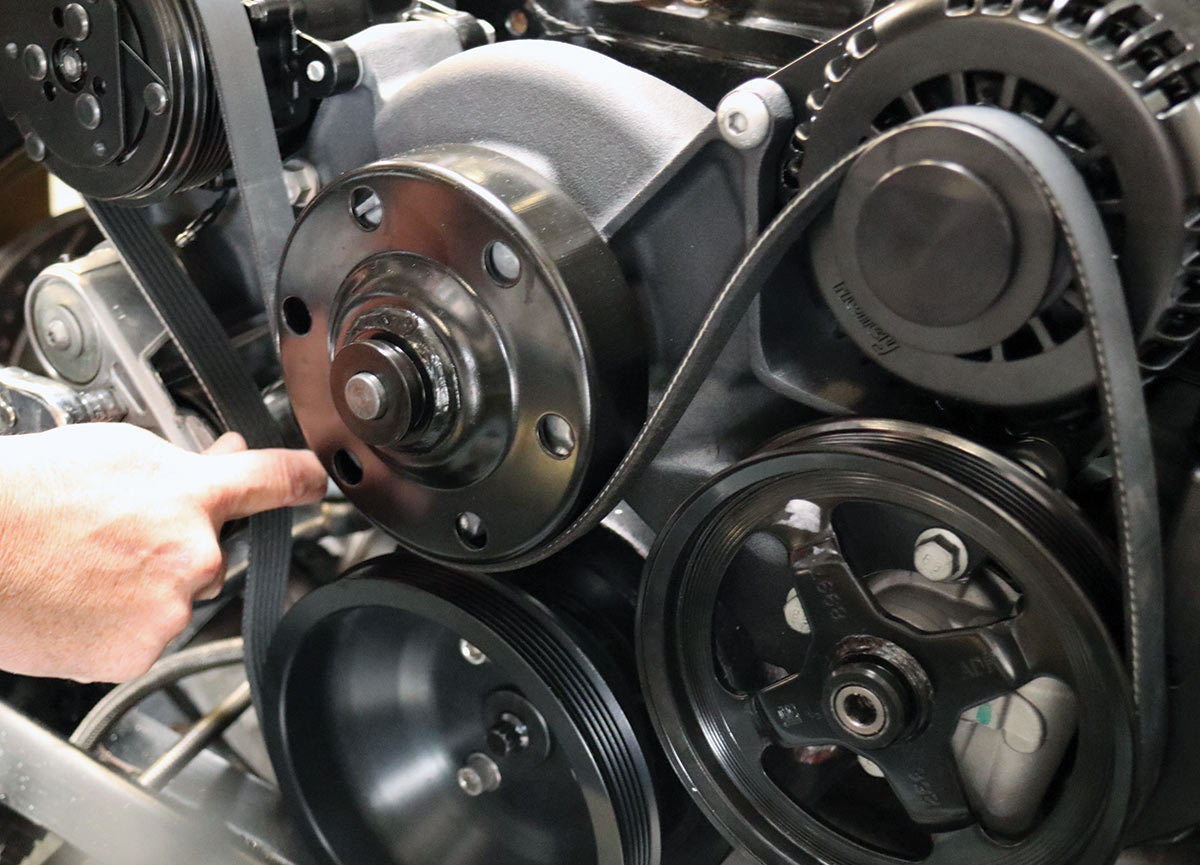
The spring-loaded belt tensioner is installed
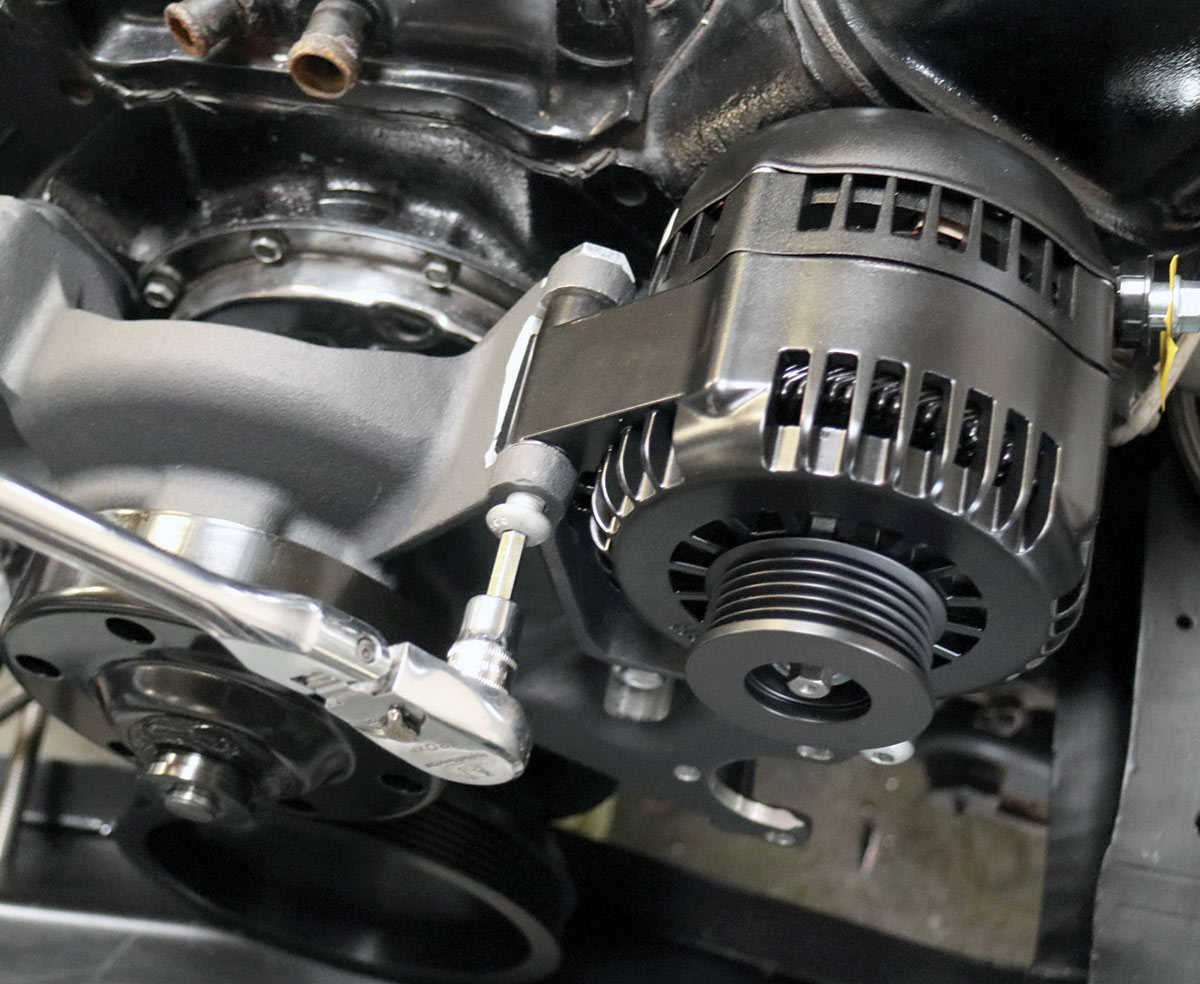
With all major component groups spoken for and in their respected places, the spring-loaded belt tensioner is installed with the serpentine belt following suit. Use a 1/2-inch drive ratchet to load the tensioner when securing the belt in place.
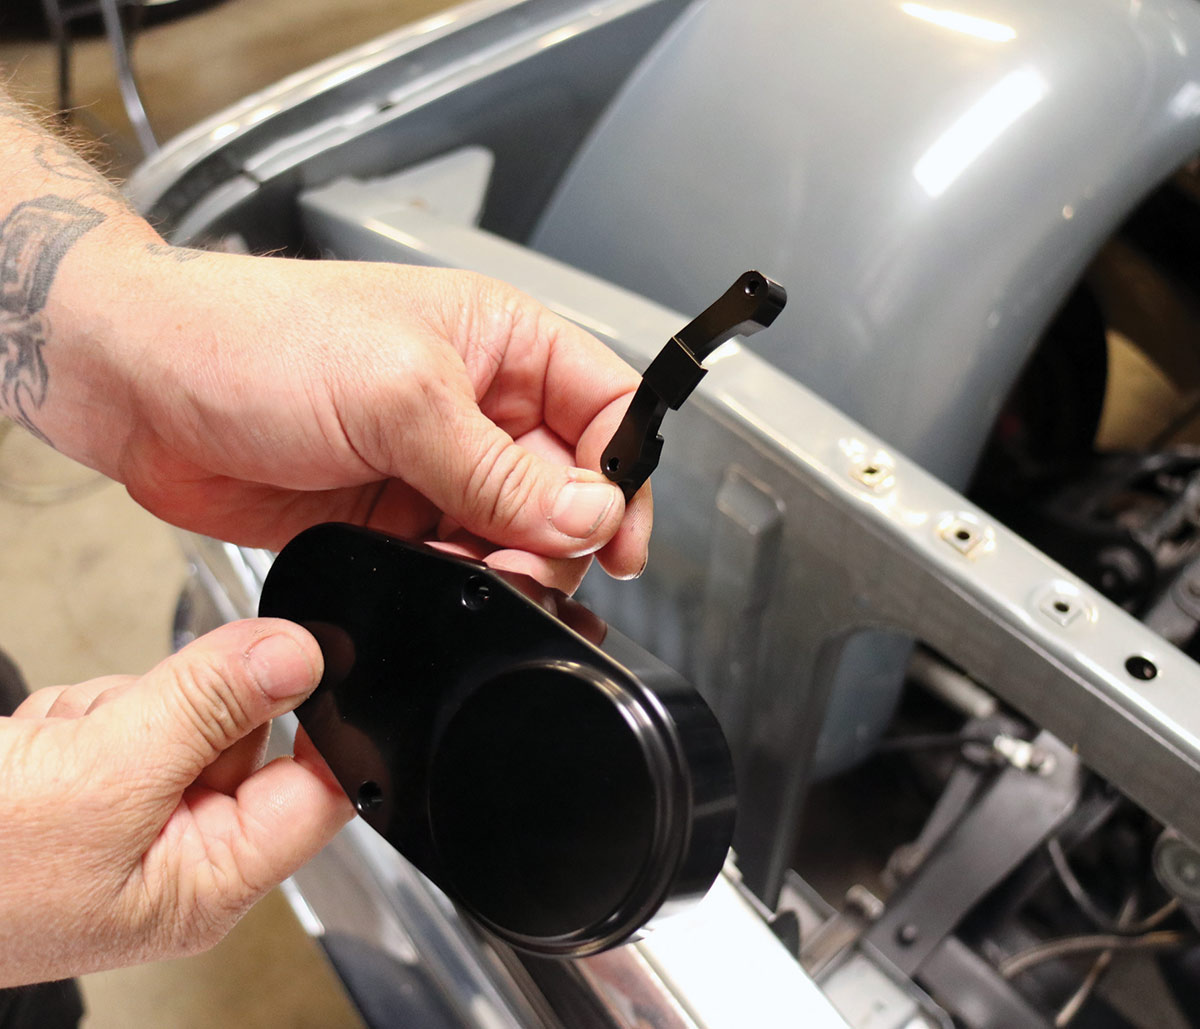
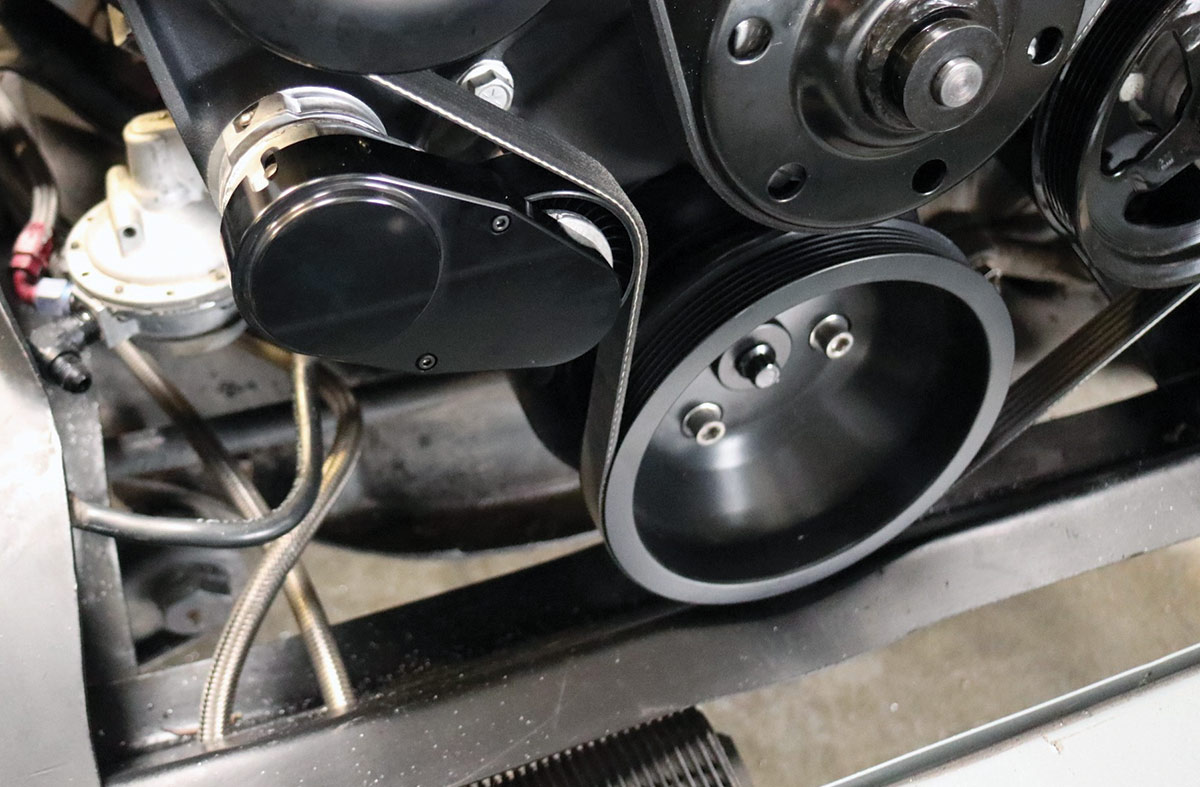
Looking at how the tensioner is attached
the pulley and spring
As with the alternator, the tensioner uses a unique means of attachment for the provided aluminum cover—simply slip the backing plate in from behind, between the pulley and spring, then attach cover from the front. (When installing the A/C compressor pulley cover, do not use a ball-head Allen like one of us did—you’re guaranteed to break the end off…like we did!)
Looking at alternator wiring (supplied pigtail), power steering supply, and return lines
Last items to be addressed: alternator wiring (supplied pigtail) and power steering supply and return lines (you supply).
Complete Holley Mid-Mount Accessory Drive Kit, installed and ready to roll
And there you have it—one Complete Holley Mid-Mount Accessory Drive Kit, installed and ready to roll! Can’t emphasize enough how straightforward, practical, and great looking this system is—and did we mention…no brackets?!