

CTP Tech
InTheGarageMedia.com
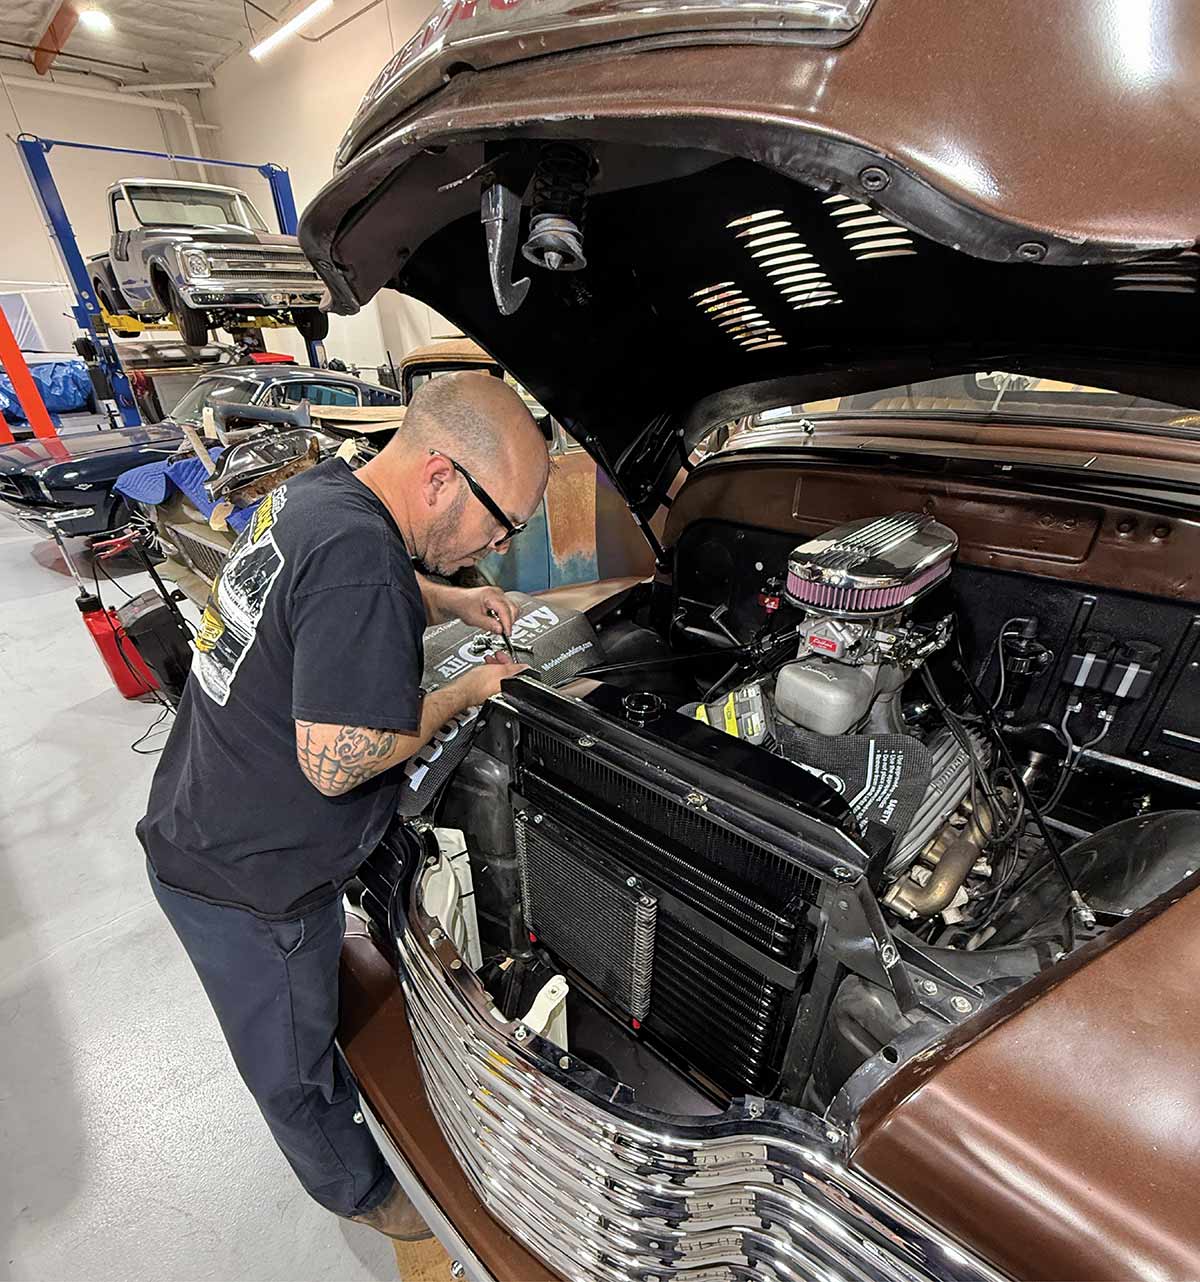
Mechanic working in the engine bay of a truck.
COOLER HEADS PREVAIL
Installing Johnson’s Radiator Works’ Copper-Brass Coolant Dissipator & Vintage Air’s Monster CustomFit Brushless Fan In Our 1948 Chevy
BY RON CERIDONO & ROB FORTIER IMAGES BY ROB FORTIER
A

ccording to Johnson’s Radiator Works, “Copper has been, and will be for the foreseeable future, the ultimate material for heat transfer, long-lasting durability, and easily repairable.”

There has been an ongoing debate comparing the effectiveness of copper/brass radiators (copper is used for the fins and brass is used for the tanks) and all-aluminum radiators. The bottom line is this: When comparing the thermal conductivity of the two materials, copper is rated at 398 W/m-K, on the same scale aluminum is rated at 235. That simply means copper conducts heat much better than aluminum. So why do OEMs use aluminum? The primary reasons are aluminum is cheaper and lighter than copper.

While copper/brass radiators are known to be efficient and long lasting, aluminum radiator manufacturers will point out that the solder used to attach the copper fins to the tubes is a very poor conductor of heat. That means critical balance is to use enough solder to ensure the fins are securely bonded to the tubes while not disrupting the transfer of heat from the tubes to the fins and ultimately to the air. To that end, Johnson’s Radiator Works limits the solder applied to the tubes as close to 0.0006-inch thick as possible, providing the necessary strength while maintaining the utmost efficiency.

With the exception of the petcocks and bungs, every part of Johnson’s radiators are manufactured and assembled in-house. The cores are made from 0.125×0.5-inch copper tubes with their proprietary fins stamped from brass and featuring small louvers that create turbulence in the airflow. With over 600,000 louvers in each radiator these fins dissipate heat more effectively than smooth fins. The assembled cores are attached to holes punched in the headers and secured by dipping the assembled components in a solder bath. The tanks are stamped from 0.040-inch brass, automatic transmission coolers are an available option, as are steam vents for LS applications.

A common question when installing a new radiator is what type of antifreeze to use. At one time that decision was simple enough; there was basically one choice and it was green. There are a variety of products to choose from and they are identified by their color. Johnson’s suggests that selecting antifreeze should be based on the combination of engine components being used. For those with an iron block, heads, and water pump, original green antifreeze is recommended. Iron blocks with aluminum heads and/or aluminum water pumps use blue. The orange is suggested for when using all-aluminum components (block, heads, water pump, and radiator).

Another decision to be made when installing a new radiator is the type of fan to use. In this case a 19-inch Vintage Air brushless fan for 1966-77 Broncos was chosen. Equipped with SPAL’s latest motor technology, the brushless design extends the lifespan of the fan motor and also improves its reliability. Another advantage to Vintage Air’s brushless fans is the integrated variable speed controller, which eliminate the need for relays. The sophisticated controller provides a “soft start,” which eliminates the amp spike from the large initial electrical draw when a brushed fan starts. The controller then slowly ramps-up the fan speed, running it only hard enough to cool the engine.

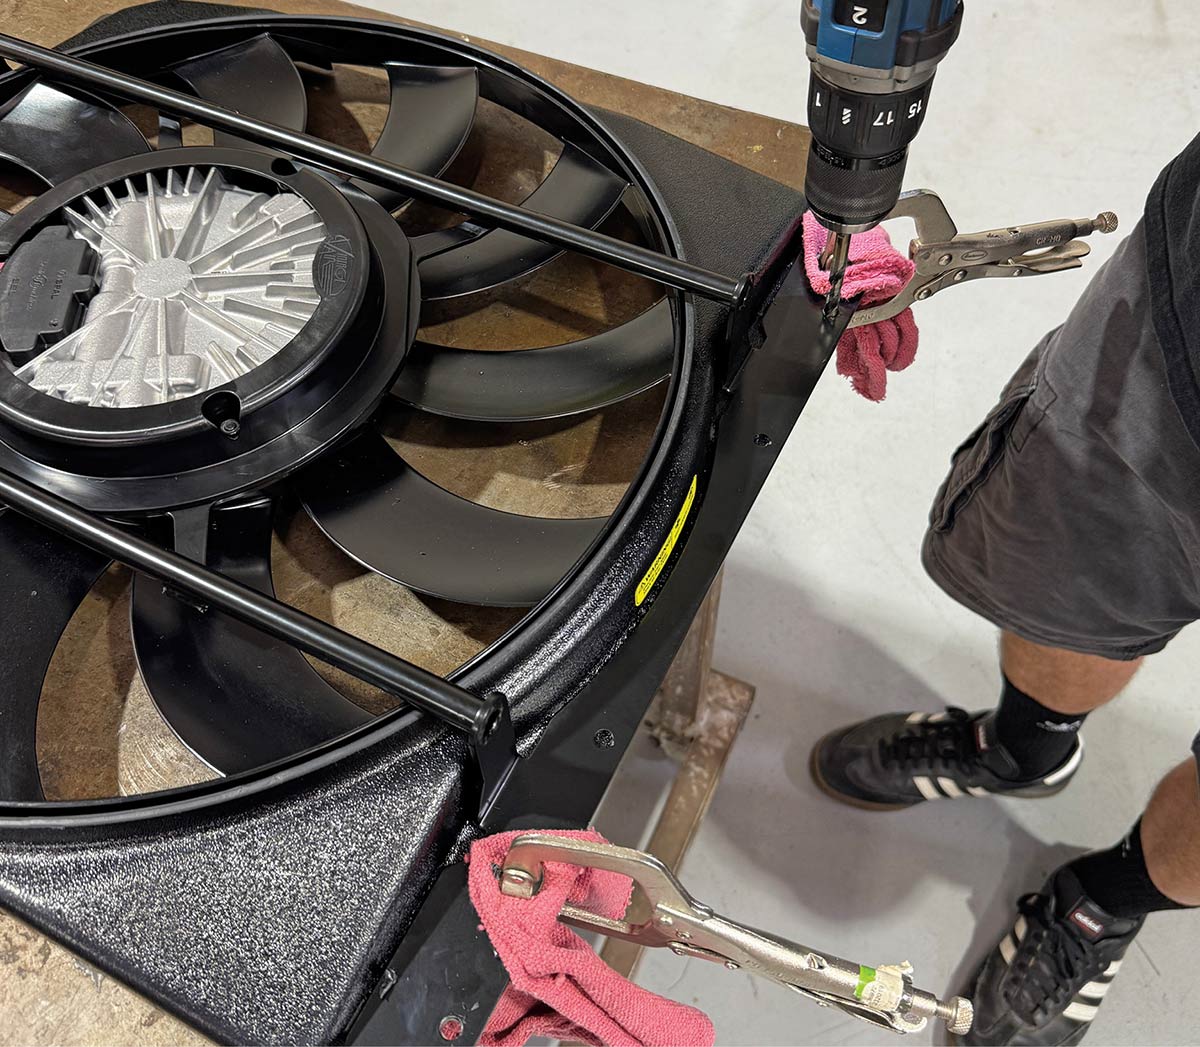
Installing an electric fan often requires drilling holes in the radiator’s side straps for mounting brackets, which can be a scary thing to do on a new radiator. However, Johnson’s Radiator Works eliminates the potential for problems by using a last row of “dead tubes” on either side of the core.

We combined the best of both worlds—copper/brass Johnson’s Radiator Works radiator and Vintage Air’s all-new 19-inch/850-watt CustomFit brushless fan kit—in our ’48 Chevy, now with its compact Eddie Motorsports V Drive installed, and without exaggeration, could not be happier with the cooling results. Follow along, then give Johnson’s and Vintage Air a call and get your truck running COOLER than ever!

But, a quality radiator alone won’t keep your engine properly cooled—your airflow and, more specifically, its management, are equally important. At higher freeway speeds, unrestricted air flowing through the radiator can typically keep things relatively cool. But how often are we not on the open highway when we drive our trucks?! Not only is an efficient fan crucial to keeping your engine cool, so too is a proper fan shroud.

Copper-brass radiator with mounted condenser.
1. After a few boil-overs in the ’48, a call was made to my buddy Alan Johnson, who along with building some of the best hot rods (and classic trucks) around, builds the best radiators around via Johnson’s Radiator Works (formerly Walker Radiator, if you were wondering!). Before I knew it, a fresh copper-brass ’47-53 radiator—complete with A/C condenser mounted—arrived at the ITGM HQ.
Old aluminum radiator and shroudless mechanical fan.
Removing the old aluminum radiator from the truck.
2-3. A low-mounted, shroudless mechanical fan was the major culprit of the overheating, but due to corrosion buildup as well, the old Brand-X aluminum radiator had seen better days … out she came.
Vintage Air brushless fan kit in ABS shroud.
4. The aforementioned “shroudless” cooling fan situation will be remedied with Vintage Air’s all-new Monster CustomFit brushless fan kit—literally a rotating monster: 19 inches and 850 watts of “smart” (soft start) engine cooling in a self-contained, molded ABS shroud!
Drilling the ABS fan shroud for mounting.
5. Designed to be a direct fit for the ’66-77 Ford Bronco, the CustomFit brushless fan kit (PN 280483) is just that for the ’47-53 Chevy/GMC 1/2-ton: a custom fit. Ryan Manson started out by marking and drilling the ABS shroud for mounting bracket fitment.
Drilling holes in the radiator vertical caps.
Custom aluminum mounting tabs on the fan shroud.
6-7. A quick trip to McFad-den-Dale for some angled aluminum and 1/4-20 self-tappers for Manson to fab up the mounting tabs. As mentioned in the story, the outer row of tubes in the radiator may be “dead,” however, we did our best to put holes just in the vertical caps only … and succeeded!
Fan and shroud assembly ready for installation.
8. Our Vintage Air Monster CustomFit fan—fit and ready to be fit in the ’48 … however, we still have to tend to the matter of affixing the old Hayden trans fluid cooler on “top” of the already-attached A/C condenser!
Placing the transmission fluid cooler on the condenser.
9. Typically, fluid cooler companies provide zip-tie–like fasteners with flexible spacers—but the last thing we wanted to do was shove plastic sticks through our brand-new fins! So …
Positioning the transmission cooler with flat strap brackets.
Transmission cooler mounted securely with custom straps.
10-11. Manson came up with a solid fixture method using 1/8-inch flat strap, cradling the radiator, and positioning the cooler on top of the condenser as close as possible without touching, as so.
Test-fitting the radiator assembly into the core support.
Securing the new radiator unit in the engine bay.
12-13. A quick test-fit in the truck (without the fan mounted) showed we needed to slightly notch the inside edge of the core support to clear our new brackets, but otherwise, fit nice and snug, just as we wanted, so everything was secured and the trans cooler lines reattached.
Fan assembly refit to the backside of radiator.
Completed radiator and fan unit installation view.
14-15. With the front side of the radiator all set and good to go, the CustomFit fan assembly was refit onto to the back side in preparation for wiring and final installation chores (plumbing, fluid, and so on).
Vintage Air brushless fan wiring harness components.
Heavy-gauge power wire and weather-sealed plugs.
16-17. The wiring harness from Vintage Air seemed kind of daunting at first, especially with the massive 6GA power wire and plugs, but because this happens to be one of Manson/Clampdown Competition’s specialties, he had the system powered up in no time.
Connecting the fan motor power to the starter.
18. The pre-wired fan motor is powered off our Powermaster starter …
Manifold-mounted coolant temperature sensor and wiring.
19. … while the “smart” soft-start/variable-speed functionality (it’s not simply an ON-OFF fan!) is controlled by a manifold-mounted switch monitoring coolant temp after the 180-degree thermostat.
Finished engine cooling setup with new components.
Original mechanical fan and aluminum radiator setup.
20-21. The after/before shots easily illustrate the vast difference in radiator setups—especially with the Eddie Motorsports V Drive installed (tucked up behind the Vintage Air fan with little room to spare!). Not only is our incoming air controlled as needed and efficiently as possible, but our antifreeze is also cooled as efficiently as possible with the new Johnson’s copper-brass radiator.
New radiator hoses and clamps installed.
22. A new 180-degree thermostat was installed followed by a new set of radiator hoses and clamps before refilling the system with some fresh antifreeze.
Bottle of Amsoil Propylene Glycol engine coolant.
Bottle of California-compliant Ethylene Glycol coolant.
23-24. Speaking of antifreeze, I had a couple (unopened) bottles of AMSOIL Propylene Glycol lying around, but when I went to order a few more to fill the system, I was quickly reminded that this particular recipe is not legal in California! So, a case of California-compliant Ethylene Glycol was ordered and subsequently put to proper use!
Stant Lev-R-Vent safety radiator cap.
25. A new radiator cap and a quick fluid burp and it was time for a road test and … the ’48 has the absolute best cooling system it possibly could, no exaggeration! I’ve yet to see anything above 180 driving through traffic, and the fan is so quiet, you barely know it’s running! Highly recommended setup for any classic truck—period!