

 Tech
TechInTheGarageMedia.com

 IMAGES BY THE AUTHOR
ust repair is a necessary evil when it comes to building or restoring a classic truck. The likelihood that one’s going to find a completely rust-free truck that’s 70-plus years old is highly unlikely. Even on the most cherry examples, there likely lurks cancer, buried under layers of paint, primer, and body filler, or simply concealed beneath years of dirt, grease, and grime, slowly eating away at the sheetmetal, eventually compromising the cab’s structure.
At first blush, our ’64 C10 cab looked fairly solid, with a few issues in the usual trouble areas. The doors were fairly rough, but the cab, save for the lower A-pillars, appeared to be pretty clean. After a quick wash in the sandblaster, however, the onion was peeled back and the actual extent of panel damage became apparent. Lower rockers, cab corners, and A-pillars, basically anywhere dirt and debris could collect, revealed damaged sheetmetal. Additionally, both doors had succeeded in hiding an even nastier secret, revealed only after sandblasting.
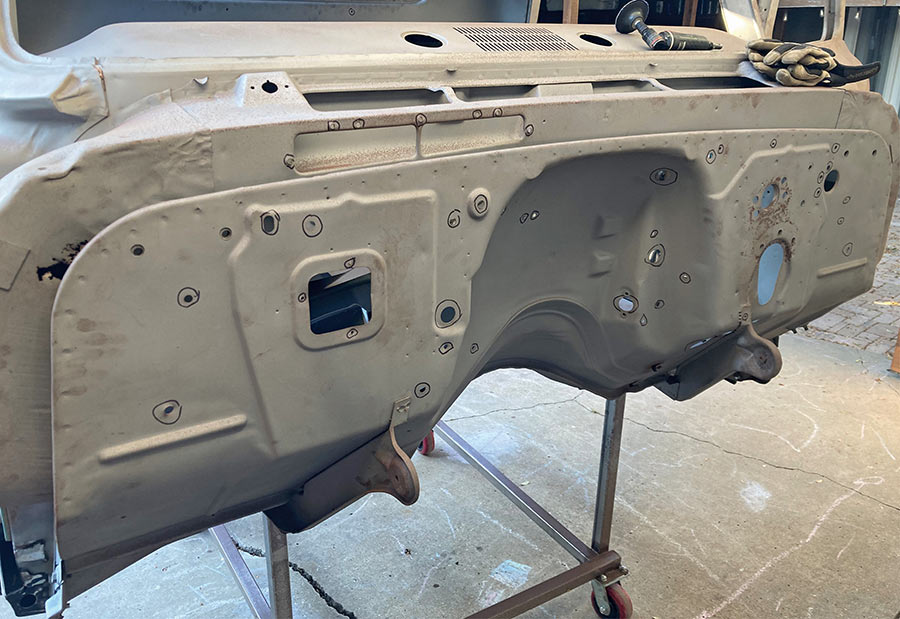
So far, we’ve repaired the lower A-pillars and rockers, which will allow us to circle back to the needed cab corner repairs in the future. As far as the doors are concerned, we decided to shift gears and instead of spending potentially hundreds of hours in labor to repair them, we opted to replace them all together. We’ll be covering all this in the months to come, but while we wait for the new sheetmetal items to arrive, we decide to turn our attention to the firewall, filling the numerous holes and fixing the minor damage that exists.
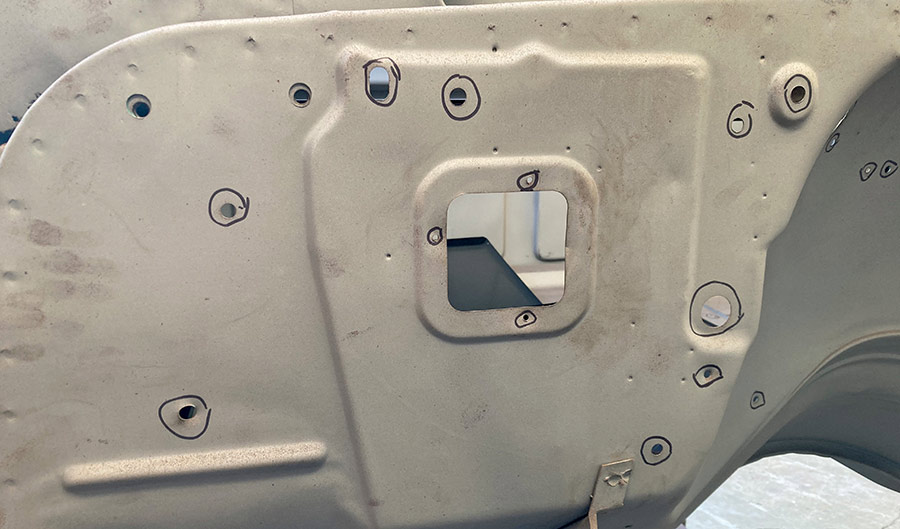
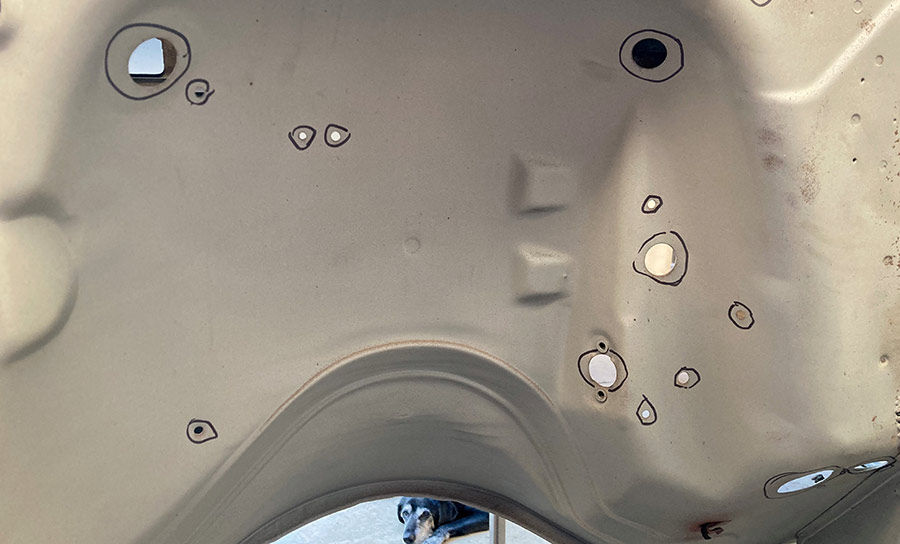
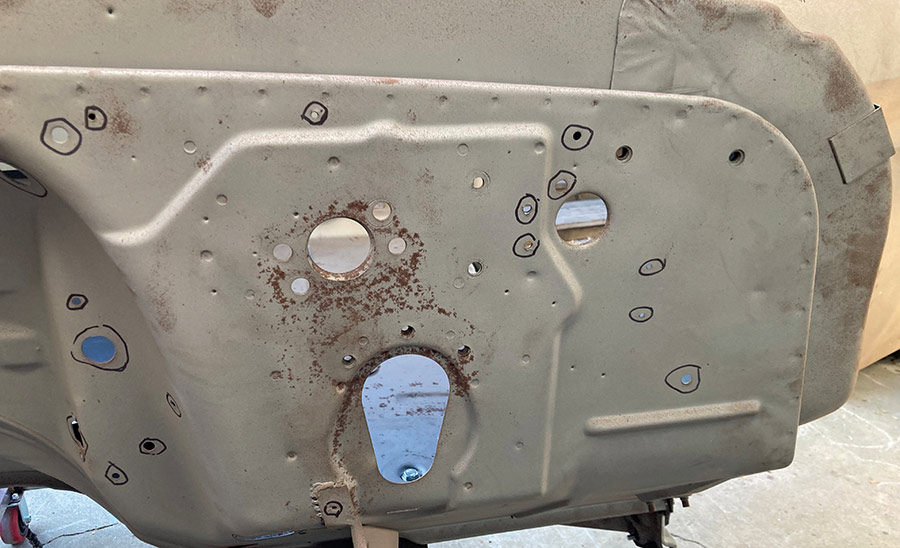
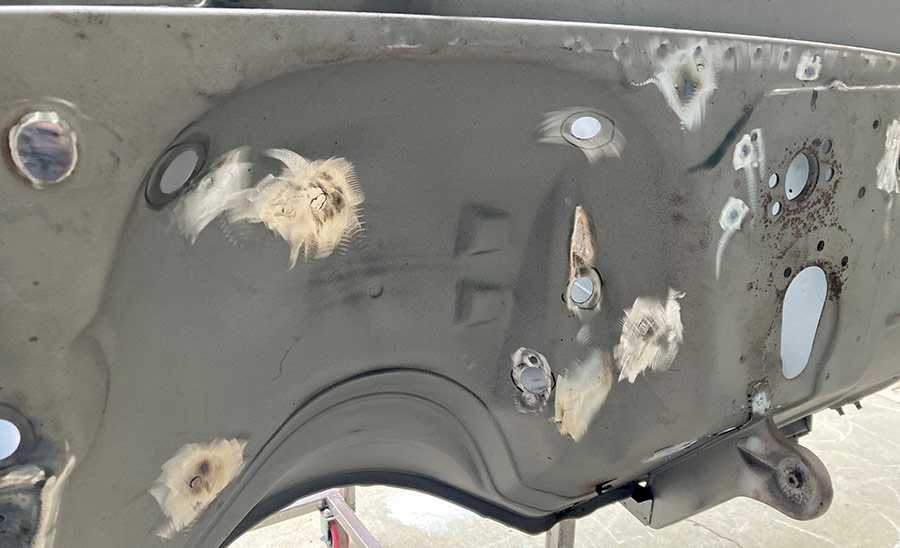
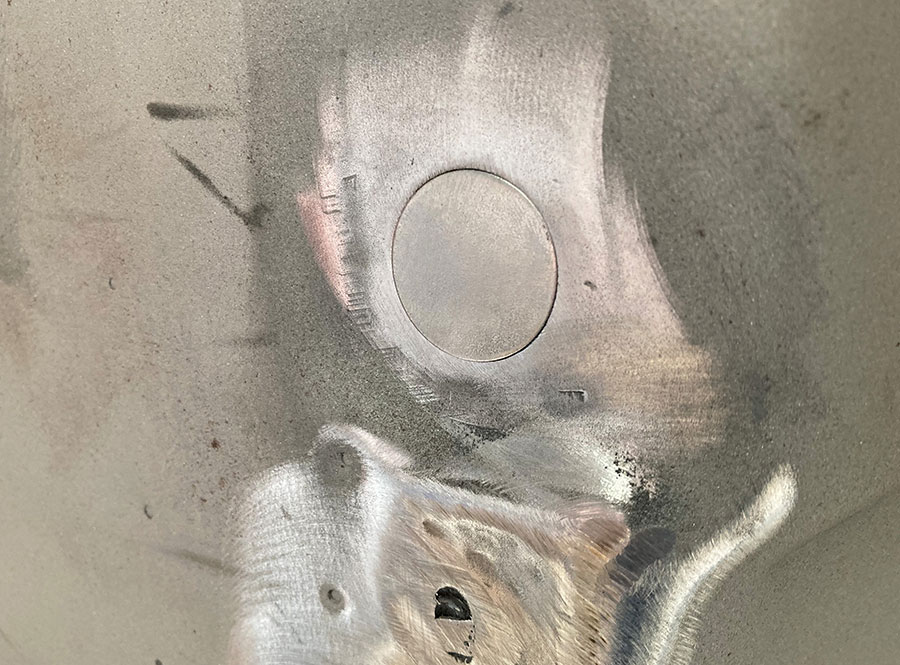
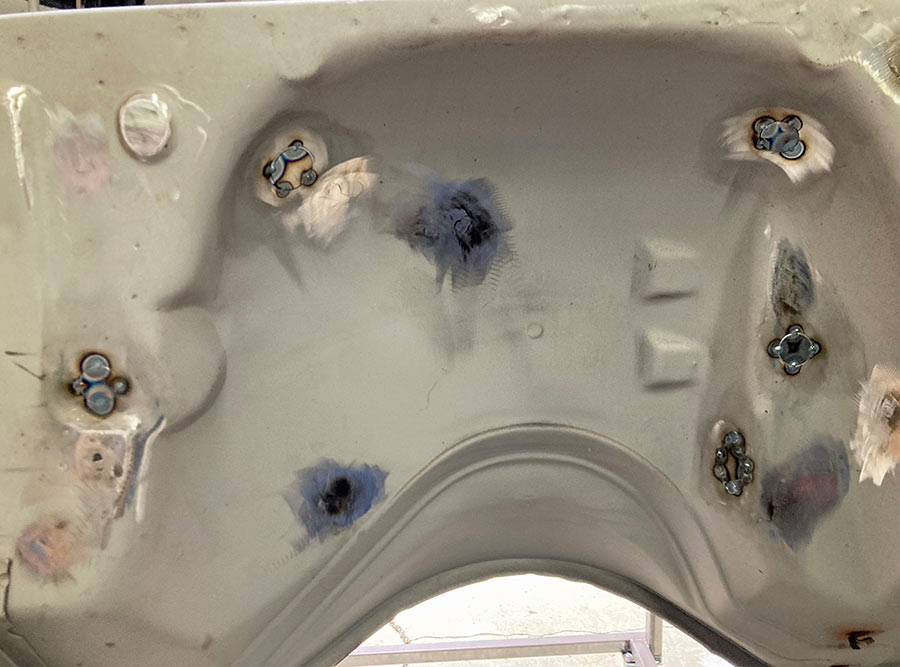
If a simple restoration was our goal, most of the firewall could remain untouched, with only a handful of items, mostly due to previous owner “modifications,” needing attention. Our build, however, leans more toward the “custom” treatment. We’ll be removing the stock heater, replacing it with a full climate-control system in the future, which means the stock heater box hole in the firewall needs to be filled. Additionally, any “extra” holes that we won’t be needing (throttle pedal linkage, wiring harness, clutch linkage) will also be filled in an attempt to clean up the firewall. Any damage to the firewall will also be repaired, before the entire panel will be bodyworked and painted.
But before we can even think about shooting any color on the cab, we need to sort out all these problem areas on the firewall and get the panel cleaned up before we start any bodywork. Metalwork first, bodywork second.