Tech
InTheGarageMedia.com
Moving Forward uppercase letters form typographic title in red
All American Billet’s Small-Block Chevy Serpentine Accessory Drive
BY ROB FORTIERPHOTOGRAPHY BY GRINDER TV
W

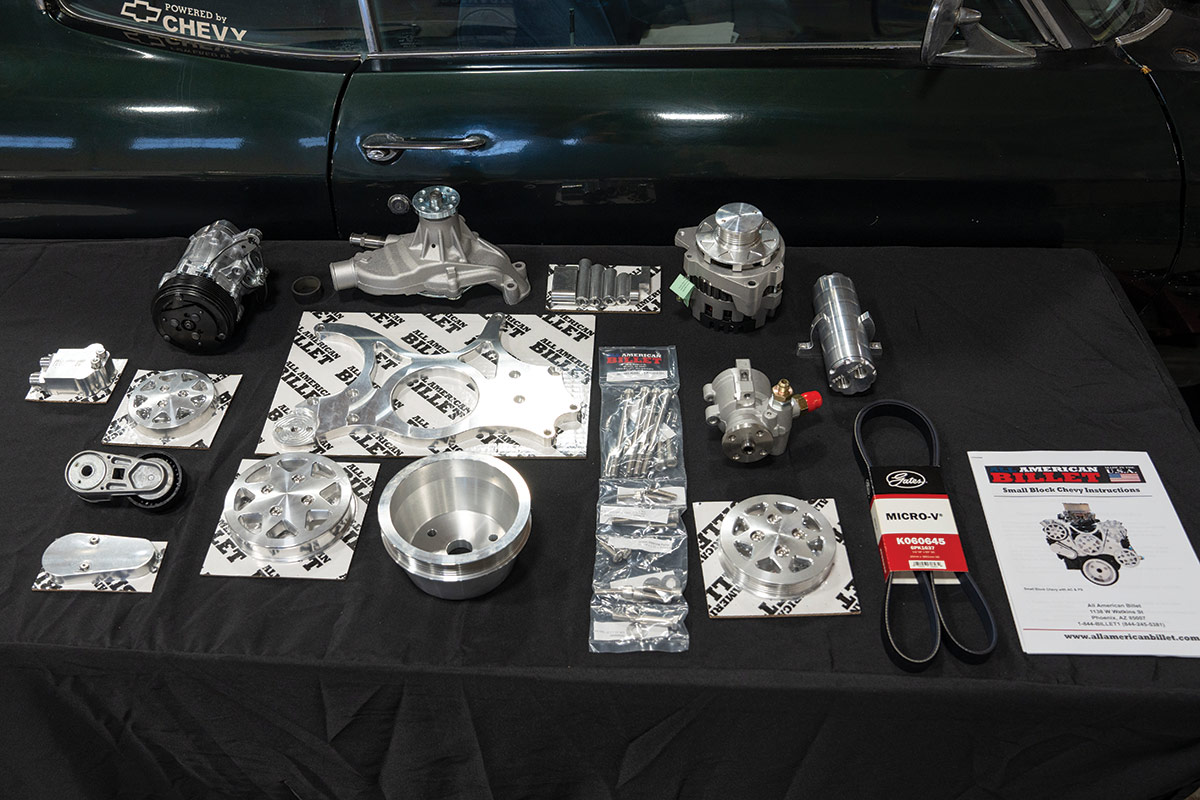
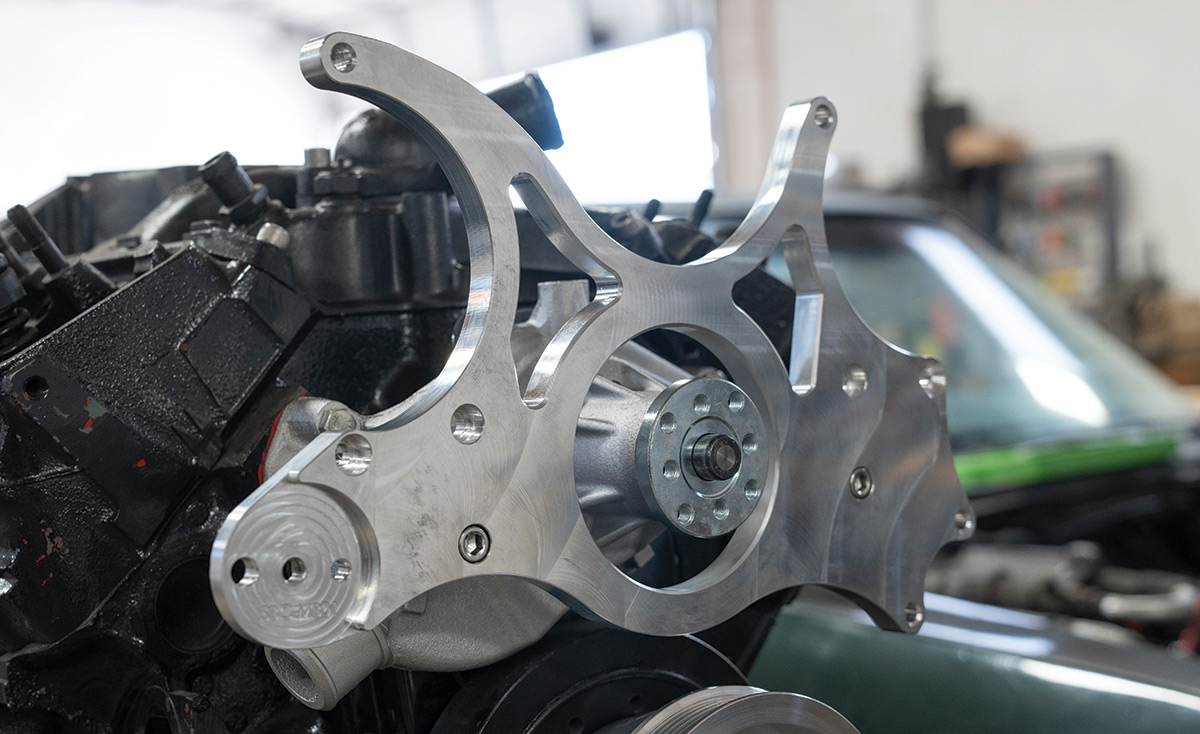
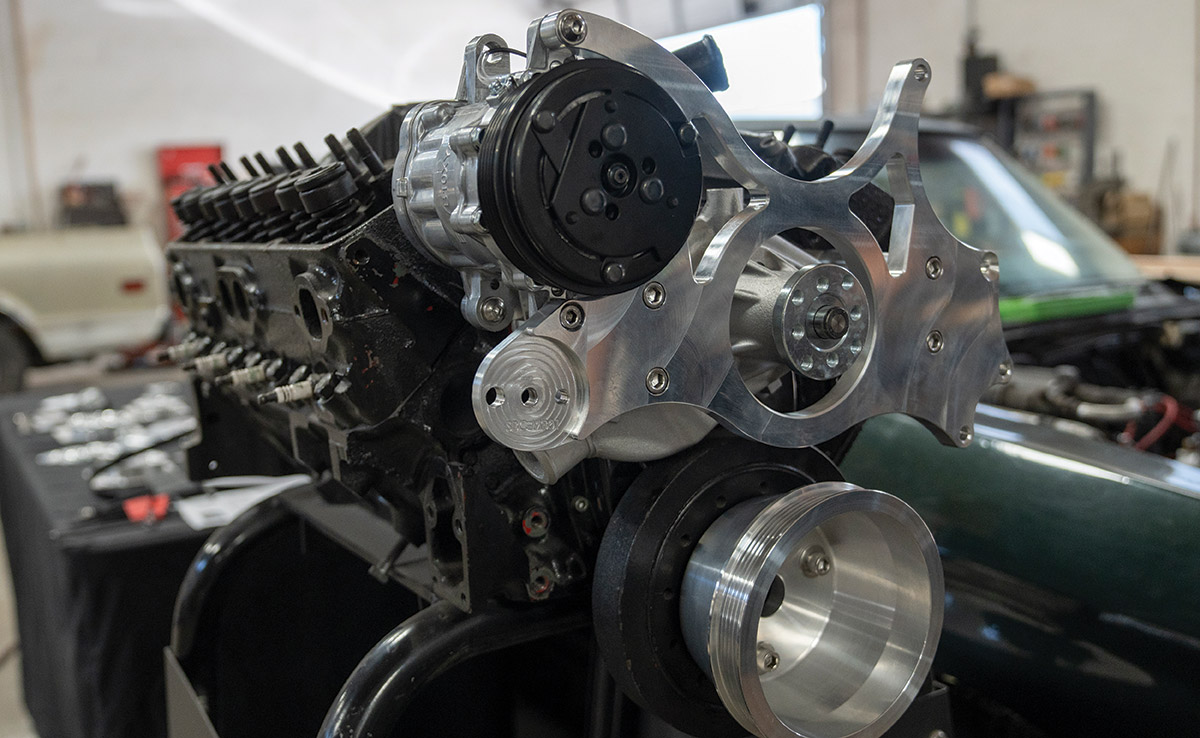
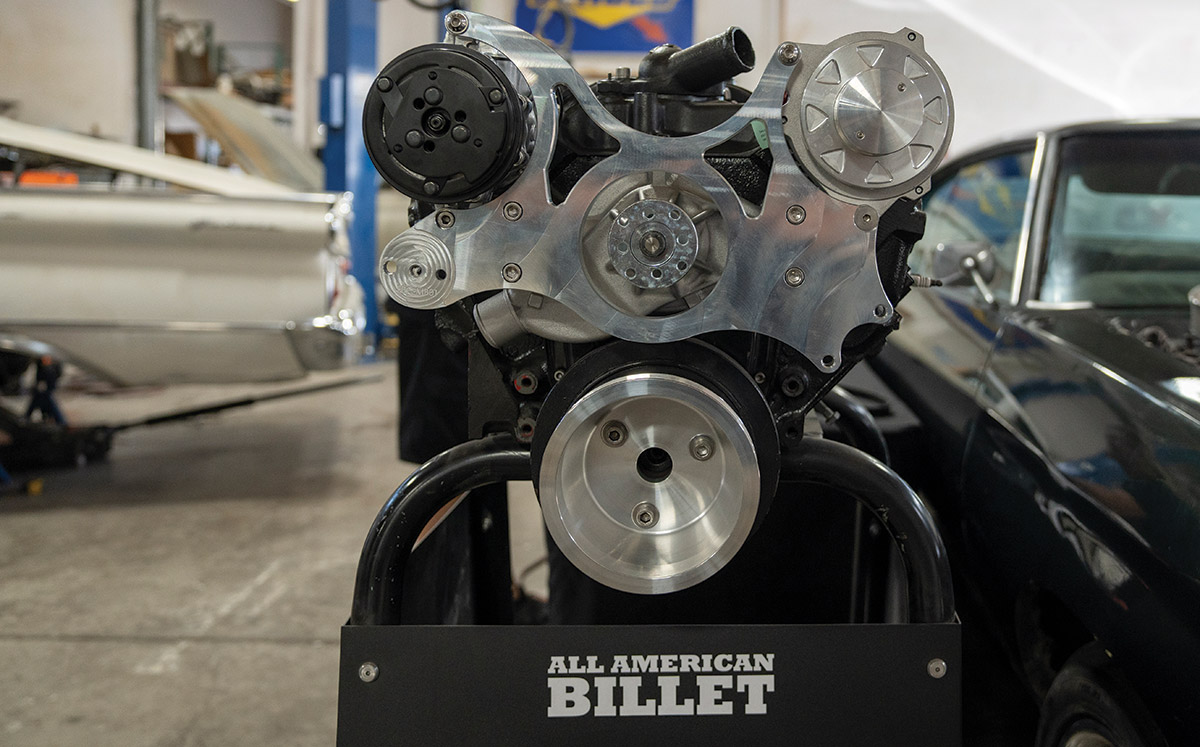
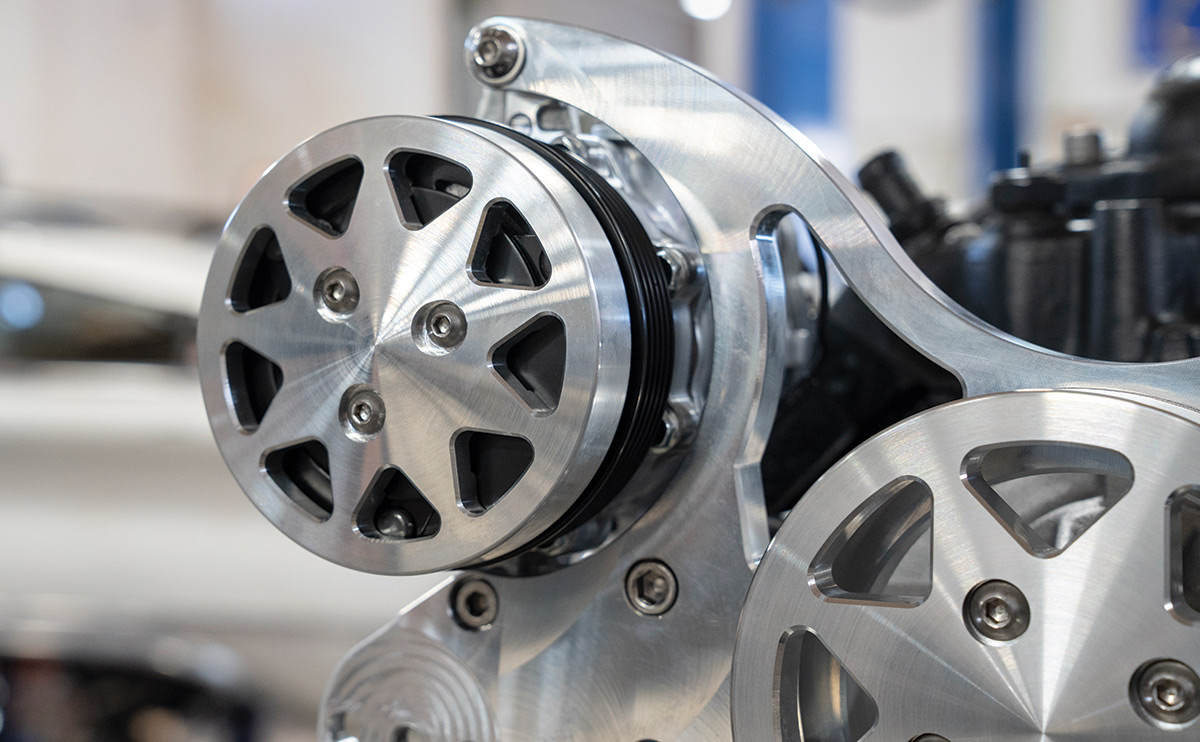
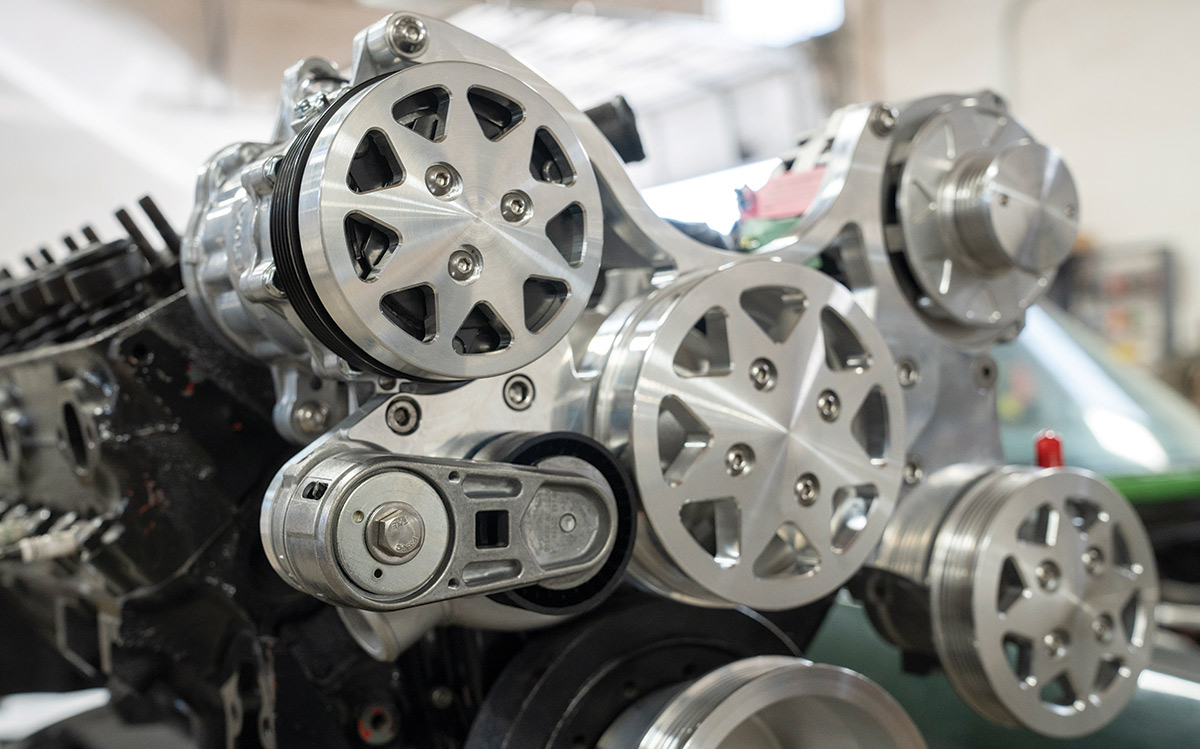
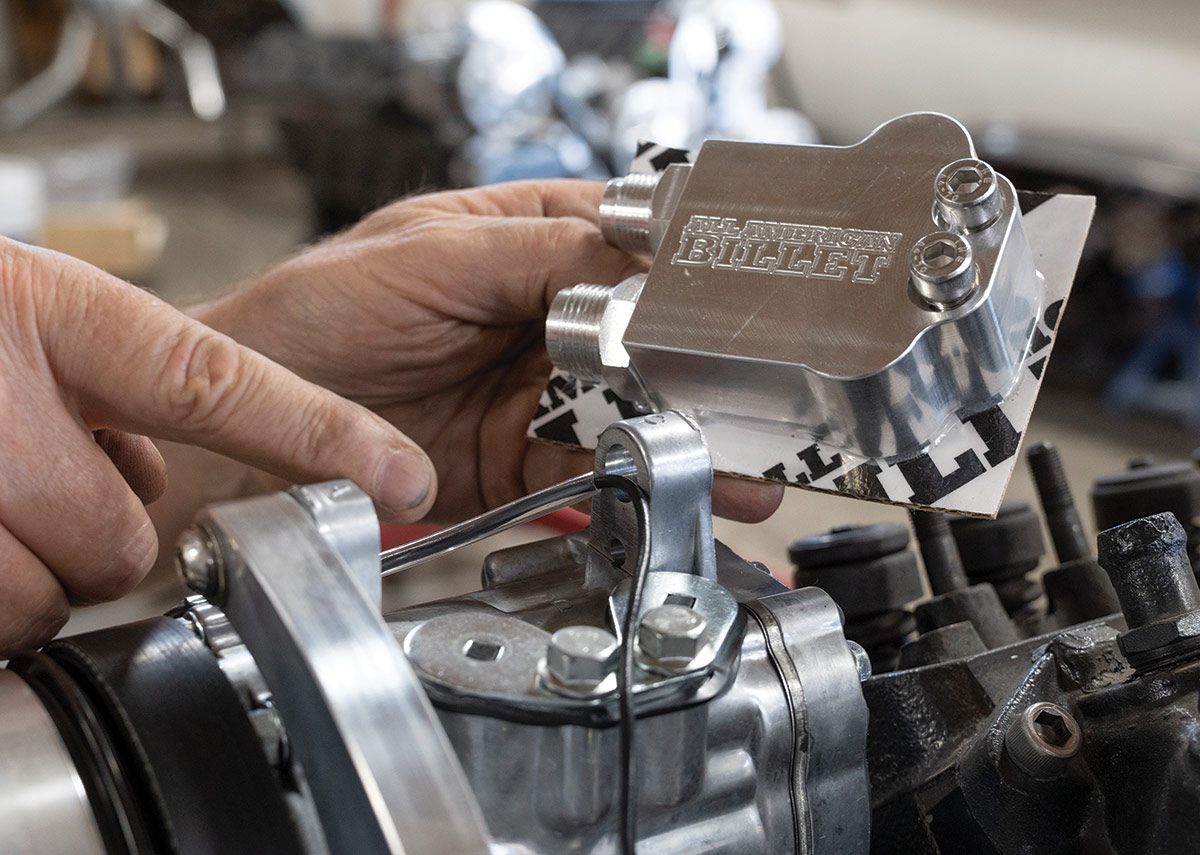
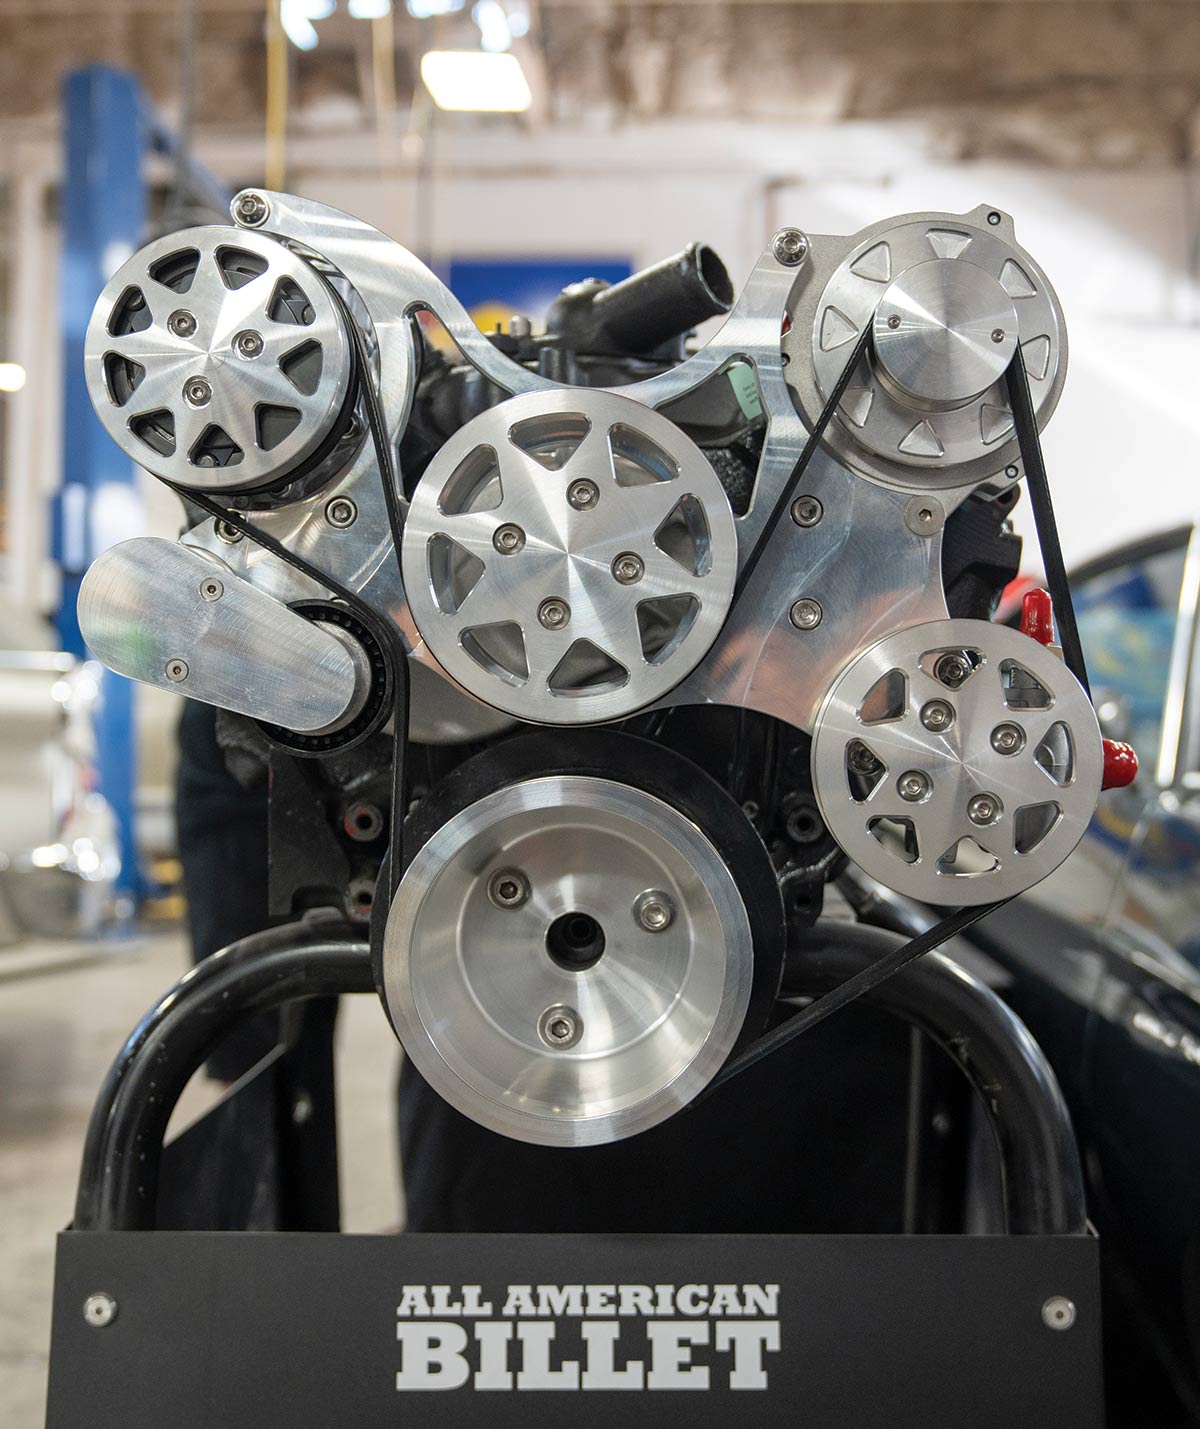
hen function and form become one it is a well-designed and equally good-looking product, such as a machined-aluminum front drive system for your truck’s engine. Whether it’s a Ford Y-block, Hemi, LS/LT, Coyote, or a good ol’ small-block Chevy, our pals at All American Billet have a serpentine kit just for you. (Matter of fact, they have kits for FE/Cleveland and small-block Fords, small- and big-block Chrysler, big-block Chevy, and even a 4BT/6BT Cummins diesel!)

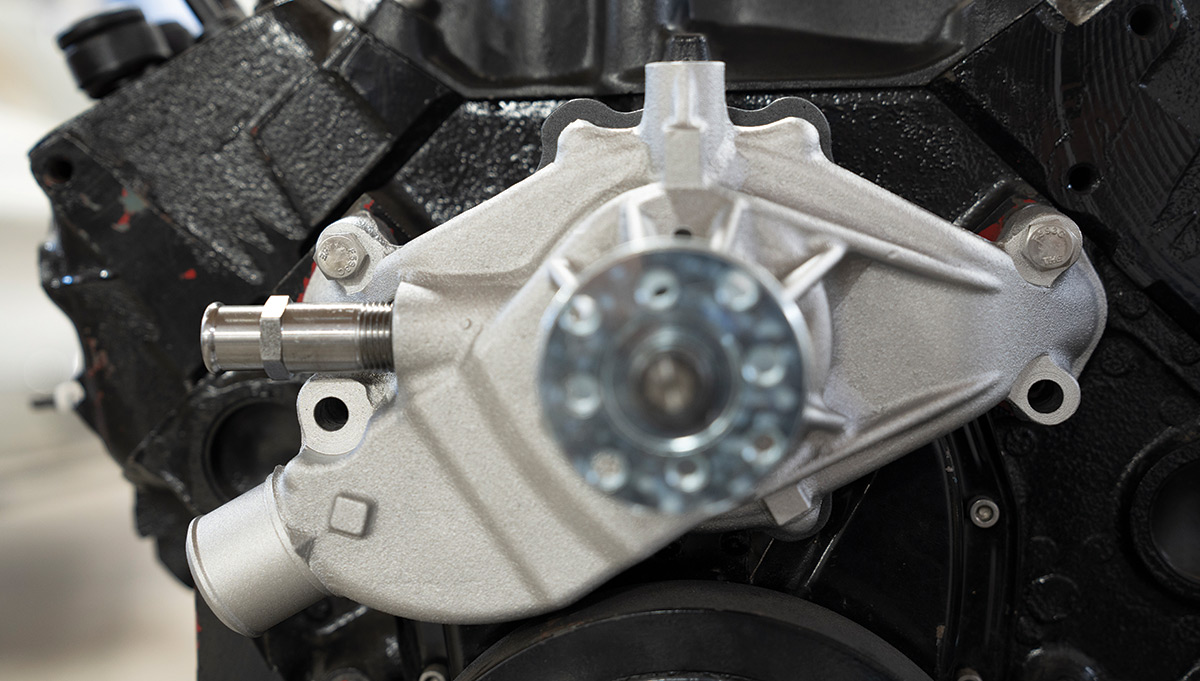
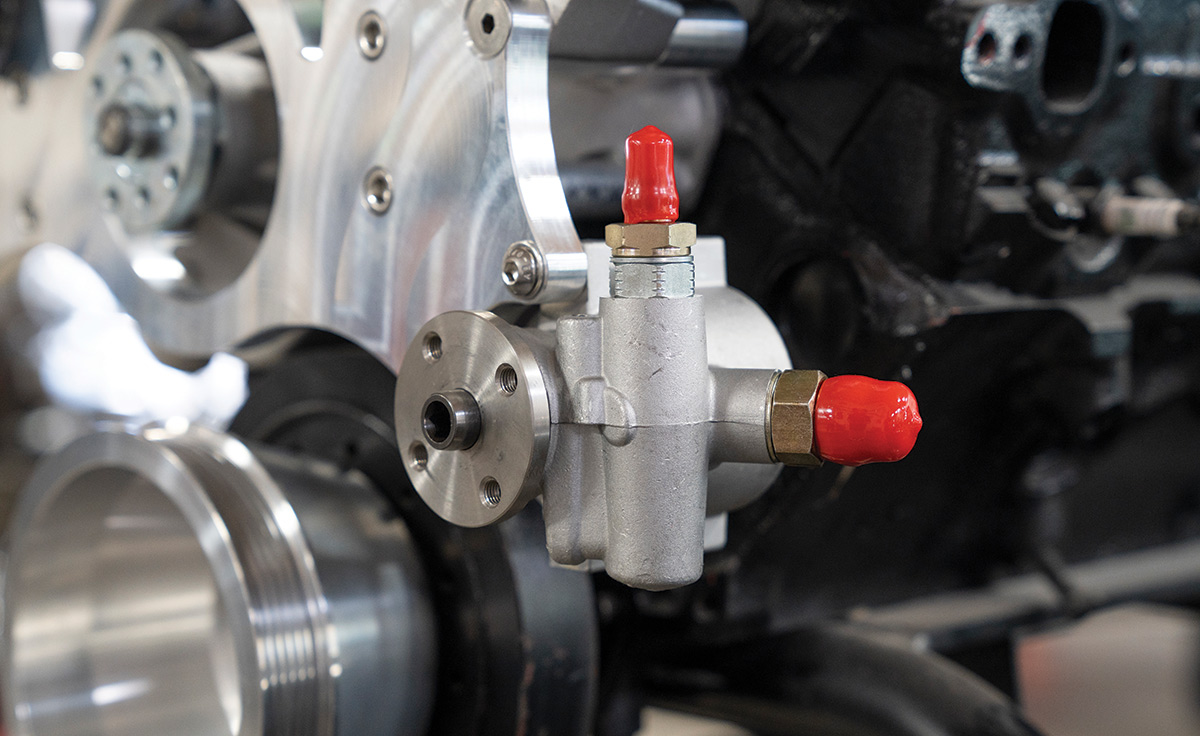
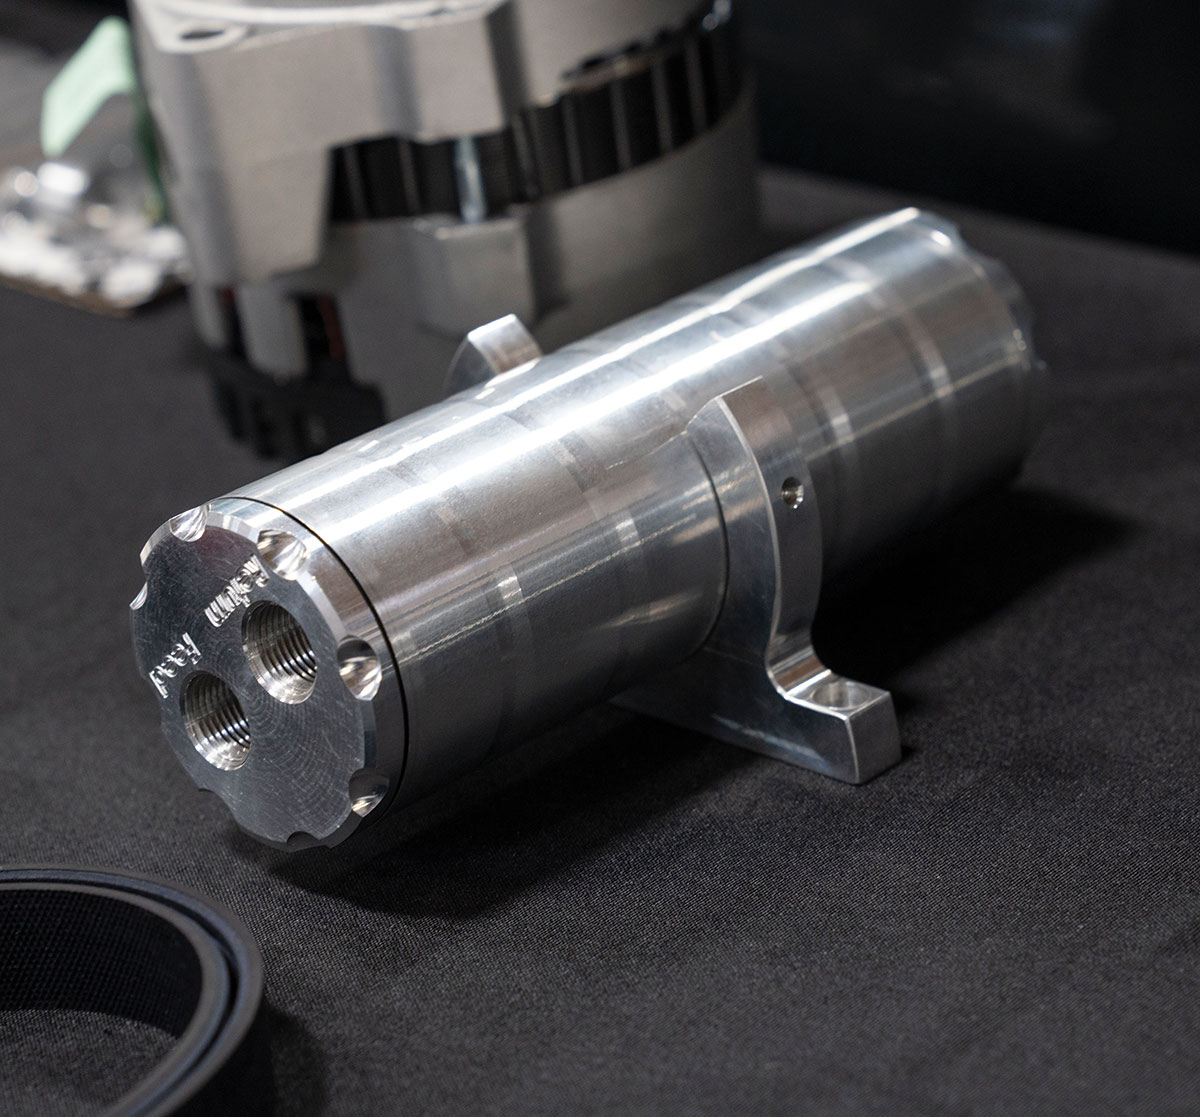
Unless you’re going for that purest/vintage look and have nothing more than an alternator/generator spinning off your water pump, consider ditching that old V-belt setup for a more reliable, more efficient, and definitely better looking serpentine-driven accessory system. All American Billet offers not only the abovementioned variety of fitment applications but accessory options as well.

General Motors introduced a single-belt serpentine drive with the debut of the ’88 GMT400 pickup line, better known to most of you as the OBS, almost 10 years after Ford had already started using the auto-tensioned system in the Mustang IIs (it was originally designed by Gates in 1974)! So, if the OEs have been relying on serpentines for the better part of the last half-century, why aren’t you?!

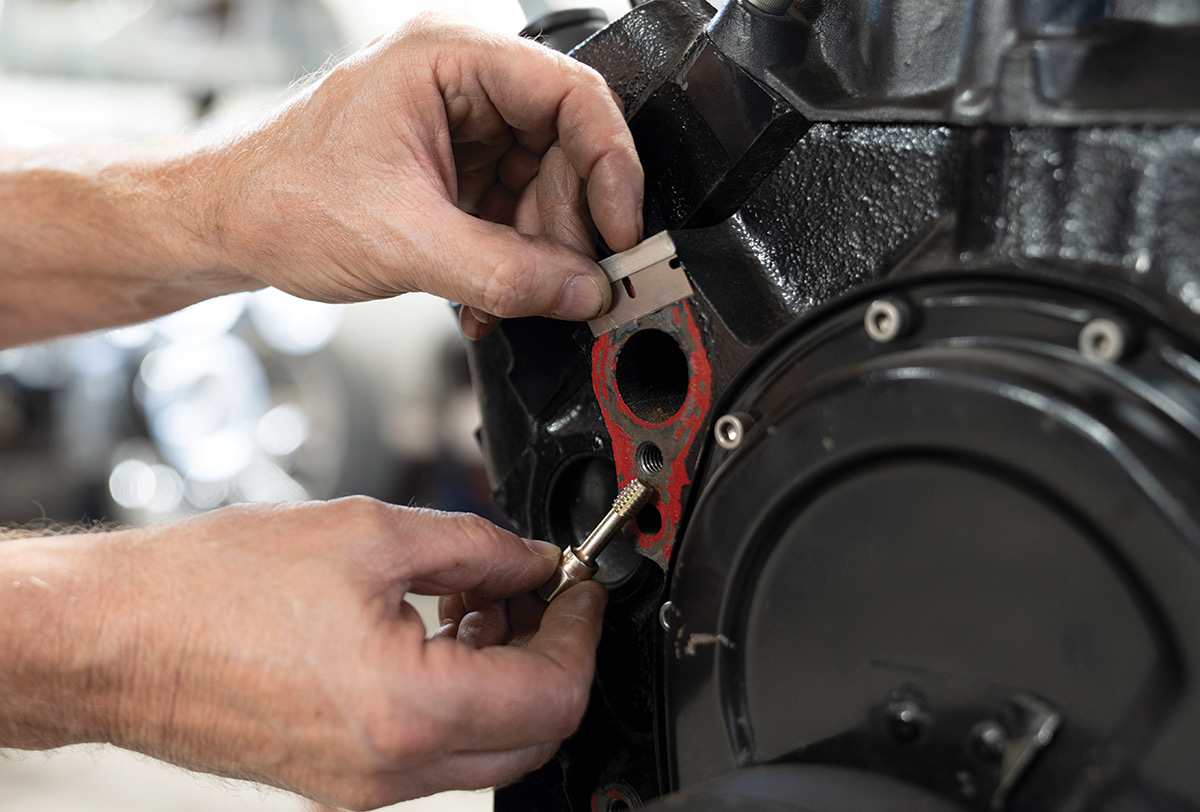
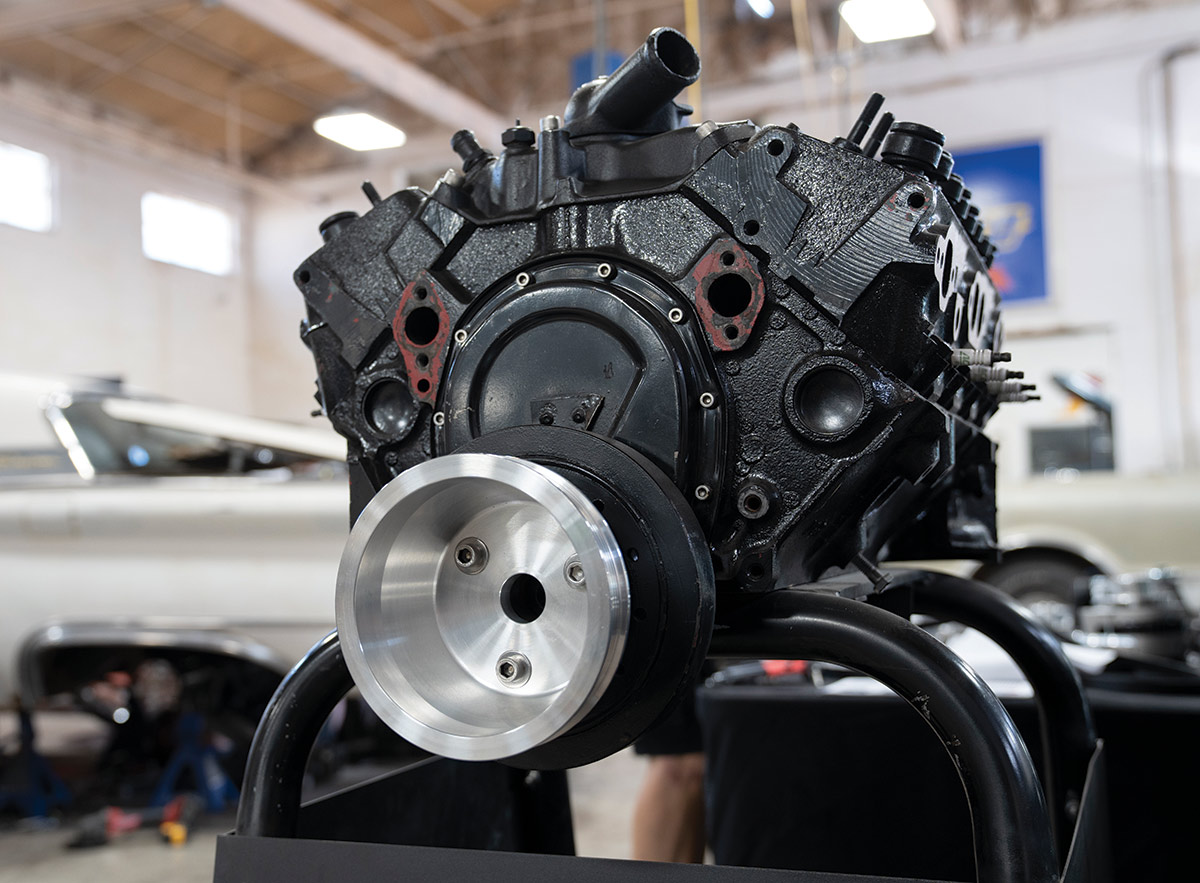
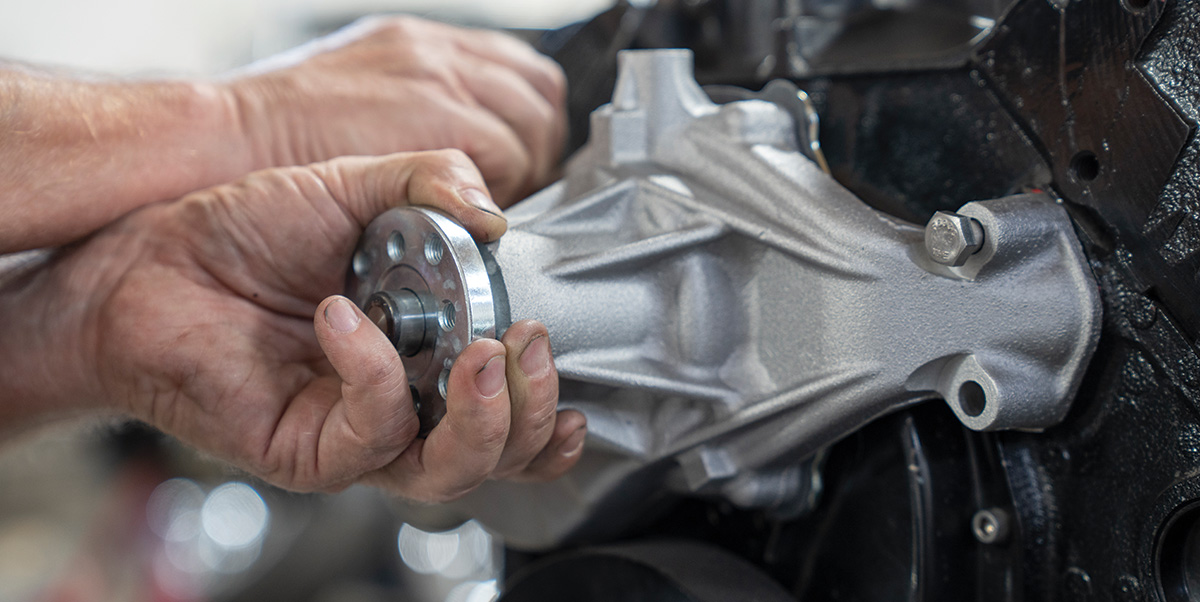
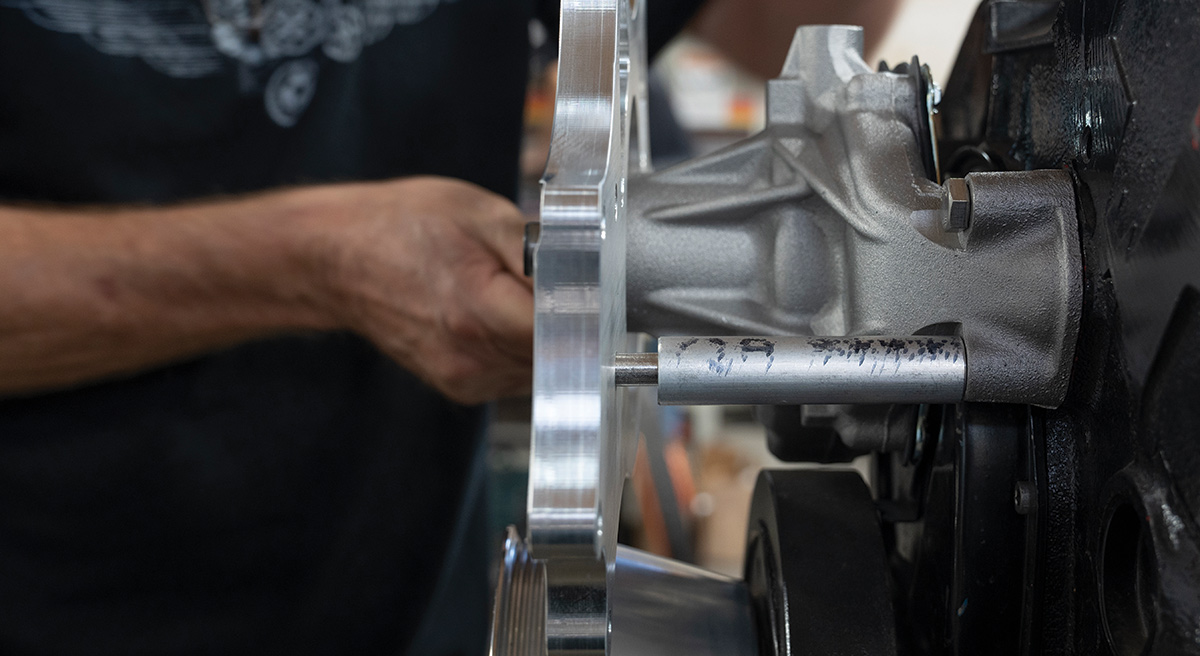
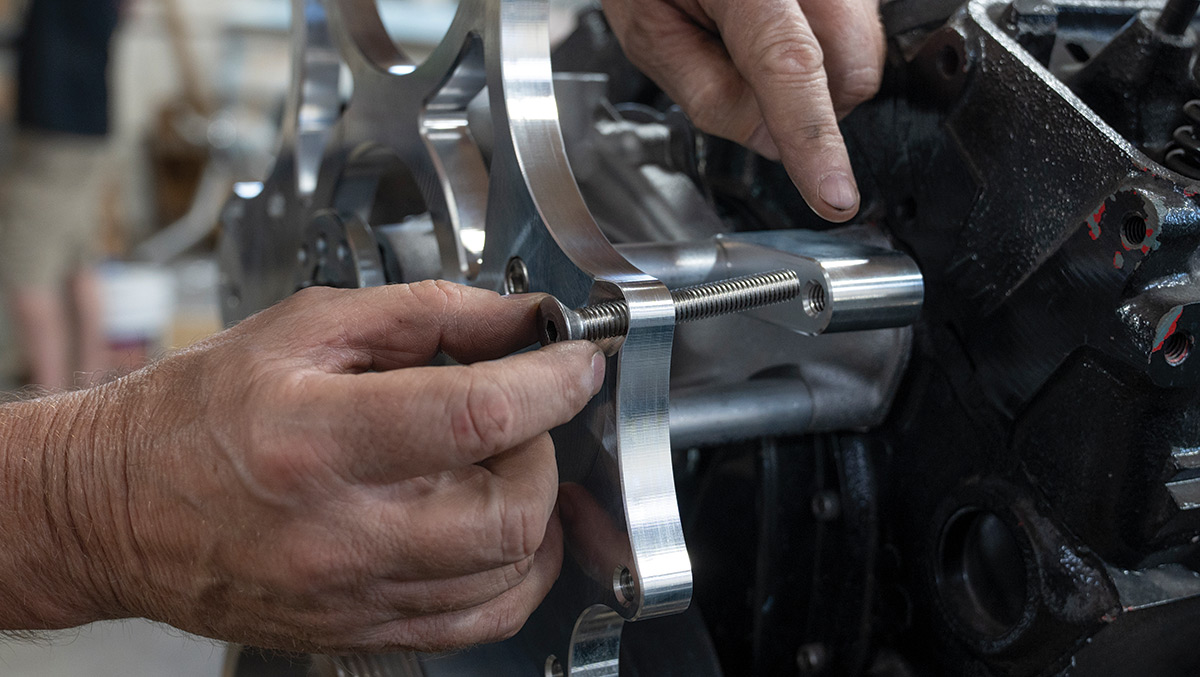
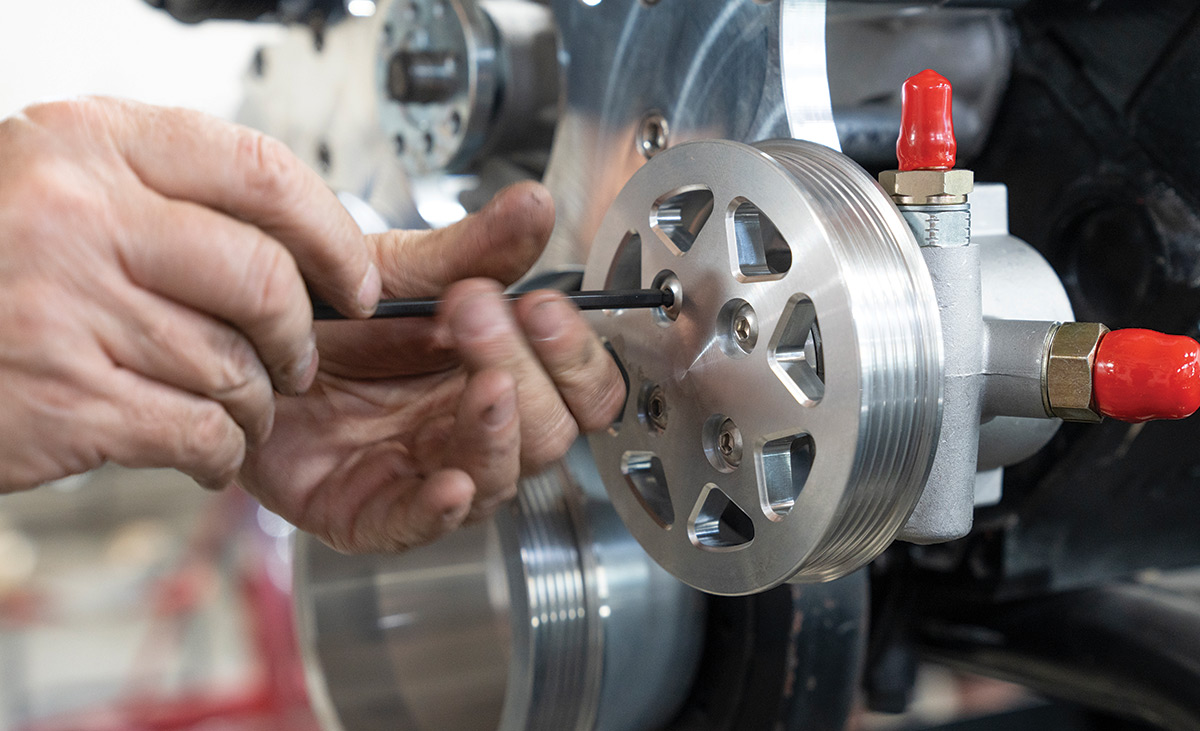
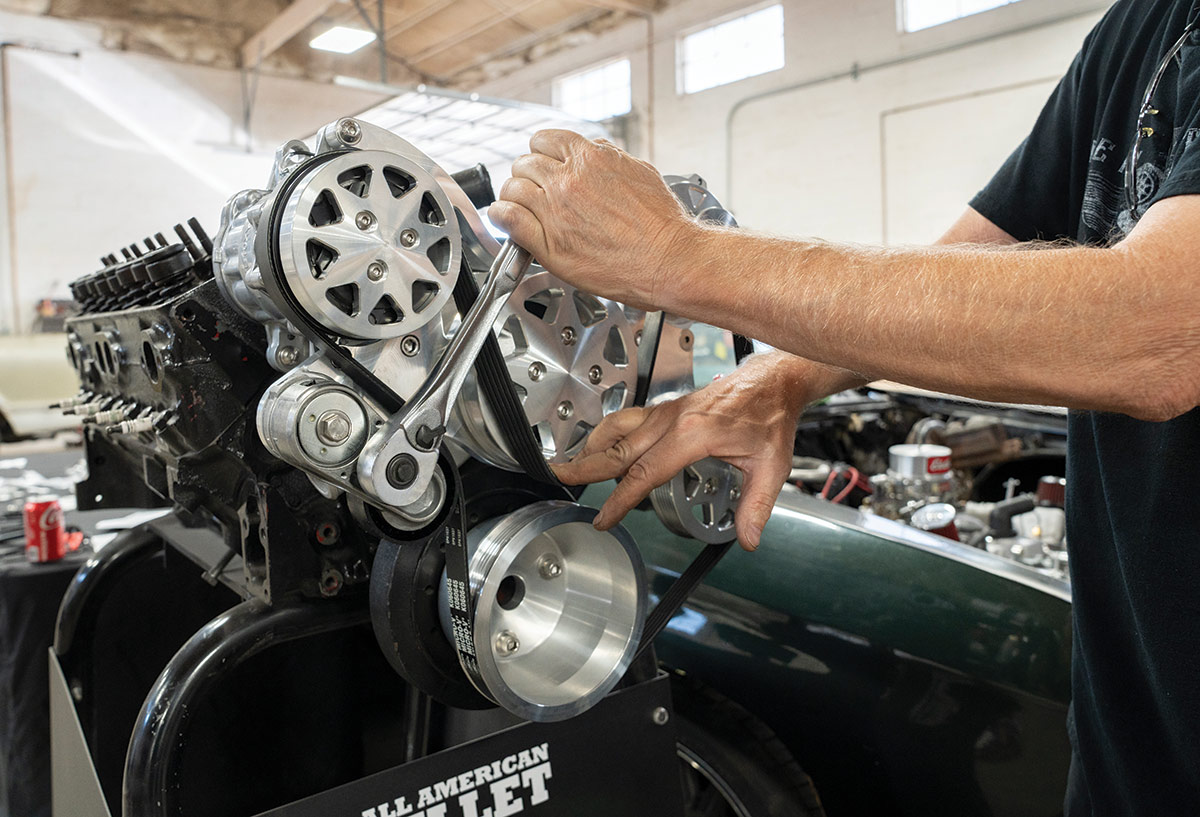
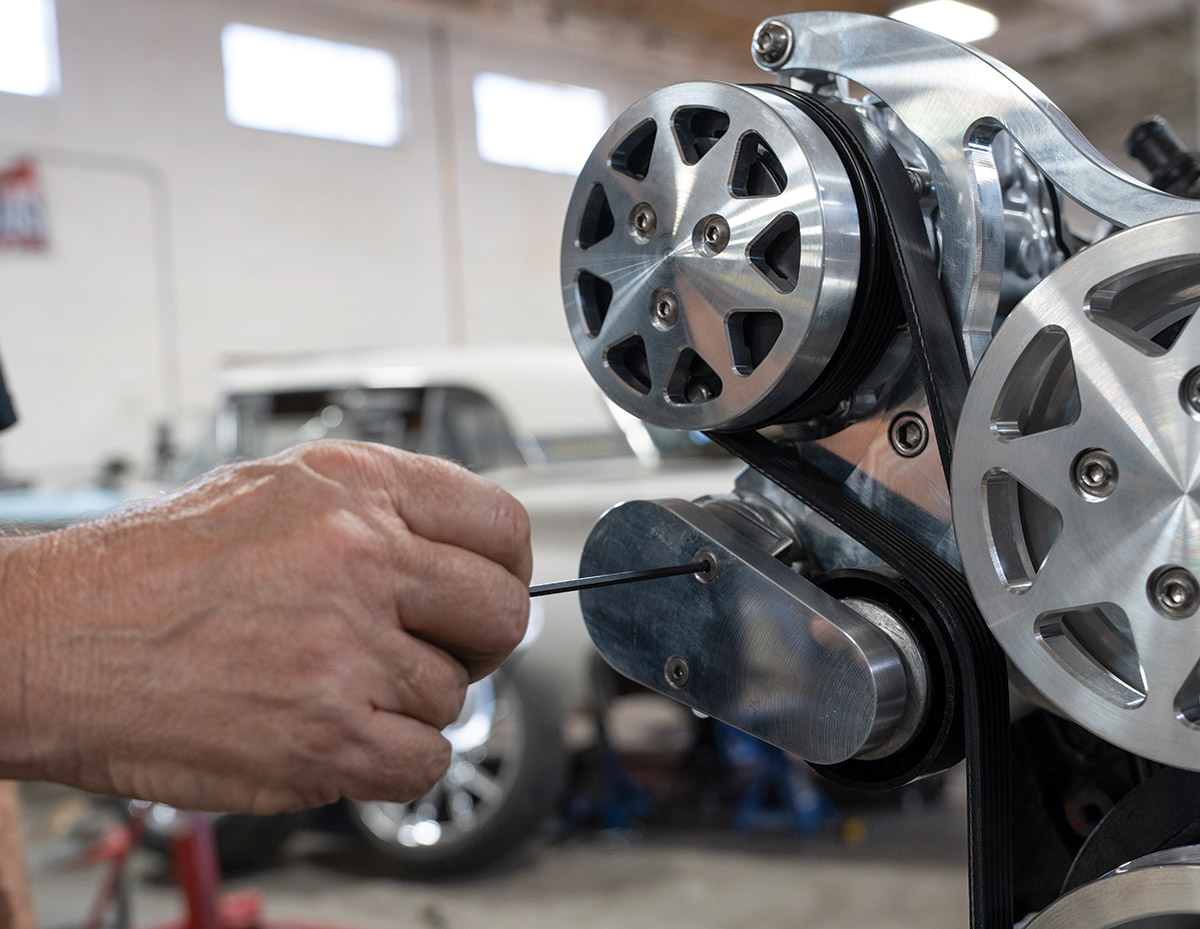
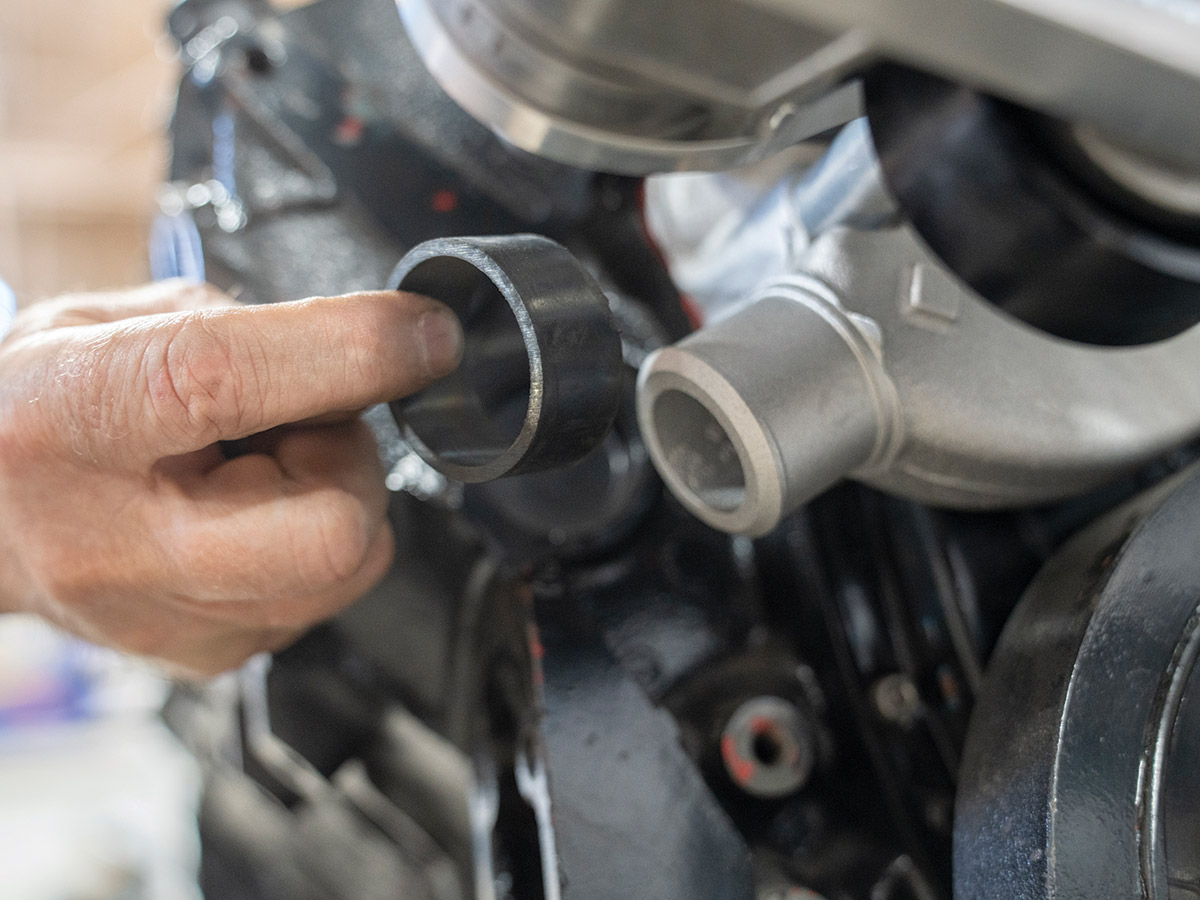
Just to show how easy the conversion from V-belt to serpentine is, we present you the following install of All American Billet’s complete small-block Chevy front drive kit, which doesn’t require much more than basic mechanical knowledge, a good set of tools (yours or your dad’s), a free afternoon, and, if possible, a helping hand with a few cold ones to celebrate your achievement!

All American Billet Serpentine Conversion Kits easily convert V-belt pulley systems to the modern OE-style six-rib serpentine belts. The complete small-block Chevy kit is designed for the short water pump and includes an alternator bracket, GM Type II–style power steering pump, Sanden SD7B10 A/C compressor, alternator fan pulley with cover, water pump pulley, crank pulley, power steering pulley, spacers, belts, and hardware.
1. All American Billet Serpentine Conversion Kits easily convert V-belt pulley systems to the modern OE-style six-rib serpentine belts. The complete small-block Chevy kit is designed for the short water pump and includes an alternator bracket, GM Type II–style power steering pump, Sanden SD7B10 A/C compressor, alternator fan pulley with cover, water pump pulley, crank pulley, power steering pulley, spacers, belts, and hardware.
There’s a huge variety of stock V-belt configurations on small-block Chevy engines, so we’ll skip the teardown portion and move directly to the pre-serpentine prep. First and foremost, carefully—and thoroughly—remove ALL gasket AND sealant material from the water inlets/outlets. Then, just as carefully, chase all forward-facing mounting holes (with a thread chaser not a thread tap!) to clean out any old Loctite and/or sealant. (Also, verify the timing cover is sealed and not leaking, as now’s the time to address that!)
2. There’s a huge variety of stock V-belt configurations on small-block Chevy engines, so we’ll skip the teardown portion and move directly to the pre-serpentine prep. First and foremost, carefully—and thoroughly—remove ALL gasket AND sealant material from the water inlets/outlets. Then, just as carefully, chase all forward-facing mounting holes (with a thread chaser not a thread tap!) to clean out any old Loctite and/or sealant. (Also, verify the timing cover is sealed and not leaking, as now’s the time to address that!)
After the prep and fluid removal (both coolant and power steering), begin the front drive installation by attaching the aluminum crank pulley using the supplied socket-head capscrews.
3. After the prep and fluid removal (both coolant and power steering), begin the front drive installation by attaching the aluminum crank pulley using the supplied socket-head capscrews.
When installing the water pump, there are a couple different ways of going about attaching the gaskets—as long as you do so in a manner that “seals” the pump to the block you’re good! Use just the upper two (temporary) mounting bolts, but do not fully tighten yet.
4-5. When installing the water pump, there are a couple different ways of going about attaching the gaskets—as long as you do so in a manner that “seals” the pump to the block you’re good! Use just the upper two (temporary) mounting bolts, but do not fully tighten yet.
Next, install the main accessory bracket using the supplied standoff spacers with corresponding Allen bolts on the lower two water pump holes. Again, do not fully tighten yet. (Adding a dab of RTV silicone to the ends of the bolts doesn’t hurt.)
6-7. Next, install the main accessory bracket using the supplied standoff spacers with corresponding Allen bolts on the lower two water pump holes. Again, do not fully tighten yet. (Adding a dab of RTV silicone to the ends of the bolts doesn’t hurt.)
Replace the temporary spacer/bolt on the driver side with the two-piece spacer with the elongated lower alternator mount against the water pump, as shown. Again, do not fully tighten yet!
8. Replace the temporary spacer/bolt on the driver side with the two-piece spacer with the elongated lower alternator mount against the water pump, as shown. Again, do not fully tighten yet!
Repeat the procedure on the passenger side with the A/C pump bracket, followed by the A/C pump (“tighten just enough to hold in place,” as All American Billet states).
9. Repeat the procedure on the passenger side with the A/C pump bracket, followed by the A/C pump (“tighten just enough to hold in place,” as All American Billet states).
Now install the alternator, which already has the All American Billet billet pulley/fan attached.
10. Now install the alternator, which already has the All American Billet billet pulley/fan attached.
With the upper portion of the drive assembly all in place, NOW you can go through and completely tighten all mounting hardware!
11. With the upper portion of the drive assembly all in place, NOW you can go through and completely tighten all mounting hardware!
Moving downward on the driver side, install the Type 2 power steering pump followed by the billet serpentine pulley.
12-13. Moving downward on the driver side, install the Type 2 power steering pump followed by the billet serpentine pulley.
Next, install both the water pump billet pulley and the A/C pump billet pulley cover.
14-15. Next, install both the water pump billet pulley and the A/C pump billet pulley cover.
With the pulleys securely attached, your serpentine drive is almost ready to be “belted” up—but first, install the tensioner to keep that belt tight and in place!
16-17. With the pulleys securely attached, your serpentine drive is almost ready to be “belted” up—but first, install the tensioner to keep that belt tight and in place!
Using the supplied instructions for reference, route the serpentine belt into the drive system—load the tensioner using a 1/2-inch drive socket wrench or breaker bar (that’s what the square hole’s for) to secure the belt once properly in place and seated correctly in/on all the pulleys.
18. Using the supplied instructions for reference, route the serpentine belt into the drive system—load the tensioner using a 1/2-inch drive socket wrench or breaker bar (that’s what the square hole’s for) to secure the belt once properly in place and seated correctly in/on all the pulleys.
Finish the front of the drive assembly off with the tensioner pulley billet cover.
19. Finish the front of the drive assembly off with the tensioner pulley billet cover.
All American Billet also provides a billet A/C manifold to replace the Sanden block-off plate.
20. All American Billet also provides a billet A/C manifold to replace the Sanden block-off plate.
For the water pump return, All American Billet supplies a rubber hose adapter to retain your existing diameter return hose to the radiator.
21. For the water pump return, All American Billet supplies a rubber hose adapter to retain your existing diameter return hose to the radiator.
Lastly, you’ll need to find a suitable location to mount the new billet power steering fluid reservoir—typically, off the radiator core support directly in front of (and above) the pump works best. Not included in the kit are the appropriate power steering high/low pressure lines and fittings, which you can either have made to fit or purchase separately already cut to length with fittings installed.
22. Lastly, you’ll need to find a suitable location to mount the new billet power steering fluid reservoir—typically, off the radiator core support directly in front of (and above) the pump works best. Not included in the kit are the appropriate power steering high/low pressure lines and fittings, which you can either have made to fit or purchase separately already cut to length with fittings installed.
With your front drive system fully buttoned up, follow All American Billet’s in-depth instructions on fluids and everything required to get your truck back on the road … then, enjoy the modern fruit of your labor!
23. With your front drive system fully buttoned up, follow All American Billet’s in-depth instructions on fluids and everything required to get your truck back on the road … then, enjoy the modern fruit of your labor!
 SOURCE
ALL AMERICAN BILLET
(844) 245-5381
allamericanbillet.com