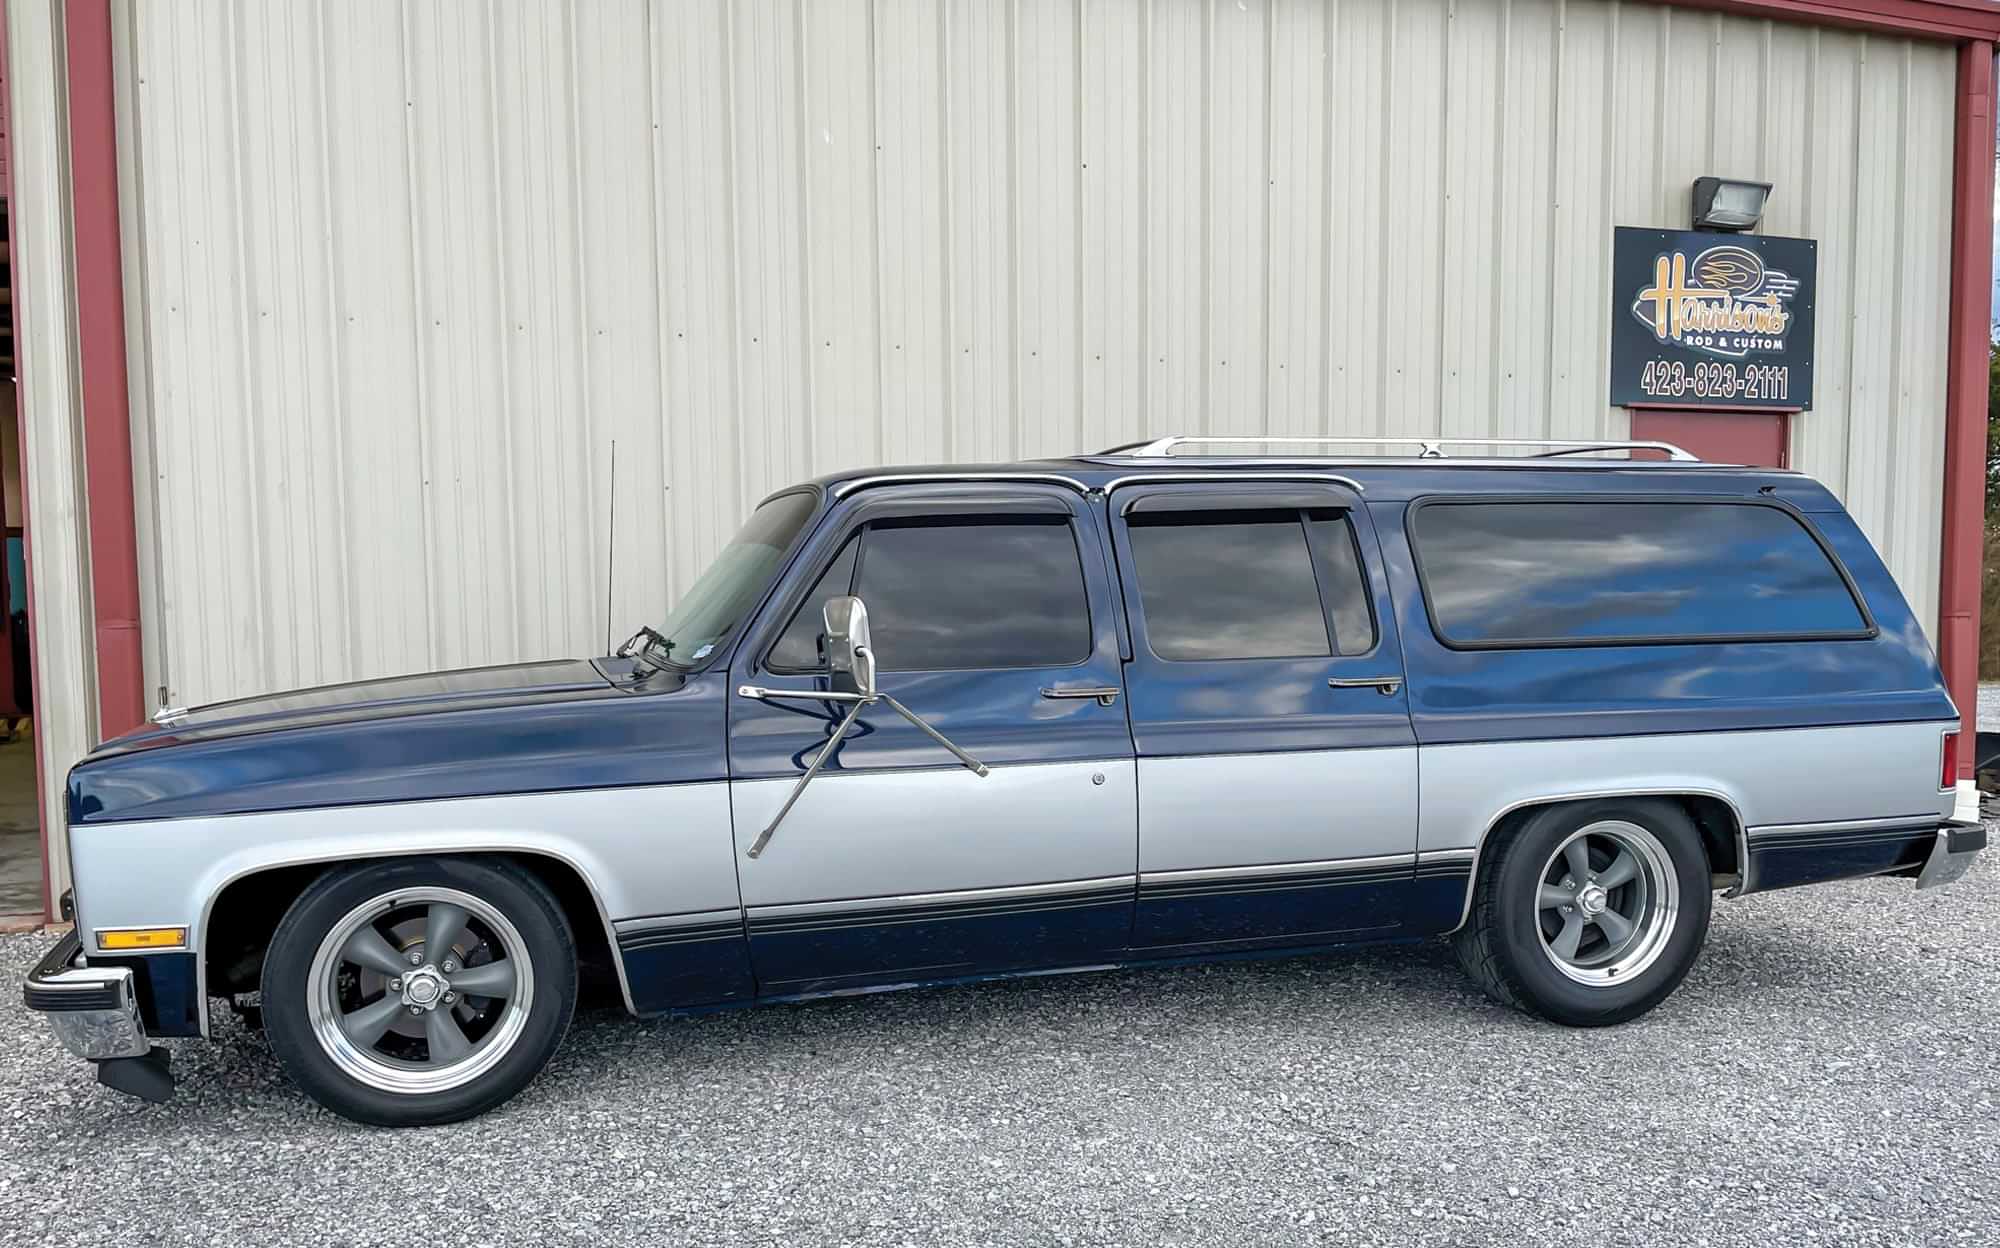
CTP logoFeature star Tech
InTheGarageMedia.com
driver side profile view of a black and silver vintage four door SUV

BY Jason ChandlerPhotography BY Harrison’s Rod & Custom

Making Room in the Wheelhouse typography
The Early-to-Late Squarebody Inner Fender Retrofit Trick
O

ne of the biggest concerns for truck owners, especially when you love the lowered look, is clearance. I remember back in the day grabbing the reciprocating saw and removing anything necessary to get as low as possible. As I have refined my taste and my concern for the longevity of my projects, I look for an elevated approach to modification. I’ve been looking for a way to do just that and bring you guys along in the process. Enter Bryan Harrison of Harrison’s Rod & Custom.

Harrison is known for hot rods with a true foundation in street rodding. His unique style continues throughout the Squarebody platform and is seen in each build they produce. With the builds Harrison’s Rod & Custom produces, driveability is of upmost importance. The Harrison style is true to hot rodding; you can always tell one of his builds apart from the rest. Staggered wheels and meaty sidewalls are a staple and you got to have clearance for that to work. With the popularity of the ’73-87 GM trucks, nowadays there are always a couple of Squarebodies in his shop. Harrison and I got to talking about this topic and he had the perfect scenario.

Harrison has always wanted to install the early ’73-80 Squarebody inner fenders in the ’81-87 platform and see what he could gain by doing so. The ’73-80 inner fenders have a larger housing and should be able to bolt in without too much fabrication. So, when his customer approached him, he knew we had to document it for Classic Truck Performance.

Daniel Chandler, owner of an ’89 Chevy Suburban (the Suburban carried the “Square” styling through 1991 before getting the OBS upgrade), sourced Harrison’s last summer for a static drop on his Squarebody Suburban. Sitting on a 5/7 drop, it needed just a little inner fender room but at the time he wasn’t quite ready for a full-on tub. Daniel wanted to stay with a GM look underhood. He recently reached out to Harrison after noticing some rubbing on the factory inner fenders and was ready to get them addressed. With the owner open to the idea of the conversion, Harrison reached out to Auto Metal Direct for the inner fenders and shows us just how easy it is to install with basic tools around the shop.

a tire and the clearance space above
1. As you can tell, the 5-inch drop on the front has some clearance issues when this truck hits a bump in the road.
new inner fenders from Auto Metal Direct (AMD)
2. New inner fenders arrived from Auto Metal Direct (AMD). These work on all ’73-80 GM trucks, Blazers, Jimmys, and Suburbans.
internal view of the driver side inner fender and the surrounding parts

3. Bryan Harrison starts with the driver side inner fender. As you can tell, there isn’t a whole lot to remove here. The factory bottle jack is missing like most of these trucks, but we will need to address the vapor canister mount. More on that later.

the original inner fender sits next to the new inner fender for clearance comparison

4. With the original inner out and next to the ’73-80 AMD version, you can see just how much clearance you’re going to gain over the factory ’81-87 inner fender.

a sharpie mark notes the area that needs to be trimmed from the new inner fender
5. First mod, we need to trim the new inner fender to contour properly with the fender. You can use tin snips or your cut-off wheel for this.
the new inner fender trim area, post cut and installed to the car
6. With the trimming done, you can see that the factory hole lines up and you can start bolting it in.
the reinforcement brace sit in place with the holes close to lining up
7. The reinforcement brace will need to be opened to line up the boltholes. A stubby step bit works great for this. The holes aren’t off very far.
mechanic uses a drill while installing the inner brace
8. The same procedure is used for the inner brace as well. Patience is key; you don’t want to go too far and damage the factory threads that you will be using.
a hole in a part that doesn't match the hole mark
9. The holes at the front that connect to the core support need to be adjusted as well. Only slight adjustments are necessary, the factory bolt and washer will cover up these spots.
mechanic uses a small pick to mark the panel to drill for the three core support bolts
10. Harrison uses a small pick to mark the panel to drill for the three core support bolts.
close up of a new early model inner fender, installed and allowing greater clearance
internal view (from under the hood) of a new early model inner fender installed
11-12. As you can see, the new early model inner fenders from AMD give you that extra tire clearance and maintain an original look.
close up of a new early model inner fender installed on the driver side front wheel well
13. The same process is carried over to the driver side; all the original wheel arch bolts are reused as well.
the underneath installation with a light coat of sealer
14. Harrison applies a light coat of sealer to finish off the installation underneath.
view under the hood of the battery on its tray and the overflow canister
15. The other part of this conversion deals with modifying the battery tray and overflow canister.
The battery tray
16. The battery tray top ears are cut to allow for clearance with the higher sitting position of the new inner fenders.
a pick is used to indicate the second hole drilled to the battery tray
17. Harrison drills a second hole to achieve better stability once the battery tray is in place.
a pick is used to indicate the center tab hole drilled to the battery tray
18. The center tab is drilled for mounting on the inner fender. This serves as a mockup to drill the inner fender for the 3/8-16 x 3/4-inch bolt.
a sharpie is used to mark the area on the fender for mounting
19. With the battery tray modifications completed, the inner fender is marked to be drilled for mounting. Harrison uses factory-style nuts and bolts to attach the battery tray to the inner fender and the main fender inner structure.
the battery tray back in place, with the battery, under the hood
20. With the battery tray in place you can see it all appears as if it came from GM just like this.
the fender-mounted overflow tank, in place under the hood
21. This truck came with a fender-mounted overflow tank. Harrison remounts that by simply marking the holes, drilling the inner fender, and using the factory bolt and U-nut to remount the reservoir.
mechanics finger points to an area where the driver side inner fender and the vapor canister bracket touch
22. Moving to the driver side, the vapor canister needs some slight modifications as well.
the mechanic holds the canister bracket with a cut mark in hand
23. The canister bracket is marked to be cut as the early model inner fenders interfere with the lower foot on this bracket.
the mechanic holds the canister bracket post cut
24. Using his cut-off wheel, Harrison trims the bracket to remove any interference. Just enough to retain structural integrity.
view under the hood of the overflow tank with mounting holes on the inner fender
25. Drill holes as needed to remount the existing harness just like the original.
close up of the newly gained clearance above the tire and in the wheel well
26. With the modifications completed, you can see there is so much more room for activities.
full view of the front driver side fender and wheel
27. A quick one-day install and the owner will get so many more miles out of these 225/55-18s without the worry of them rubbing. A trip to the local cruise confirms that this conversion is worth the effort.
Harrison’s Rod & Custom
(423) 823-2111
Auto Metal Direct (AMD)
(770) 692-6372
autometaldirect.com