CTP logoFeature star Tech
InTheGarageMedia.com
The Light at the End of the Truck
Brothers’ LED Taillight & Third Brake Light Upgrade for C10s
BY Rob Fortier Photography BY The Author
B

elieve it or not, LED (light-emitting diode) taillights have actually been around since the early ’90s. Oddly enough, it wasn’t until the early ’00s that LED headlights began replacing the popular HIDs (high-intensity discharge), which had started to replace the age-old Halogen sealed beams around the same time the LED taillights came around.

Today, LED lighting is so prevalent there’s absolutely no reason any vehicle—no matter the age—should NOT have LED lighting, including the old trucks we drive. Besides their obvious greatly improved illumination, LED lights use less power than standard incandescent bulbs, plus they produce much less heat and are resistant to vibration (no socket contact), which means the diodes can be mounted closer (sometimes even integrated into) to the lens in which they’re being illuminated through. Obviously, however, some people feel that LED lights in their nature distract from the non-modern look of vintage cars and trucks, which is a valid point. Fortunately, companies like Brothers Trucks now offers LED head-/taillight conversions that don’t make your truck look like it just came off the set of TRON, yet not only illuminate the road substantially better for you, they make your truck substantially more visible to others. That’s a double win, and something your old T3s and 1157s can and will never do!

For you 1967-1972 C10 owners with factory cargo lights, Brothers also offers an LED third brake light conversion. Combined with their LED taillights, this addition will light up the back side of your C10 like never before. Now, while the taillights are a direct bolt-in (no wiring modifications), the third brake light kit does require some additional wiring (you must tap into the brake light switch in order to provide the signal when braking) and minor cargo light housing modification (drilling a small hole to pass wiring through). Less than a half-day’s work with basic hand/wiring tools is all it takes—well worth it for the resulting benefits, as we’ll show you here.
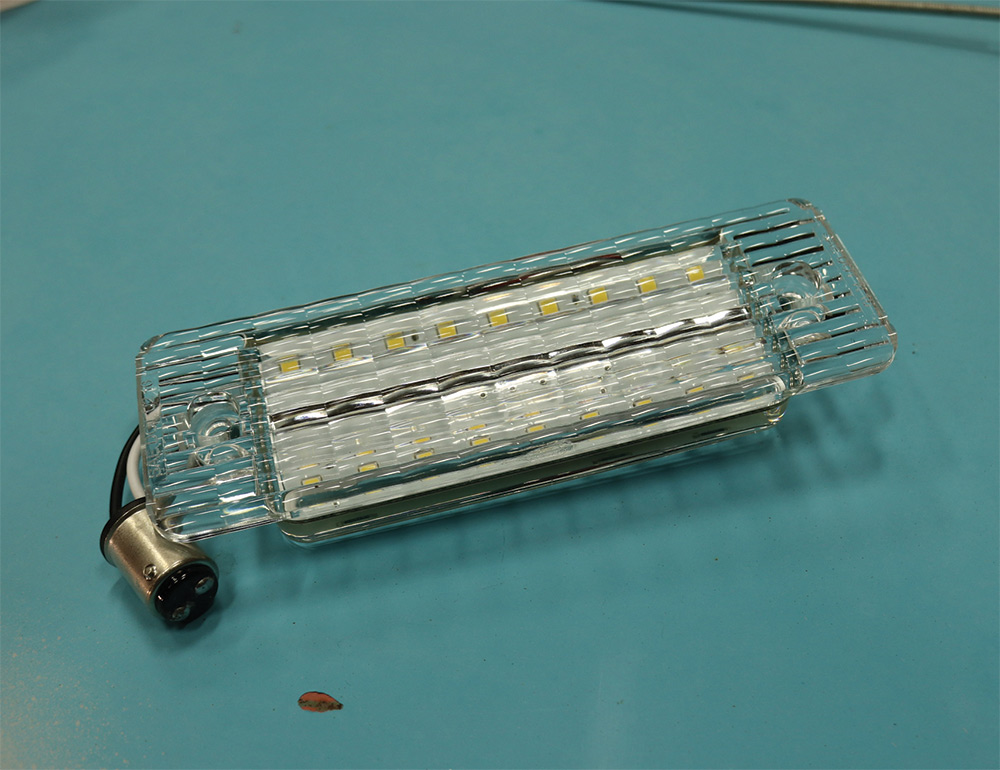
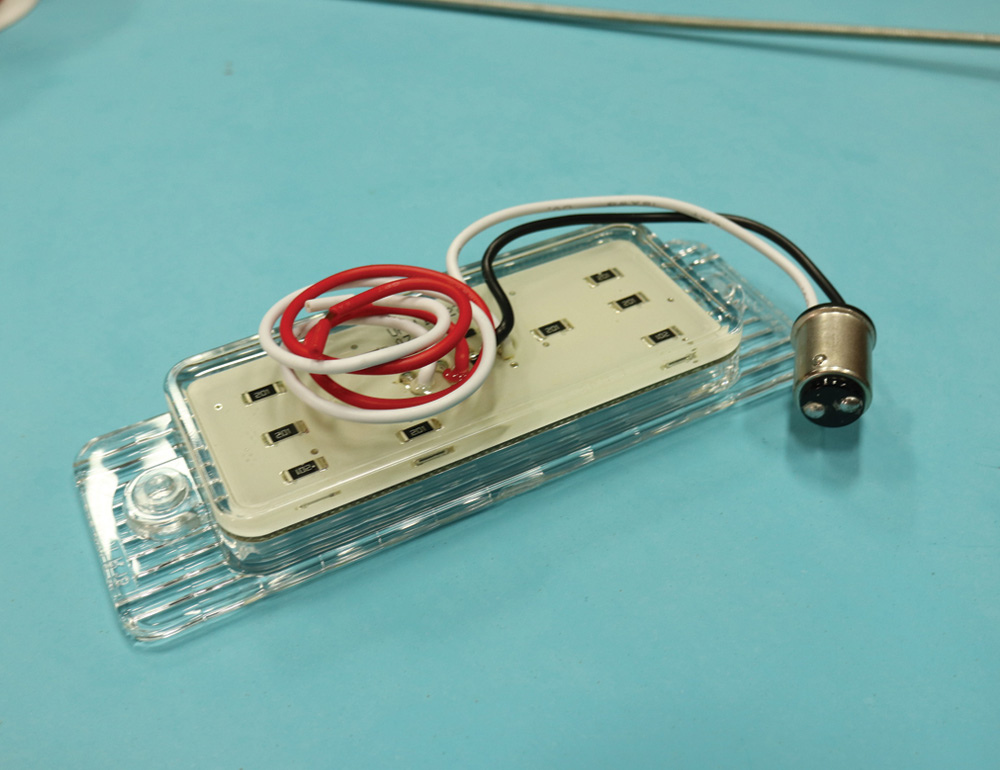
Brothers Trucks’ LED cargo/third brake light closeup
LED cargo/third brake light closeup
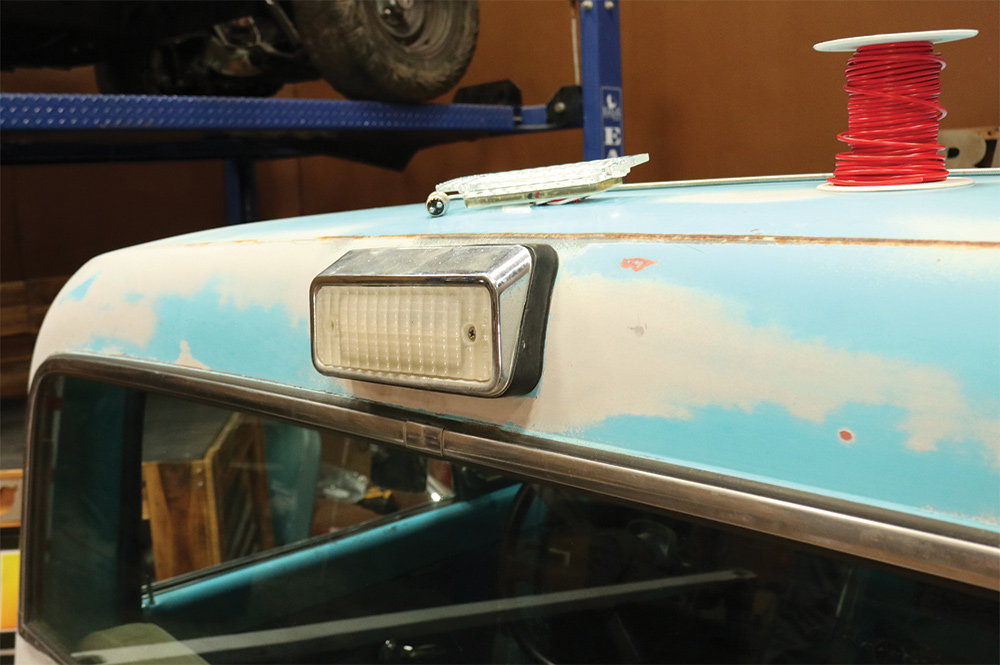
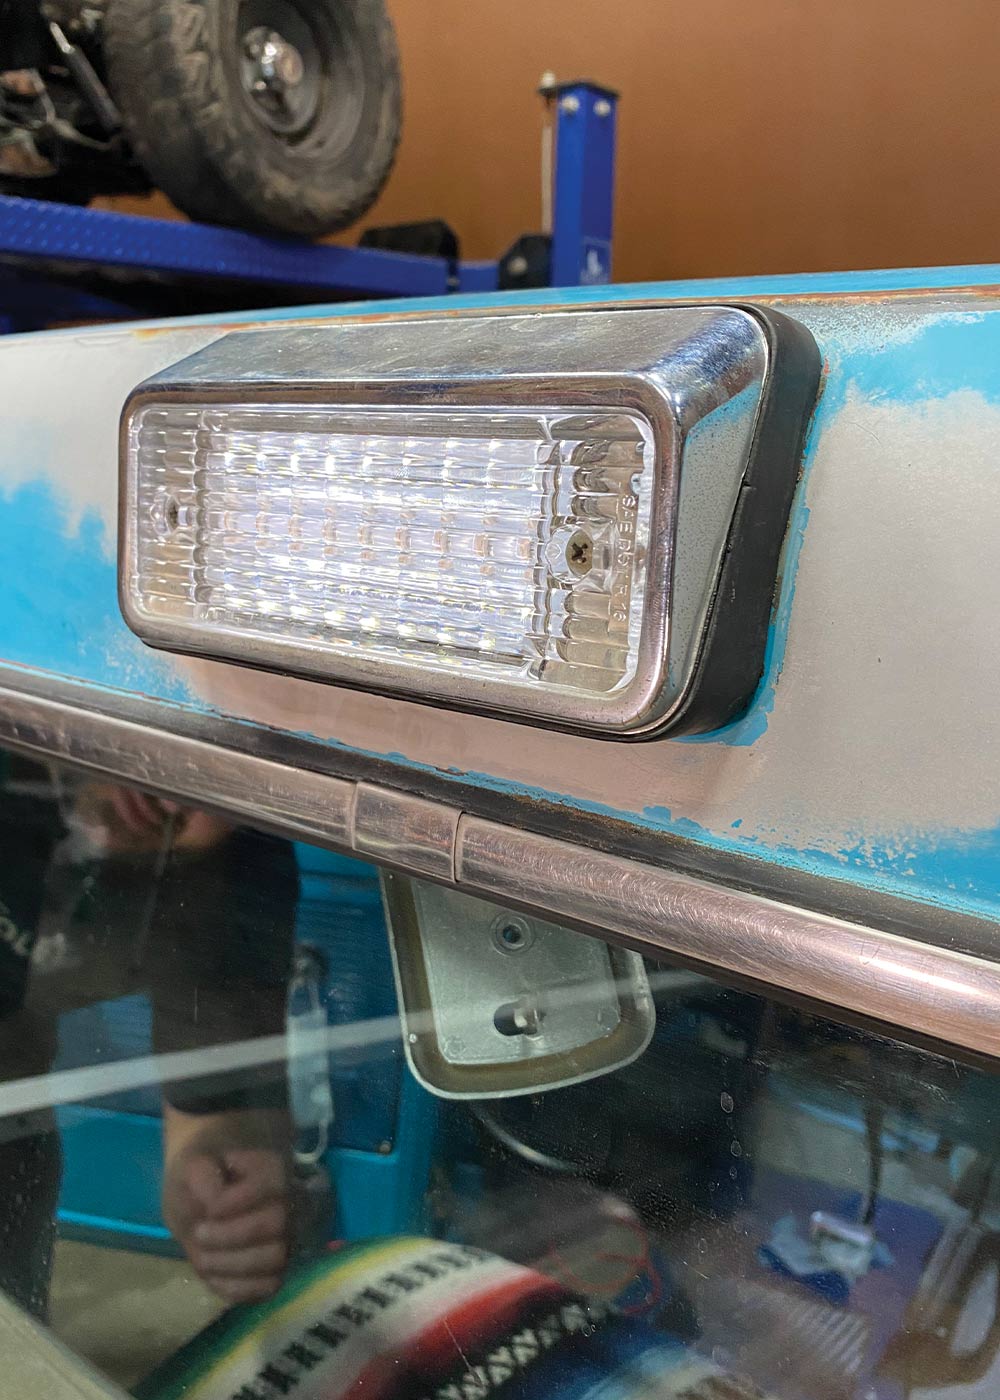
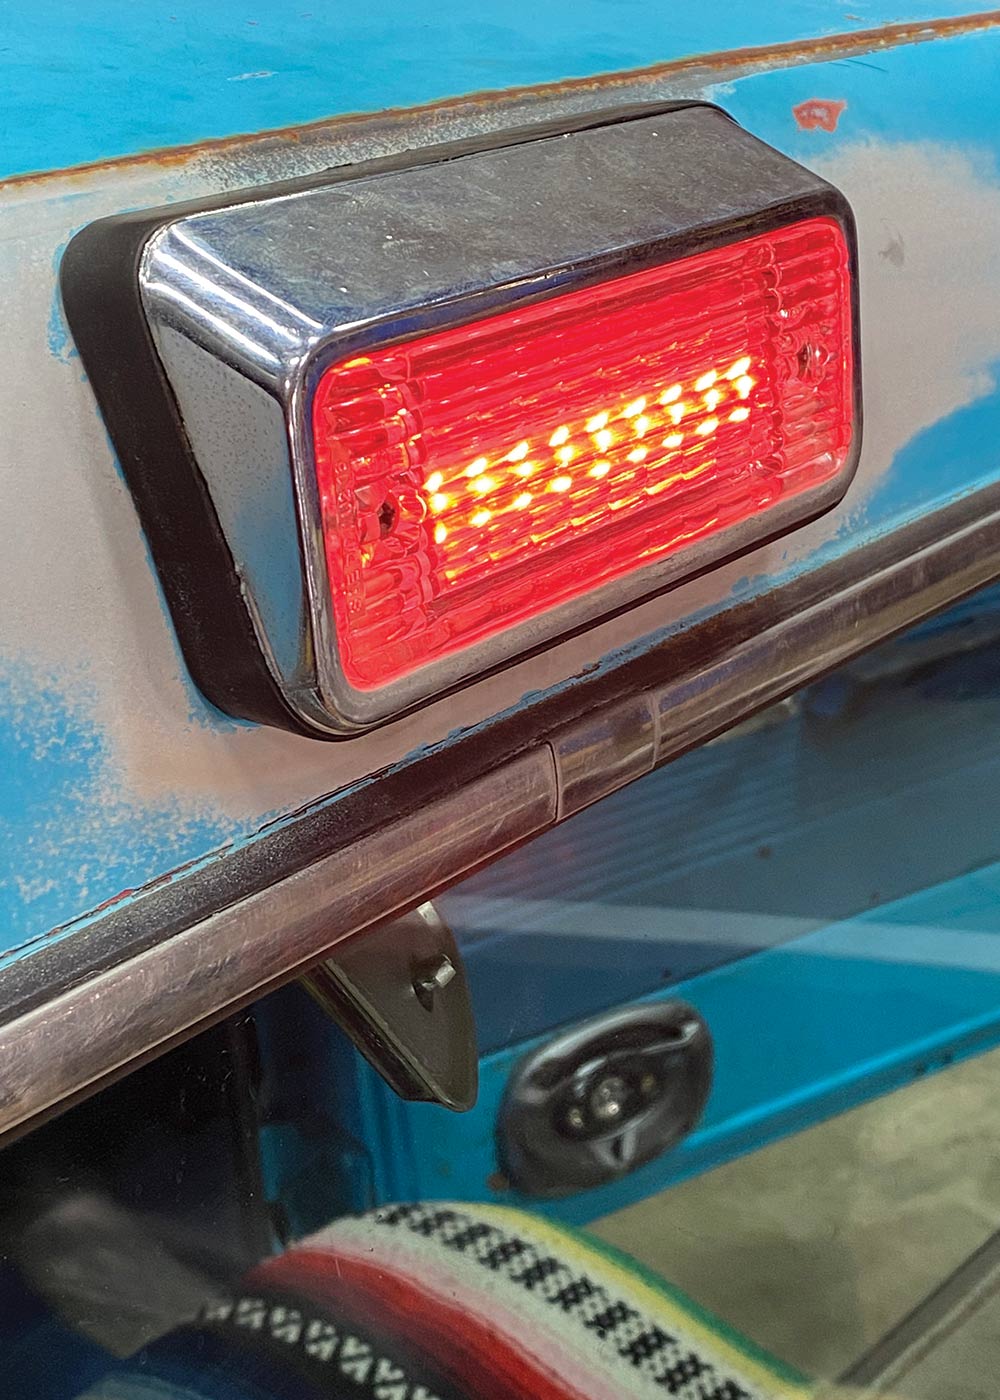
1-2. This is it: Brothers Trucks’ LED cargo/third brake light conversion. Hard to believe this tiny piece of injection-molded plastic with a bunch of tiny diodes sandwiched to the back can deliver such bright light—in two colors (clear and red) no less!
Stock cargo light housing and rubber mounting gasket closeup
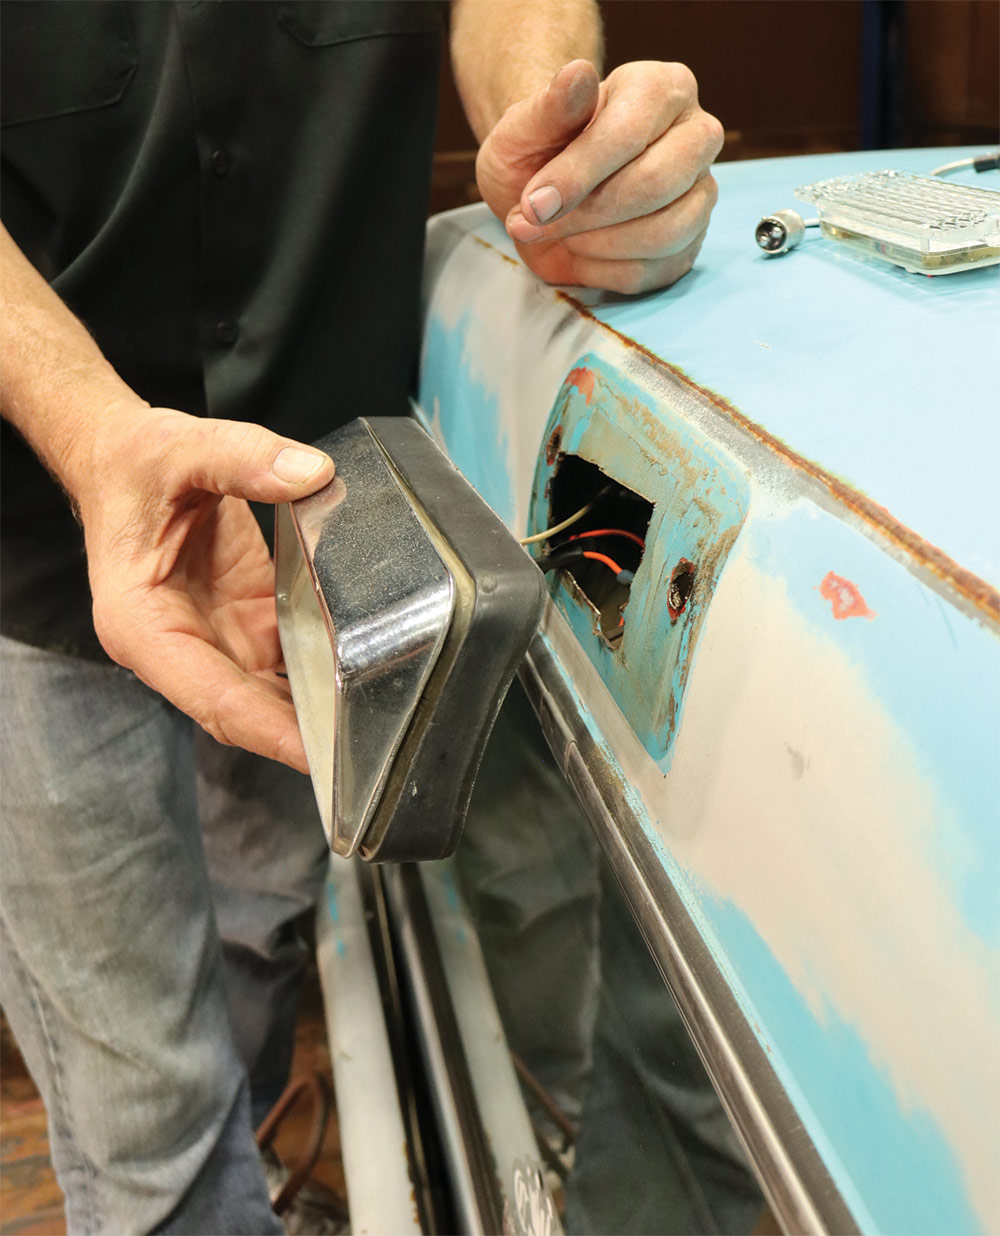
3-4. We’ll retain the stock cargo light housing and rubber mounting gasket; the weathered lens and primary wiring we will not. Brothers offers new replacement cargo light assemblies, however, the shouldered lens-to-housing screws are not available, so we’ll obviously be saving those as well!
Removing cargo light housing and rubber mounting gasket
3-4. We’ll retain the stock cargo light housing and rubber mounting gasket; the weathered lens and primary wiring we will not. Brothers offers new replacement cargo light assemblies, however, the shouldered lens-to-housing screws are not available, so we’ll obviously be saving those as well!
The interior dome light and its accompanying switch
The interior dome light and its accompanying switch in hand
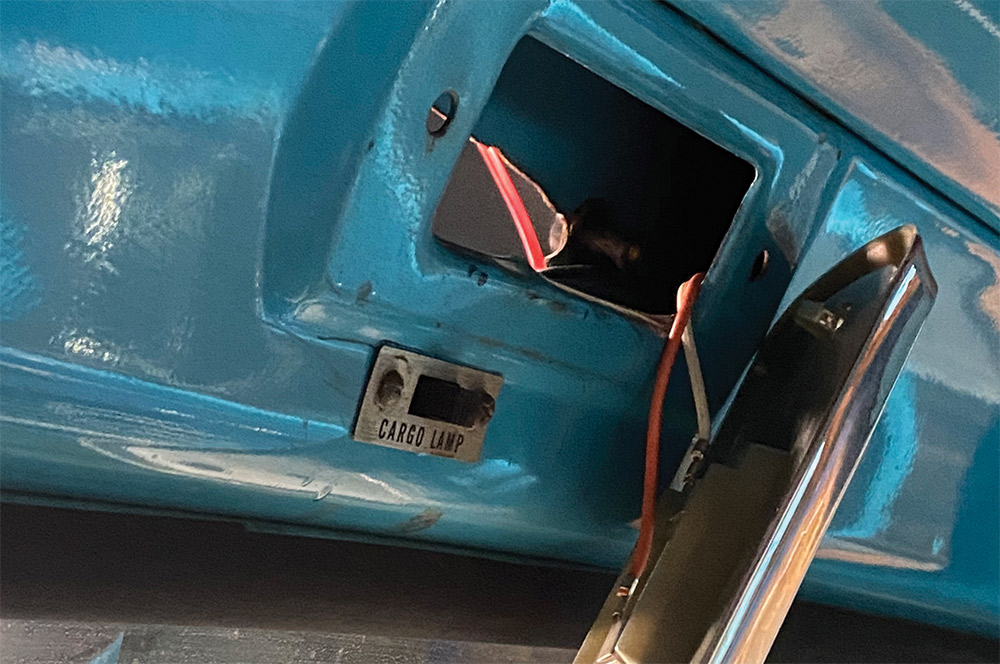
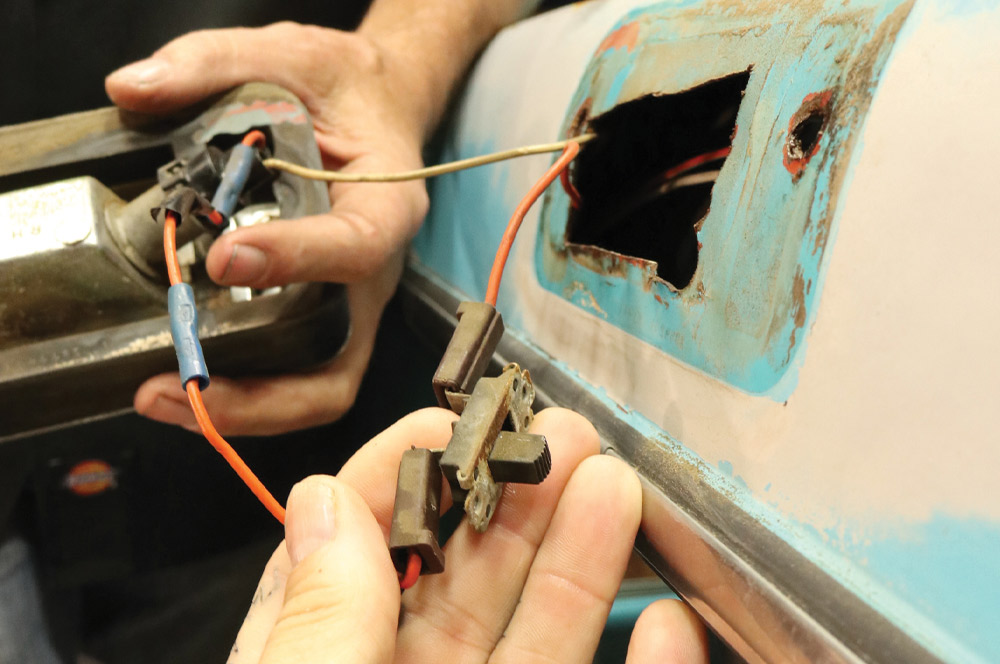
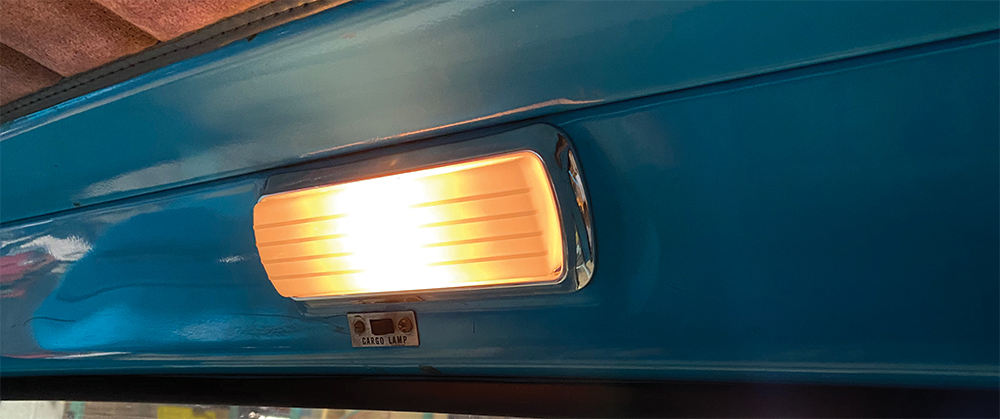
5-6. The interior dome light and its accompanying switch, on the other hand, will be retained, as they will still facilitate the operation of the exterior cargo light.
Splicing the new LED receptacle into the OE cargo light wiring closeup
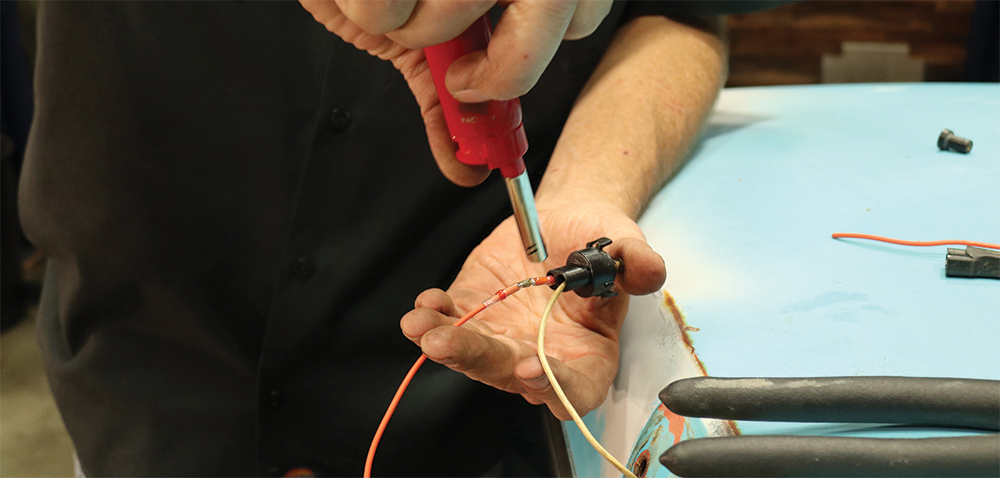
7. Our first order of business is to address the wiring, which we begin by splicing the new LED receptacle into the OE cargo light wiring.
New power and ground wires closeup
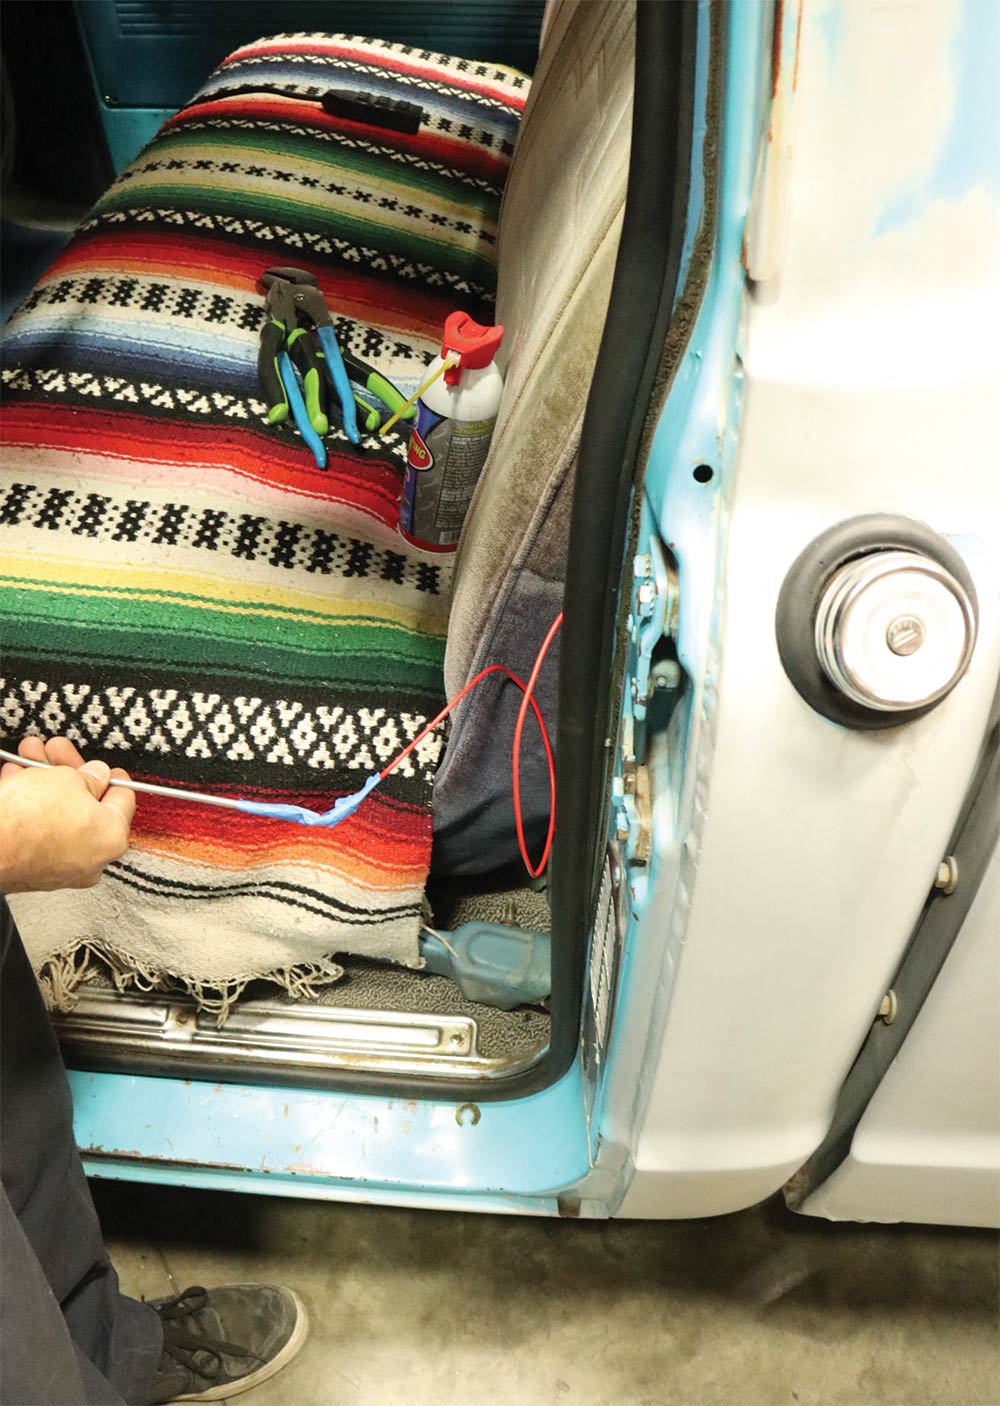
8. To get the new power and ground wires for the third brake light down and around and up to the brake light switch under the dash, we need to “snake” it through where the factory wiring for the cargo light runs. You can use a dedicated wiring tool, or fashion a piece of thick welding rod or even a coat hanger to do the job.
Shot from beneath the dash
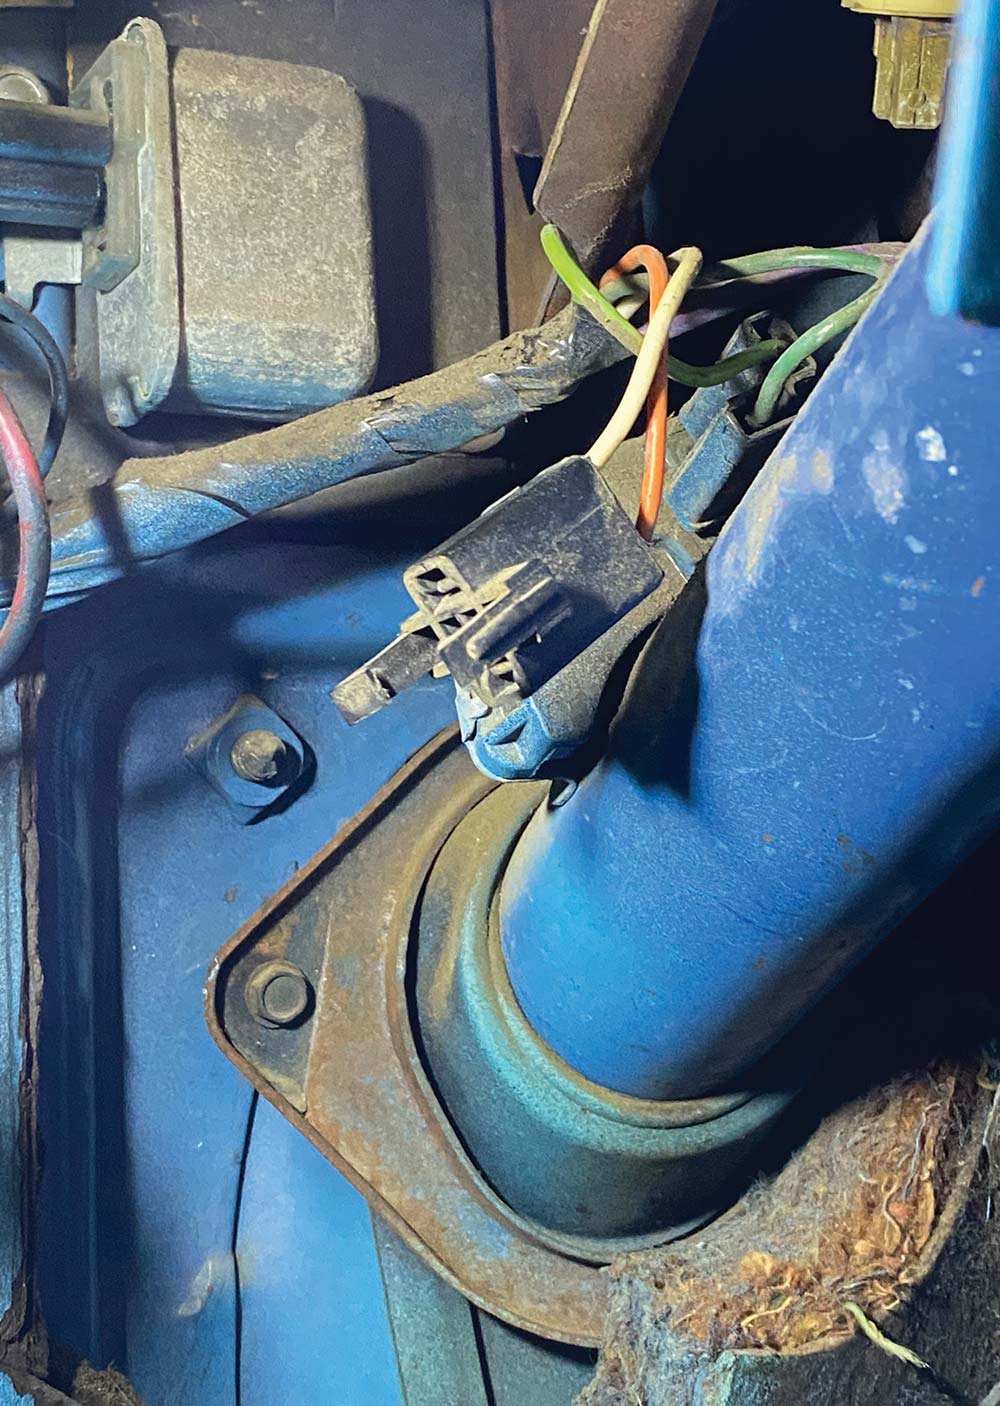
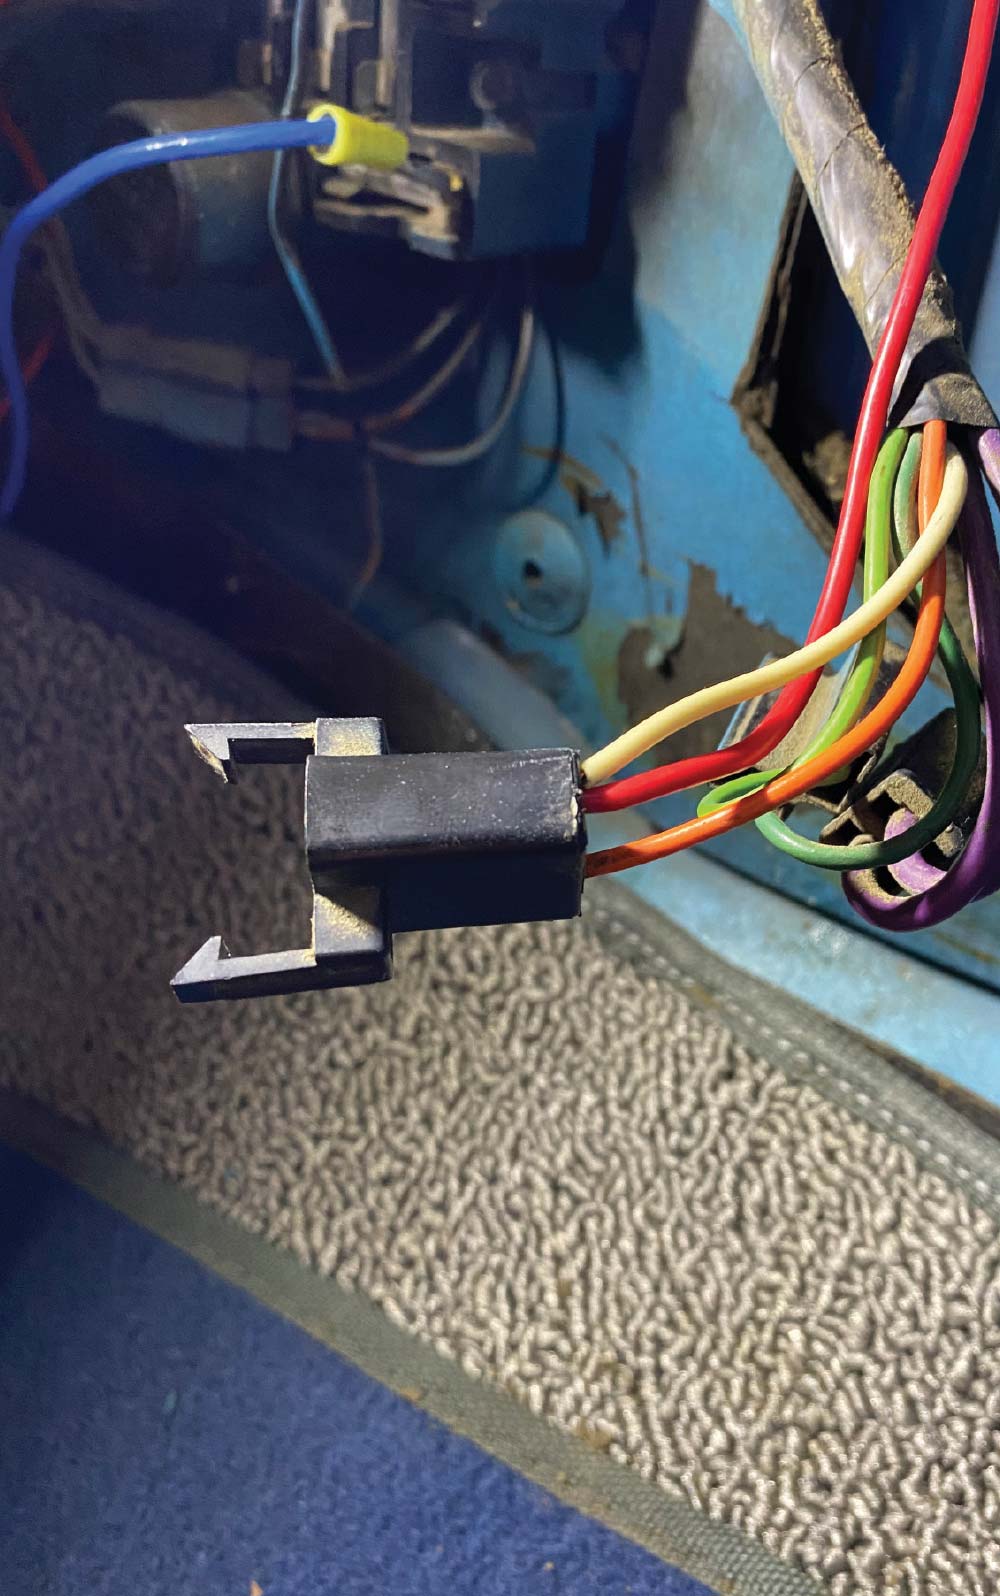
9. Beneath the dash, locate and unplug the brake light switch plug (evident by the orange/white wires, and the presence of a plunger switch actuated by the brake pedal arm!).
De-pin the switch
Splice the red with the white (hot) wire and crimp a new terminal on
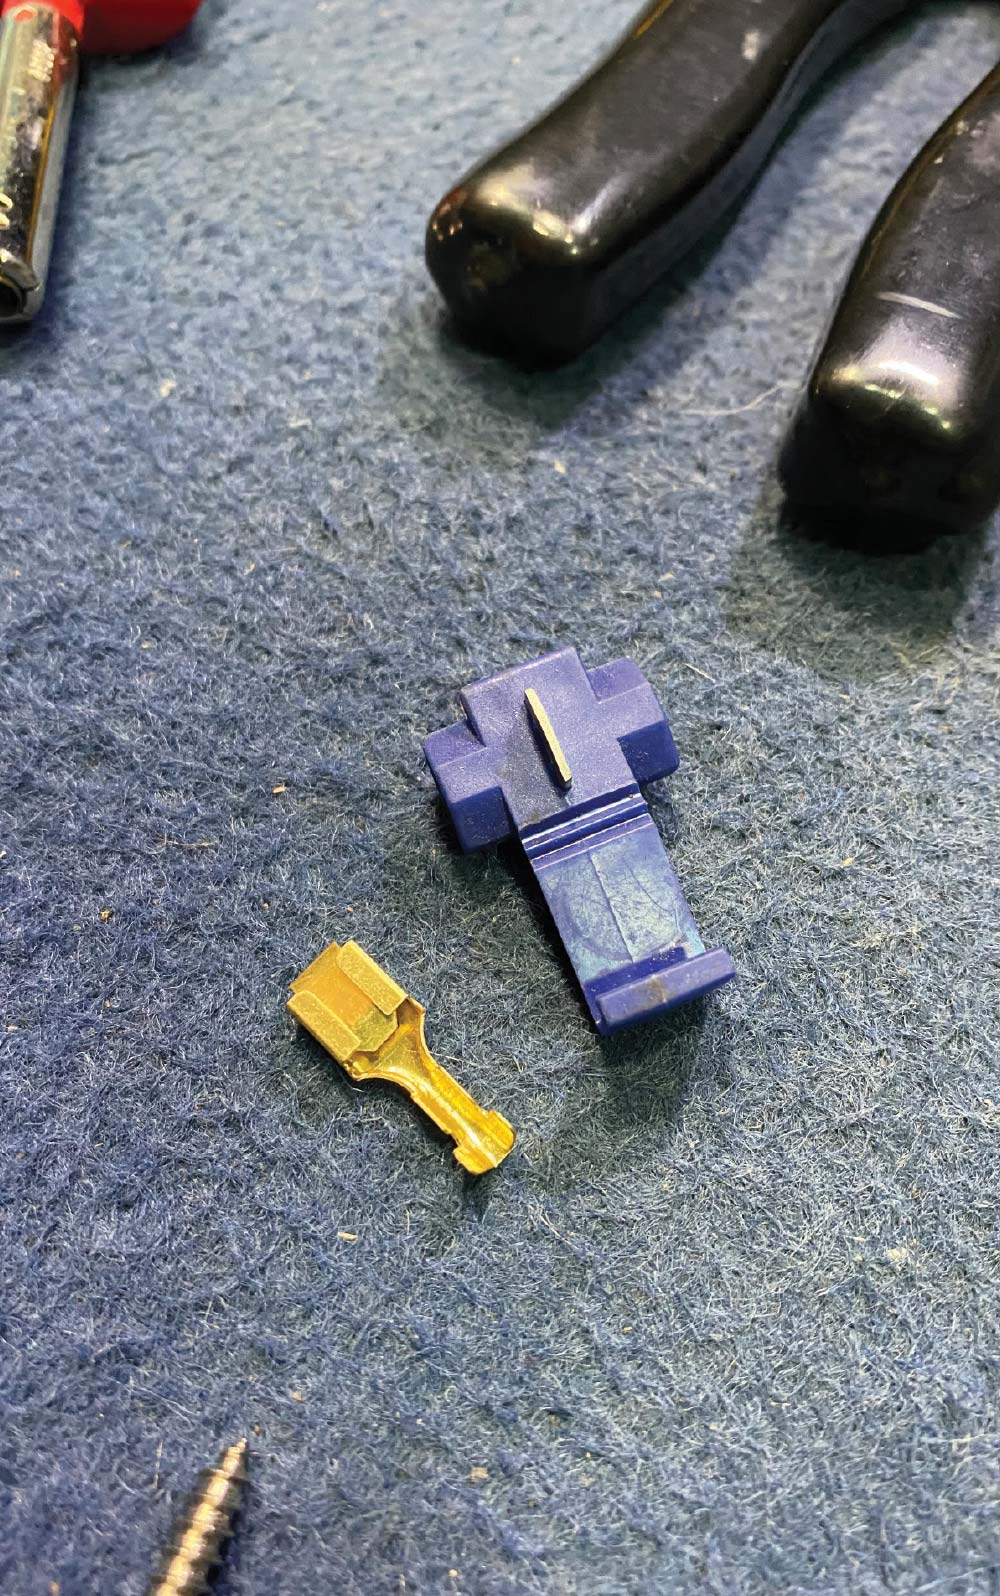
10-11. Rather than “piggyback” the lead, which is a quick way to jump power off the switch, it’s recommended to de-pin the switch and splice the red with the white (hot) wire and crimp a new terminal on.
Drilling a hole in the cargo light housing
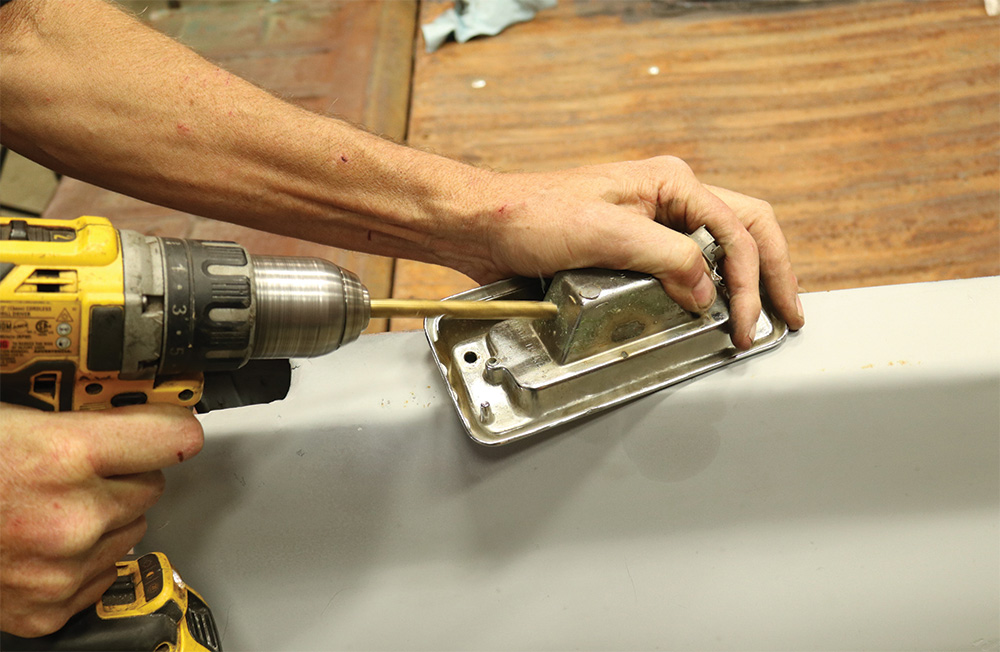
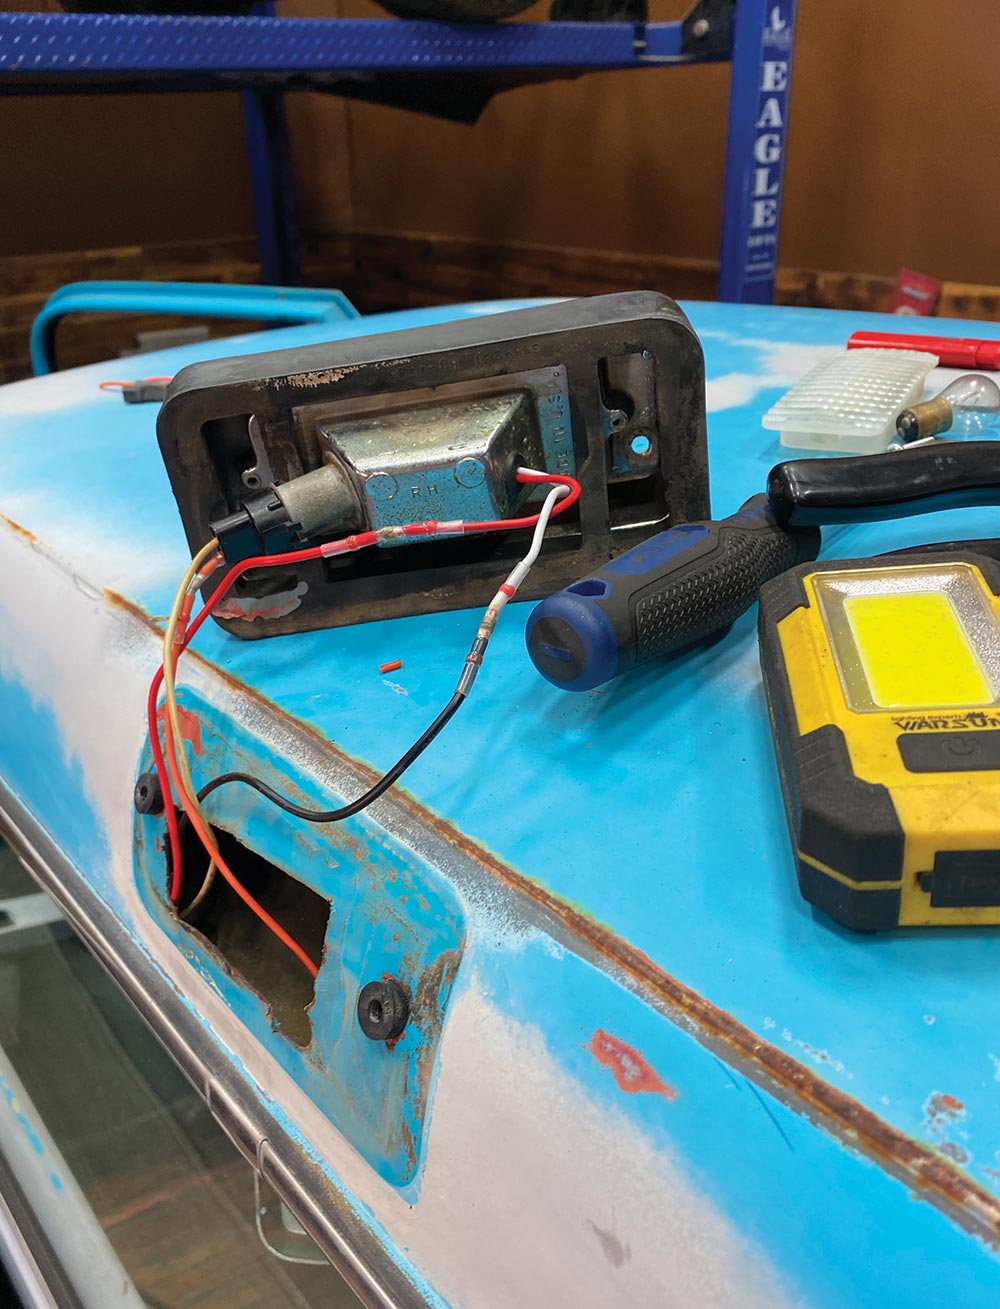
12-13. The minor modification we mentioned just requires that you drill a hole in the cargo light housing (being sure to add a rubber grommet) to allow the LED brake light wiring to pass through. Because there were no plug connectors used to wire the brake light, we had to make sure and set the housing rubber grommet in place before making our soldered-connector crimps.
Brake light progression
12-13. The minor modification we mentioned just requires that you drill a hole in the cargo light housing (being sure to add a rubber grommet) to allow the LED brake light wiring to pass through. Because there were no plug connectors used to wire the brake light, we had to make sure and set the housing rubber grommet in place before making our soldered-connector crimps.
All wired up, rubber gasket in place—before we install the upgraded light assembly
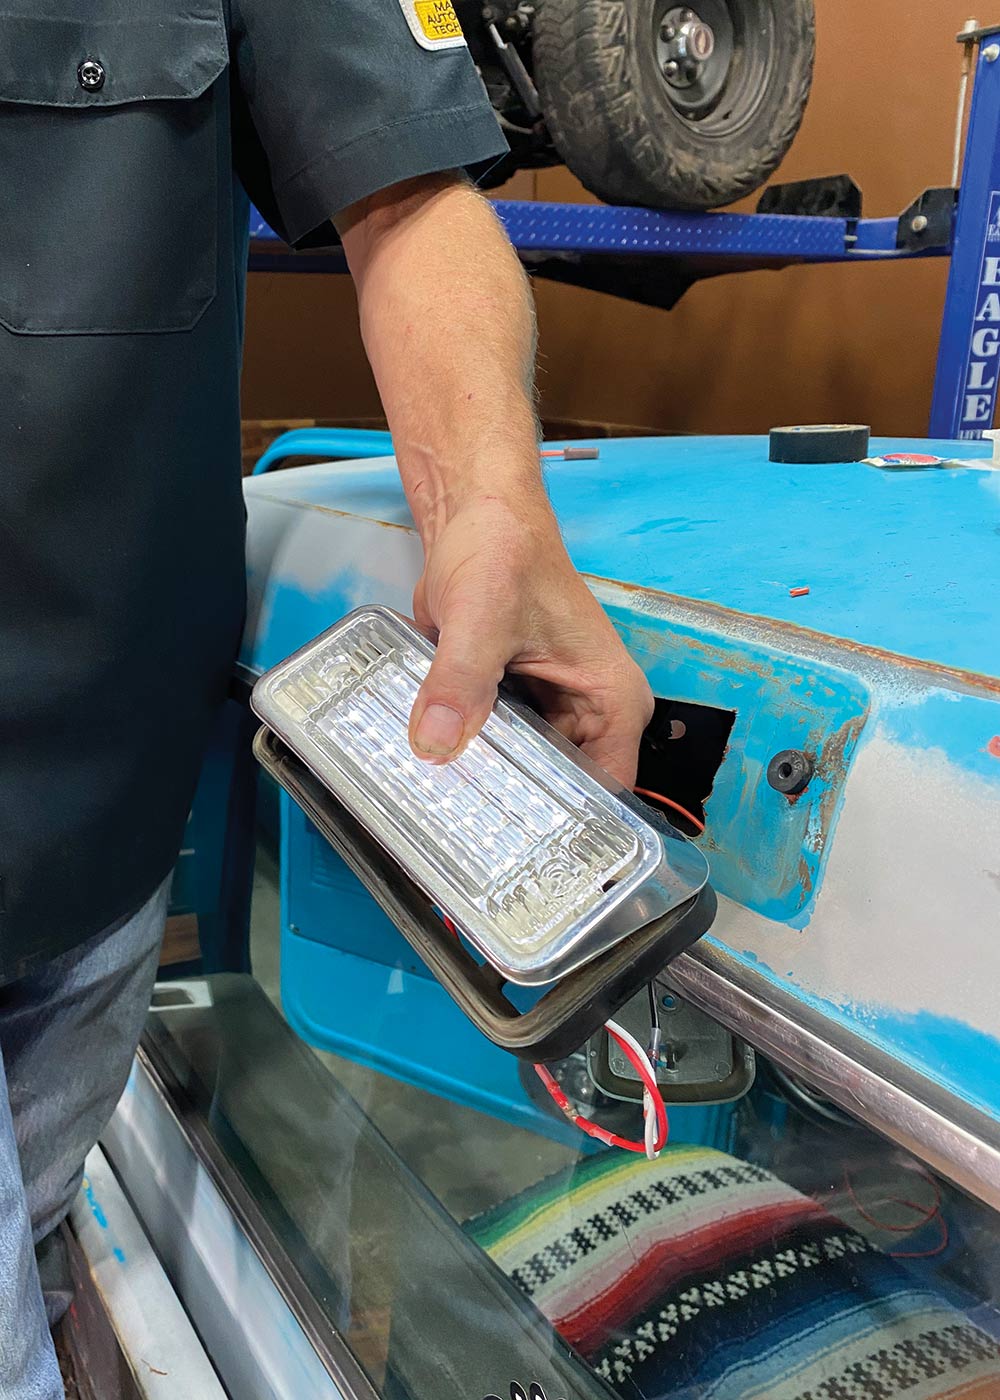
14. All wired up, rubber gasket in place—before we install the upgraded light assembly, we make sure it’s got power!
Installed cargo light housing
15. Installed, with the shouldered mounting screws we remembered to save, our new third brake light conversion looks for all intents and purposes just like it used to …
Cargo light housing working
16. … that is, until the brake pedal is depressed!
Light working
17. It’s always good when the parts that worked before an upgrade job was performed still work after you’re finished with the upgrade, right?!
LED taillights kit
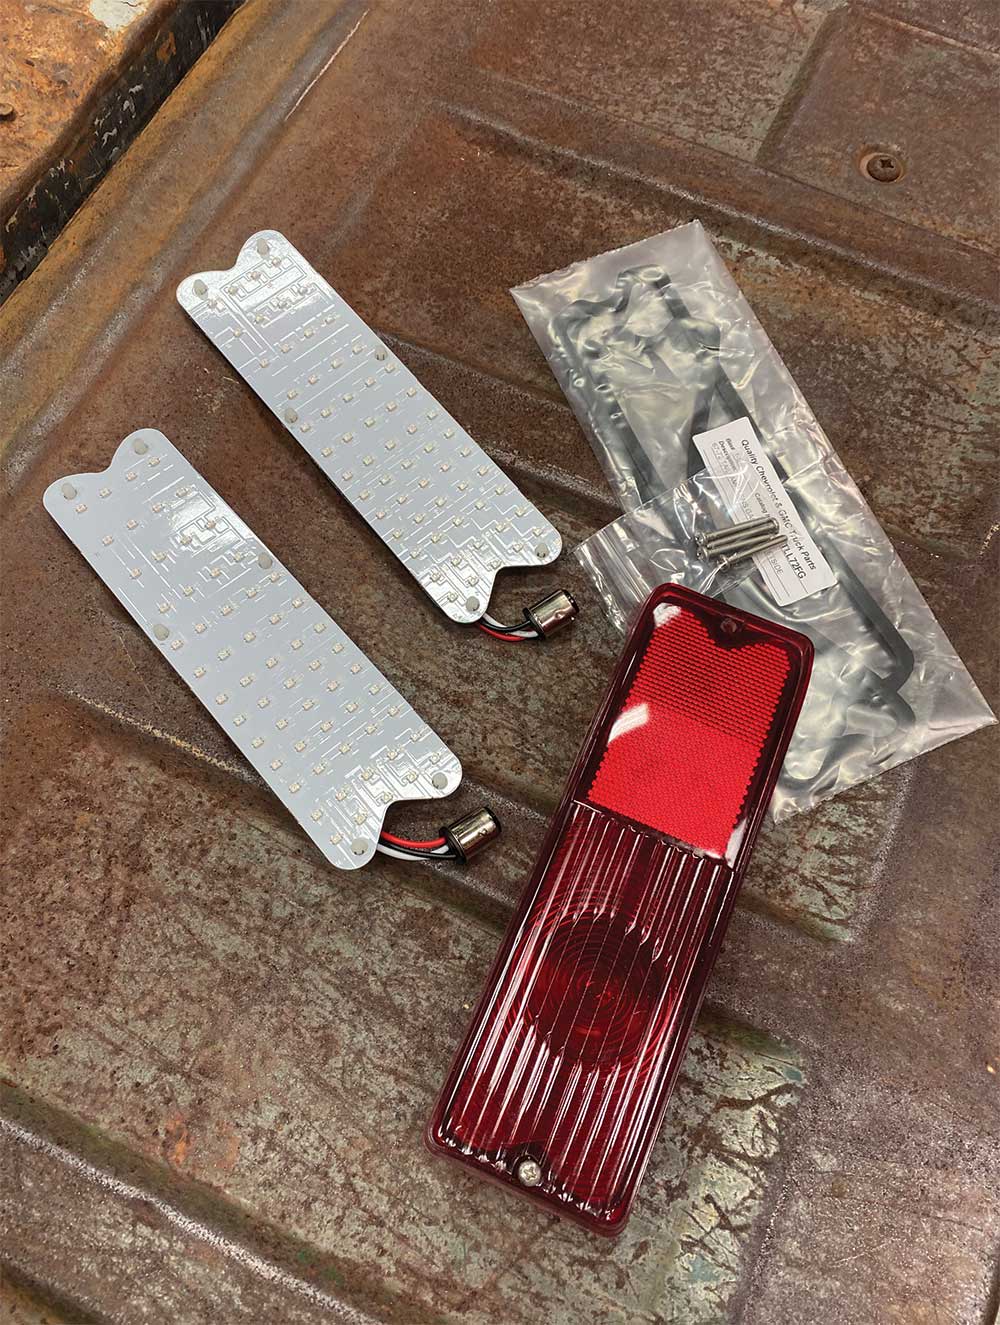
18. Last but by no means least, the LED taillights. This is literally a proverbial “plug-and-play” install.
Stock taillight housings closeup
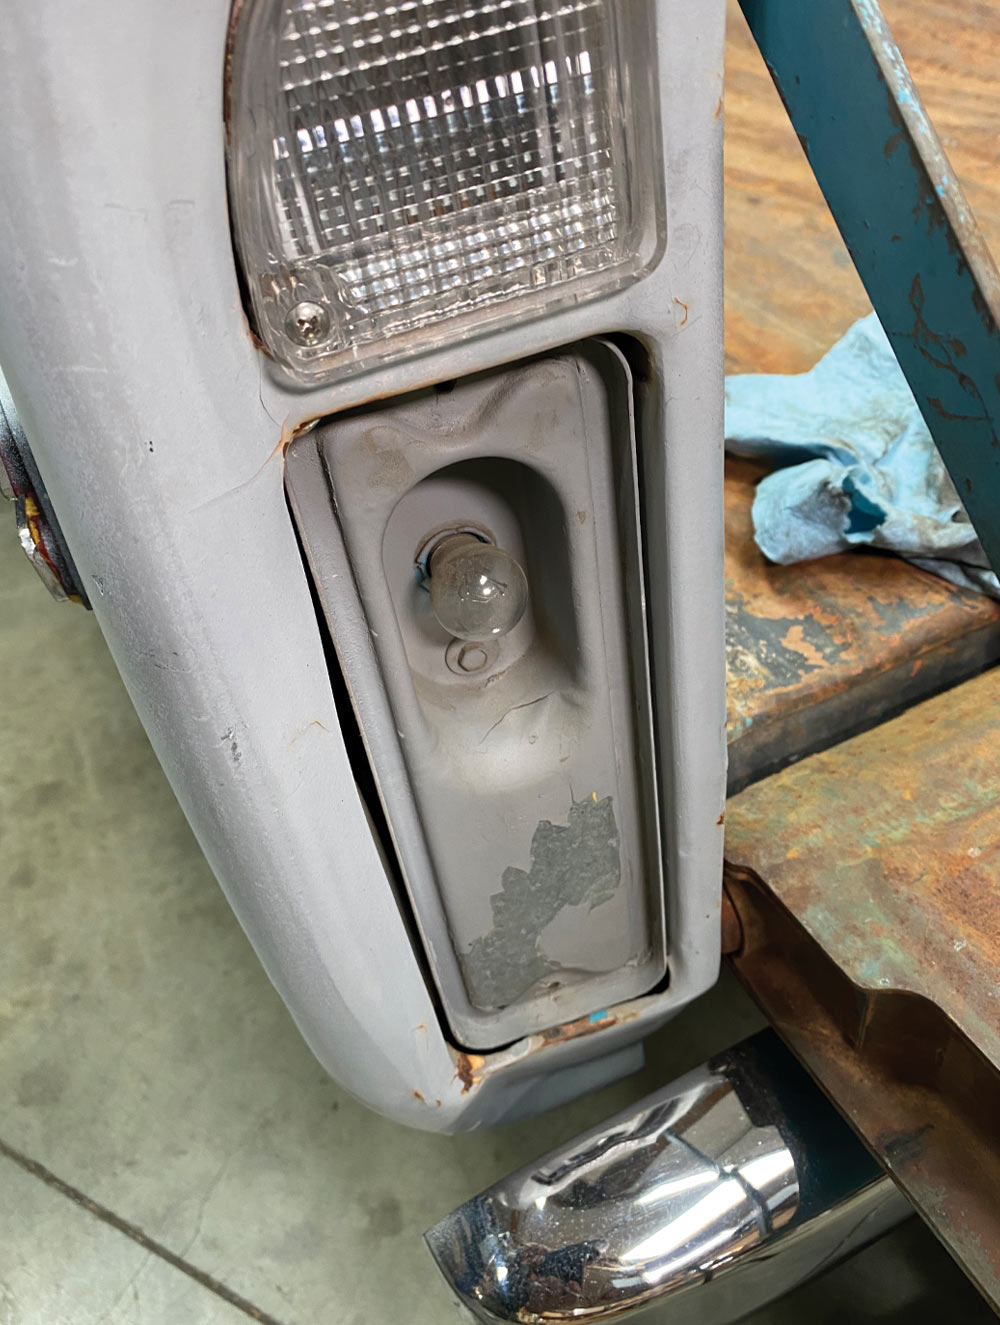
19. The stock taillight housings will be reused—if yours are rusted or, more importantly, the bulb sockets are worn out, definitely replace them now. The LED plug relies on the 1157 socket, so don’t take any chances—Brothers has new housings available.
Applied the provided gasket to the back side of the LED unit
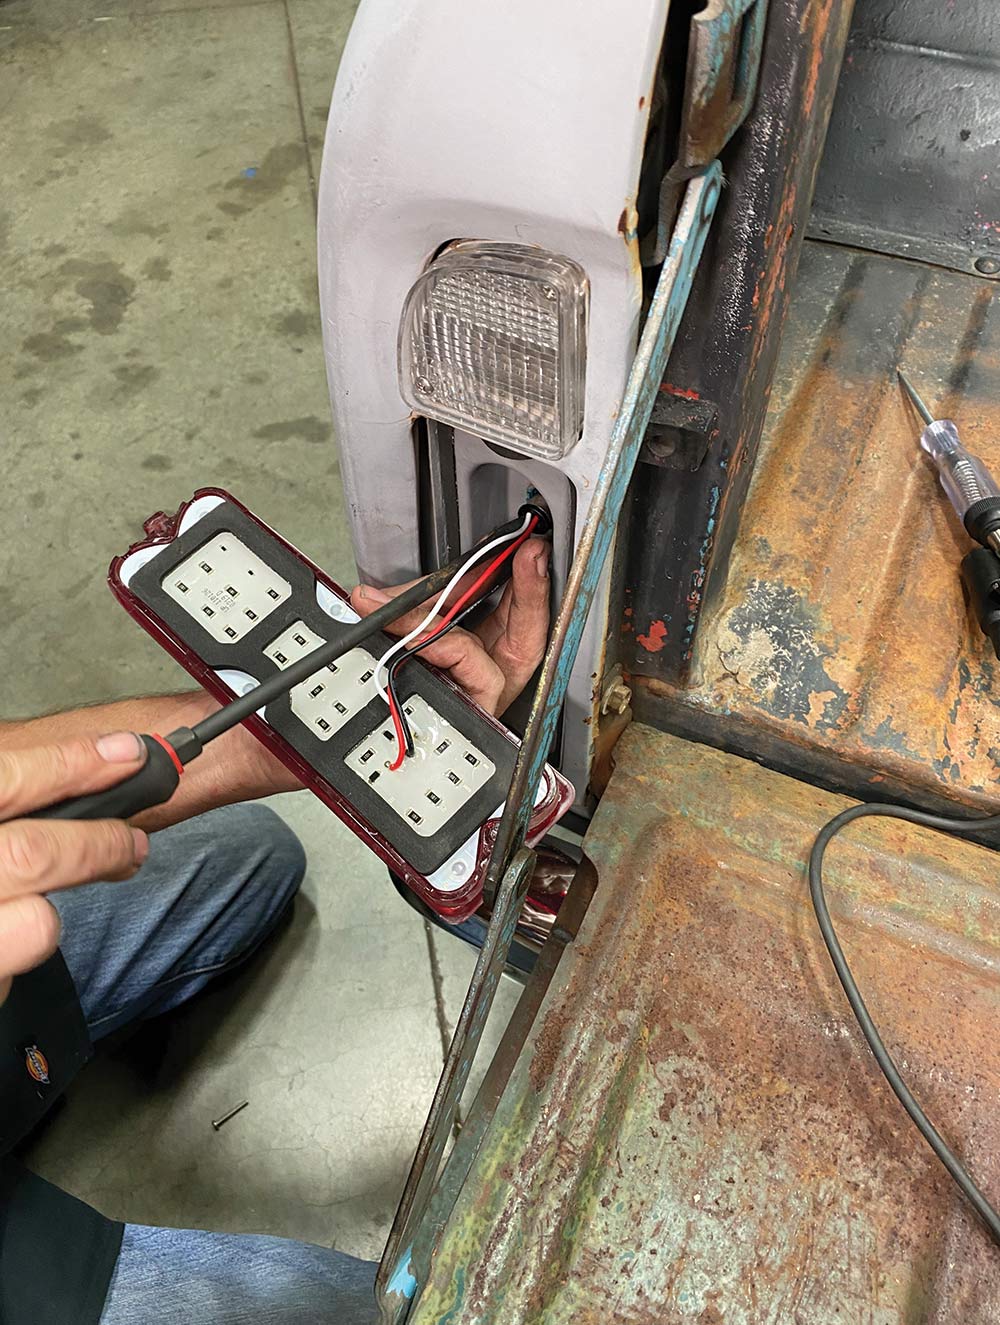
20. We first applied the provided gasket to the back side of the LED unit, then, using a flat-blade screwdriver, plugged the taillight pigtail into the receptacle.
Completing our installation
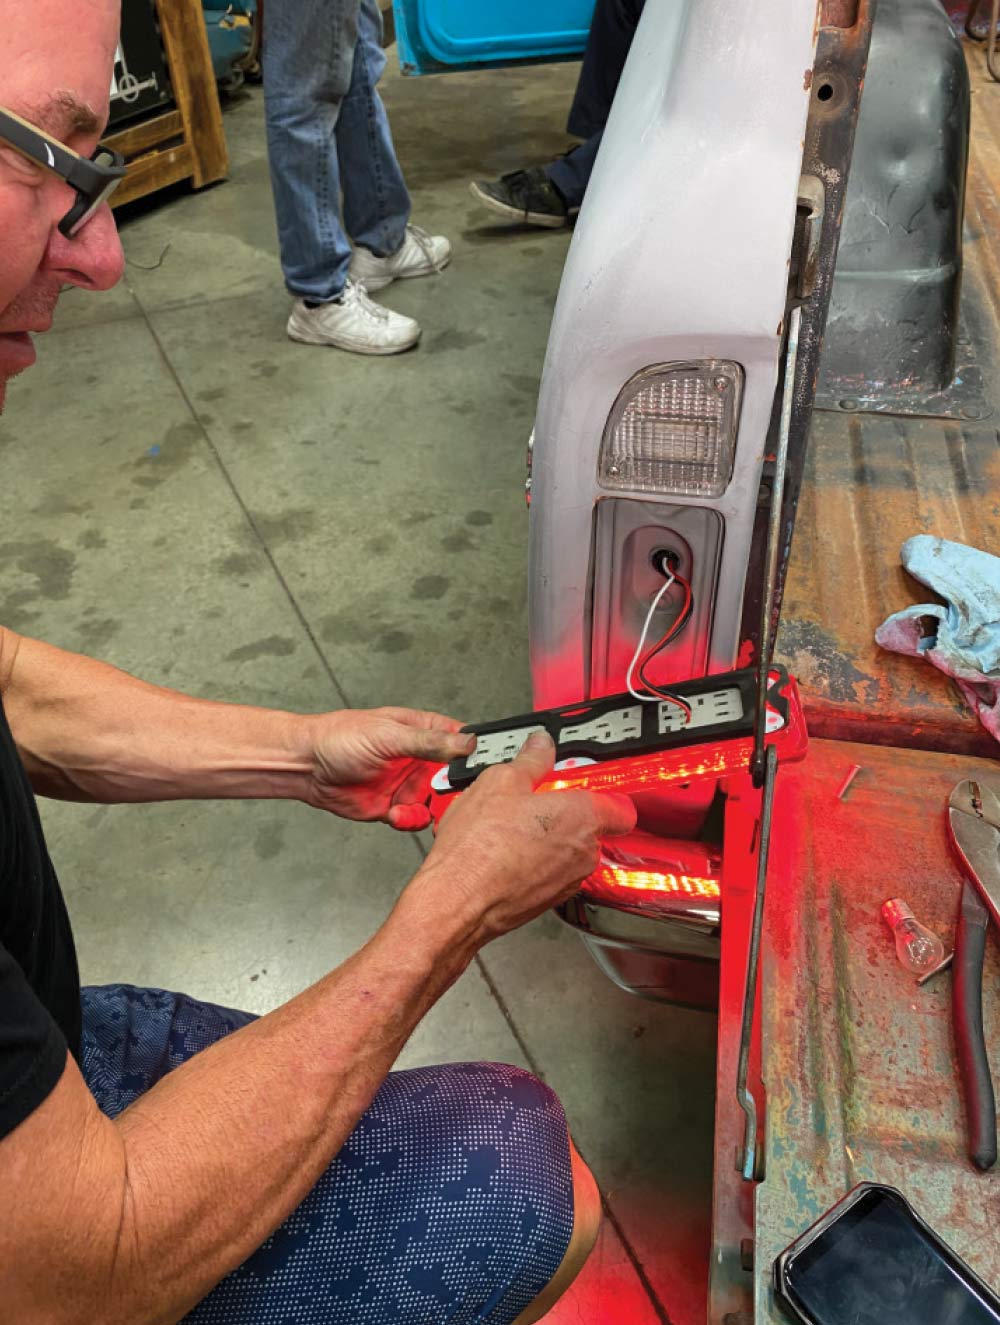
21. But before completing our installation, just as we did with the cargo light, we made sure our new light was properly powered—both running and brake lights.
LED taillights working
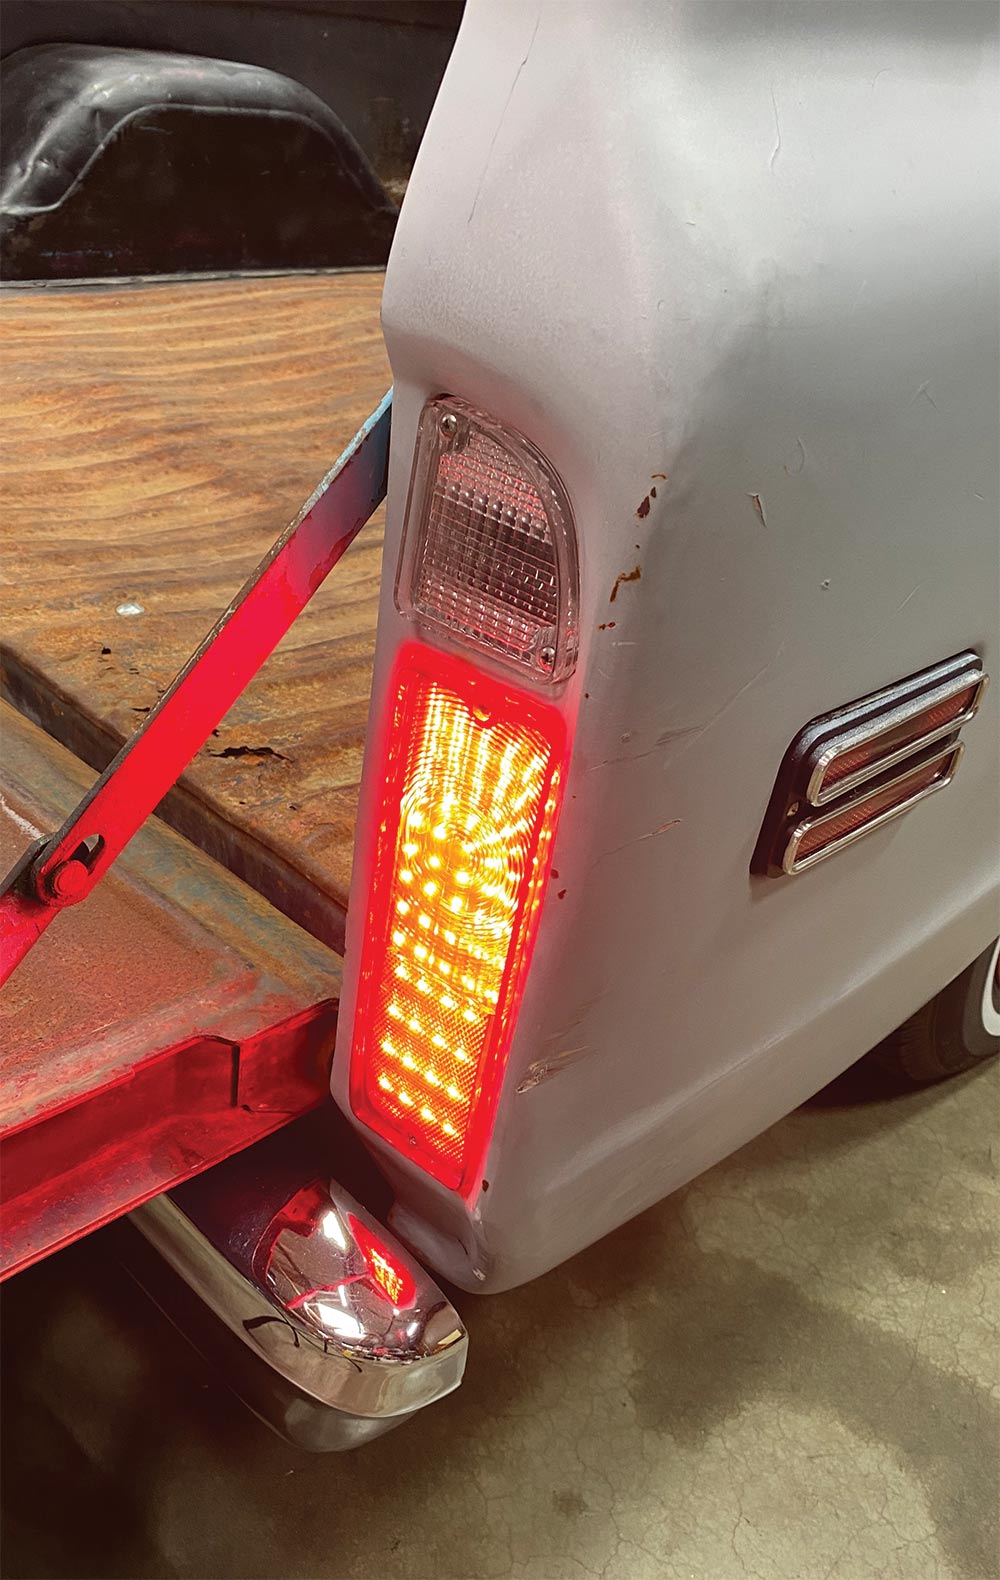
22. As mentioned, the housing bulb receptacle is crucial to the LED lights working. Always use dielectric grease to help ensure a solid, weather-resistant connection.
Truck with new lights
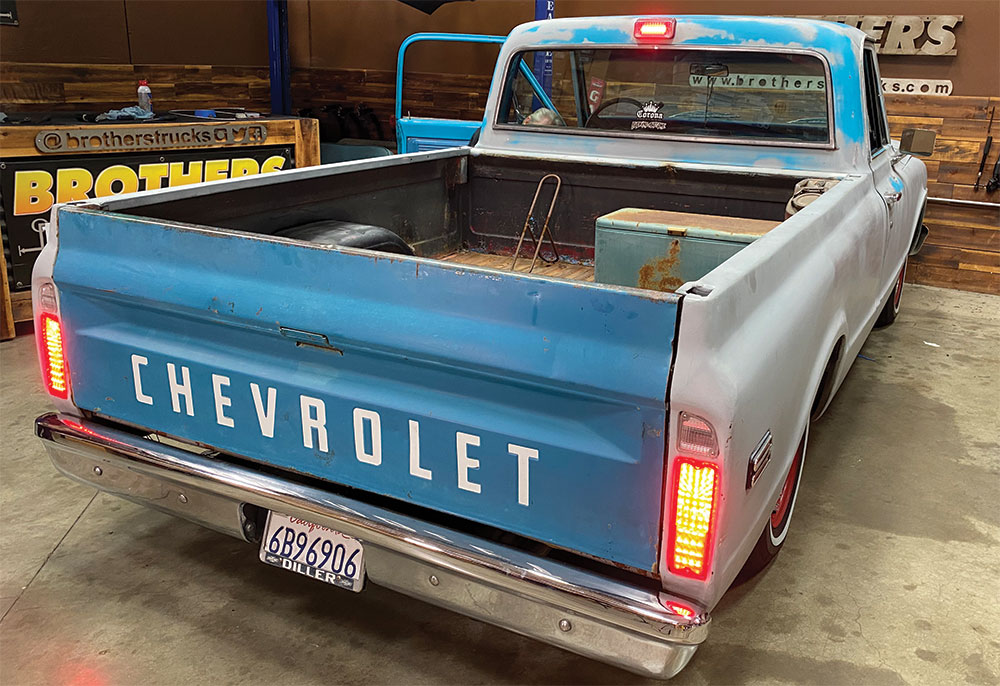
23. And there you have it—light at the end of the truck … very bright light, that is!

 SOURCE

Brothers Trucks
(800) 977-2767
brotherstrucks.com