CTP logoFeature star Tech
InTheGarageMedia.com
After completing installation of Old Air Products’ Hurricane A/C system in the 1967 Ford F-100, Jason Scudellari hooked up Pittsburgh Automotive’s A/C R-134a manifold gauge set and 3 CFM Two Stage Vacuum Pump.
CTP logoFeature star Tech
InTheGarageMedia.com
After completing installation of Old Air Products’ Hurricane A/C system in the 1967 Ford F-100, Jason Scudellari hooked up Pittsburgh Automotive’s A/C R-134a manifold gauge set and 3 CFM Two Stage Vacuum Pump.
Hurricane in a Bumpside
Ice-Cold Air Done DIY Style
BY John Gilbert
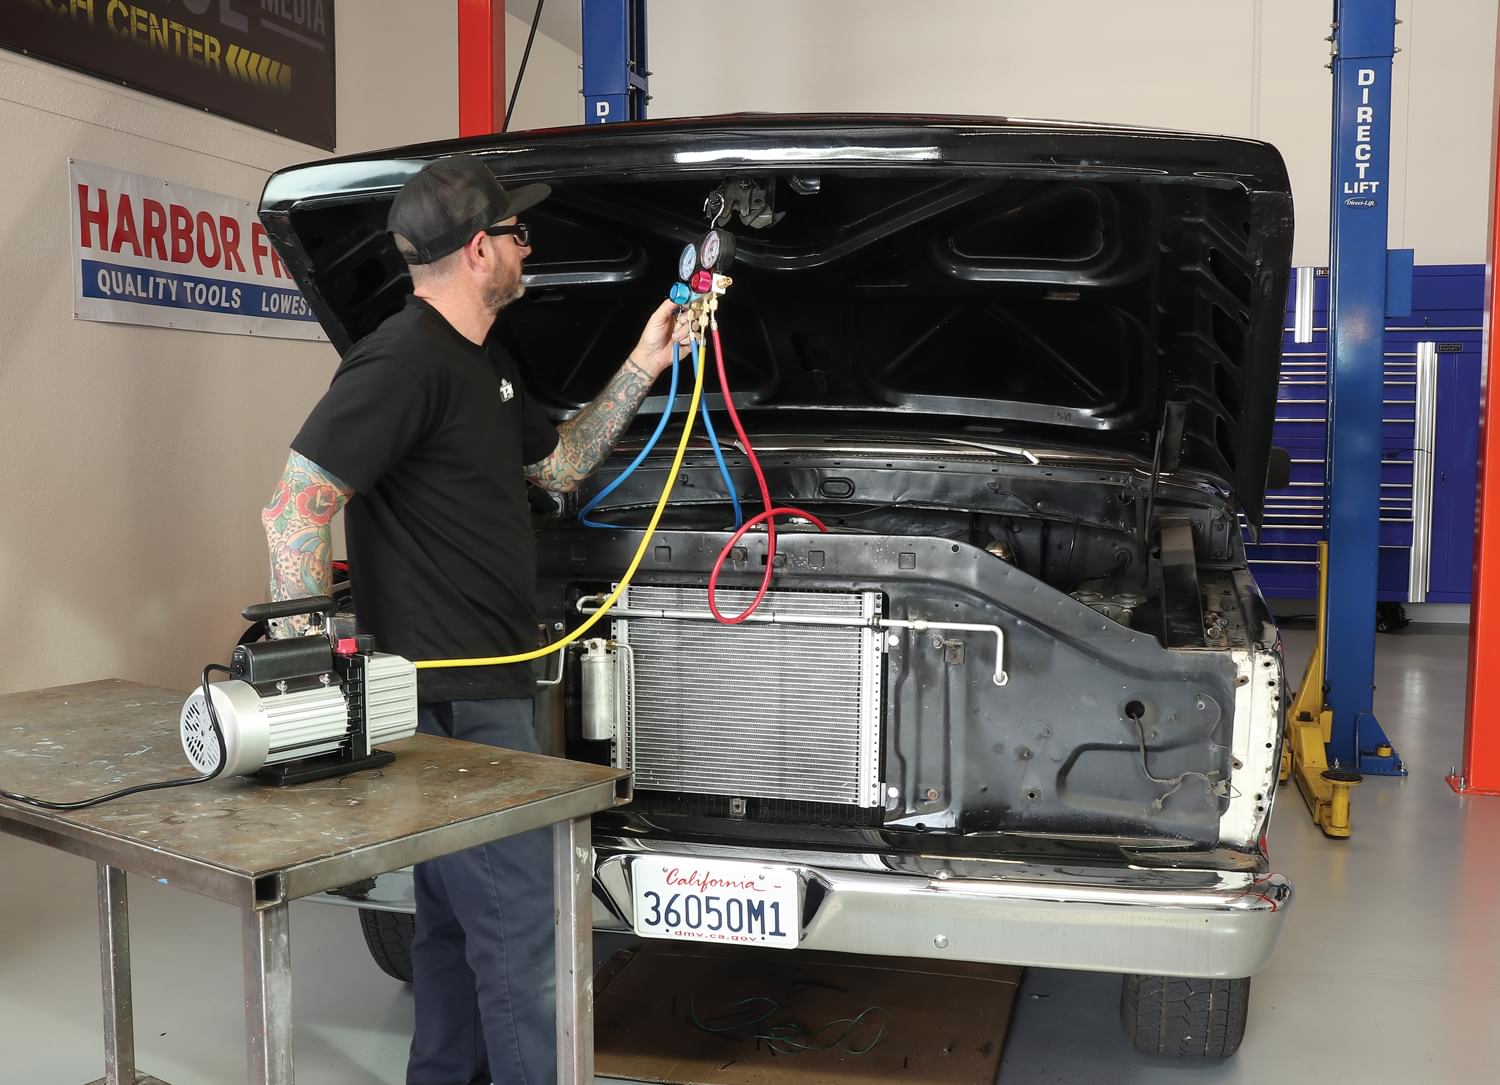
Photography BY The Author
T

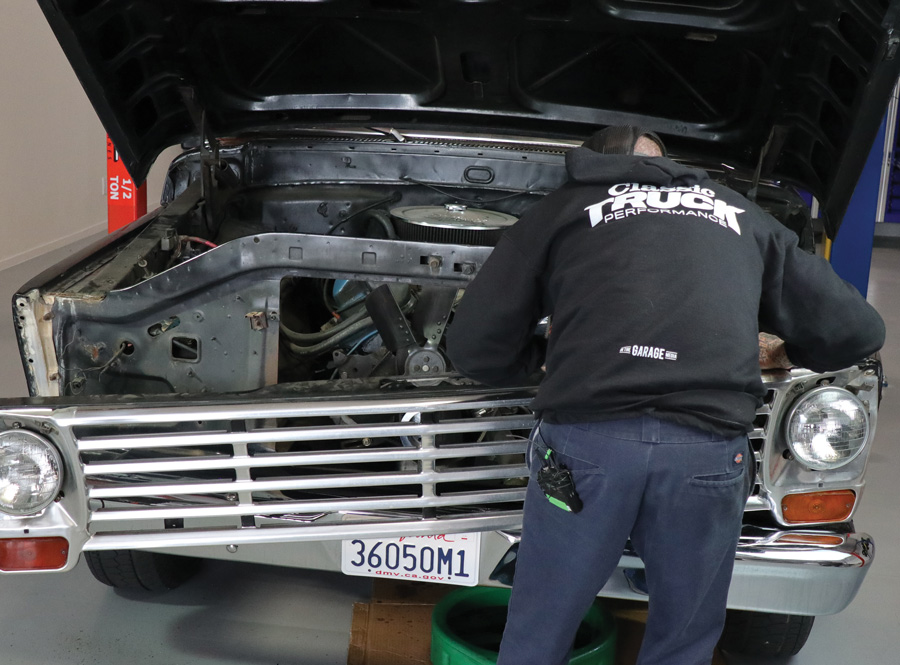
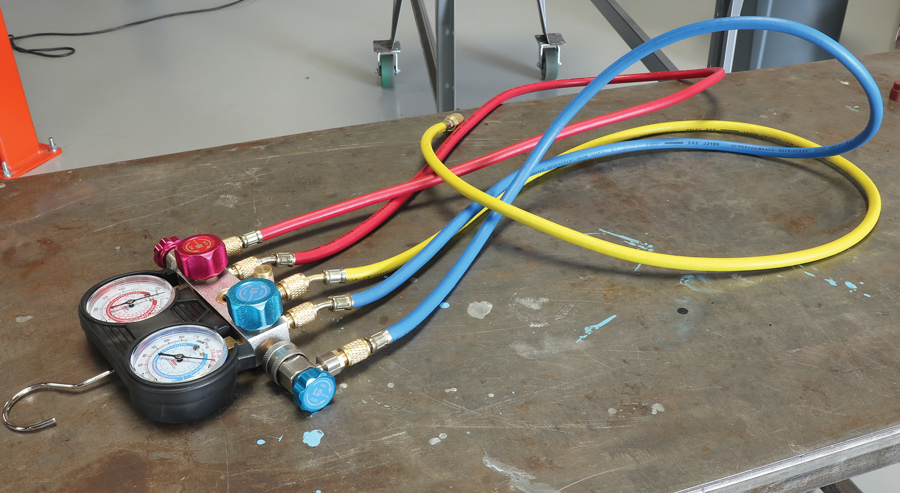
he great state of Texas is known for having a lot of good things, and that includes plenty of classic trucks. In this article our focus is trained on informing the DIY guy how he can handle every phase of installing an aftermarket A/C system in his truck, including how to charge the system with R-134a for as little money as possible.

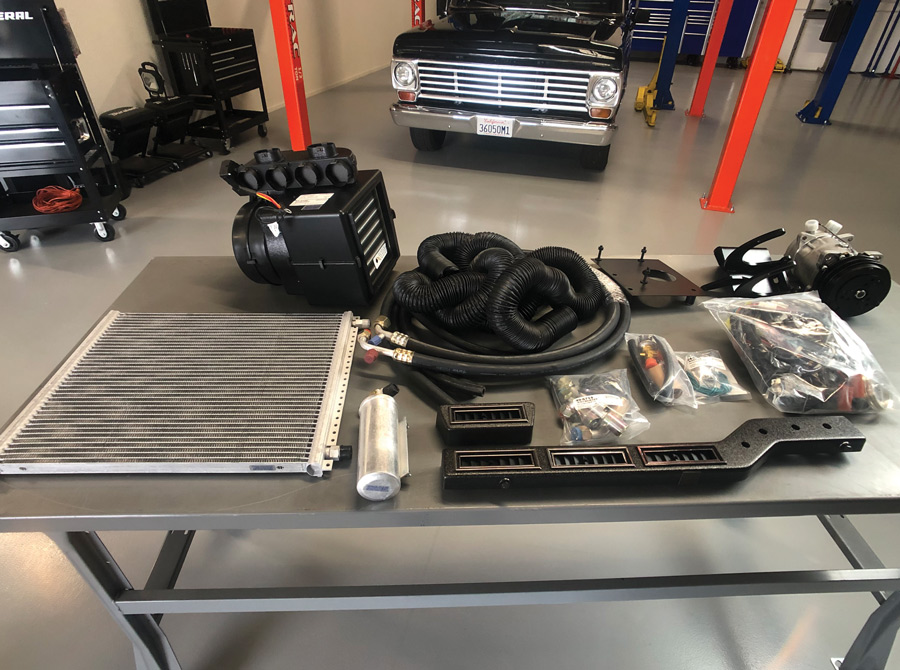
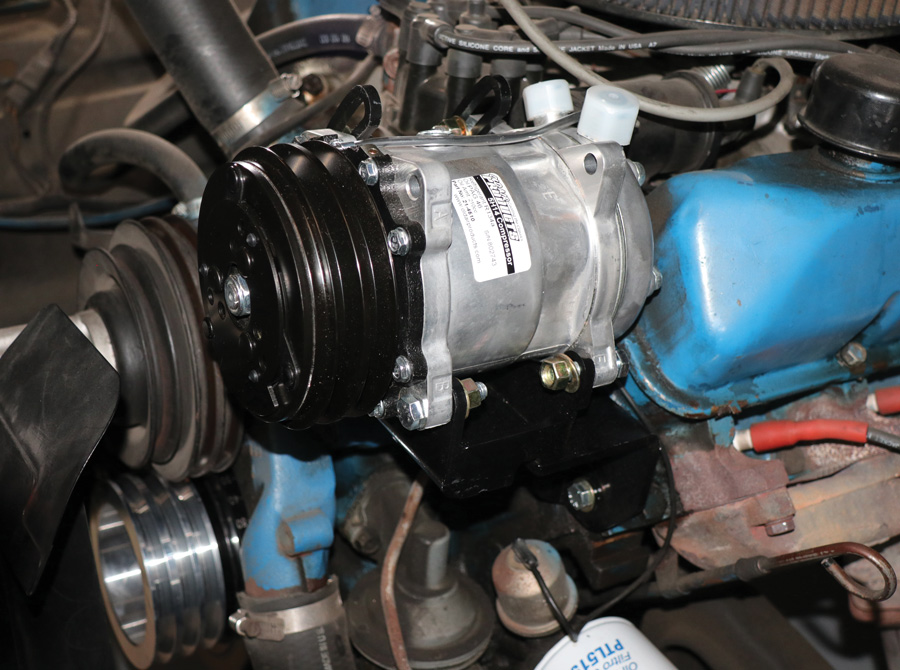
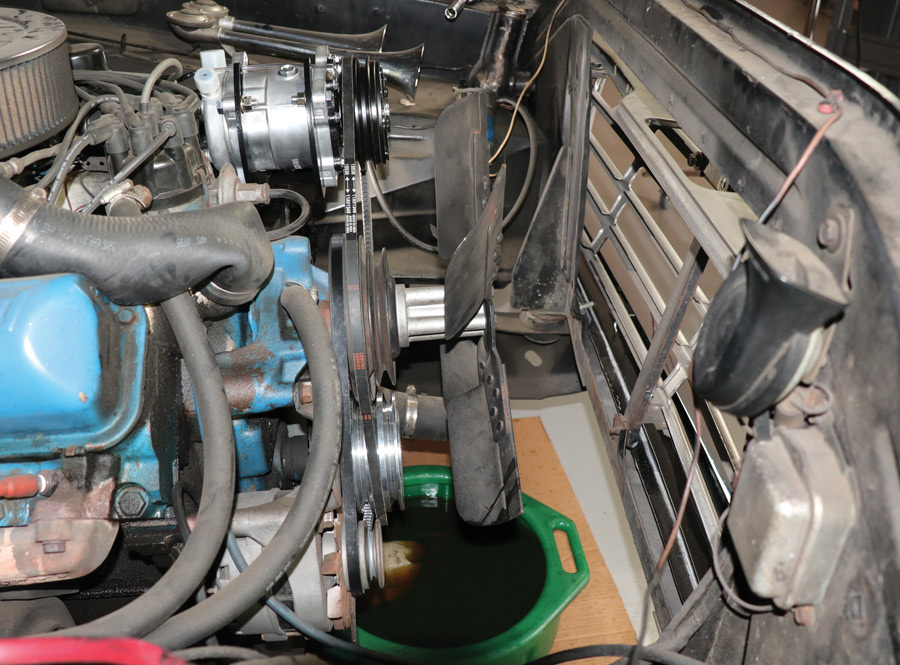
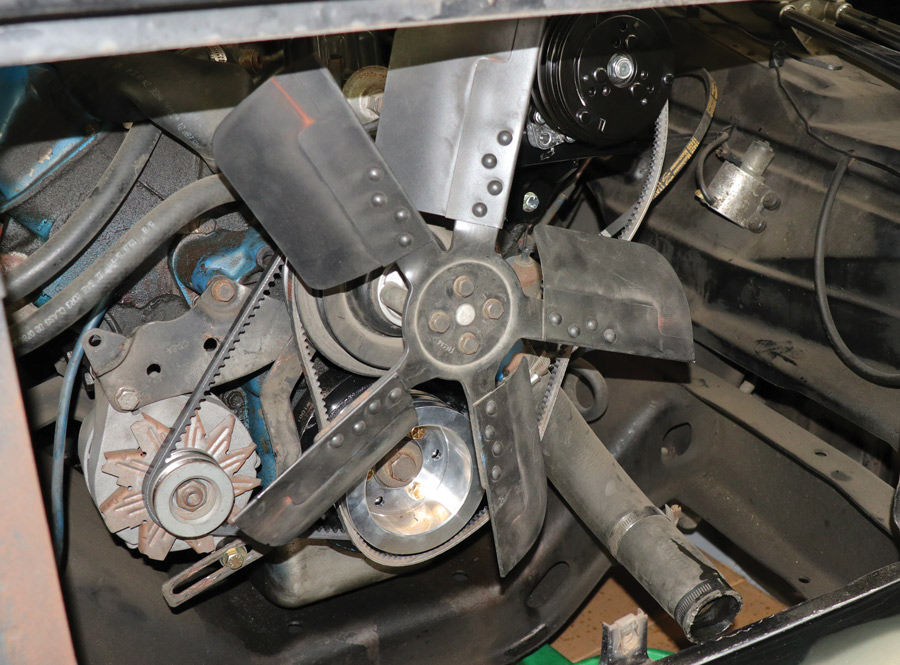
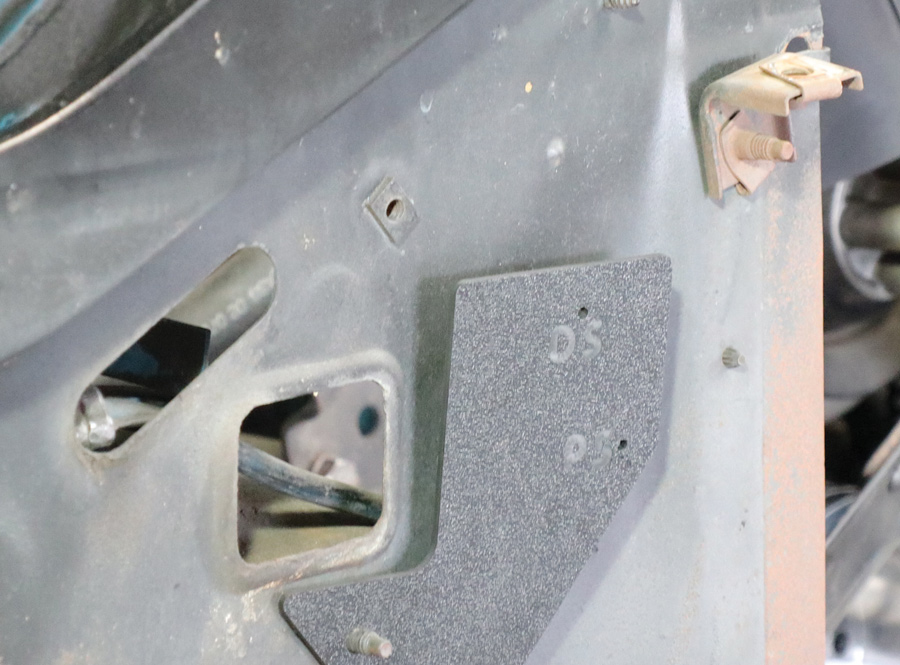
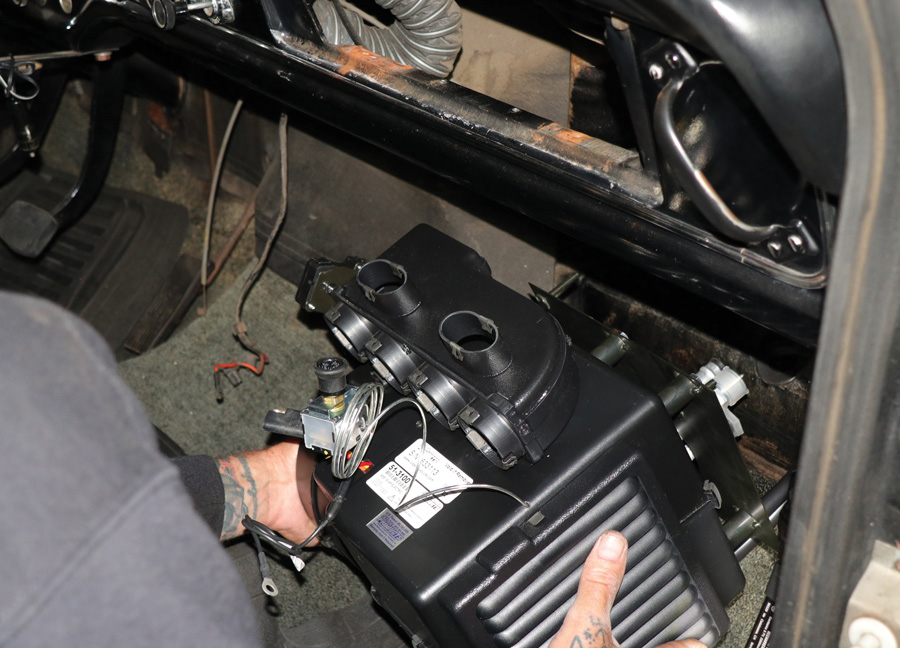
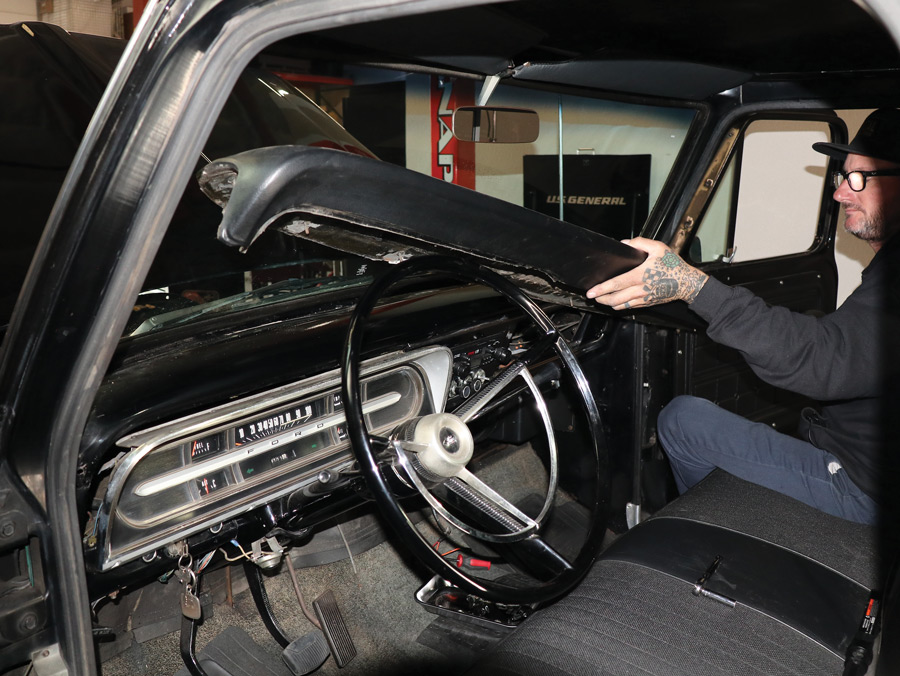
Our subject vehicle is an almost completely stock 1967 Ford F-100 Ranger that came factory equipped with a 352-inch V-8 and three-speed manual transmission. The air conditioning system of choice for this project is Old Air Products’ Hurricane complete system for 1967-1972 Ford trucks (PN CAP-6710H-DS) with a driver side compressor. (It’s the big-block FE engine that dictates a driver side compressor. If you have a 1967-1972 Ford truck with a small-block engine the kit is PN CAP-6710H-PS—the PS at the end indicates passenger side.)

Not only does Old Air’s Hurricane system provide freezing-cold air, it also features a heater and defroster. The added bonus to this type of combined system is the defroster works faster thanks to extracting the moisture out of the windshield fog. Of course having a heater in the wintertime is as nice as having air conditioning in the summertime.

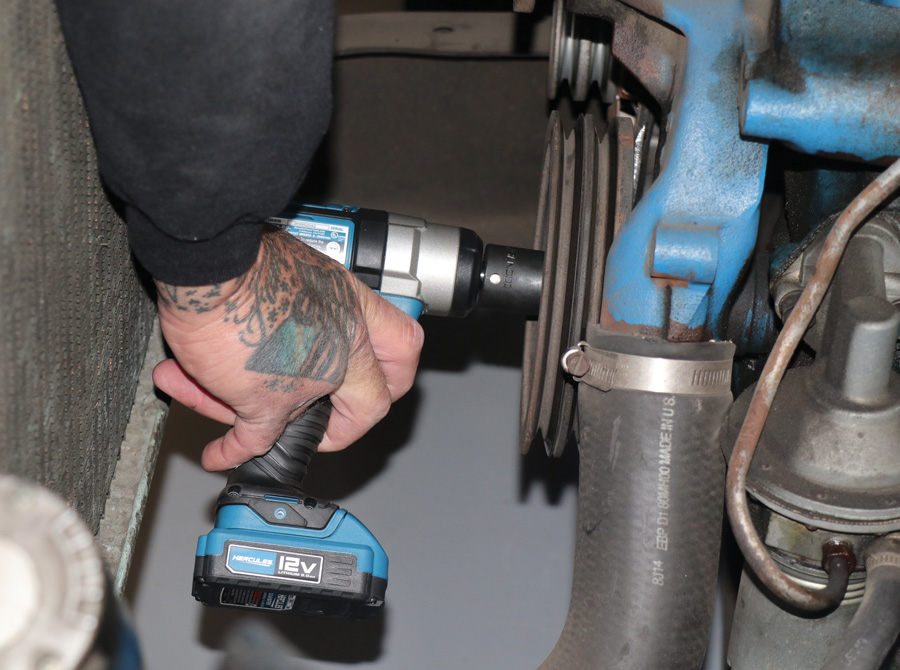
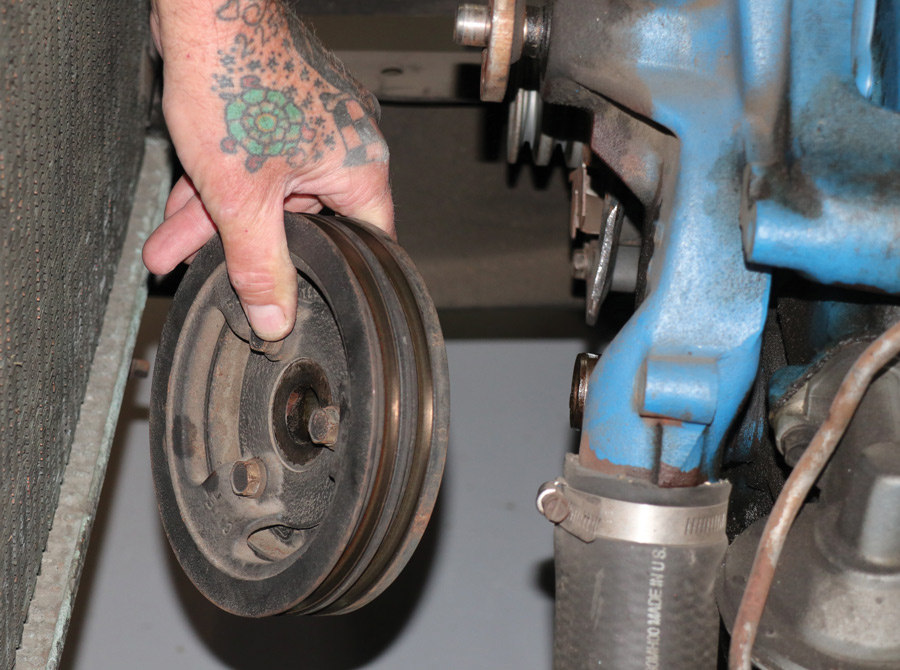
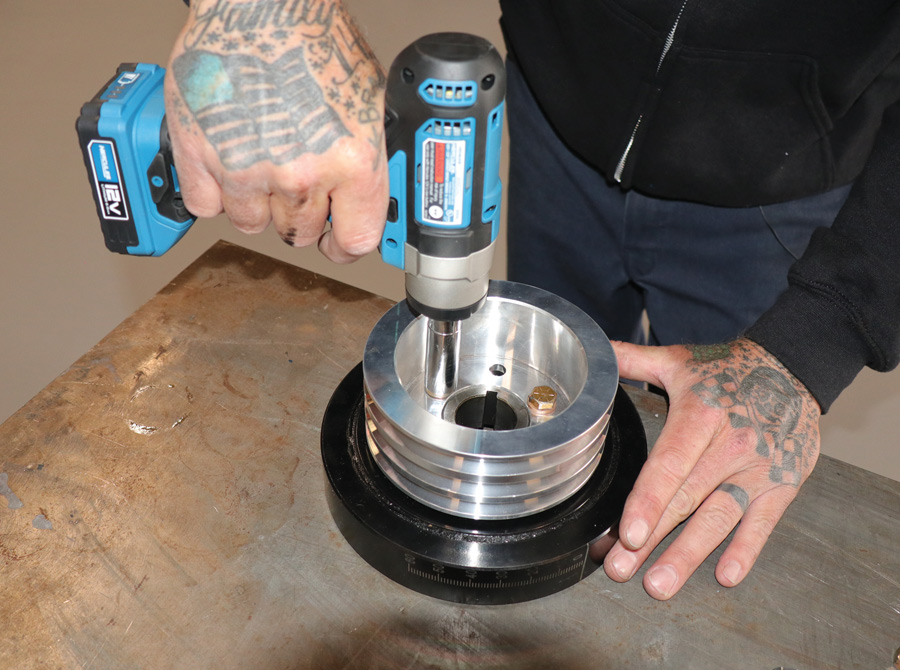
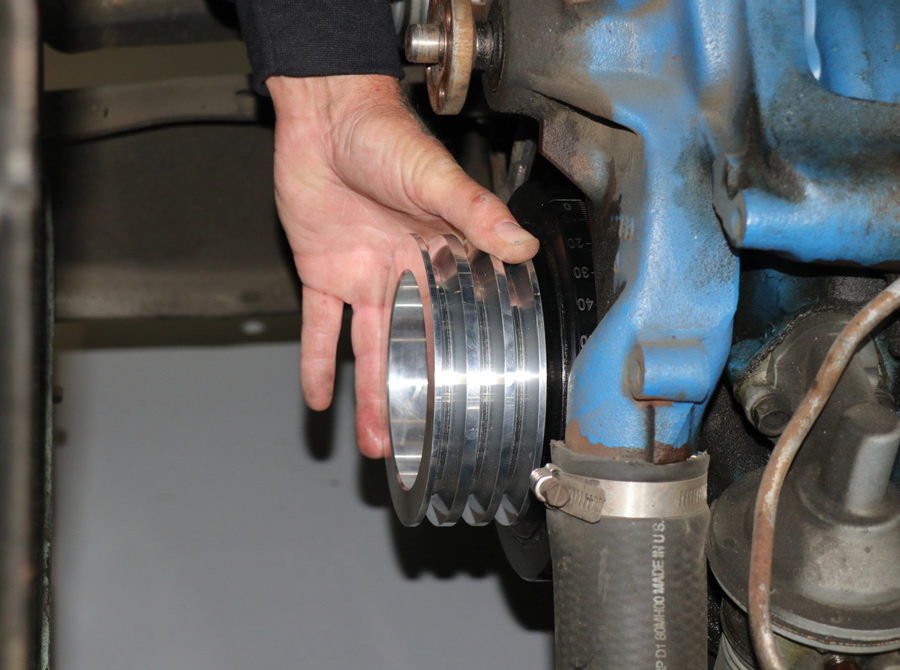
Classic Truck Performance’s approach to undertaking this particular project was to illustrate to readers the most economical means to install premium-quality air conditioning in a classic truck without compromise. Typically a serpentine pulley system is part of upgrading to air conditioning, but as anyone who has priced a serpentine system realizes it can add over double to the cost.

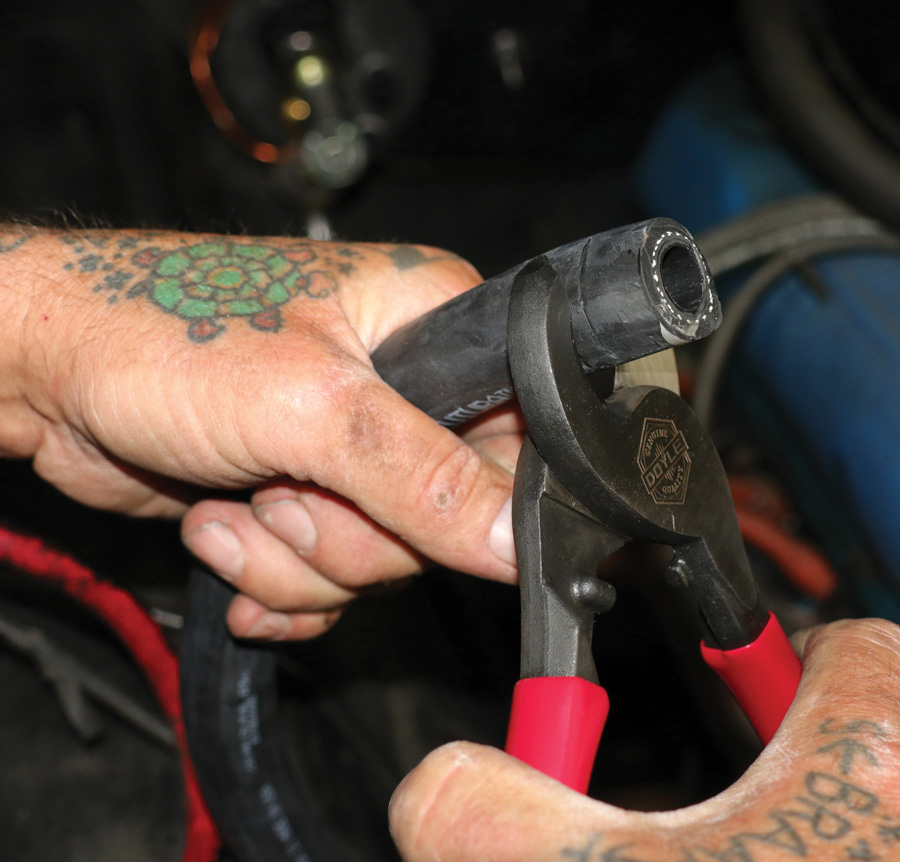
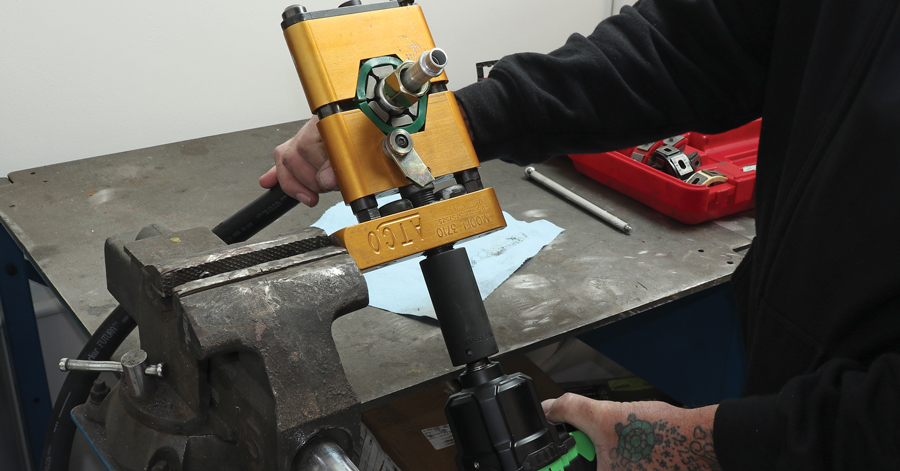
Part of the motivation to undertake a DIY project is to save money on labor costs and the other half is acquiring tools to be ready for the next time—not to mention the satisfaction of doing it yourself. That’s where shopping at Harbor Freight Tools came in handy. We were able to buy specialized tools for a great price and be equipped to meet the next project.

The history of how an aftermarket manufacturer aimed toward customizing came to be is always an interesting story. In their words: “Old Air Products was established in 1989 with the concept of manufacturing an A/C, heat, and defrost system that would fit any vehicle. We quickly found that with the large variety of vehicles and personal owner preferences we needed to provide a system with variable choices to allow our customers to customize the A/C system to fit both stock and custom vehicles.

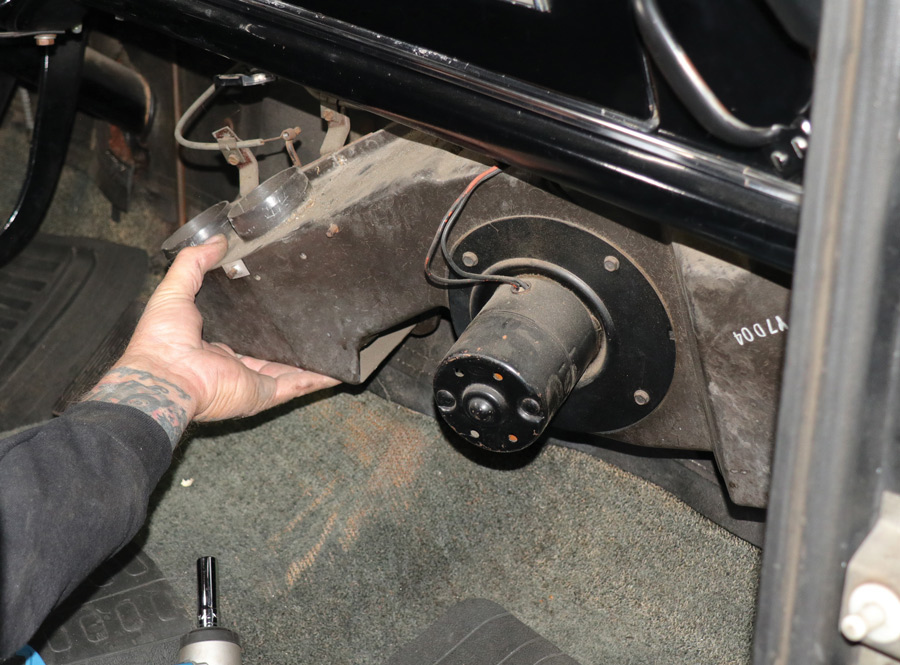
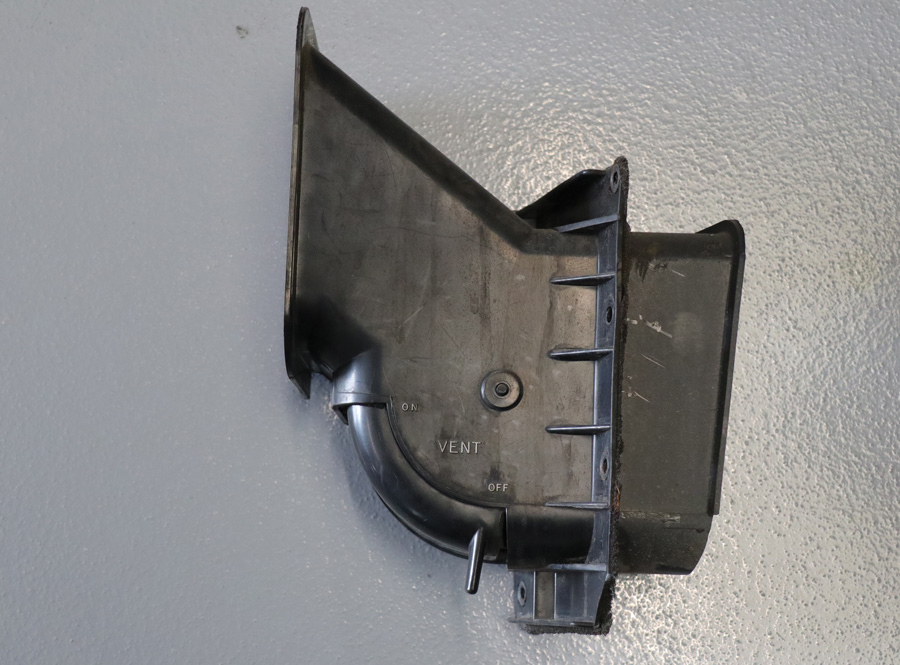
“This was the beginning of our Hurricane series systems. When we designed our A/C system we had a few things in mind. Make a system that was compact, modular, easy to service, and easier to install. It was important that the evaporator serve as the backbone for a fully customized installation. What we achieved was the Hurricane system is designed to replace the factory heater and mount up in the space vacated by it. We attained what we set out to accomplish.

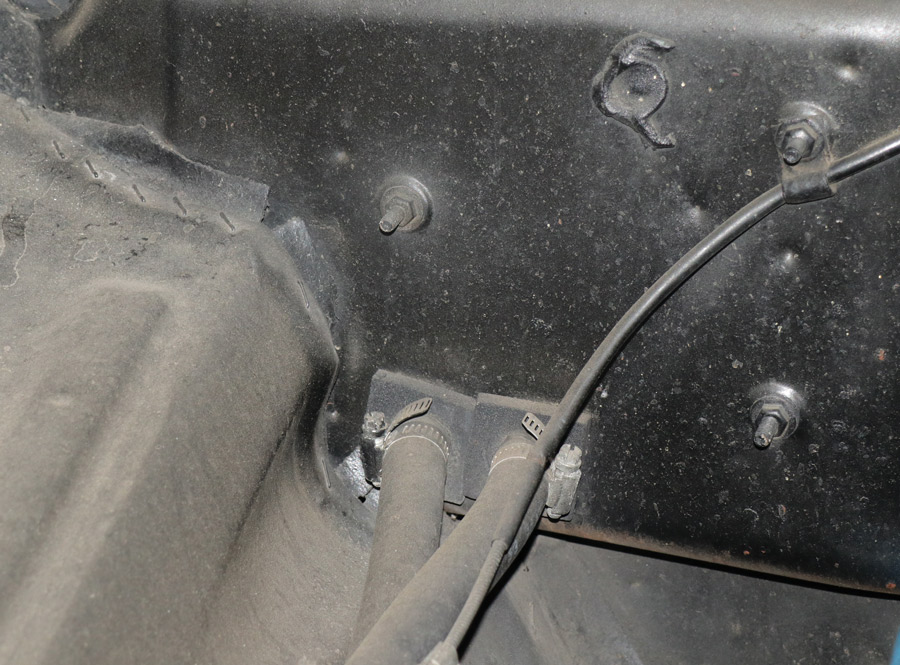
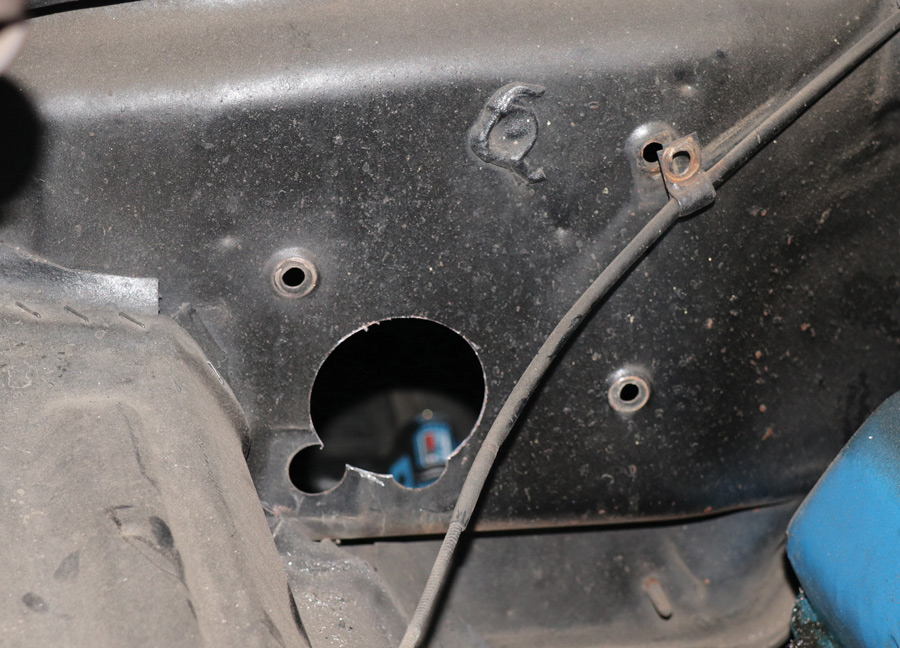
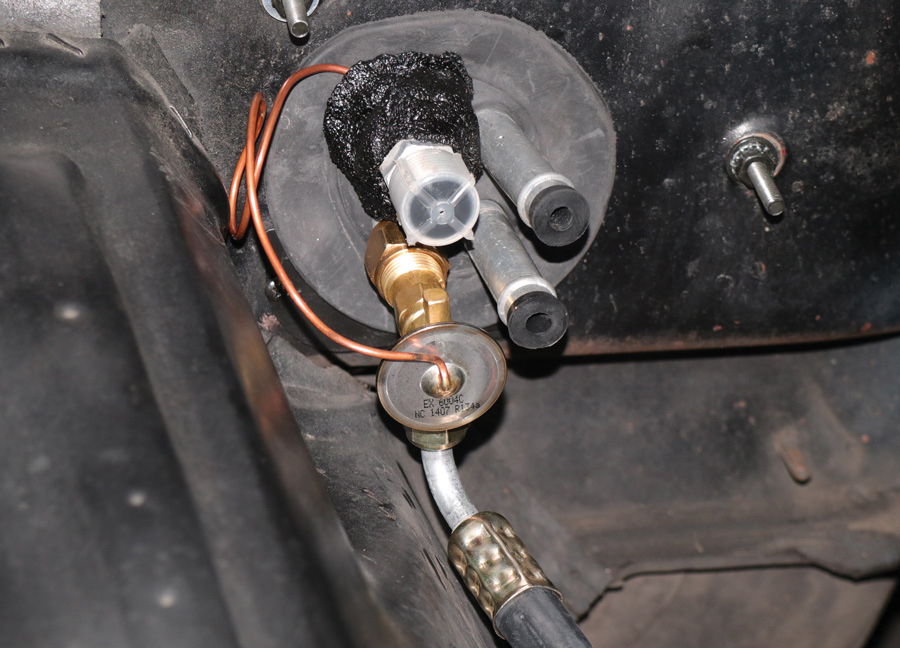
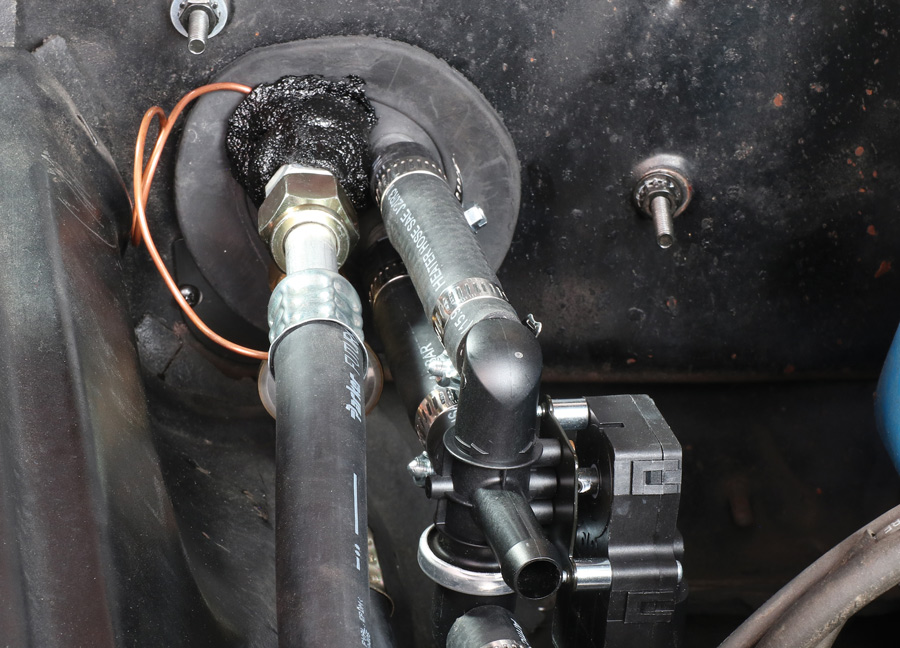
“What is amazing is the variety of vehicle applications it fits. There are three variations of the Hurricane, the only difference being where the tubes exit the case and thus go through the firewall. A side-exit fitting design allows for a clean firewall installation. With a wide variety of switching and venting options, one of these systems will fit just about any American-built car from 1928 through the mid ’80s, most foreign cars, as well as later-model vehicles.

“Our next step was to build upon the Hurricane systems by adding custom mounting plates, custom condenser assemblies, and switching packages to make custom kits for many of the more popular vehicles.”

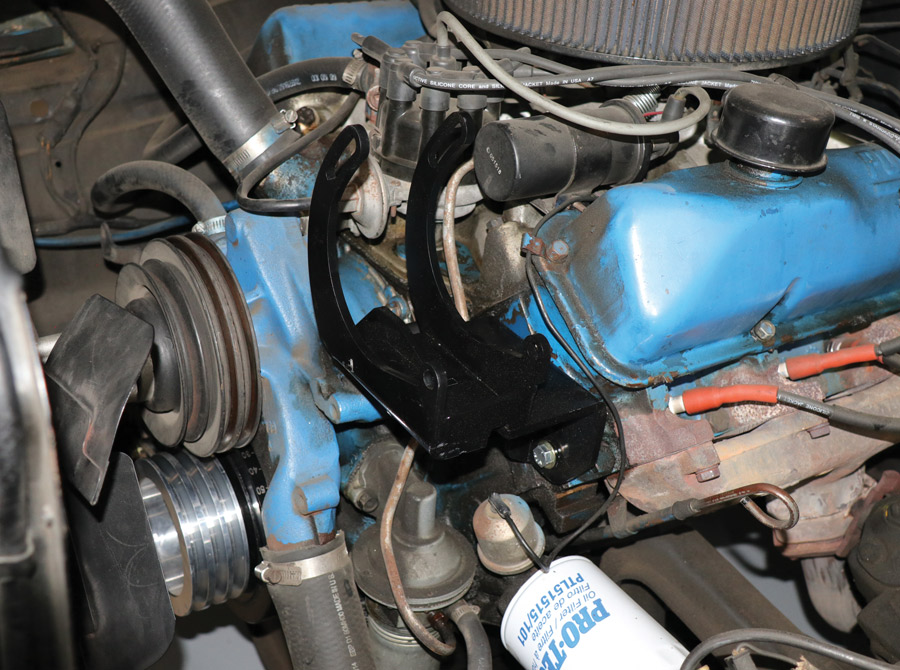
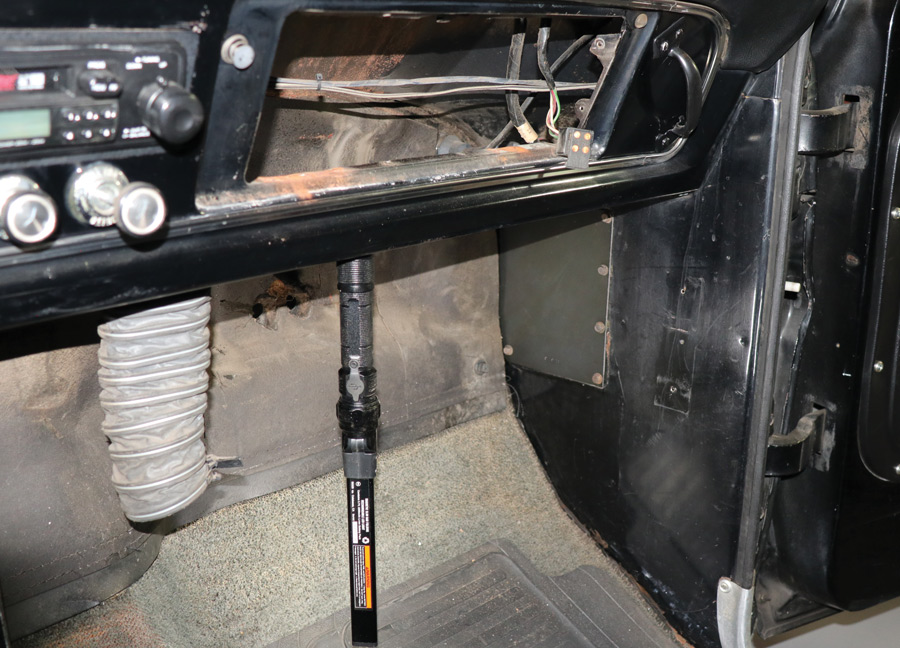
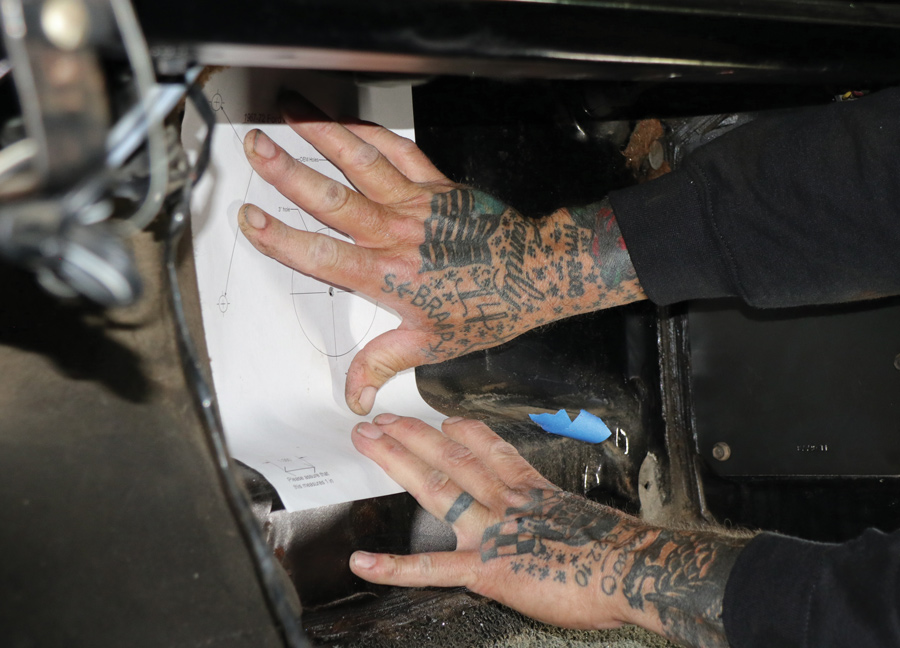
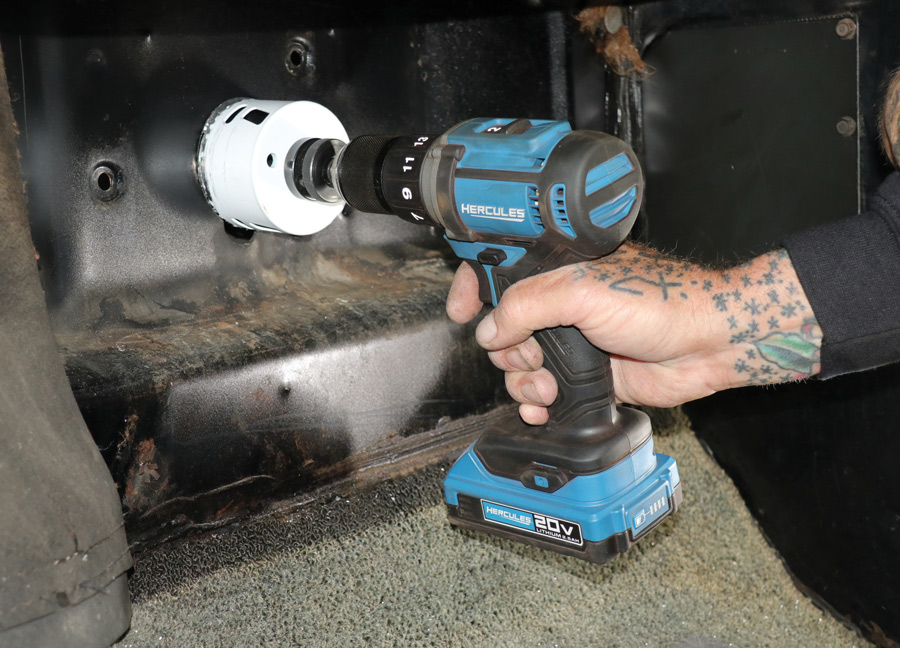
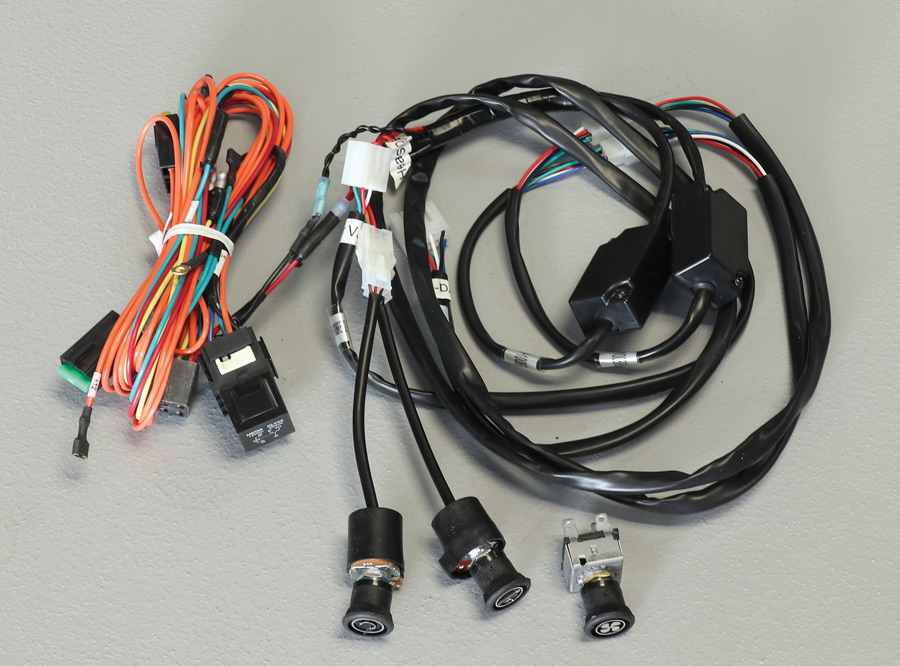
Use the following photos and instructions in conjunction with the installation instructions from Old Air Products that are included with the 1967-1972 Ford pickup kit.

parts, components, and hardware included in Old Air’s PN CAP-6710H-DS Hurricane heat, cool, and defrost system
1. Here are the parts, components, and hardware included in Old Air’s PN CAP-6710H-DS Hurricane heat, cool, and defrost system with rotary electronic controls.
disconnect the battery and remove it from the battery tray behind the radiator
2. The first step was to disconnect the battery and remove it from the battery tray behind the radiator core support on the passenger side inner fenderwell.
stock harmonic balancer
3. Some Ford FE engines might have dual grooves on the harmonic balancer for dual V-belts. This one didn’t so the stock harmonic balancer required removing.
Removing the stock FE harmonic balancer required removing the retaining bolt
4. Removing the stock FE harmonic balancer required removing the retaining bolt at the end of the crankshaft snout and using a harmonic balancer puller.
harmonic balancer
5. Not included with the Hurricane kit (PN CAP-6710H-DS), Old Air advises a new harmonic balancer with additional V-belt grooves will be necessary.
Old Air advises against a flex fan like found on this F-100. For low cost, the best solution is a heavy-duty fan mounted on a viscous fan clutch
6. Old Air advises against a flex fan like found on this F-100. For low cost, the best solution is a heavy-duty fan mounted on a viscous fan clutch.
driver-side mounting bracket for Old Air Products’ compressor bolts
7. The driver-side mounting bracket for Old Air Products’ compressor bolts to existing holes in the left bank cylinder head.
four mounting ears on Old Air compressors
8. There are four mounting ears on Old Air compressors. Scudellari selected the two ears that positioned the fittings for the A/C refrigerant hoses at the top.
radiator and grille
9. The radiator and grille must be removed to install the condenser. Note there are different condensers available for driver or passenger side–mounted compressors.
The compressor V-belt is shown off track in the wrong pulley groove
10. The compressor V-belt is shown off track in the wrong pulley groove. Eyeball the V-belt to make sure it tracks in a straight line.
o remove the grille, the headlight rings must be removed first
11. To remove the grille, the headlight rings must be removed first. Then remove the screws from the front of the grille and the screws accessed from behind inside the fenderwell.
wiring for the turn signal/parking lights and headlights
12. Lastly, the wiring for the turn signal/parking lights and headlights must be disconnected and only then can the grille be removed and set aside.
 Old Air advises against a flex fan because as fan speed increases the blades flatten out, drawing less air
13. Old Air advises against a flex fan because as fan speed increases the blades flatten out, drawing less air. The more air that can pass through the condenser, the better the heat exchange is.
Templates are included designating where holes need to be drilled to mount the pre-formed hard lines for the condenser
14. Templates are included designating where holes need to be drilled to mount the pre-formed hard lines for the condenser. DS on the template indicates a driver side compressor template.
three nuts
15. The three nuts on the firewall passenger side retain the stock F-100 heater in place and serve as the mounting holes for the Old Air Hurricane unit.
defroster ducts are removed
16. The defroster ducts are removed from the truck’s original heater and with the three nuts on the firewall removed the heater can be extracted from the cab.
black plastic fresh air vent
17. The black plastic fresh air vent located in the passenger side kick panel is removed and discarded.
block-off plate
18. The block-off plate secures to the passenger side kick panel using the hardware used to mount the fresh air vent.
 Underneath the dashboard
19. This light works great. Underneath the dashboard is dark unless one has the Braun Slim Bar folding rechargeable magnetic LED light available at Harbor Freight.
 paper template guiding where to drill a 3-inch hole with a hole saw
20. The three holes left by removing the heater are used to index the paper template guiding where to drill a 3-inch hole with a hole saw.
additional 11/4-inch hole indicated on the template must be drilled out
21. After cutting a 3-inch hole in the firewall, an additional 11/4-inch hole indicated on the template must be drilled out.
firewall
22. Here’s how the firewall should appear before the Hurricane unit can be mounted. Not supplied, sandwich Dynamat inside on the firewall before mounting the Hurricane unit.
Hurricane unit is placed at an angle and lifted into place
23. With the glovebox removed, the Hurricane unit is placed at an angle and lifted into place, pushing the three studs into the holes in the firewall.
firewall grommet and aesthetic plate
24. Here the firewall grommet and aesthetic plate that covers the heater hose hole are in place. Additionally, the black tarry goo has been applied.
expansion valve
25. Now the expansion valve is in place and the heater hoses are hooked up to the black plastic heater control valve.
air conditioning/heater ducts
26. To install the air conditioning/heater ducts the dashboard pad must be removed and the dash top defroster vents popped out. Defrost duct adapters are included with the Hurricane kit.
Old Air Hurricane installation instructions include how to modify the stock glovebox to fit back into place after the new A/C ducts have been installed
27. Old Air Hurricane installation instructions include how to modify the stock glovebox to fit back into place after the new A/C ducts have been installed.
Depending on compressor location, the Hurricane kit will come with pre-crimped or universal hoses
28. Depending on compressor location, the Hurricane kit will come with pre-crimped or universal hoses. Here our universal hose is cut to length.
After mocking up hose length to ensure the hoses will not touch a hot or moving part of the engine, a beadlock crimper is used to secure the fittings.
29. After mocking up hose length to ensure the hoses will not touch a hot or moving part of the engine, a beadlock crimper is used to secure the fittings.
hoses
30. The benefit to undertaking a DIY project in addition to saving money is the satisfaction of fabricating parts with a custom-fit, factory-made appearance.
Duralast V-belts
31. Old Air’s Hurricane features rotary electronic controls in place of bulky cables and levers. This means a much easier installation with more room behind the dashboard.
Duralast V-belts
32. A quick trip to AutoZone and we had the Duralast V-belts we needed. The last three numbers indicate belt length (495=49.5 inches, 475=47.5 inches, 490=49 inches).
Pittsburgh Automotive’s A/C R-134a manifold gauge set
33. Instead of the expense of paying an air conditioning shop, Pittsburgh Automotive’s A/C R-134a manifold gauge set worked perfect and is ready for the next job.
In The Garage Media Tech Center
 SOURCES
Old Air Products
(817) 531-2665
oldairproducts.com
Harbor Freight
harborfreight.com