CTP Tech
InTheGarageMedia.com
Smooth Operator
Lokar’s Direct Fit Throttle Pedal Assembly for 1967-1972 C10s
BY ROB FORTIERIMAGES BY THE AUTHORVideography by Ryan Foss Productions
W

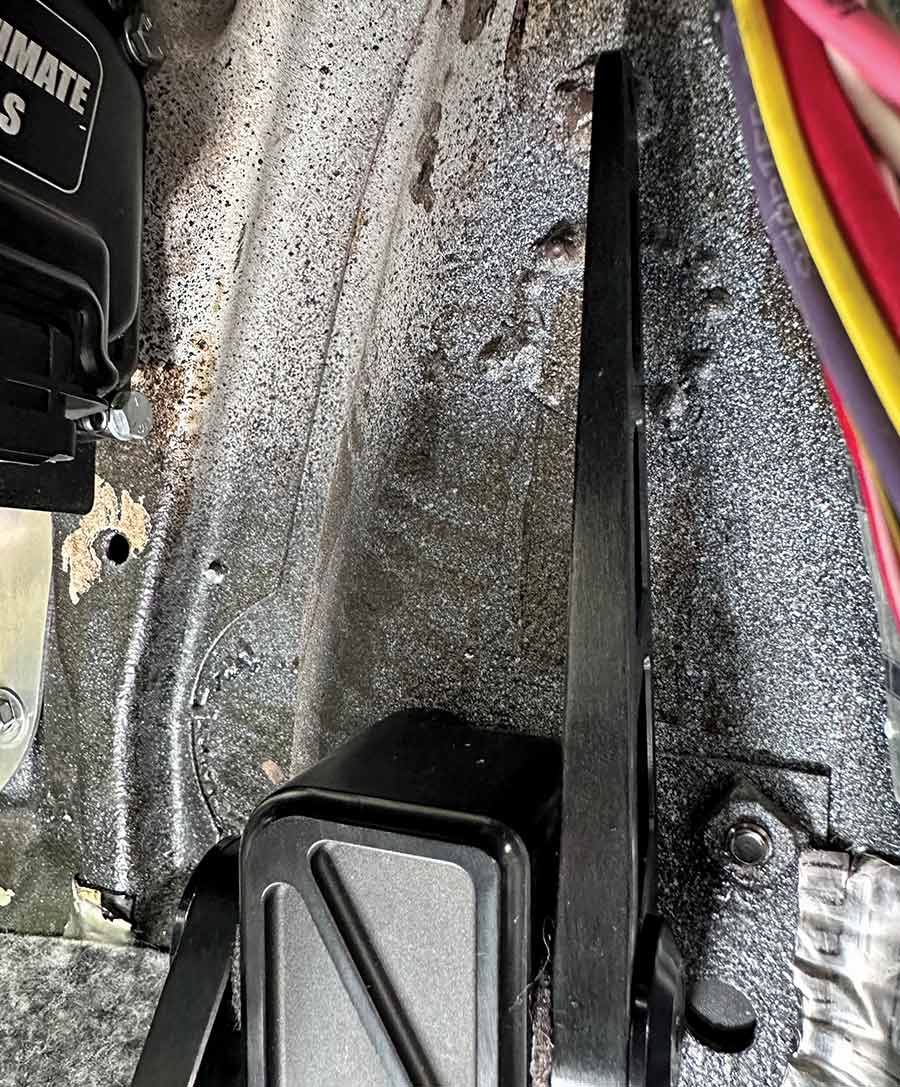
hen I first acquired my 1969 C10, the 454 big-block the previous builder had installed was equipped with a huge four-barrel operated off the factory mechanical throttle linkage. Well, after we determined the truck was less than driveable and began the carb-to-EFI conversion with FiTech’s UltraRam fuel injection (PN 35302), that original linkage went to the wayside, as it would no longer facilitate our throttle operation needs.

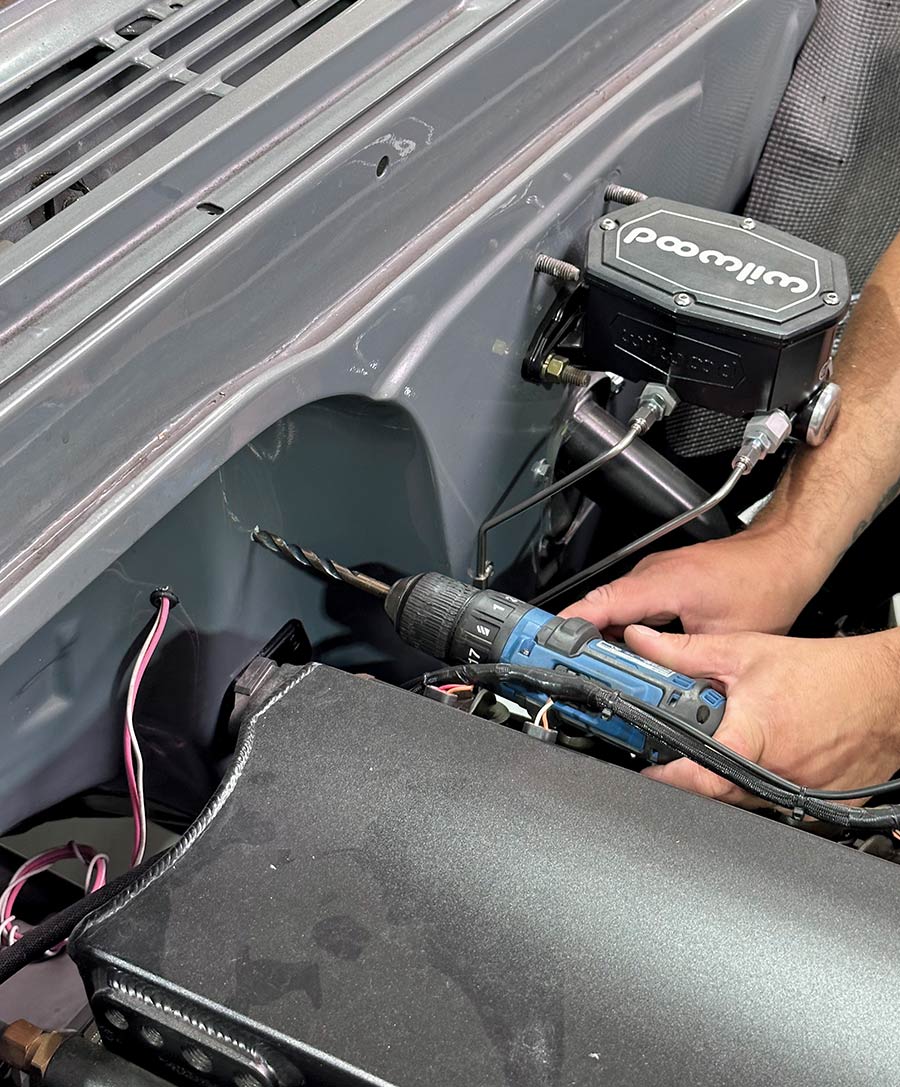
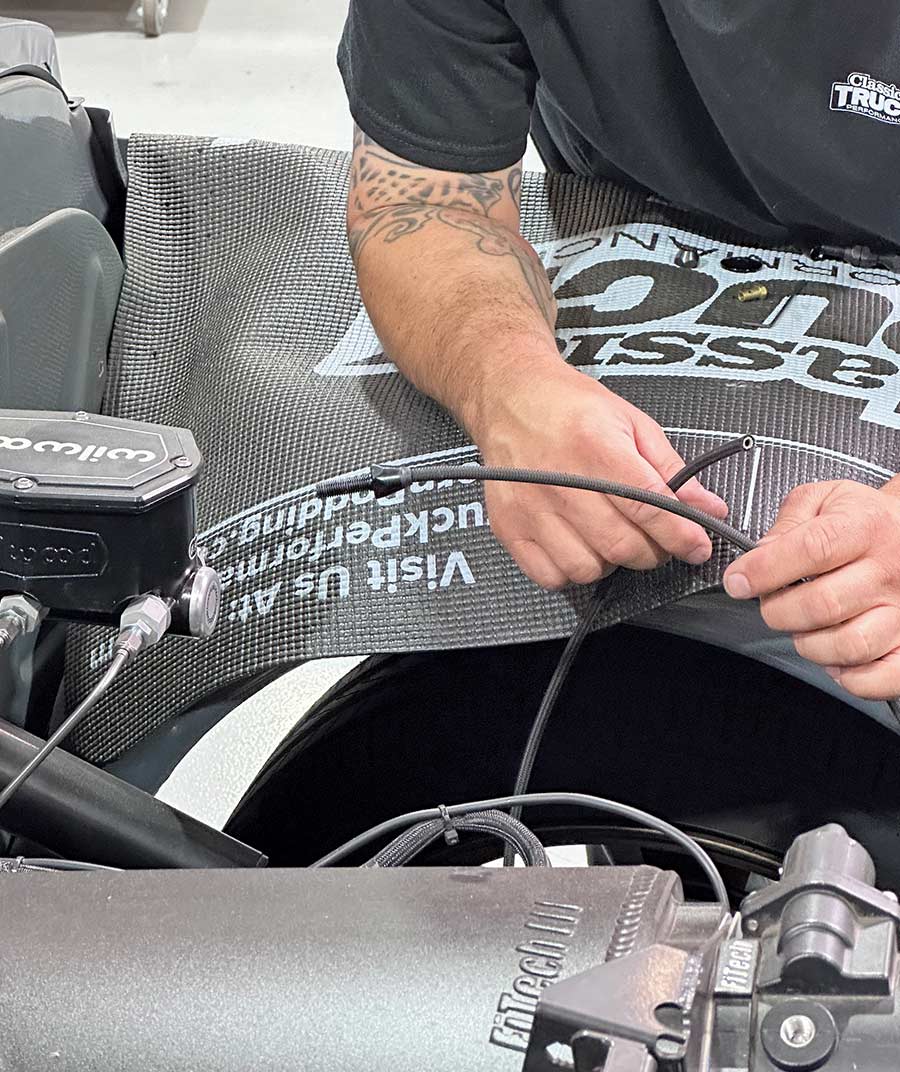
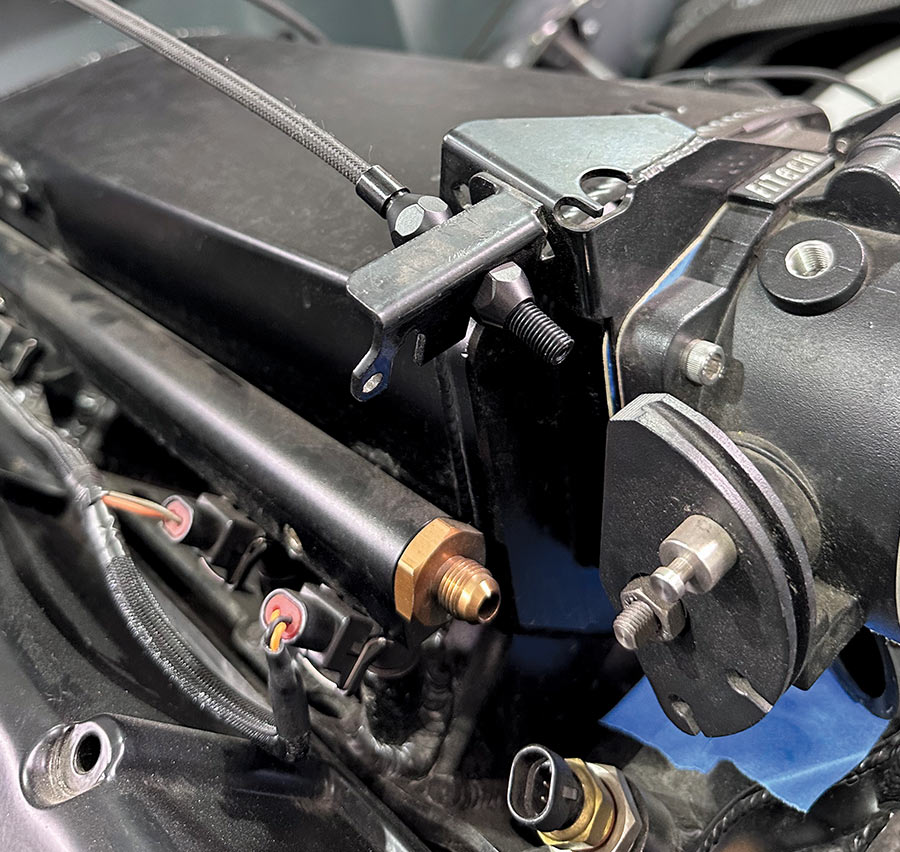
When it came to updating the C10’s gas pedal assembly and cable for FiTech’s LS-style throttle body, there was only one option to consider: Lokar Performance Products. Literally, if you do an Internet search for “C10 Throttle Pedal Assembly,” the only non-stock results you’re going get for cable-actuated, direct-fit pedals are Lokar—anything else is a drive-by-wire kit, a universal adaptation, or some funky interpretation of a C10 throttle pedal. And you know what? That’s just fine with me, ’cause Lokar has been my go-to for not only throttle and cable applications, but shifters, dipsticks, and so on, since day one.

OK, so enough soapboxing. I ordered up Lokar’s XBAG-6164 (X determining the “black anodized option) 1967-1970 throttle assembly with factory-styled pedal, as they have a separate application for 1971-1972 (XBAG-6165), along with their GM LS1/Ram Jet 350 36-inch black-housing throttle cable kit (TC-1000LS1U). The cable is designed to be cut to fit, leaving plenty length to route from the firewall, over the UltraRam intake, and kink-free to the throttle body, equipped with its own cable bracket. Lokar does offer a variety of brackets as well.

Next step was to call in Team Ryans: Ryan Manson (Clampdown Competition) on the install, and Ryan Foss (Ryan Foss Productions) on the live motion picture duties to capture the easy-to-do install. Enjoy, as I will soon being doing just that once we get the 1969 over to FiTech for final preparations to put this polished you-know-what on the road once and for all!

Lokar C10 throttle pedal next to original linkage on a workbench during installation
1. Lokar Performance Products offers two direct-fit throttle pedal assemblies for the 1967-1972 Chevy/GMC C10s: The XBAG-6164 shown in black anodized finish (to complement our already-installed XBCA-9509 direct-fit brake arm) fits the 1967-1970 models; XBAG-6165 fits 1971-1972. Also shown is Lokar’s TC-1000LS1U 36-inch throttle cable kit to actuate our LS-style FiTech throttle body.
Technician positioning the Lokar throttle assembly in the C10, aligning with firewall access
Close-up of throttle linkage hole in firewall prepped for Lokar pedal installation
2-3. Obviously, the stock mechanical throttle pedal has already been removed, leaving the remaining mounting spot as your “guide template” for drilling new holes to mount the new Lokar assembly.
1. Lokar Performance Products offers two direct-fit throttle pedal assemblies for the 1967-1972 Chevy/GMC C10s: The XBAG-6164 shown in black anodized finish (to complement our already-installed XBCA-9509 direct-fit brake arm) fits the 1967-1970 models; XBAG-6165 fits 1971-1972. Also shown is Lokar’s TC-1000LS1U 36-inch throttle cable kit to actuate our LS-style FiTech throttle body.
2-3. Obviously, the stock mechanical throttle pedal has already been removed, leaving the remaining mounting spot as your “guide template” for drilling new holes to mount the new Lokar assembly.
Drilling into C10 firewall for Lokar throttle pedal mounting alignment
4. Though there are three existing (threaded) holes, only the lower middle and top left (as viewing from inside the cab) will be drilled out using a 17/64 bit, as shown.
Lokar throttle pedal installed, positioned next to neatly organized wiring on the C10 firewall
Lokar throttle assembly mounted securely to firewall with visible hardware in a clean C10 setup
5-6. With the throttle arm and actuating lever removed, the pedal base mounting assembly is attached to the firewall with the three-hole plate on the engine side. (If you’re wondering about the third 1/4-20 bolt not fitting through the undrilled hole, it actually secures to the factory threaded hole!)
4. Though there are three existing (threaded) holes, only the lower middle and top left (as viewing from inside the cab) will be drilled out using a 17/64 bit, as shown.
5-6. With the throttle arm and actuating lever removed, the pedal base mounting assembly is attached to the firewall with the three-hole plate on the engine side. (If you’re wondering about the third 1/4-20 bolt not fitting through the undrilled hole, it actually secures to the factory threaded hole!)
Technician tightening Lokar throttle pedal mount, ensuring secure installation in the C10
Lokar throttle pedal installed alongside wiring, finishing the upgrade in C10 interior
7-8. Next, we reassembled the throttle arm and mocked up where we assumed the pedal pad would position at idle (we’ll set for WOT once the cable is installed).
Final Lokar throttle pedal assembly securely mounted in C10, ready for operation
Drilling the firewall to prepare for Lokar throttle cable installation in a Chevy C10
9-10. Now, according to Lokar’s detailed instructions, the location for the throttle cable to pass through is an “existing” hole; unfortunately, the previous owner had a field day filling most every hole deemed unnecessary, so we had to reintroduce that hole ourselves! (It’s approximately 5 inches above the throttle pivot.)
Assembling Lokar throttle cable components with instructions for precise installation
Technician routing Lokar throttle cable through the engine bay for optimal positioning
11-12. After our 5/16-inch hole was successfully drilled (and fortunately, no Bondo Blowout in the process!), Ryan Manson began the cable installation by disassembling everything in preparation of trimming the housing to length.
Lokar throttle cable secured through the firewall, ready for interior connection
Lokar throttle cable grommet installed on the firewall, providing a clean and secure pass-through
13-14. With the cable itself removed from the housing, the firewall fitting was installed accordingly—adjustable end inside the cab set in line with the throttle actuator arm’s cable-mounting hole.
Technician preparing to connect the Lokar throttle cable to the engine's throttle linkage
Lokar throttle cable attached to throttle linkage, ensuring smooth engine operation
15-16. Next, the throttle cable adjuster is installed onto the existing FiTech throttle body cable bracket. (Lokar does offer EFI and carburetor cable brackets as well.)
Technician adjusting Lokar throttle cable for precise fitment on the engine
17. So as not to kink the cable with a sharp bend coming directly out of the firewall, Manson routed the housing out and over the intake manifold in a sweeping S-bend.
Cutting Lokar throttle cable to finalize the installation in the Chevy C10
Fully installed Lokar throttle cable connected to throttle body, ready for testing
18-19. Using heavy gauge Knipex wire cutters (a thin-blade cutoff wheel also works), avoid fraying the braided stainless housing when trimming to size. Taping the usable end in the process will help.
Positioning Lokar throttle pedal under the dashboard in a Chevy C10
20. The lubed-up cable is fed through to the engine compartment from the interior/pedal side—with the affixed cable end attached to the actuator arm.
Throttle cable installed through firewall grommet, ready for connection
Connecting Lokar throttle cable to the throttle body for accurate response
21-22. With the pedal “floored” and the throttle blade at WOT, initially set your cable length and trim.
Securing Lokar throttle cable end to ensure proper throttle linkage
23. Once you’ve verified proper operation of the throttle body with the pedal positioned correctly (no binding/interference), lock down your cable and trim excess length.
Lokar throttle pedal assembly fully installed with clean routing
24. We initially set the throttle pedal without carpet installed, so we’ll likely have to revisit the adjustment process once again—or better yet, leave it up to FiTech once we transport the truck over from getting its fresh TMI interior!
SOURCES