
 Tech
Tech


PHOTOGRAPHY BY Camren Beattie
haven’t built headers in five or so years, and even then I haven’t made very many. I also wasn’t even supposed to be the one building them! I remember asking Justin if I could build the headers for the truck a long time ago and he outright said no, but the time came where I needed to have them built and our foreman, Sev, who usually builds the headers and exhaust for everything in the shop was still too busy to get to them, so I just started building them myself from the excess material we had on hand.
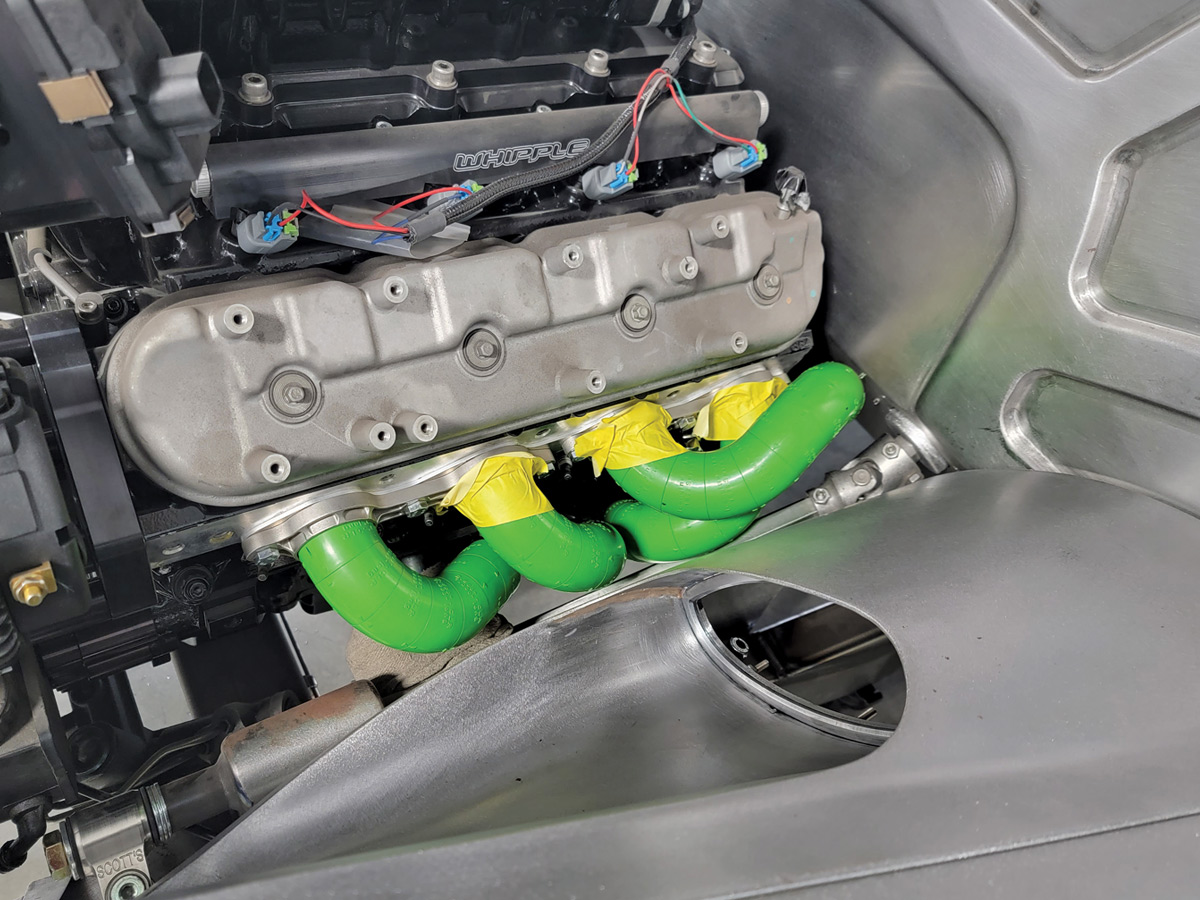
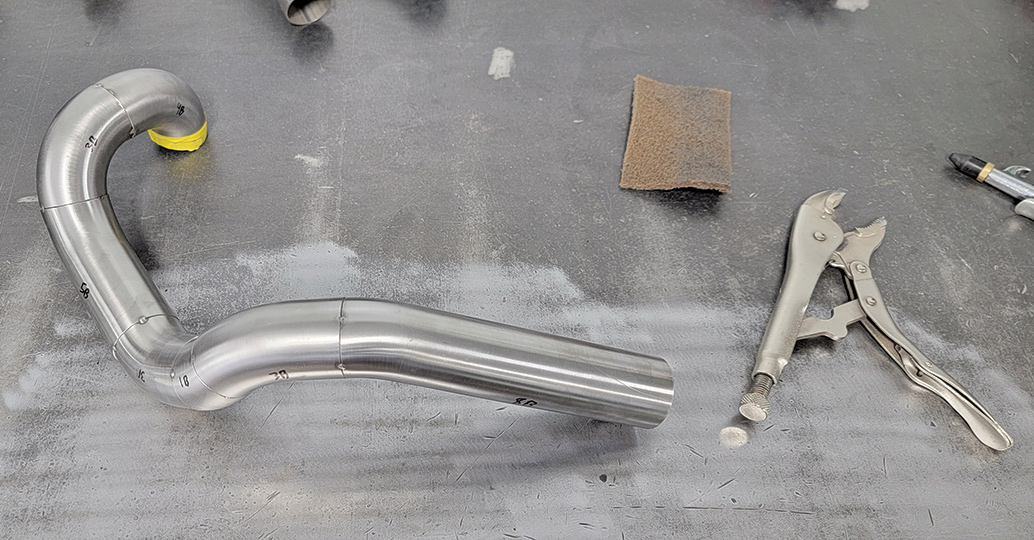
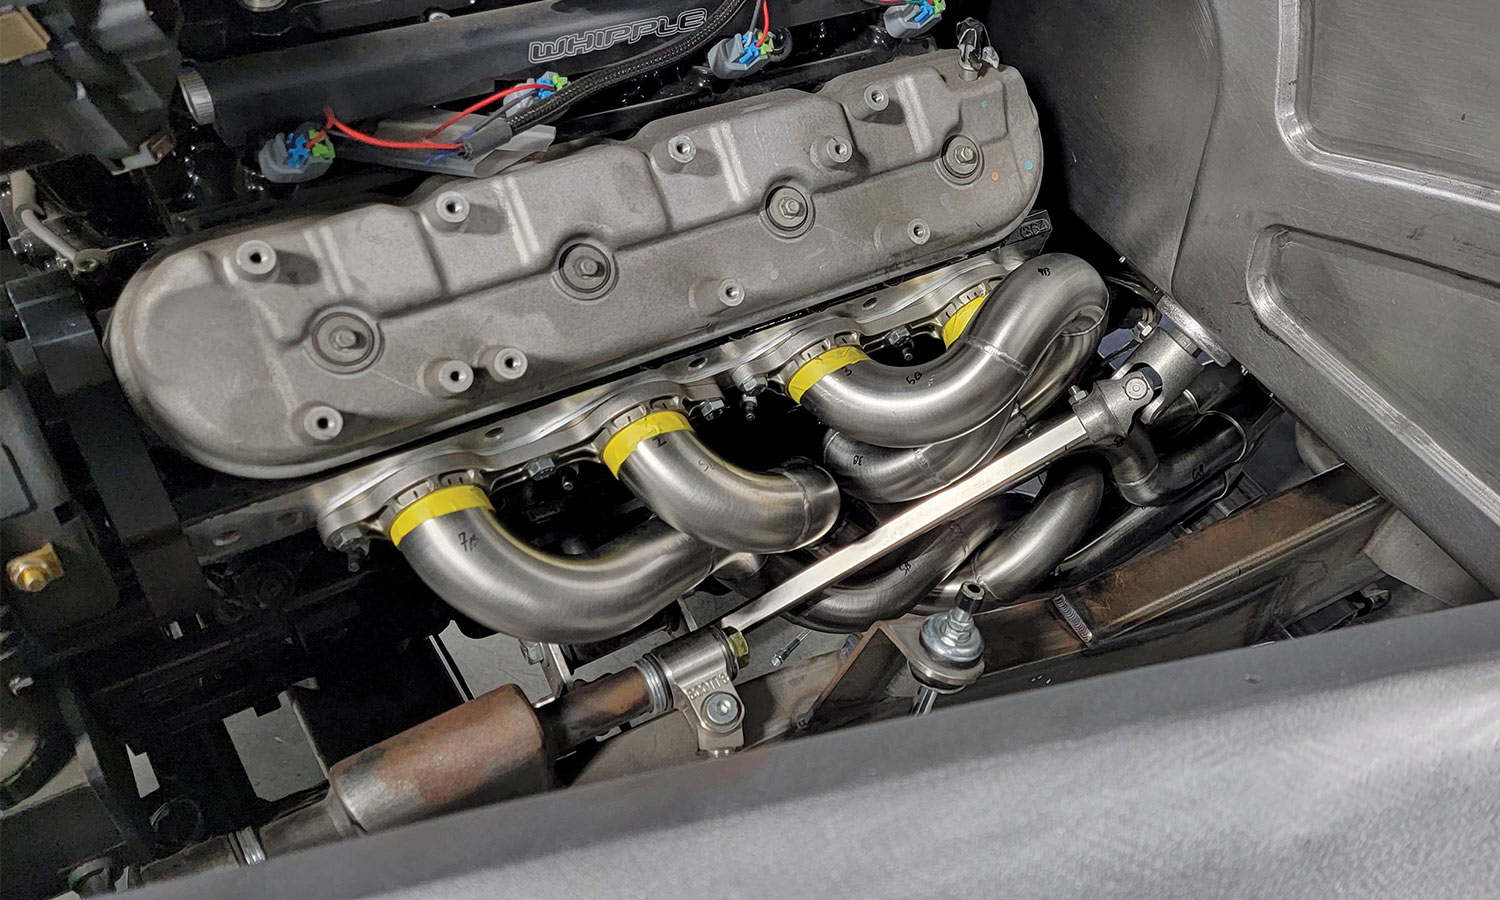
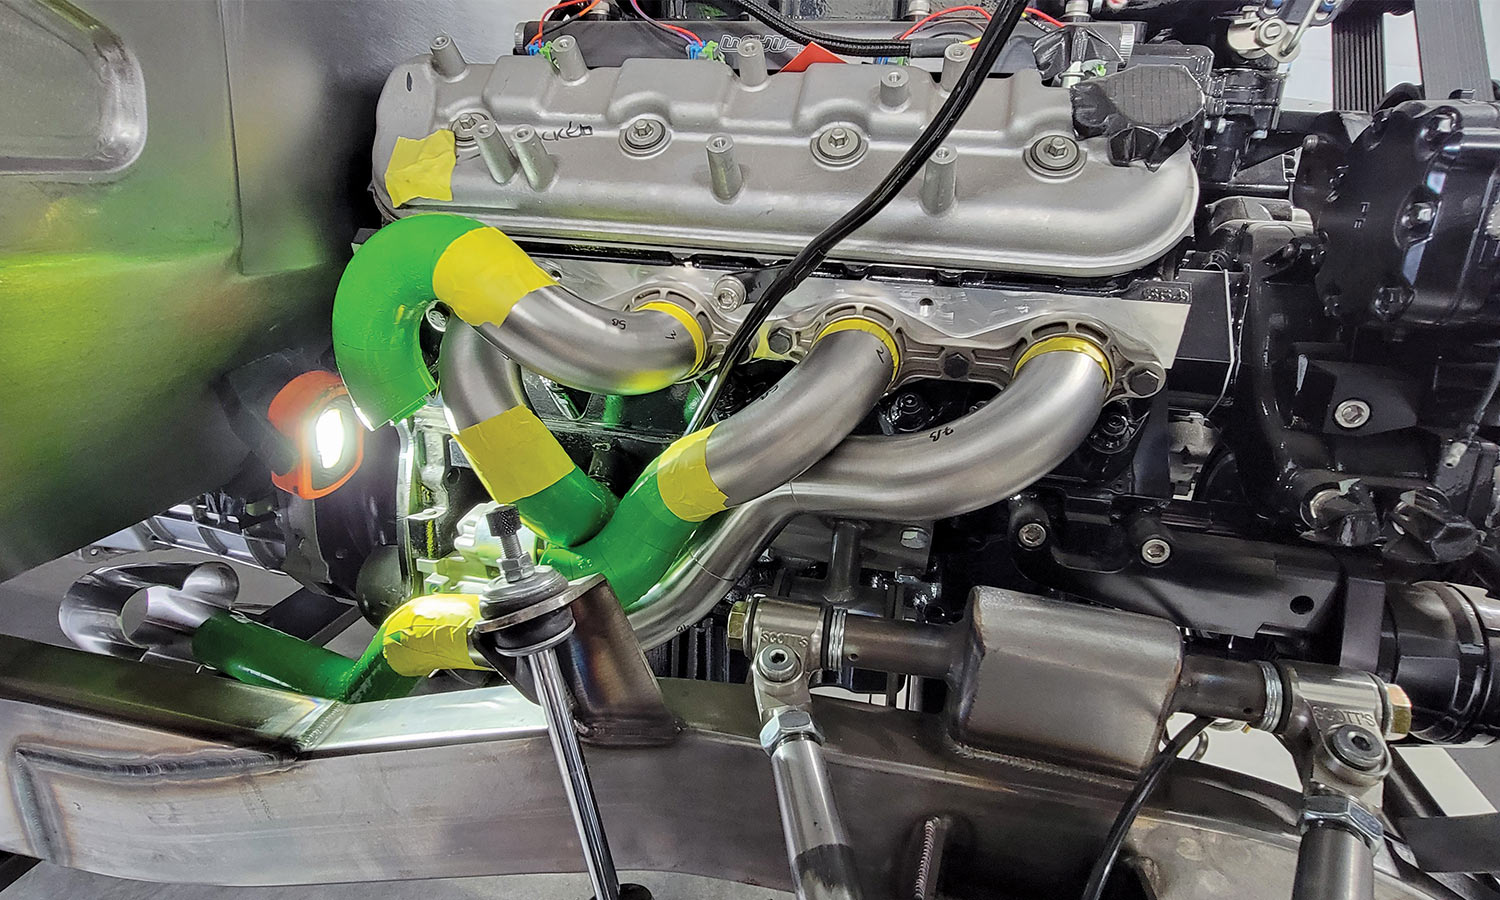
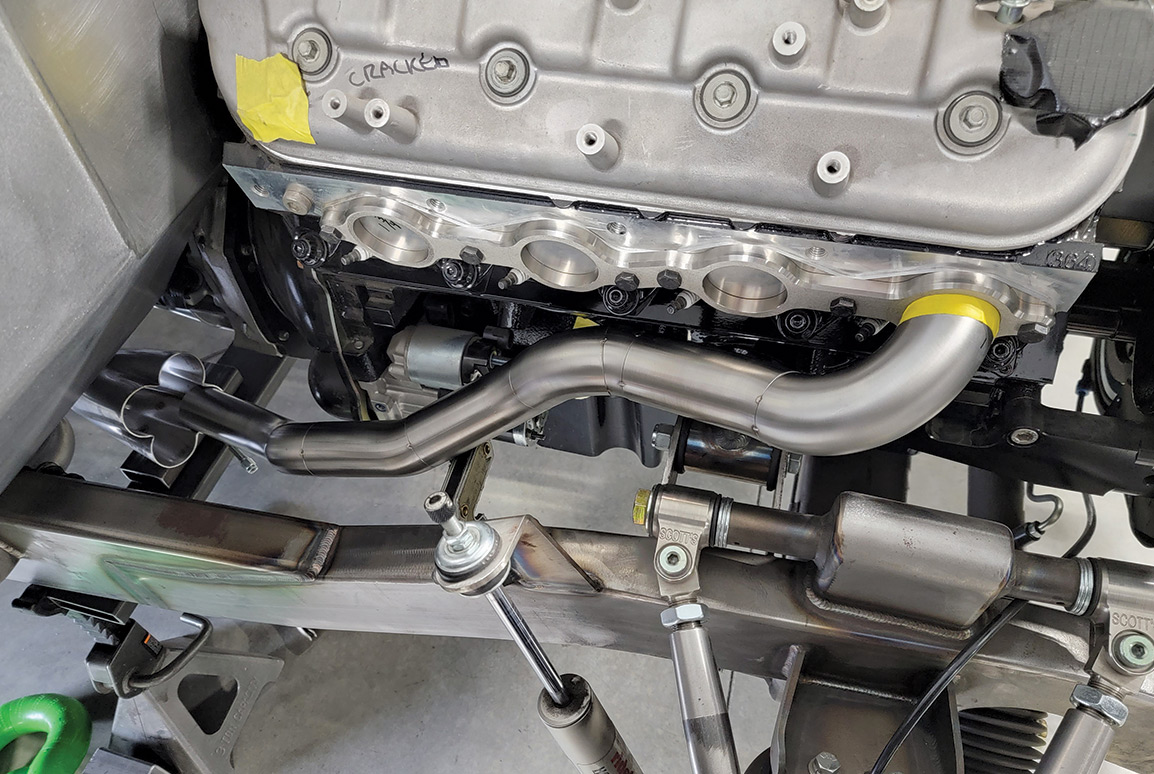
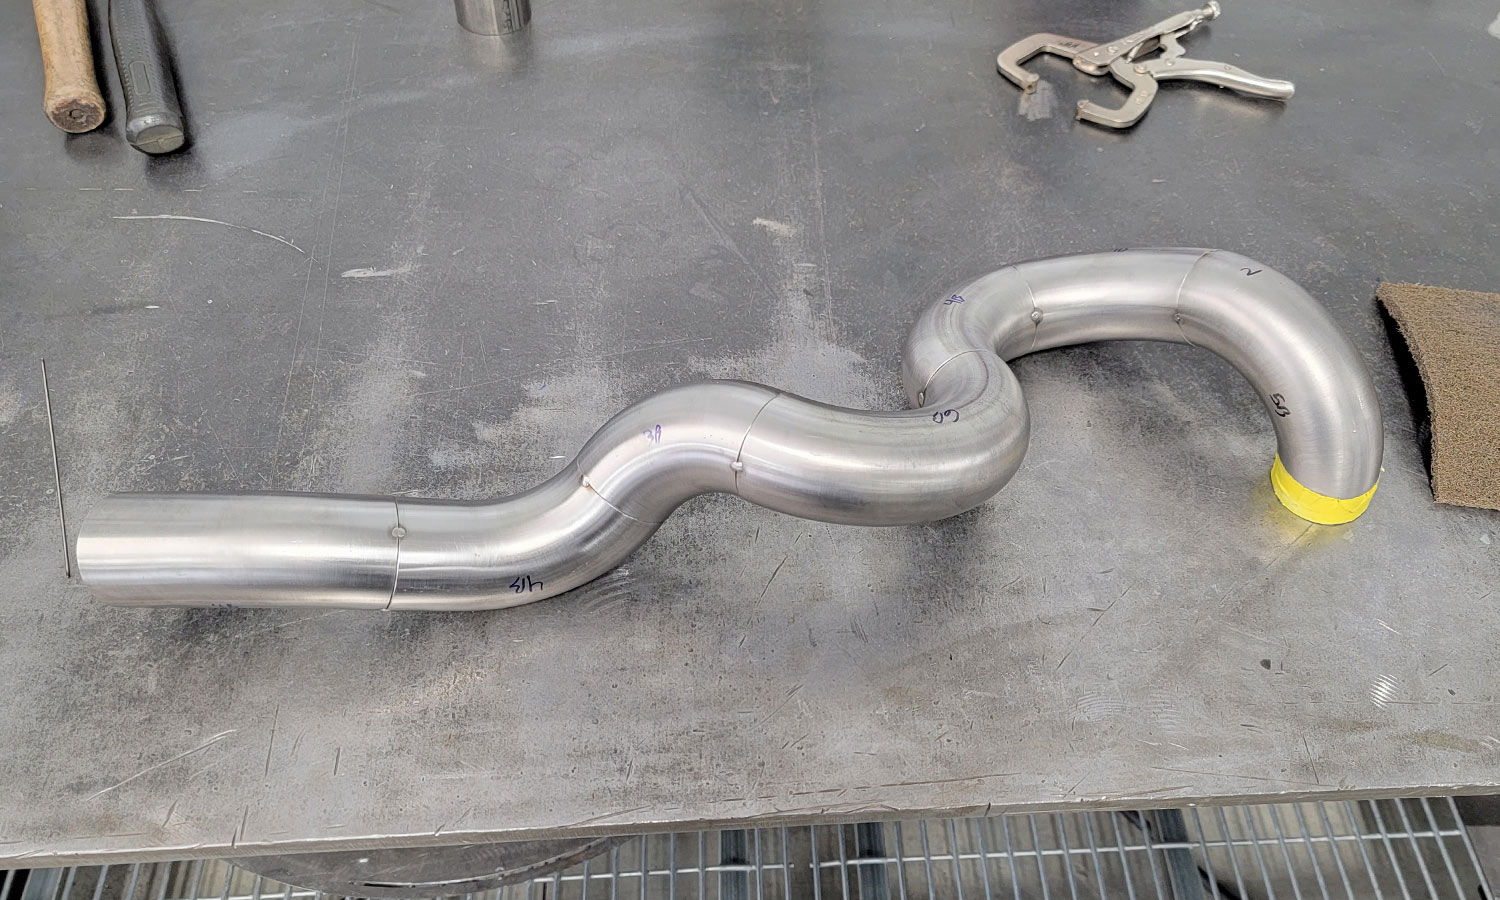
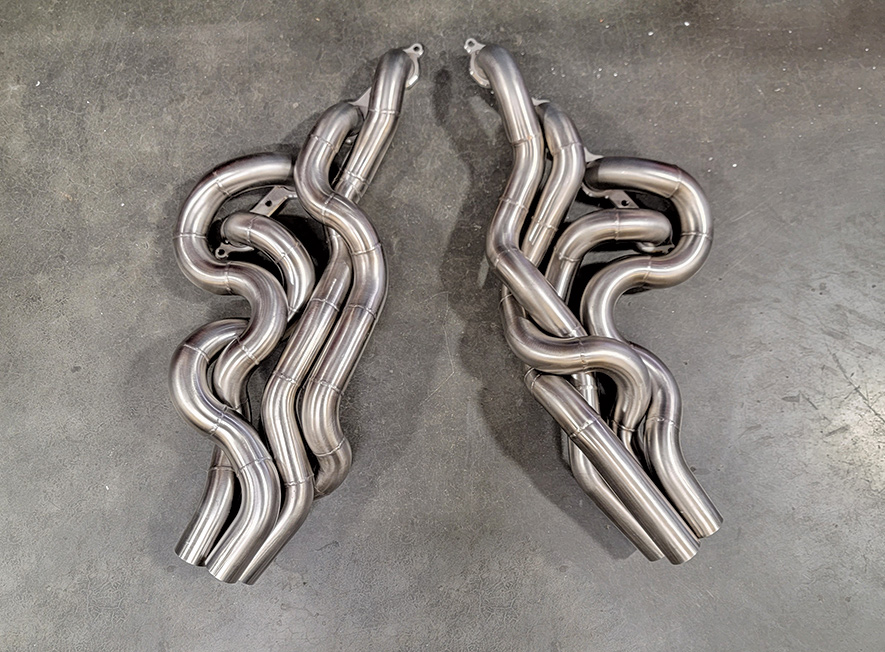
When it came time for headers, Justin had told Sev that he wanted them to be as equal length as possible for maximum performance. That stuck with me, and I bothered Sev about doing the headers several times before the time came where I really just needed to get them built. With Sev so busy, I grabbed the header modeling blocks that we have from icengineworks (I highly suggest you get these if you’re building headers often as they are a huge time saver) and started building out the runners on the driver side first. I feel like I have kind of a weird process of building headers. I mock up the collectors where I want them in the framerails (in this truck they are mirrored) and then I like to see what the first 6 or so inches of every runner is going to look like (because this is what you see the most in the engine bay) before building the forward-most runner completely out to the collector.
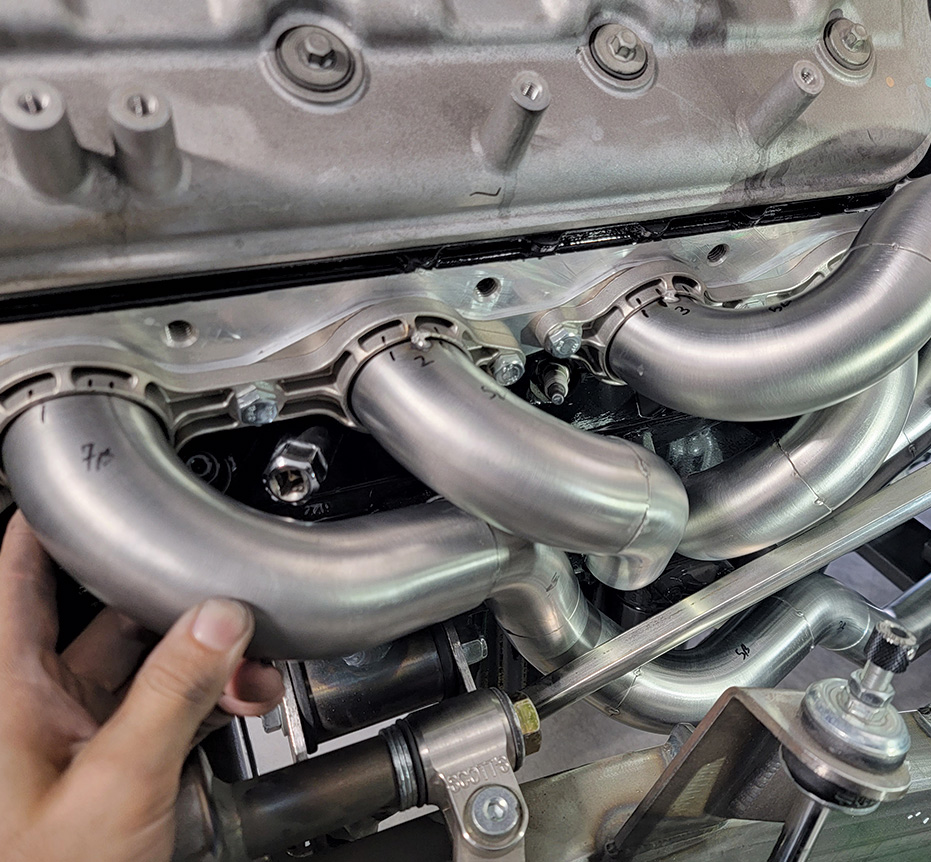
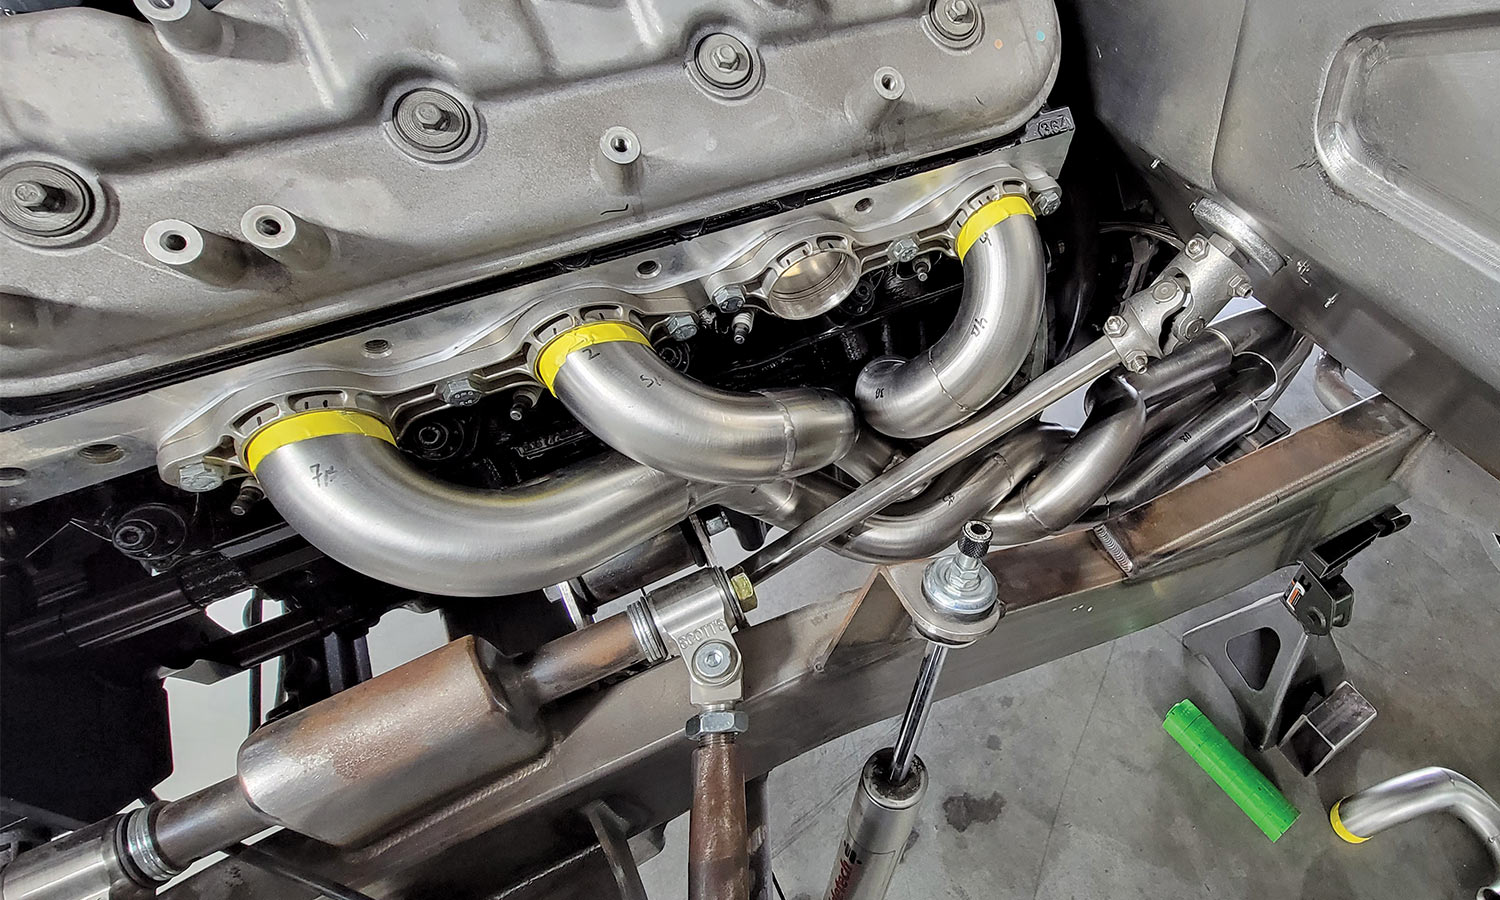
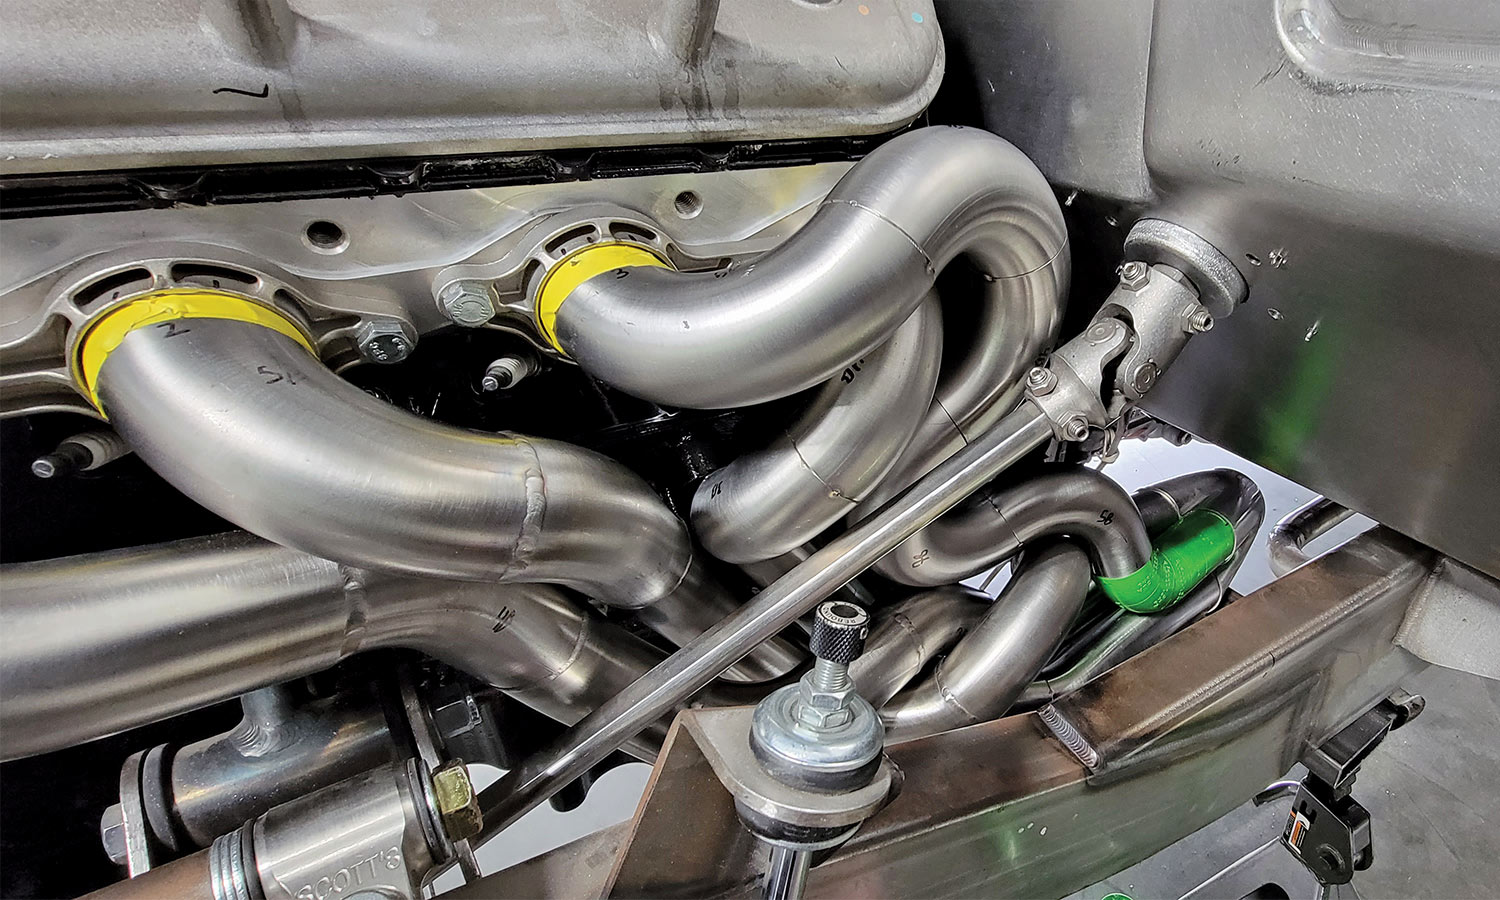
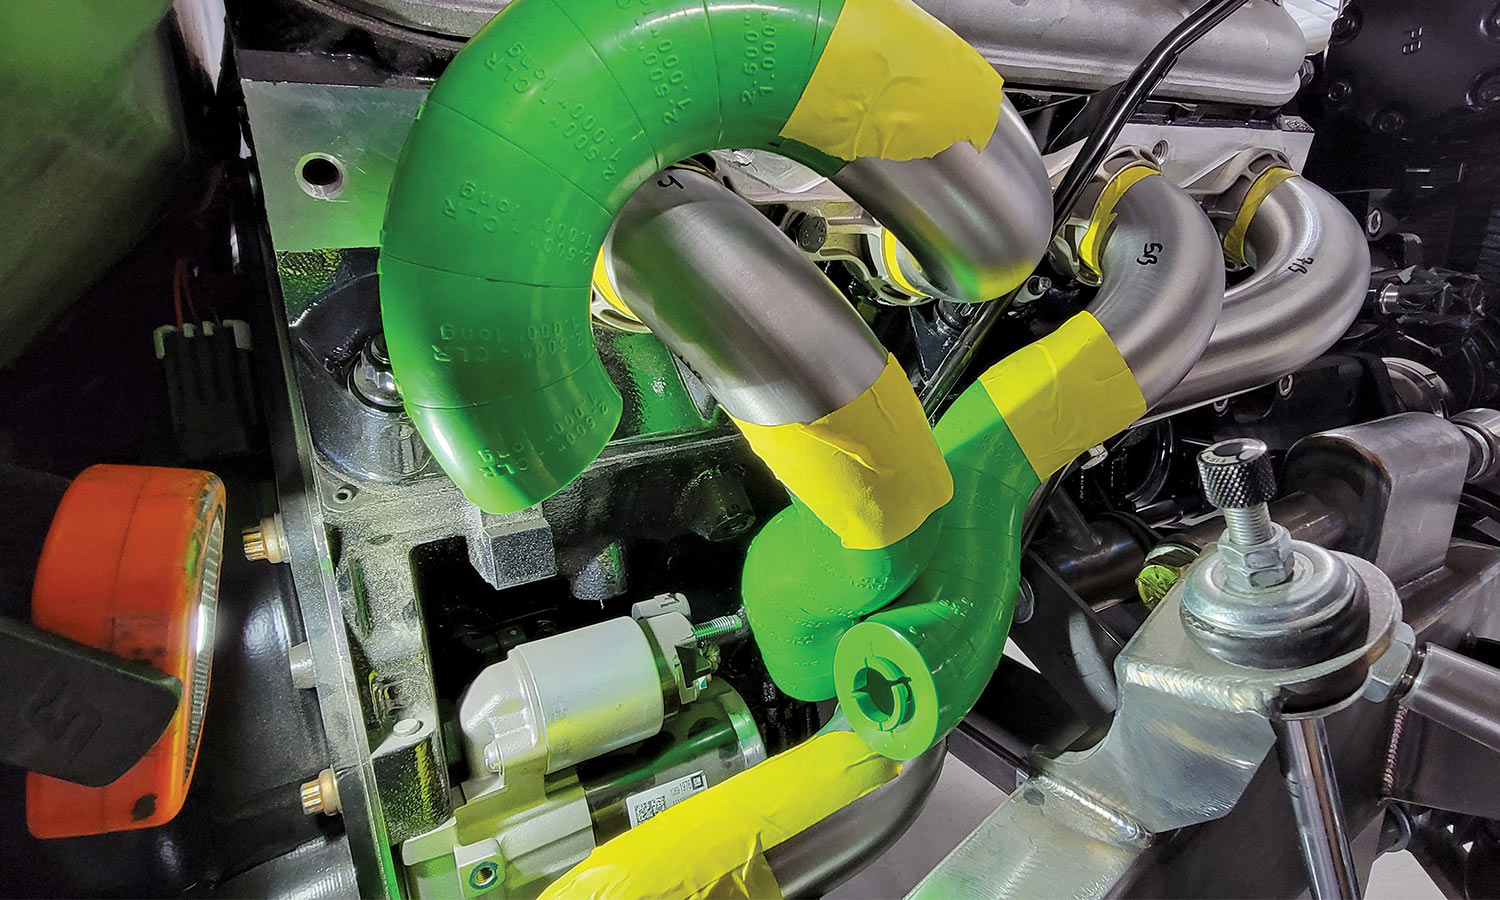
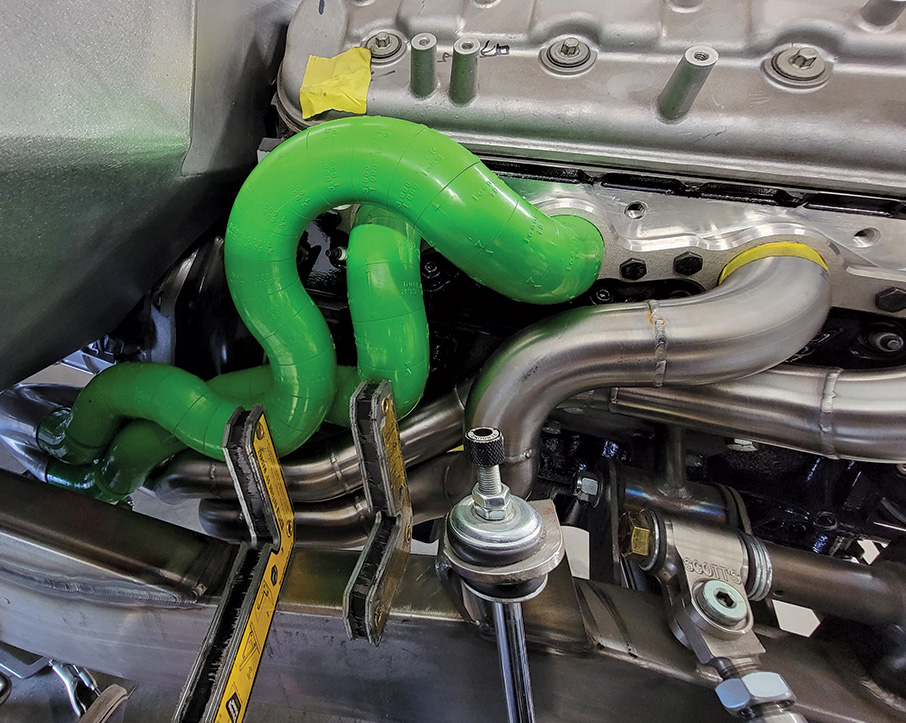
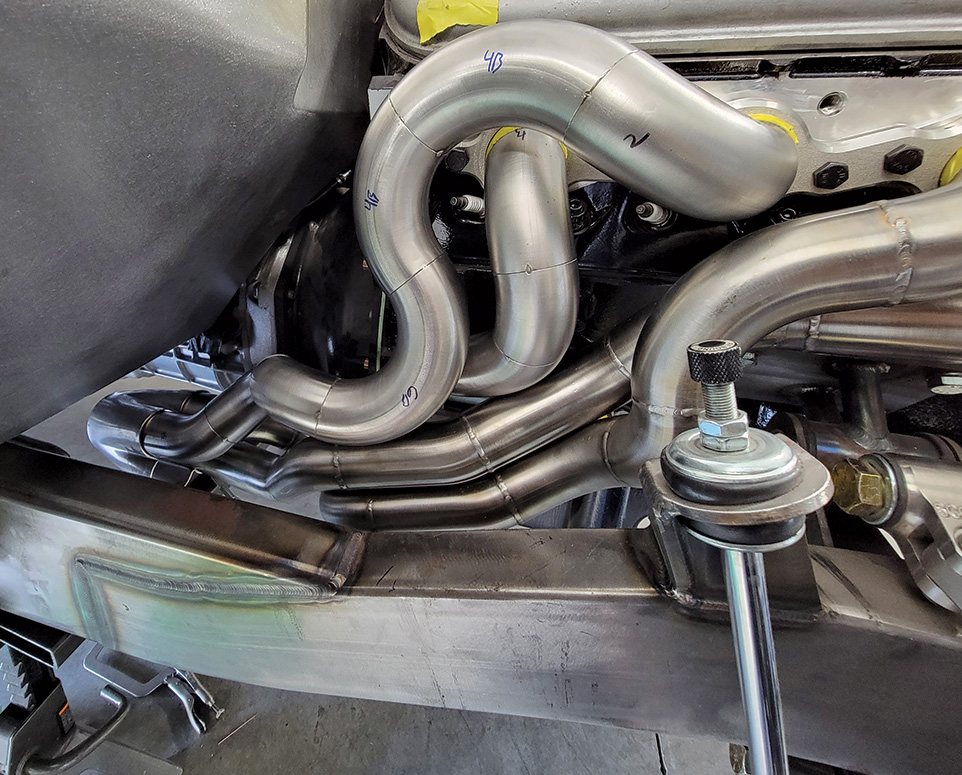
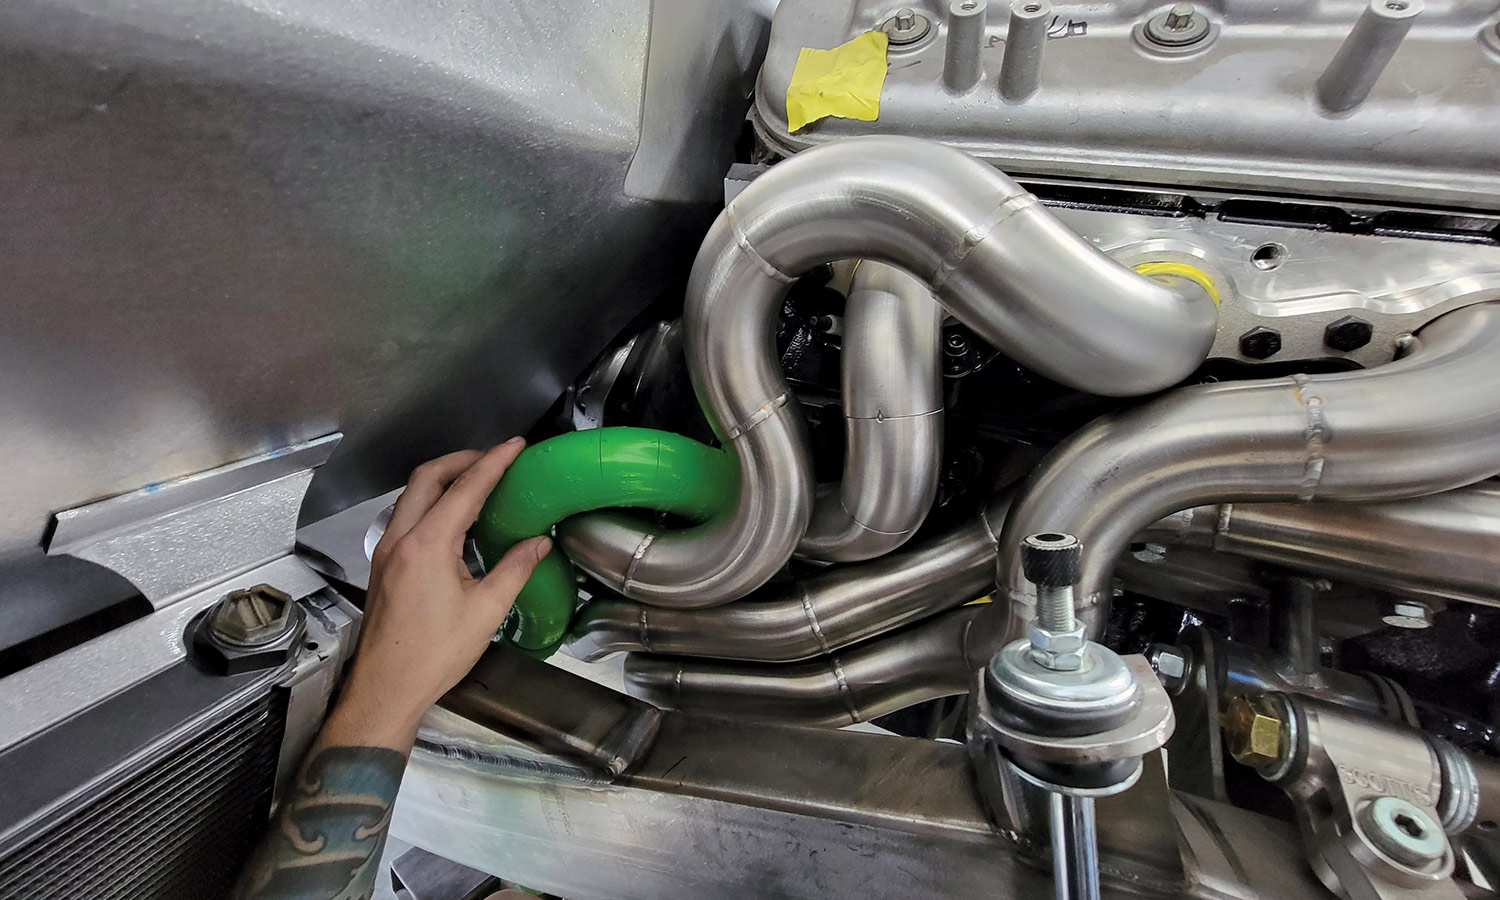
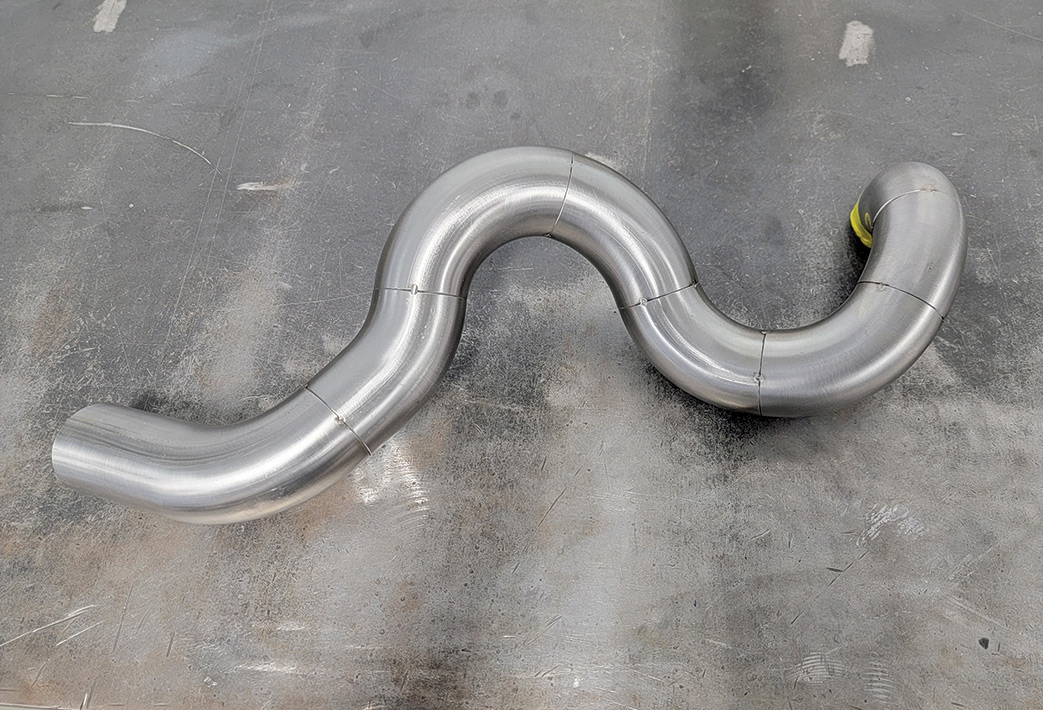
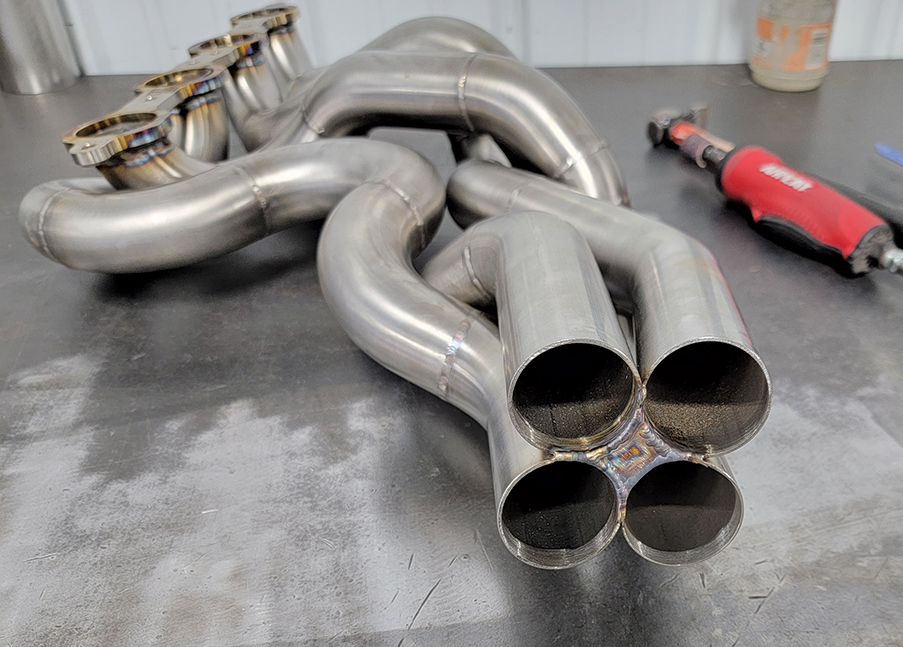
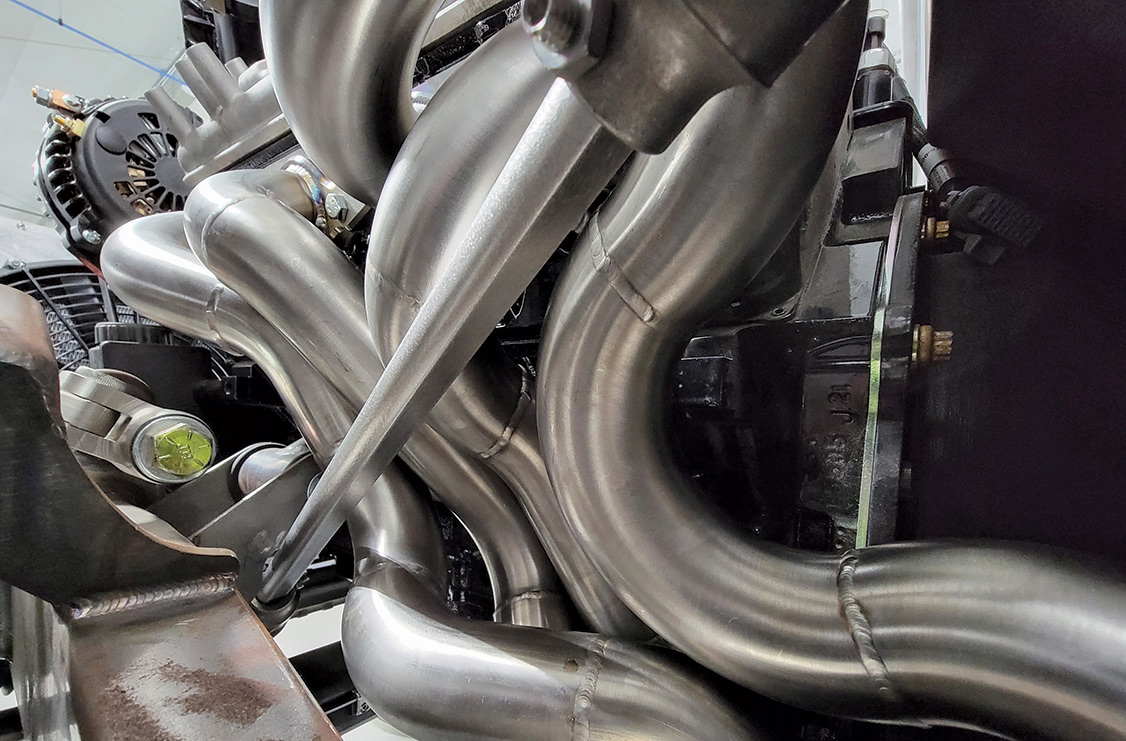
With the first runner complete in stainless, I hand it off to Mark to weld out while I go back to doing sheetmetal. When he hands me back the runner, I slip it back into place and build the second runner out. Rinse and repeat until Mark gives that one back to me. I slipped both of those in, which twisted around each other and sat next to each other on the collector, and started working on the rearmost runner since I wanted the third one to sweep up and over the top of the fourth, giving it an aggressive look. Keep in mind, too, I was snaking all of this around the steering shaft, and I didn’t want to use a third universal joint on the steering.
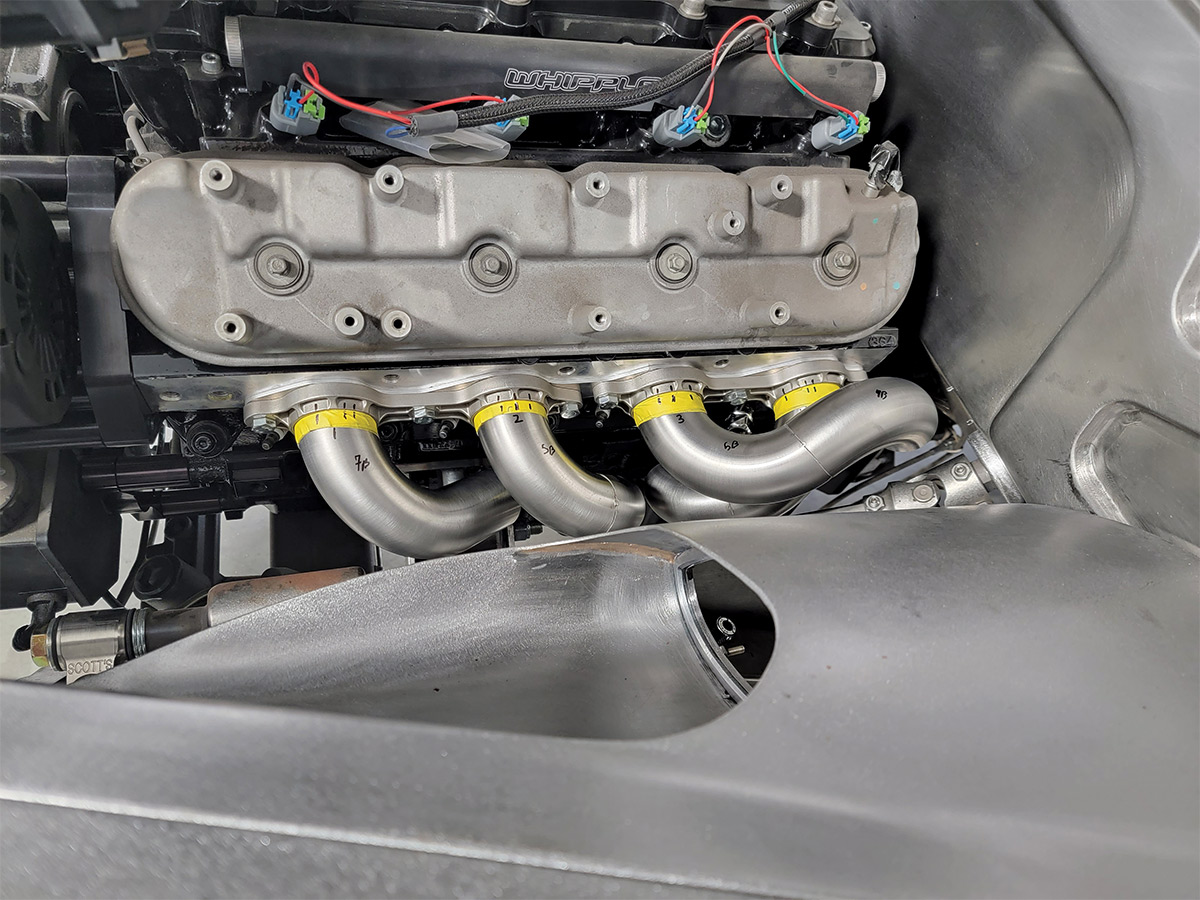
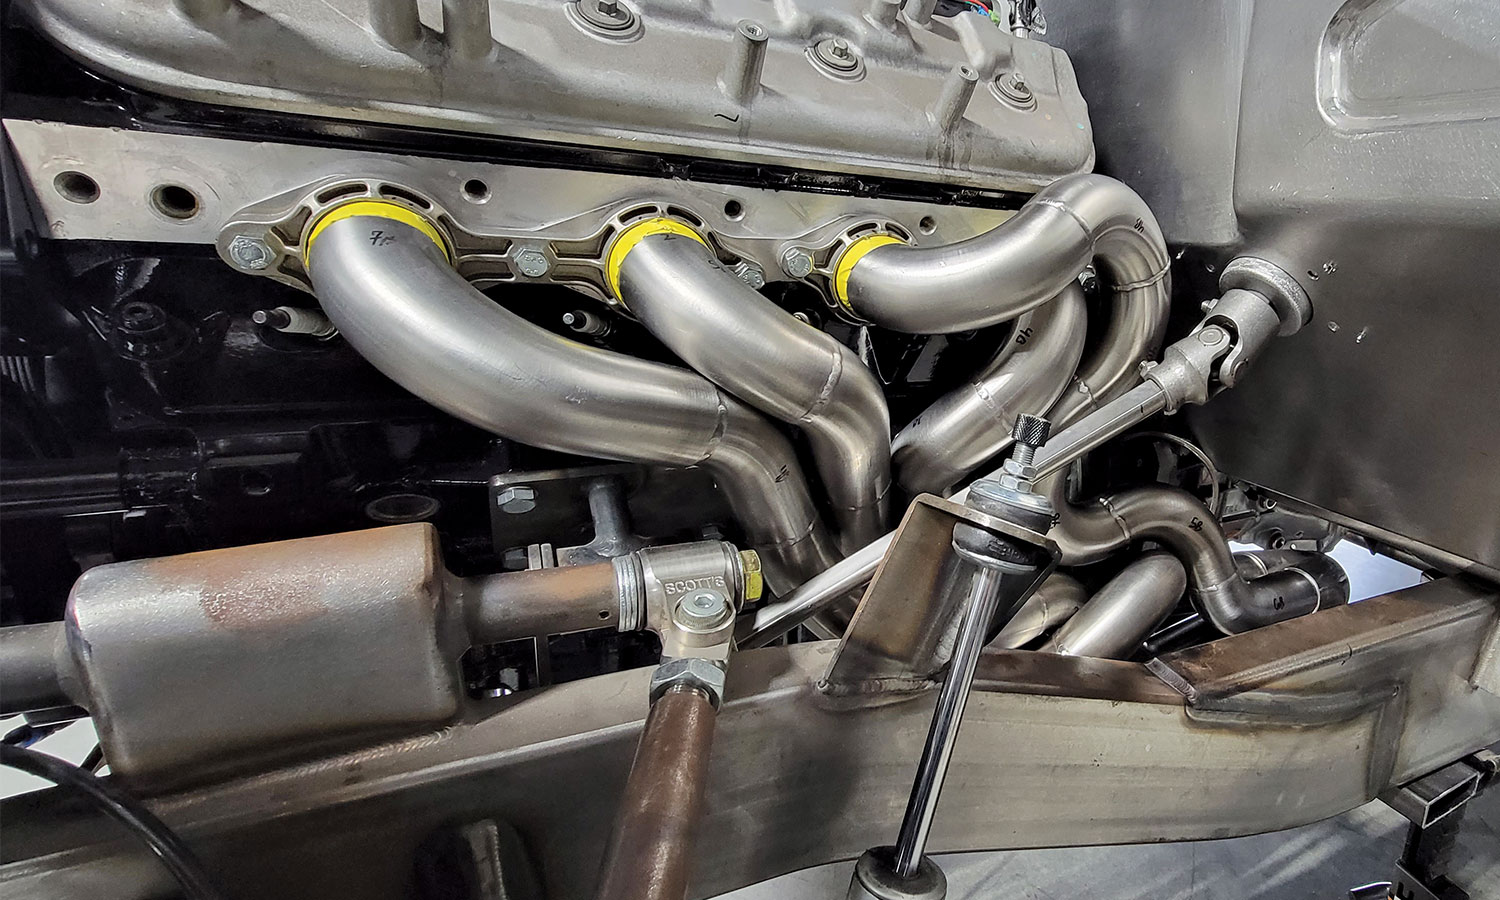
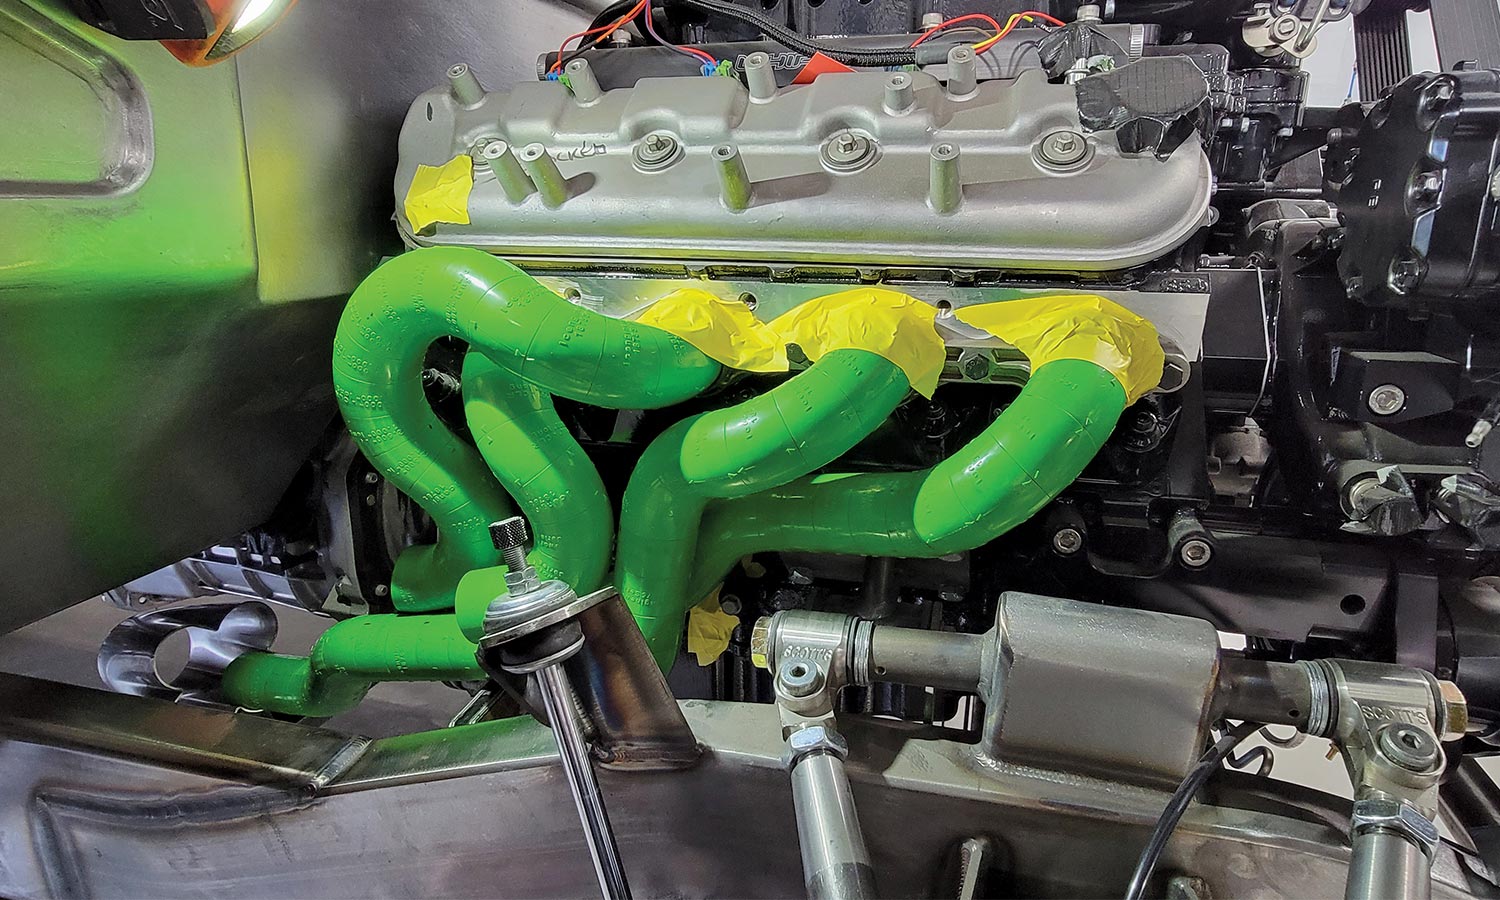
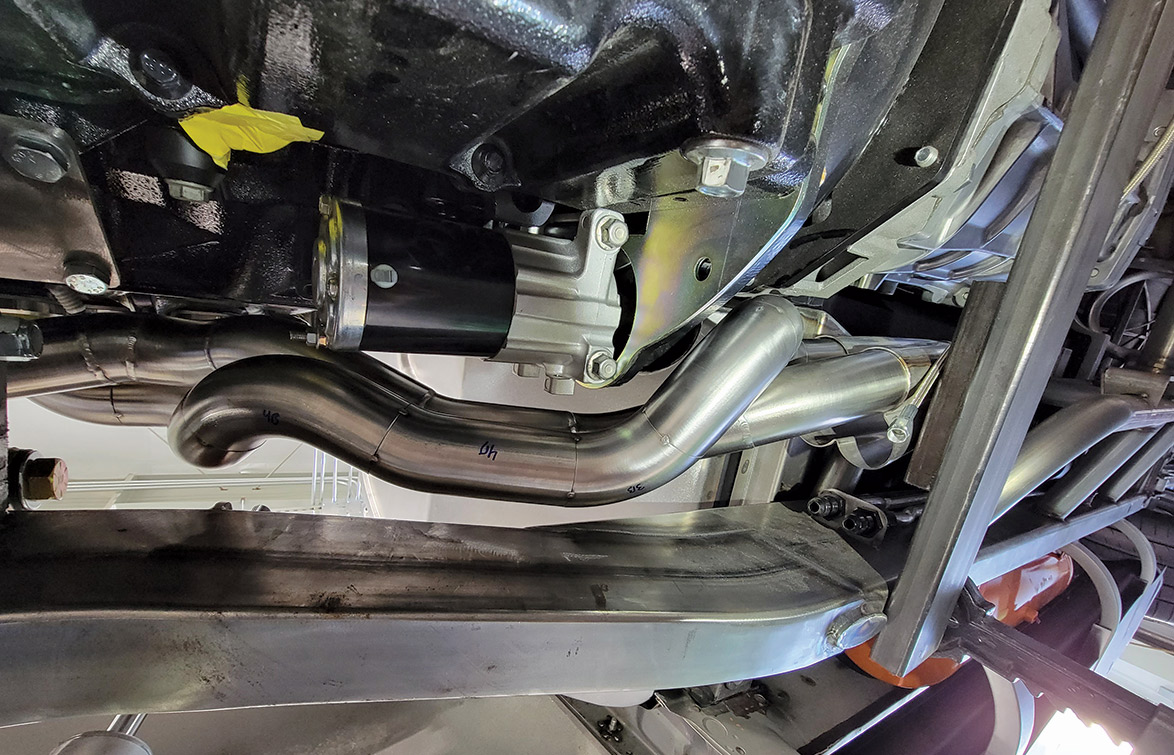
During all of this, I would periodically make sure I could access the spark plugs and all of the header flange bolts (some of them are still a pain in the butt, but you can get to them all!). With all the runners done and welded up, I tacked them all to the header flange, clamped them all together at the collector, and moved onto the other side. When I started the driver side, I was thinking I was starting the harder side, having to work around the steering shaft. Well, I ended up being wrong because the passenger side was much more difficult to do. The cylinder head is pushed further forward on the block by about an inch, which pushed my first runner really close to the front crossmember; with the starter on this side, I lost a lot of valuable space to twist my runners around to keep them equal length. Eventually, though, I managed to get everything built and had Mark weld it all up (which I’m sure he really enjoyed getting into a couple of those really tight corners).
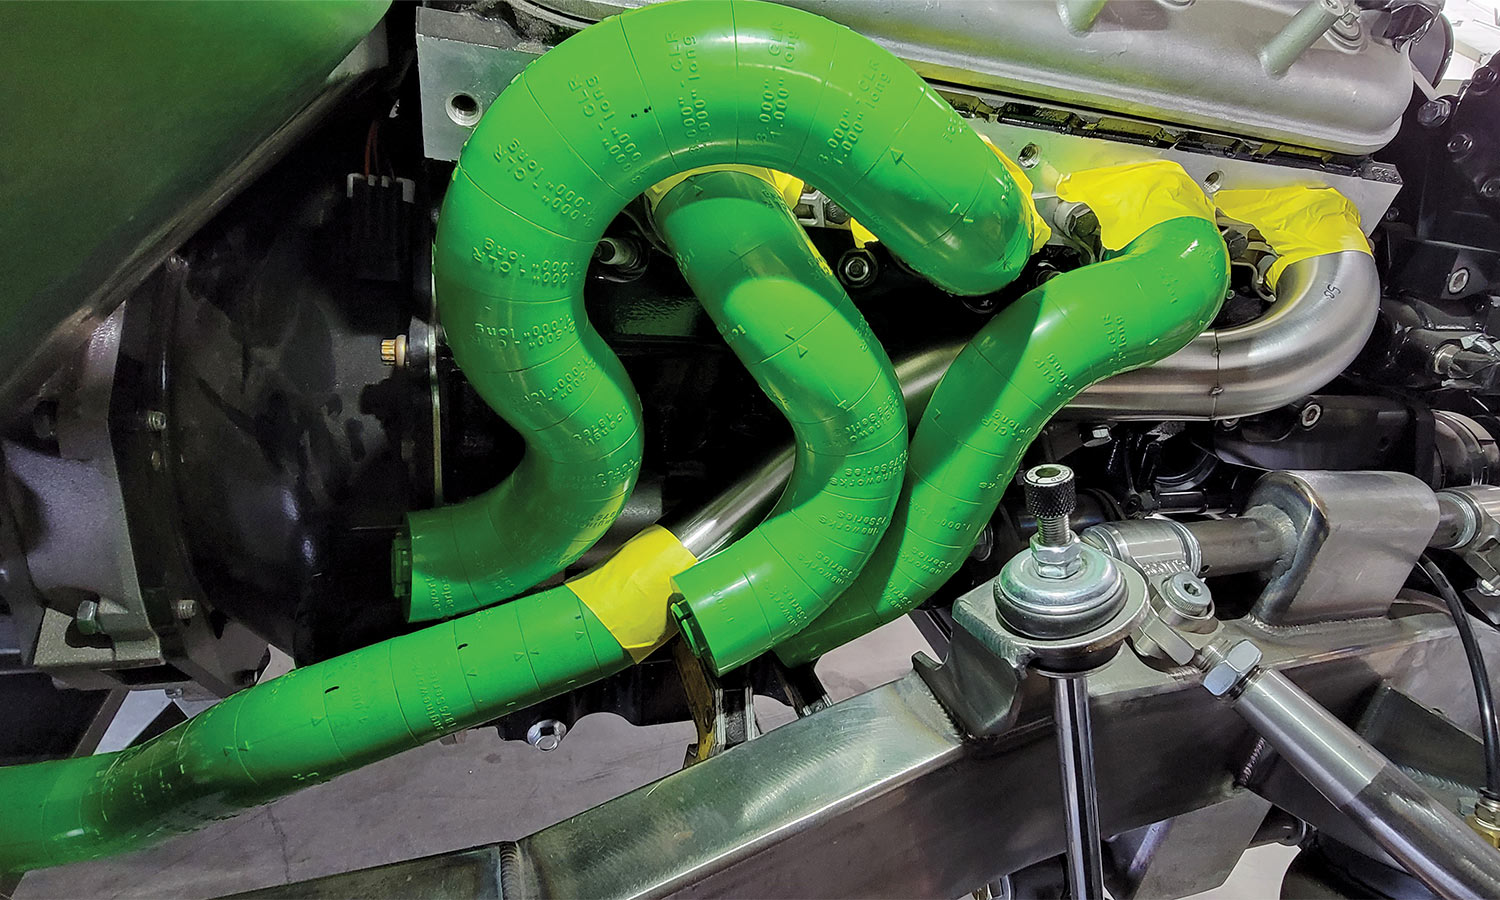
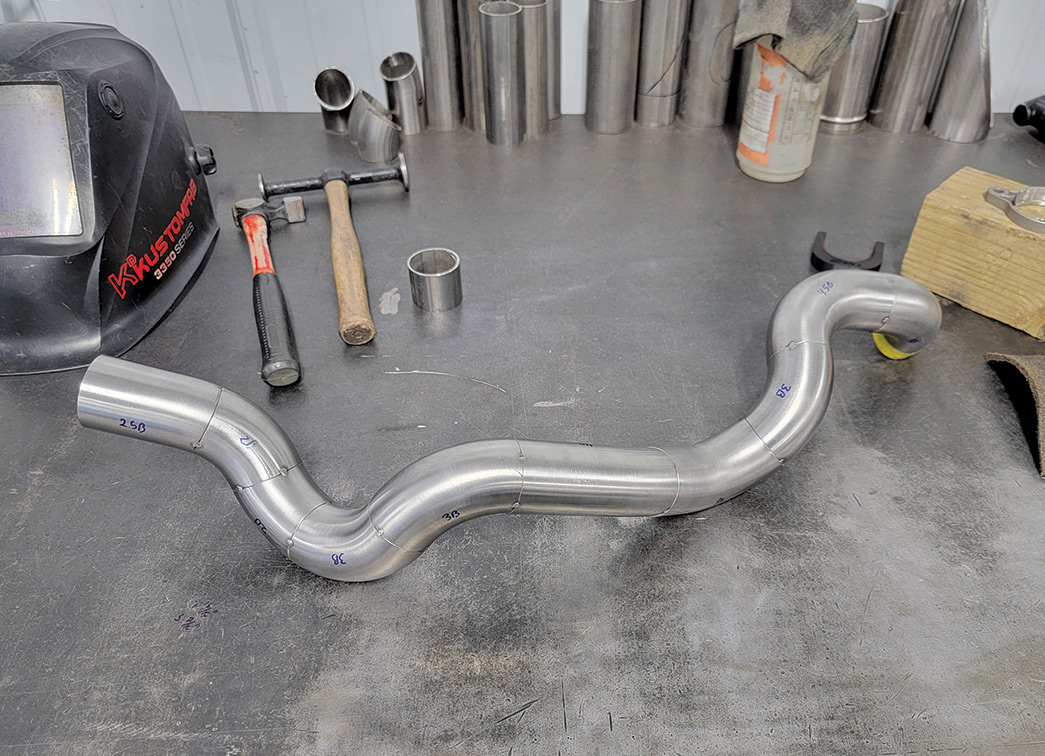
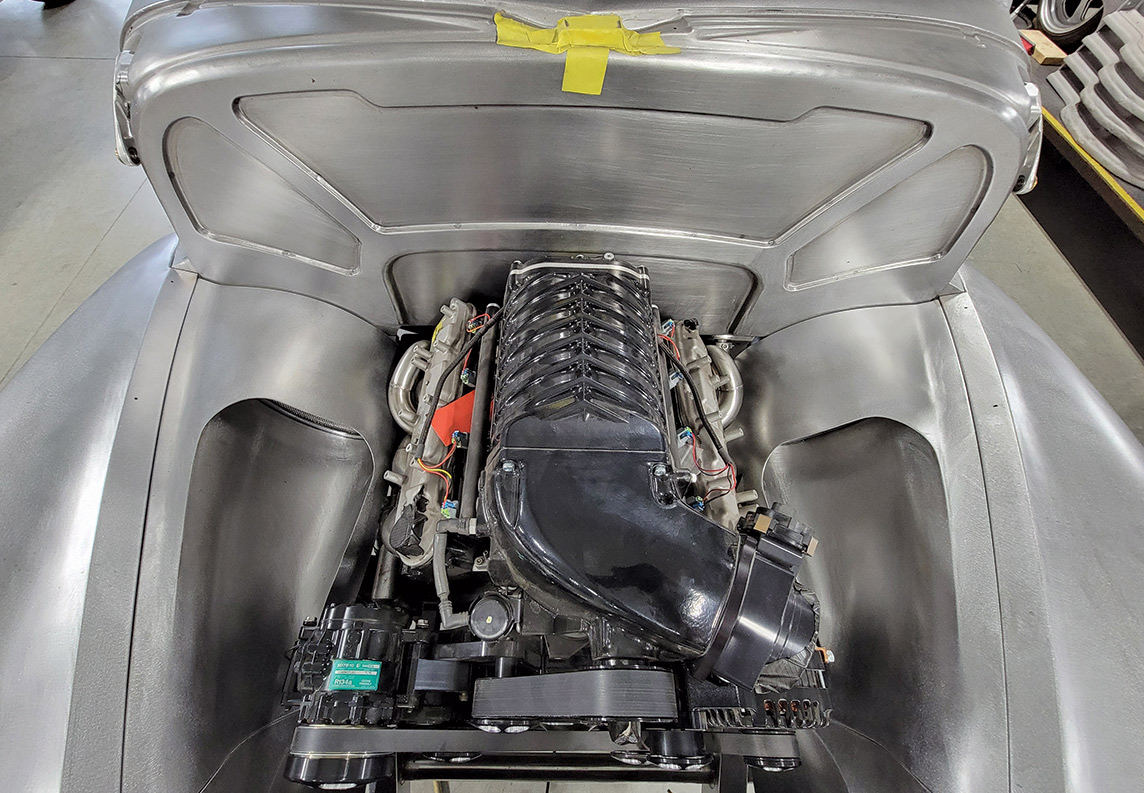
With both headers completely welded up, I reinstalled them to check how easy they would be to remove and install, checked to make sure I could remove the starter without having to remove or even loosen the header, and get to all the header flange bolts and spark plugs. I’m a huge stickler for making things easily accessible and serviceable because you never know who is going to be working on the truck in the future, so when I could do all these things with hardly any issues at all, I was very happy and satisfied! The reason for all the runners twisting together was just to keep both headers equal length, and they’re true long-tube headers, measuring out at 33 inches long at the collector. I really like the symmetry of the top of the runners when you do a bird’s-eye view into the engine bay. A lot of thought went into the function, form, accessibility, and serviceability when building these.


 SOURCE