Tech
Tech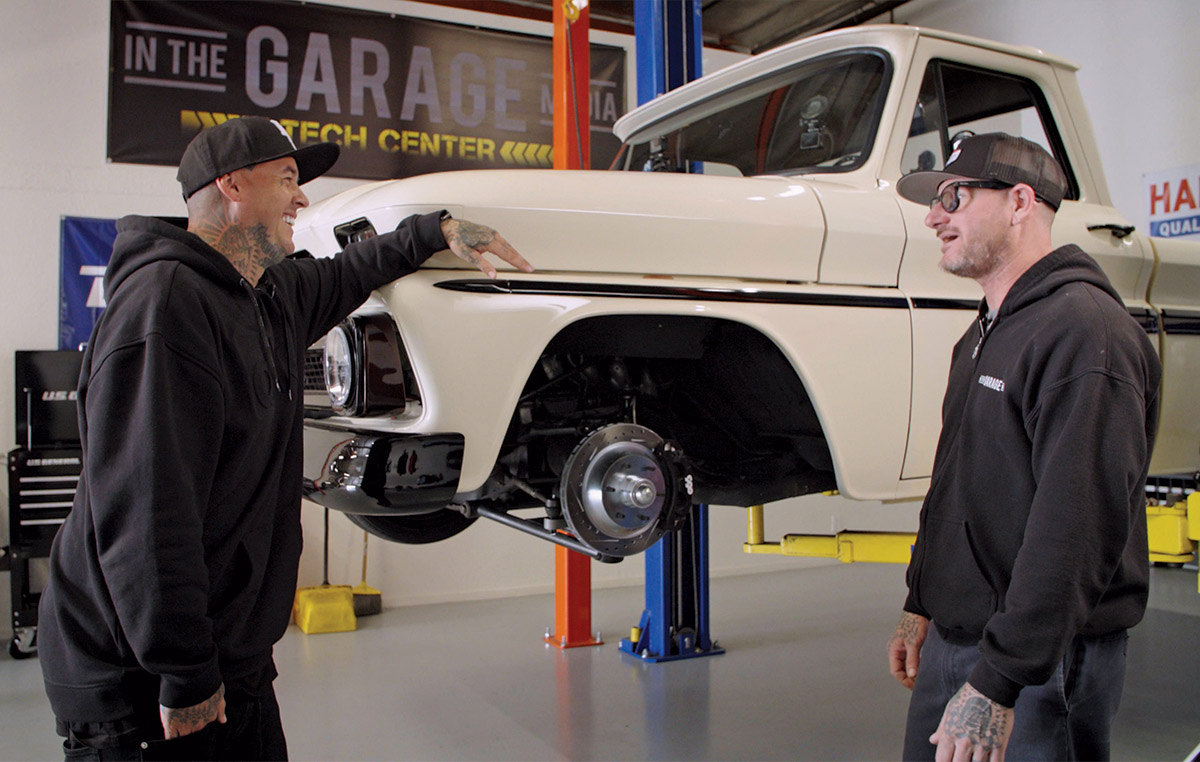
BY Rob Fortier Photography BY THE CTP Staff

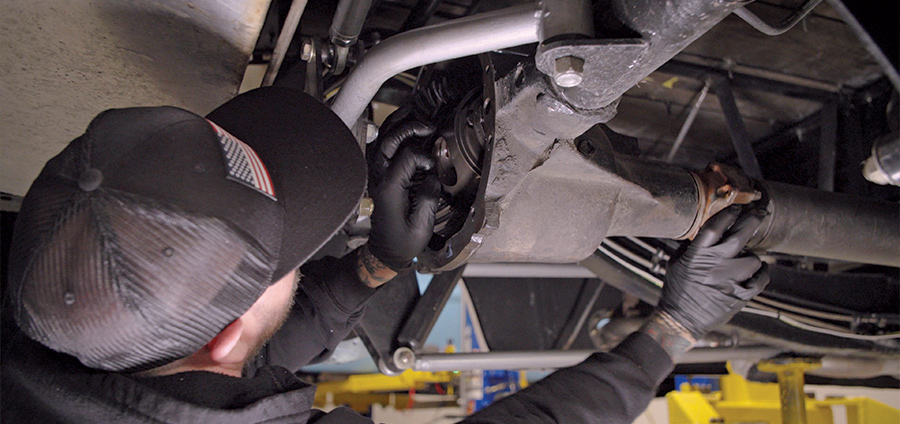
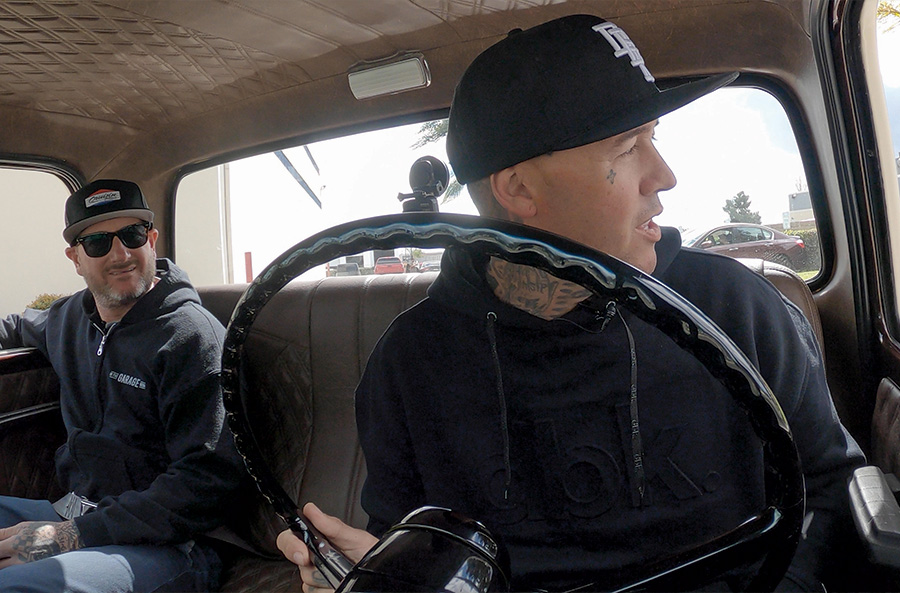
1-2. Jason Scudellari (ITGM Tech Center manager) and Twitch discussing the “lack” of braking performance experienced during the initial test of Twitch’s ’66 C10 … and what he expects from the full Classic Performance Products (CPP) brake system upgrade Scudellari just completed. (FYI, to see Twitch’s real-time reaction, scan the QR code on page 78 and check out the YouTube video!)
hen Freestyle Motocross legend Jeremy “Twitch” Stenberg recently had the air management system on his ’66 C10 updated, we went for a test ride and the first words out of his mouth were, “It’s great, but the truck won’t stop for sh!t!” For someone who spends more time flying through the air upside down, I figured that wasn’t going to be a big deal for him. Or so I thought …
Upon further investigation, it seemed like his truck had decent brake components, but sure enough the pedal would go to the floor while doing little, if anything, to bring things to a complete halt. So, instead of trying to diagnose exactly what was and wasn’t working properly, we had him bring the C10 into the ITGM Tech Center for a complete brake upgrade front to rear, including a hydraulic assist system.
Whatever master/booster and later model front disc brakes had been used—we still don’t know for sure—they’re all in the recycling bin now. We simply put in a call to Classic Performance Products (CPP) and ordered their full Big Brake kit—not only for the front but to replace the old oil-soaked drums out back as well. While on the phone, we were given an option as to what means of boost we had to choose from: traditional vacuum, which the ’66 currently had, or upgrade to CPP’s hydraulic-assist HydraStop system.
As CPP told us: “When all else fails, the HyrdaStop will save the day. With a HyrdraStop you’ll be able to just relax and enjoy the ride; no more looking way ahead for fear you won’t be able to stop! Confidence and comfort all in one.”
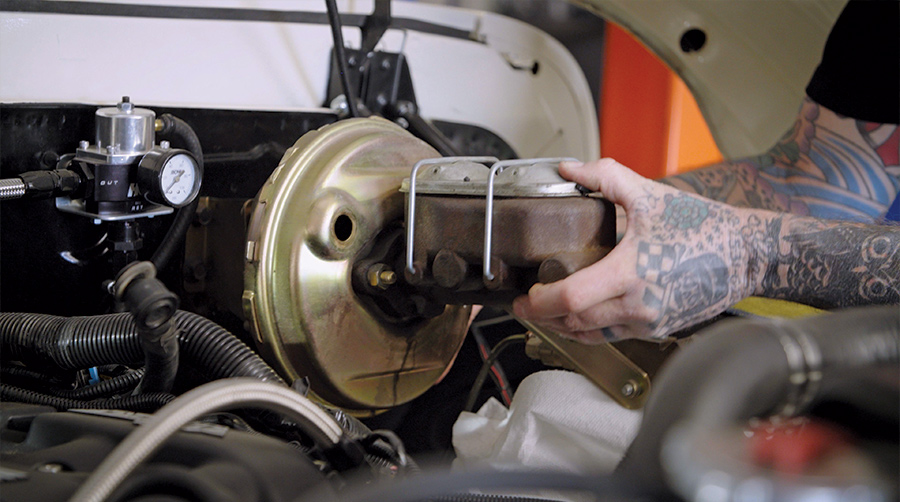
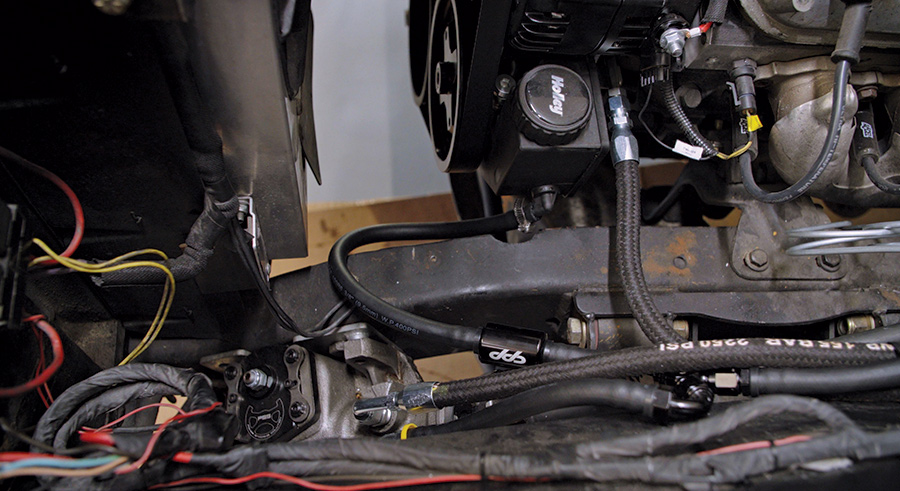
Instead of vacuum pressure, CPP’s HydraStop uses hydraulic pressure from the vehicle’s power steering system. That, ultimately, offers substantially more constant pressure (typically double the PSI or more) than a traditional vacuum boost—with a more positive-feeling (not squishy) pedal.
Without getting deep into all the technical specifics of a hydraulic-assist brake master, let’s just say that Twitch was all in, so we added CPP’s Street Beast hydraulic-assist kit for the ’63-66 C10 to accompany the 13-inch front/forged dropped spindle and 12-inch rear Big Brake kits (which will go a long way toward helping bring the larger-diameter wheels to a stop) and set a date for an “out with the old, in with the brand-new” procedure!

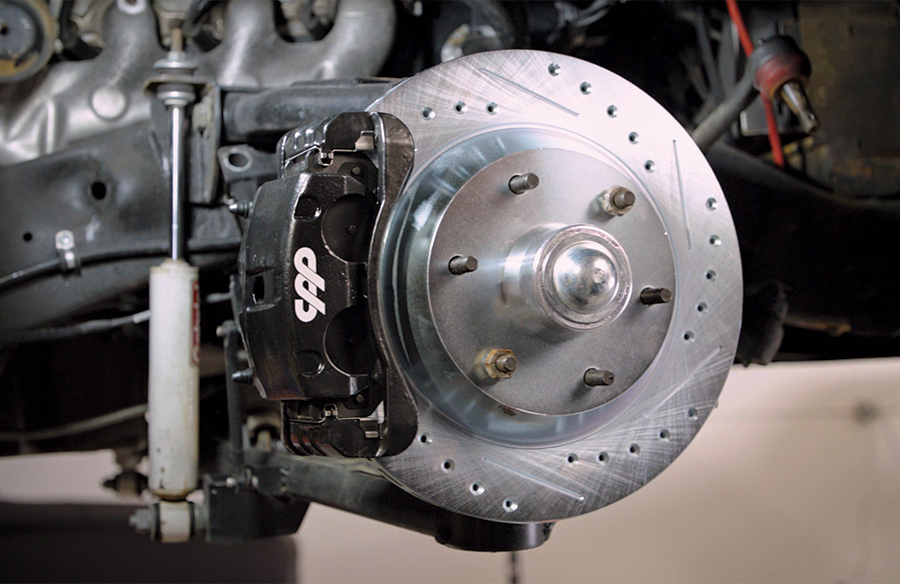
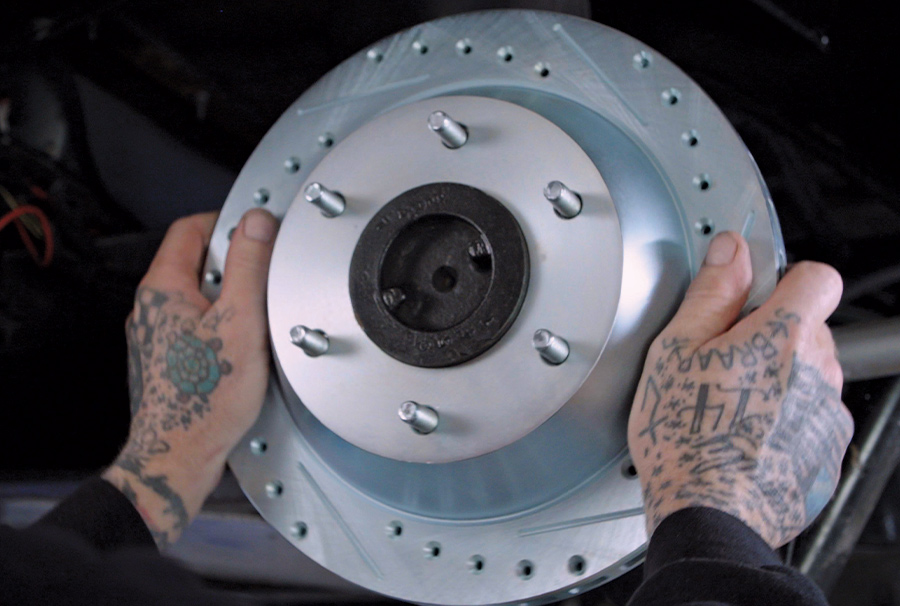
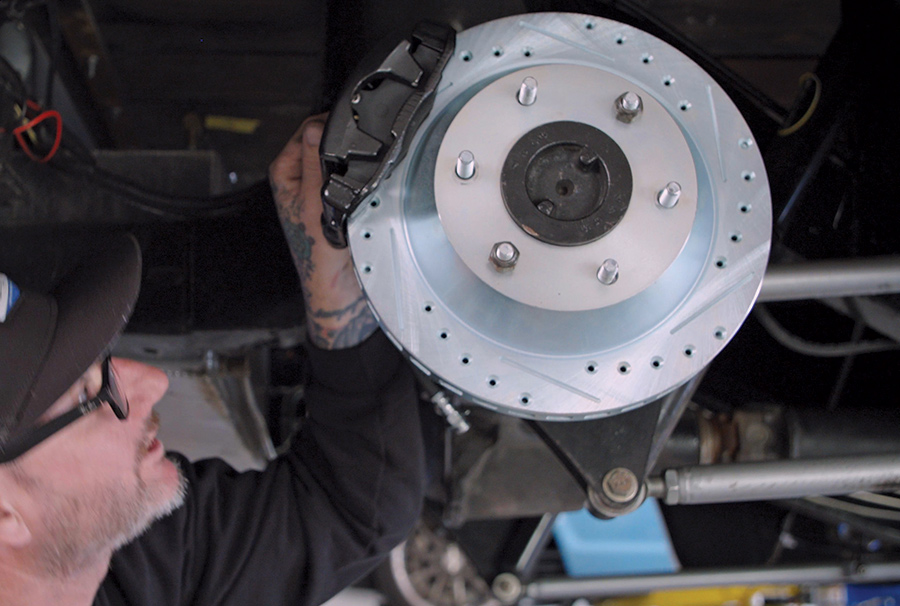
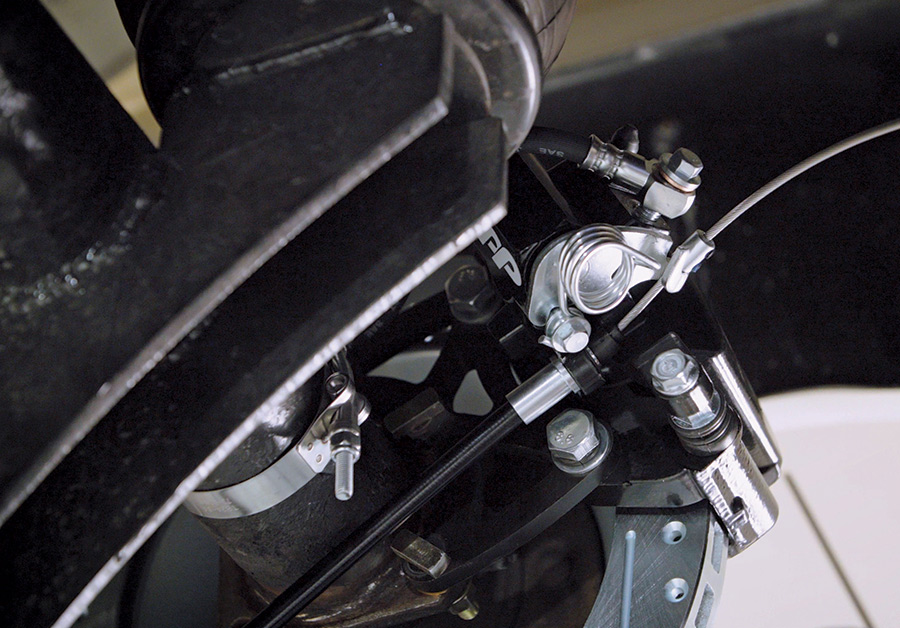
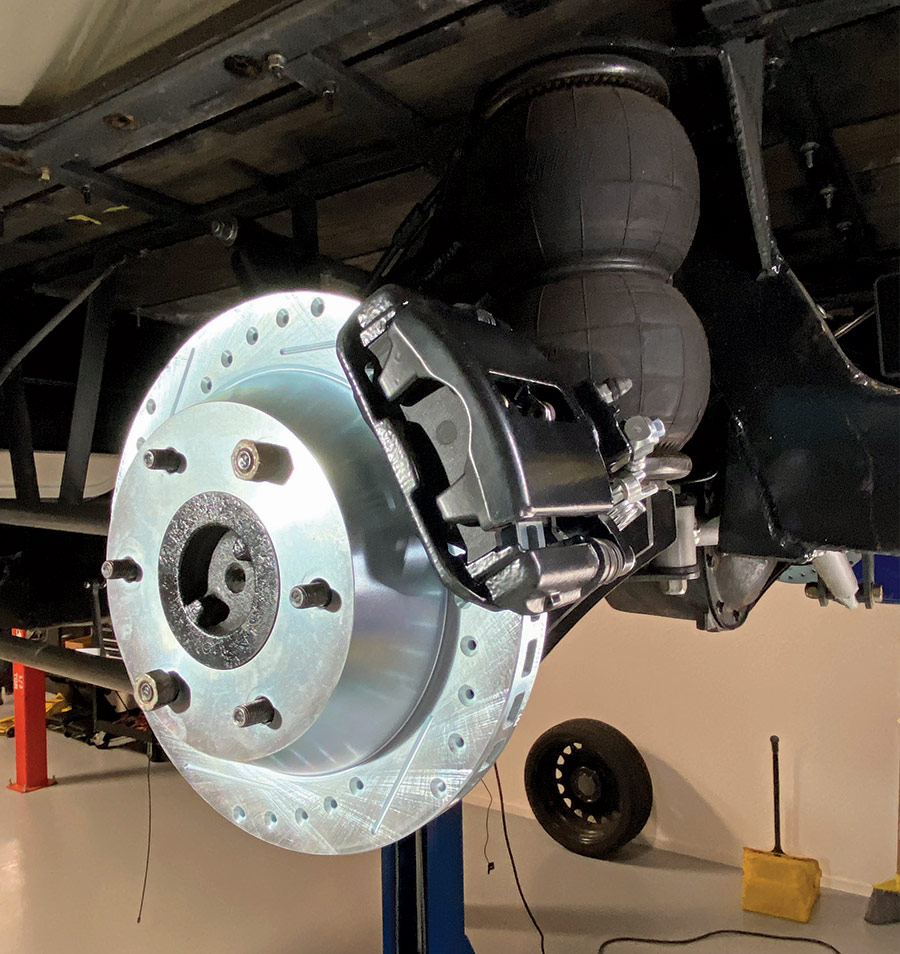
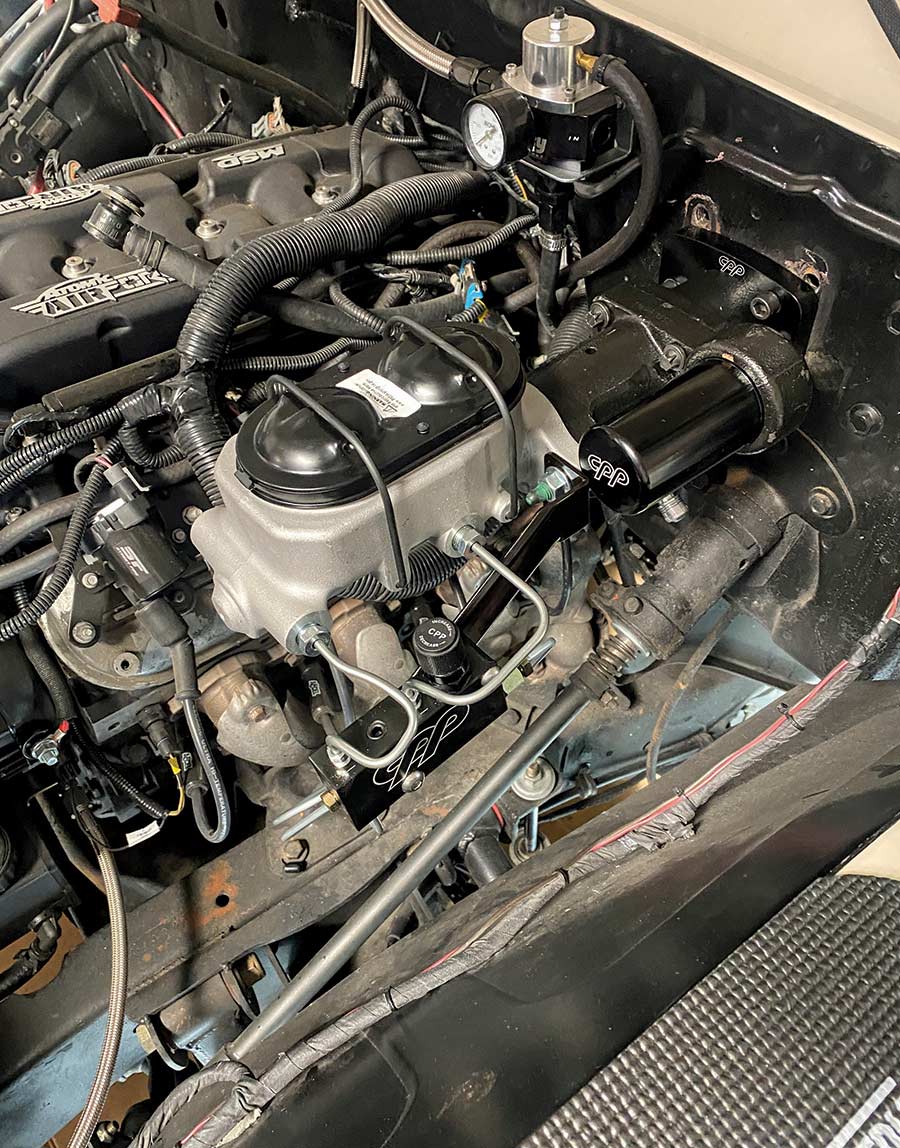
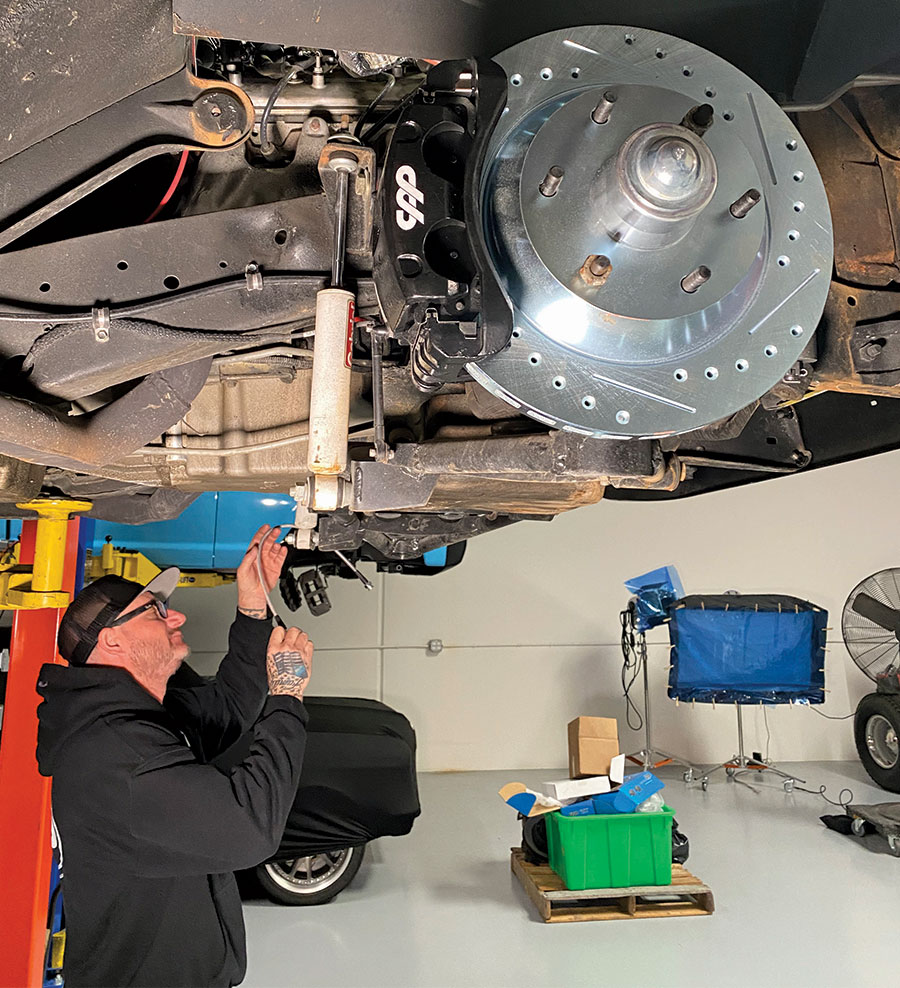
3. That “full” complement of components from CPP include their tried-and-true 12-inch front and 11-inch rear Big Brake kits, a pair of 2-inch dropped spindles, and their Street Beast edition HydraStop hydraulic-assist system.
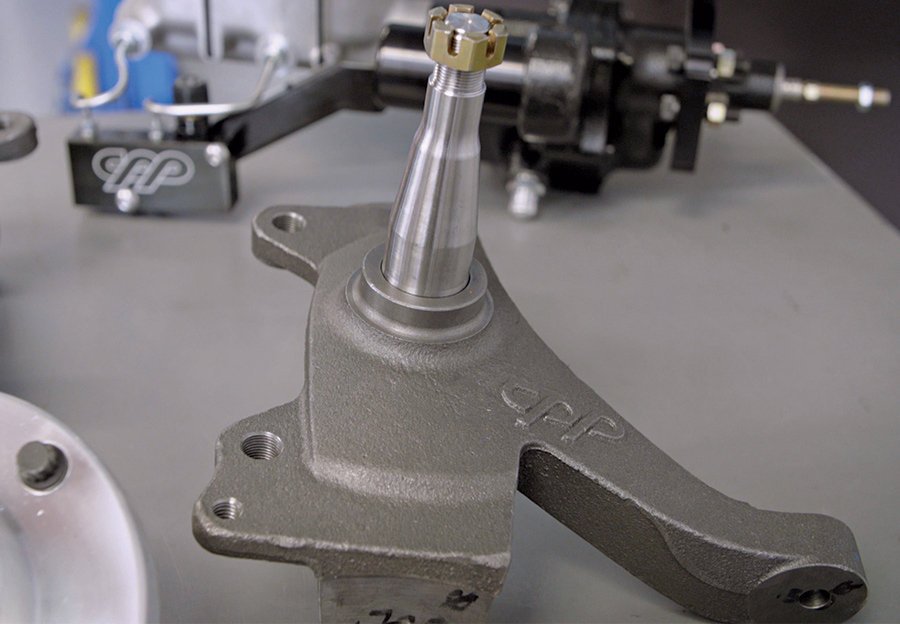
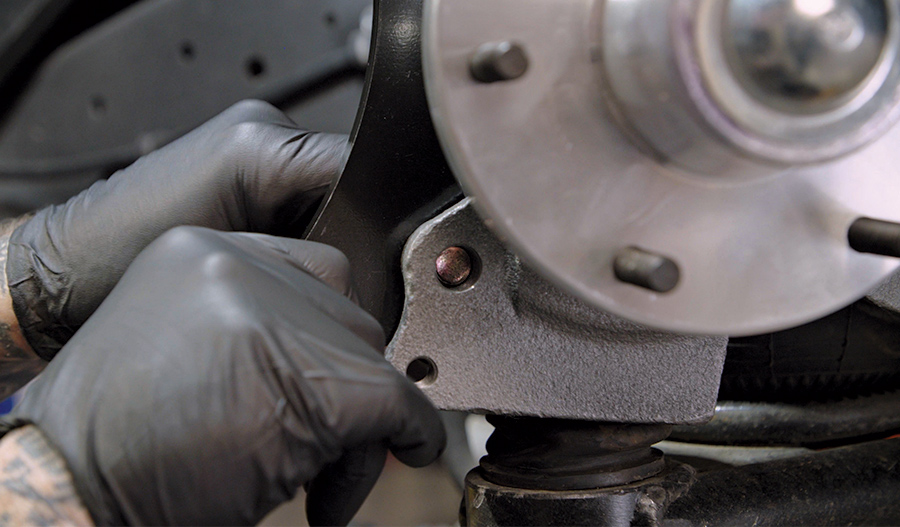
4. Even though Twitch’s truck was already equipped with dropped spindles, we didn’t want to take any chances with worn-out bearing surfaces or sloppy steering arms, so a set of CPP’s brand-new spindles were added to the order.
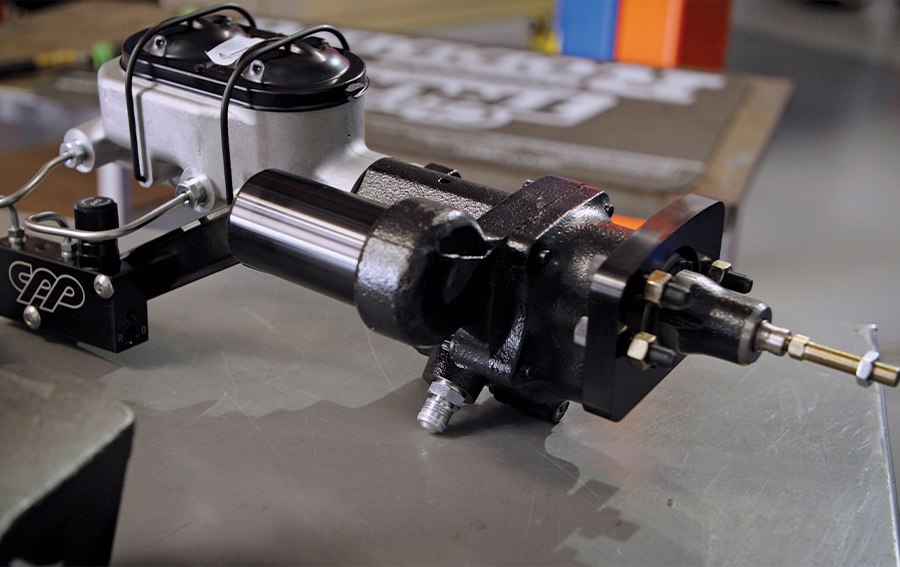
5. As mentioned in the story, CPP asked if we wanted to stick with the standard vacuum boost master cylinder or upgrade to their HydraStop—after weighing the options, not to mention coming to the conclusion that the existing master/booster were partly to blame for the poor brakes, the Street Beast HydraStop was the obvious choice.
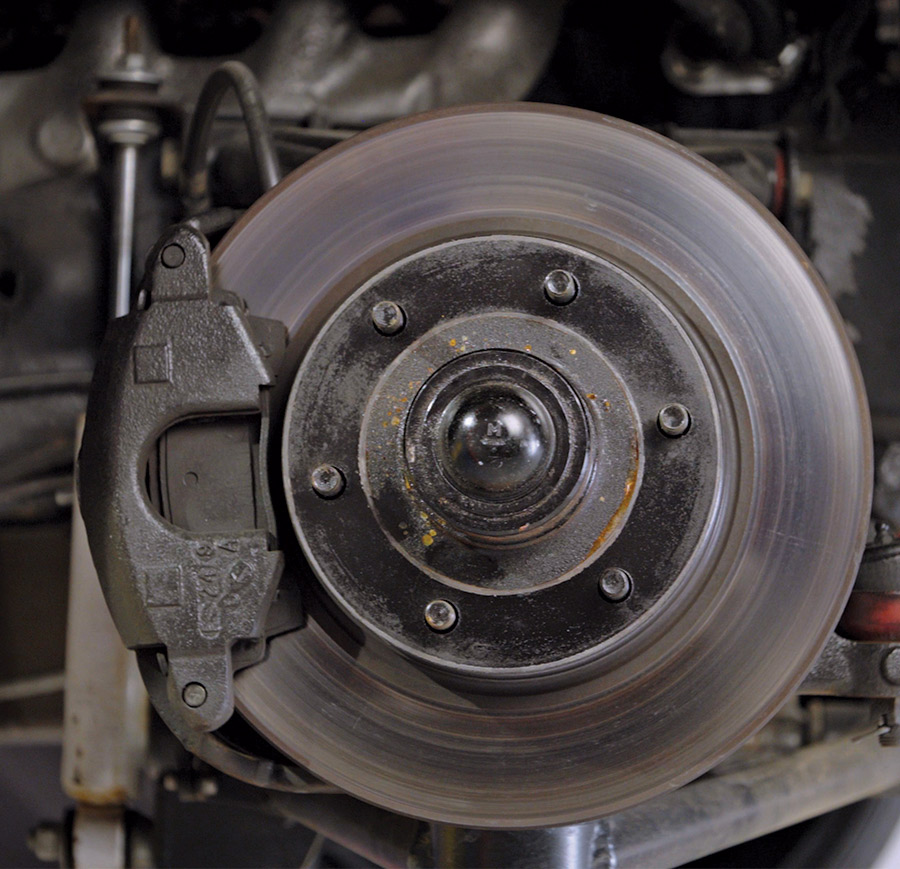
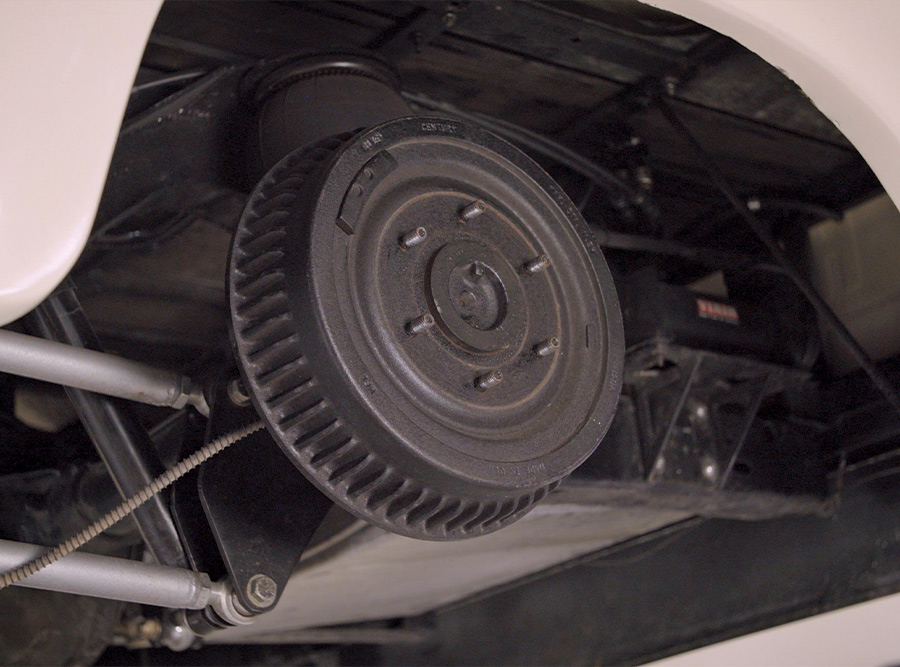
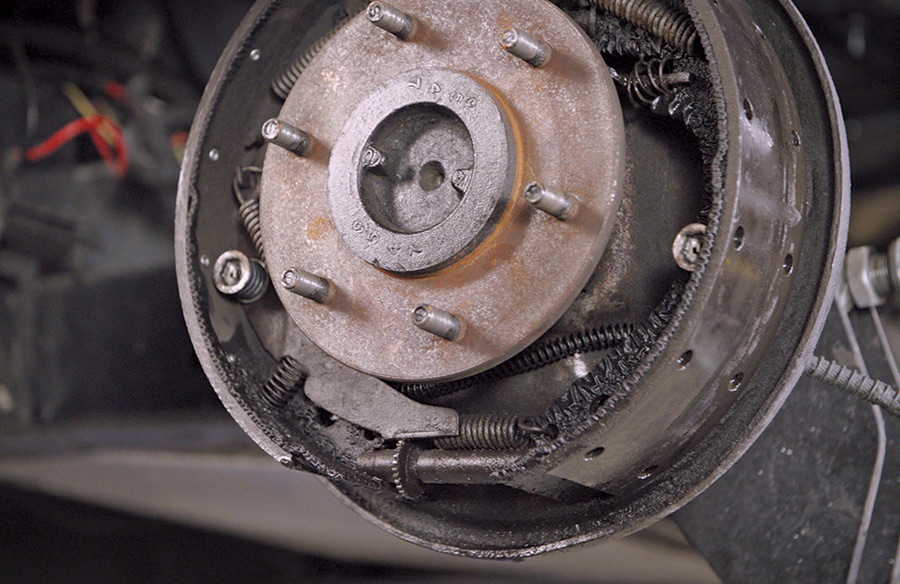
6-7. Typically, this standard fare disc/drum should be sufficient for normal braking performance … but when you factor in an LS drivetrain, large-diameter wheels, and the person behind the wheel, well, even at their best these components would definitely leave a lot to be desired, especially for an aggressive driver as such.
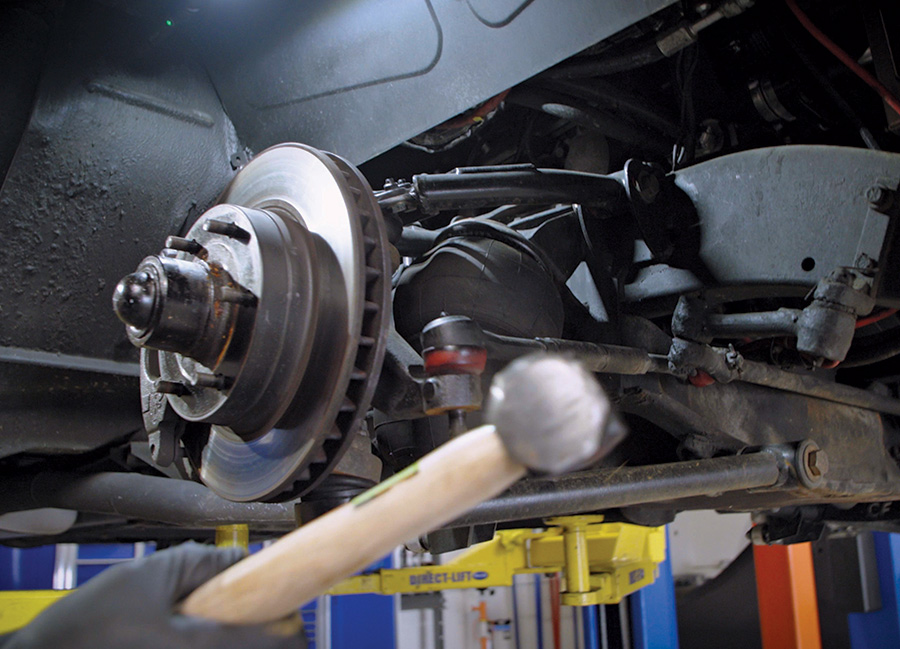
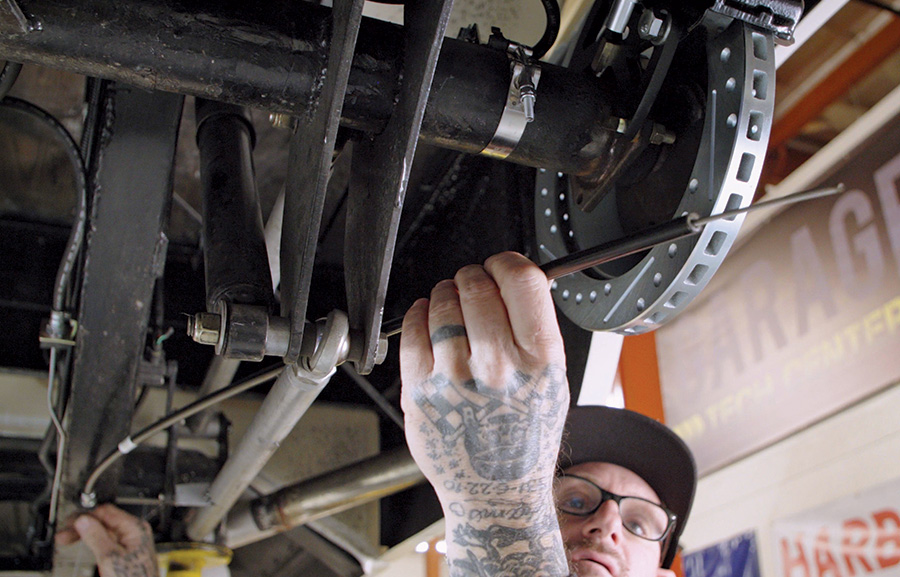
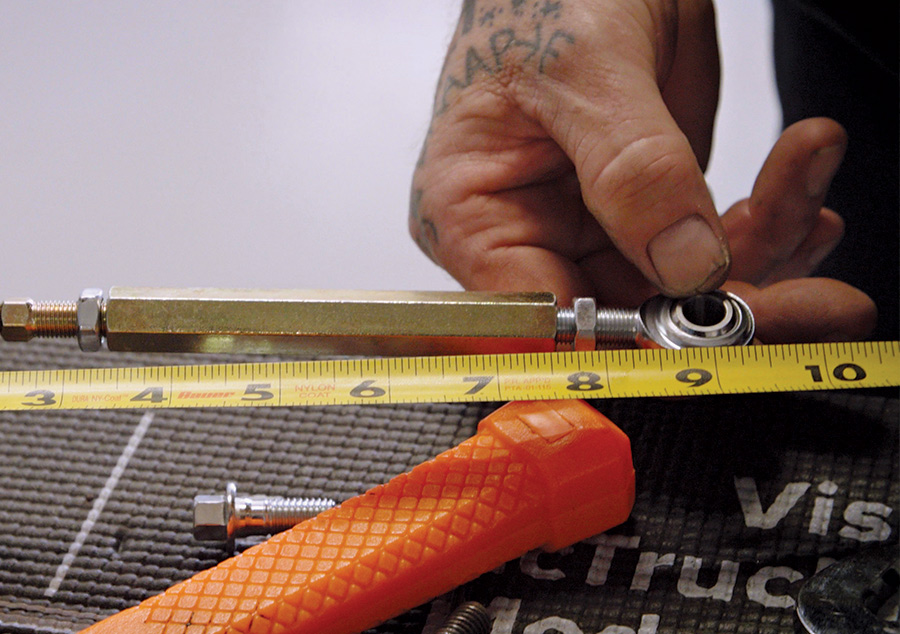
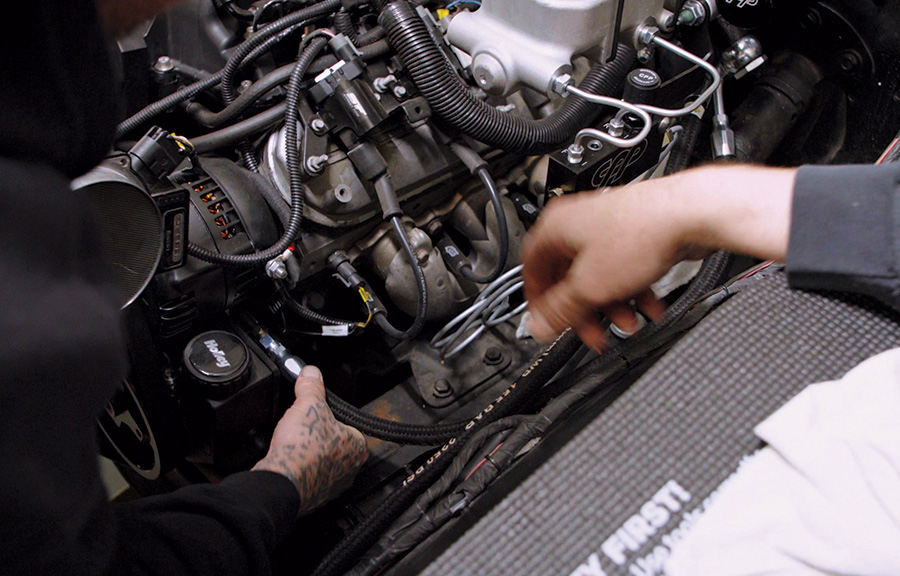
8. We’ll spare you the step-by-step parts removal process but will take this opportunity to point out the importance of not only inspecting any reusable components (tie rods, brake lines, and so on) but replacing anything that appears worn or questionable while you have everything apart.
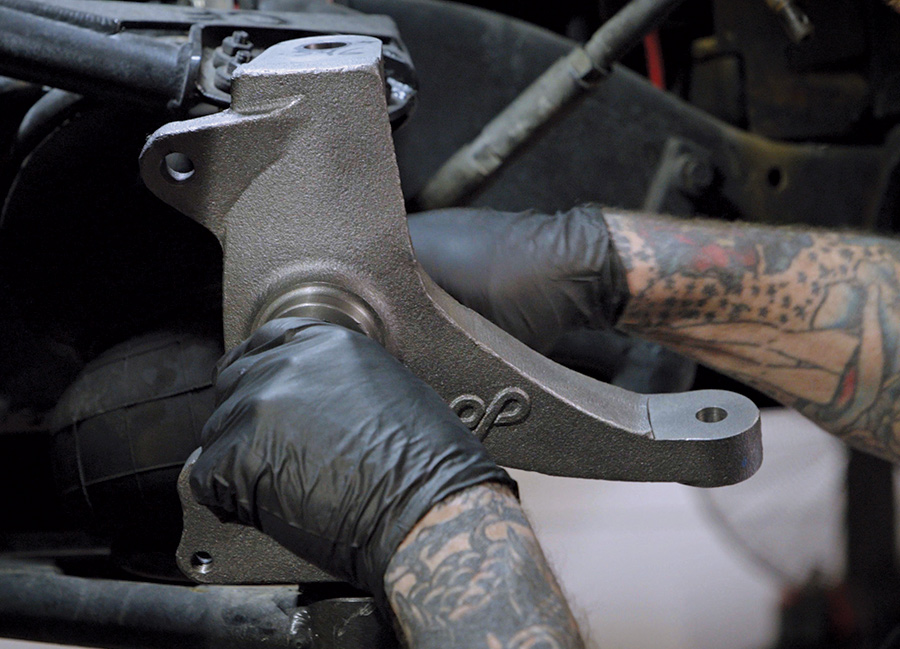
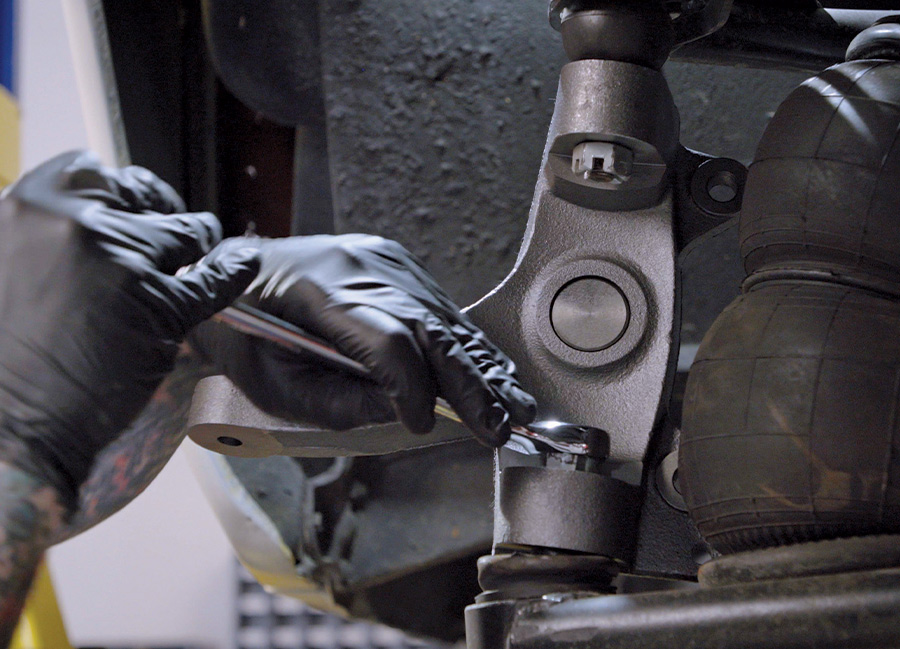
9-10. With the old brakes out of the way and existing ball joints in good working order, the new spindles were the first of the new items to be installed. Even though it wasn’t part of the job, Scudellari inspected the front airbags closely, checking for any excessive wear that would be hard to spot otherwise. They were good to go.
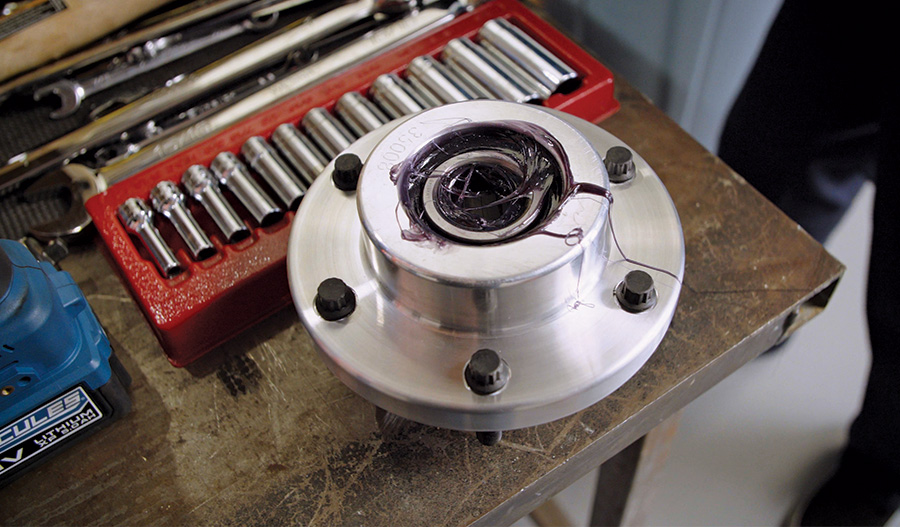
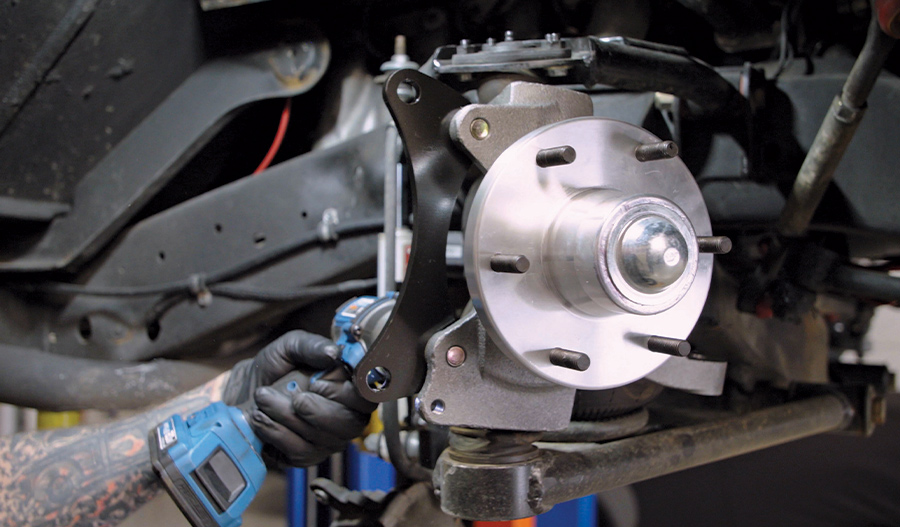
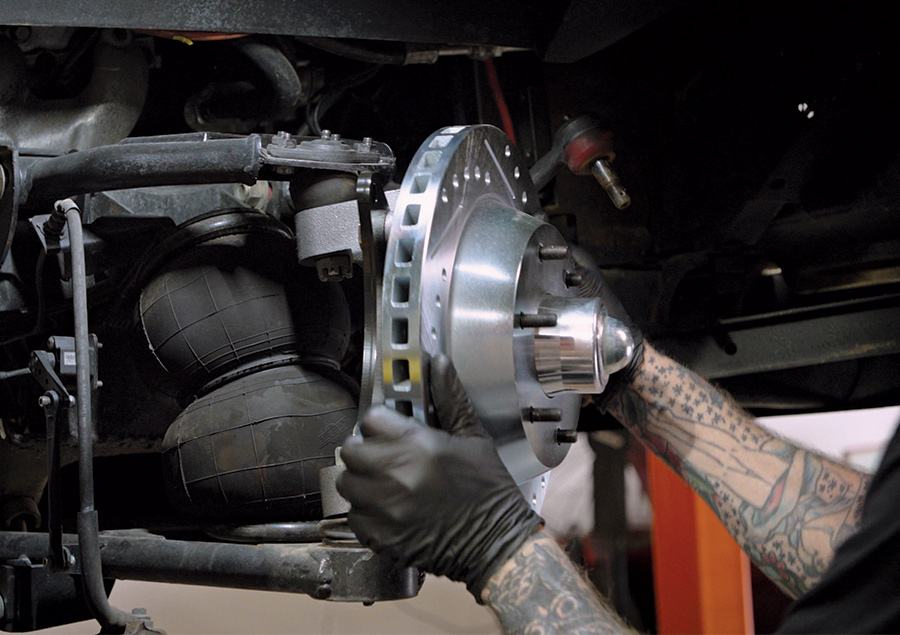
11-12. When installing the wheel studs, use the rotors (clamped with soft jaws in a vise) as a fixture to aid in torquing them down properly; as for greasing the wheel bearings, you can either do it by hand or use a grease packing tool … the mess is up to you!