 Tech
Tech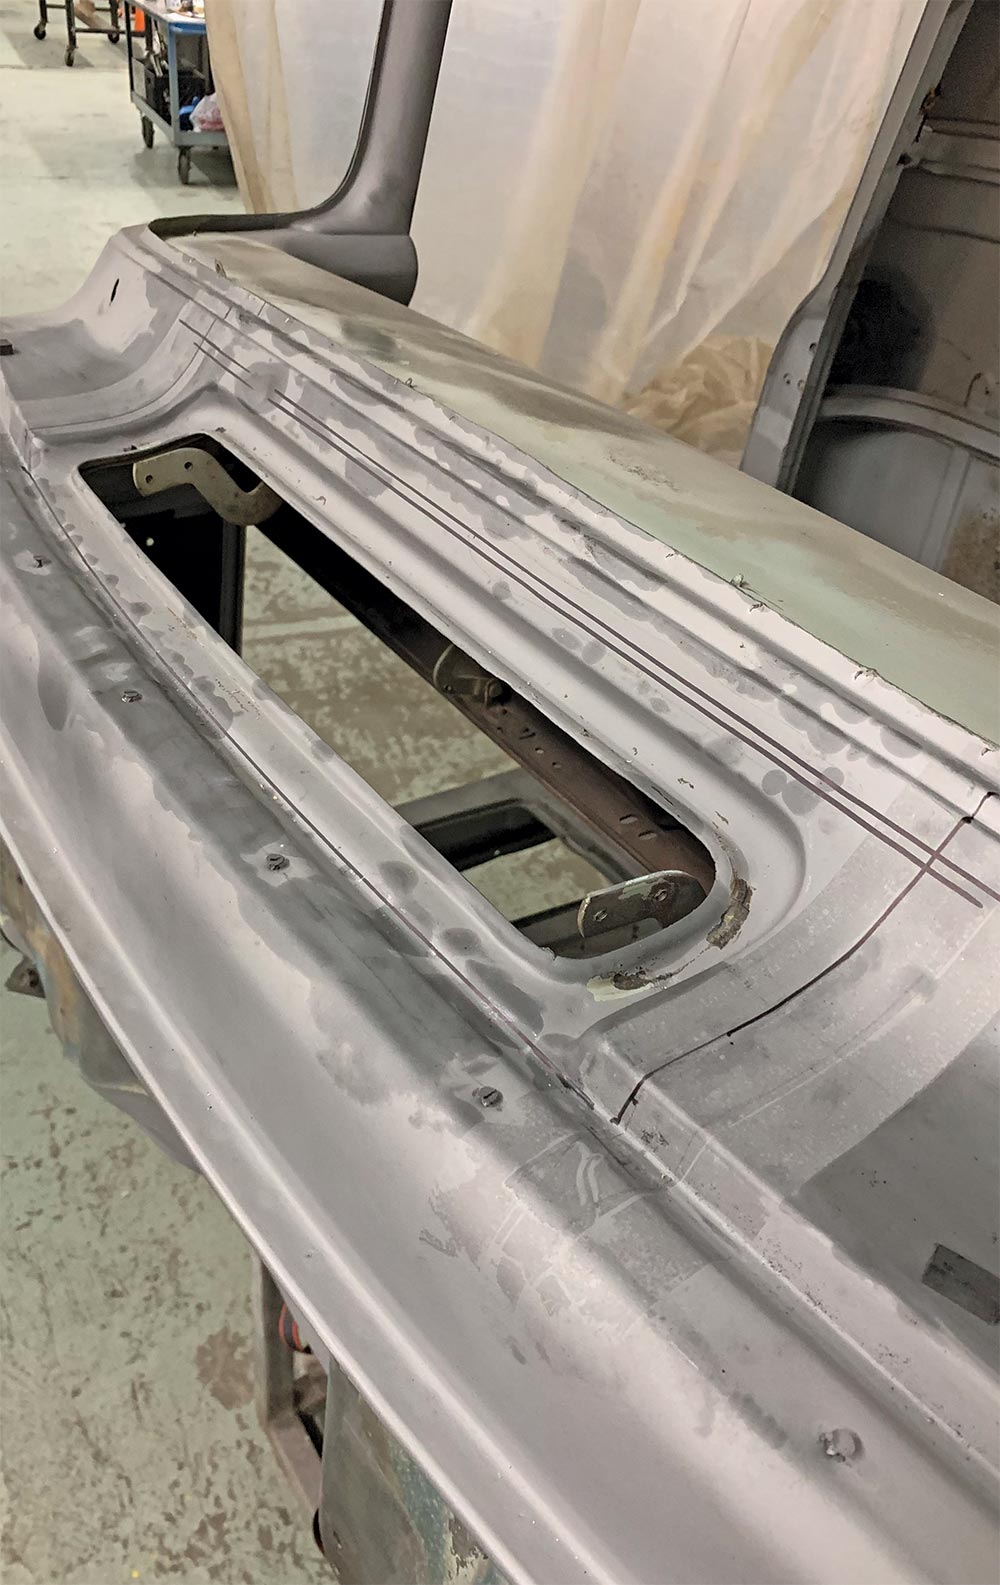
 PHOTOGRAPHY BY The Author
wo things you won’t find on modern-day trucks: wing windows and manual cowl vents. Sure, they served their purpose back in the day but they also carried with them inherent problems, such as moisture leaks, not to mention the increased noise distractions. And thus, over time, people have done away with both factory options, namely to provide a cleaner look on so-equipped ’40s-’50s Chevy and Ford trucks.
While the omitting of vent wing windows is as easy as removing and replacing with one-piece door glass, in most cases, the deleting of cowl vents takes a bit more effort, not to mention there are no “kits,” per se, to convert your cowl from vented to non-vented. Well, at least not until now.
Metalshaper Clark Gillie went above and beyond simply “shaving” said cowl vent on the venerable 1956 Ford F-100; he did so in a manner in which he’s able to provide the properly shaped panel along with the subsequent gutter channel in a kit form (limited run for the time being). So, if you’re a proficient welder who happens to own a such a truck and have been thinking about omitting the cowl vent but don’t want to spend the money to have it professionally done, this might just be the answer!
While Gillie has taken the time—and the trouble—to develop ready-to-weld-in cowl delete panels, he’s also been kind enough to share the process in which he fabricated them in the first place. For those willing and able to do likewise, follow along as we document step by step. For those who’d prefer to forgo the fab work, contact Gillie while supplies last!
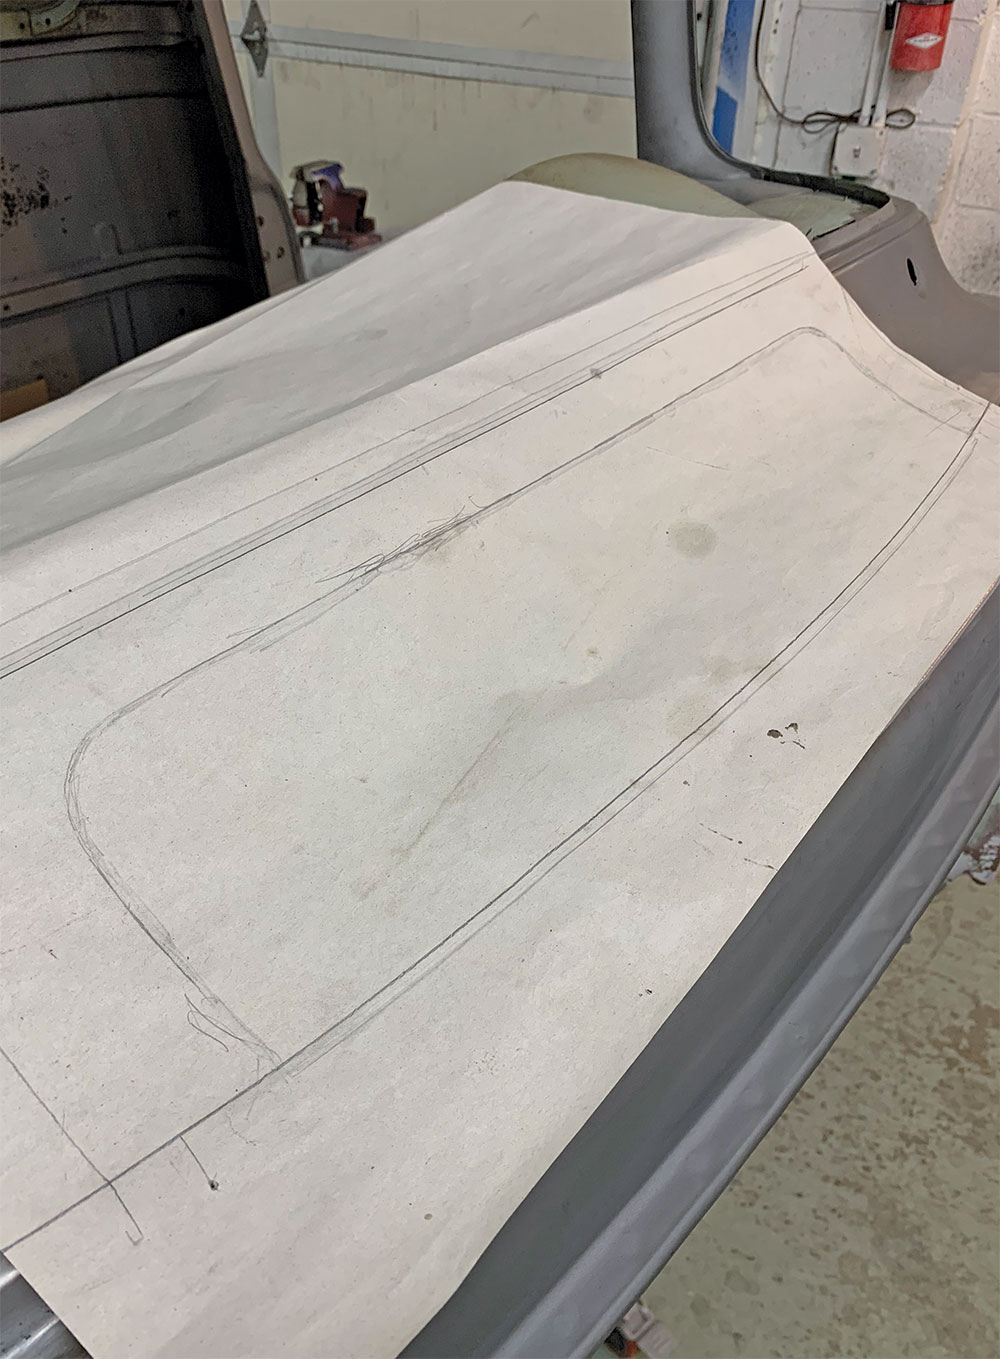
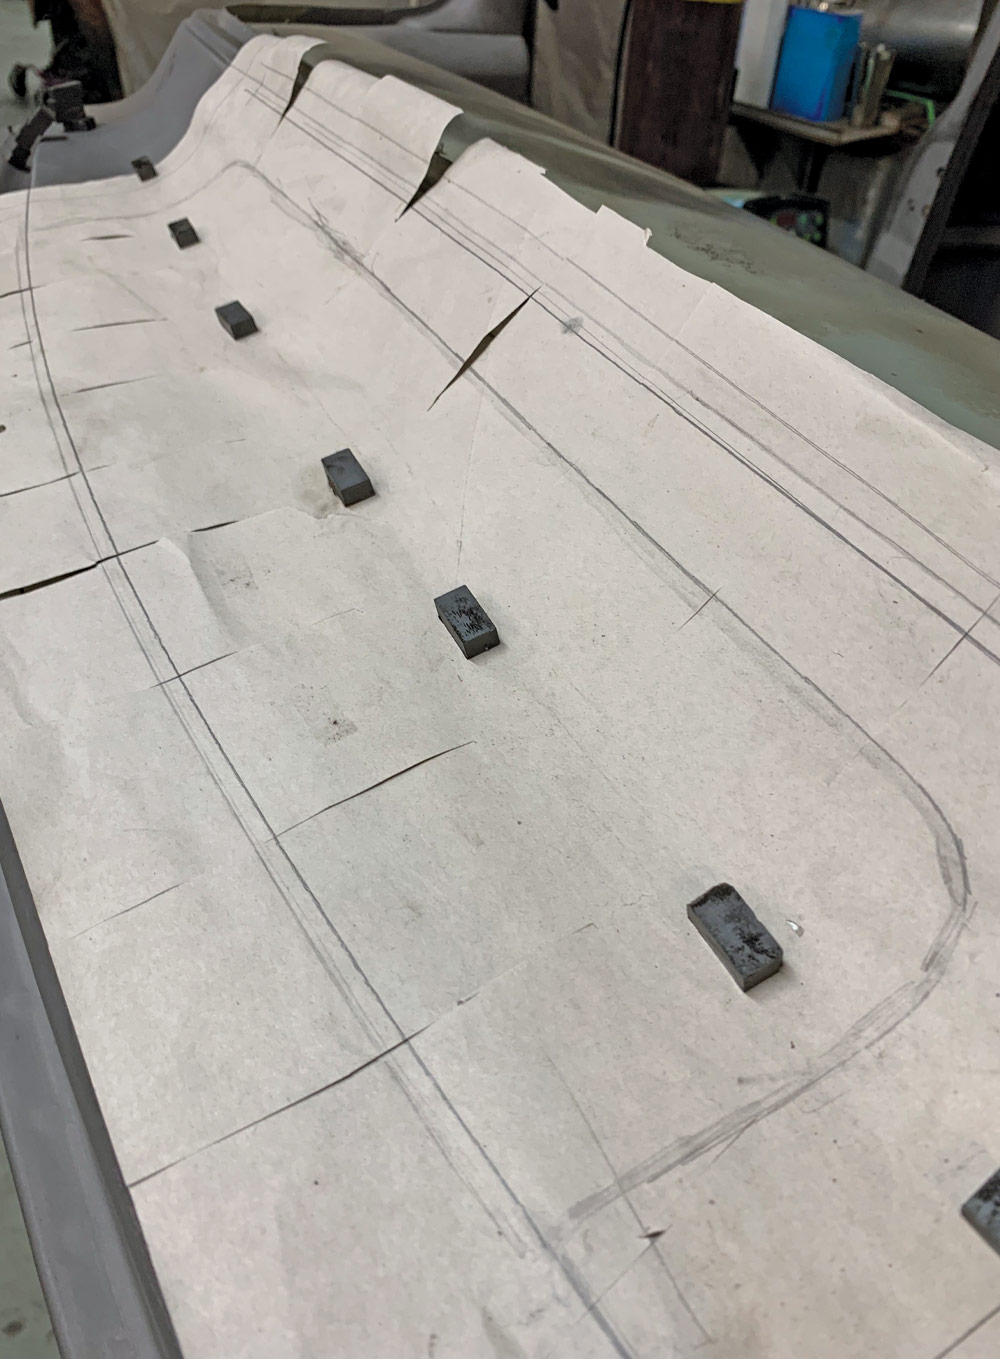
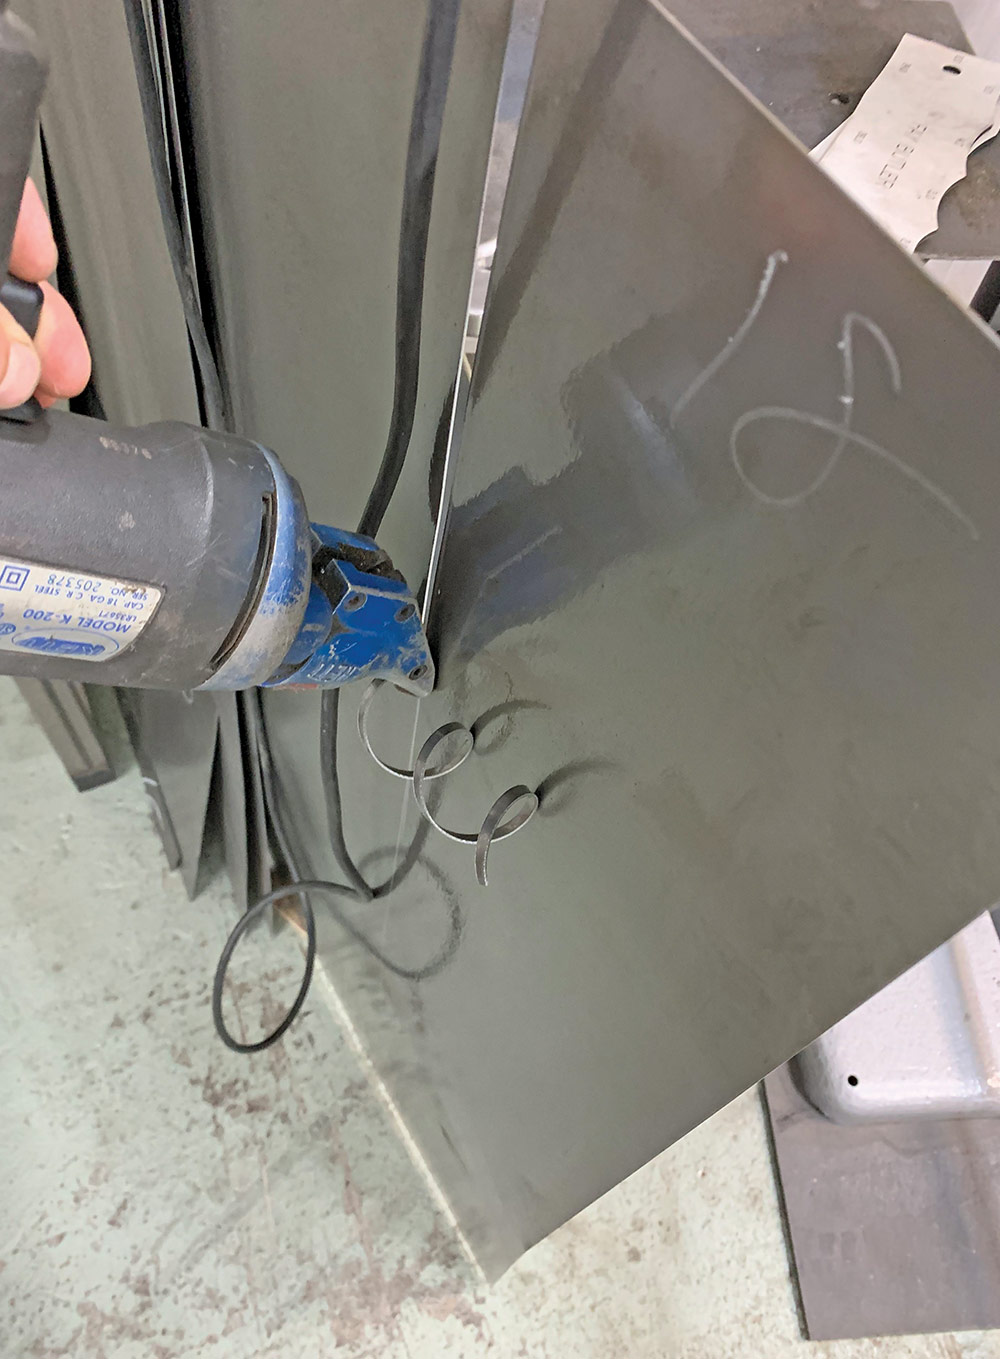
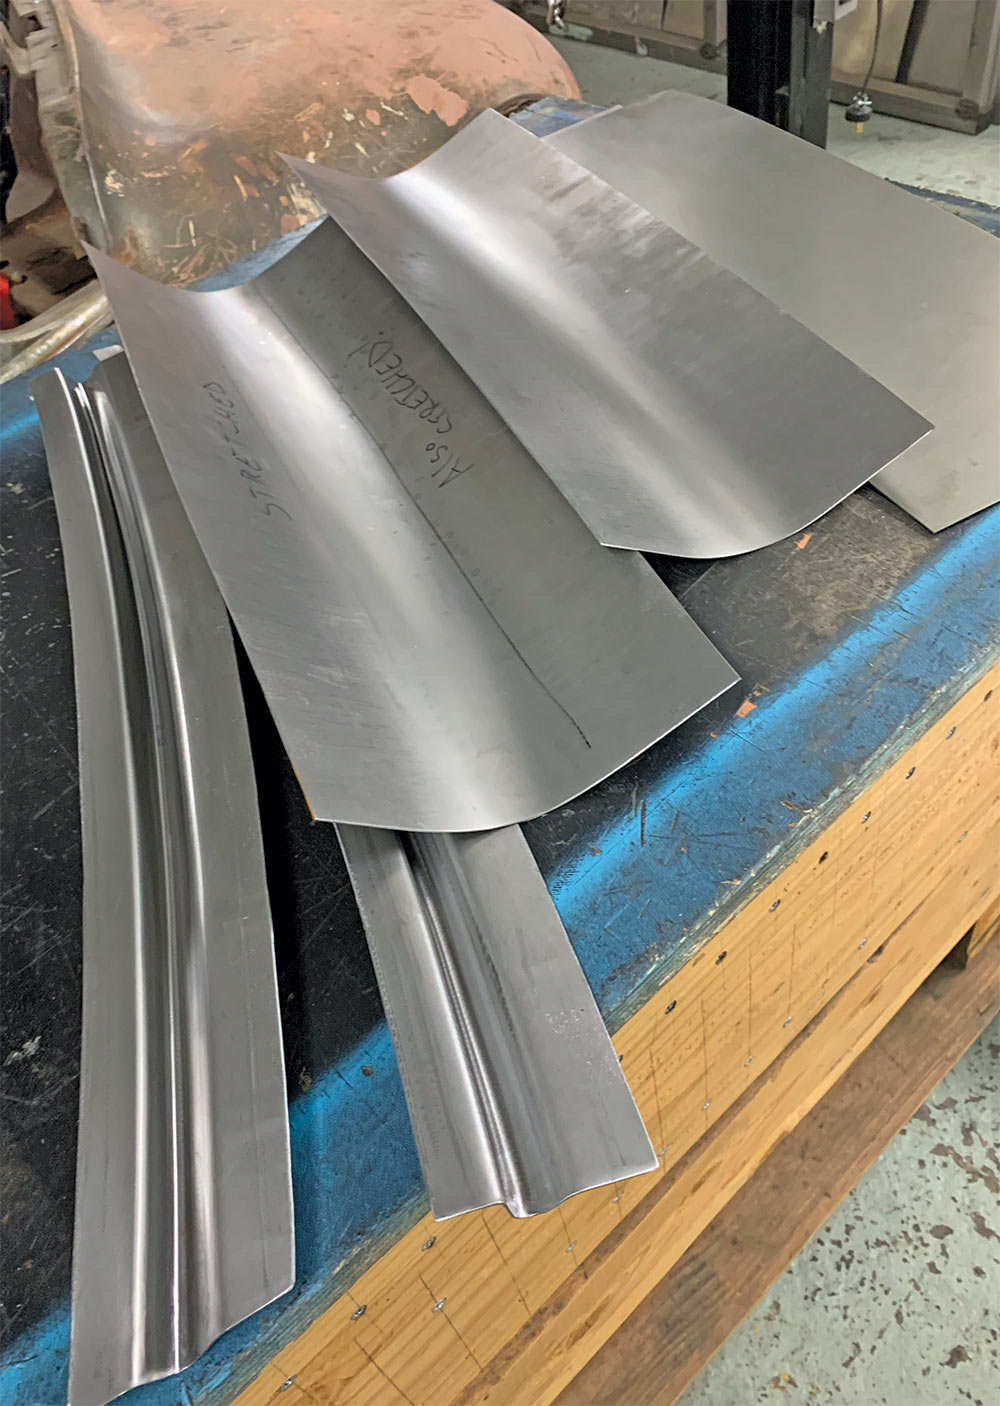
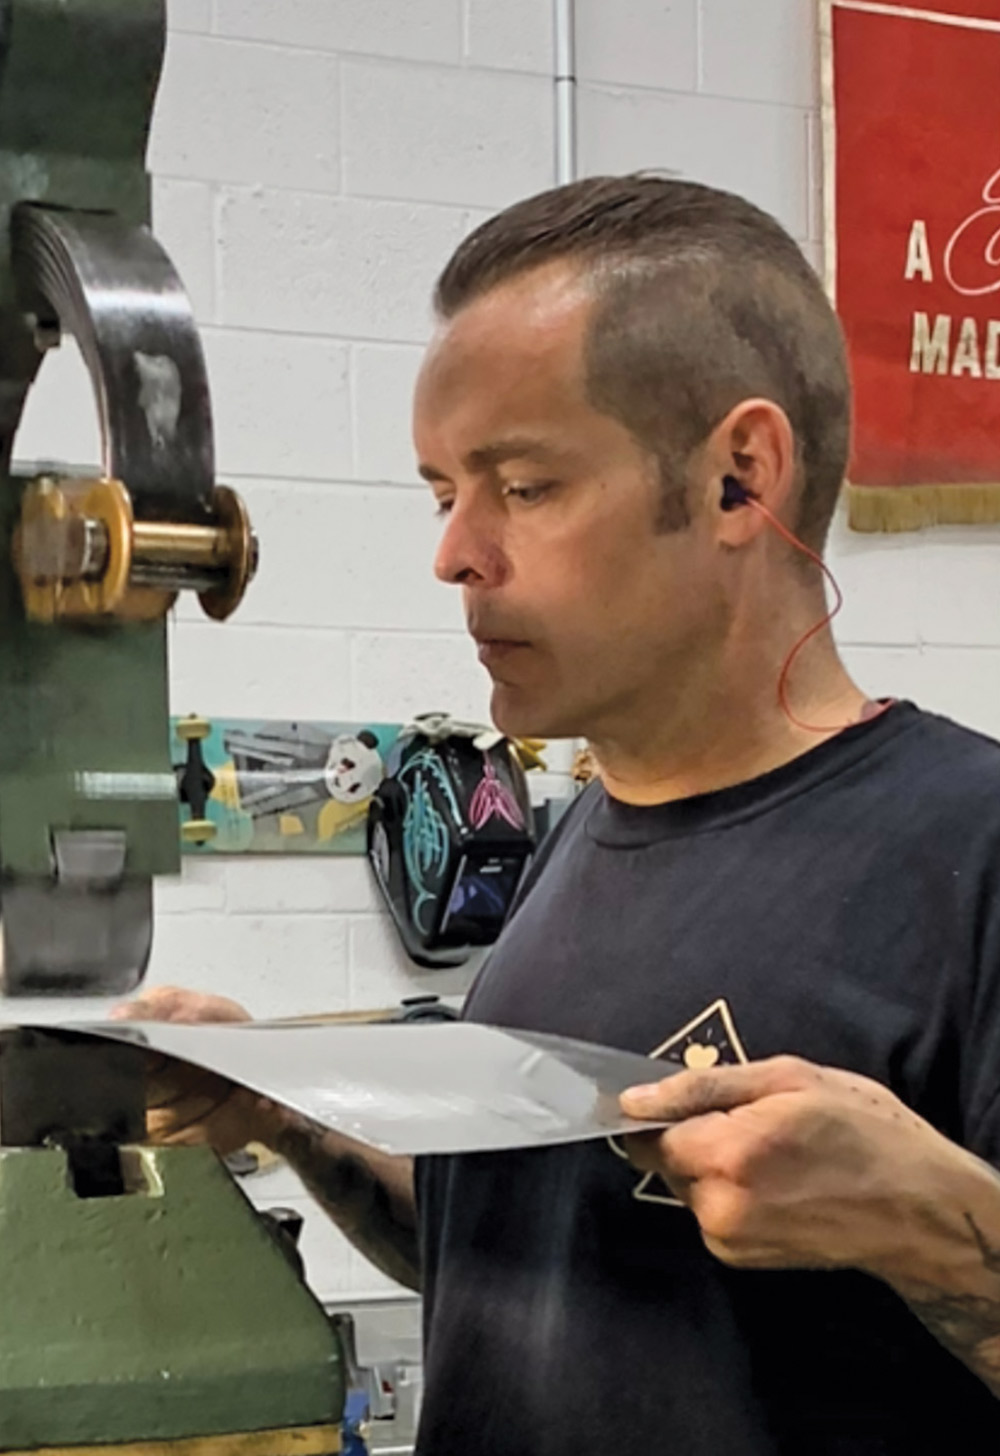
3. For the filler, Gillie uses 18-gauge steel sheet, the edges of which he carefully deburrs after cutting to shape with electric shears.
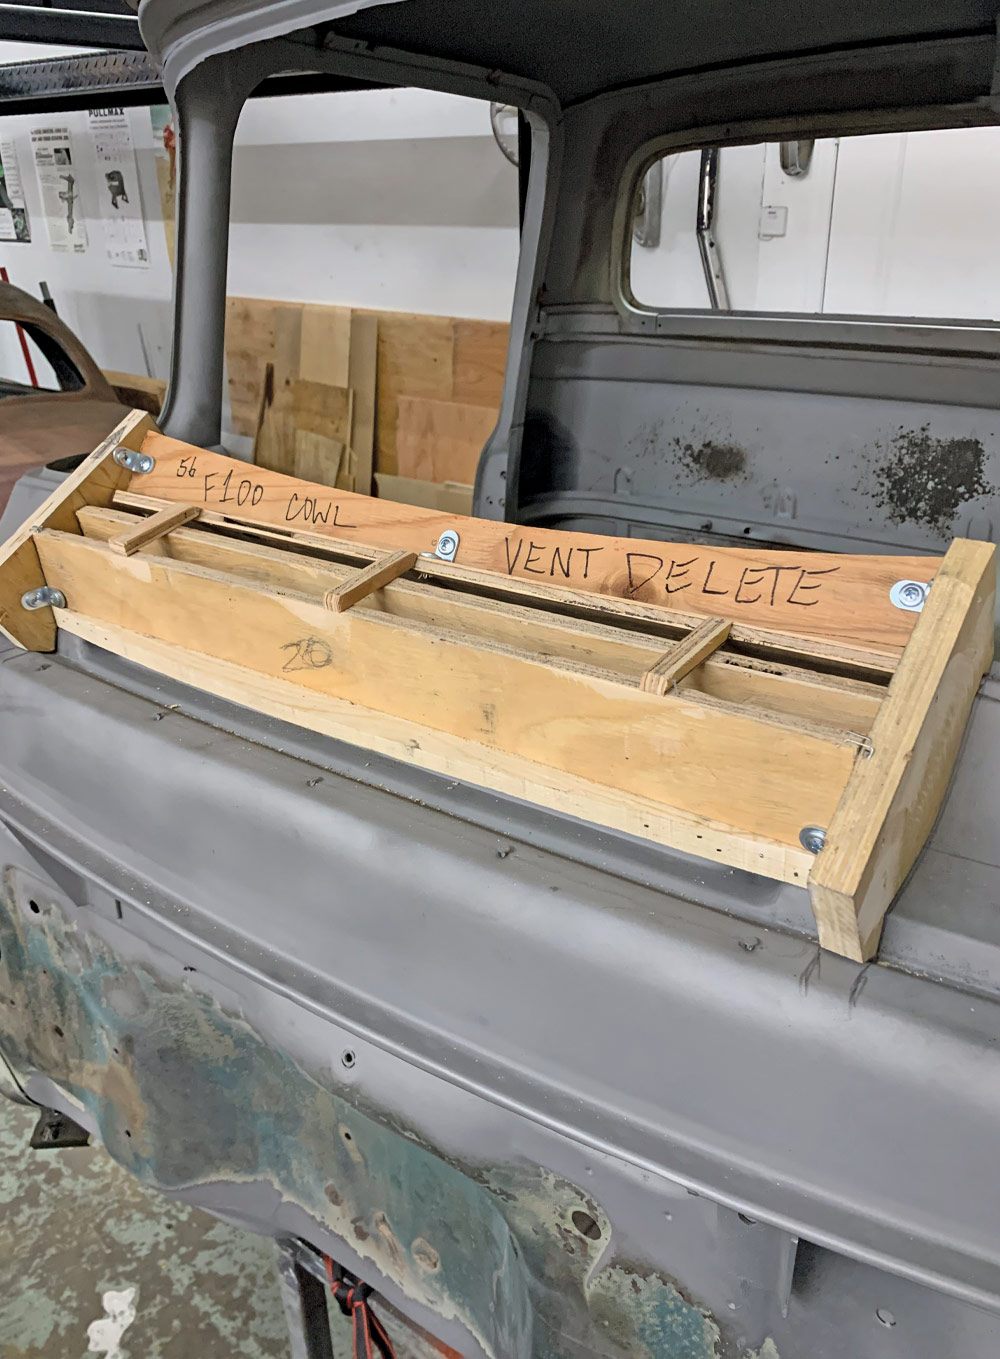
4. With the mind-set of making additional panels, Gillie created a wood buck with the female shape of the F-100 cowl so that he could simply (for him, that is!) hammer them out.
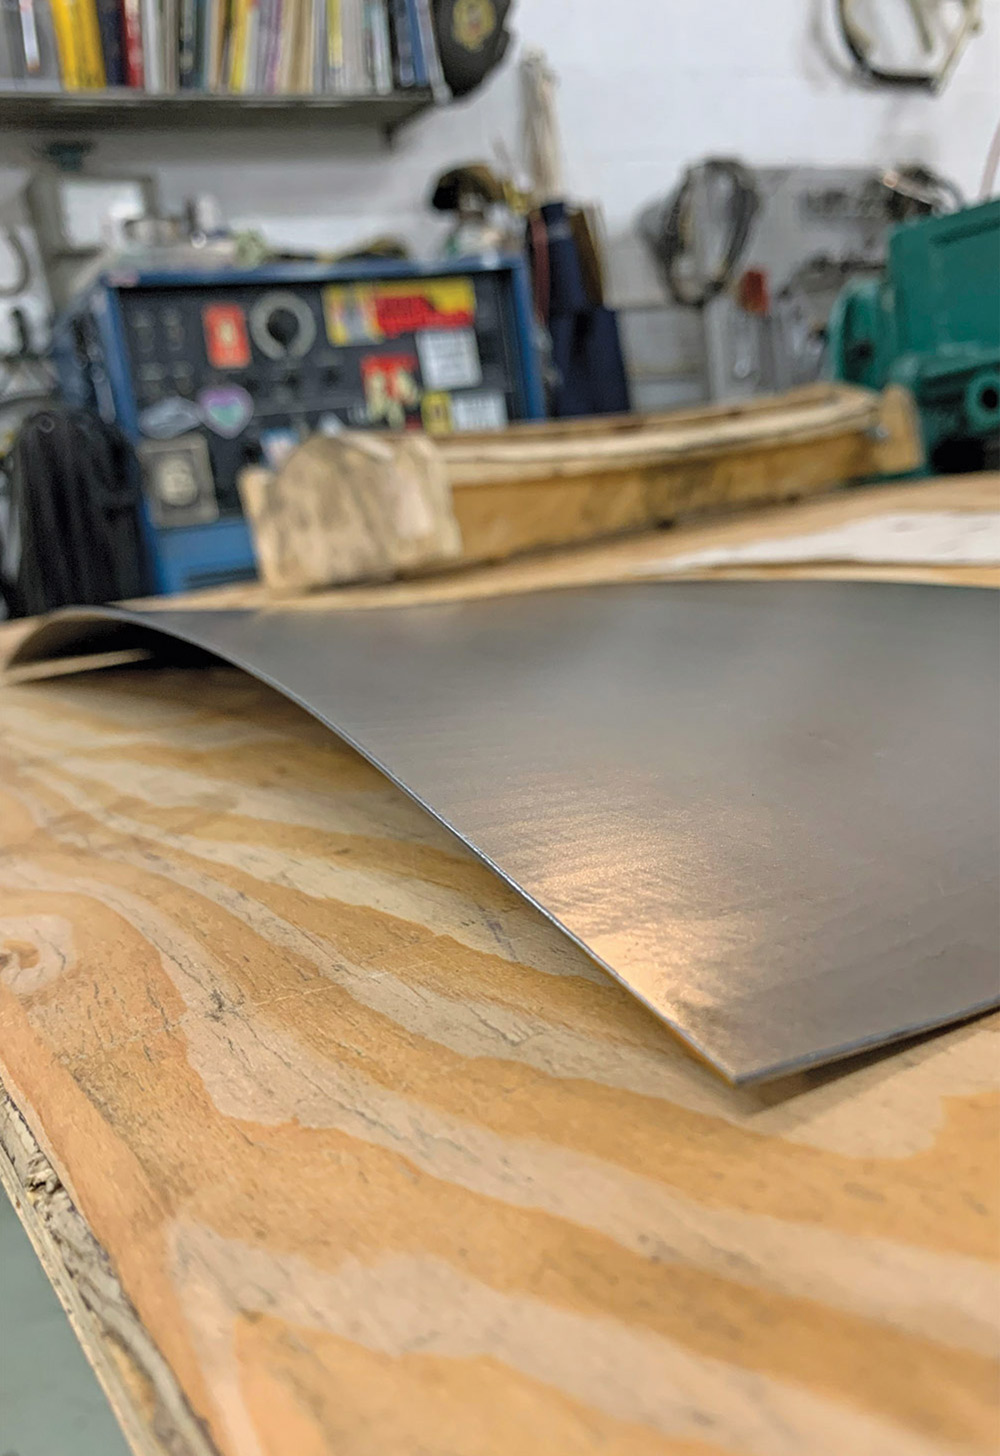
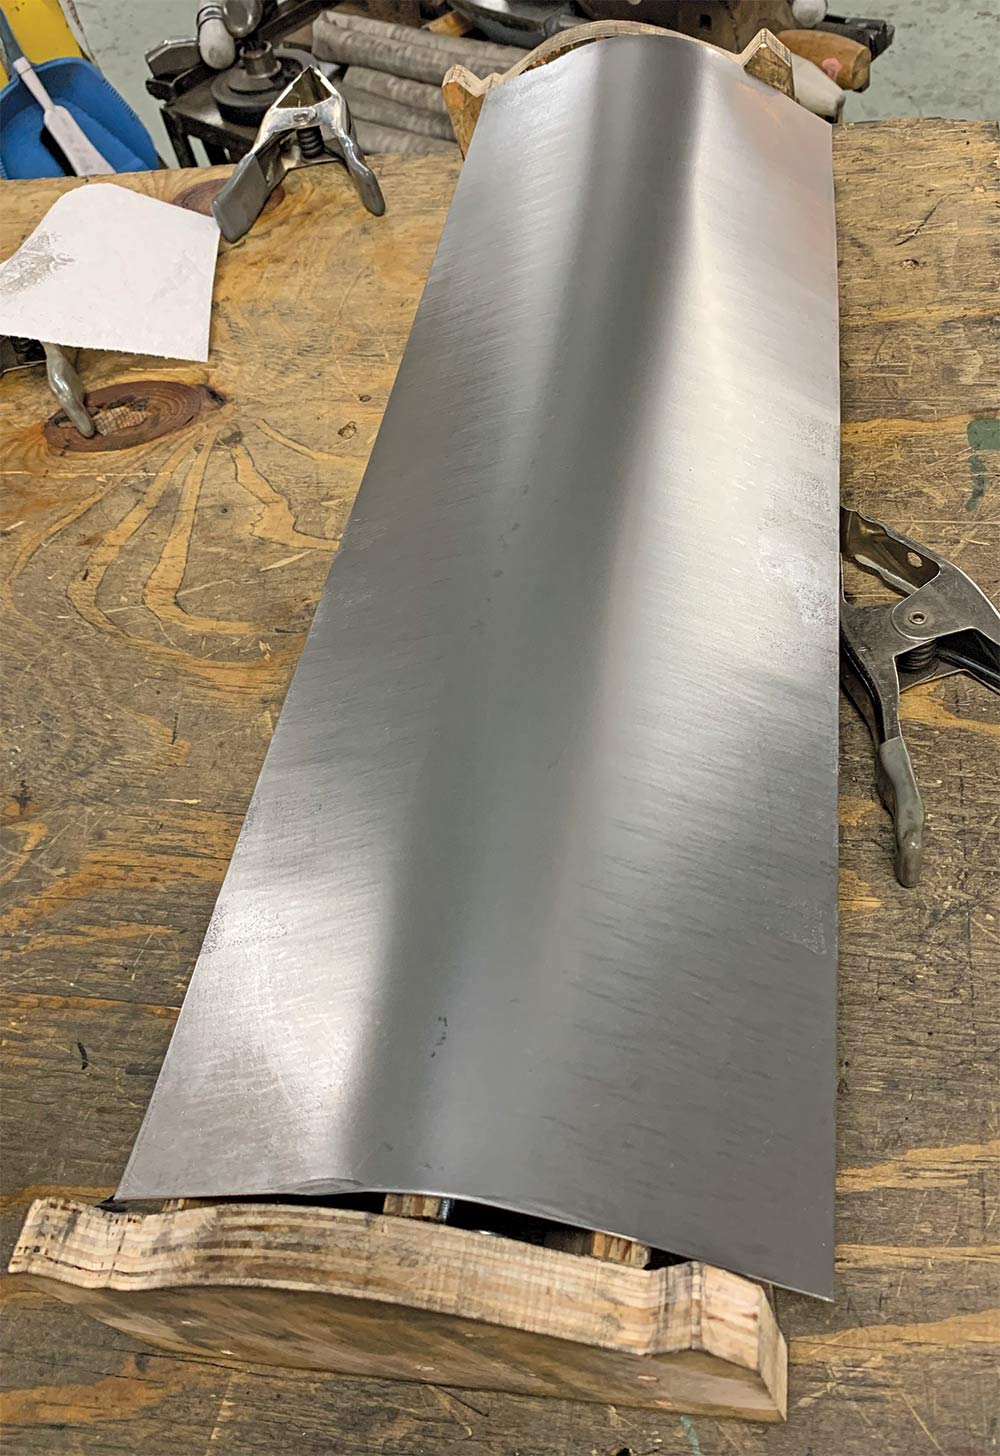
7-8. Next, he test-fit the filler piece to the wood template repeatedly and, as he puts it, “snuck up on the correct shape for the part.”
9. Using his filler piece as a guide template (lengthwise), Gillie cut the existing cowl vent structure out from the cab.
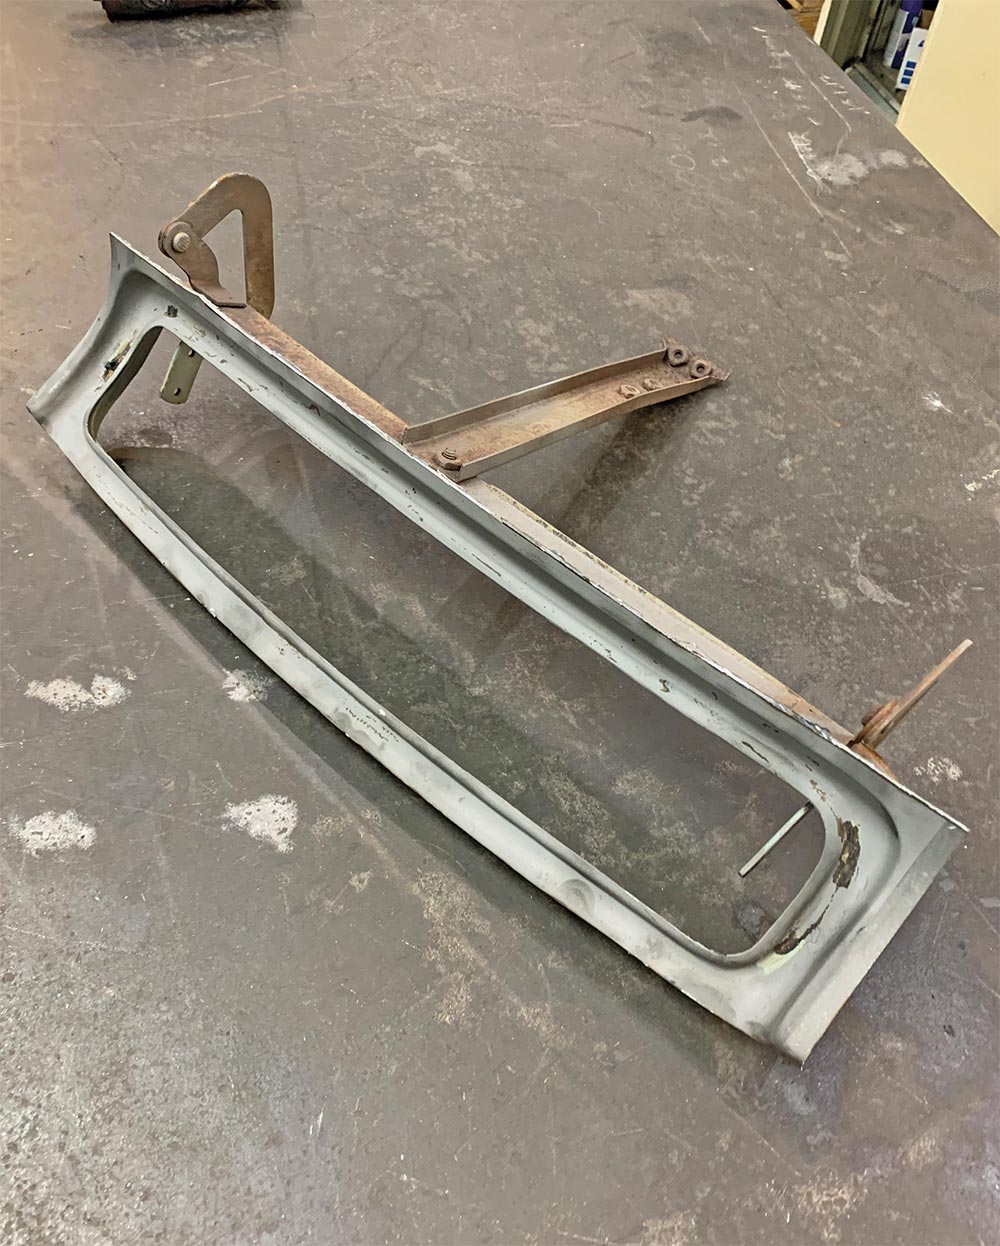
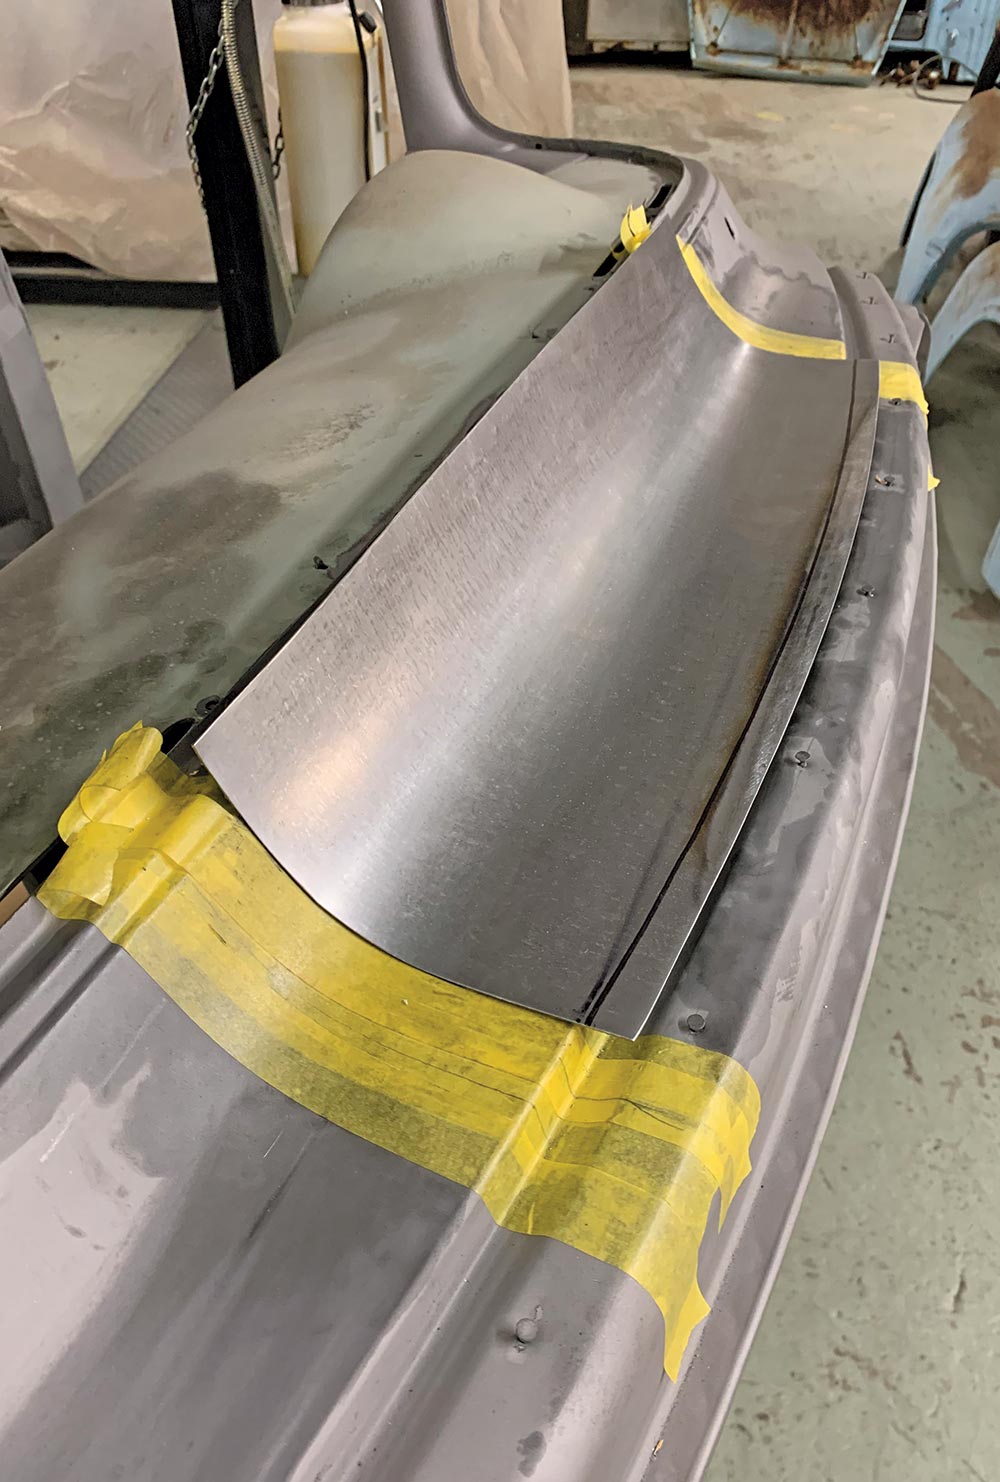
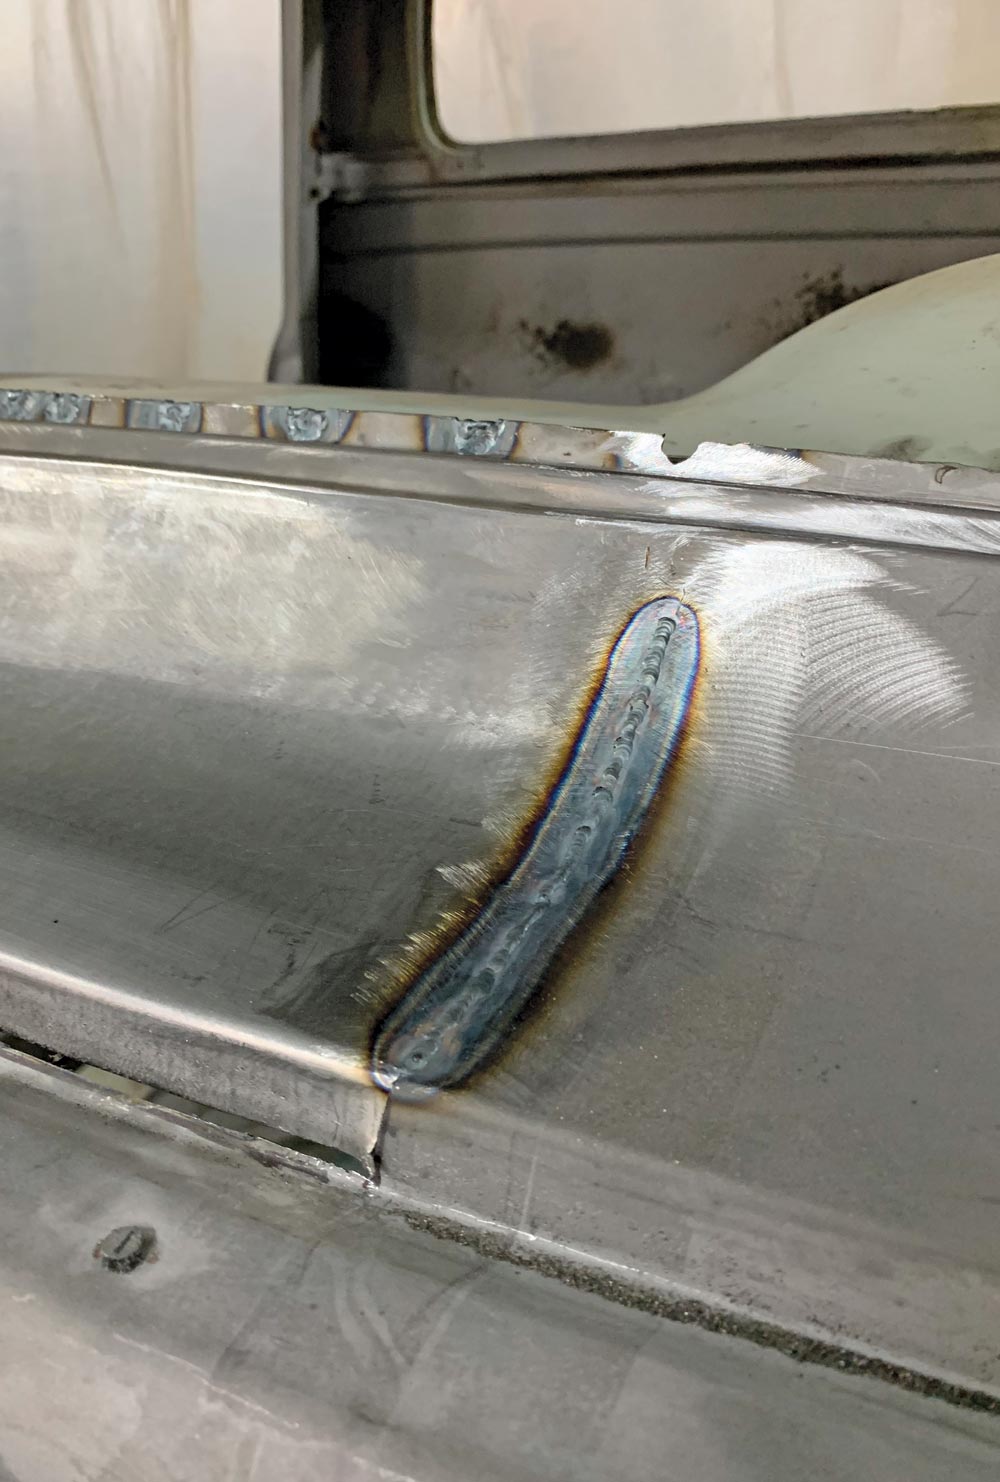
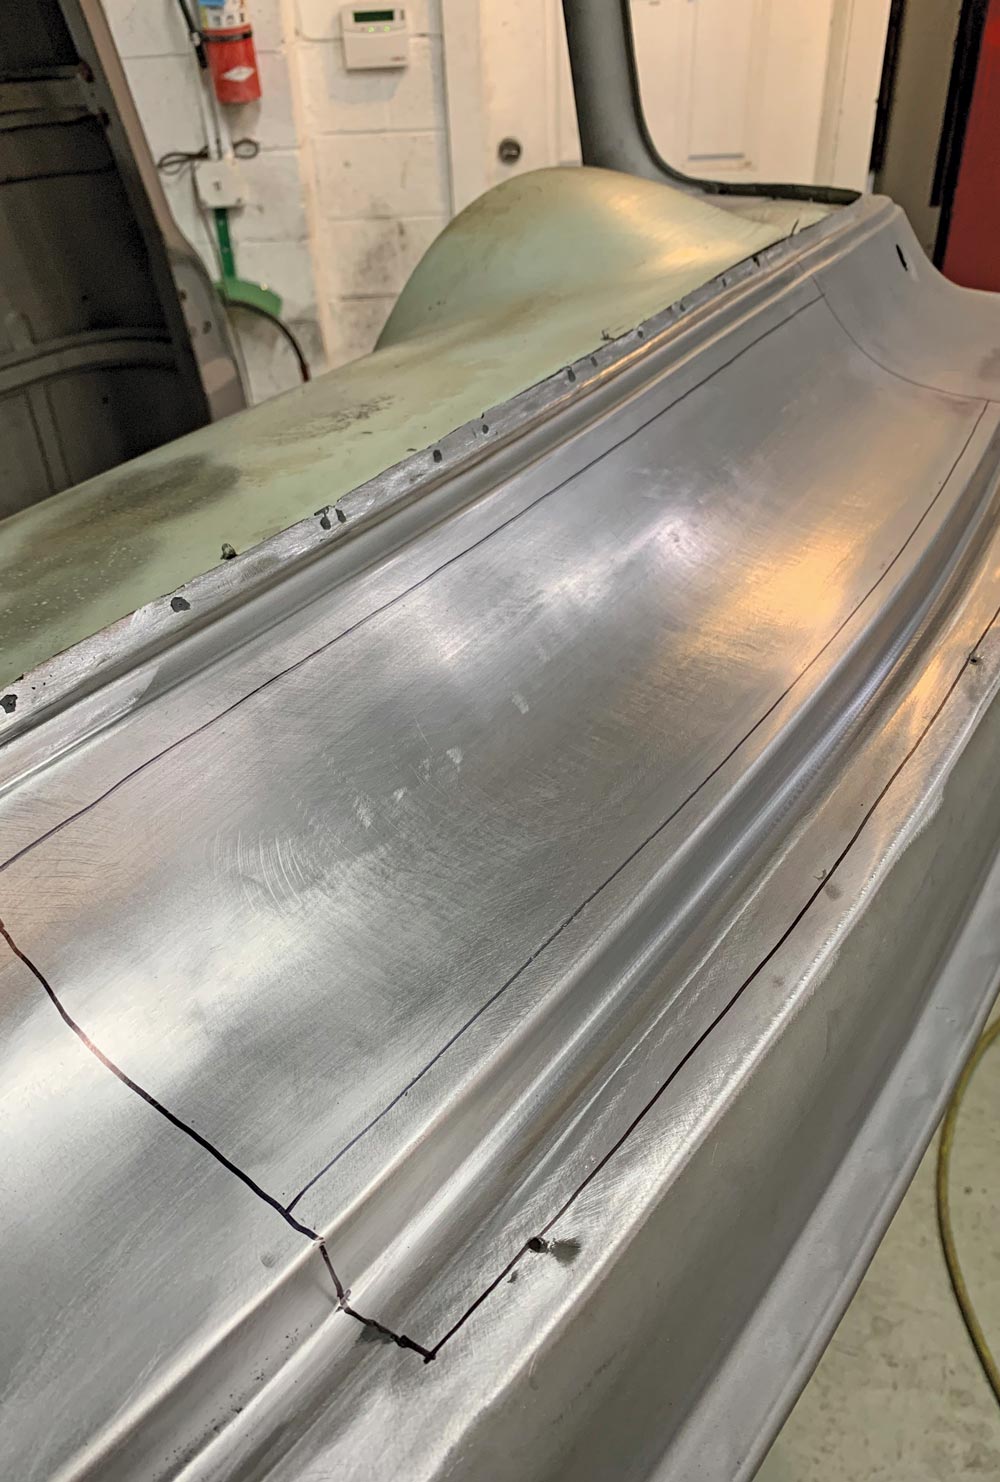
11. Once cut and fit to the cab, the new cowl delete was tack-welded to the windshield flange. Gillie drilled out the spot welds for the windshield flange and then proceeded to cut both the flange and cowl delete out of cab so that they could be welded/finished together on the bench (much easier to work the welds that way).
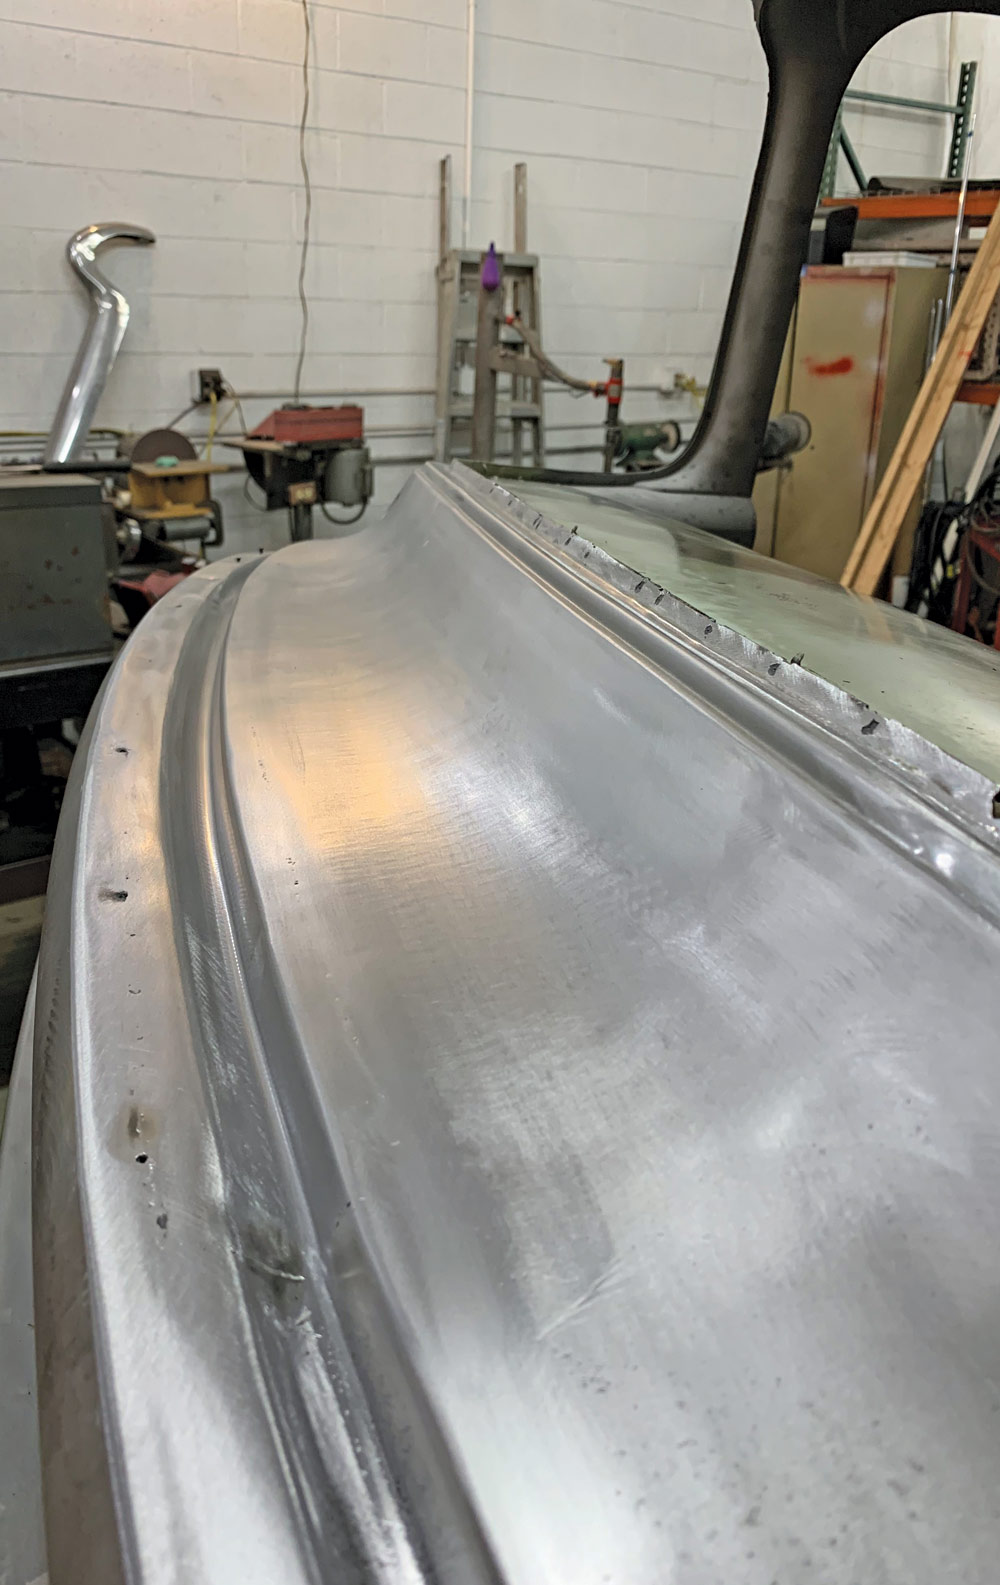
12. With the windshield flange and cowl delete welded back into the cab, Gillie hammered and dollied the weld seam to stretch the weld back out and maintain correct cowl shape, then sanded the weld area to blend it.
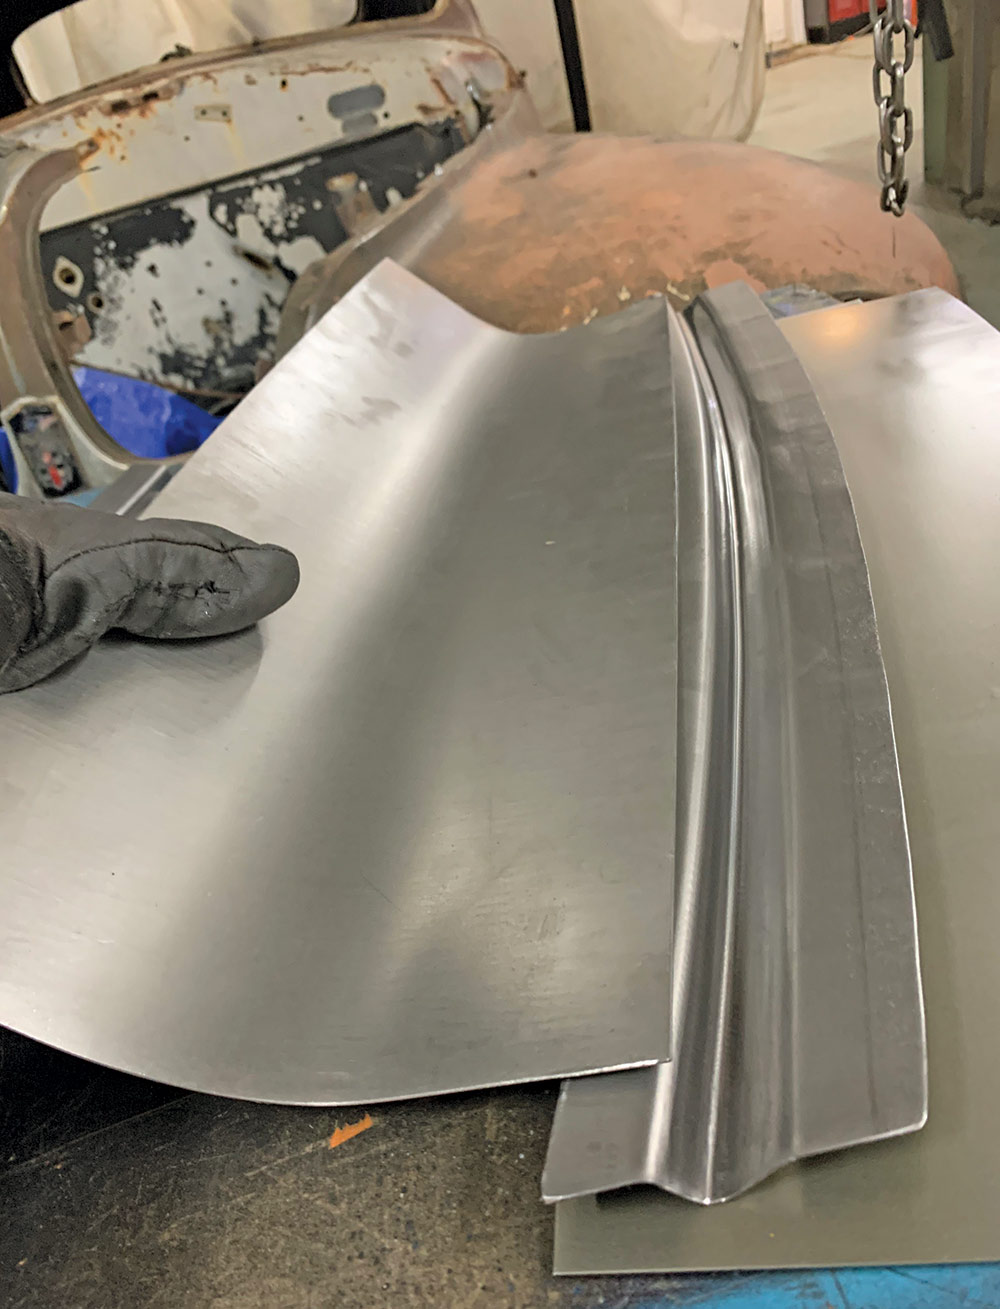
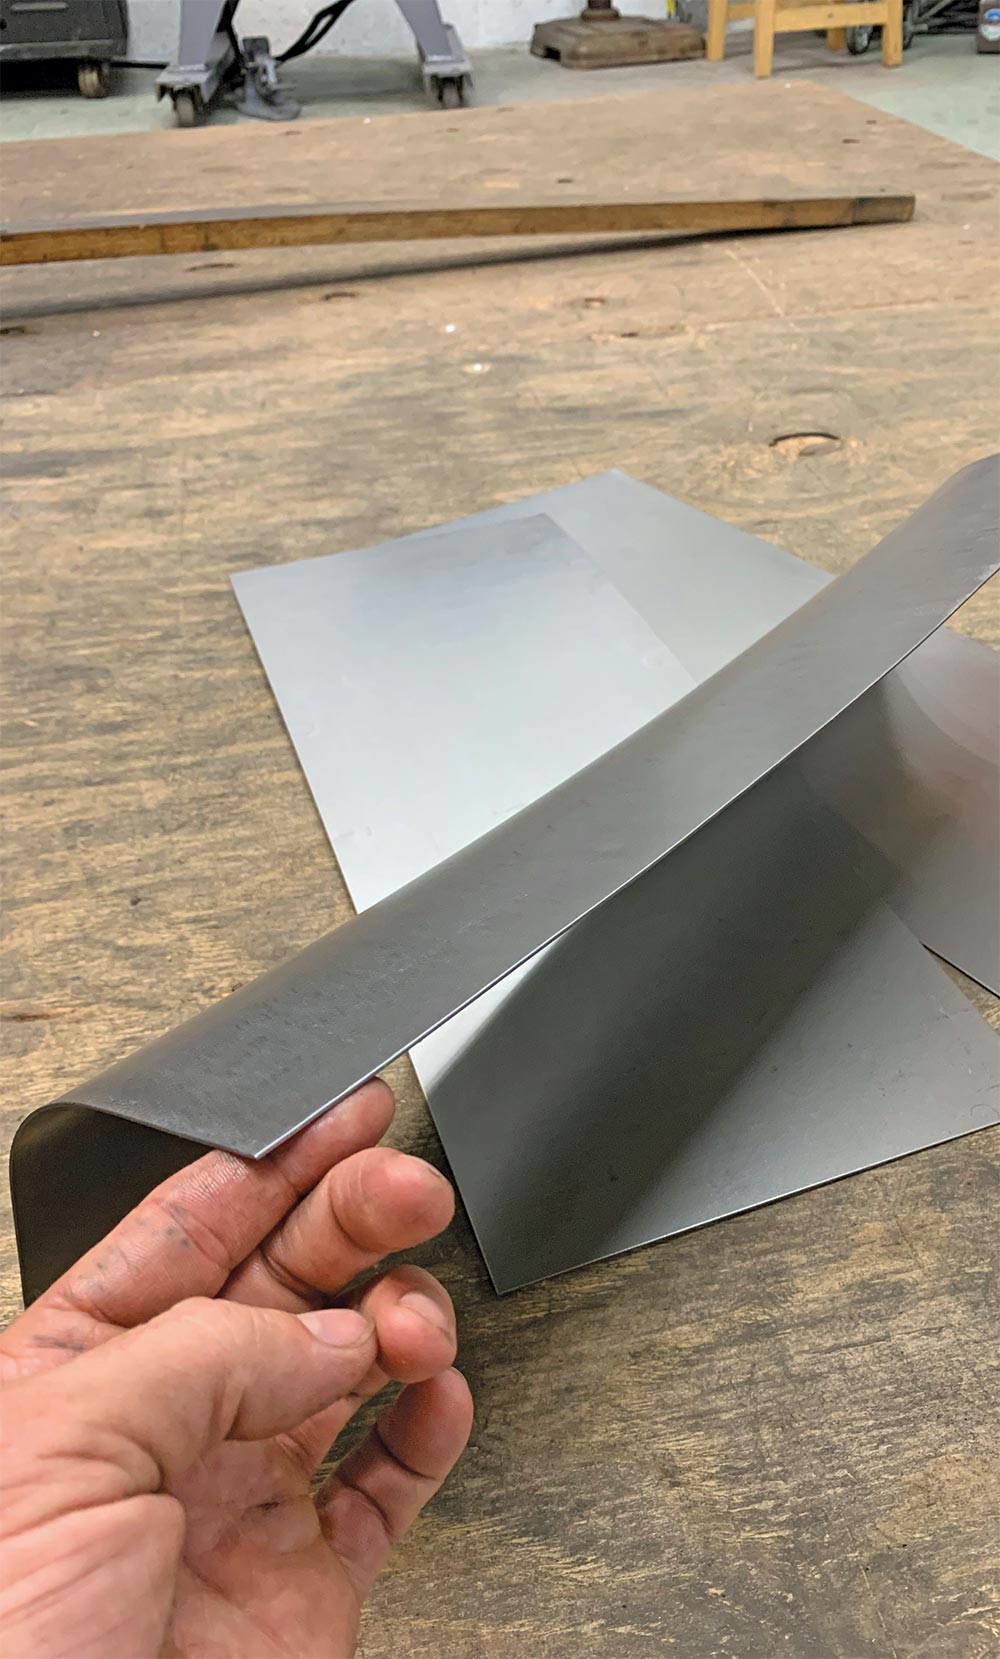
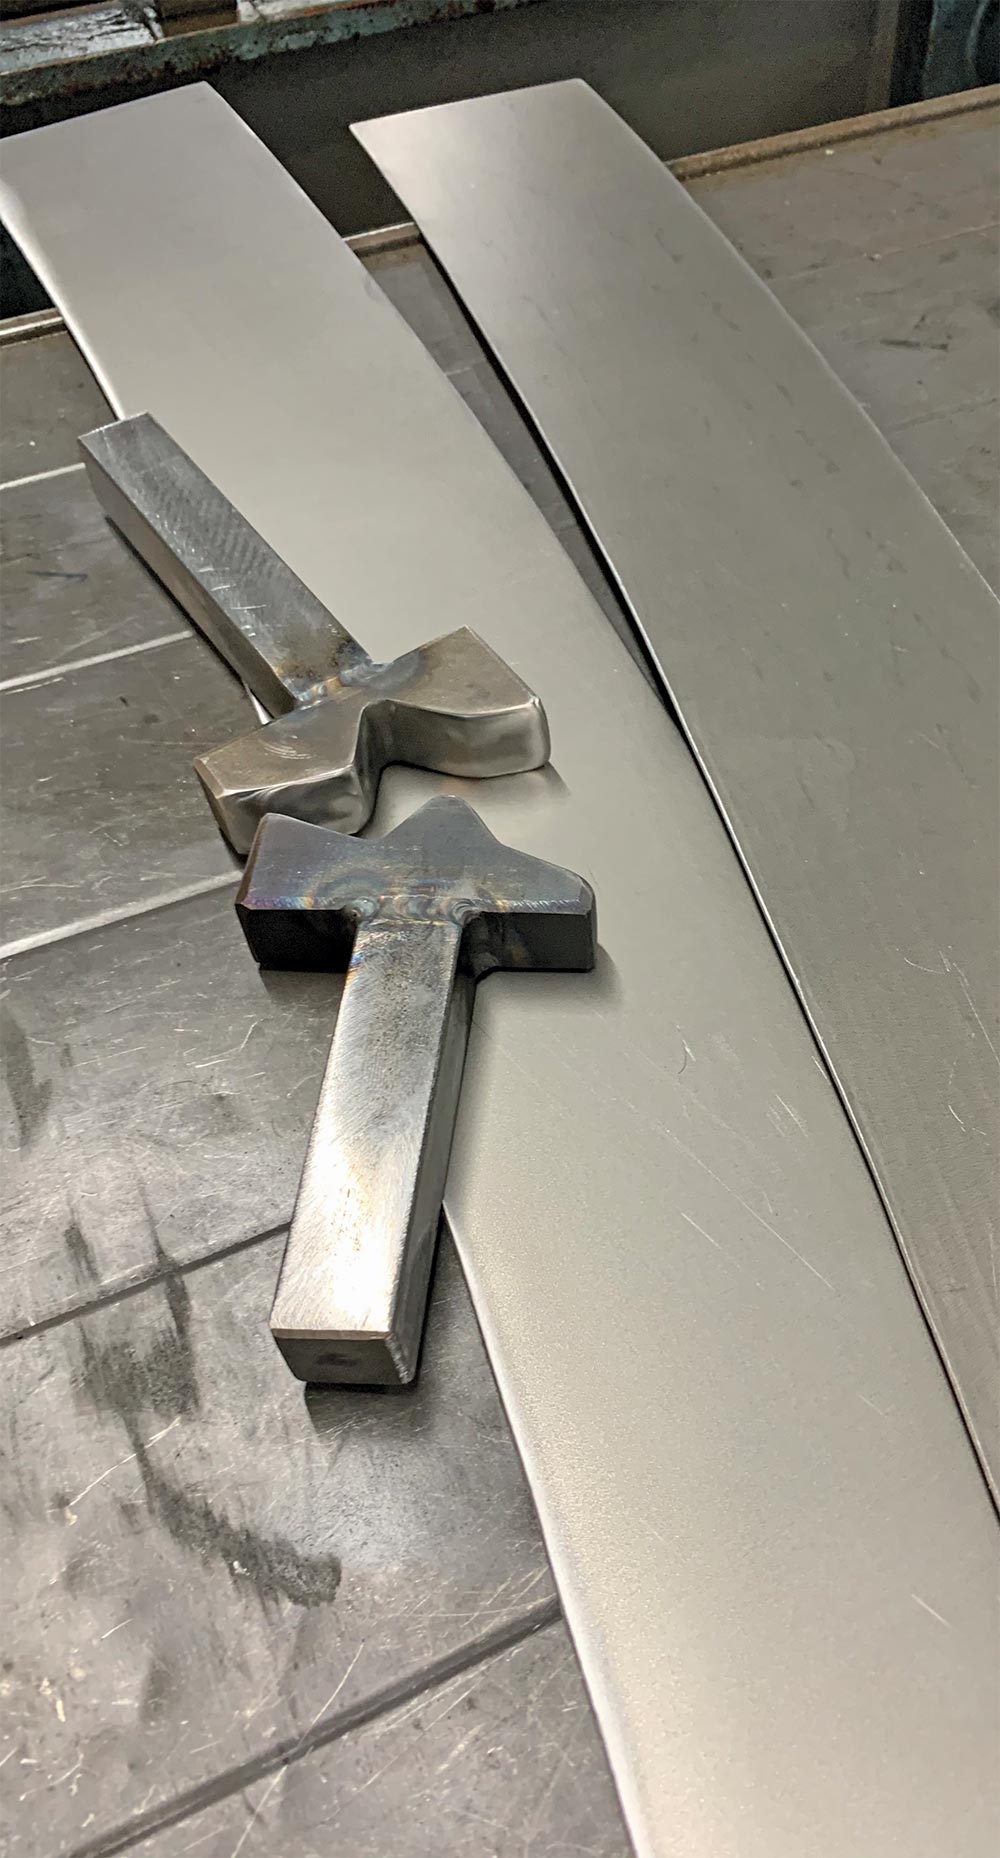
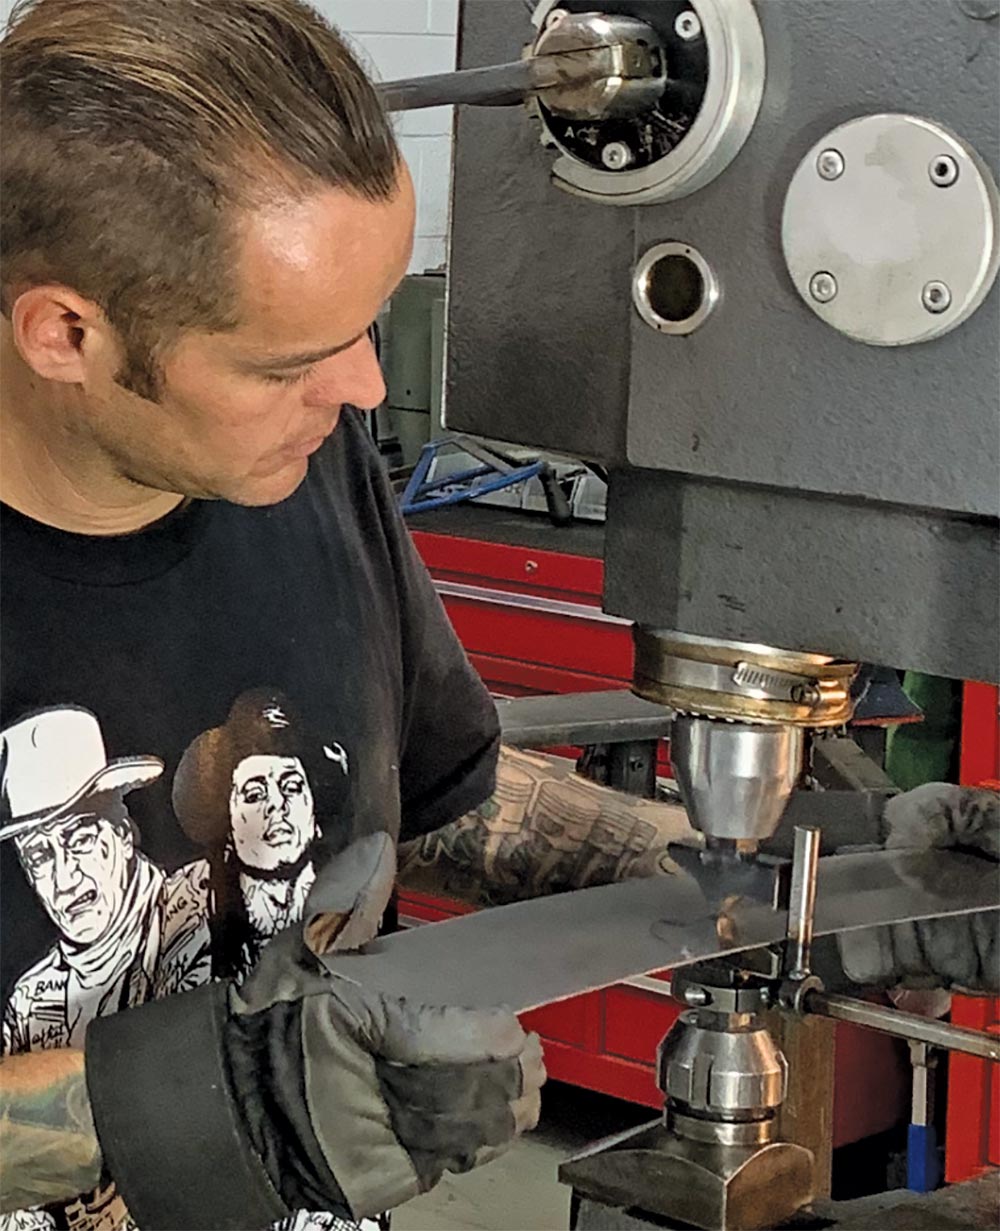
13-14. Gillie eventually decided to make a special tool to form the front cowl gutter (where the cowl meets the hood), which he used in his Pullmax machine to shape/form.
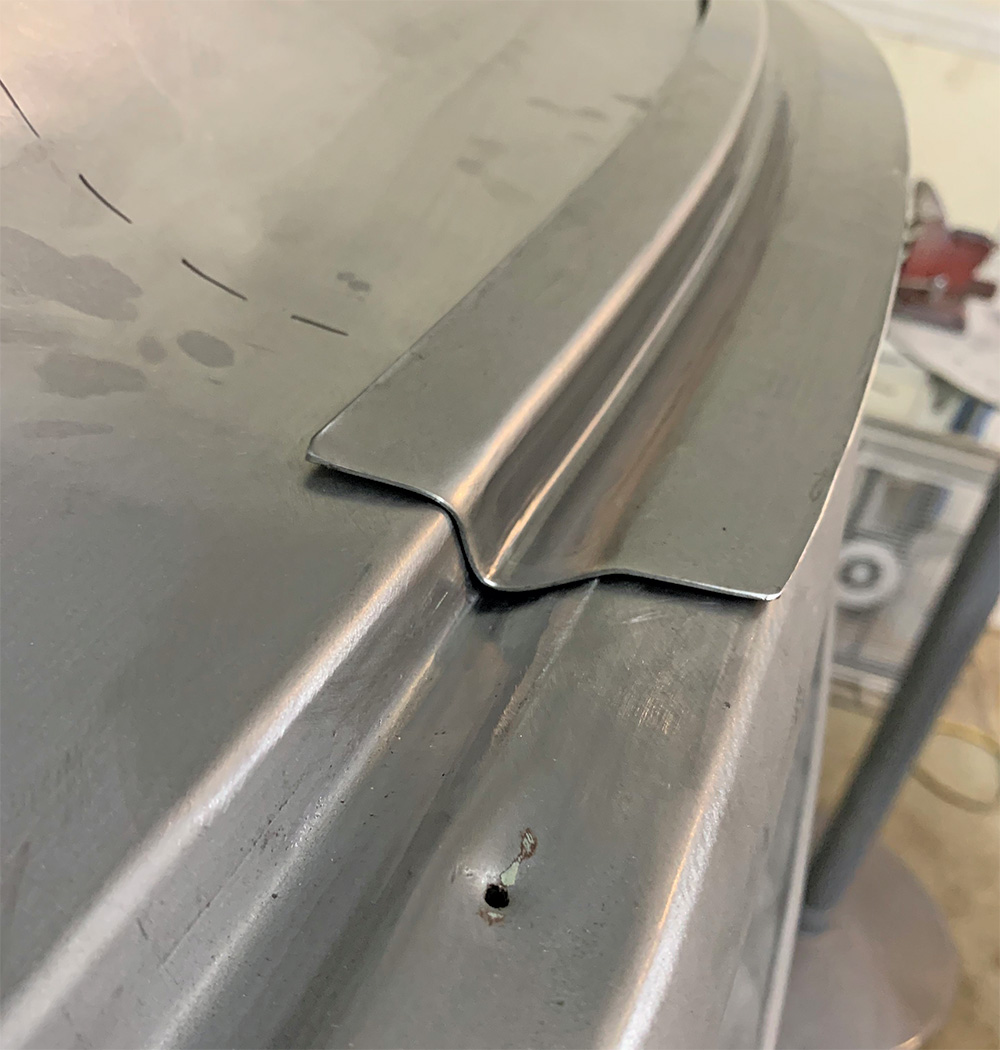
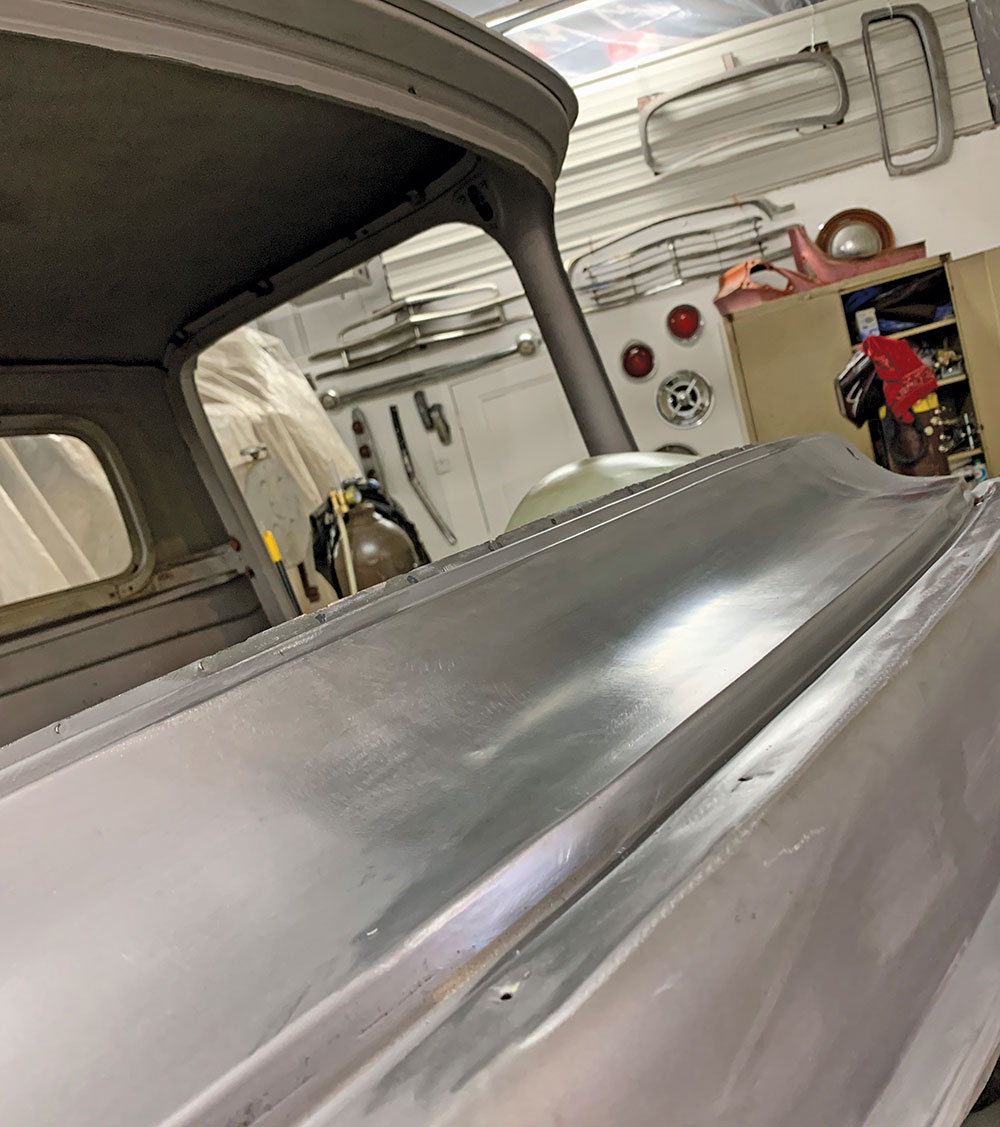
16. … to produce the finished product, as such!
17-18. As mentioned, that wood buck and his specially made Pullmax die were used to make a limited run of additional panels. Contact Clark Gillie Customs for more info!
