
 Tech
Tech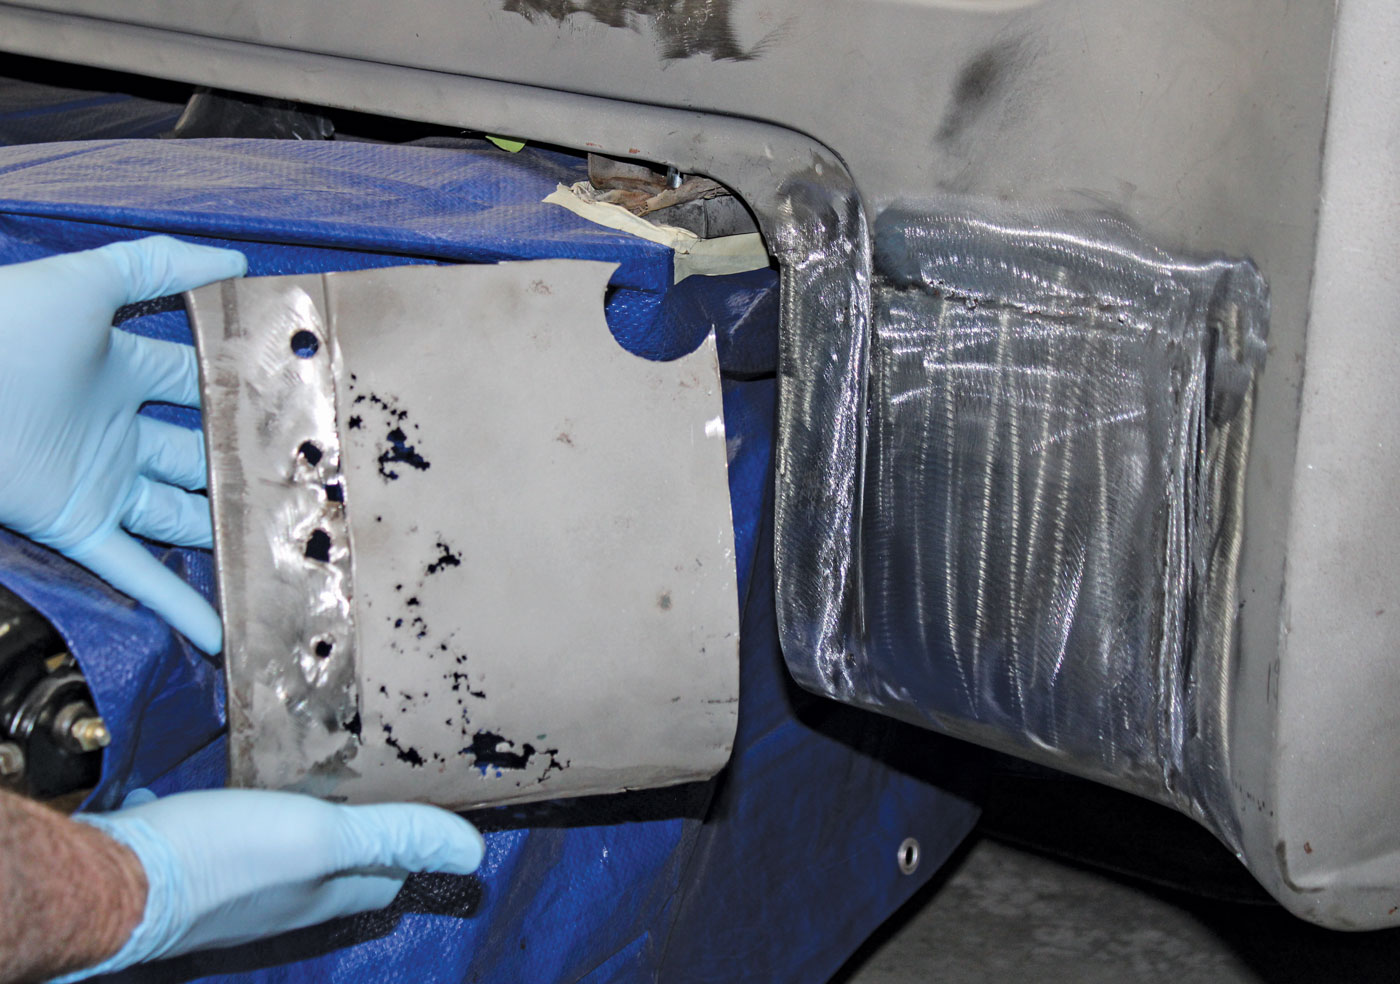
s long as ol’ trucks are prone to corrosion, we’ll stay busy around here—same as anywhere.
Upon moving our operation from Southern California to northwestern Montana we made a surprising discovery. Old trucks here don’t rust much more than they do there. Sittin’ out to pasture, off the road, away from snow-melting salt brine and magnesium chloride, precious sheetmetal stands a decent chance for survival. Even so, we’re glad to have our rust-repair skill sets—for the future, if we ever finish the job we brought with us.
The 1955 second-series Chevy we’ve been building for so long is a California truck. With the usual rust in the usual places, its cab will be an easy save, made even easier thanks to Brothers Truck Parts for the options they offer. Earlier we opted to replace our left fender and door with brand-new reproduction panels. On the right side we’re patchin’ things up.
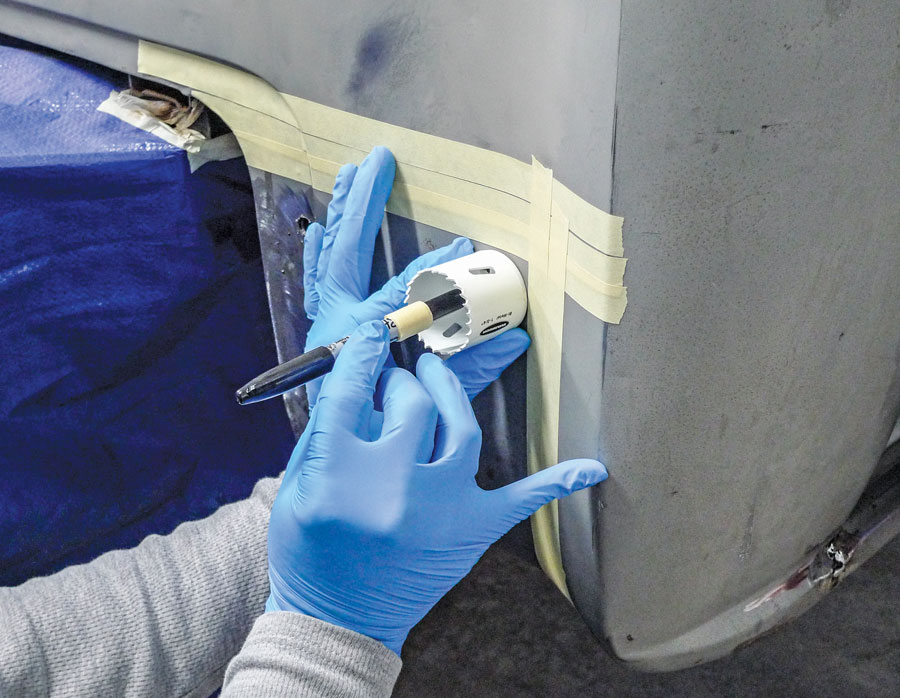
3. For us, patchin’ goes smoother when corners like this one are rounded. Our mix-matched hole saw selection had some gaps, so we picked up a new set from Harbor Freight. Here a dull Sharpie through the center marks the spot.
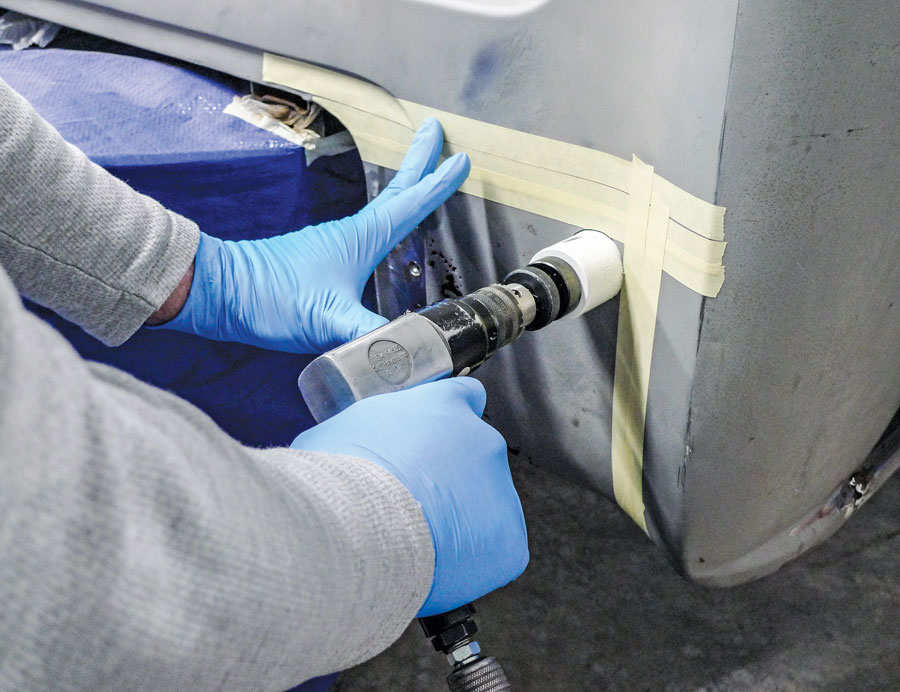
5. We’ll save the round slug that we’re cutting free. A little later on it’ll be handy for marking the curve on the new patch panel.
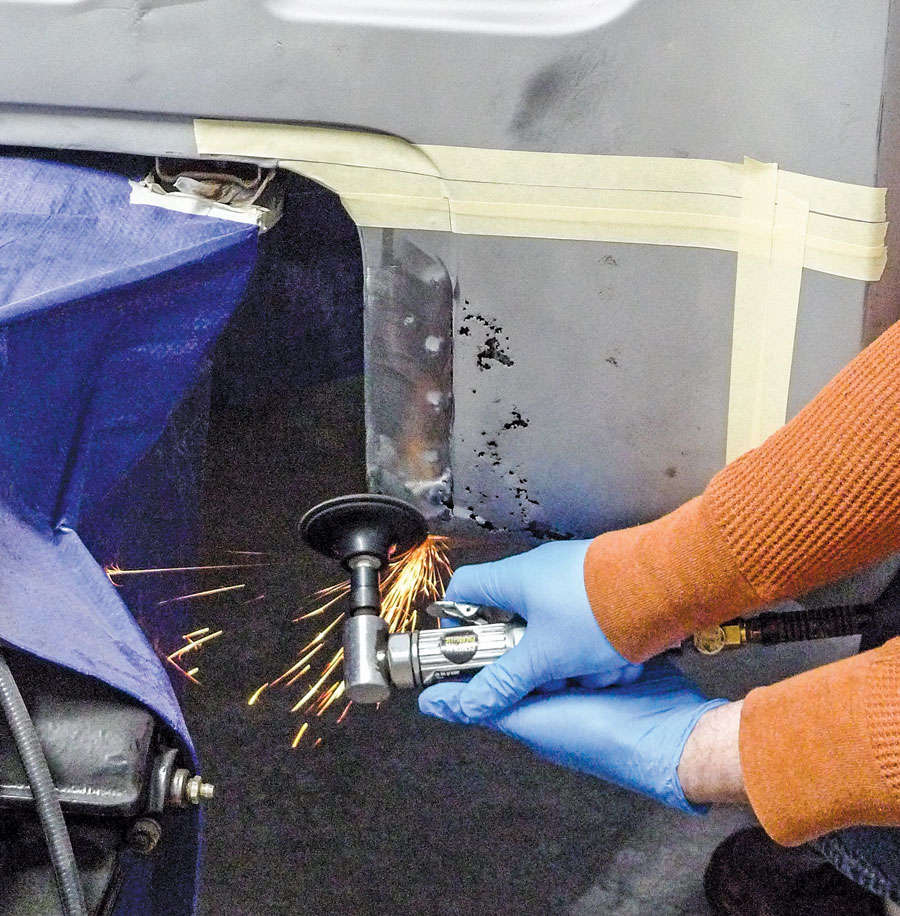
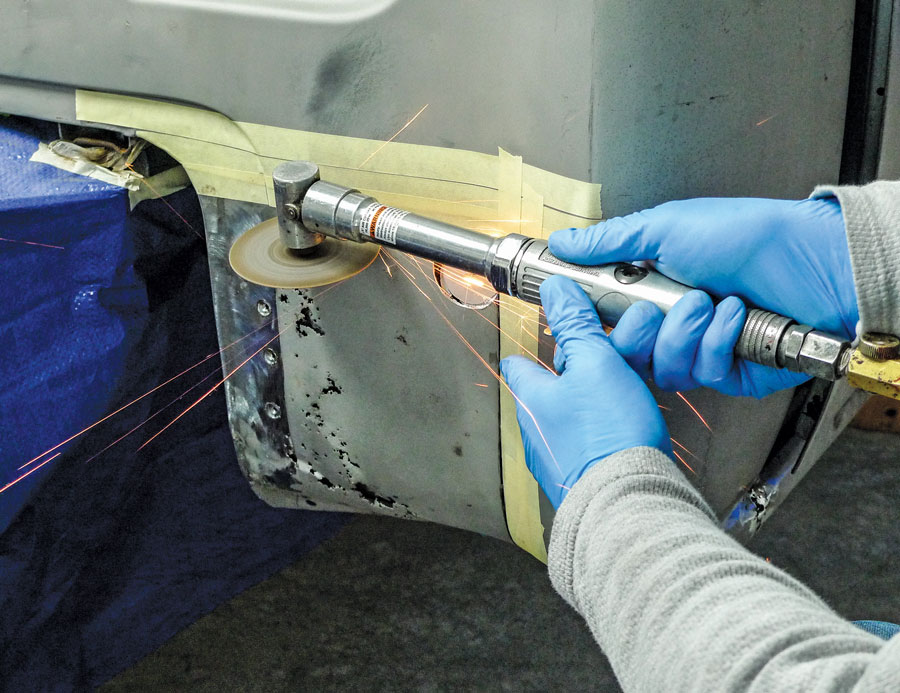
6. With spot welds reamed free and our corner hole established, we’re down to two straight slices. Keeping the inner panel in mind, we’re slicing no deeper than the skin. This is a job for another Harbor Freight item, a 3-inch extended reach cutoff tool.
If you were with us last time, you witnessed fairly typical door corner repairs. For that we used sections of an outside door bottom patch panel from Brothers. At the end of that phase we were pleased with our results—except for one little detail. The time we’d invested added up. In the end it would have covered the cost of a brand-new Brothers door shell, shipped all the way to Montana, and then some. Since that’s not our customer’s fault, we’re absorbing the difference. We don’t expect to make that up, but we do expect to do better on the next phase—the replacement of one rusty cab corner.
8. For years we’ve been chuckin’ scrap like this in the bin. Before that happens this time, however, there’s at least one more thing this is useful for. The circular slug portion is about to come in handy now, too.
9. The rusty chunk is clamped to the new Brothers cab corner. Since my vision ain’t that great, I prefer a masking tape outline, but we’ll scribe the corner around the slug.
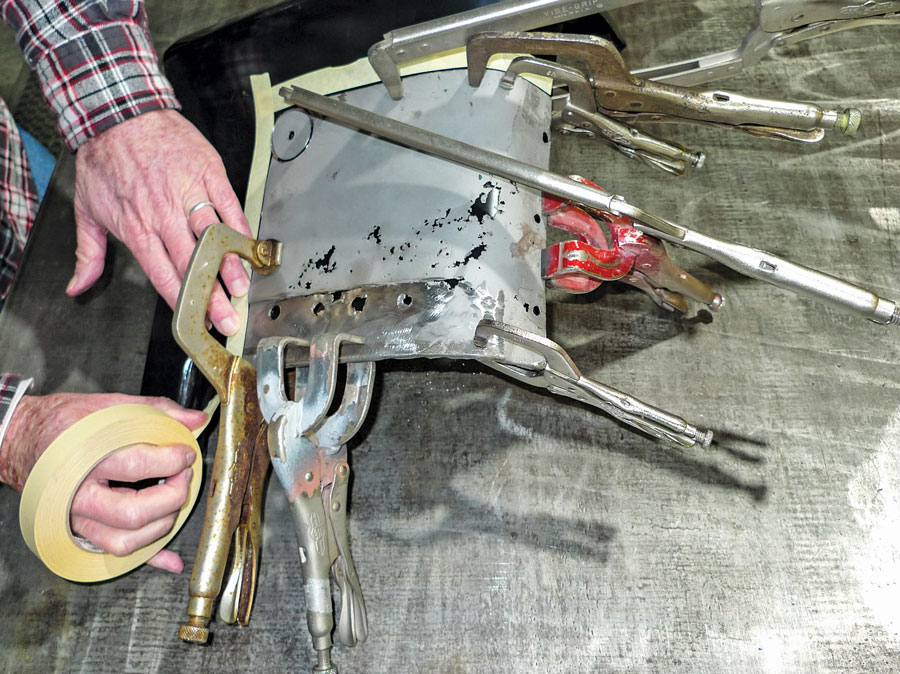
11. The initial test-fit of our patch is encouraging. It’s really close. Toward the bottom, however, the inward curve could use a bit o’ relief to fit in.
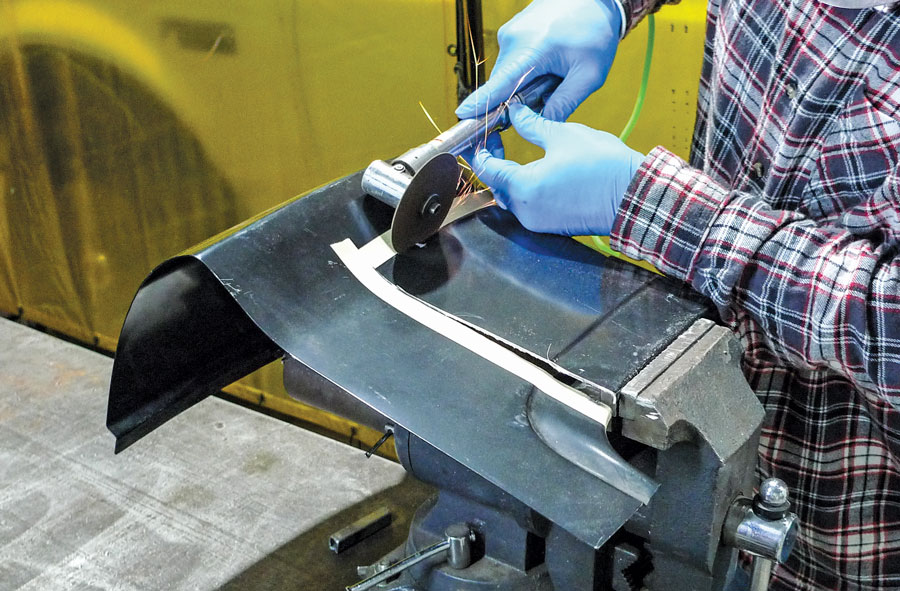
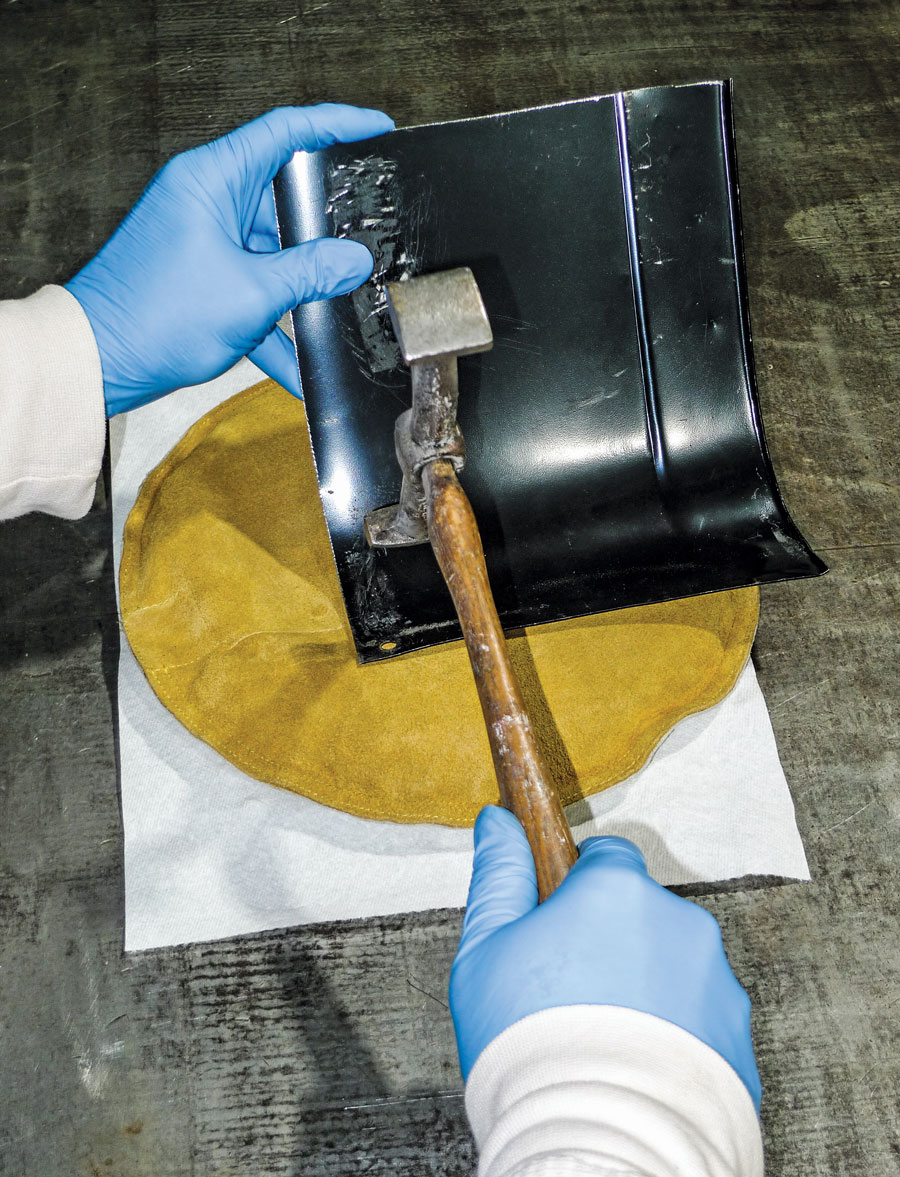
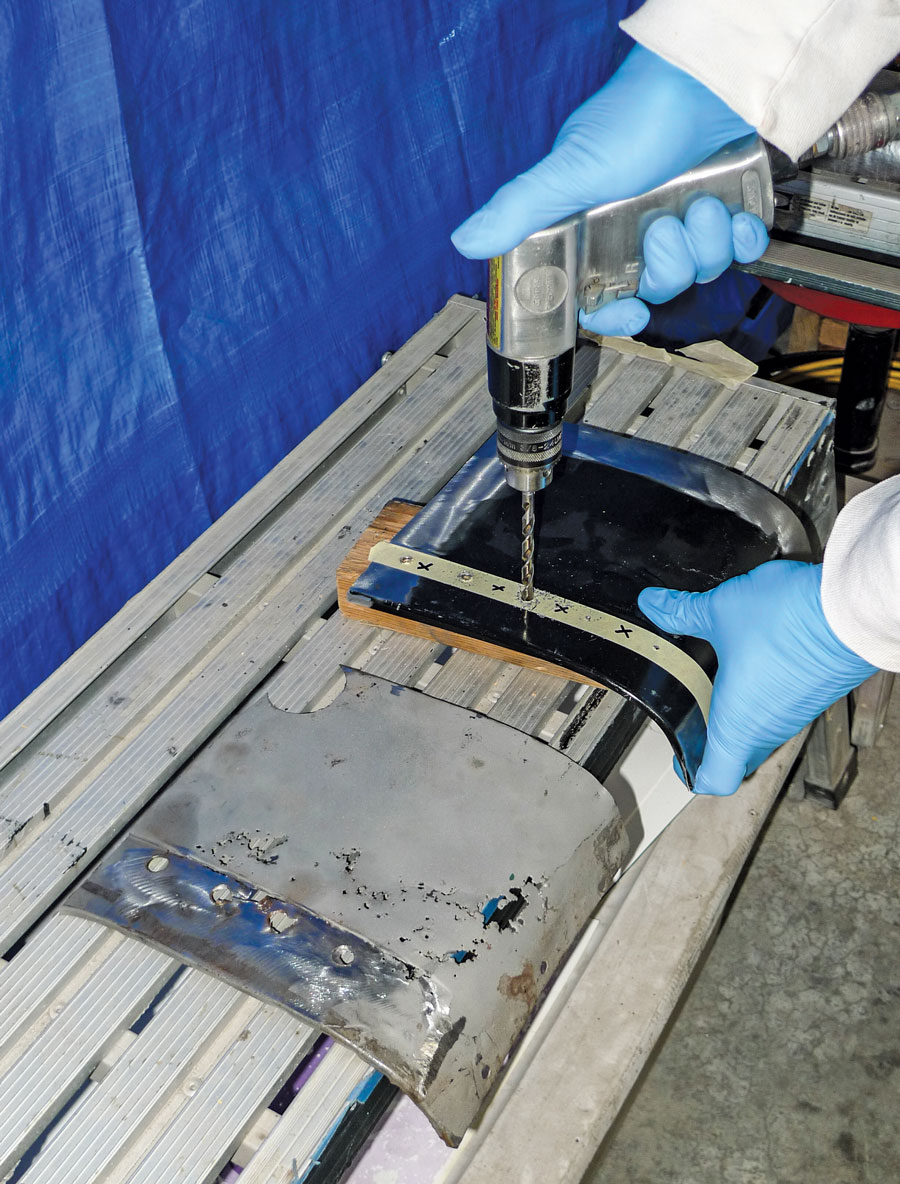
13. With shapes now in agreement, we’re preparing two of the patch’s edges for plug welds. Here the idea is to simulate factory spot welds. With a wood chunk for backing, and the rusty chunk for reference, we’re drilling proper spaced ’n’ sized holes.
14. Here, before welding, the inner structure requires preparation. This handy Speed Blaster is a Summit item, and it’s our best shot for cleanin’ rusty pits. With its accessory Hot Spot recovery system we’ll recycle abrasive, and hopefully minimize the mess.
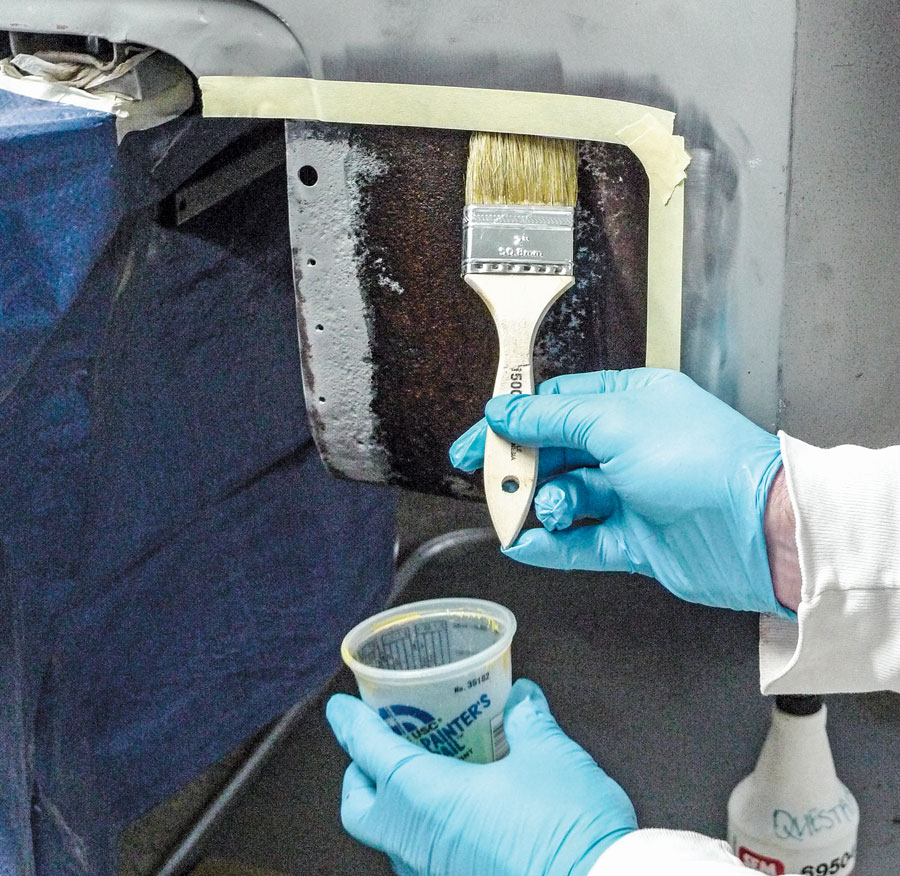
15. There are a good number of rust converters available today. We’re brushing on SEM Rust-Mort, which is in a lot of paint stores. If it’s not in yours, Summit stocks it.
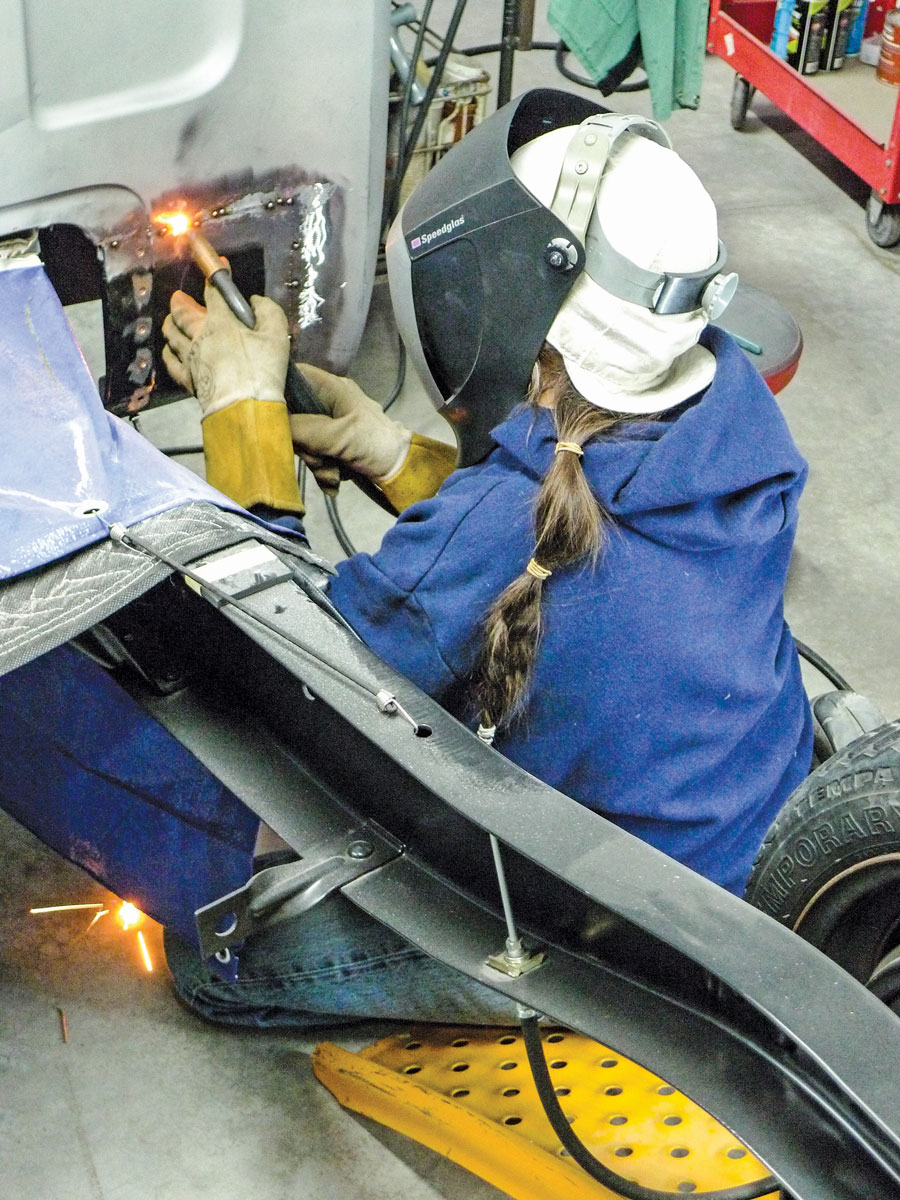
17. So, with steps taken to make it all last, Mrs. Rotten steps in with her cute little MIG rig and commences to stitchin’ (stitch-welding) skins together.
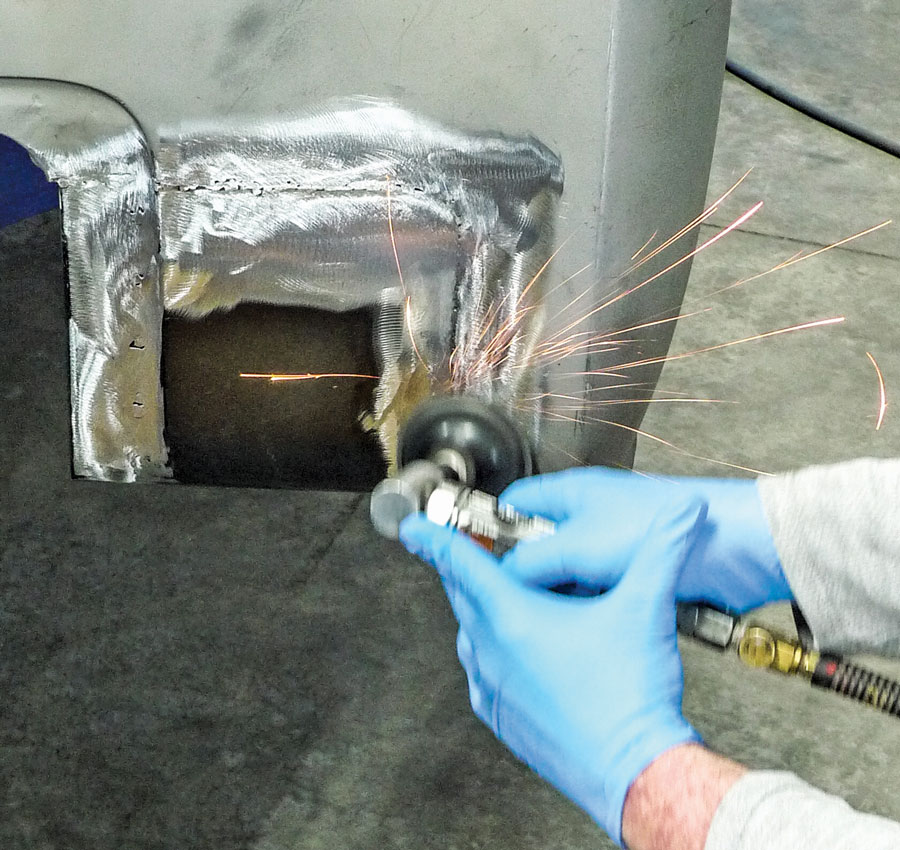
19. Then a few passes with a 3-inch Roloc-type disc via Harbor Freight’s angle die grinder works to smooth things up—but we’re not finished yet.
Like so many others, our project truck has been a truck. It’s done its share of work. It’s been crashed ’n’ smashed as well. From some previous impact, the rusty right cab corner’s skin is torn loose down low already. For the repair, a brand-new Brothers lower cab corner should get us off to a good start. Once the inside is accessible we’ll have some straightening to do there. While we’re at it, we’ll take steps to chemically contain other ticking time bombs, like less-advanced corrosion between panels, where pneumatic implements of restoration won’t easily reach.
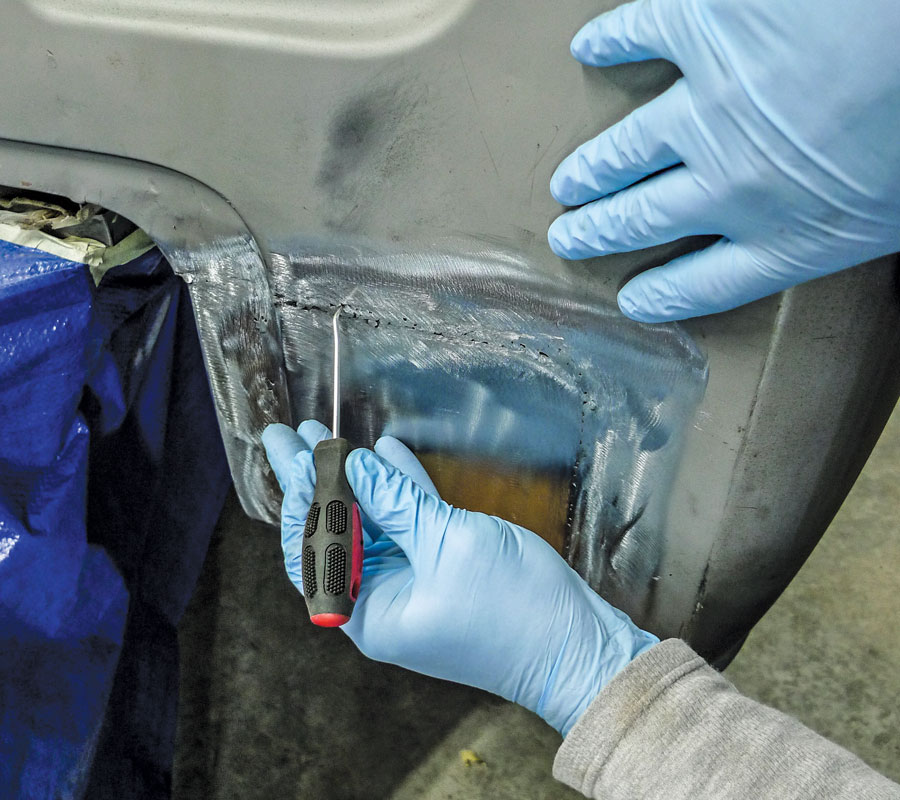
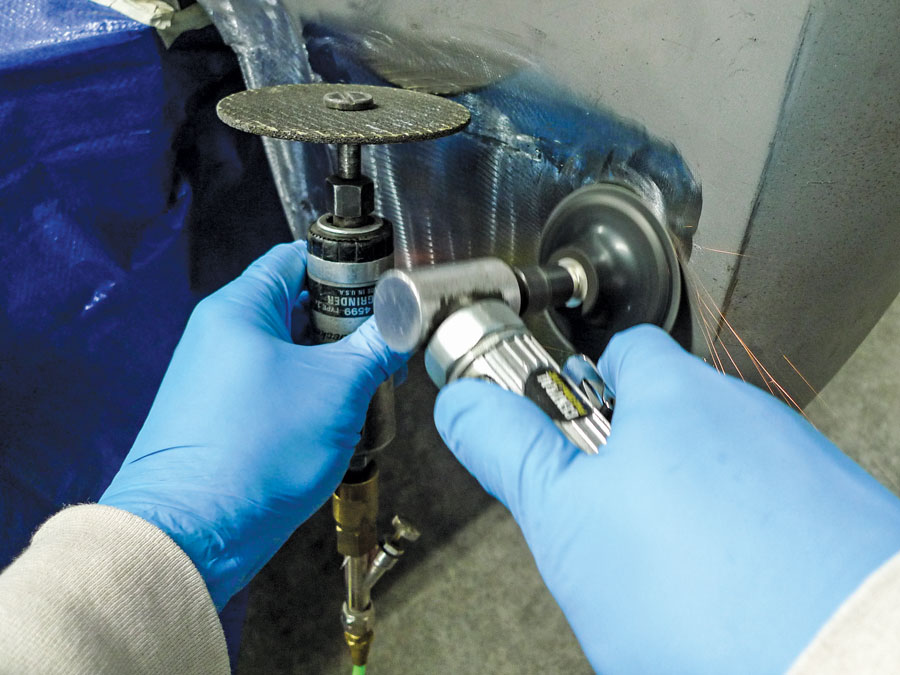
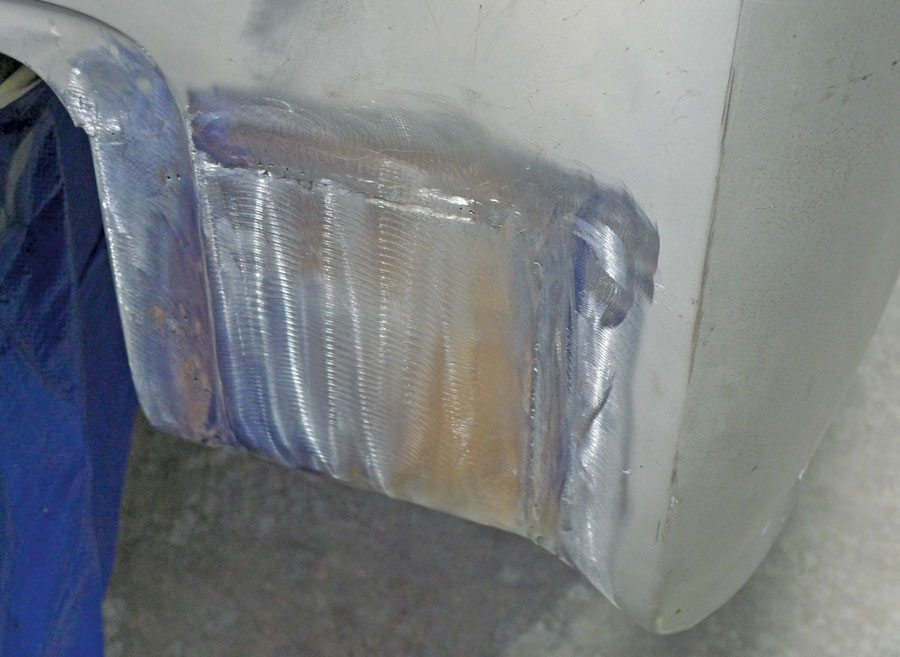
22. Anyway, it’s back to the ol’ grind for yours truly. Again it’s the hard disc for the knotty parts, followed by the 3-inch Roloc-type disc.
23. It’s almost funny how this works. Sittin’ here at the big screen, as I’m putting this story together, even I can see a few more little pinholes. We’ll catch ’em before filler time.
24. So, what about this? Why so much fuss about a rusty chunk of steel? What could it be good for? Where could this possibly fit in?
25. Adios corrosion and welcome to the scrap bin! Next time we see this section o’ recyclable steel it just might be a new Datsun.
First things first, before sparks fly, the truck is raised on stands to a comfortable work height. As we prepare to tag-team the job at hand, we’re not expecting any unusual challenges. In the past we’ve found Brothers patch panels to be quite accurate, so this won’t be about fancy metalshaping. As usual we’ll try to keep our repair as small as possible. Since we’ll be using only one section of the reproduction patch panel there might be something left for someone else down the road.
So, what about the rusty chunk that we’ll cut away? With P-word patina being in style as it is, could there now be a use for such scrap? We’ve got an old truck to work on first, but later on, perhaps we’ll see.
 SOURCEs
Brothers Trucks
(800) 977-2767
www.brotherstrucks.com
Harbor Freight Tools
(800) 423-2567
www.harborfreight.com
Summit Racing Equipment
(800) 230-3030
www.summitracing.com