 Tech
Tech PHOTOGRAPHY BY The Author
hen it comes to rear suspension options for your classic truck, you’ve got plenty. The decision you make all depends on a few basic factors to consider when choosing the right setup: desired stance, performance expectations, and chassis accommodations.
For many applications, the very same type of parallel leaf system your truck was originally equipped with is fine, for the most part, granted they’re new springs and related components. And then you’ll need to consider a couple modifications such as an axle flip and longer shackles if you want to lower that “old truck” high-tower stance. However, there are limitations as to how far you can go when it comes to lowering with leaf springs, not to mention higher-horsepower limitations.
Moving up the ladder, so to speak, you then have your choice of “link” setups: two-link (also known as trailing arm), triangulated four-link, and the traditional parallel four-link—the latter of which (as well as the two-link) requires the use of a transverse Panhard or angled trac bar. These setups all work very well in their respective rights, and again, it all depends on how your truck will be used, how you want it to sit/perform, not to mention whether or not you intend on incorporating an adjustable ride height system (airbags). Unlike leaf springs, the forward links don’t carry the load of the vehicle, they simply locate and secure the rearend, and thus rely on either coilover shocks or a combination of shocks and air springs.
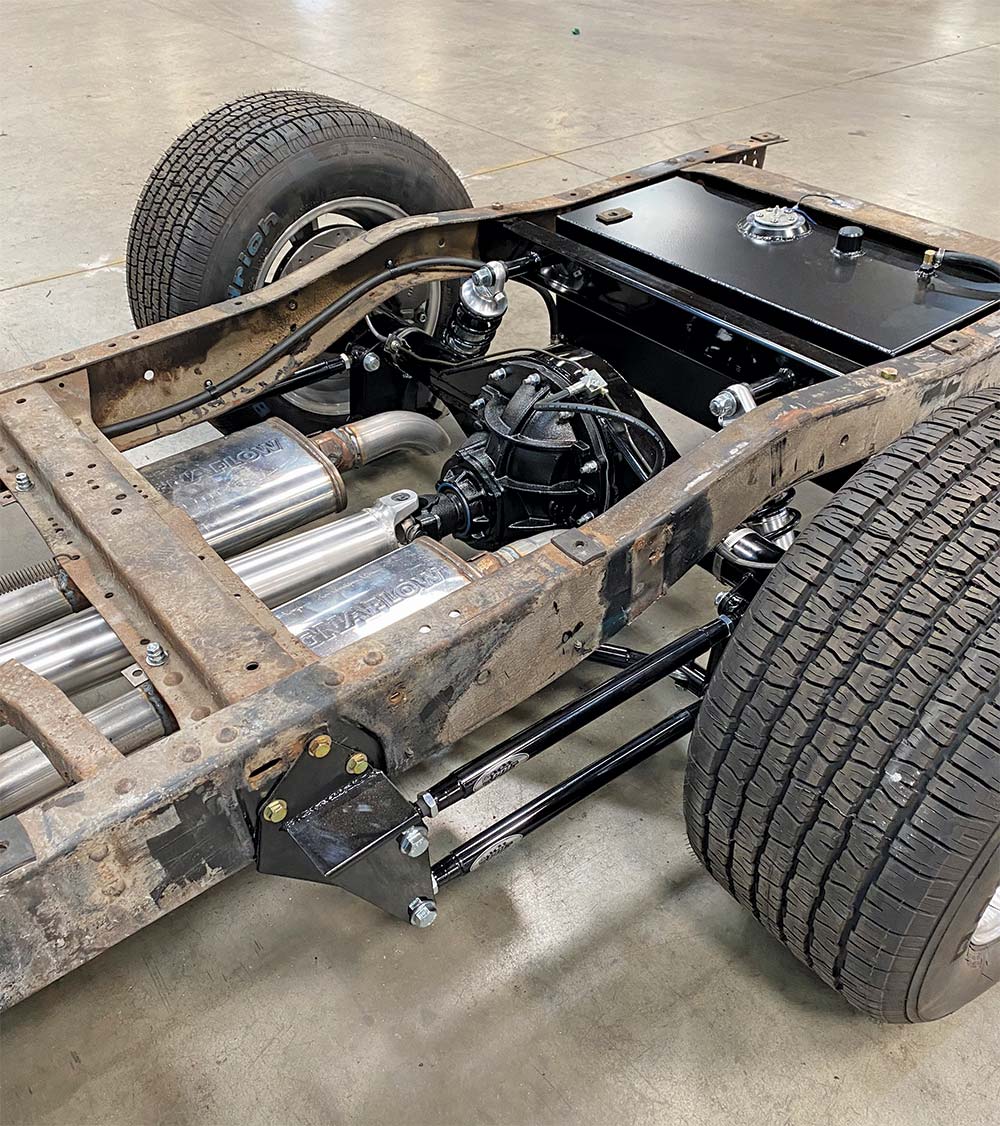
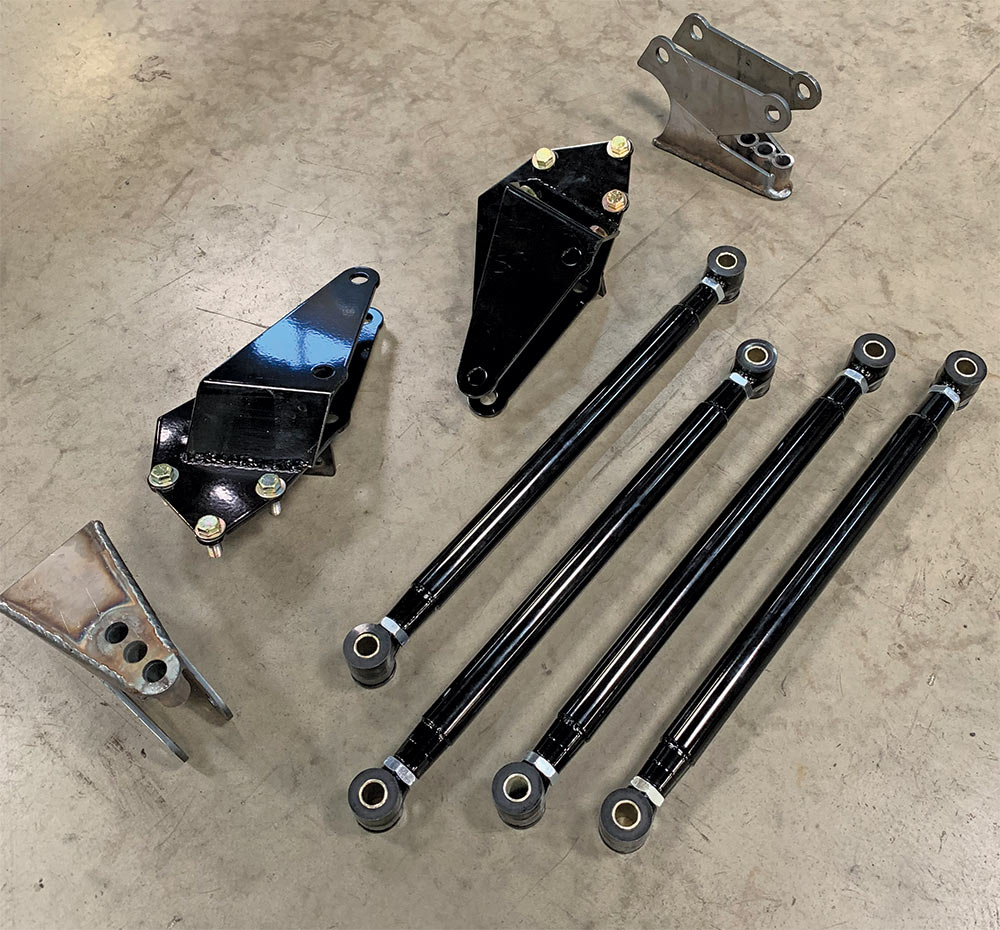
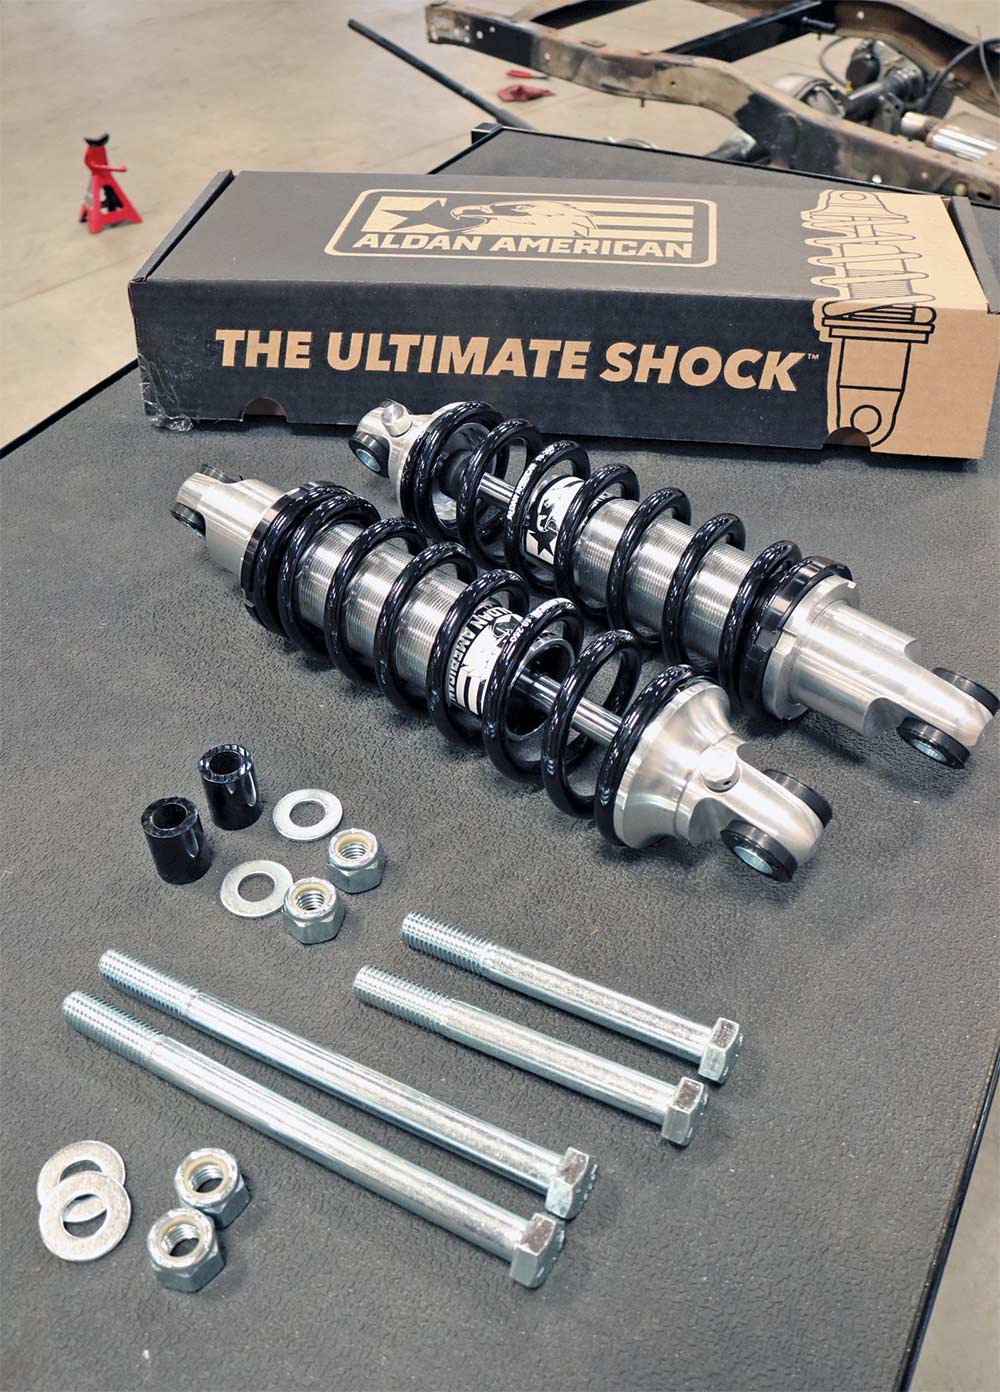
For a static-drop suspension, the traditional parallel four-link system is hard to beat. For one, the basic geometry allows ample room for exhaust, driveshaft, and even fuel tank clearance, as no forward mounting crossmember is required, and more often than not, the bars/links run outside the framerails rather than inside. Today’s four-link kits such as those produced by Performance Online (POL) for the 1955-1959 Chevy 1/2-tons can easily be installed by the average Joe, the only somewhat difficult task being the welding of the four-link’s rearend brackets—most everything else is bolt on (using factory holes for locating purposes). Performance Online’s complete four-link kit includes front/rear brackets, DOM tube double-adjustable link bars, weld-on Panhard (mounts below rearend), and dual-adjustable Aldan American coilovers with 250-pound springs. Additionally, POL can supply complete disc brake–equipped rearend housings, such as the one used here in the article, making your rear suspension upgrade as easy to accomplish as possible!
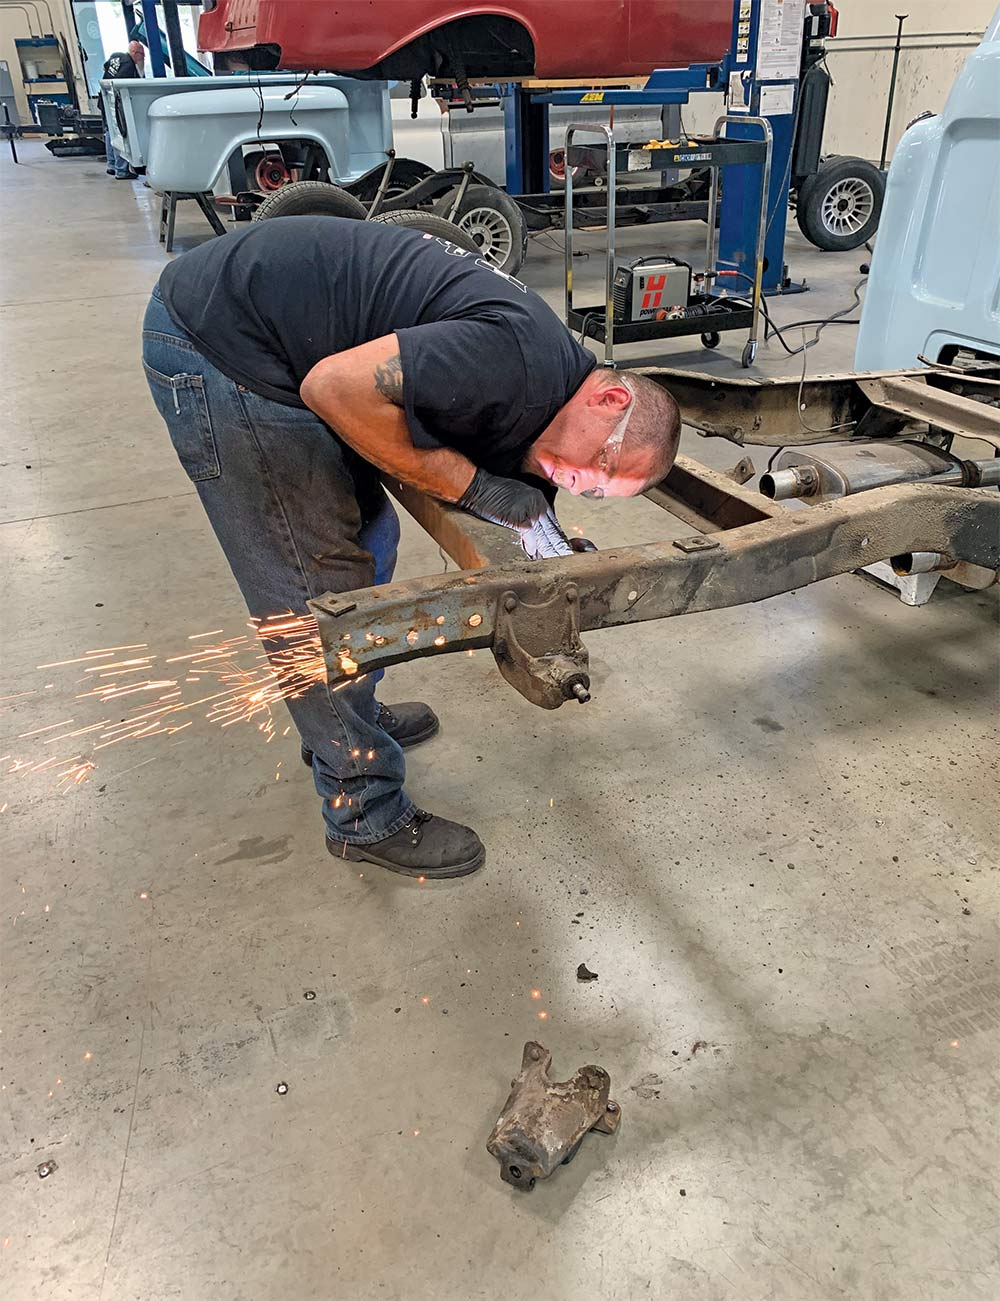
3-4. Removal of your pickup’s bed/fenders is strongly recommended, as it allows you full, unobstructed access to the areas you’ll be working on (be sure and mark your axle’s centerline before removing). Bust out your favorite rivet-busting tool(s), as the first order of business in preparing the frame is removing the factory cast-iron leaf spring hangers. Take caution with the forward brackets, as the remaining mounting holes will be used for precisely that: mounting the new four-link brackets.
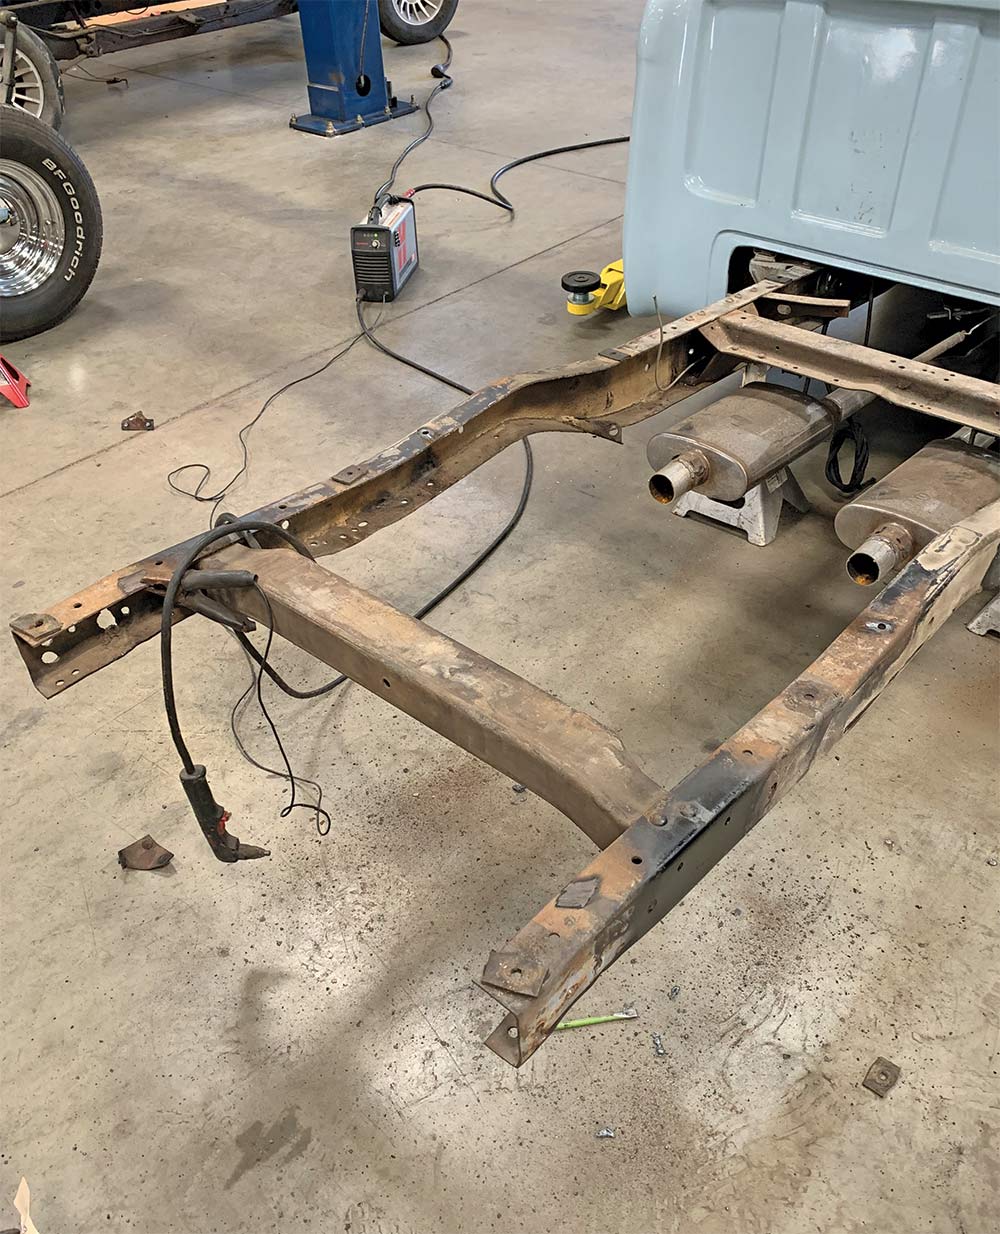
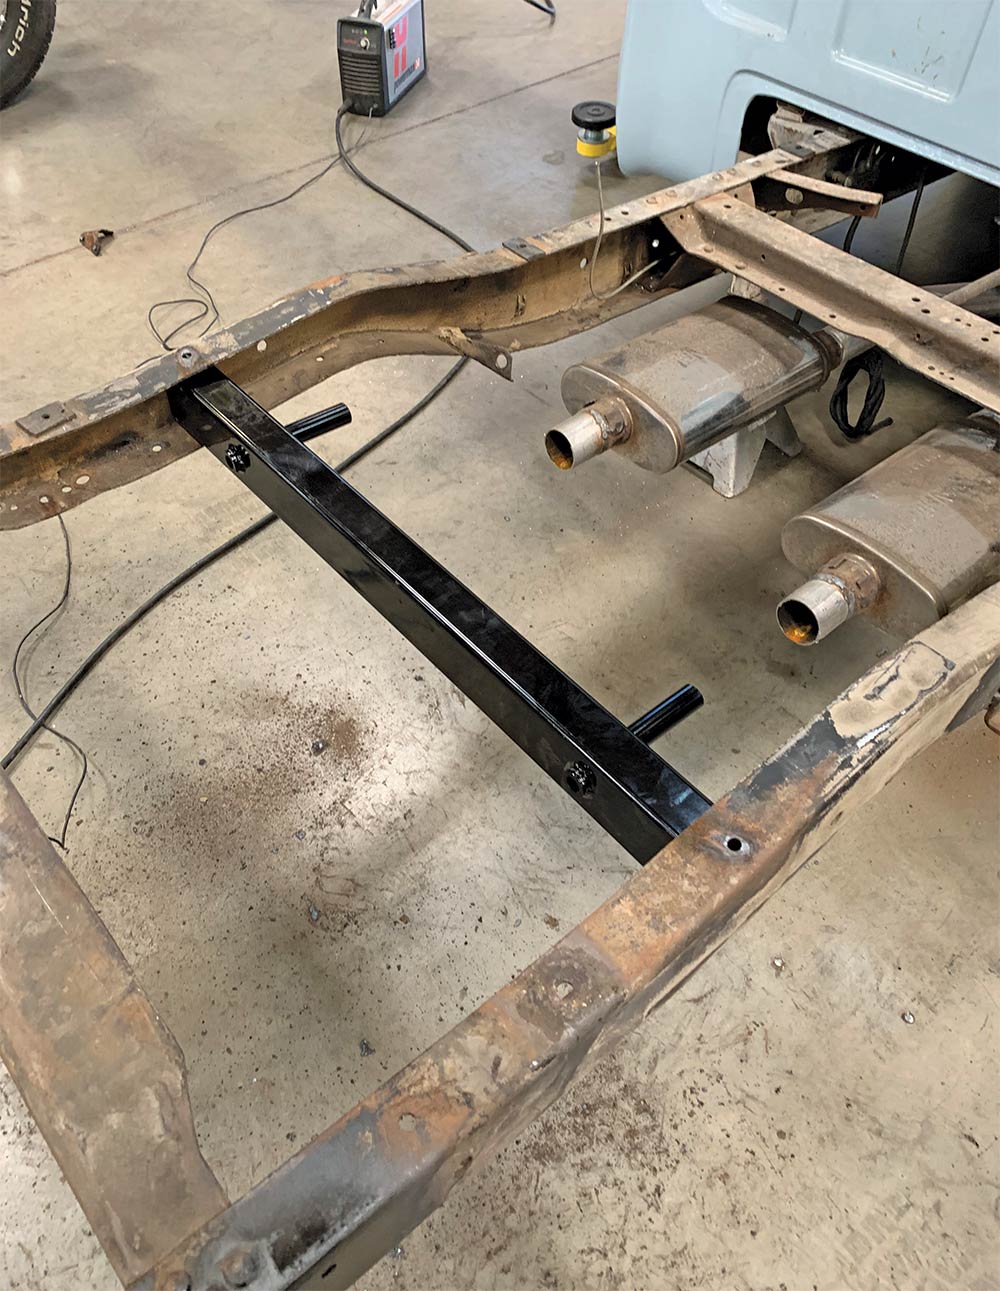
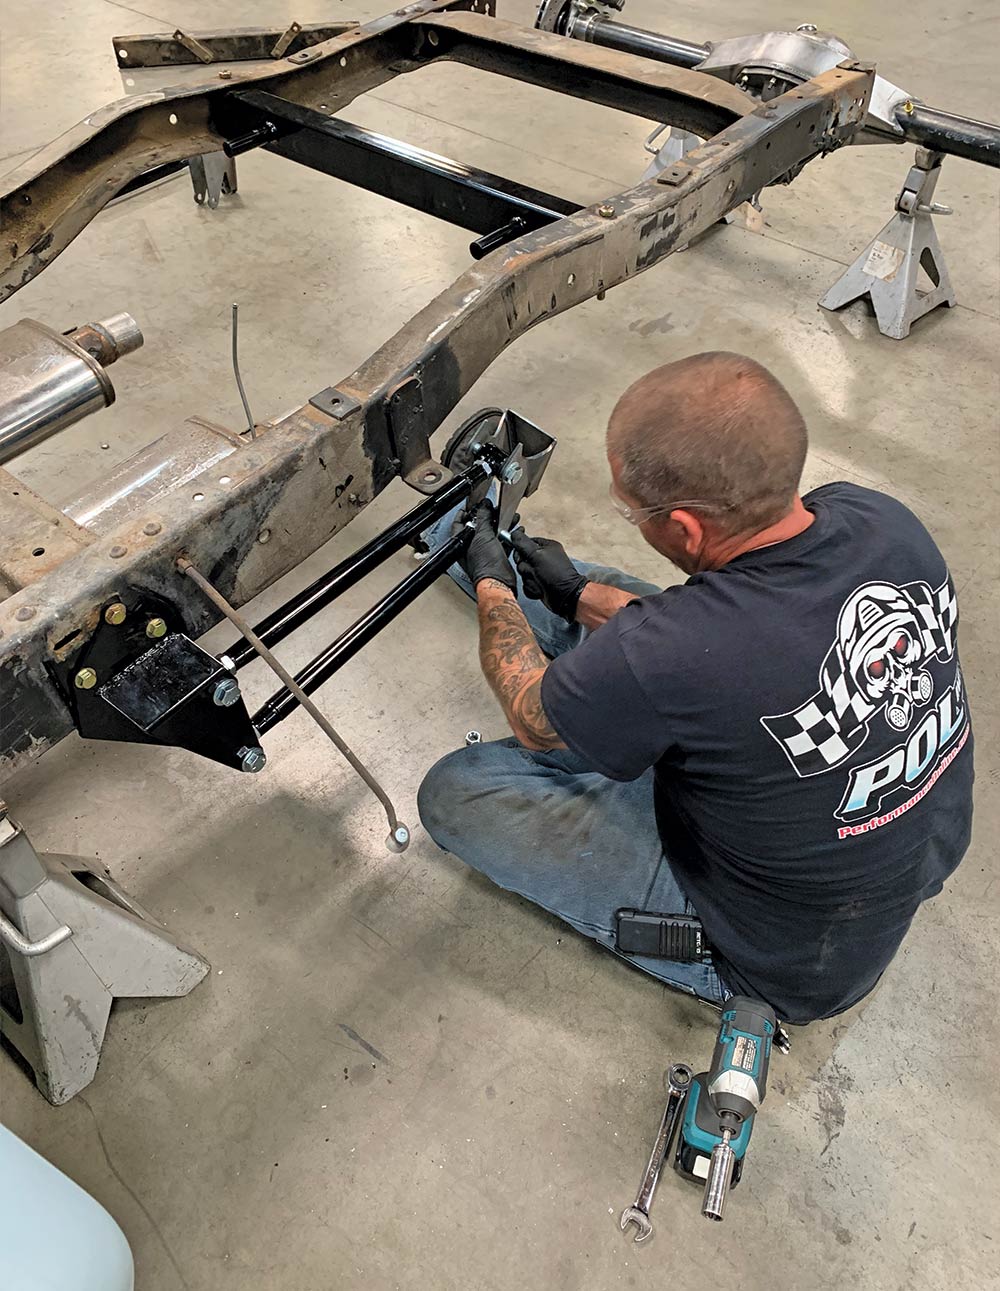
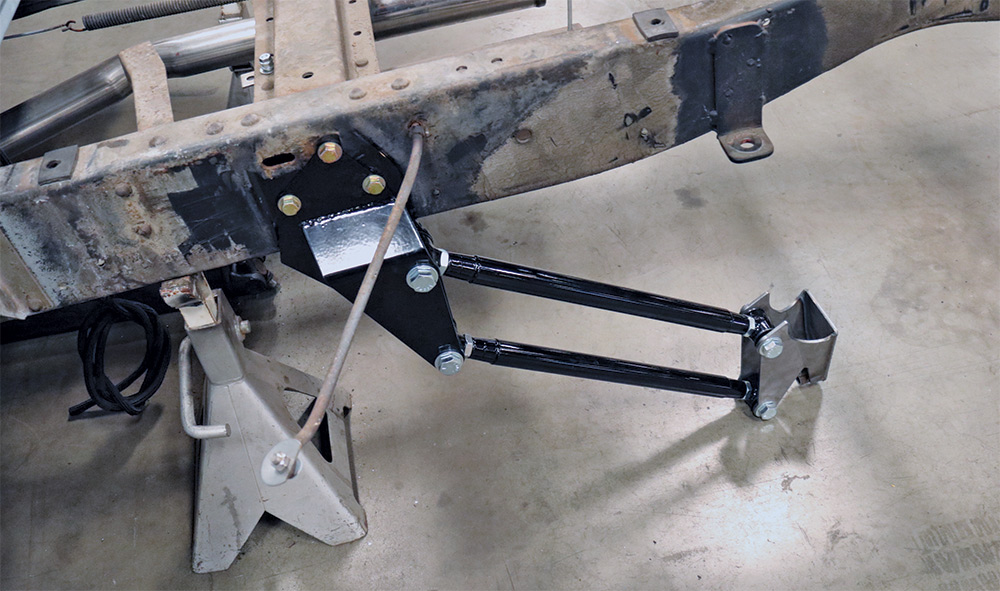
6-7. As mentioned, bolt the forward mounting brackets to the frame using the holes vacated by the old spring hanger; loosely assemble and adjust (evenly) the four-link with the weld-on rear brackets.
8. With a floorjack (or transmission jack), position your rearend in place (roughly at desired ride height) referencing the axle centerline; mock the four-link in place and support the rearend on jackstands (but you may want to keep the jack under the pinion, as it has a tendency of rolling over!).
9. Set your pinion angle accordingly with your driveline; typically 1-3 degrees between the bearing surface of the transmission’s tailshaft and the driveshaft, and the same 1-3 degrees between the driveshaft and the vertical surface of the pinion (yolk).
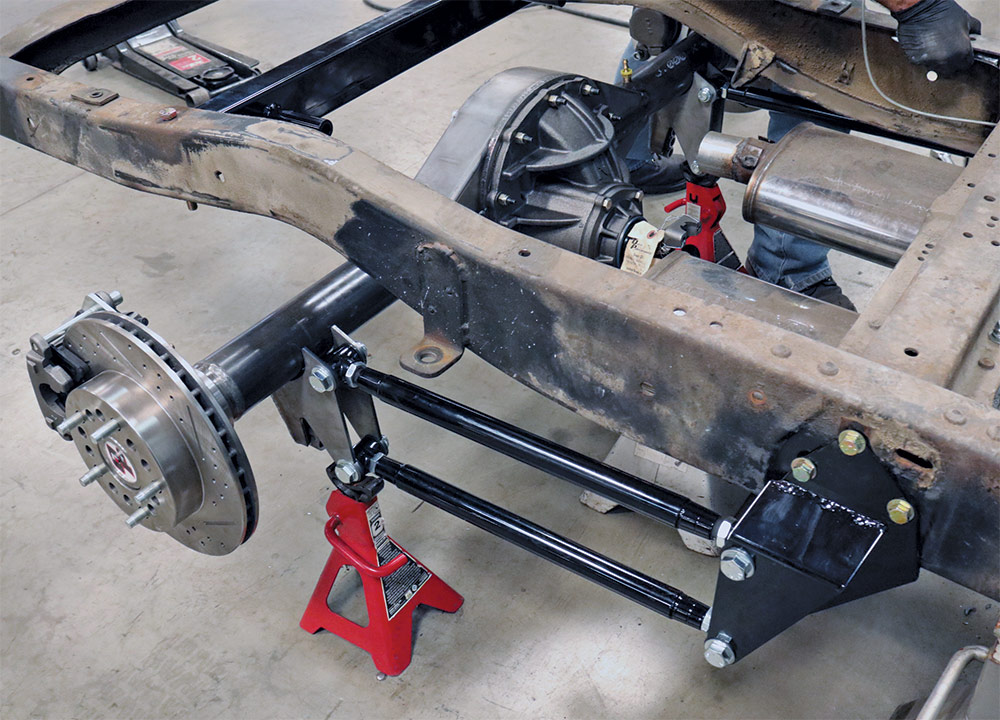
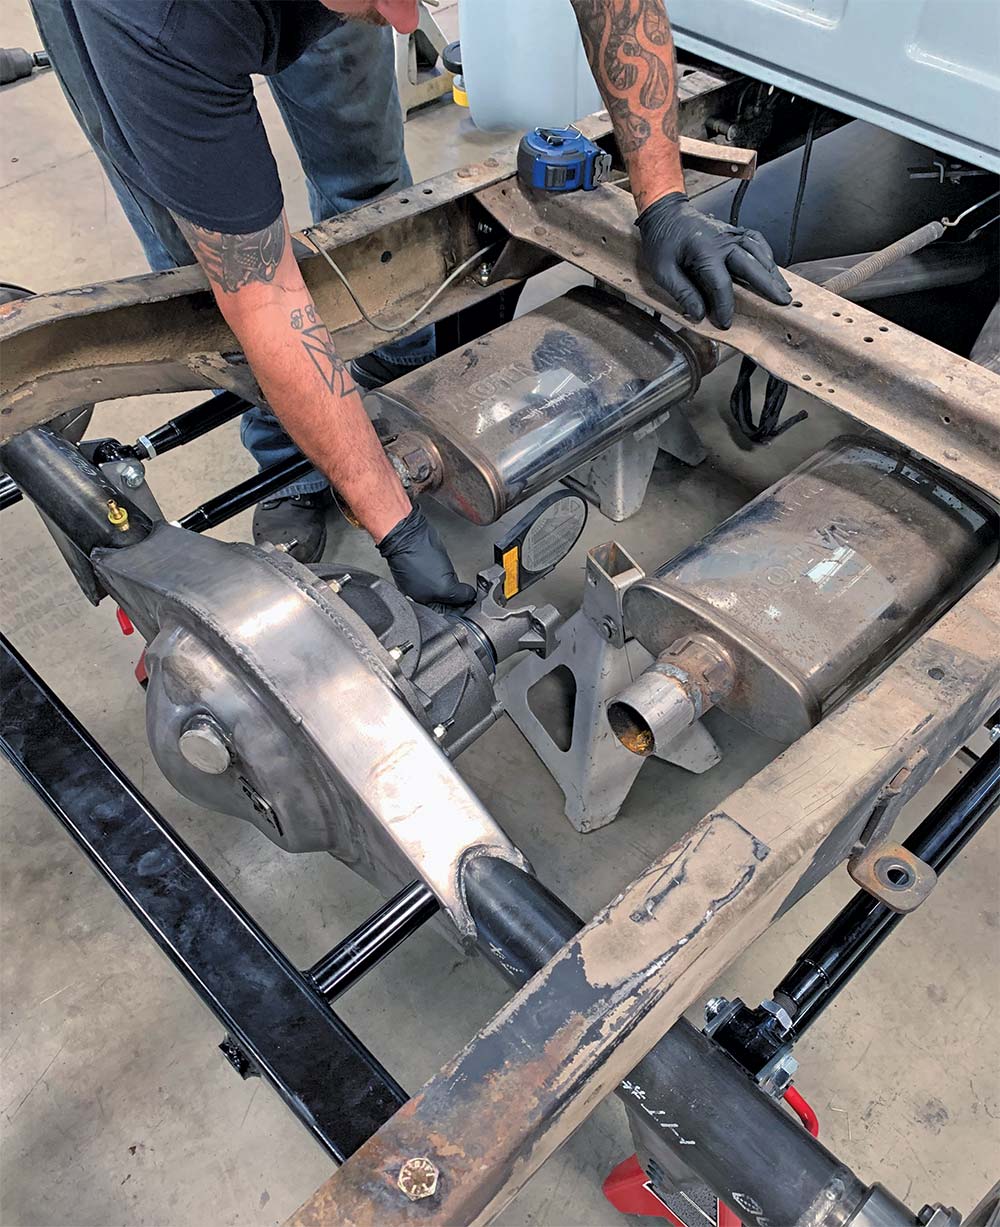
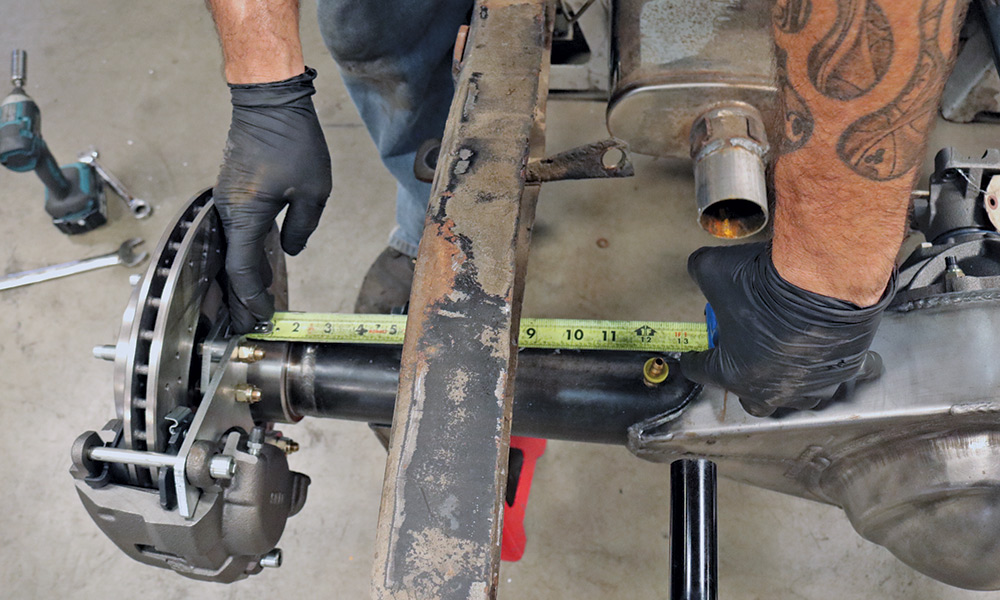
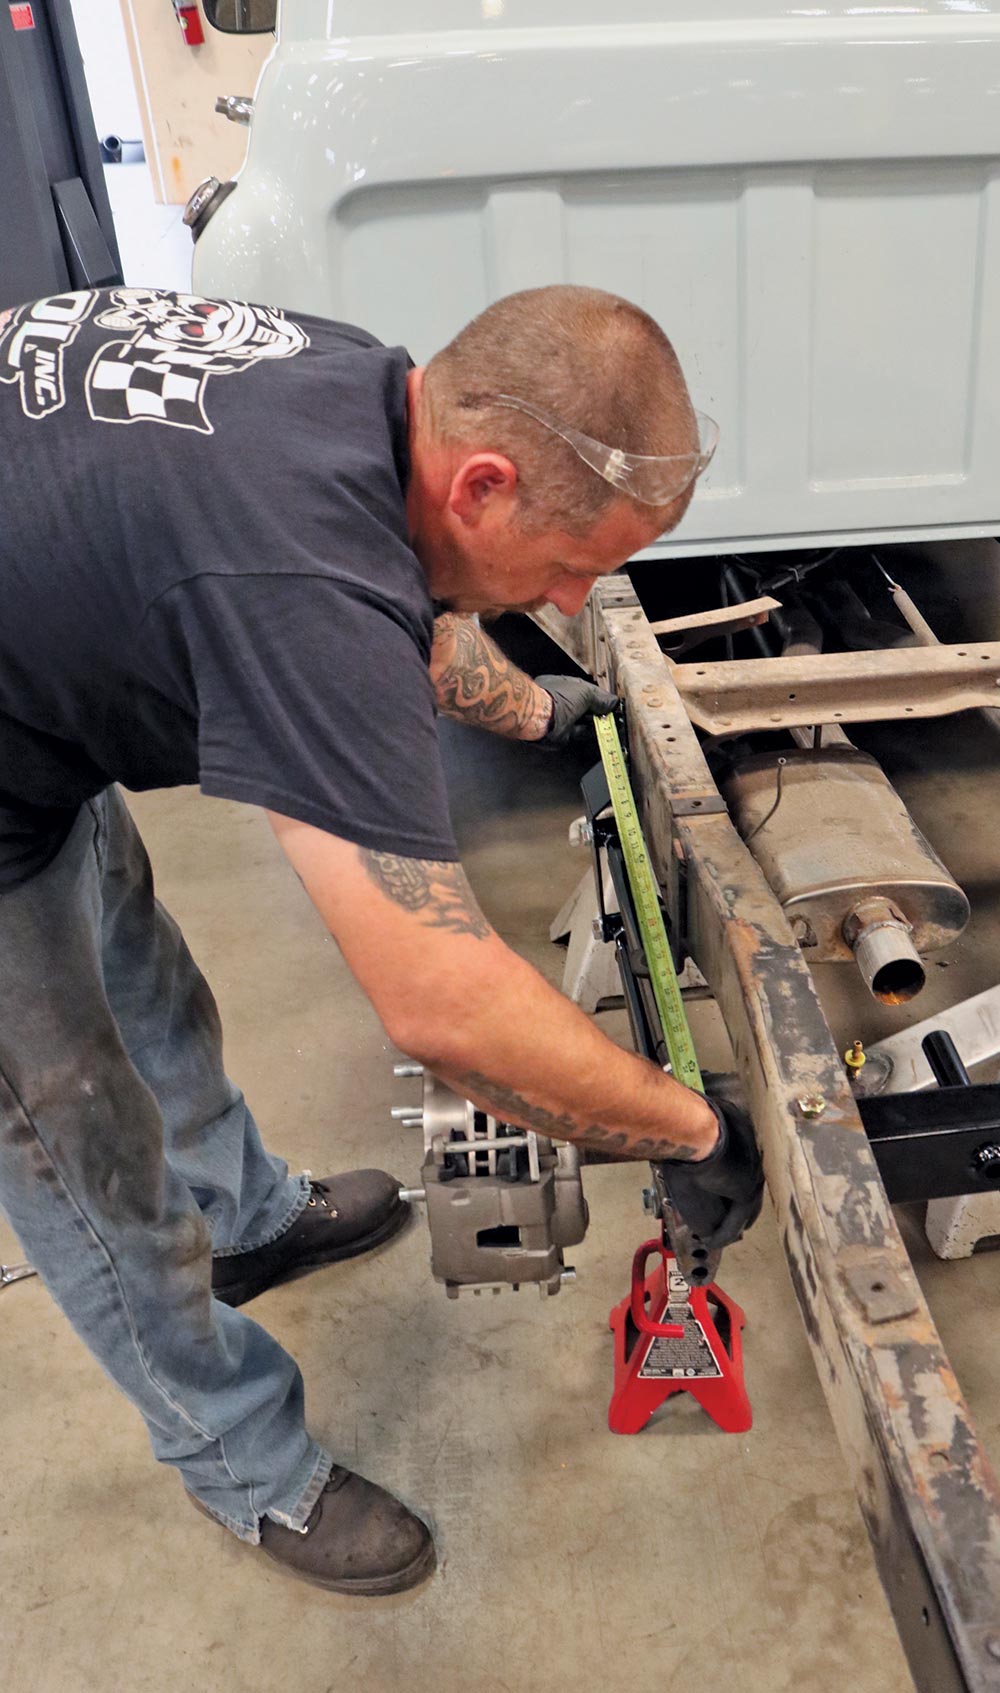
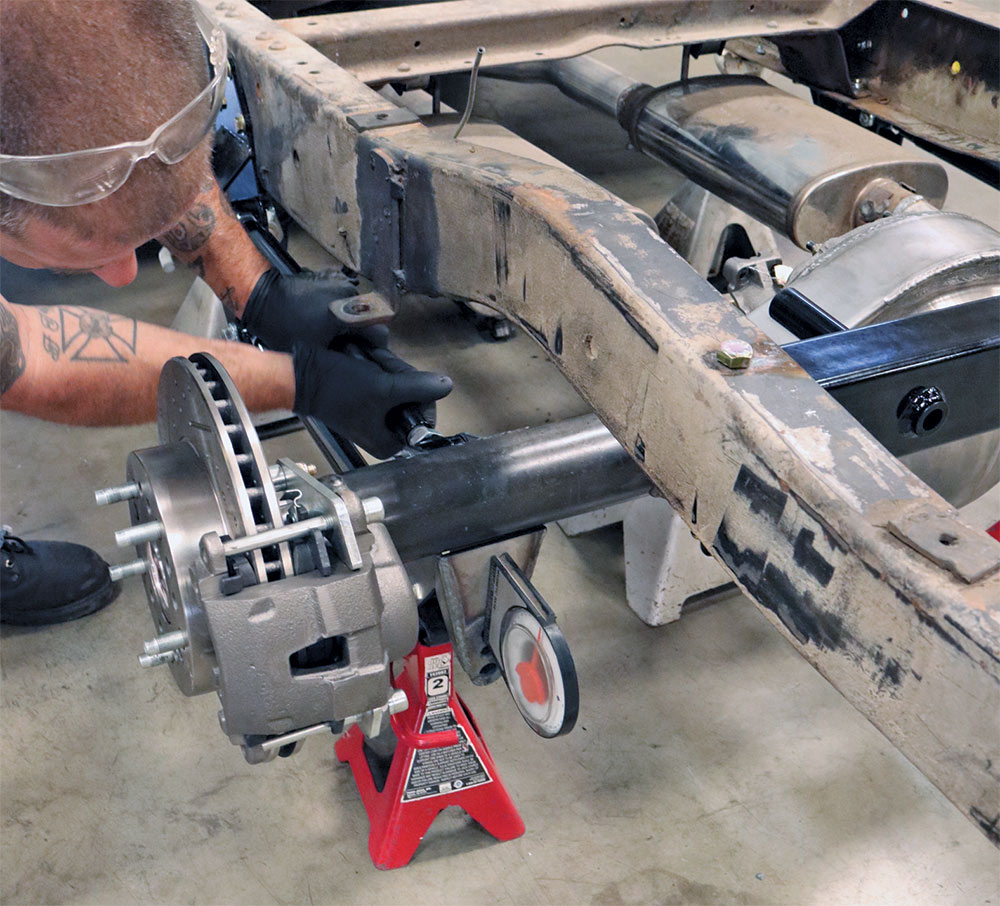

12. Adjust the lower four-link bars to set the rear bracket lower shock mount surface in relationship to the upper shock mount (perpendicular).
13-14. Now’s a good time to verify fitment/clearance of your rear wheels, especially if you’re using a new rearend and/or new wheels and tires.
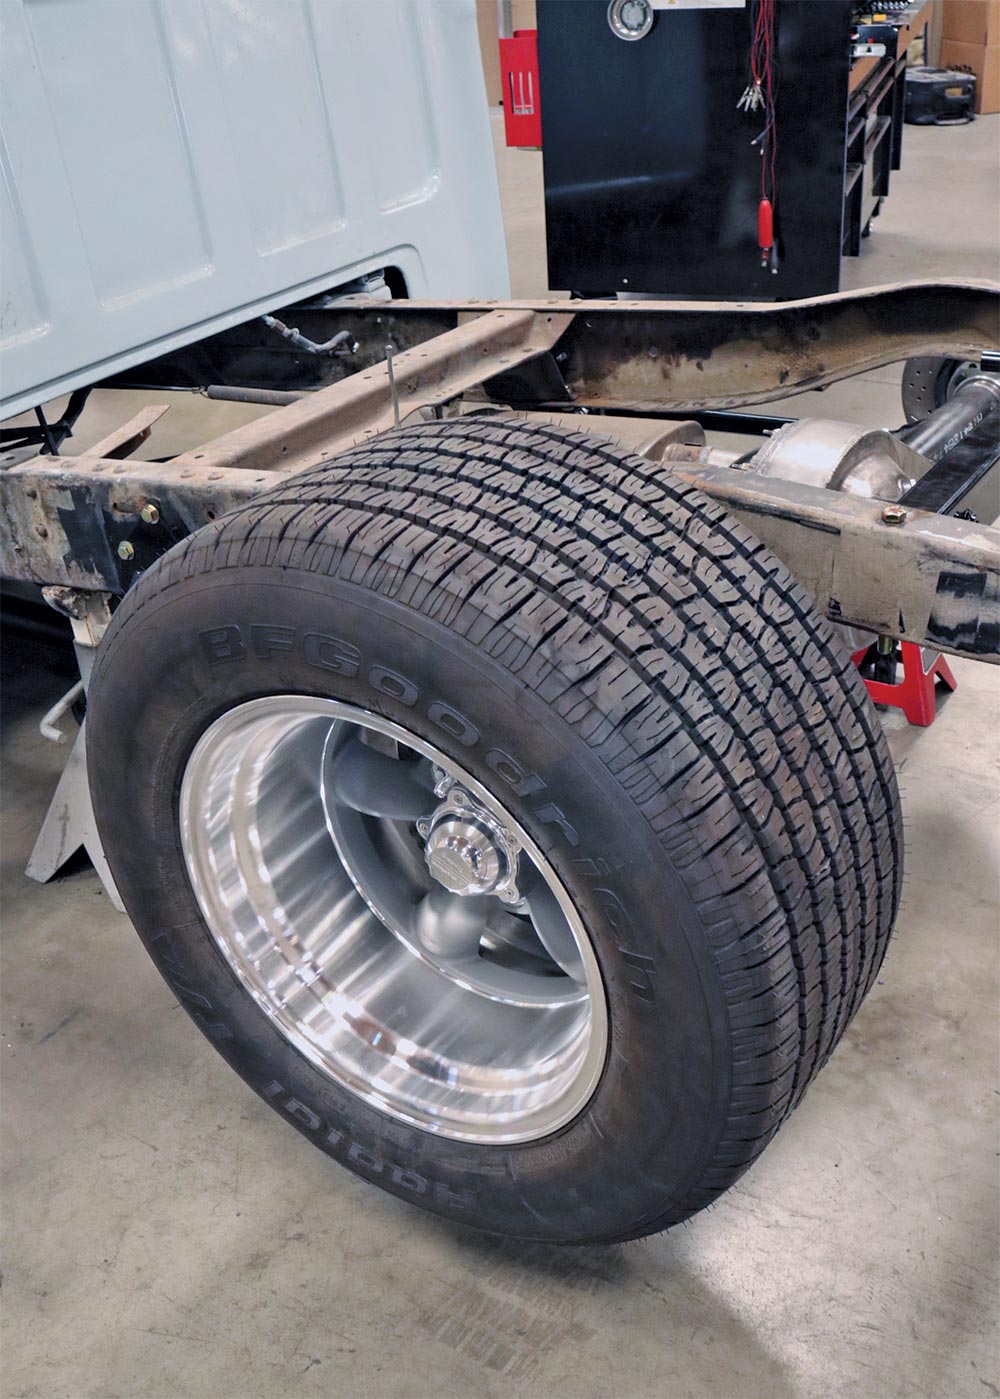
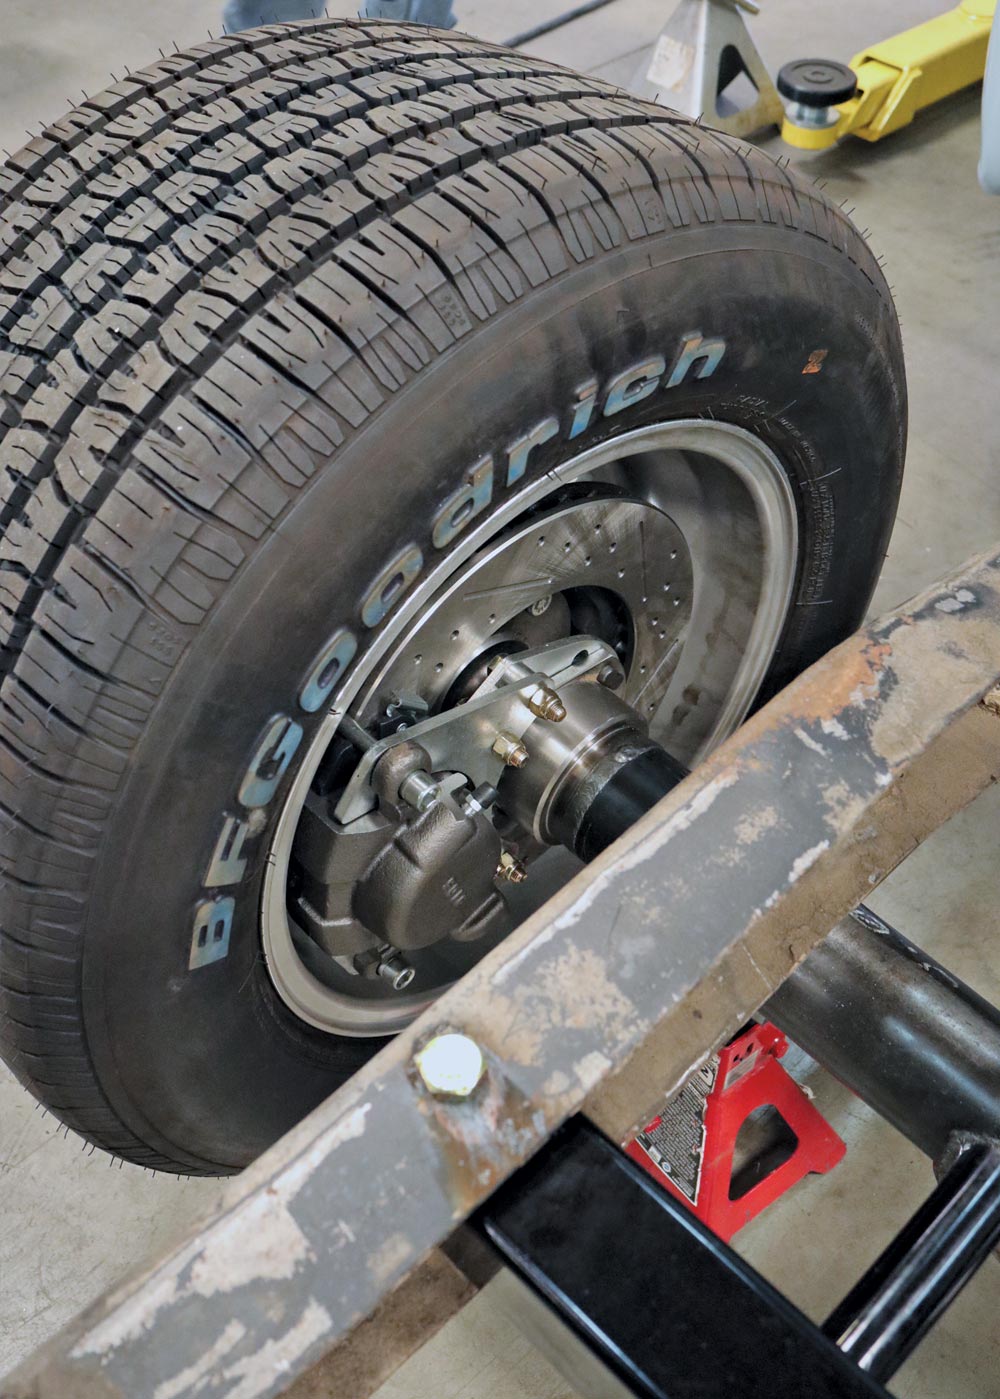
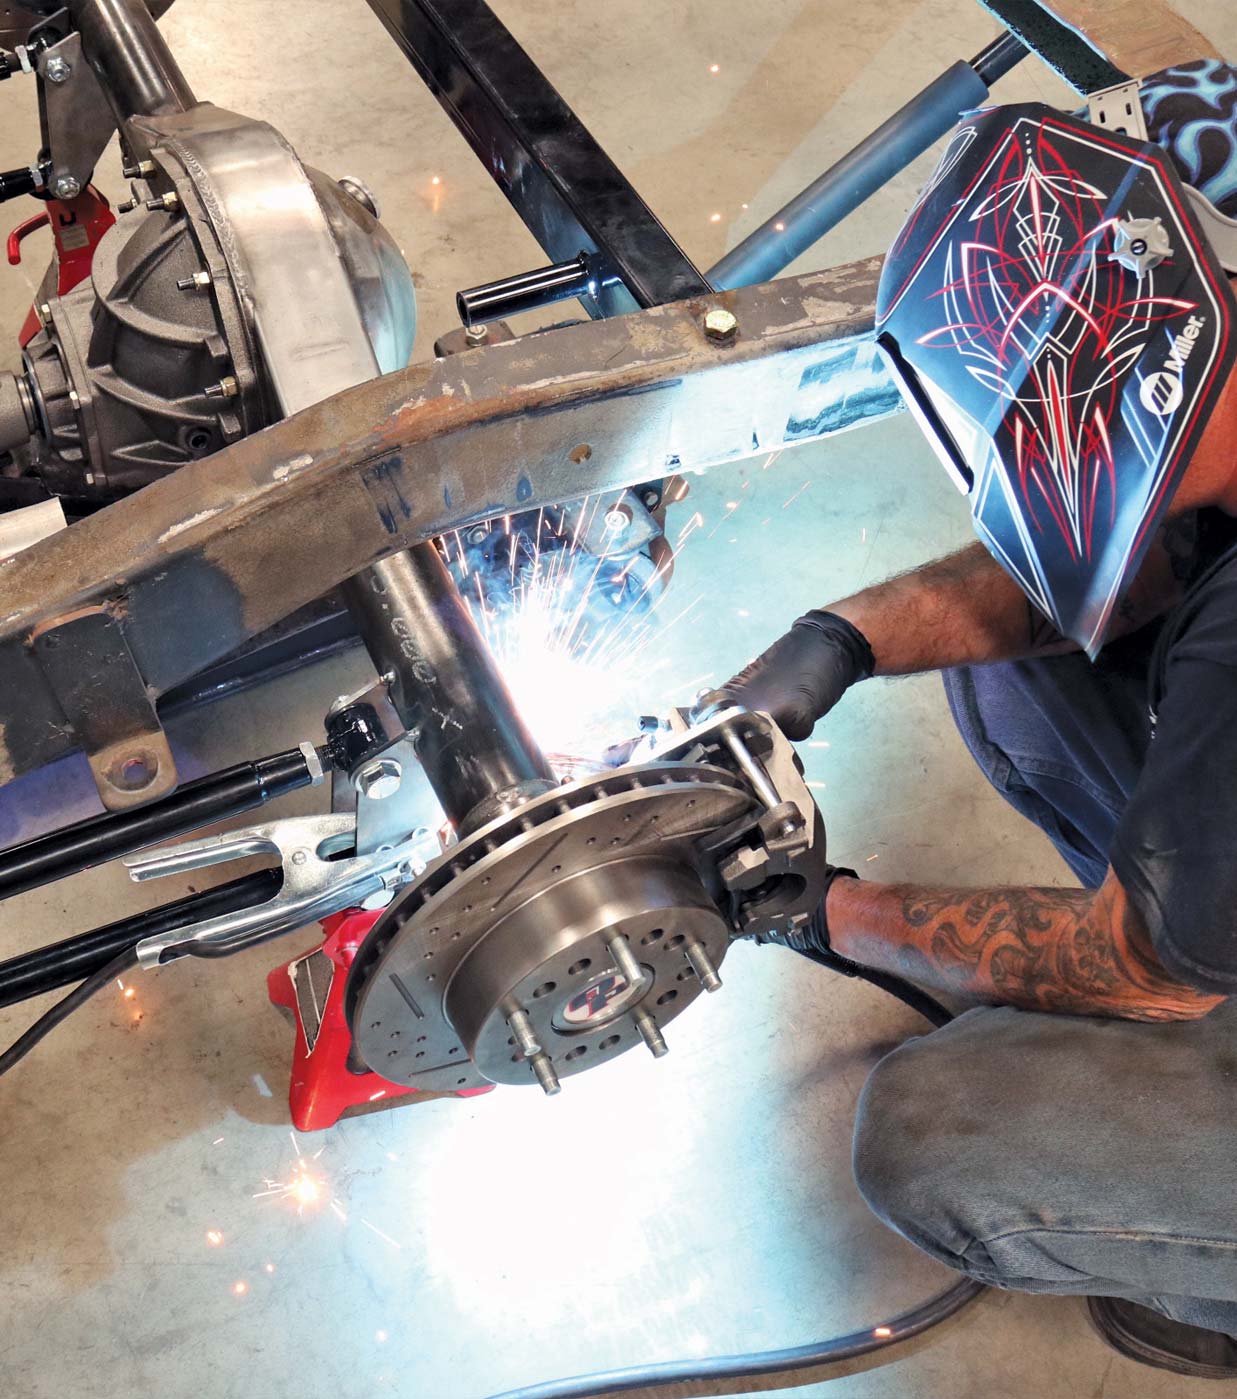
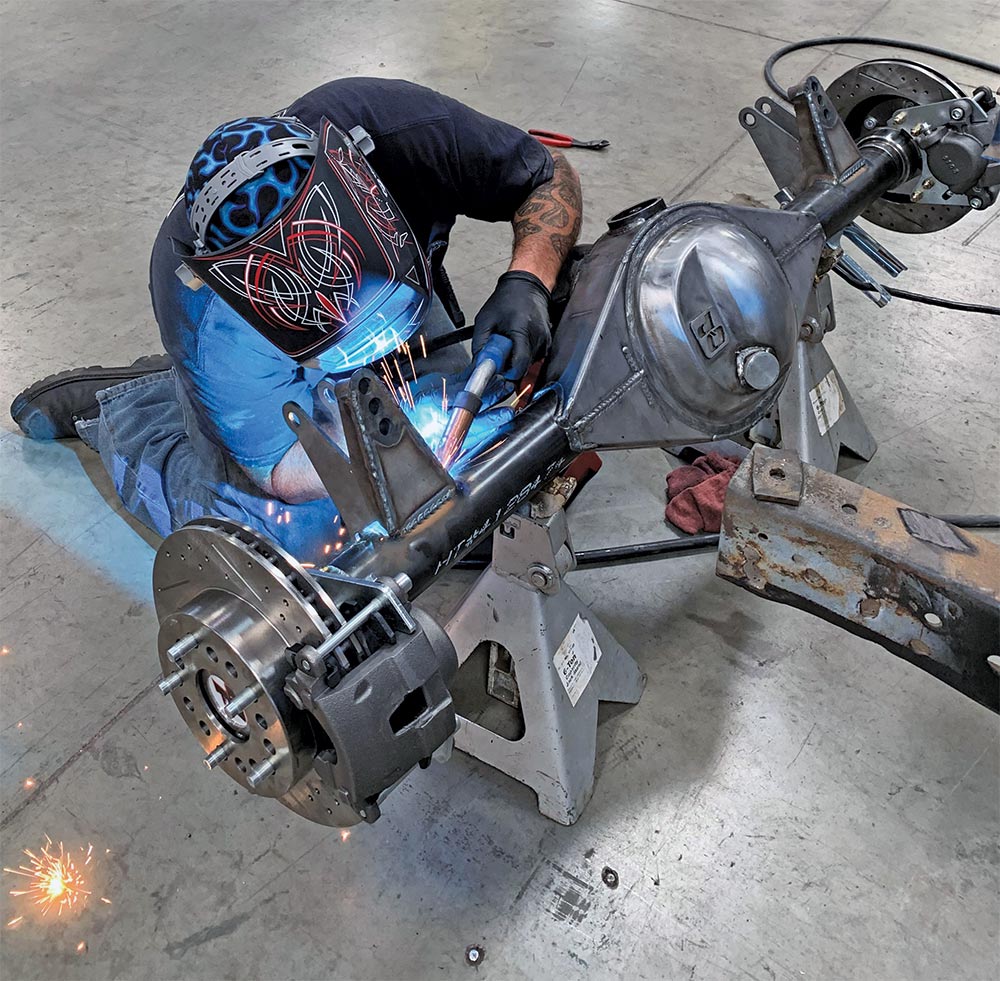
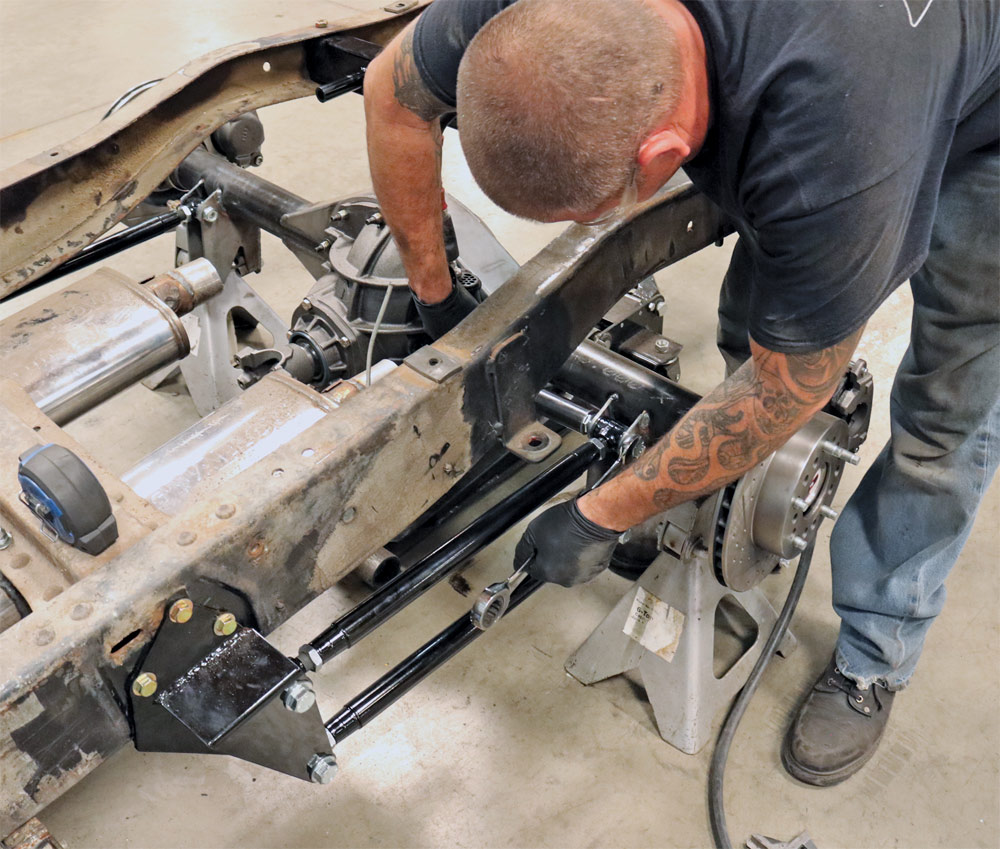
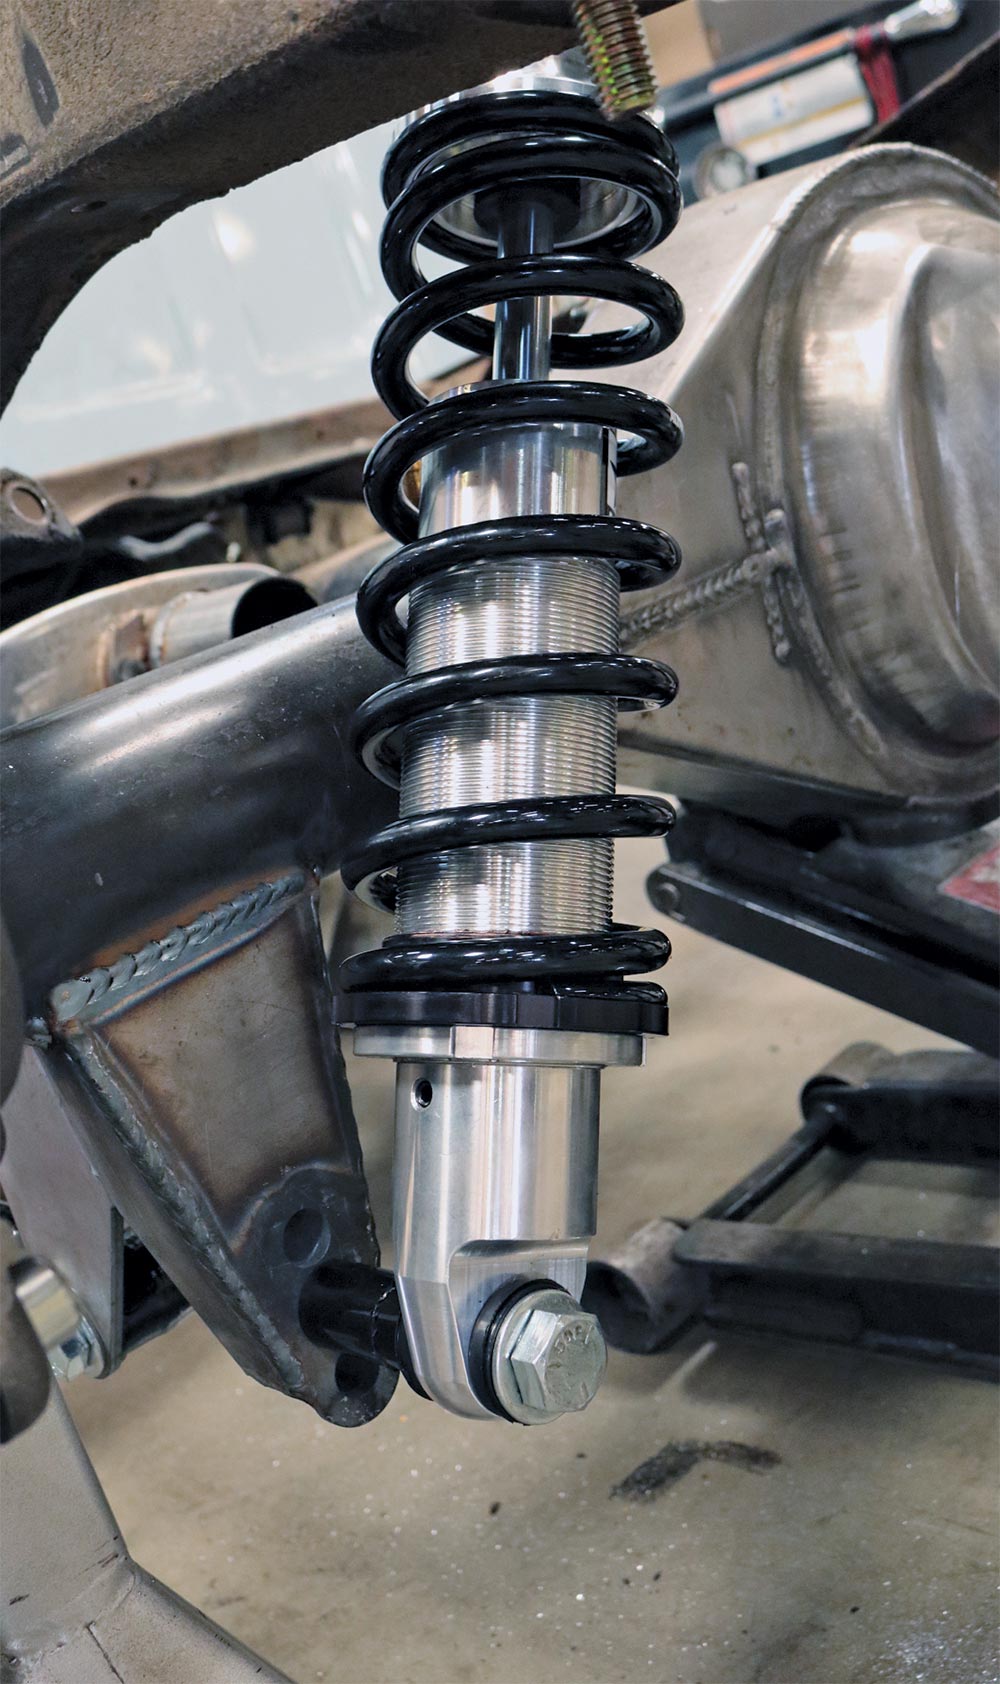
17. Reinstall the rearend onto the four-link and, once again, set your pinion angle accordingly.
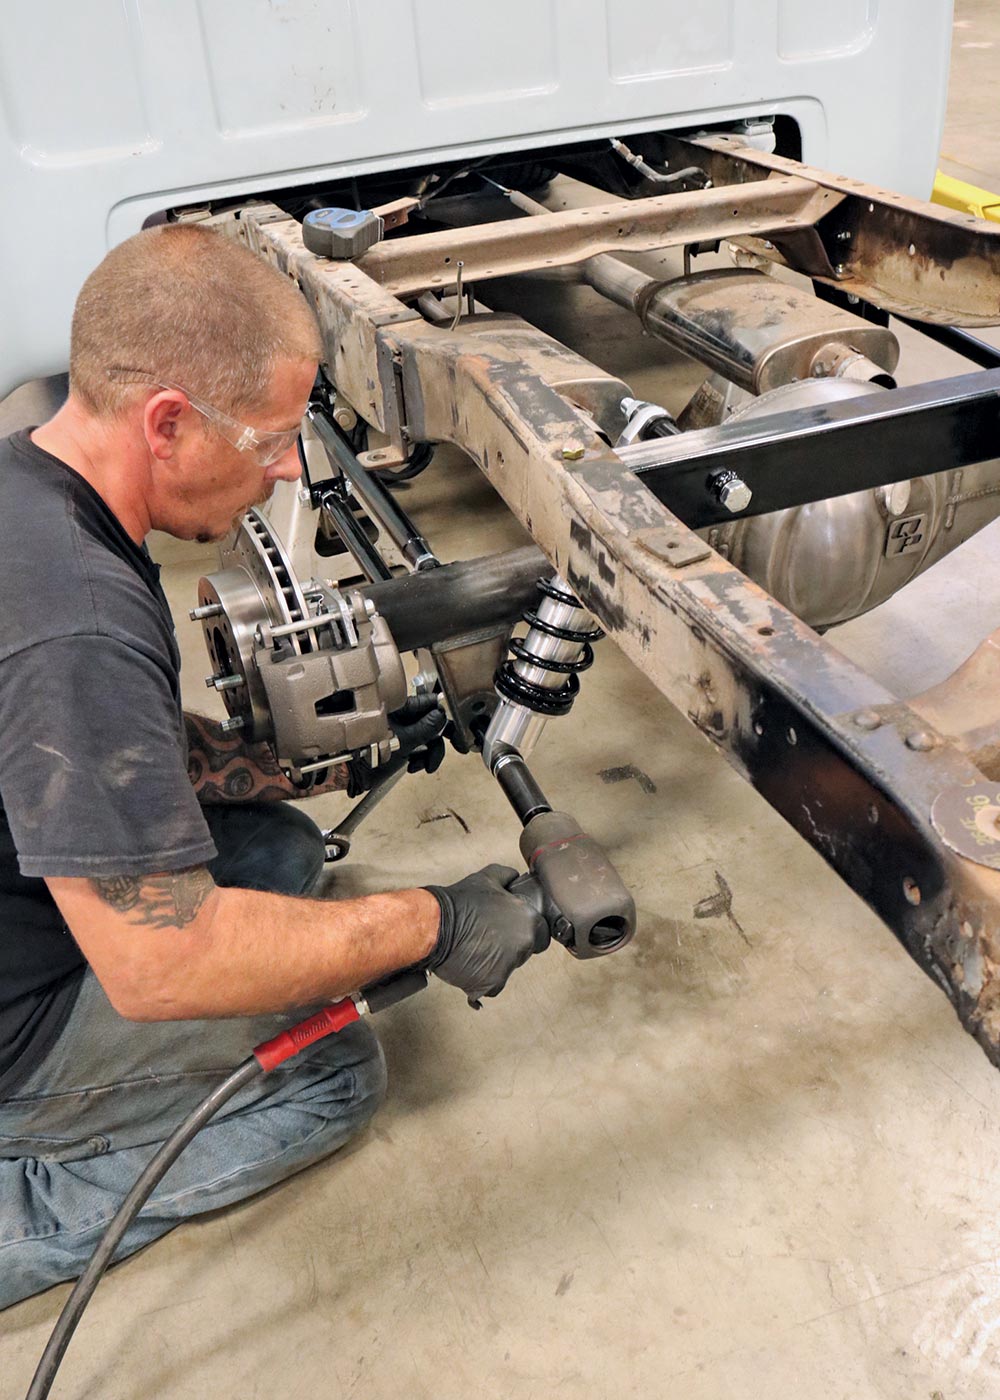
18-19. Refer to Aldan’s coilover setup when initially assembling your coils on the adjustable shocks prior to installing. Again, as mentioned, the POL kit gives you three ride height settings; if you vary from where you initially set the rearend, simply reset your pinion angle by adjusting the four-link bars accordingly.
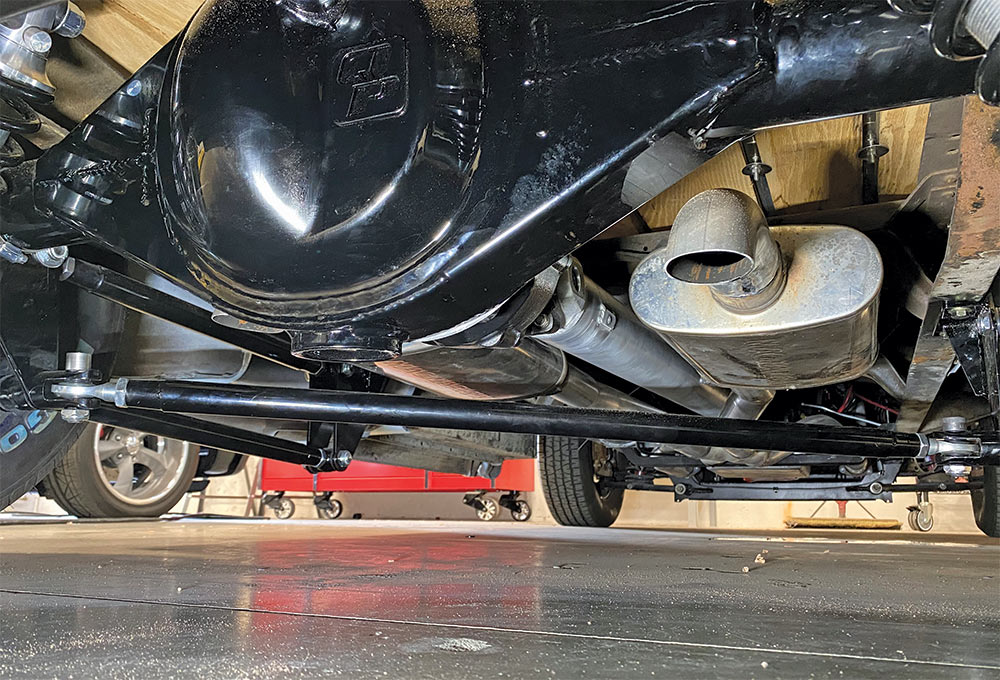
21. Rearend housing powdercoated, new driveshaft installed, brake lines plumbed, fuel tank mounted and plumbed—she’s almost ready to roll …
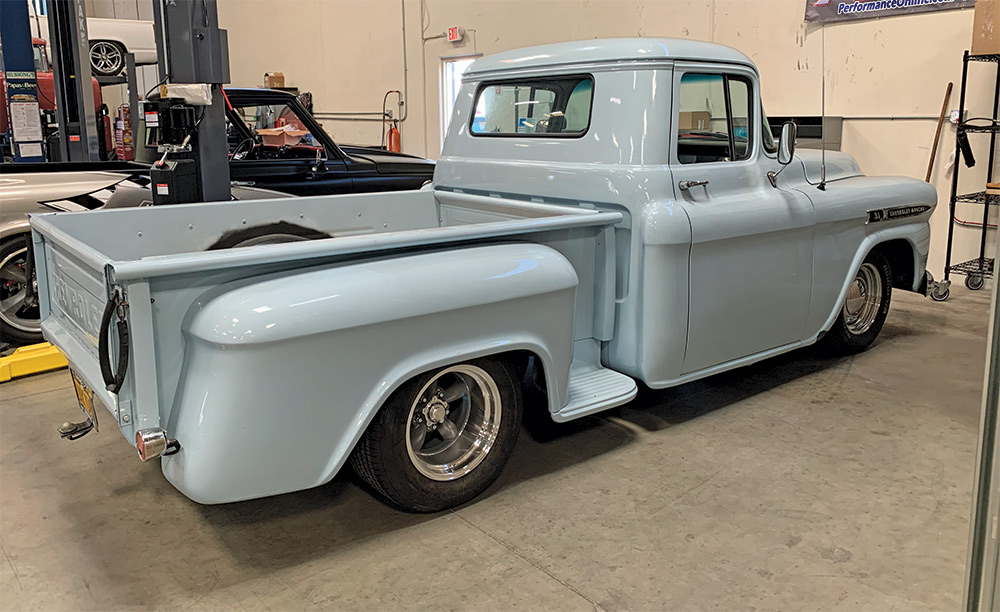
22. … once the bed has been reunited, that’s it!
 SOURCEs
(866) 861-8812
www.performanceonline.com
ALDAN AMERICAN
(310) 834-7478
www.aldanamerican.com
AMERICAN RACING
www.americanracing.com
