CTP Tech
InTheGarageMedia.com
Rick’s Tanks stainless EFI fuel tank for 1964 Chevy C10 with pump, sender, and center-fill layout
From Hard Lines To Hose Fittings And Everything In-between
Feeding Fuel to an LS Engine
BY Ryan MansonImages BY The Author
W

hen it comes to building a custom classic truck, it’s become pretty standard fare to relocate the fuel tank from inside the cab to somewhere else. Typically, this means somewhere out near the back of the truck, under the bed. Most installations are pretty straight forward, as the aftermarket has done a pretty good job providing a plug-and-play solution for most OE setups, provided you’re not against giving up the spare tire mount, and so on. But some situations, such as our 1964 Chevy C10, requires a more “outside the box” approach.

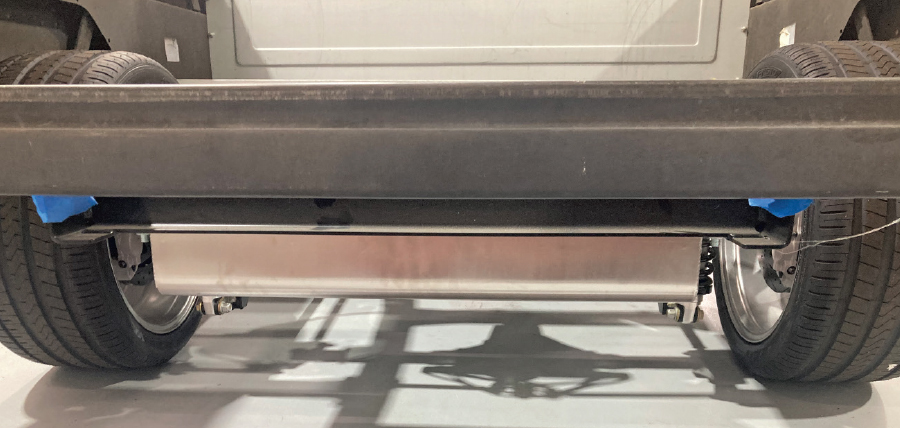
While it is possible to purchase what is essentially a bolt-in option for these trucks that relocate the tank out back, our ’64 has previously received a rear suspension upgrade in the form of a KP Components rear frame clip. The resulting difference in rear crossmember locations gave us plenty of room to put a tank, but it would more than likely have to be a one-off affair. With the help of the guys over at Rick’s Tanks in El Paso, Texas, however, it’s a simple manner of taking a few measurements and sending them off to the masters of stainless.

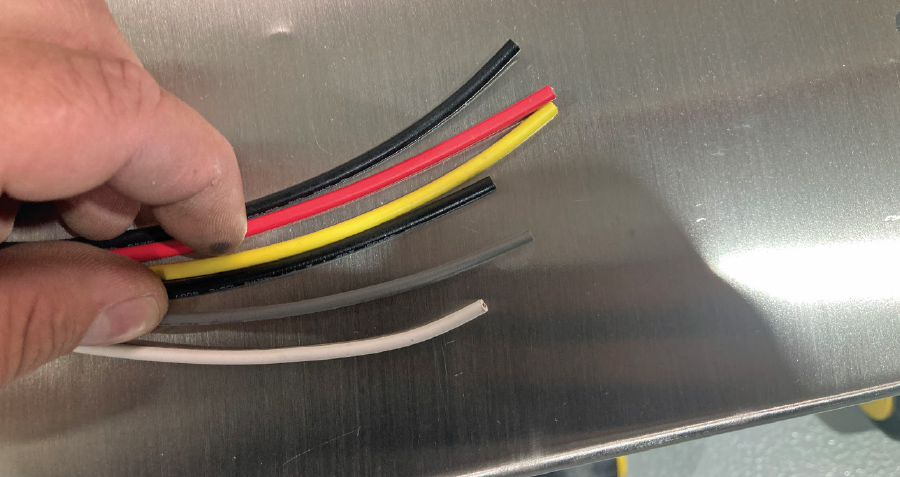
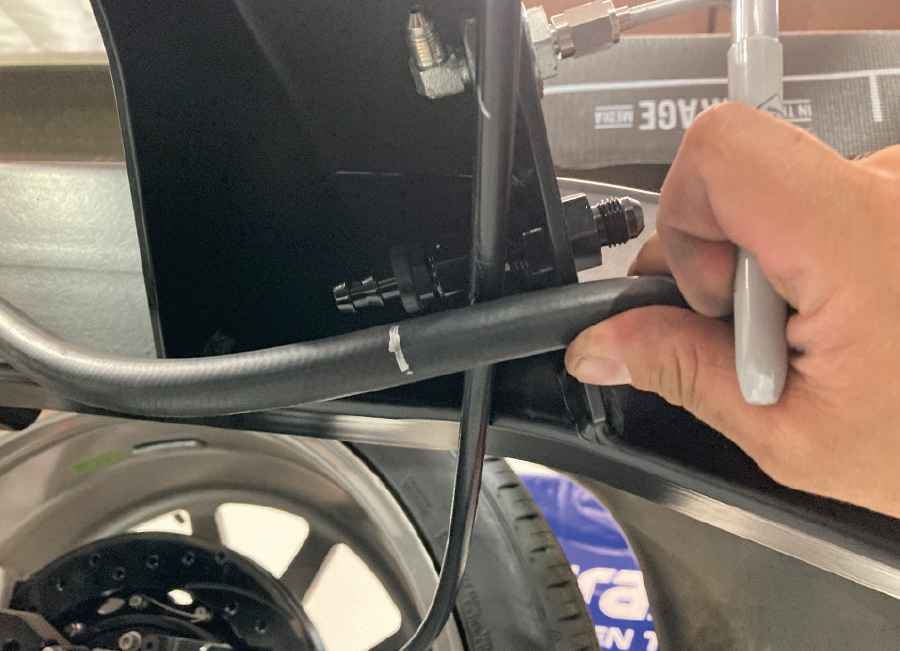
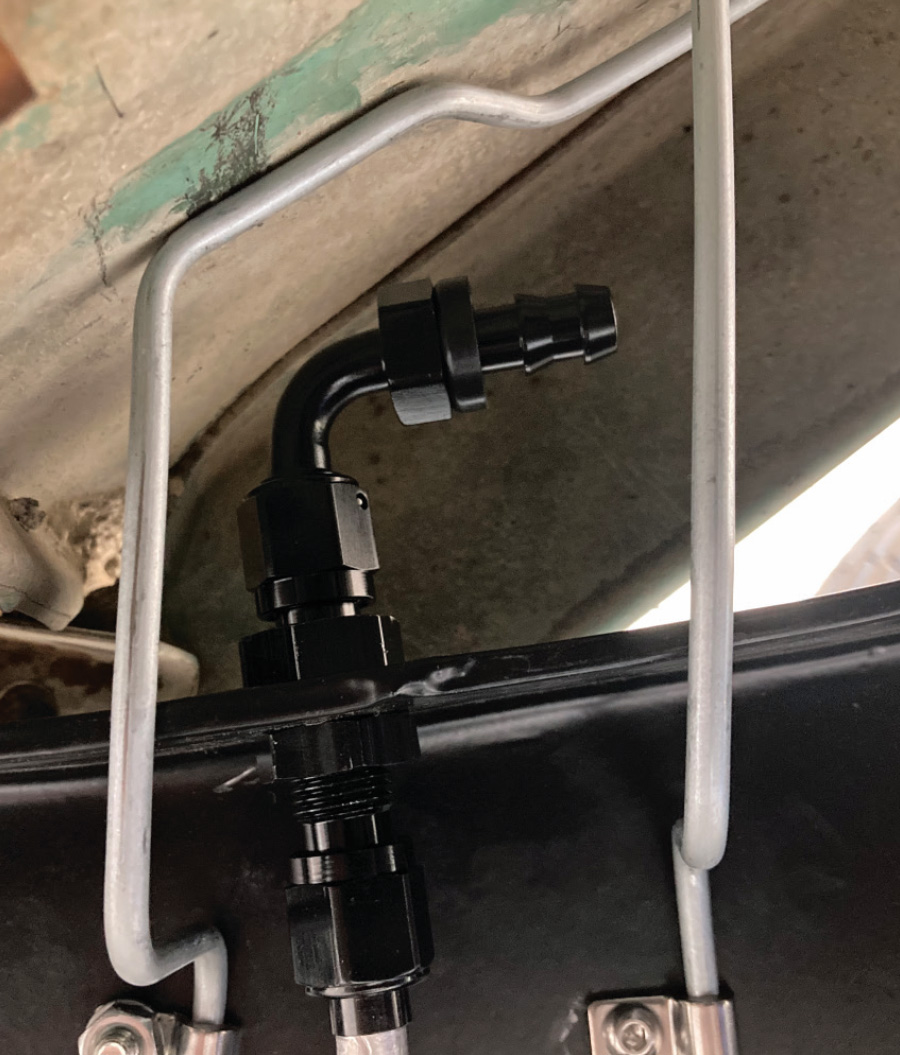
But in addition to moving the tank to an arguably safer and more convenient location, fabricating a custom tank from scratch gives us, the builder, full control of where we would prefer the filler neck, fuel pump, sending unit, vent, and so on. It also allows us to design a tank that mounts in the manner of our preference (from below the frame in this case) for ease of accessibility. A custom tank from Rick’s isn’t simply a box with a few components, but a fully baffled and thought-out component custom built for ultimate performance and reliability. Since we’ll be running a fuel-injected LS engine, it also allowed us the option to spec out the fuel pump, in our case giving us the ability to use an OE 2022 Chevy Camaro electric fuel pump, mounted in the tank with built-in regulator and internal return. This results in a pump that operates efficiently and quietly, increasing the lifespan as well as driver/passenger comfort, while the internal regulator with return negates the need to run an additional line from the return side of the fuel log and back to the tank.

So, if you’re putting together a hit list for the fuel system on your latest build, take a close look at the components we’ll be using and the companies involved and see if they have something that might fit your needs. Whether it’s an OE rebuild or a full custom build, there’s never a reason to sacrifice safety or performance for inferior parts!

C10 custom tank CAD drawing showing pump, sender, and mounting tab dimensions
1. Here’s the blueprint we drew up and sent to the guys at Rick’s Tanks. We used a CAD program to spit out a detailed drawing but the same could be done freehand with a little patience.
EFI pump module and ISSPRO sender wiring shown on stainless tank top
2. The fuel pump and sending unit came complete with the required wiring pigtails, making integration to the rest of the truck’s wiring nice and easy.
vent bung close-up with welded aluminum fitting
3. Rick’s Tanks added a pair of bungs for venting purposes, one at either front corner. We’ll use a barb fitting, hose, and a rollover valve mounted above the top of the tank at one of the two locations.
fuel pump harness color-coded leads for EFI integration
4. Wiring the sending unit and fuel pump is fairly straight forward. Black and gray wires go to ground while the white wire provides signal to the fuel level gauge. The yellow wire is used only in the stock configuration of the GM fuel pump, so it will not be used in our application, with the red providing 12V switched power to the pump, which will be provided by the EFI’s ECU.
EFI tank test-fit in C10 chassis between rear frame rails
5. Mounted in place between the crossmembers of the KP Components rear frame clip, the extra time we took to draw up our blueprint and the attention to detail that Rick’s Tanks applies to every build paid off in spades; the tank fit perfectly with zero modifications necessary.
stainless fuel tank visible beneath rear frame after installation
6. Viewed from the rear, our tank has plenty of ground clearance and will more than likely disappear behind the stock bumper.
GM-style pump hat with AN return fitting installed
7. The plumbing portion of our fuel system begins at the Rick’s Tanks fuel pump assembly (PN 25550). A 2022 Camaro SS pump equipped with regulator upgrade, corner pickups, harness, and push-lock fitting. This returnless design is capable of supporting up to 550 hp. A GM-style quick-disconnect to AN-6 fitting (PN 28000) will be mated to a section of similarly sized push-on hose.
AN EFI hose fittings including 90-degree and straight black anodized adapters
8. A handful of push-on fittings will be used along with a CPP Complete Aluminum Fuel Line Kit (PN CPUFLK-A) to complete the plumbing system from the pump to the fuel injectors.
Koul Tools AN hose assembly vise clamping braided fuel hose during EFI line fabrication
9. Push-on hose and fittings are fairly easy to assemble but can be tough without the proper tools. This EZ-ON Hose Press Model 426 from Koul Tools is the best tool that we’ve found to assemble push-on hose assemblies. Simply secure the fitting into the vise, clamp the hose in the traveling carriage, and turn the drive screw to mate the hose and fitting for a reliable assembly every time.
EFI quick-connect to AN adapter fitting installed on Rick’s Tanks pump hat
10. Here, we have our first assembly in place and are ready to make our way up the chassis.
EFI hose routing mock-up against chassis rail with AN bulkhead fitting location marked
11. The short section of hose running from the fuel pump allows easy access to and removal of the fuel pump if the need ever arises. The rest of the route, however, will be accomplished using 3/8-inch aluminum hard line, part of CPP’s Fuel Line Kit. To mate the two, we opted to install a bulkhead fitting at one of the rear crossmembers for a seamless transition. Here, the hose has been marked …
EFI rubber fuel hose cut to length using heavy-duty hose shears
12. … so that it can be trimmed and a straight AN-6 push-on fitting can be installed.
EFI feed line secured along C10 chassis using cushioned Adel clamps
13. Supporting this section of hose is accomplished by a few line clamps from Kugel Komponents. This ensures the fuel hose will be protected from contact with any rear suspension components and kept well away from the exhaust.
Double-flare tool kit staged for creating EFI hard-line ends
14. Cutting, deburring, and flaring our aluminum hardline is accomplished using a variety of tools; here are the three that we used for this project.
Hillman tube bender prepared for bending stainless EFI hard line
15. Bending the tubing is inevitably necessary, handled mightily by this 1/4-, 3/8-, and 1/2-inch tubing bender.
Stainless fuel line freshly flared with clean AN-style bubble flare
16. The sealing edge of an AN hardline is a 37-degree flare, formed by the appropriate flaring tool.
Stainless hard line assembled with AN tube nut and sleeve for EFI connection
17. A nut and sleeve draws the line into the fitting and completes the business end of the sealing assembly.
EFI hard line routed along suspension bracket with black AN adapter fitting
18. Here, we’ve connected the hard line to the existing bulkhead fitting and added a couple mild bends to get the line tucked against the frame and heading in the required direction.
Precision-bent stainless EFI hard lines mounted along C10 frame with Adel clamps
19. As we travel forward and down the framerail, a variety of Kugel line clamps continue to effectively support our fuel line.
EFI AN bulkhead fitting mounted through C10 frame rail for fuel line transition
20. Instead of trying to fight an extra-long section of hardline with a variety of twists and turns, we opted to split the entire section into two near the middle of the chassis. Here, another bulkhead fitting is utilized, mounted securely to the frame. Note that we took a similar approach with the brake line.
Stainless EFI hard lines routed cleanly along boxed C10 frame with Adel clamps
21. A few more bends and another flare down and we’ve tidied up the rear portion of our hardline handily.
EFI return and feed hard lines meeting AN bulkhead fitting on frame rail
22. Another flare and a couple bends puts the front section up tight against the framerail and on its way forward.
Precision-bent EFI hard line secured near body mount with black AN adapter
23. Just under the firewall, another bulkhead fitting is used to allow the fuel line to penetrate the top of the framerail and make its way up the firewall, keeping it tucked up nice and tight, away from the exhaust.
EFI hard lines running full length of frame toward engine bay with clamps
24. Here, the front half of the hardline is visible, from bulkhead to bulkhead.
Black AN 90-degree EFI fitting connected to stainless hard line under cab
EFI quick-connect line attached to LS fuel rail using black AN adapter
25-26. At the top of the frontmost bulkhead fitting, we’re going to transfer back to hose, making the remainder of the trek up the firewall and to the fuel rail.
Koul Tools hose press used to seat AN fitting onto EFI hose
27. Like the installation of the straight push-on hose fittings, the Koul Tools EZ-ON Hose Press makes quick work of installing 45- and 90-degree fittings.
EFI feed hose routed from C10 frame rail to LS engine fuel rail
28. With the cab of our C10 out for metalwork, it’s easy to see the routing of the hose at the front of our fuel system. Once the cab is back in place another couple Kugel line clamps will ensure the hose is safe and secure.