TECH
TECH

 Images by THE AUTHOR
ven though it feels a bit silly calling an OBS a classic truck, that is exactly what it is. With the first OBS models turning 37 years old, they are practically an antique. Our 1999 Suburban is one of the youngest OBS trucks, but that doesn’t mean it is still new. In fact, it has just under 200K on the clock. In classic SBC fashion, the original Vortech has let loose. That means it is time to gut the once-glorious Suburban carryall and give it the restomodification it deserves.
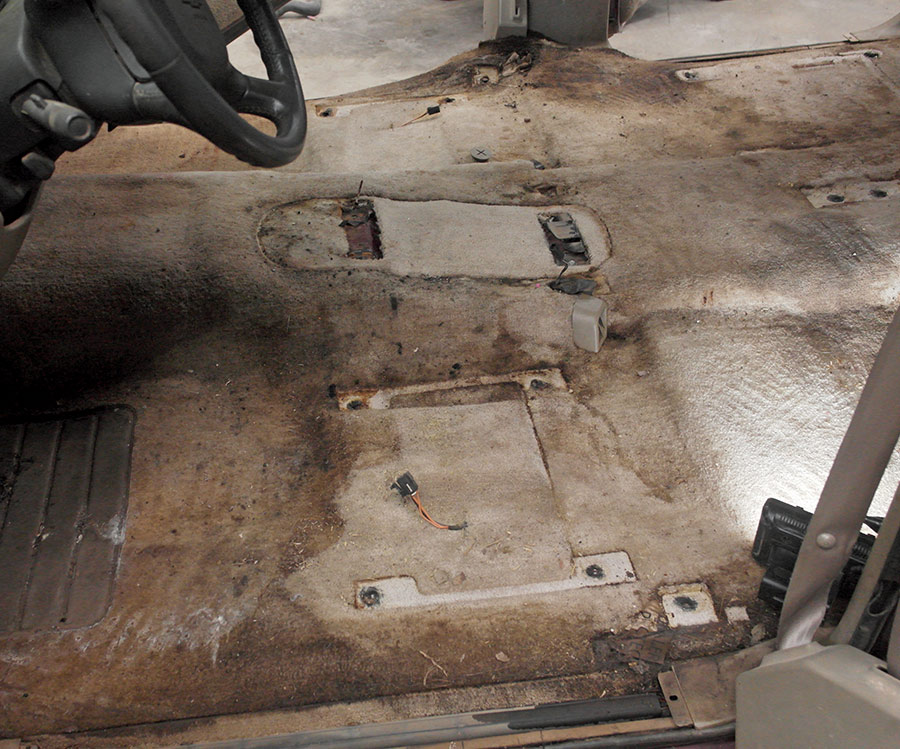
Our ’Burban started out as an LS-packaged 4WD unit with a 5.7l SBC and a 4L60E. We plan to swap in a Gen V LT-series 5.3 L83, keeping the 4L60E for now, freshen up the interior and exterior, and building a 2000s-era stereo system, complete with vintage equipment. This process begins inside the truck, stripping away the original carpet that has become threadbare. With a clean slate, we address the foundation by adding a healthy dose of sound deadening.
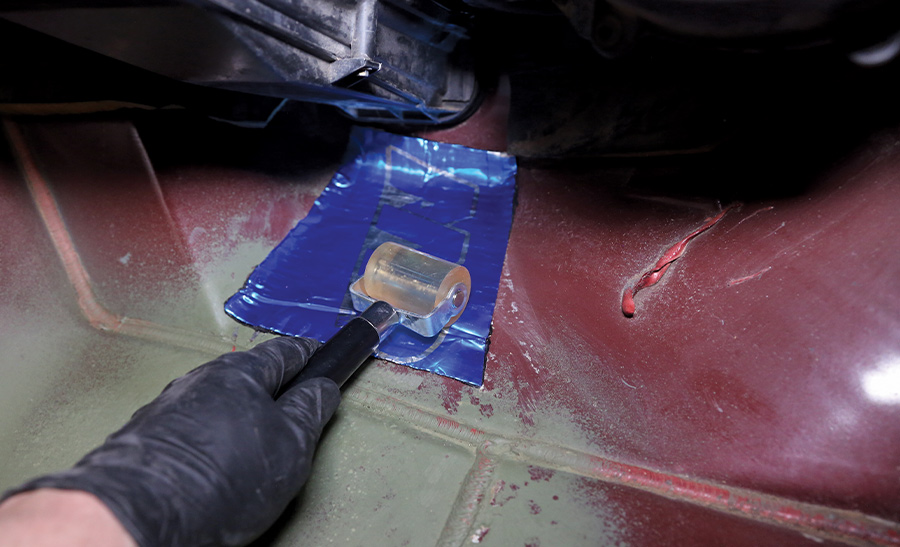
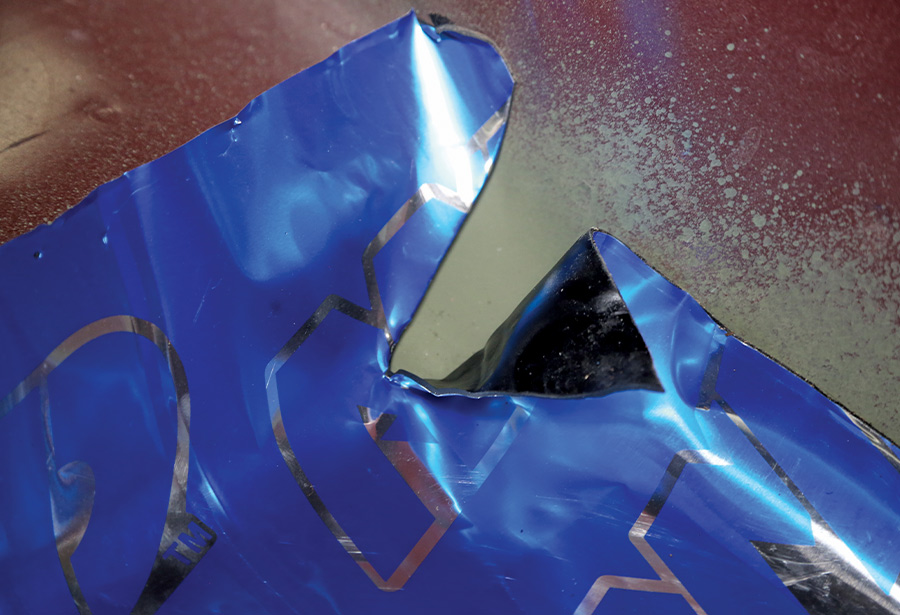
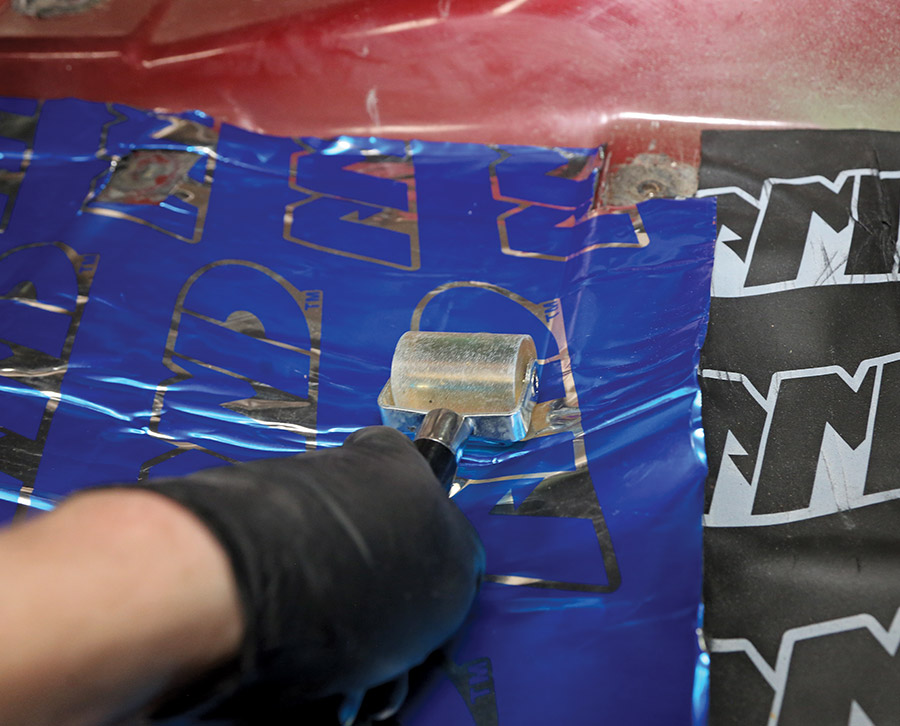
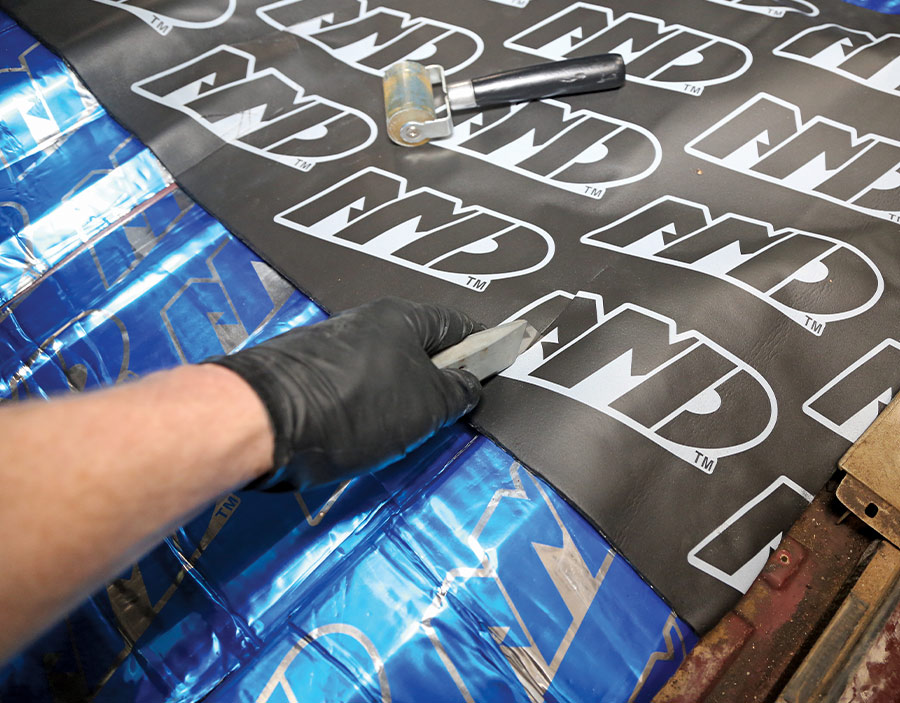
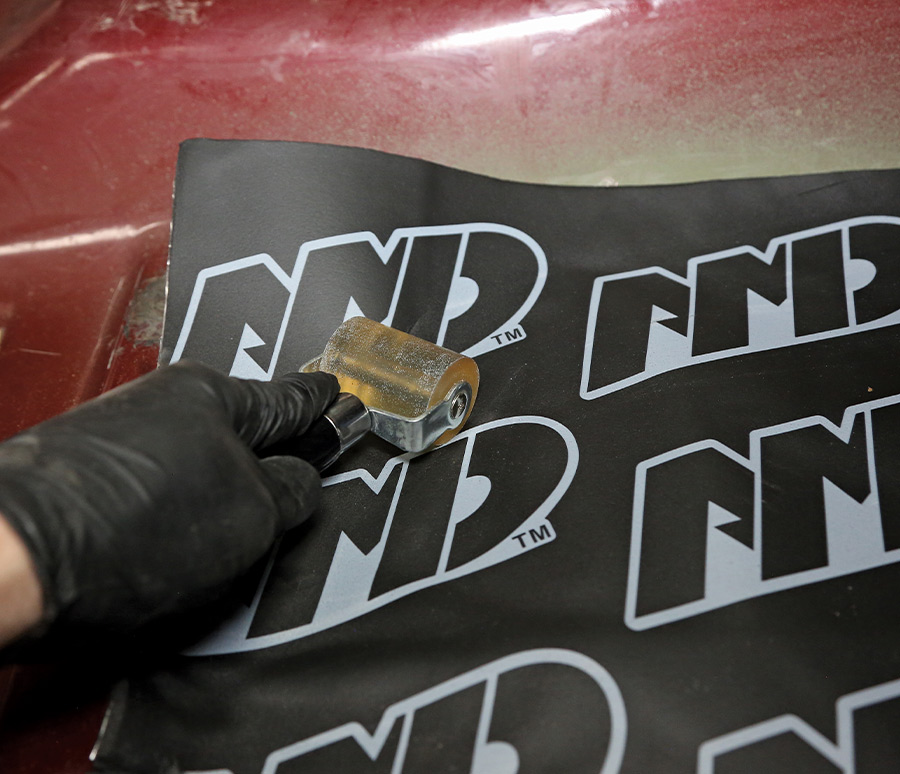
Auto Metal Direct (AMD) recently released their SilentDrive Pro (SDP) and SDP 3-in-1 sound deadening mat. We used it on one other vehicle and the results were excellent, so we ordered up a box of each, which contains 10 sheets of material. Unlike older-style sound deadeners, which were made from asphalt, the standard SilentDrive Pro is an 80-mil thick (2mm) mass-loaded butyl membrane with a heavy foil backing that rejects heat both ways and absorbs vibrations and dampens road noise. The foil also helps you see if the mat is sticking in the corners or not, which is very helpful. One box covers about 43 square feet of surface.
Each sheet adds a couple of pounds, which reduces vibrations and stiffens the panel, making it harder to rattle or vibrate. This also reduces direct noise, such as road debris hitting the floor. Instead of a ping, you get a dull thunk. Butyl is heavier than asphalt, so it can be much thinner while delivering better results. However, the real benefit of butyl over asphalt is that butyl has far better viscoelastic traits. It stays the same relative viscosity throughout the common range of temperatures seen in vehicles. It won’t harden over time like asphalt, and it doesn’t melt. This means that the sound deadening properties are far superior, allowing the butyl to better absorb vibrations and shock.
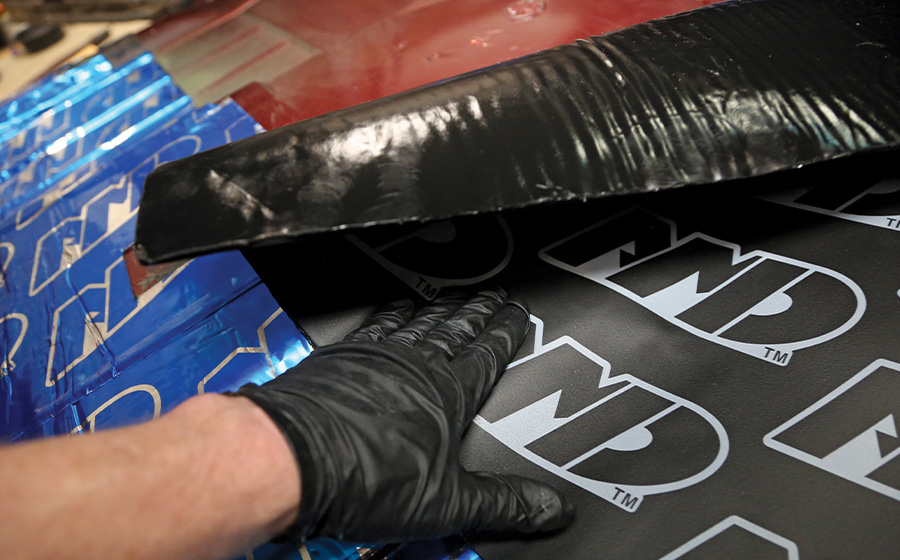
SilentDrive Pro 3-in-1 uses the same base layer butyl mastic and foil, then adds a 5mm layer of dense closed-cell PE foam on top. While the standard mat absorbs vibrations and rejects heat, the foam pad acts as a decoupling layer, removing the direct contact between the base substrate—i.e. floor, doorskin, roof, and so on—and anything that touches it—carpet, consoles, seats, and door panels. When installed between door panels and the door, it eliminates vibrations and rattles. On the floor, where it shines best, you have almost no road noise penetration. Closed-cell foam is resistant to moisture, unlike open-cell foam and woven mats used by OEMs, so you don’t have to worry about mold. Closed-cell foam also has a higher R-value for insulation, so you get better heat rejection as well.
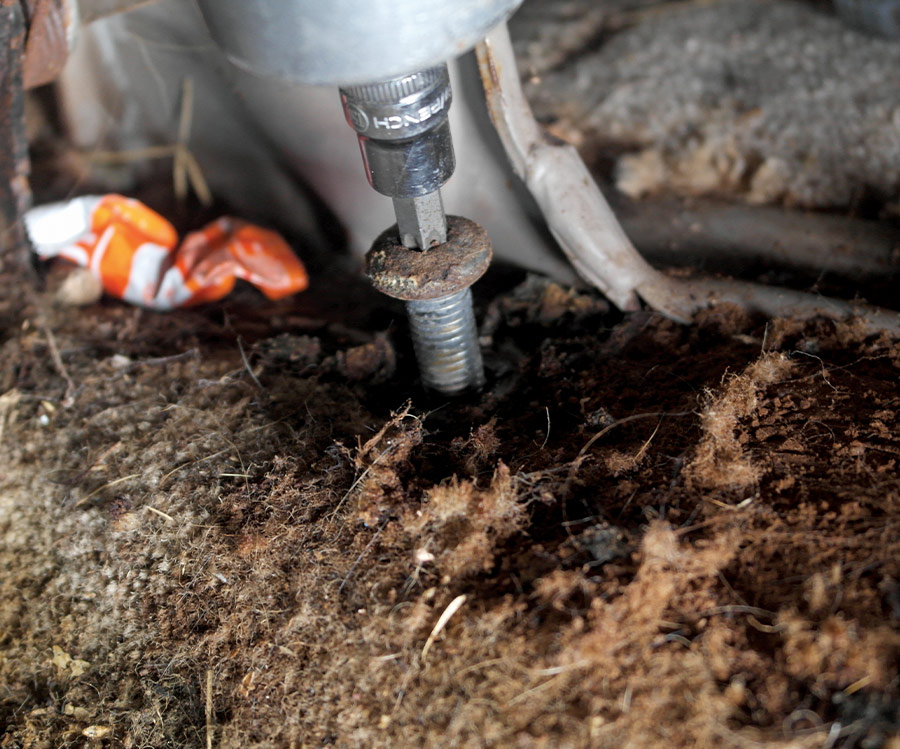
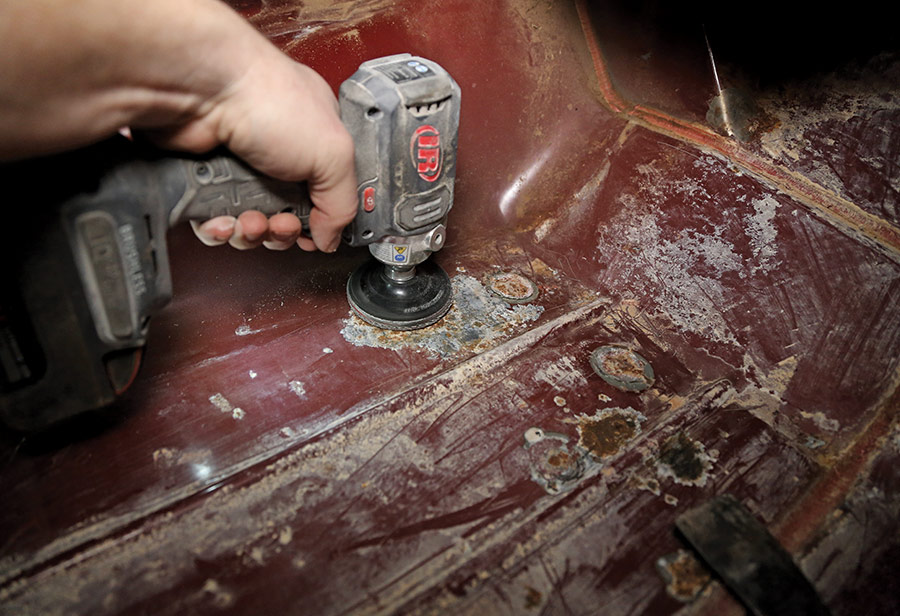
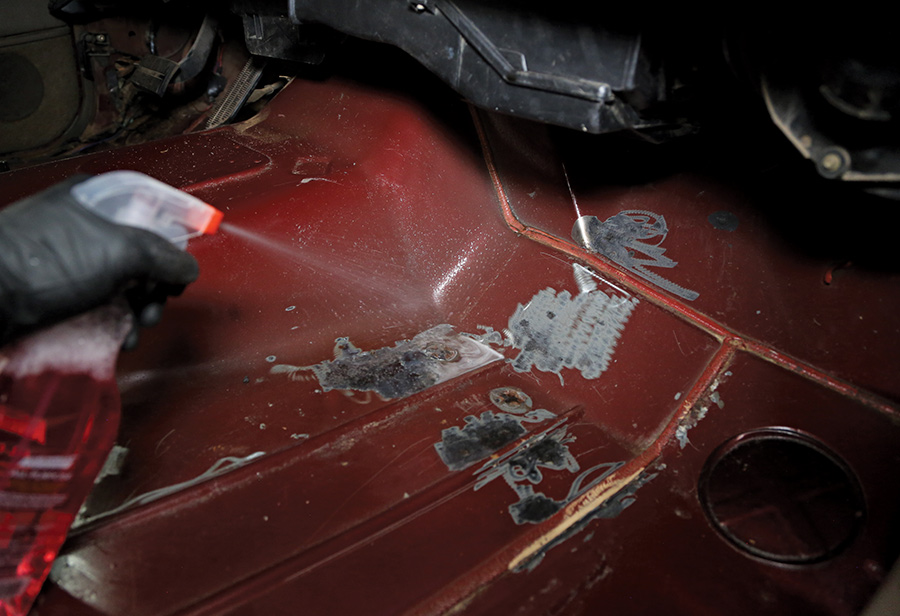
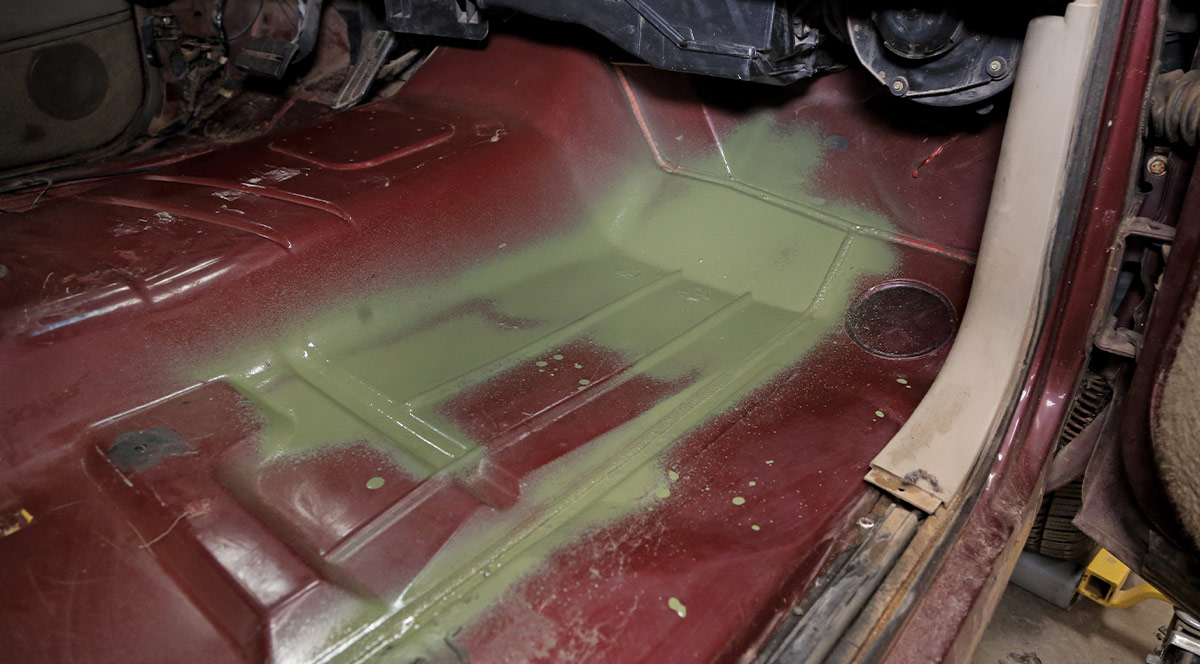
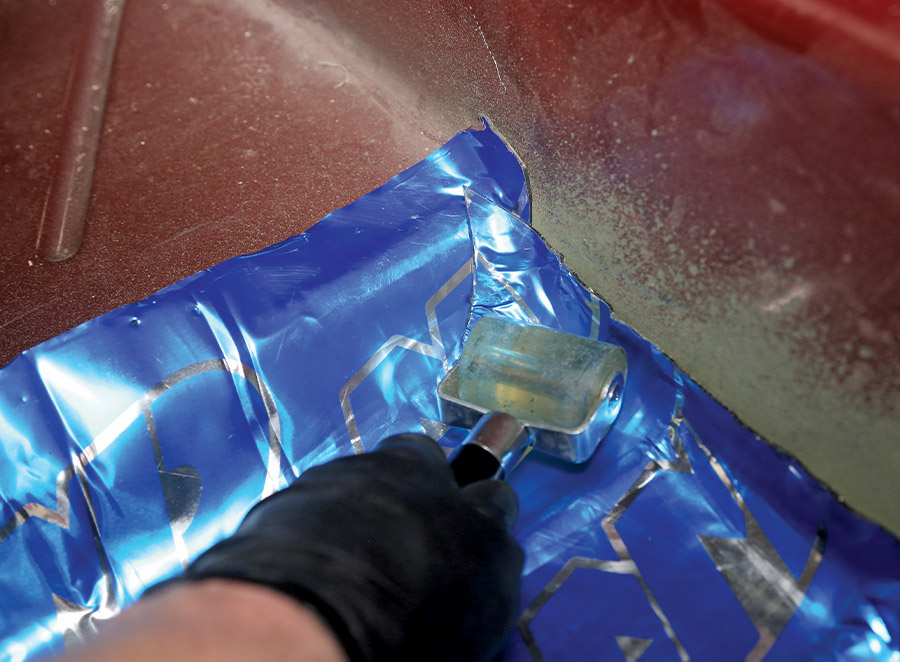
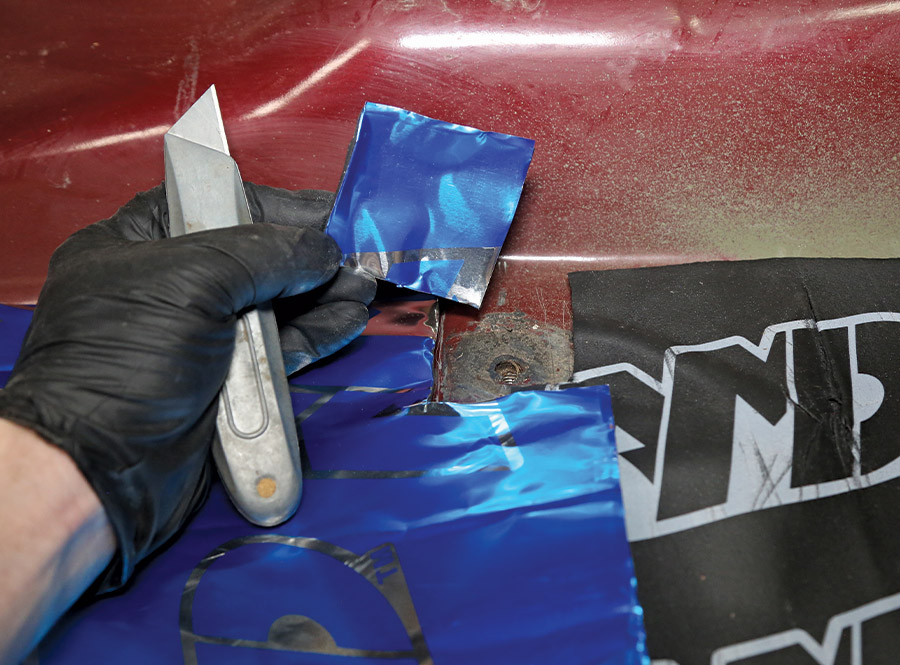
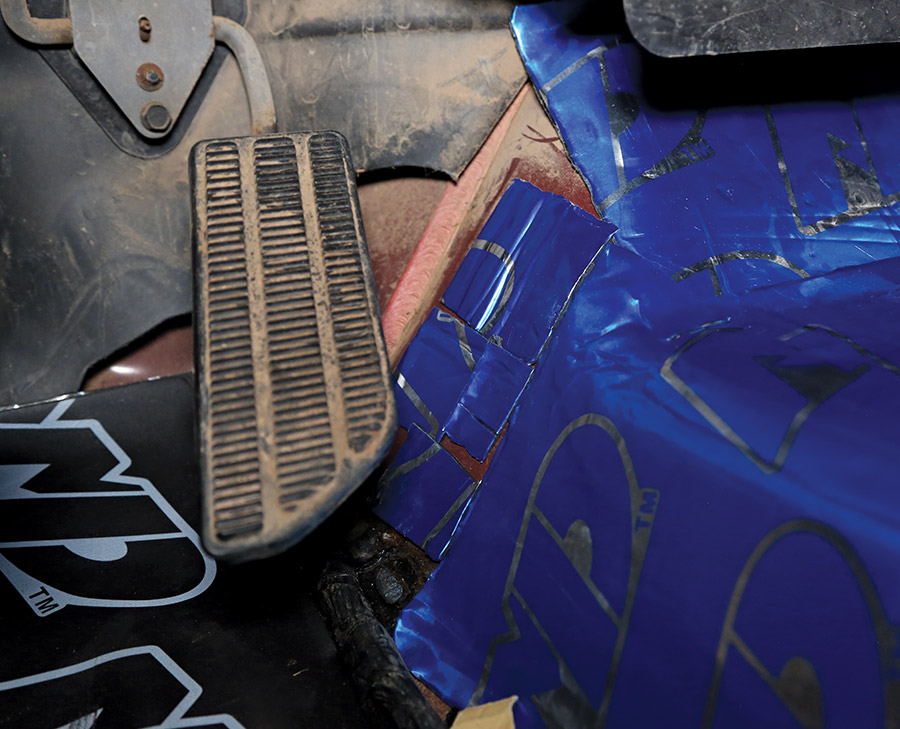
For now, we are sticking to the floor of the ’Burban. After the old seats and carpet were stripped away, the floor was inspected (looking for rust), vacuumed, cleaned with degreaser, and then acetone immediately before laying the mat down for the best adhesion. Any dust or dirt will keep the butyl layer from sticking, drastically reducing its effectiveness. DO NOT use acetone on any plastics, as it can eat it. Treat the surface like you were preparing to paint it—you want the cleanest possible surface. Be VERY careful with the plastic trim as it is old and brittle; we ended up with a few broken pieces. The Torx bolt heads can be cleaned with a pick and some brake cleaner to get any hardened gunk out, otherwise you can strip one easily.
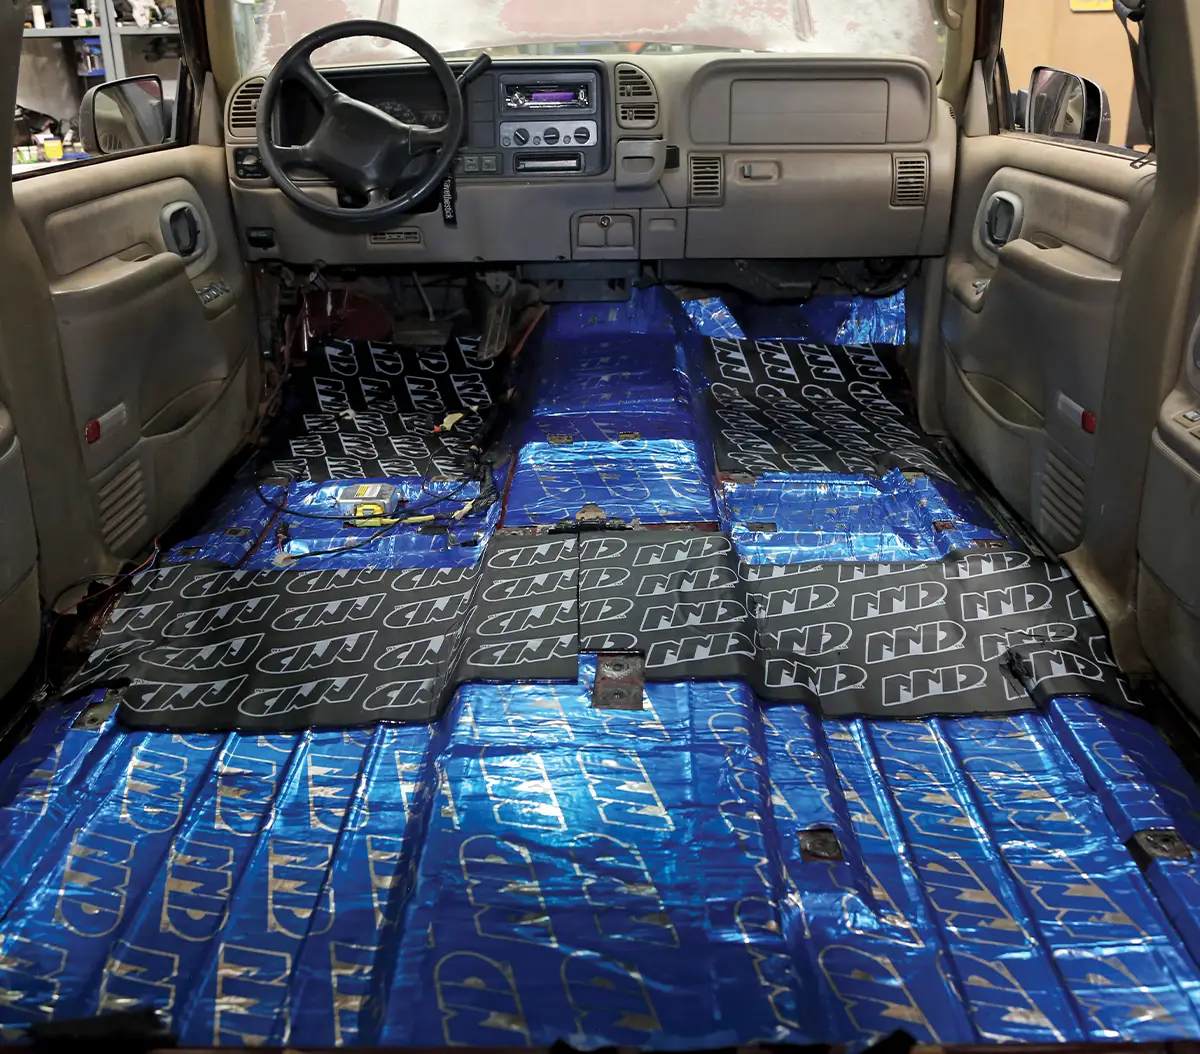
In order to get the majority of effect from sound deadening, you need to achieve at least 75 percent coverage. This means that you don’t have to cover every single millimeter of the surface, just 75 percent. You can certainly cover every square inch, but it isn’t necessary. Should you want to maximize the results, you can always double layer, but there is a point of diminishing returns; you are unlikely to notice much difference between one layer and three layers in a typical truck. The better condition the vehicle is in, the better the results are going to be. A 1956 TaskMaster is going to need a lot more sound deadening than a 1999 Suburban, which needs more than a 2020 Silverado. We opted to use one box of SDP and one box of the SDP 3-in-1. The 3-in-1 foam mat will go under the front seats and across the rear footwell for the middle row.
We limited our install to the main passenger area for now. We are building a custom stereo system, so we are leaving the cargo area untouched for the fabrication, then it will get treated as well. You may be asking “But Jefferson, you said the engine is blown, but you are starting with stereo stuff?” Yep, we do have our priorities straight around here. This job took two days, mainly because the original carpet had been soaked with both oil and antifreeze multiple times in recent years. Cleaning it used up the first day. The install itself took about four hours, without reinstalling the interior. We have a new set of ACC carpets on the way, so that will go in after we are done with the stereo system fab.
We recorded a 10- to 15dB reduction in door-shut volume, and about the same with a direct-hit to the floorpan, and that is without carpet and seats. This should be a much quieter ride when we are through with it. We plan on getting another box of each for the doors and headliner, as AMD’s SilentDrive Pro is some of the easiest to work with material as we have used.