CTP  Tech

InTheGarageMedia.com
Tips ’n’ Tricks From the Standing Pit
Rocker Step Prep
BY “Rotten” Rodney BaumanPhotography BY The Author
I

f you’ve ever worked in a paint shop, or even done your own paintwork at home, you know it’s not completely pleasant. In the trade, new painters’ helpers generally become aware of that on their very first day.

As a painter’s helper in the ’70s, I didn’t exactly start at the top. Determined to work my way up, however, I knew if I stuck with it I’d one day graduate from the sanding pit. Little did I know—that day never comes!

Because a quality finish involves far more prepping than painting anyway, conscientious painters (at least the ones I know) don’t pass all of the prep chores along to helpers. For me in this shop there are none, but Mrs. Rotten is a good hand. Through our years together she’s participated in countless sanding pit parties. She gets it, but she’s not here today—and here I go again.

Now, don’t misunderstand me. It’s not that I’m tired of fairing and blocking and sanding and such. I’m tired from all of the above. At this stage (and age) in the game it takes longer to clamber back up off the concrete slab. If we’re in the same near-elderly age group, you know how carefully we must plan our moves nowadays.

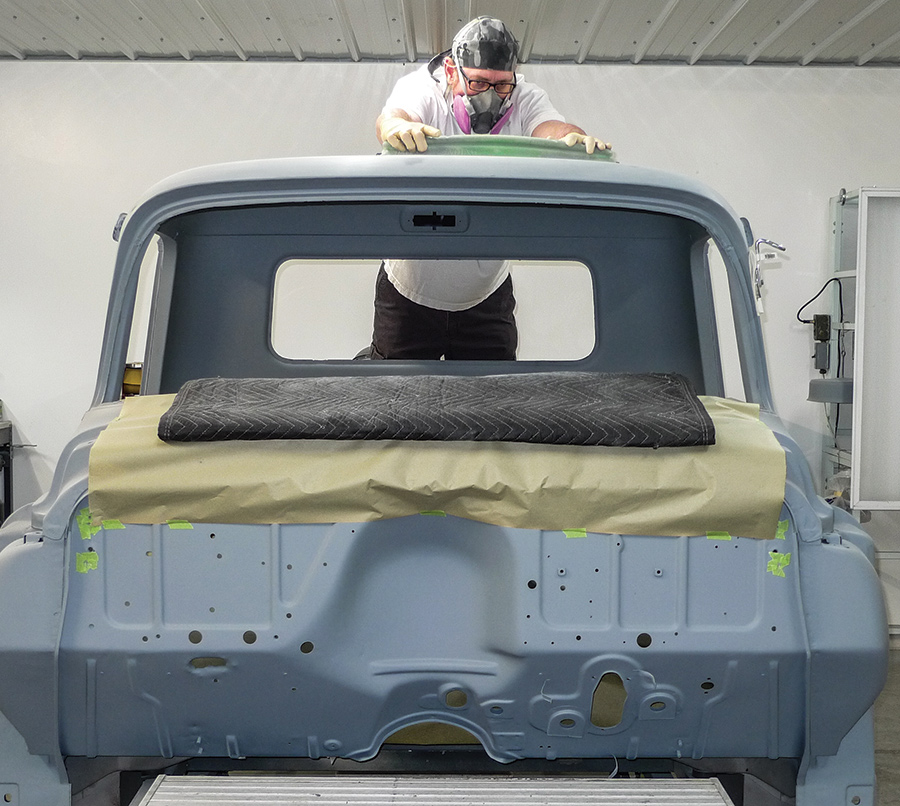
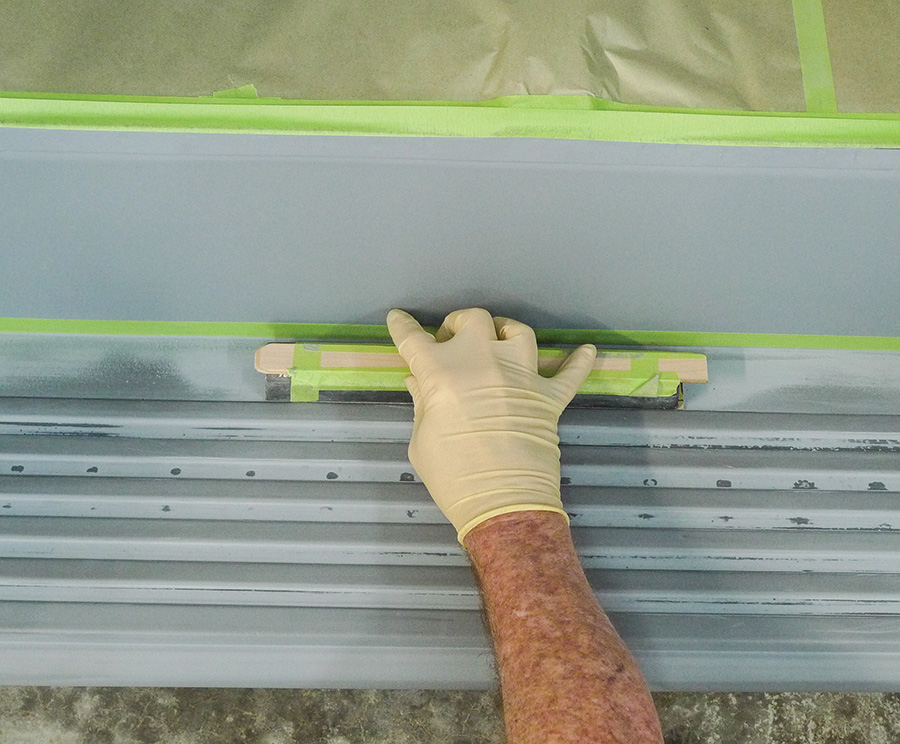
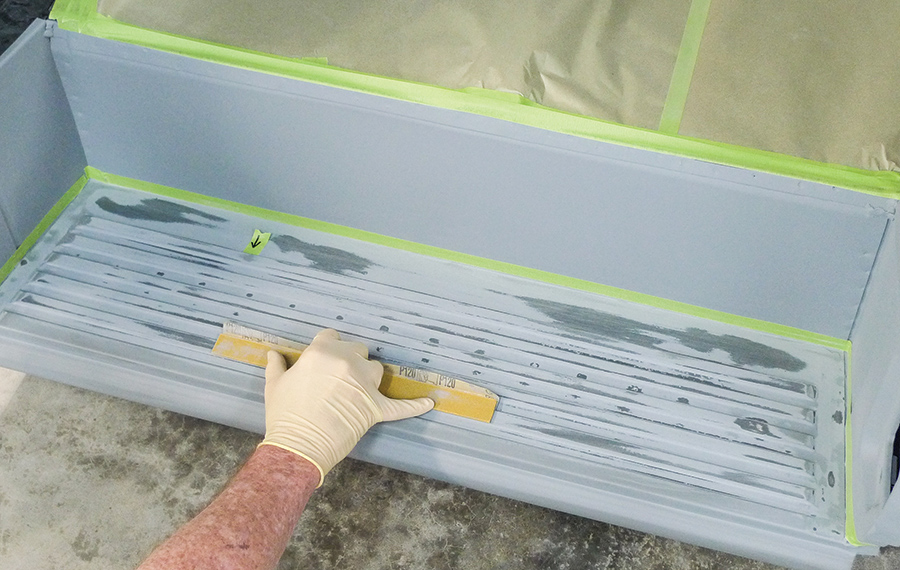
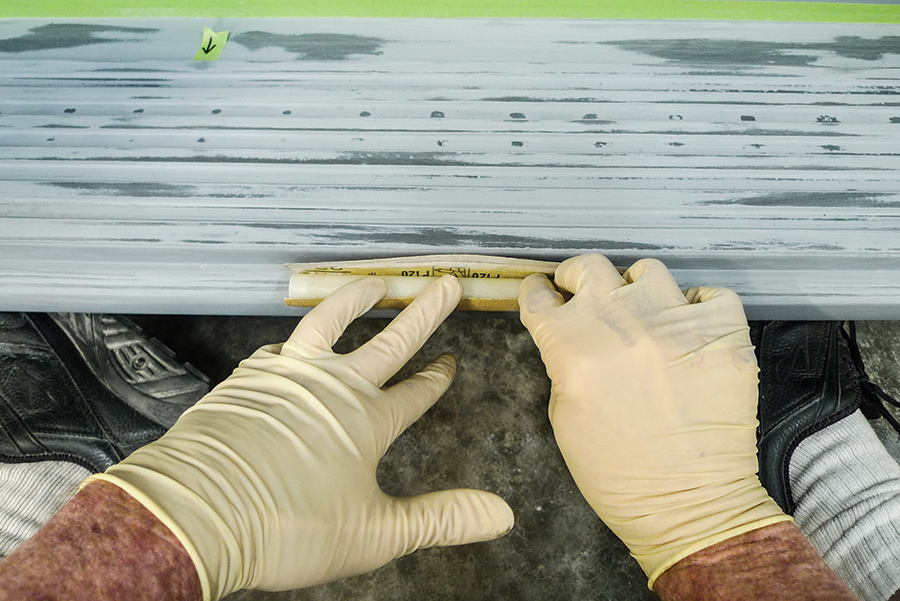
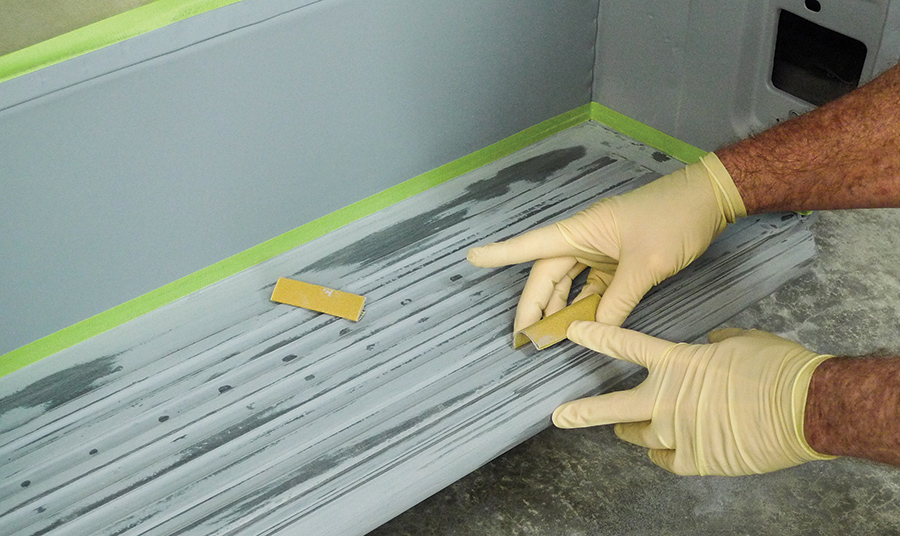
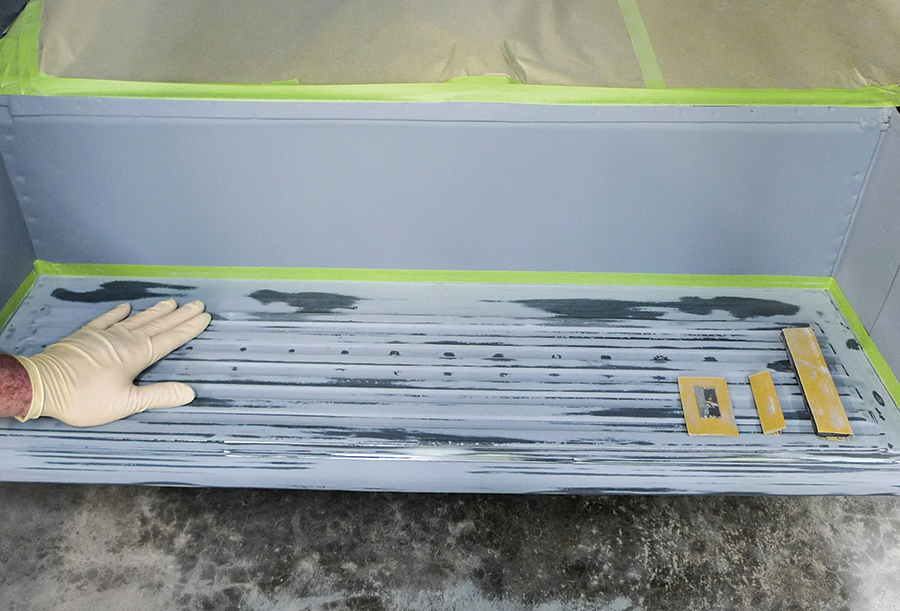
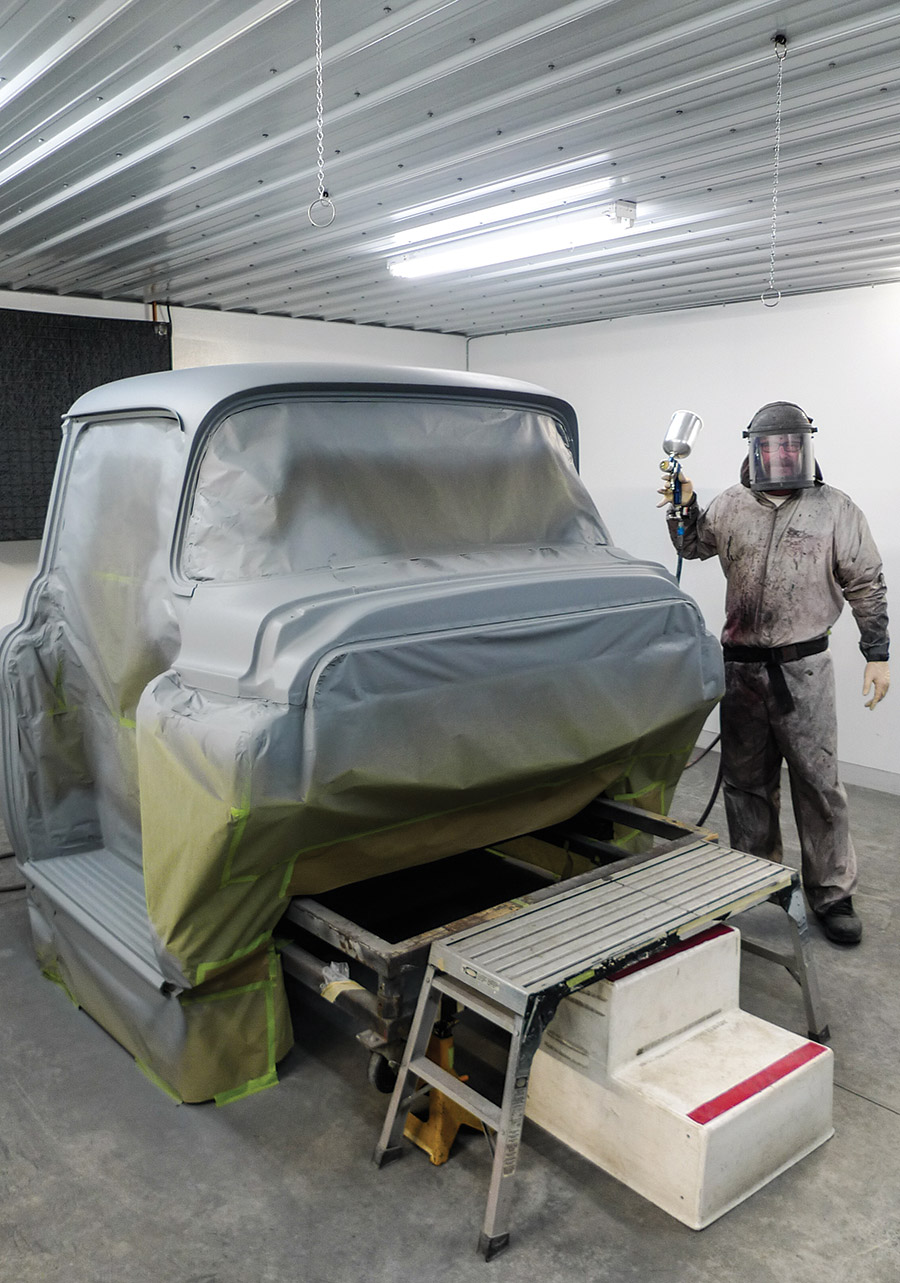
Back in the sanding pit, where we make a lot of dust, our project ’55 Chevy second-series cab is wearing first-round urethane primer-surfacer. With adjoining body panels now in the same stage, we’re moving along into fairing (some just call it block-sanding) operations, beginning with the cab.

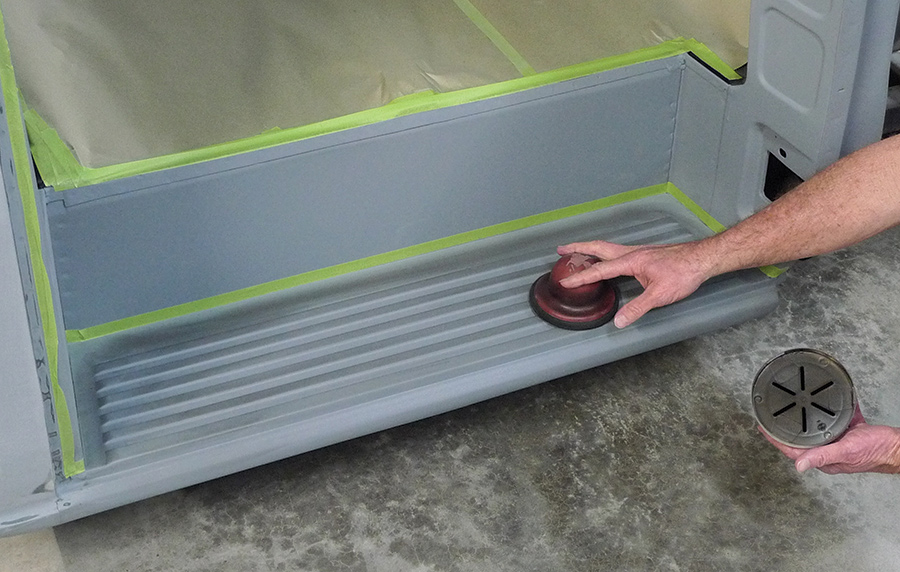
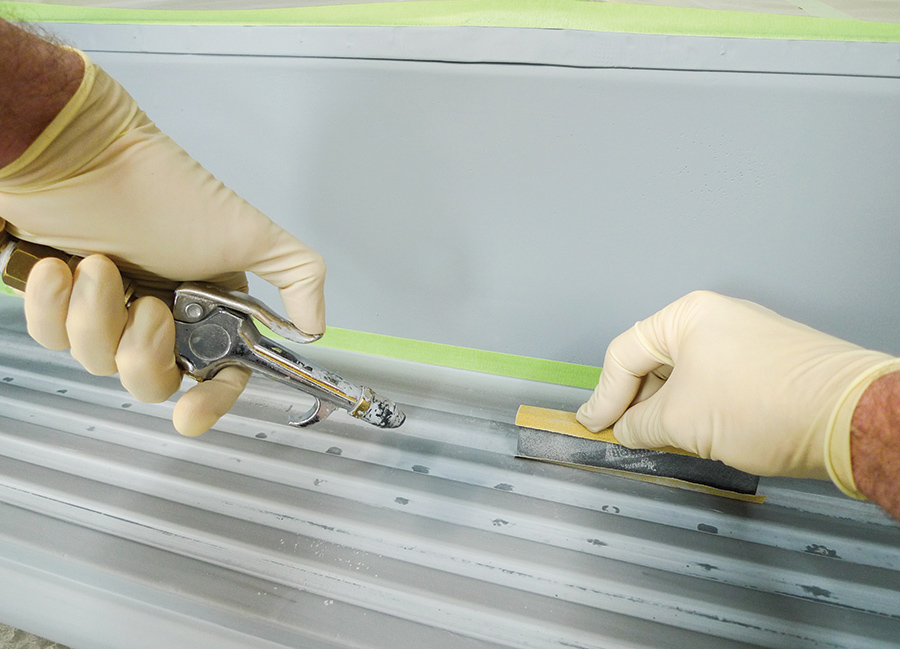
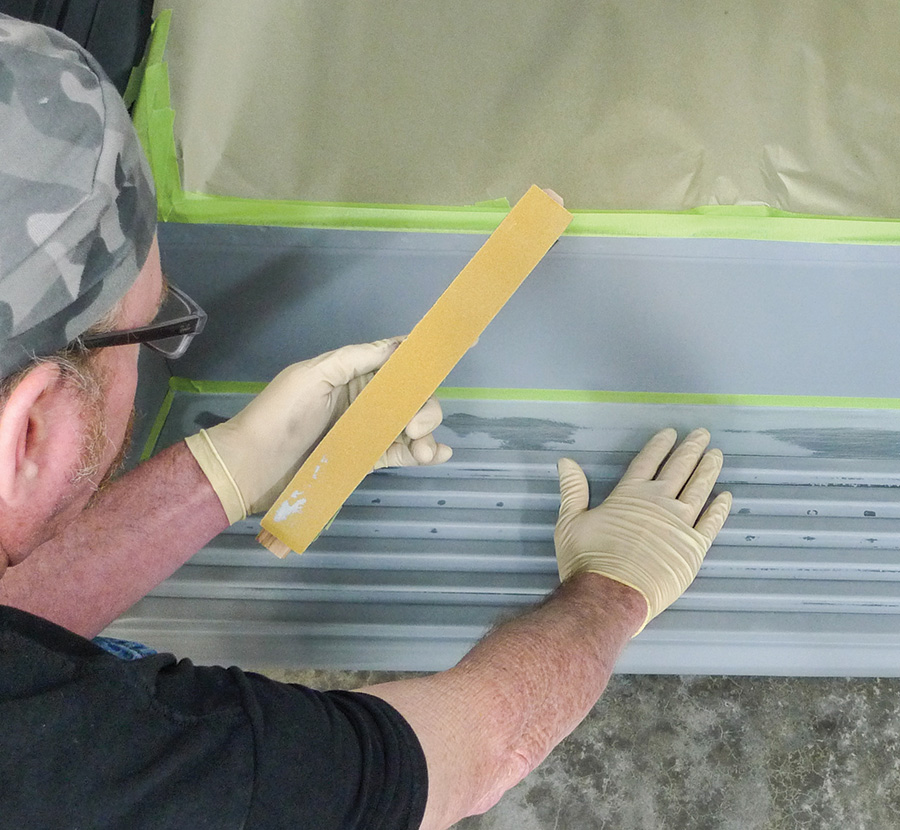
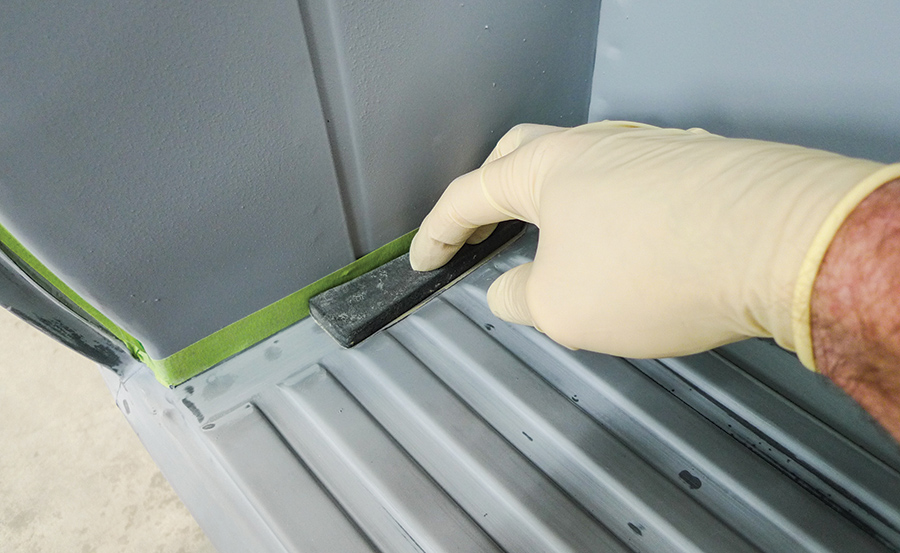
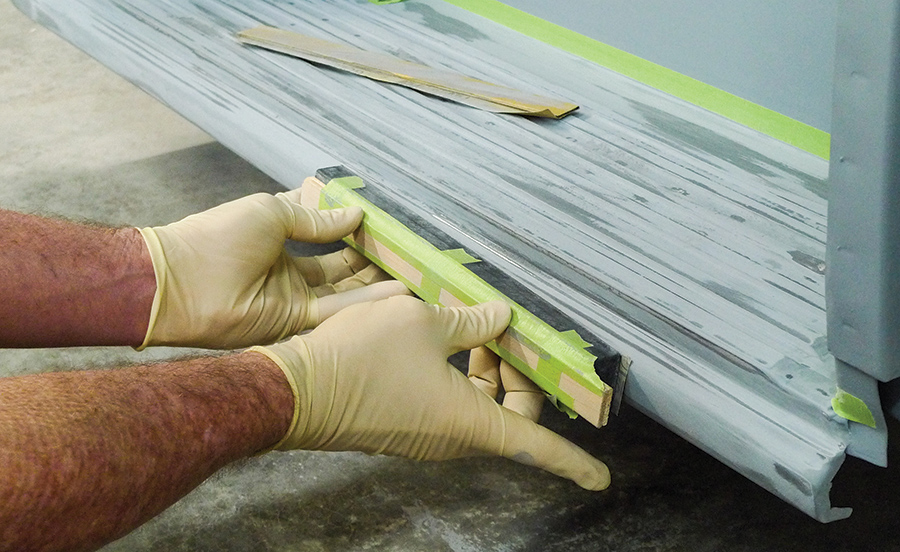
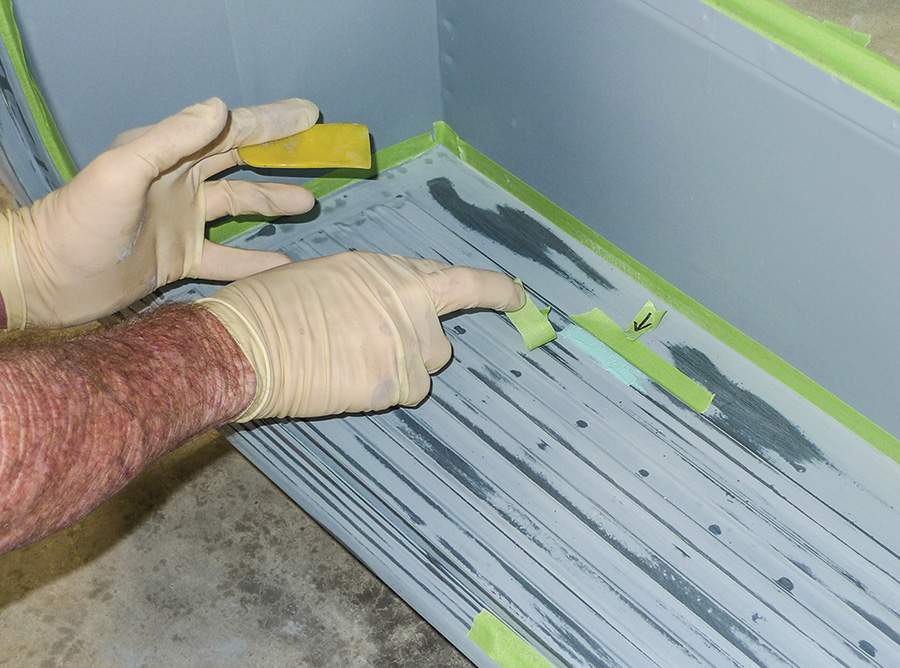
At first the tedious task didn’t seem worthy of a CTP tech story. Then, as I neared the home stretch of my lengthy solo sanding session, it occurred to me—the cab’s convoluted rocker steps would be the most difficult areas to prepare for final primer.

Thinking back to when this cab’s bodywork began, both rocker steps were pretty beat up. They had, after all, endured the truck’s working years—and a serious frontend collision. Out of shape as they were, they weren’t rusted out. As the cab’s heavier damage was corrected with jacks, the rocker steps followed. Toward the end of that round our lower-horizontal door gaps had returned to what we’d consider normal, too.

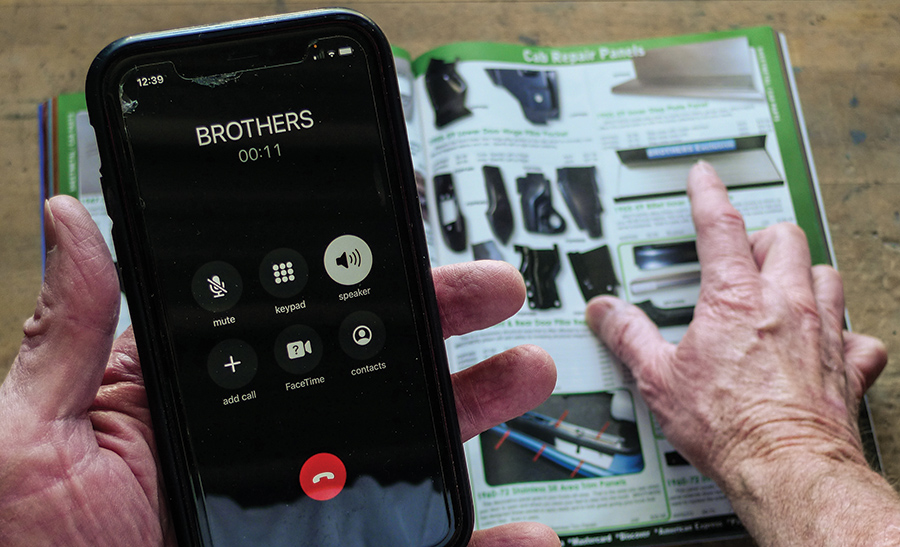
In the past (as you may have seen here) we’ve repeatedly worked too long and hard to salvage original body parts. Time invested often adds up to more than reproduction panels, and their shipping costs to boot. This time, however, we believe we’re doing alright—so we might as well take pictures and write about it.

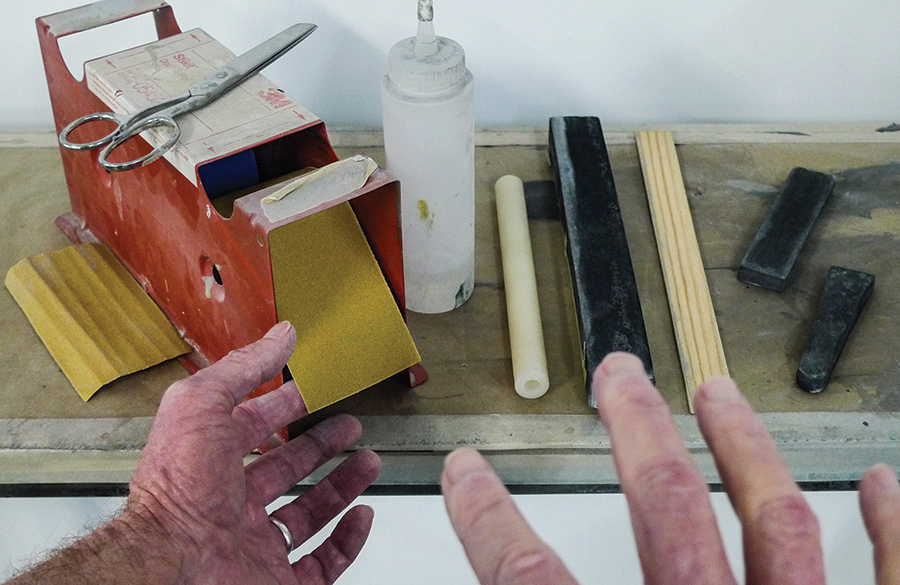
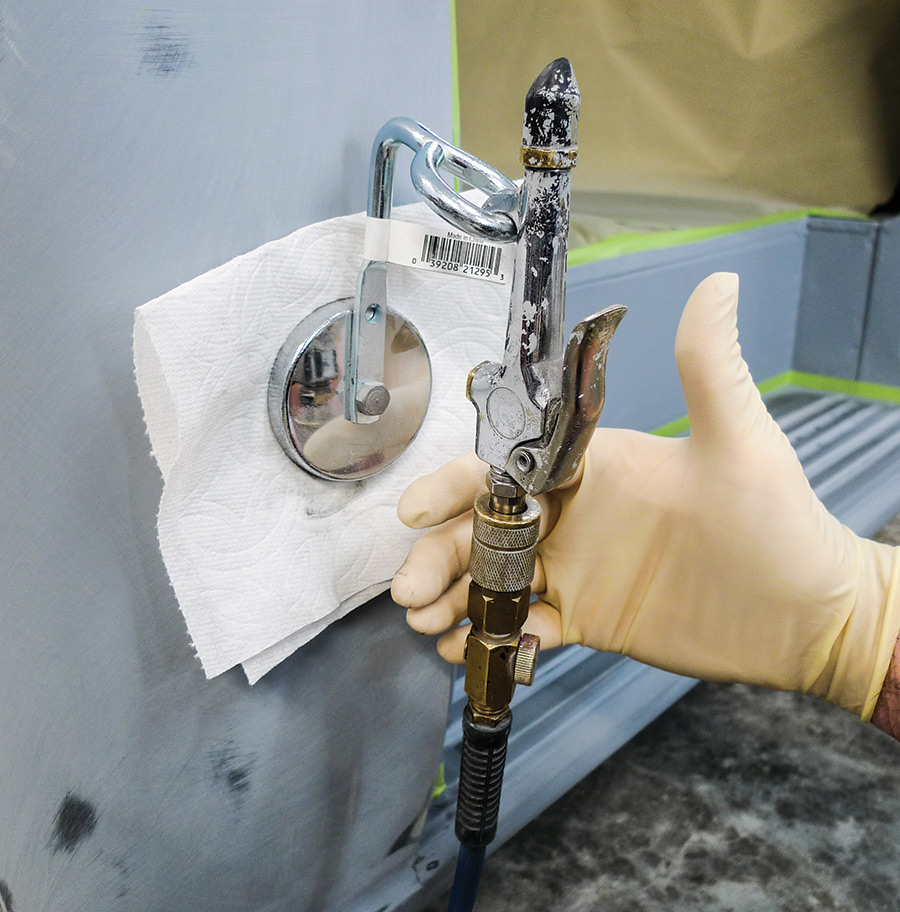
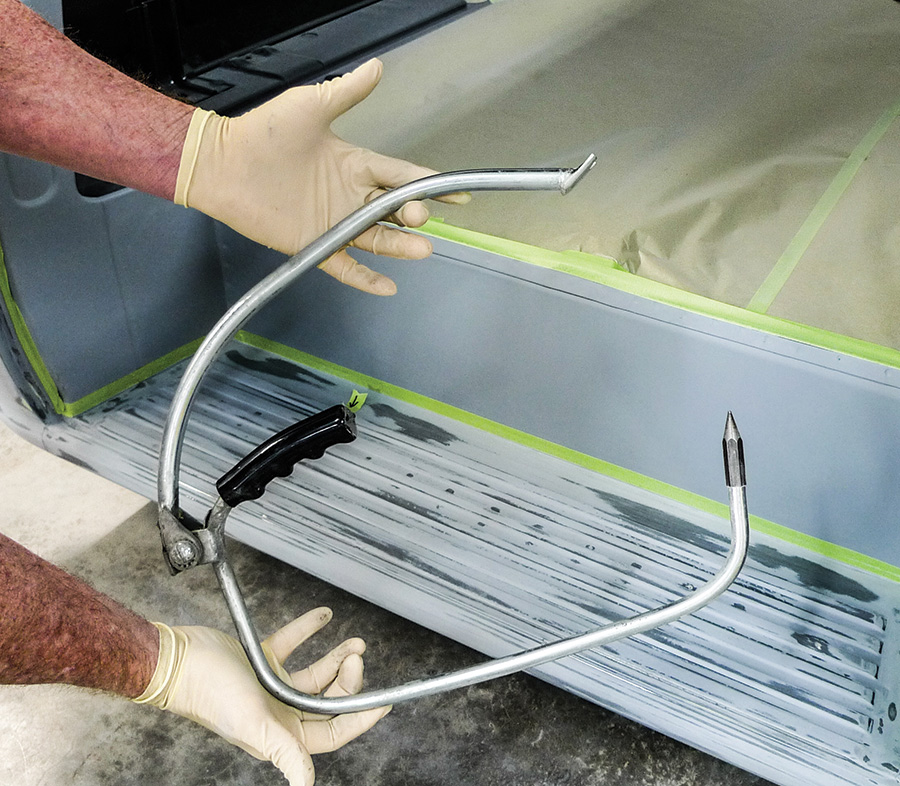
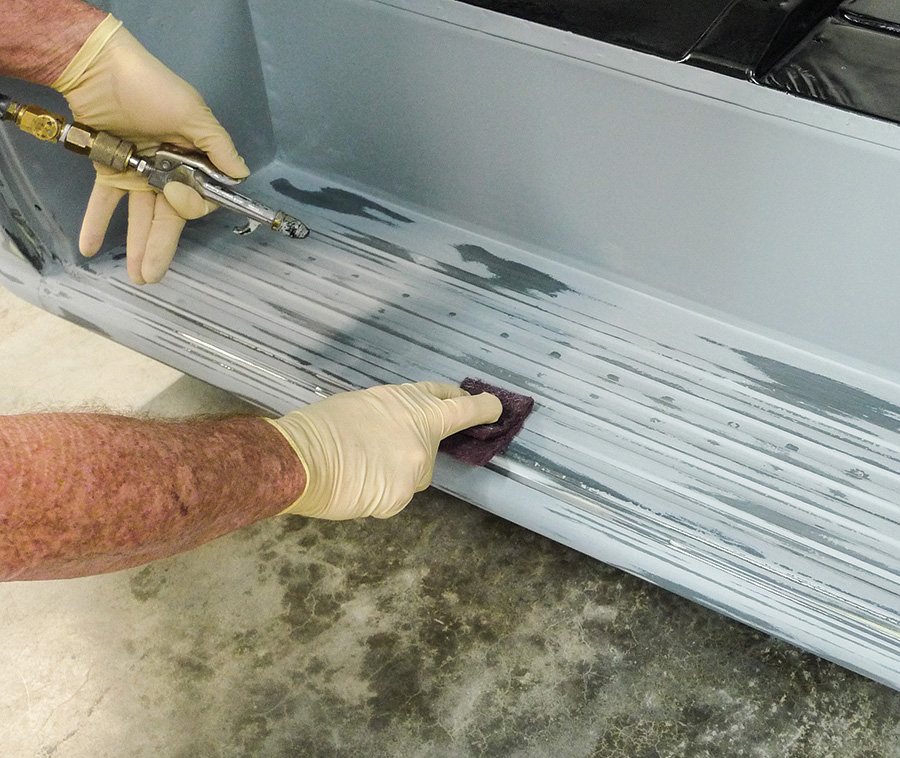
As we go you’ll likely notice three-or-so different brands of modified sanding blocks, as well as leading-brand abrasives in use. If your local parts store doesn’t carry autobody supplies, or if they’re just not competitive price-wise, you can always do what we do. For the commonly used paint shop staples, we’re quick to call Summit.

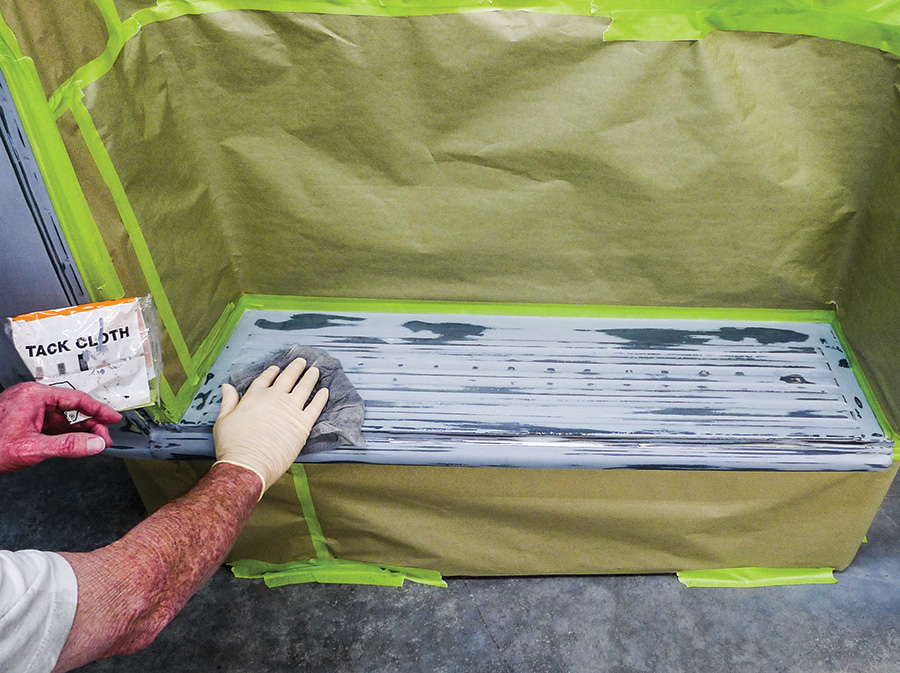
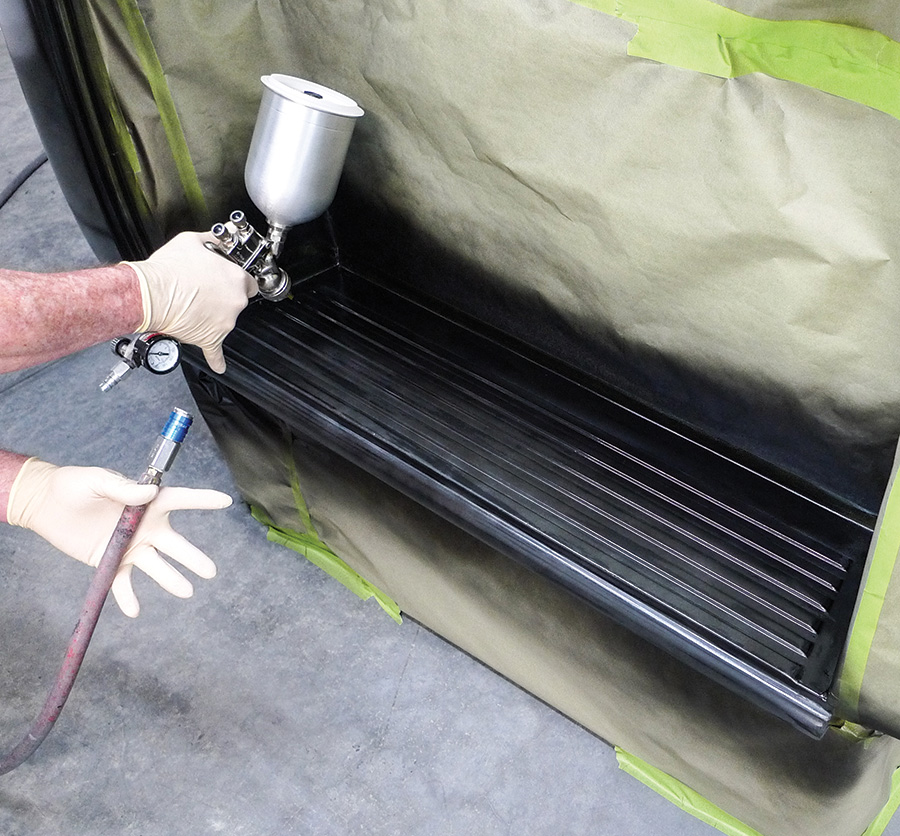
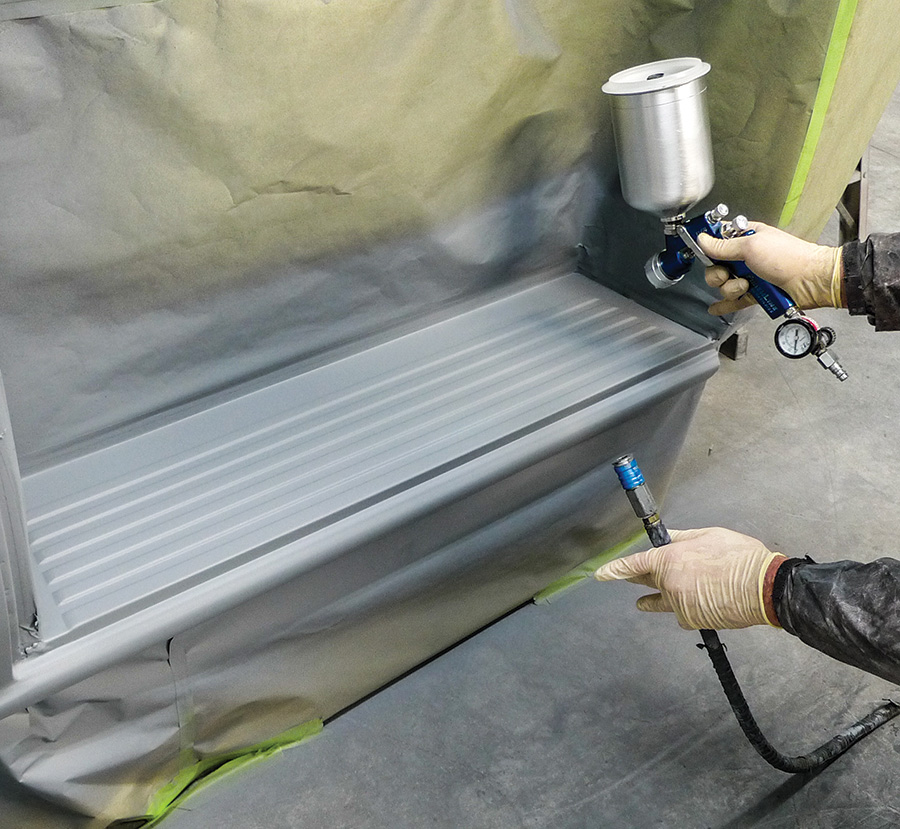
From here we’ll be working toward this cab’s final primer application. At primetime we’ll pull not one but two HVLP spray guns. The epoxy and urethane primers we’ll use are available to shops here, but not everywhere, and perhaps not where you happen to be. For this reason we’ll focus on the hands-on how-to stuff and not so much the materials used.

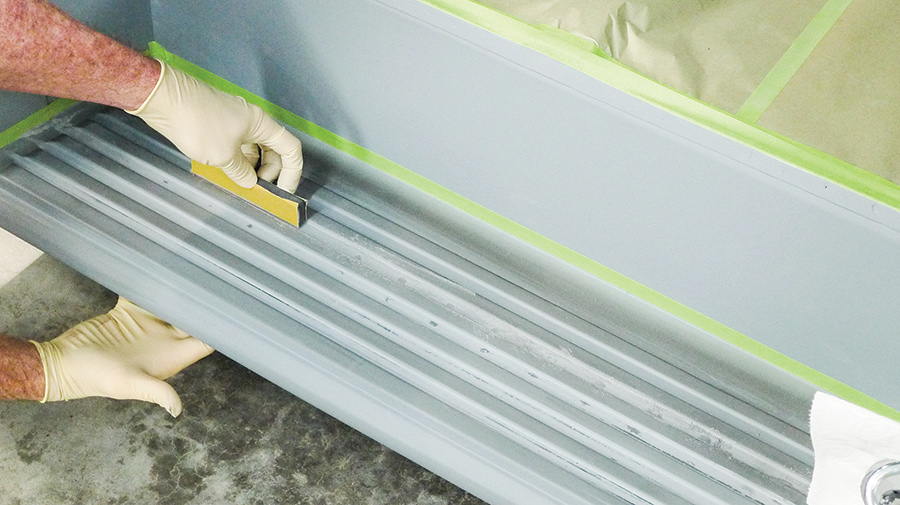
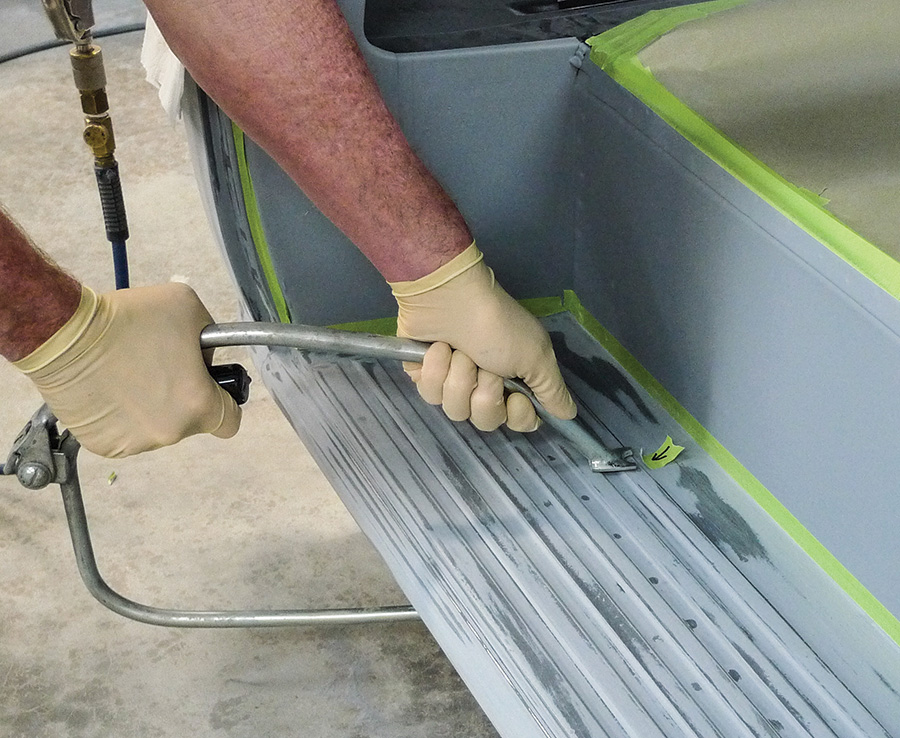
Knowing this type of work is not completely pleasant, we’ve saved the rocker steps for last—and they’re positioned pretty close to concrete. While you may not hear it all in print, just know there’ll be some grunting and groaning for sure. Welcome to the sanding pit.

Man on top of a car
1. Fairing out first-round urethane primer-surfacer on accessible outside skins would make a good technical topic, but nope. This won’t be about that.
A Picture of rocker steps
2. Doing the same job on wrinkly, crinkly rocker steps will require a somewhat different bag of tricks. On that, let’s begin the usual way with an application of dry guidecoat.
A Picture of tools on a piece of work
3. For the job at hand, 120-grit abrasives will do nicely. Since we’ll be working in small spaces between ribs, we’ll be using trimmed-to-fit, flexible sanding blocks.
A Picture of a rocker steps
4. This particular portion of a once-larger block fits the grooves fairly well. We’re not just sanding back and forth, however. We’re wiggling and jiggling in various directions.
Picture of a magnetic blowgun
5. Since repeatedly getting up and down from the concrete slab requires extra effort nowadays, a magnetic blowgun holster lessens the grunting and groaning.
A blowgun blowing air to the rocker steps
6. The guidecoat is black, like the epoxy primer below. We’ll need to read our progress. Because the grooves fill and hold primer dust, we’ll keep blowing as we’re going.
Someone removing paint form the rocker steps
7. For the ribs’ topsides let’s try this modified Dura-Block. From an earlier job, it’s got stiffening paint sticks still affixed.
smoothing out adhesive in the rocker steps
8. Wrapped in adhesive-backed abrasives, another wooden paint stick makes a great mini longboard. Although the guidecoat helps us see, we also rely on feel.
Old motor guard scuff pad in the corner of the rocker steps
9. Here a wedge-shaped sliver of an old Motor Guard scuff pad fits the rocker steps’ fore and aft ends. For this bit of finesse fairing, it’s largely about matching shapes.
A paint stick on the rocker steps
10. Pushed around properly, the aforementioned paint stick is ideal for finishing off the ribs. Our exposed epoxy primer spots are growing. Here the trick is to stop before we see steel.
A Plastic tube on the rocker steps
11. Sometimes the best blocks are found outside of the usual sources. I don’t rightly recall where I found this little plastic tube, but for this concave-horizontal stretch it’s a match.
Modified Dura block on the side of the rocker steps
12. Working our way downward, the modified Dura-Block again comes into play as we’re just about finished with fairing operations.
Grit abrasives on the rocker steps
13. Folded three times and gently bent like so, the same 120-grit abrasives level fuzz we may have missed around the ribs’ edges. Still, we’ll need to backtrack for one little thing.
Tape with an arrow pointing downward on the rocket steps
14. Here the black arrow on green tape denotes a tiny low spot. See the little black dot there? That’s our guidecoat doing its job.
Picture of a bull's-eye pick
15. To straighten the downwardly dinged rib with a hammer and dolly we’d need a little room below. This low on the cart and we might be able to sneak in with a bull’s-eye pick.
adjusting a bull's-eye pick on the rocker steps
16. In this shop, bull’s-eye picks don’t see action every day. In situations like this one, however, they’re pretty much invaluable.
putty being applied to the rocker steps<br />
17. With the low spot relieved, its remaining primer is sanded and blown clean. Here we’ve applied a sparingly small smear of catalyzed glazing putty.
Rocker steps
18. The proper block (or paint stick) selection speeds fairing along—to the point where I actually missed the shot I had in mind. Here we’re just getting the feel of things.
A blow gun blowing air on the rocker step
19. Like 320-grit, with a slightly deeper reach, a red Scotch-Brite pad ensures that nooks and crannies are adequately abraded. For this last bit of sanding, it’s a good call.
covering up the rocker steps
20. Before spraying, our dust is blown off about as well as possible. We don’t automatically reach for one of these, but this time we’ll employ an icky-sticky tack rag.
Painting the rocker step
21. The system we’re using calls for epoxy primer between prepped metal (we’ve exposed a little) and urethane primer-surfacer. That’ll be coming up next.
putting primer on the surface of the rocker step
22. Our urethane primer-surfacer is reduced as we’re not going for maximum build. We’re stoked with our results. Maybe, just maybe, no one will actually step on these.
A final Prime on the car
23. We’ve worked for it, and here we are, in final prime! At this point we’re closing in on color, but wait—this is only about rocker step prep.
A picture of someone holding a phone and book on the table
24. Despite all they’ve been through, our originals weren’t too bad to salvage. If they had been, we’d have known just what to do.
 SOURCES
Brothers Trucks
(800) 977-2767
brotherstrucks.com
Summit Racing Equipment
(800) 230-3030
summitracing.com