CTP Tech
InTheGarageMedia.com
Chevy Task Force tailgate, bare metal, installed on truck, chrome bumper taped, red taillights, shop with Miller Dynasty 350
Picture This
BY Chuck Vranas
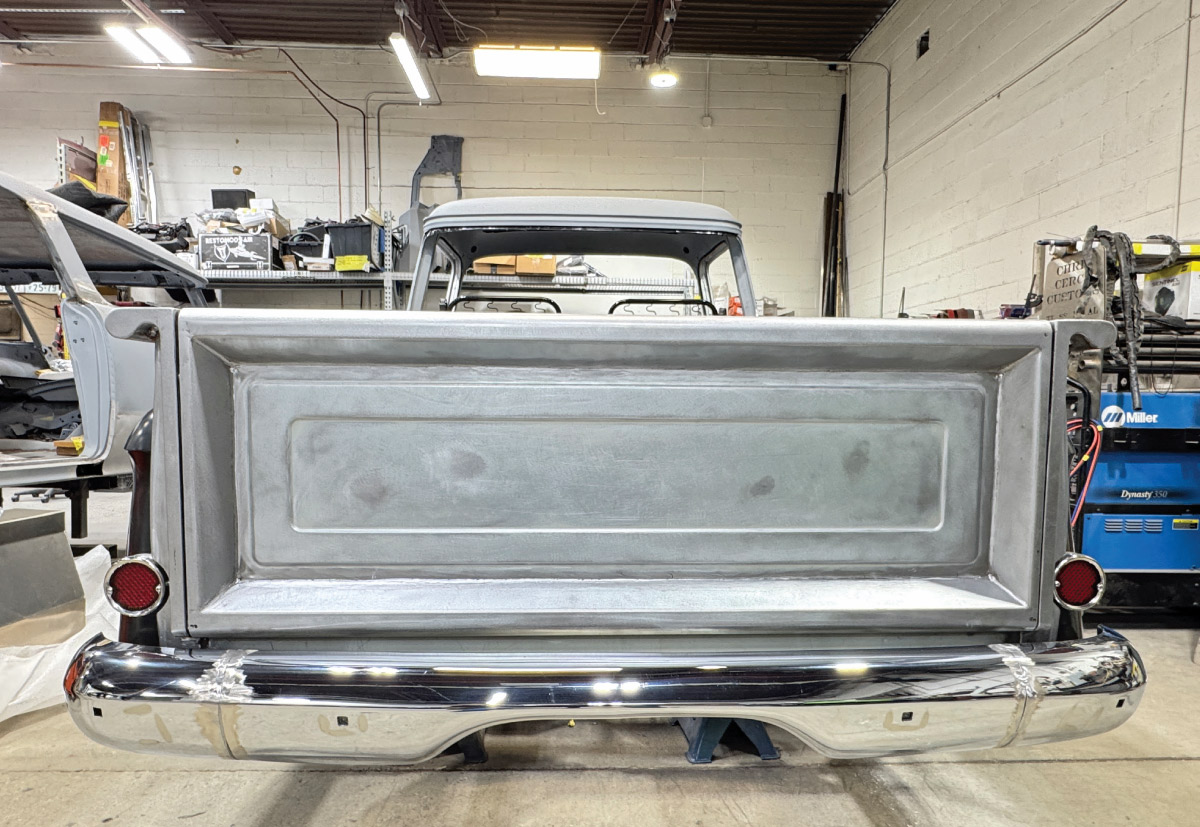
IMAGES BY THE AUTHOR
Chevy Task Force Tailgate Reimagined by Chris Cerce Customs
S

tepping into the world of classic trucks, it’s easy to see that each one rolling off the production lines through the decades was destined for a life of service. While many were worked hard within an inch of their limitations, others fared far better in more domestic environments. In any case, as the years passed, countless retired haulers were given a new lease on life from both hot rodders and restorers. Regardless of whether you’re building the hop-up of your dreams or chasing after a perfect 100-point restoration, there’s plenty of opportunity to add that personal signature to your build. Choosing a vintage vibe, contemporary style, or somewhere in-between gives you the opportunity to update with your choice of drivelines, suspension and brakes, fresh platforms, and an endless potential for custom metal fabrication to give it a distinct look.

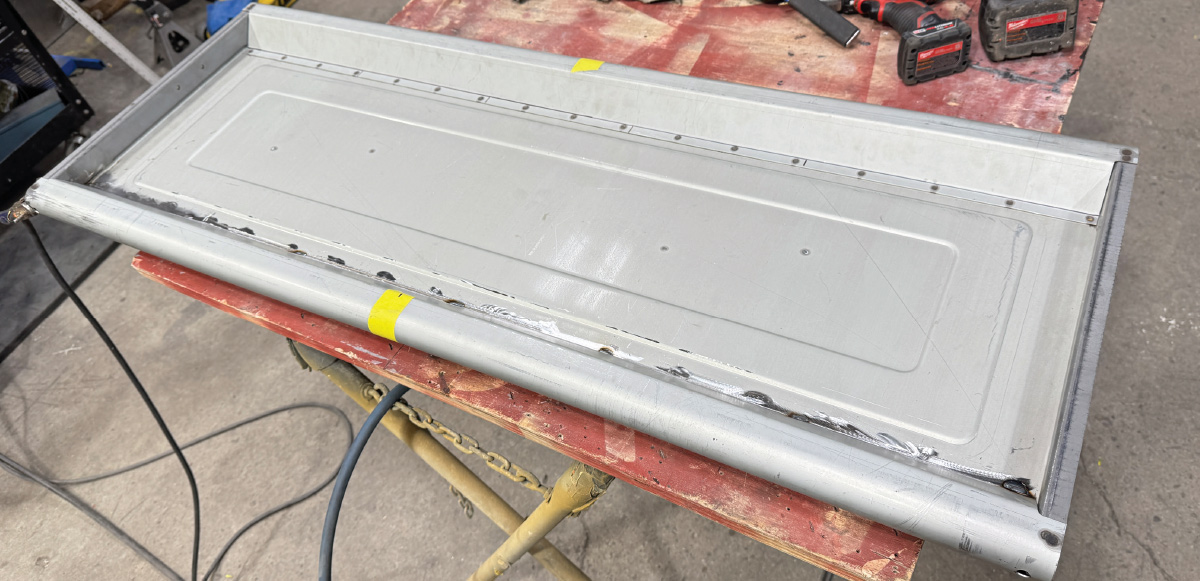
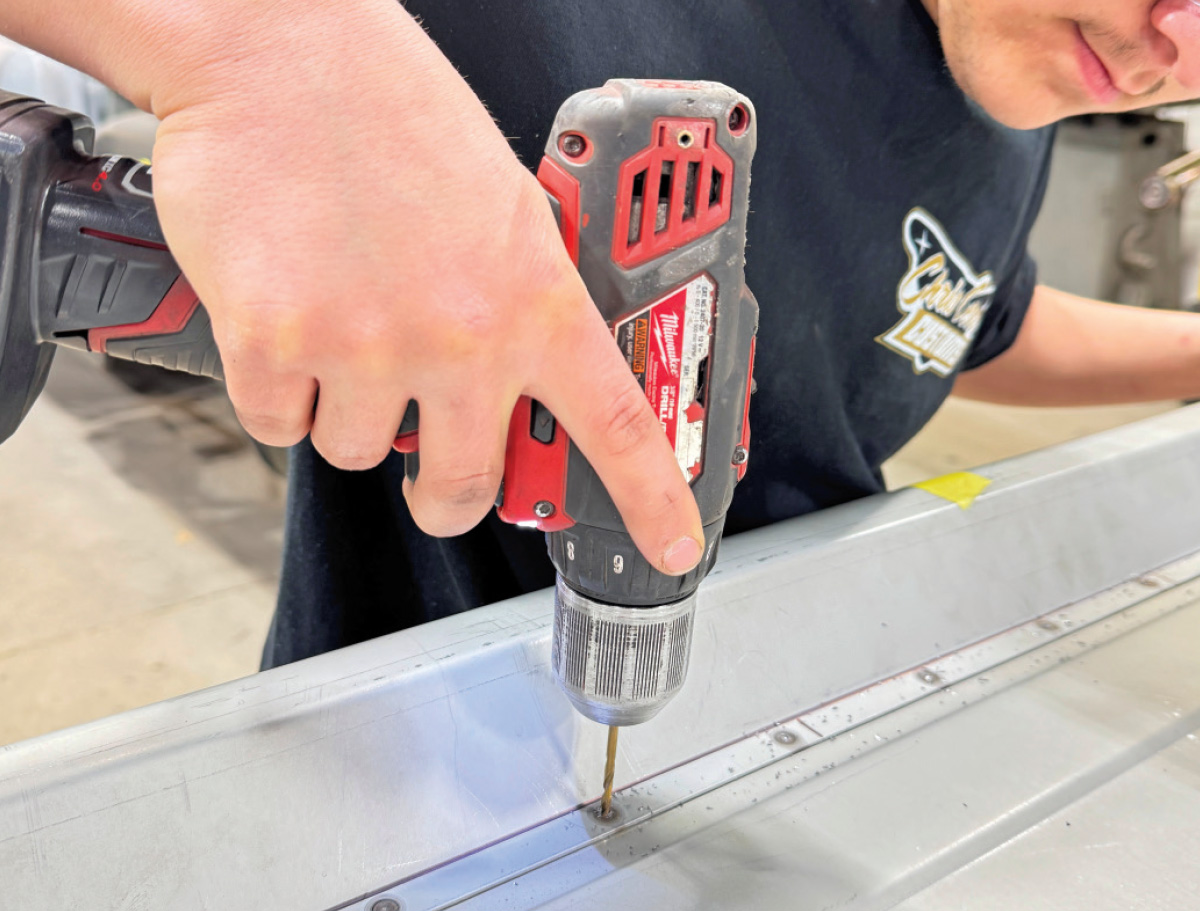
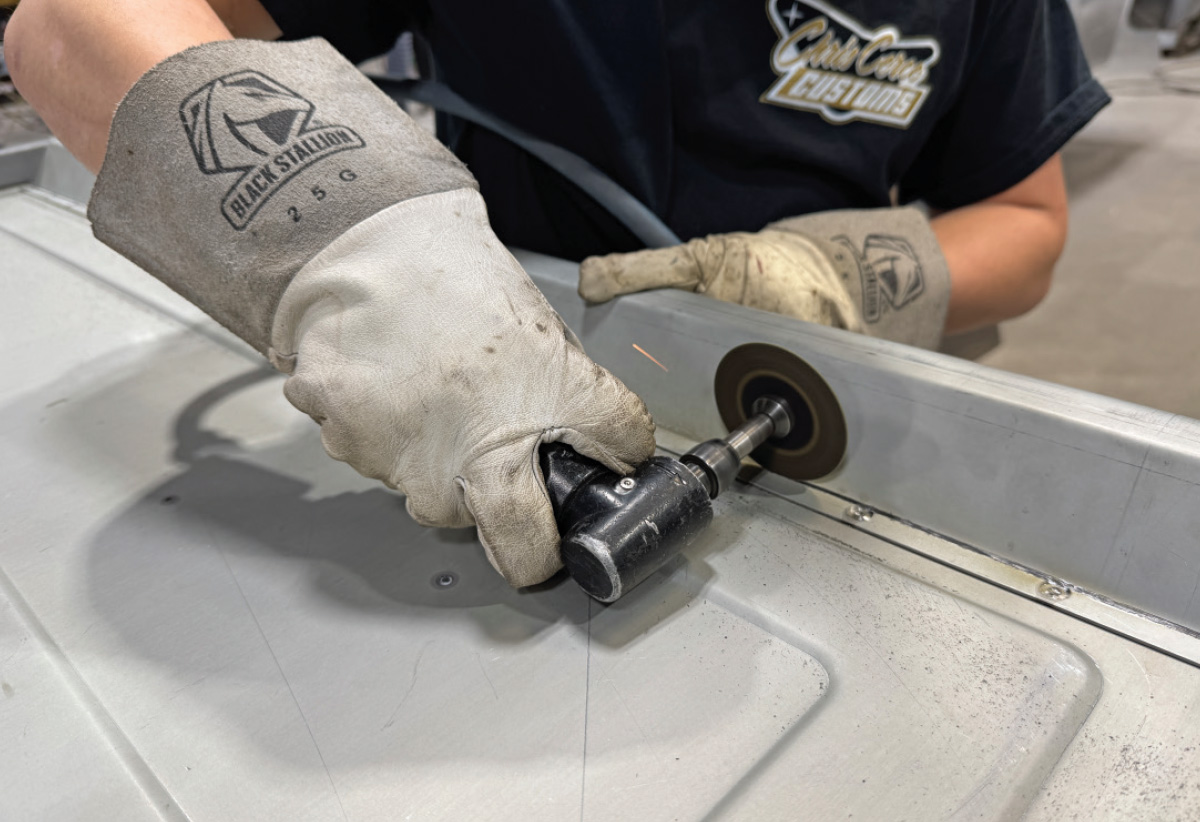
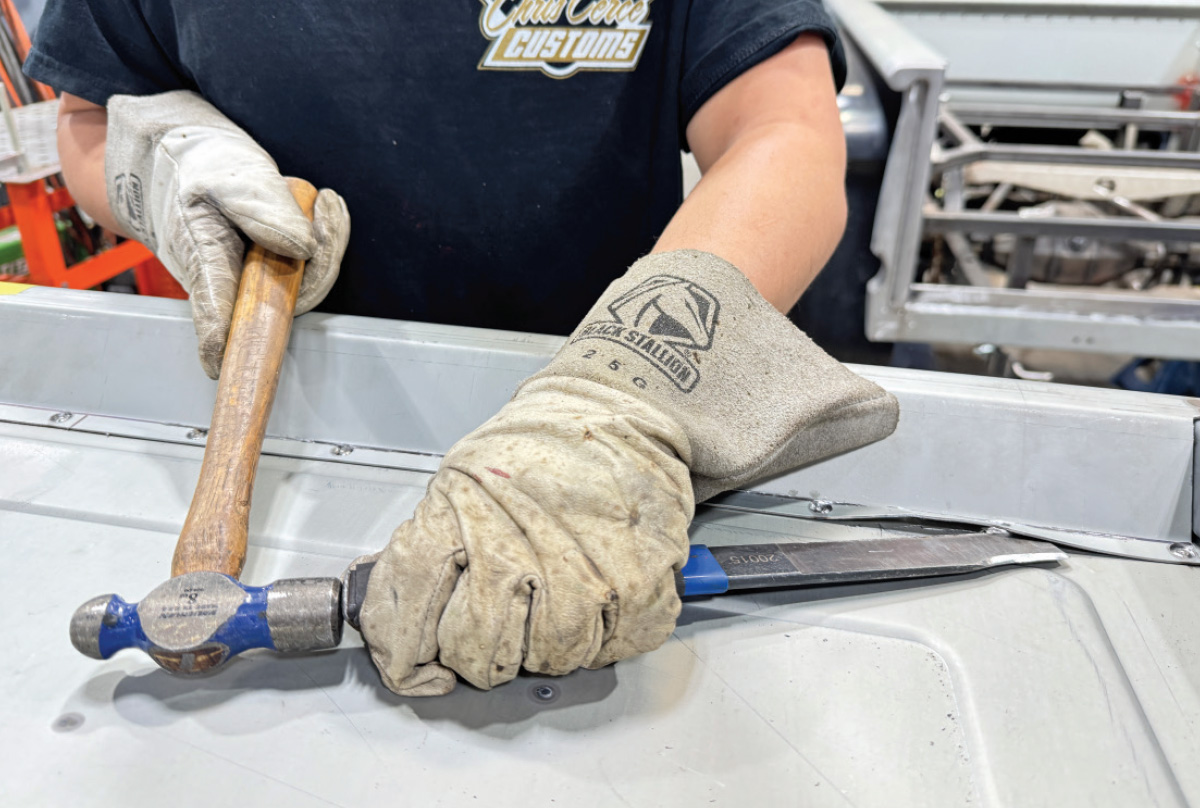
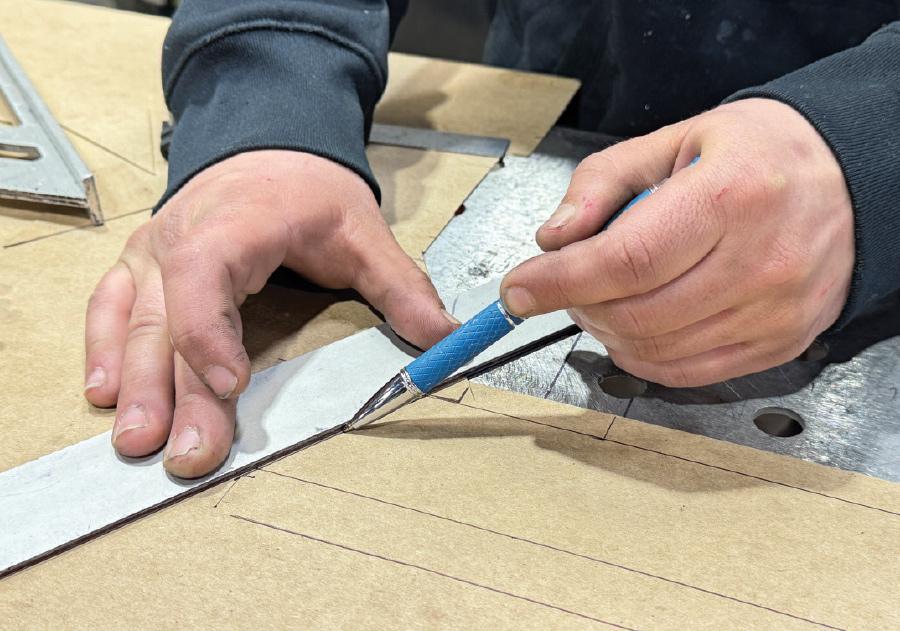
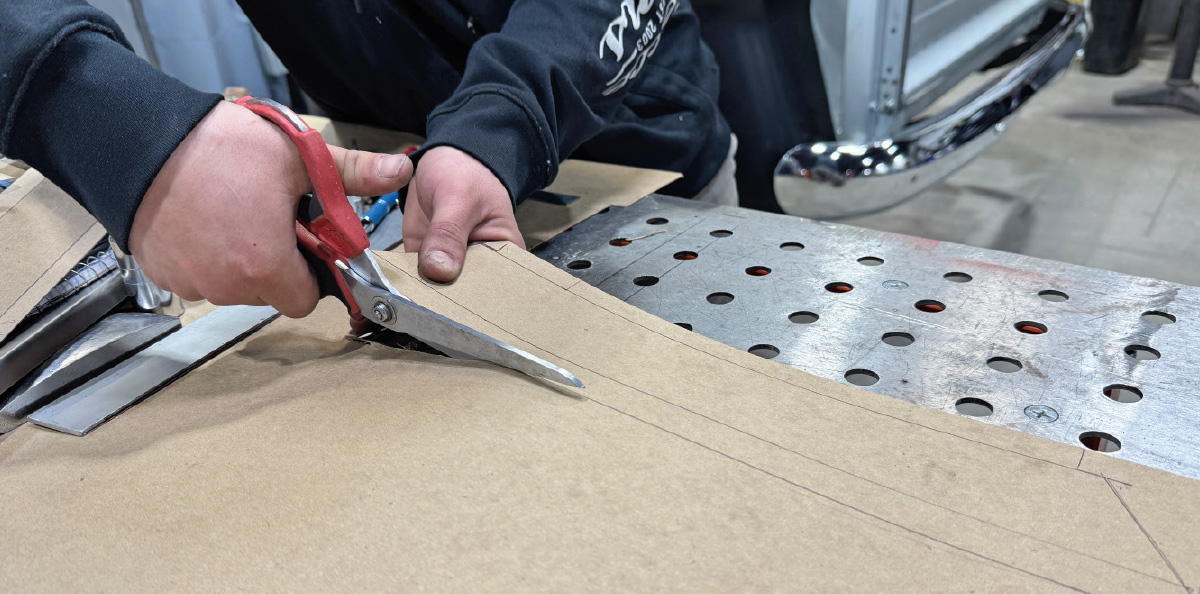
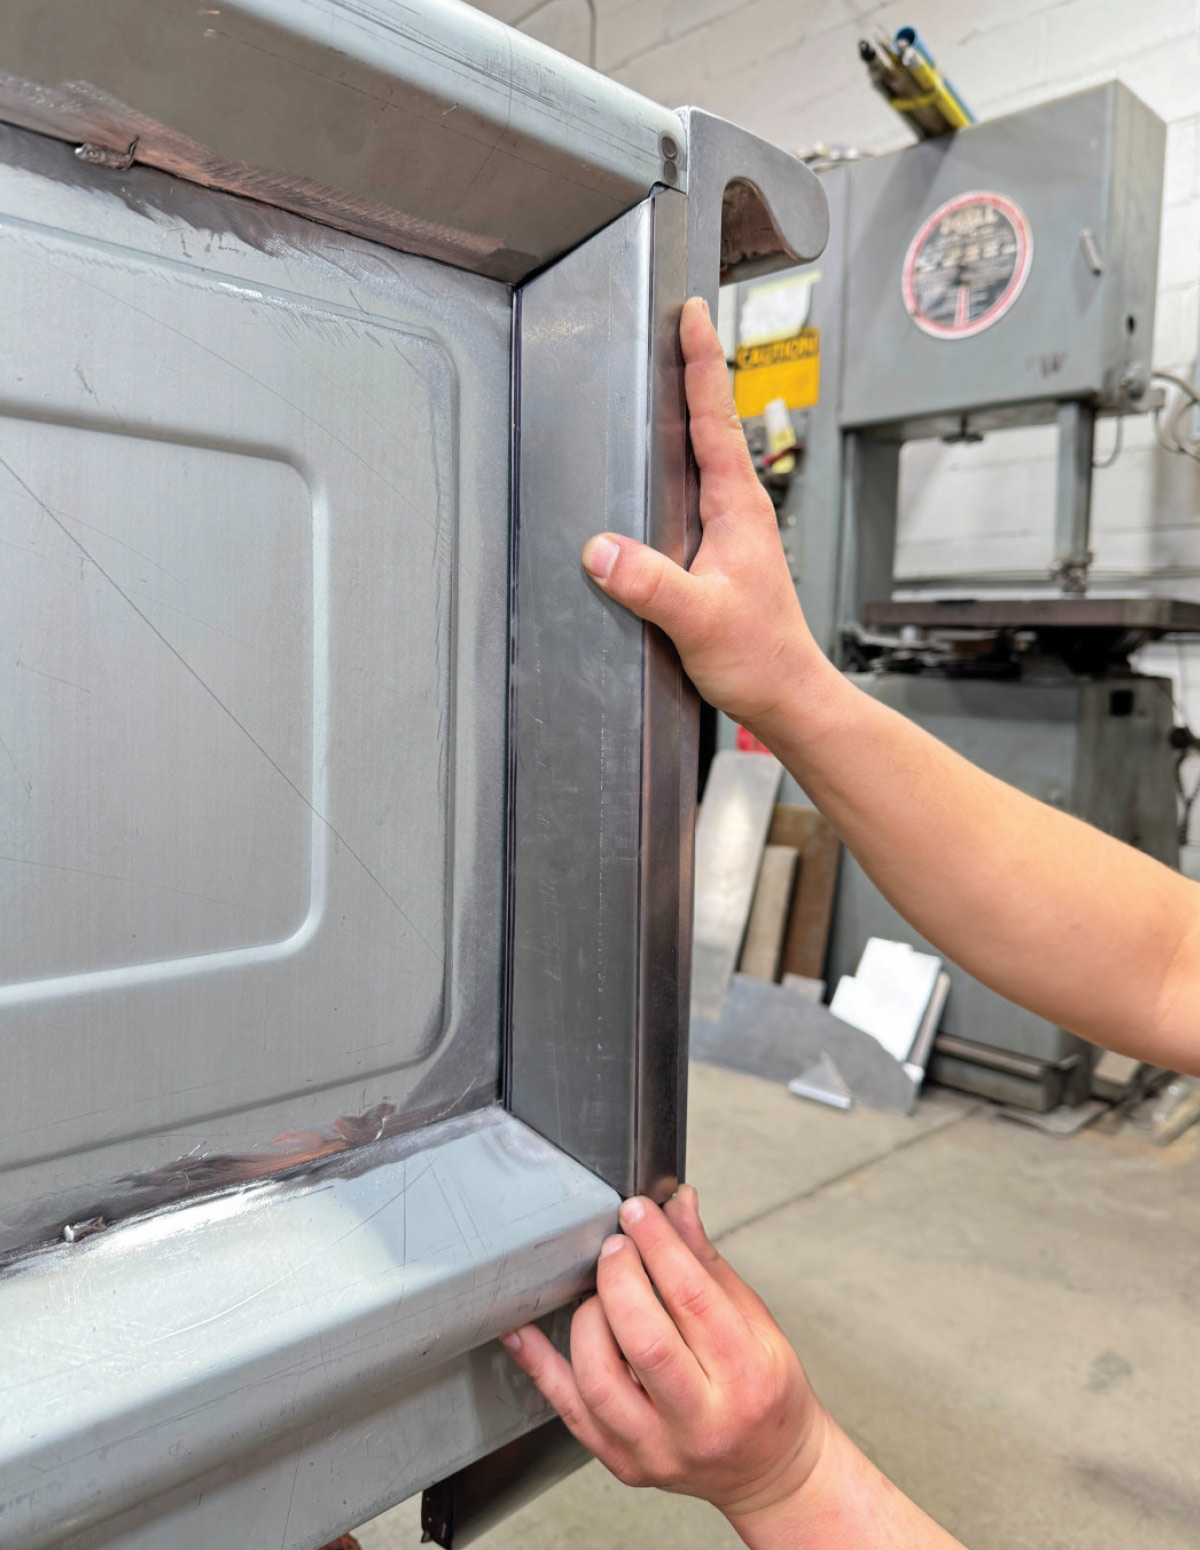
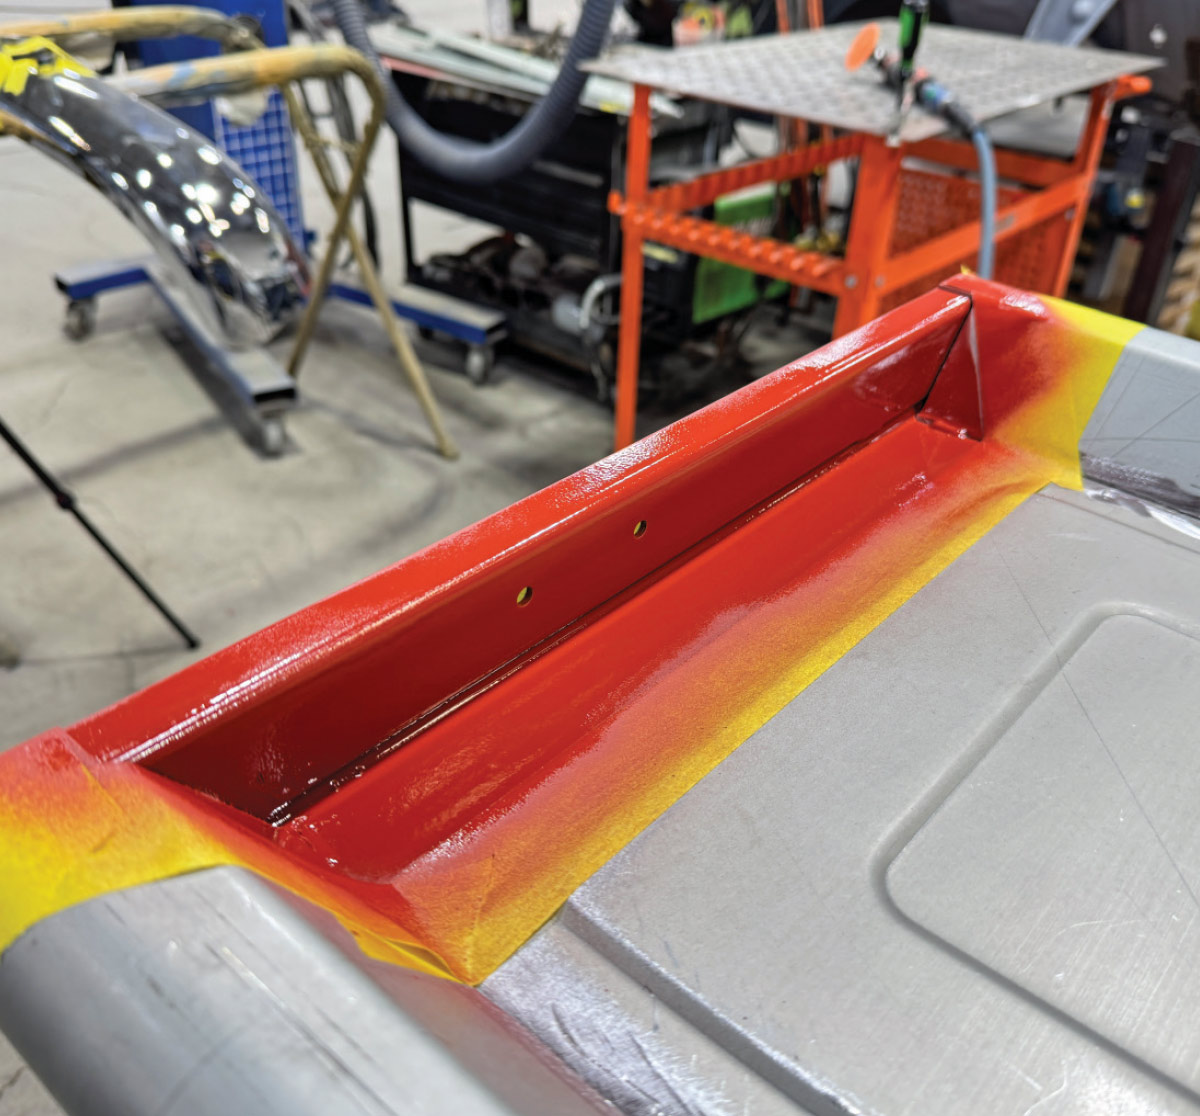
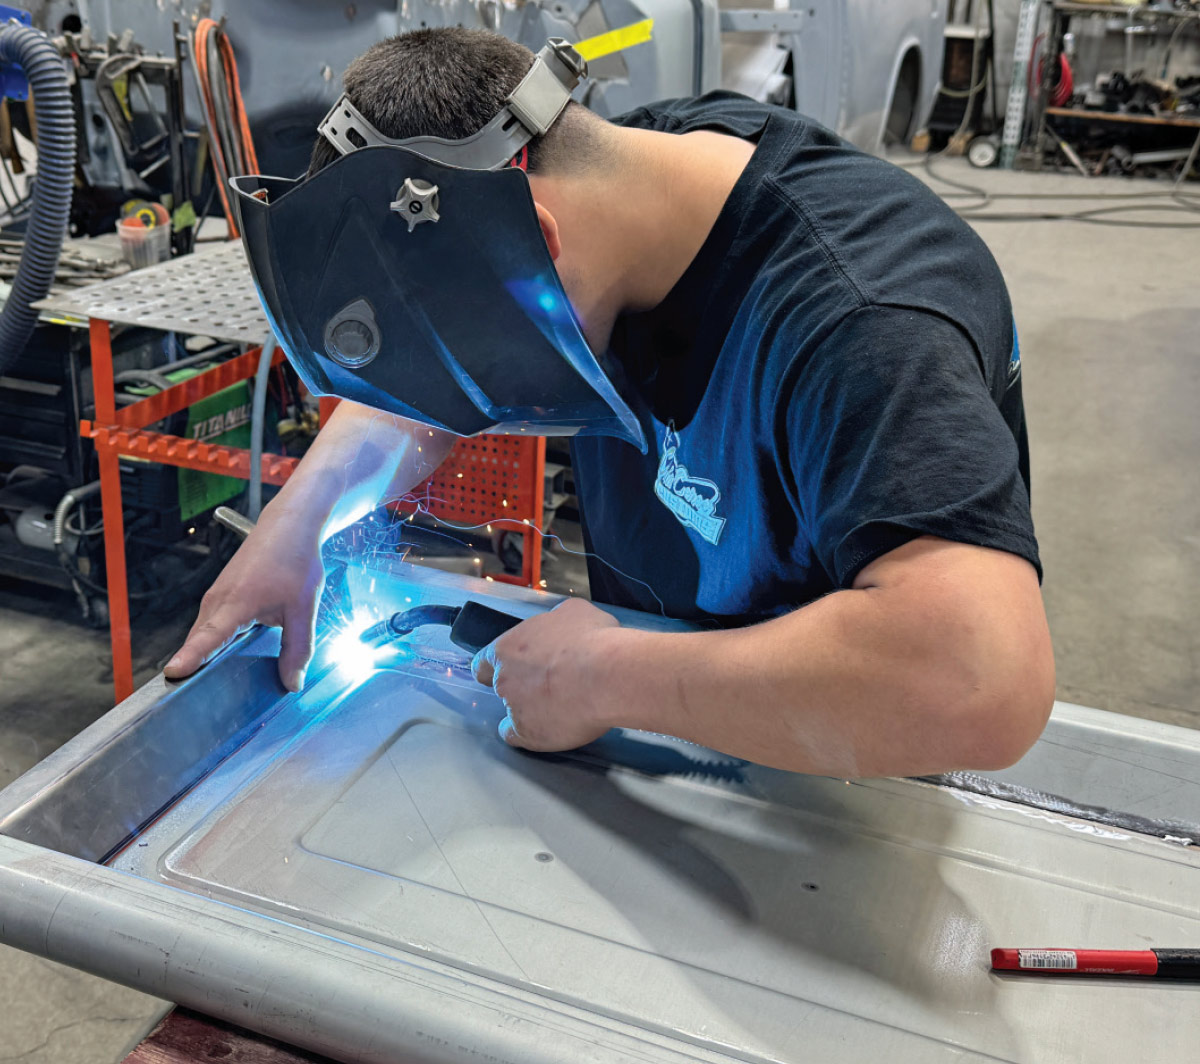
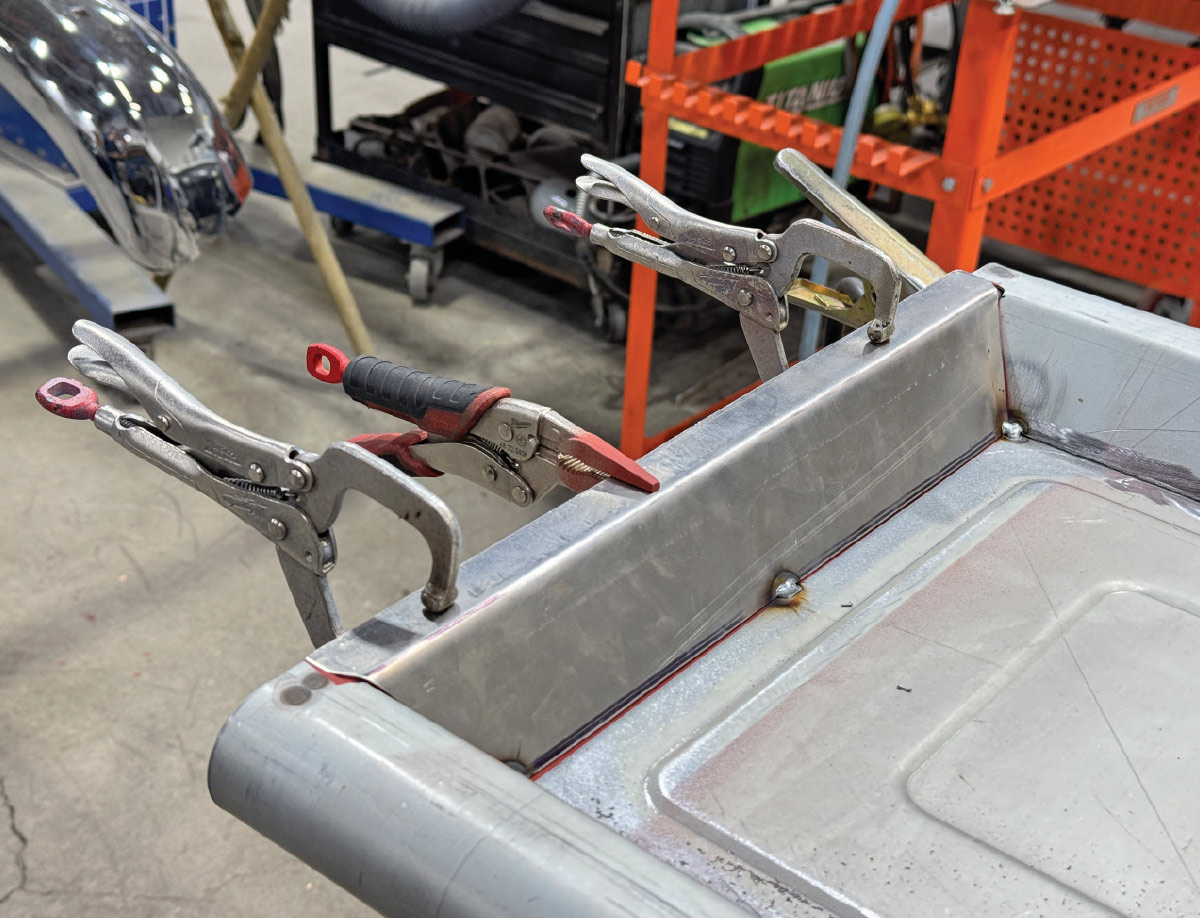
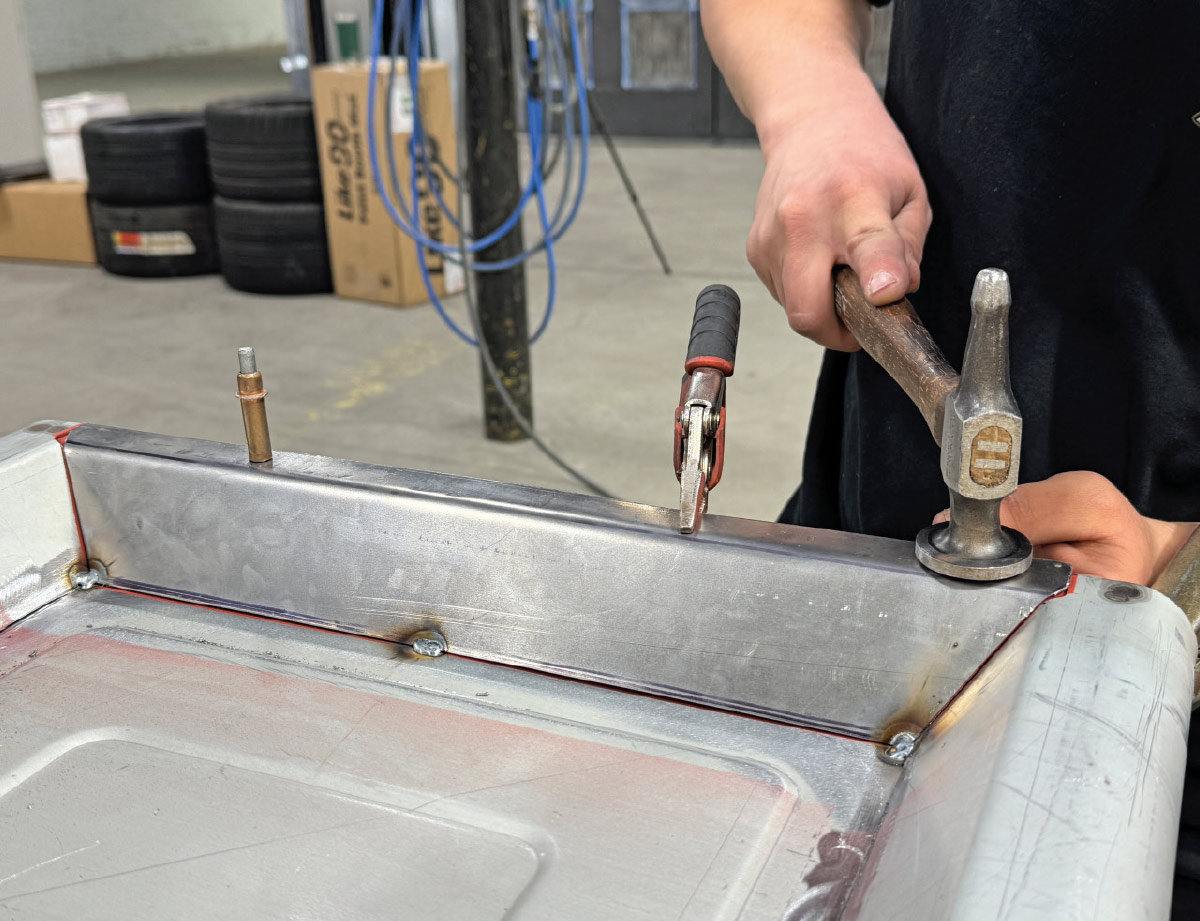
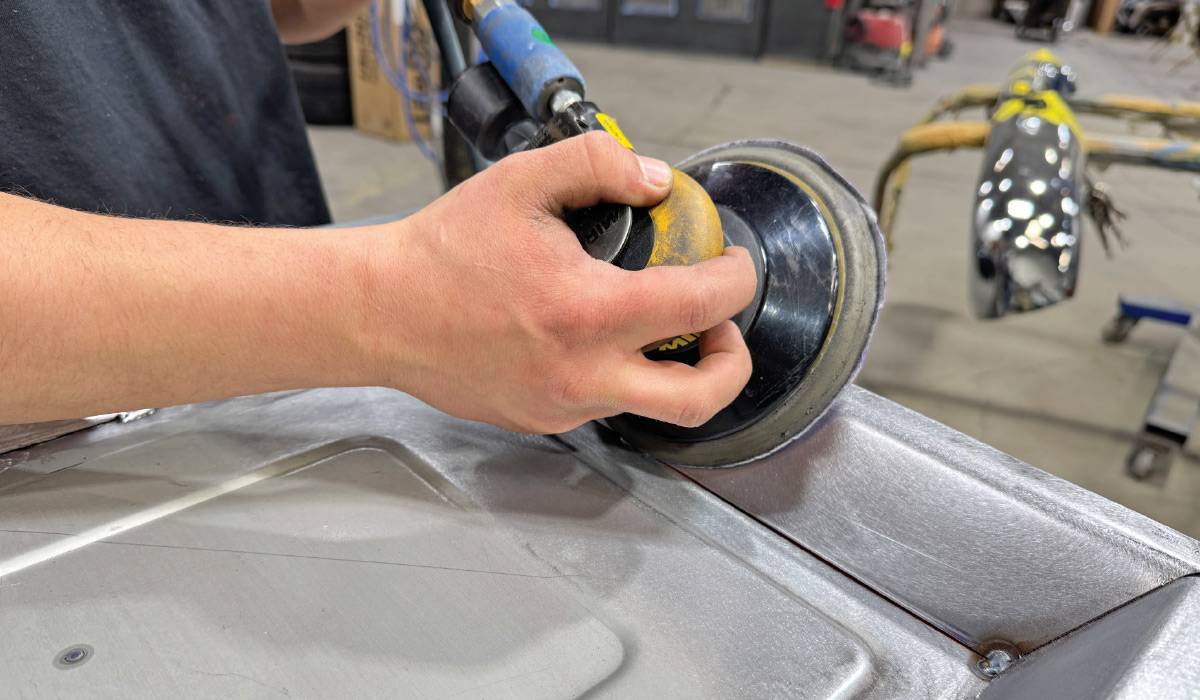
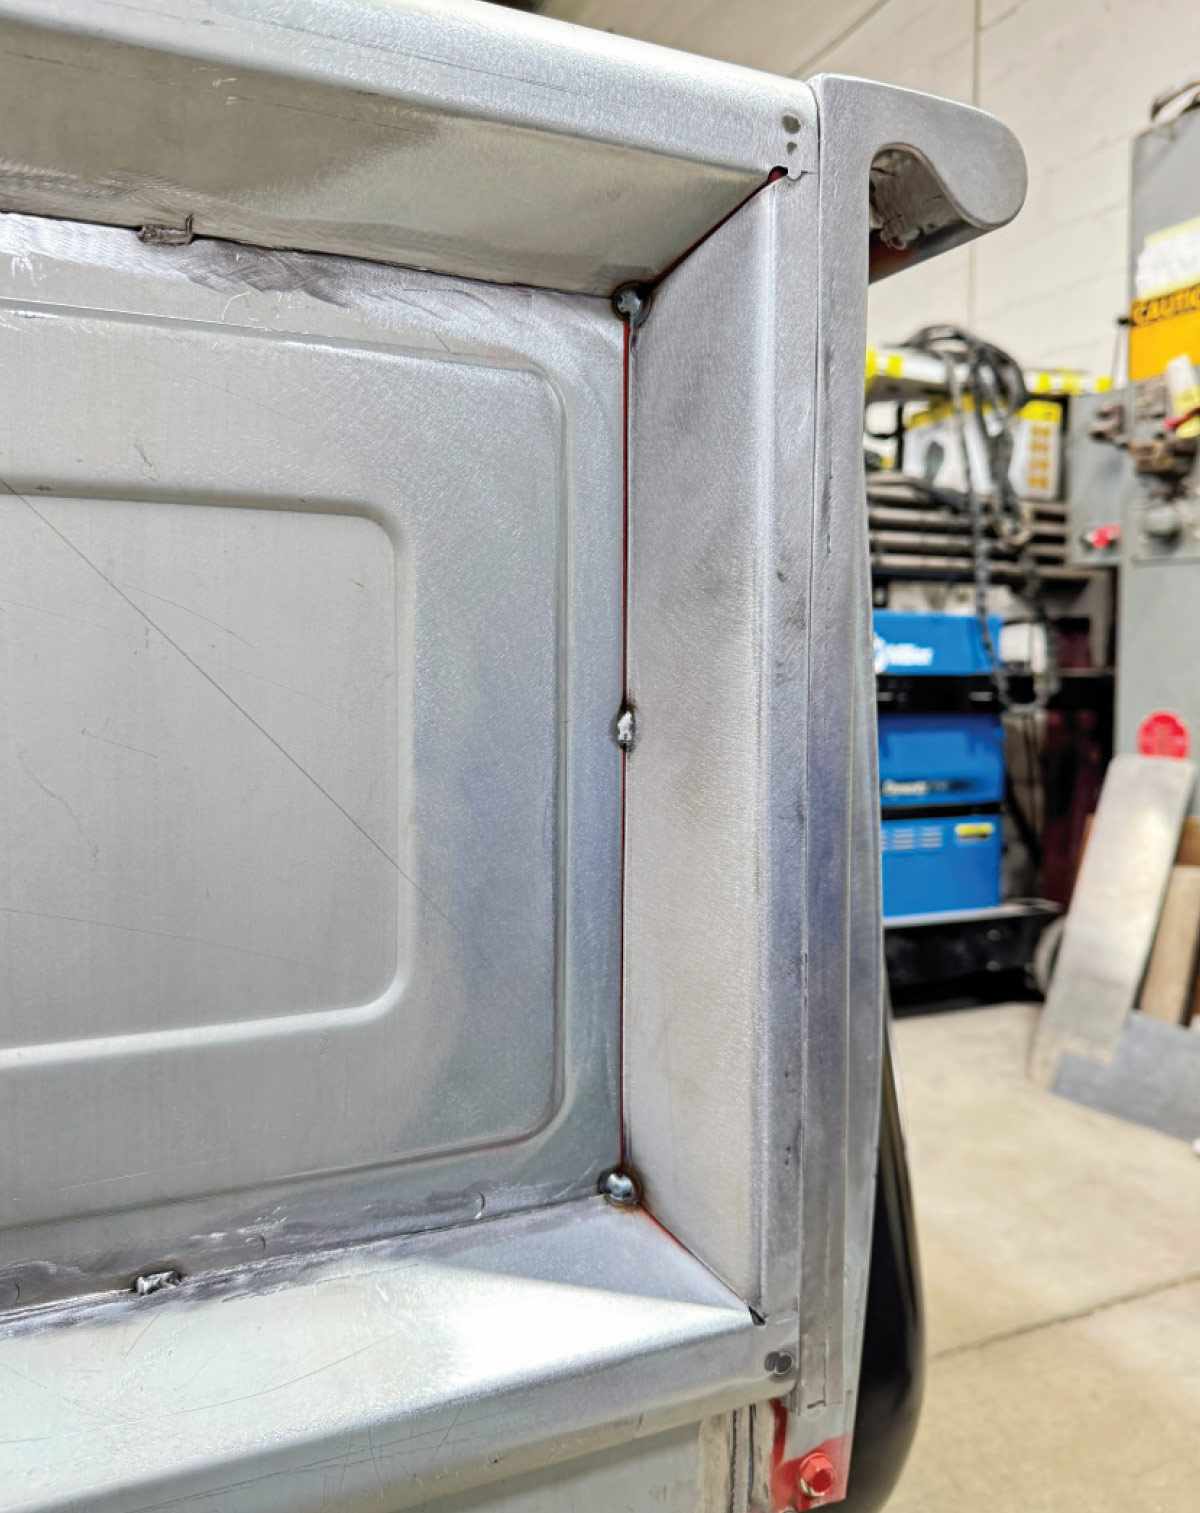
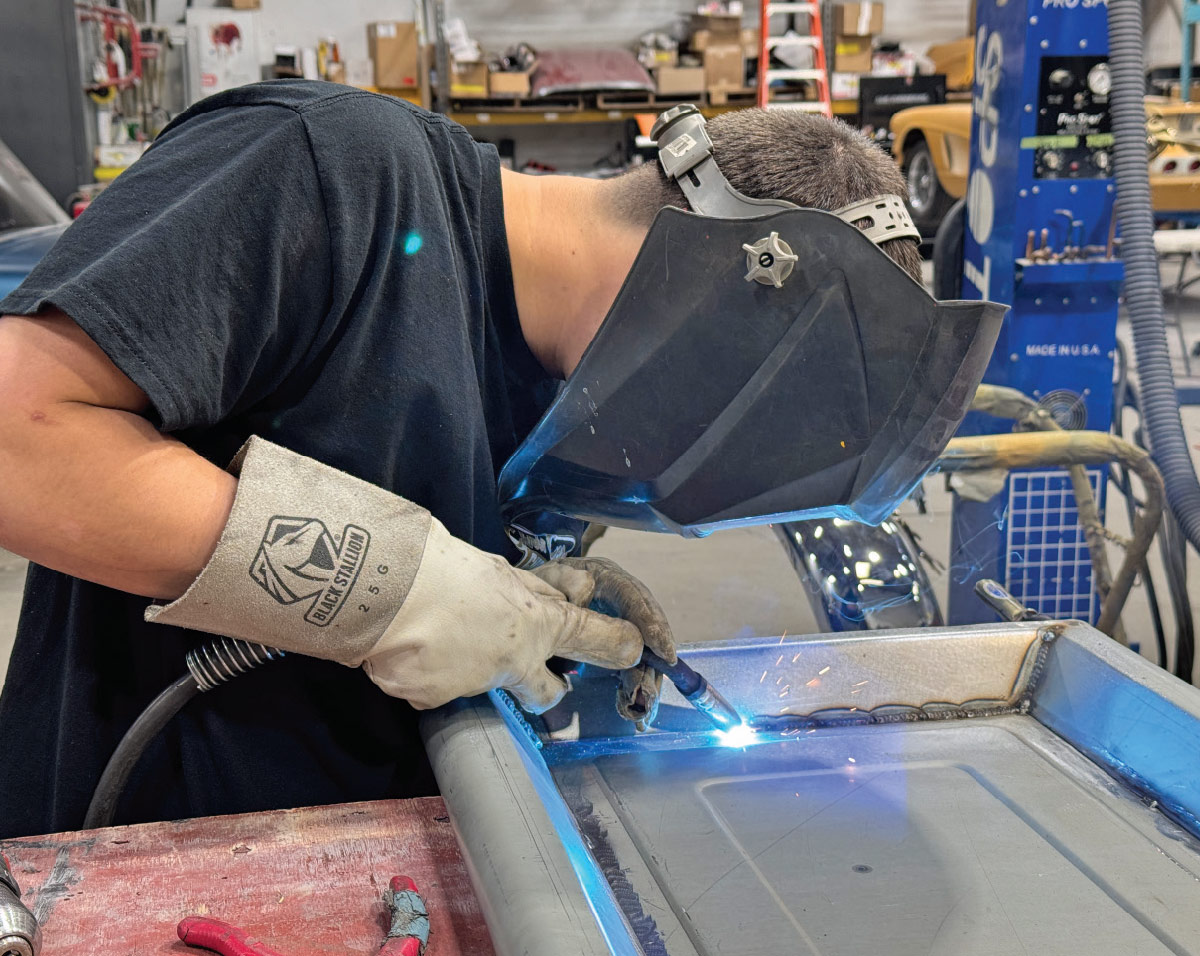
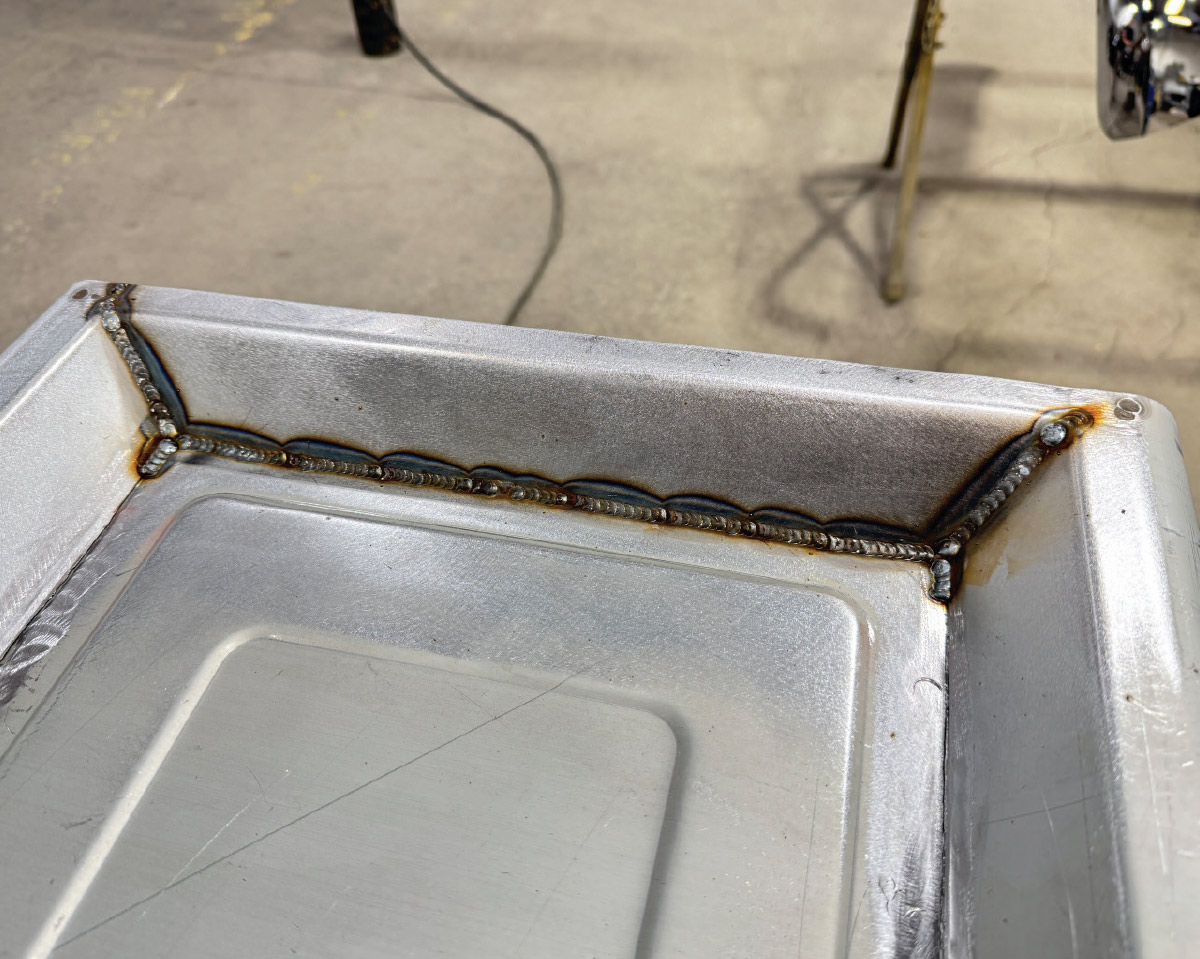
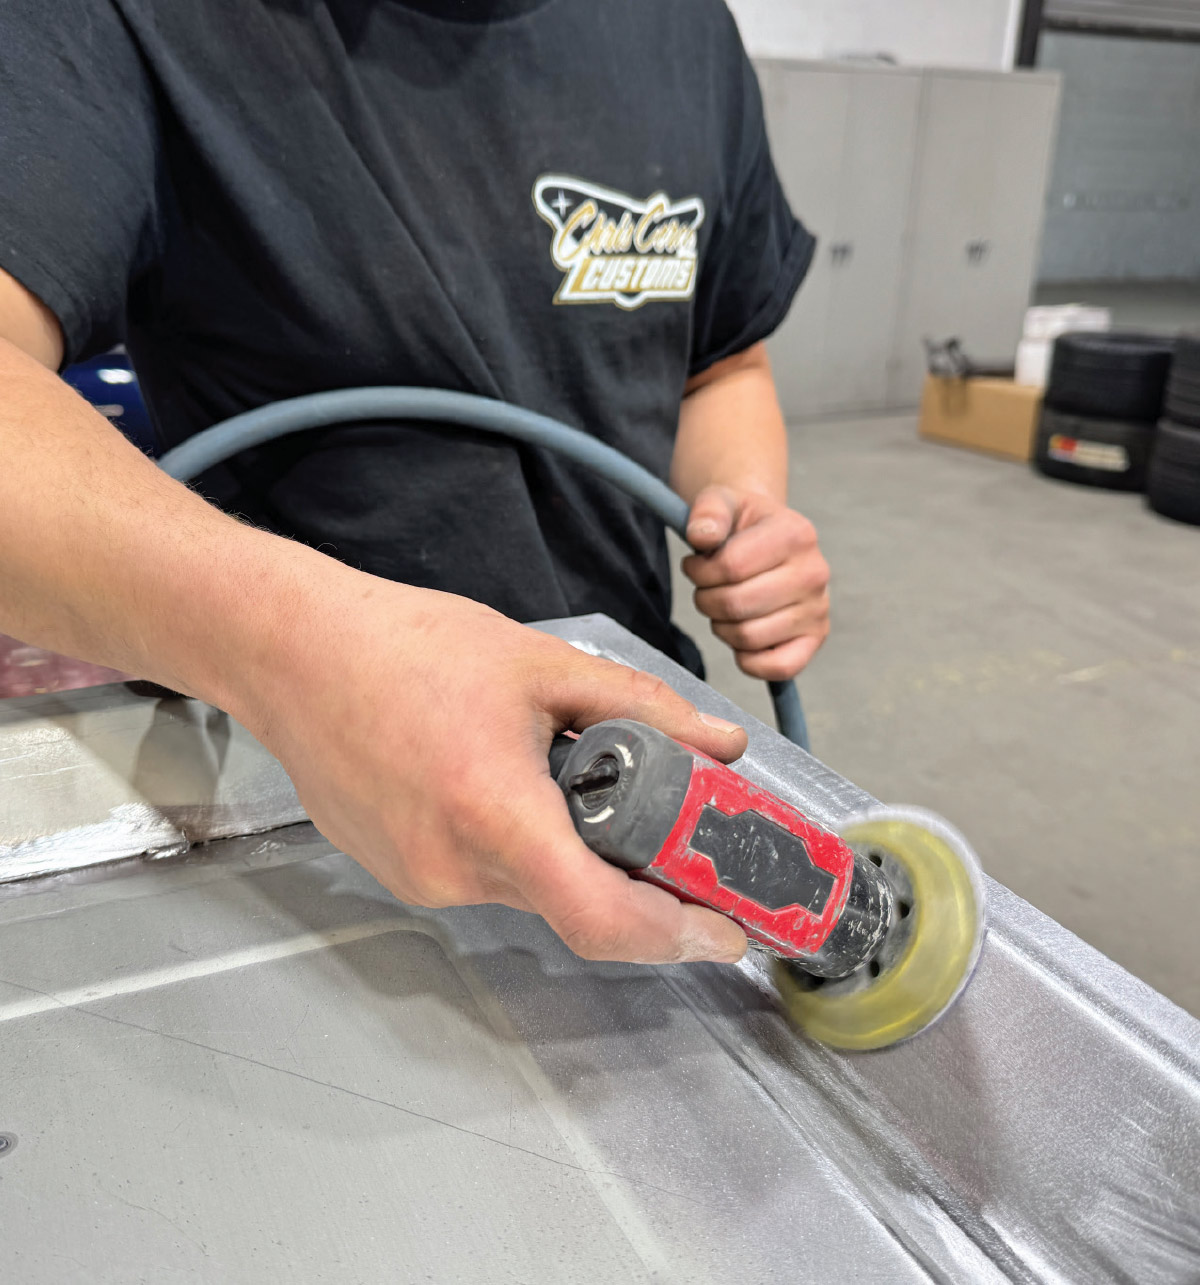
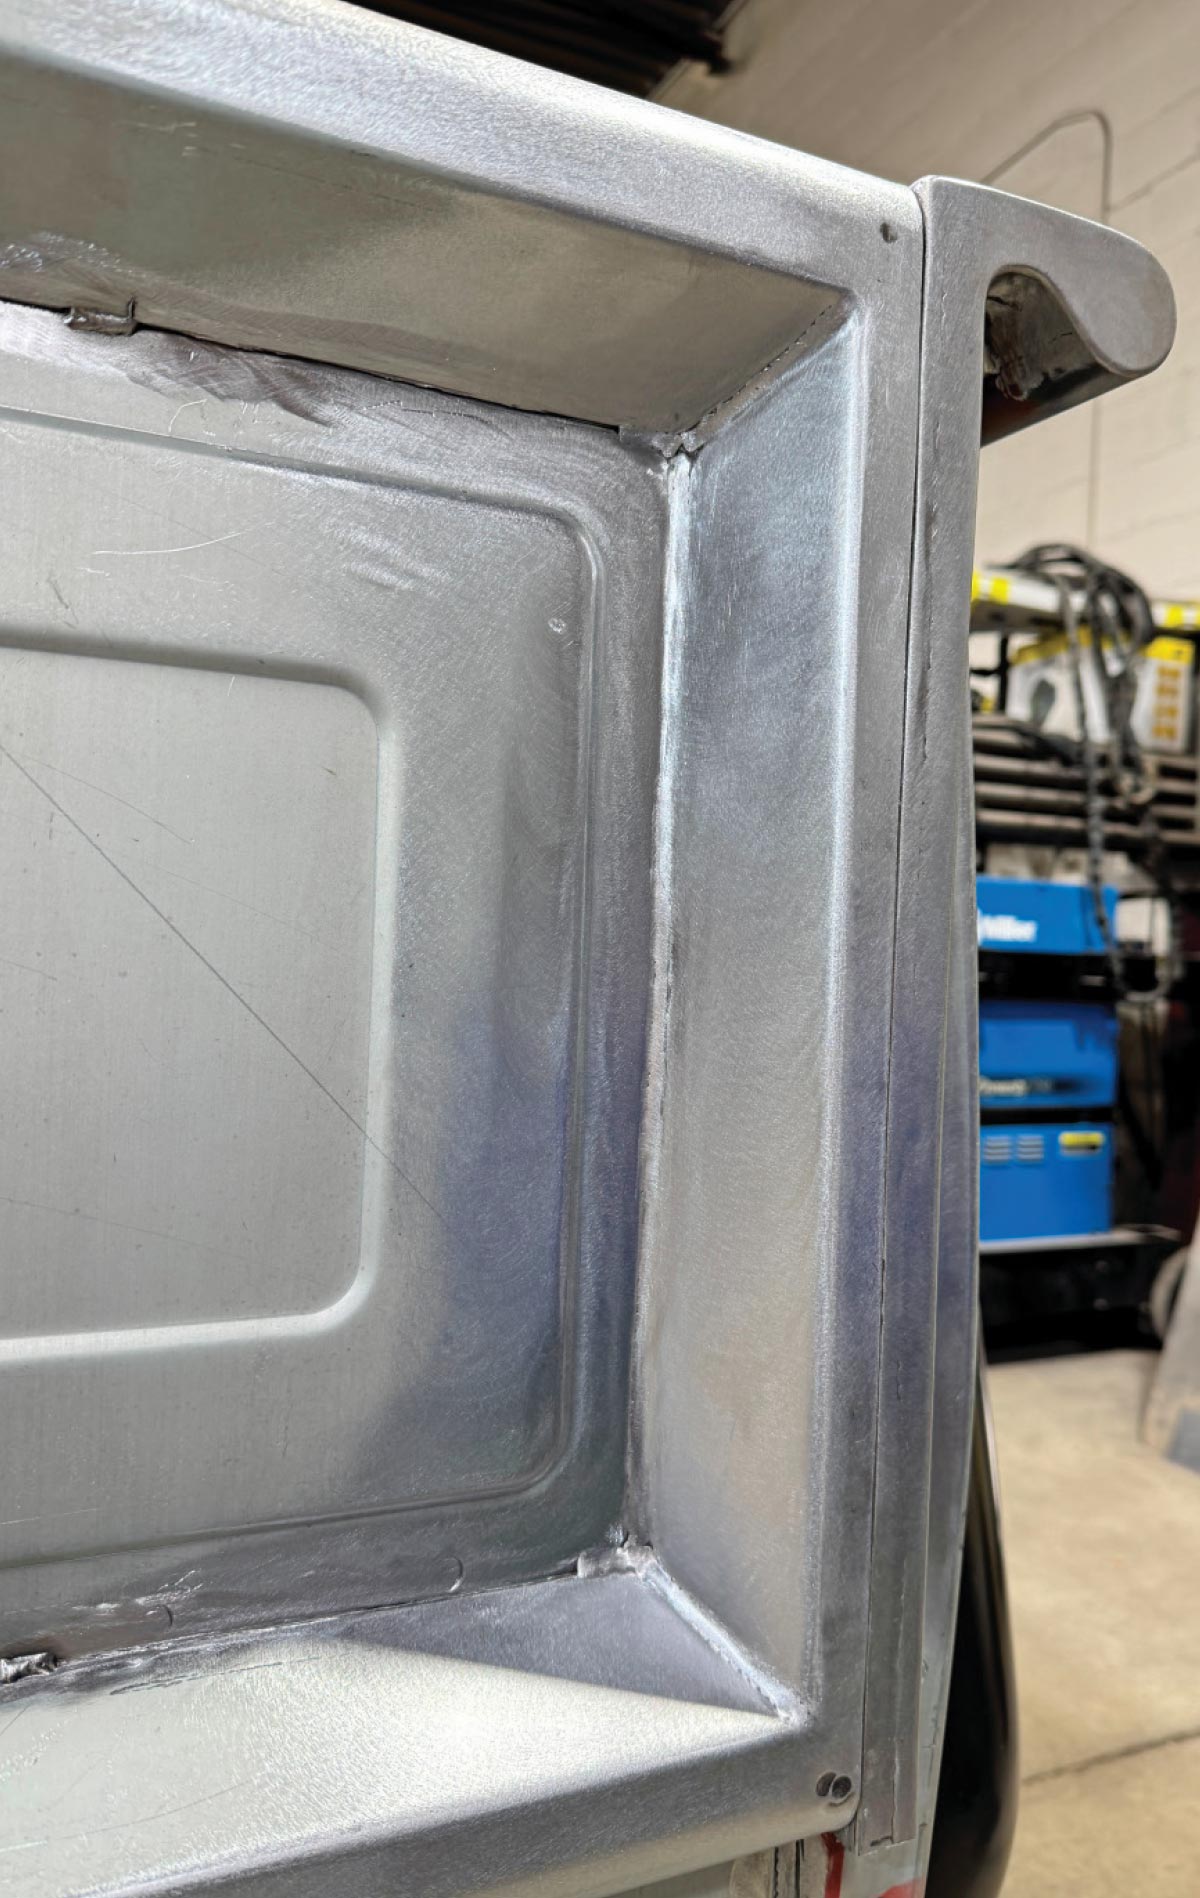
Recently, we visited Chris Cerce Customs (CCC) in Taunton, Massachusetts, to check out a 1956 Chevy 3100 series Stepside in for a full makeover, including a 755hp Chevrolet Performance LT5 supercharged V-8, Choppin’ Block Stage-3 Performance chassis, and plenty of custom details to give it the stunning CCC look. In a previous issue, we focused on updating the factory stake pockets for a smoother, more custom look. Here, we’ll focus on adding a special touch to the new Premier Street Rod replacement tailgate with a contemporary picture frame style to give it a fresh, new look. Let’s follow along as CCC team member John Breault works his fabrication craft, bringing it to the next level.

Tailgate on reddish worktable, perimeter weld seams visible, tools scattered, concrete floor, vehicle tires behind
1. A replacement tailgate sourced from Premier Street Rod was the perfect candidate to get updated to a picture frame style by Chris Cerce Customs (CCC) team member John Breault.
Tailgate edge close-up, evenly drilled holes in reinforcement strip, clean welds, surface scratches, mallet partially visible
2. The first step was to remove the tailgate’s inner factory-style flange for a much smoother overall look.
Drilling spot welds, red Milwaukee drill, tailgate reinforcing strip, safety glasses and ear protection, Club Carce Customs shirt
3. Using a cordless drill while wearing safety glasses, a pilot hole was drilled through the center of each spot weld.
Red Milwaukee impact driver on strip, fastenersspot weld heads visible, operator in ear protection, Club Carce Customs tee
4. A 3/8-inch Blair Equipment spot-weld cutter was then used to break through each of the spot-welds. The area was then blown clean of any debris.
Grindingcutting tailgate edge, pneumatic cut-off wheel, BLACK STALLION 25G gloves, metal debris on surface
5. With a cutoff wheel, the inner flange was carefully cut from the upper frame.
Separating seam, hammer and chiselpry tool, blue hammer head “30015”, BLACK STALLION 25G gloves, vehicle in background
Blue-handled panel separator on seam, gloved hand, hammer nearby, shop equipment in background
6-7. A hammer and chisel were used to separate the welds of the inner flange from the tailgate.
Detail grinding weld area, small pneumatic grinder, yellowblack disc, polished grind, body tools in background, Club Carce shirt
8. The surface areas of both the removed inner flange and upper frame were ground smooth using a disc grinder, starting with 36-grit and then 80-grit.
MIG welding task force tailgate
9. The area seam was then completed using a MIG welder by first tacking them together and following with final welding, allowing ample time for sections to cool before completion.
Marking cardboard template, blue pencil, metal ruler, perforated steel bench
Cutting cardboard template, red aviation snips, “CUSTOMS” shirt, truck bed and chrome bumper behind
10-11. Left- and right-side filler panels were then measured and cut to create templates for the side framing.
Transferring template to metal, black thumb screws, red scribe, red table, clean panel
12. The templates were then transferred onto 18-gauge sheet steel using a Sharpie.
Cutting sheet metal, large red electric shear, template screws, steel rule on red table
13. An electric shear was then used to cut each panel. They were then deburred using a belt sander.
Yellow Empire angle finder on tailgate corner, degree scale visible, welded joint
14. To get the correct angle for the filler panels, a protractor was used to mirror the upper and lower frames. Here the angle was exactly 135 degrees.
Bent wire gauge at tailgate edge, weld seam, hand close-up
15. For extra reassurance, a section of welding rod was fashioned, confirming everything.
Bending sheet on blueyellow brake, thin strip, Club Carce Customs shirt
16. The section was then bent to specification with a sheetmetal brake.
Test-fitting inner edge panel on tailgate, hand alignment, clean silver metal
17. Here you can see the perfect fitment of the completed side frame filler panel to the tailgate.
Red-painted reinforcement panel, yellow masking tape, triangular gussets, chrome bumper nearby
18. Internal areas of the filler panel and tailgate surface were masked and coated with self-etching weld-through primer and then allowed to thoroughly dry before the next step.
MIG welding inner edge, helmet on, clamps and marker on table, shop racks
19. The inner areas of the frame panels were then tacked in place using a MIG welder.
Tailgate edge clamped, three C-clamps plus snips, fresh corner welds
Hammering panel for fit, body hammer, C-clamp, Cleco, red guide marks
20-21. Vise grips were then used on the outer panel to secure it in place for setting and hammer-forming the edge.
MIG welding outer edge, C-clamp hold, Cleco left, sawhorses
22. The panel edge was then carefully MIG welded to the tailgate.
Grinding weld seam, air rotary grinder, yellow disc, sparks, sawhorses
23. With the welding completed, the welds were ground smooth to a factory appearance.
DA sanding blended seam, flush finish, Club Carce Customs shirt, taped chrome bumper behind
24. The inner frame panels were then lightly sanded using a D/A with an 80-grit disc to clean them up.
Finished inner corner panel, welds blended smooth, minor grind marks, Miller machine in background
25. With the tailgate back in place on the bed you can start to see just how nice the transformation is coming along.
MIG welding inner seam, BLACK STALLION 25G gloves, red table, PRO-SPOT lift, blueyellow cars
26. All final welding of the inner frame panels were done using a TIG welder, allowing ample time for areas to sufficiently cool as the job was completed.
Finished inner-edge bead, uniform scallops, clean panel, grind marks
27. Here you can see the perfection in the TIG welding before the next step.
Belt-sanding inner welds, pneumatic tool with blue hose, blue wheeltire in background
28. To properly grind the welds smooth, a Dynabrade belt sander with a 1/4-inch belt and knife-edge rubber contact wheel ensured that the belt-only would contact the welds to properly complete the step.
2025 Cerce Task Force Tailgate
29. To wrap up the panel, a mini 3-inch D/A with an 80-grit sanding pad was used to bring it all to a mirror-like finish.
Cerce Task Force Tailgate
30. The completed tailgate brings a whole new level of allure to the back of the truck with its perfectly balanced panels; we can hardly wait to see the finished truck!
SOURCES