CTP Tech
InTheGarageMedia.com
Checkin' It Twice
Fine-Tuning a Hard-Earned Hood-to-Cowl Gap
BY “Rotten” Rodney BaumanPhotography BY THE AUTHOR
D

uring the course of most any classic truck build, sooner or later we’re going to do something twice. Double-checking ourselves can certainly lower the risk, but wouldn’t that also be doing something twice? If it is, it should be OK here since double-checking a hood-to-cowl gap goes a bit quicker than repainting a hood and cowl.

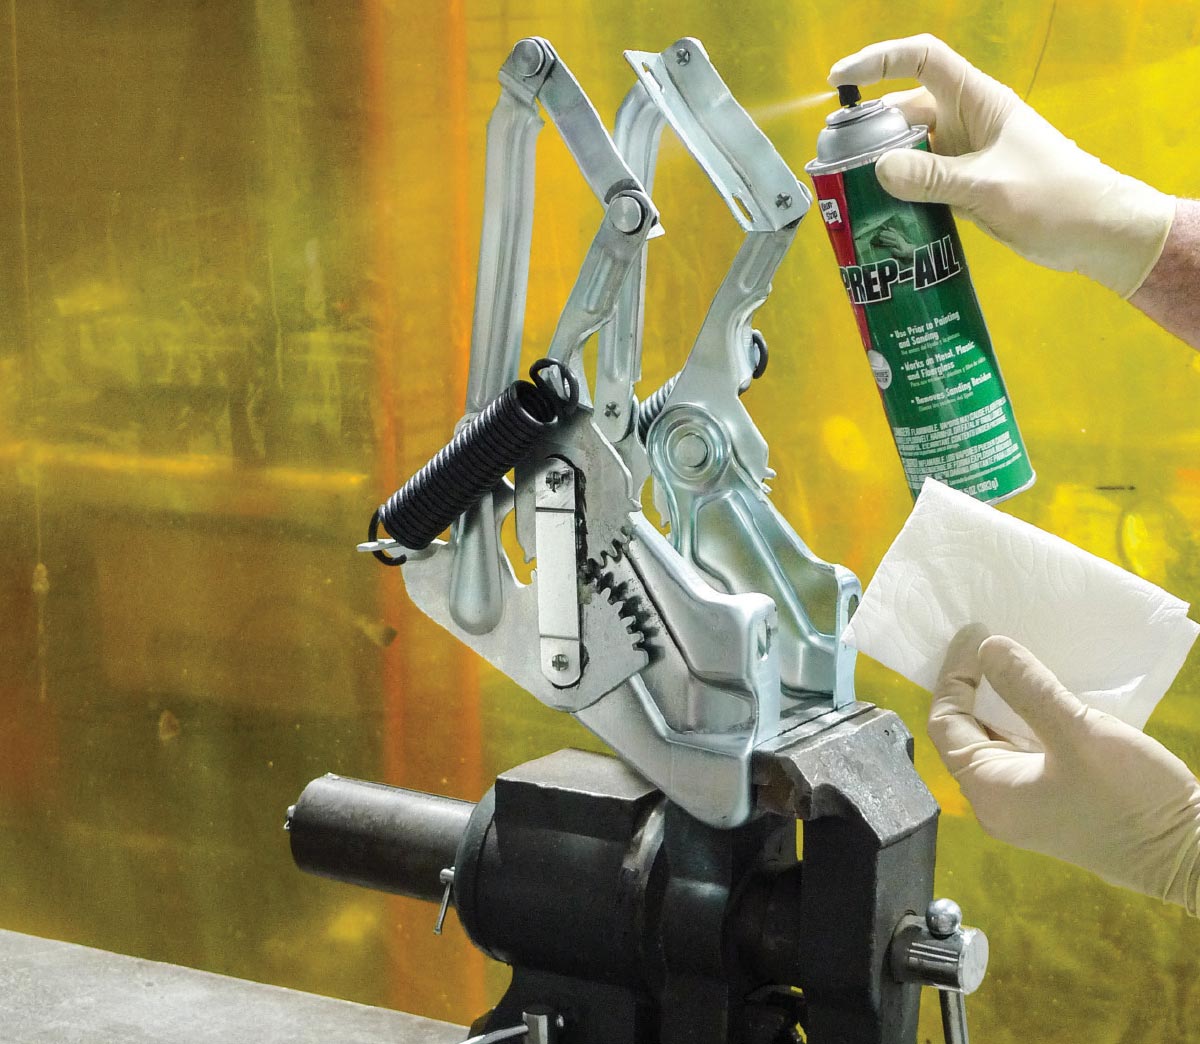
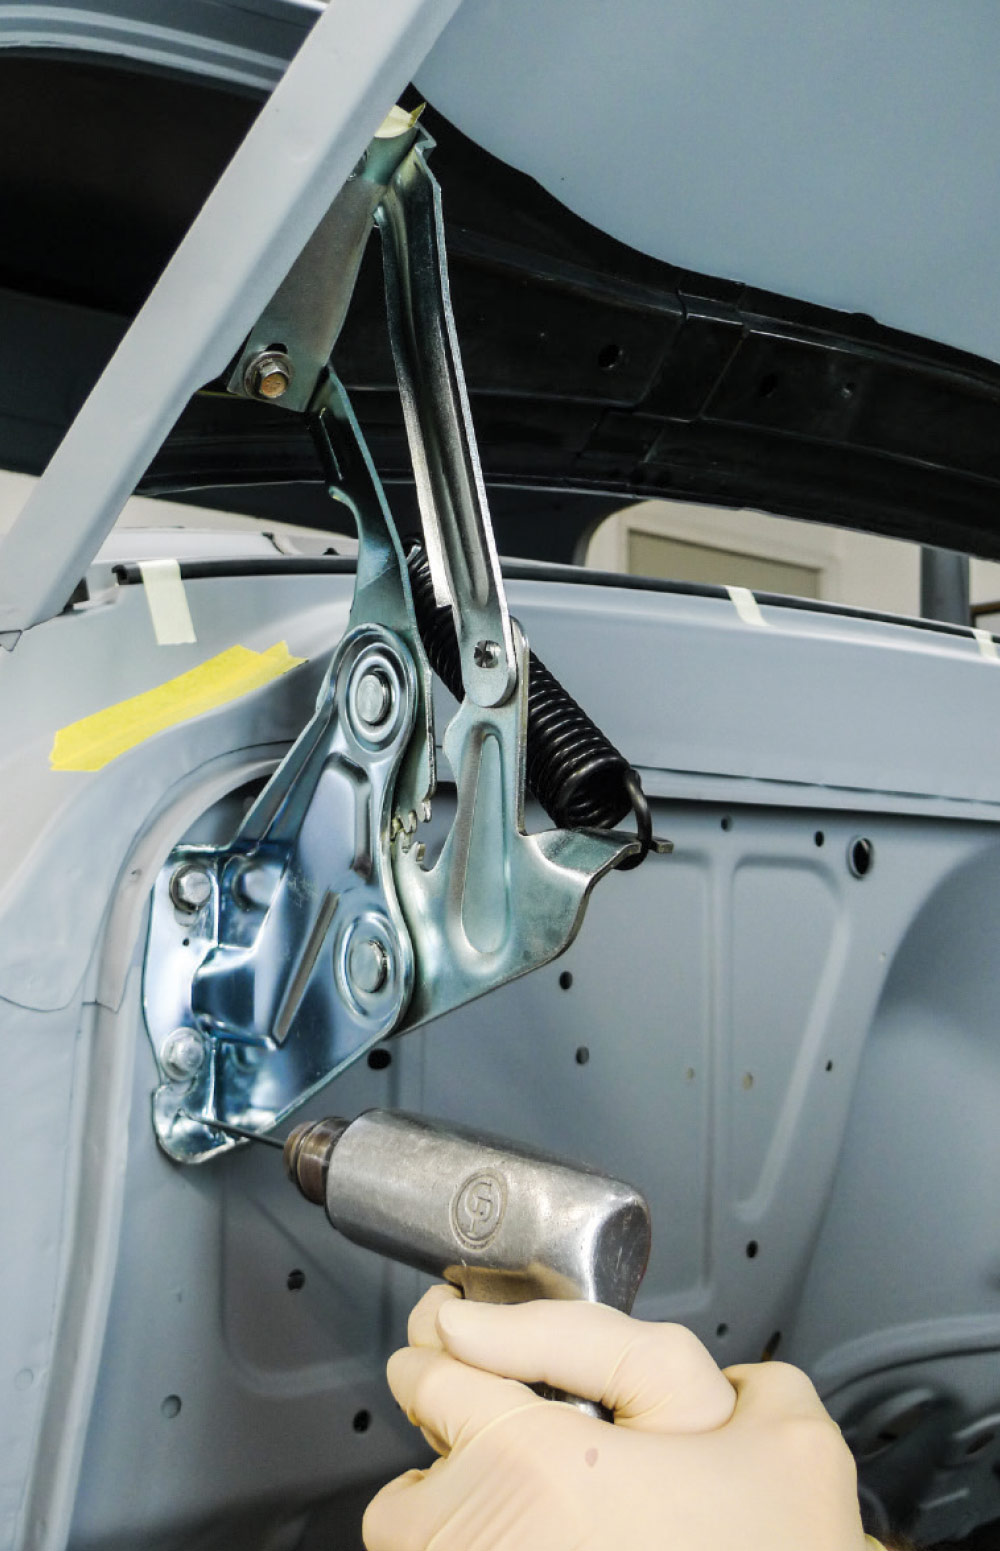
For an earlier issue, we did a little tech story that dealt with hidden damage. The inspiration came with the discovery of depressions in our project ’55 Chevy second-series cowl. Being optically challenged, I didn’t see it—and I must not have felt it before installing brand-new Brothers hood hinges right over the damage.

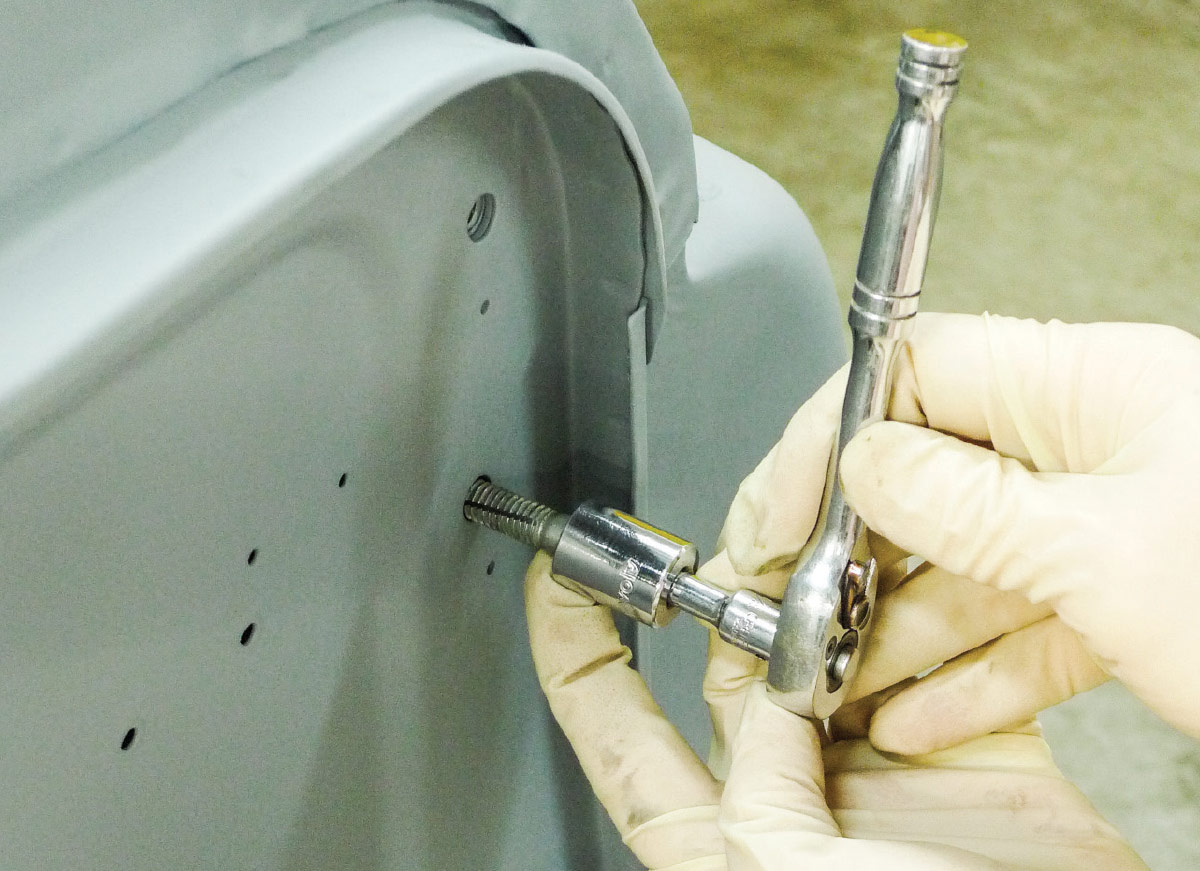
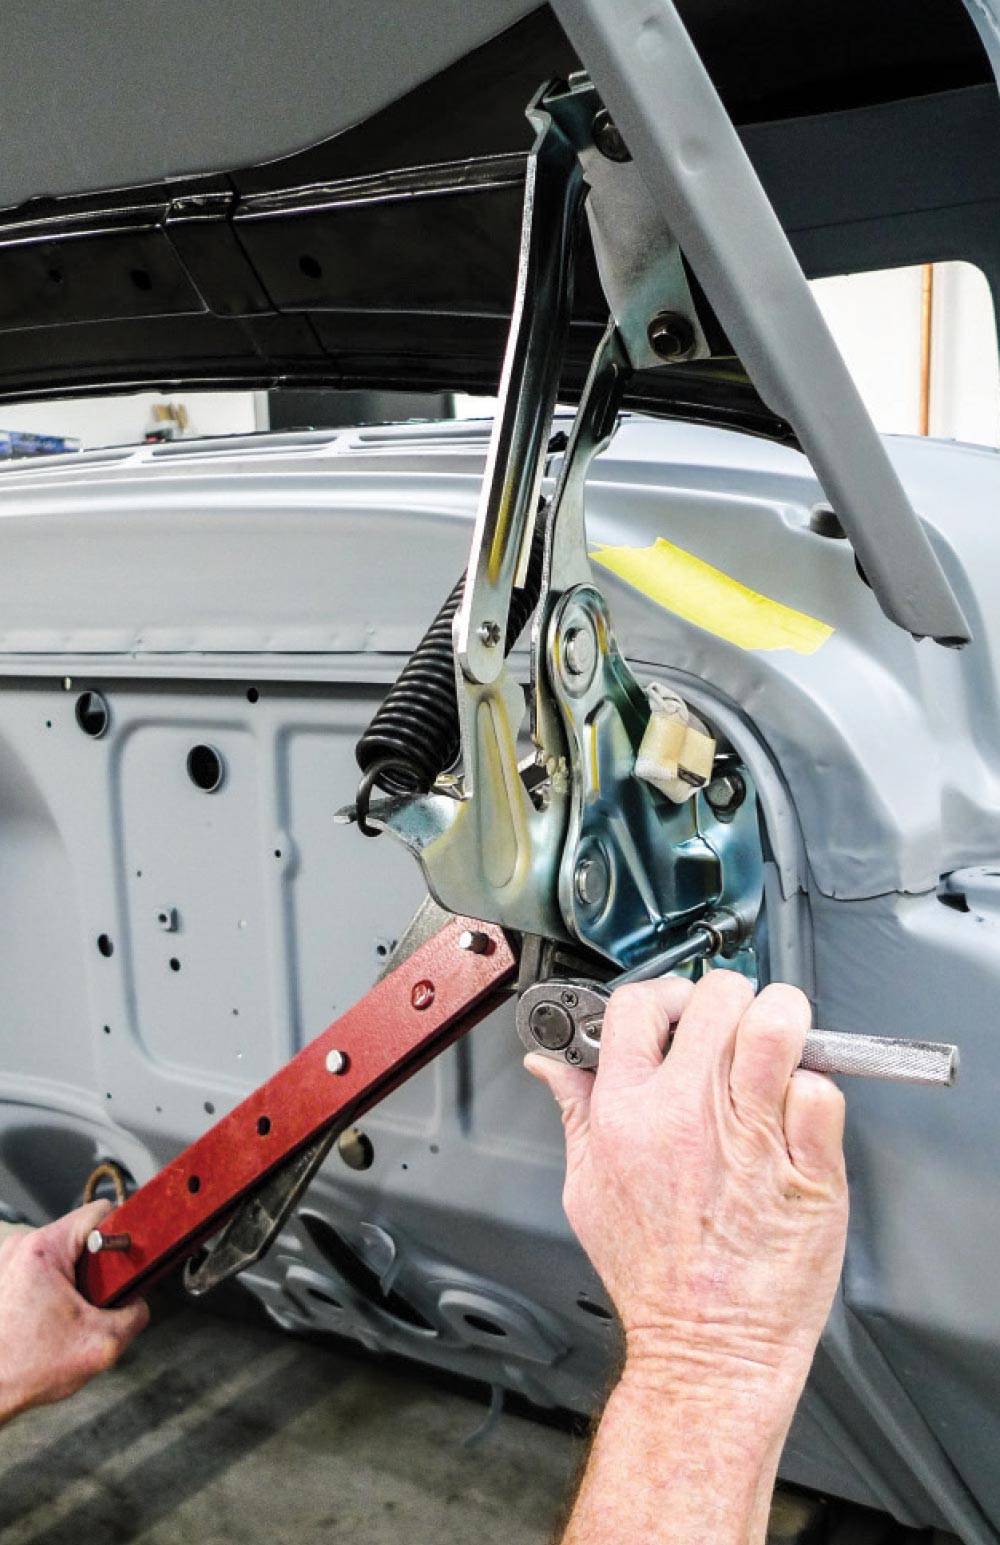
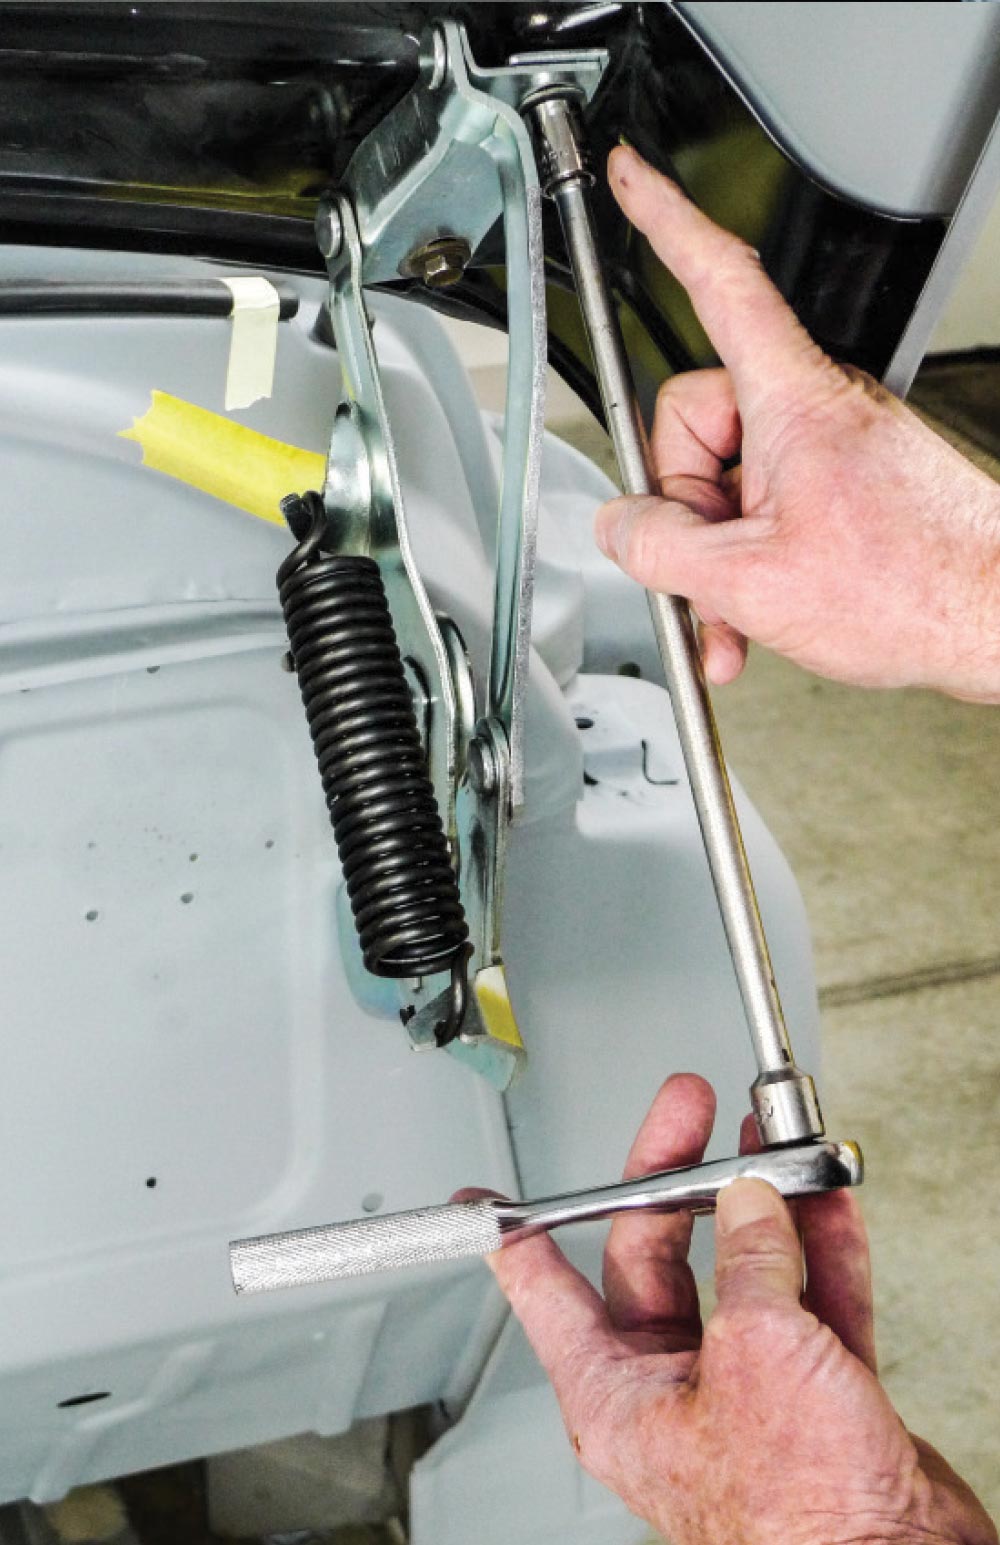
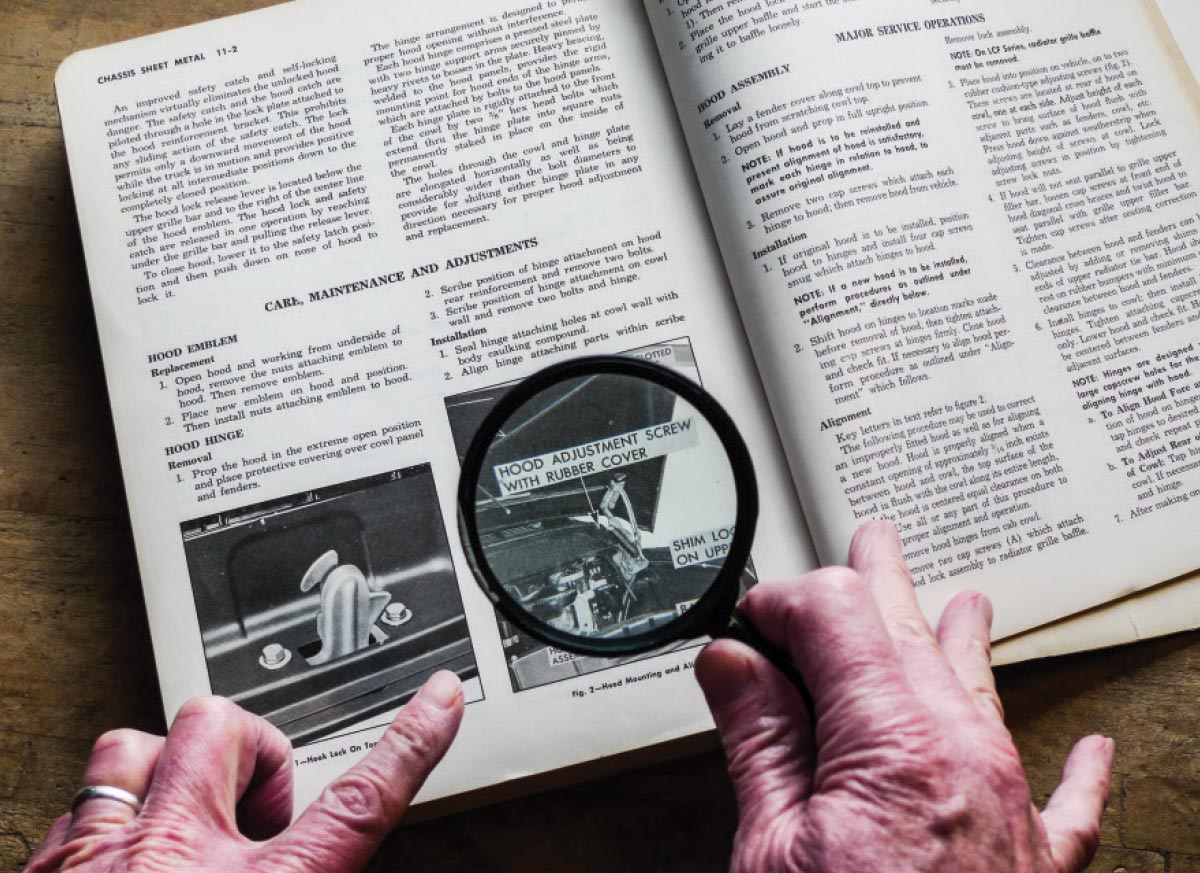
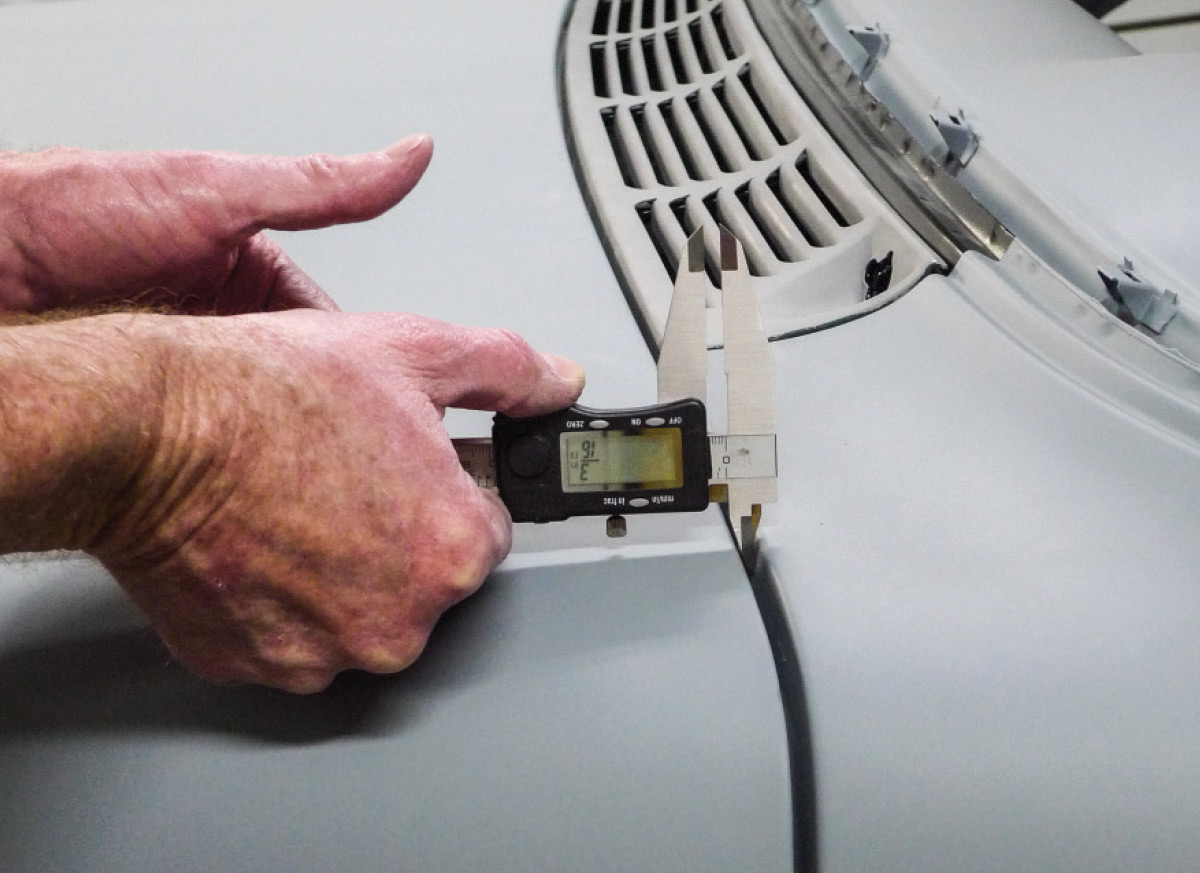
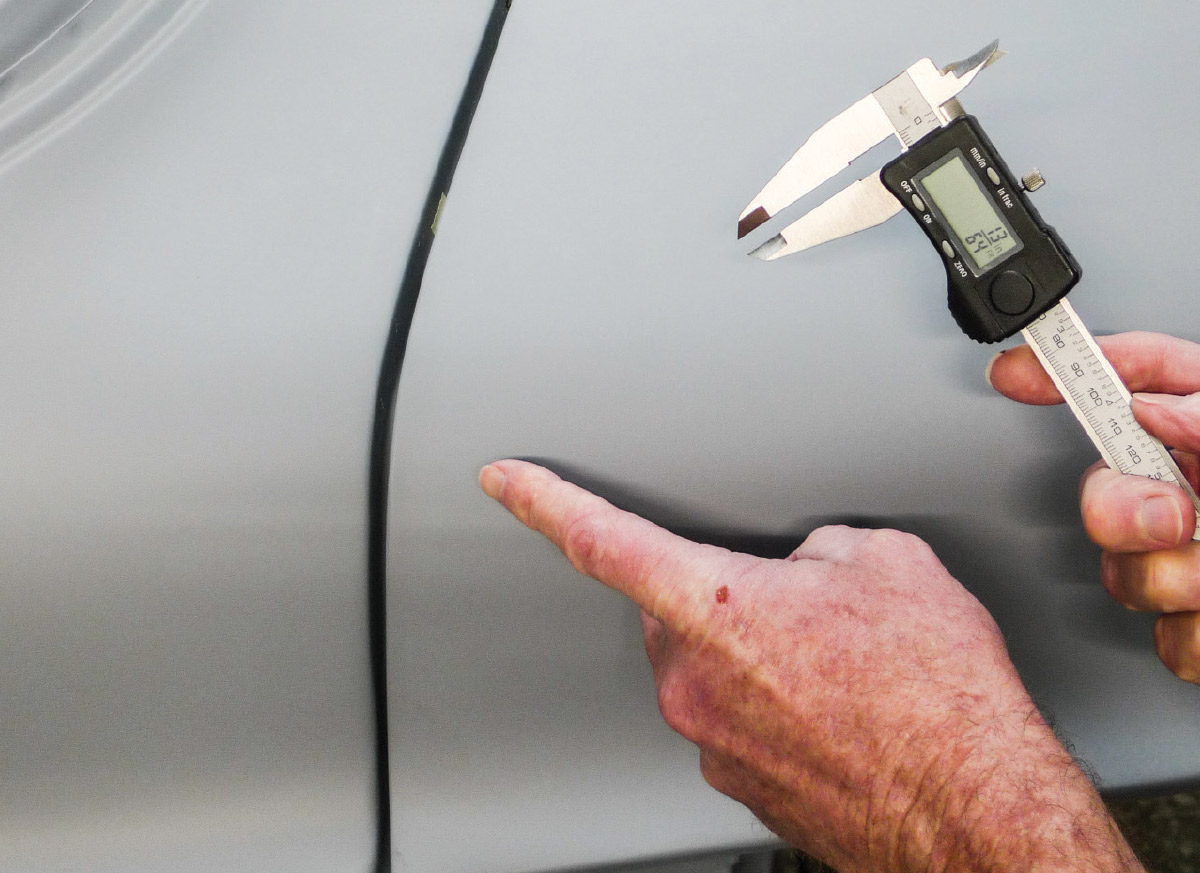
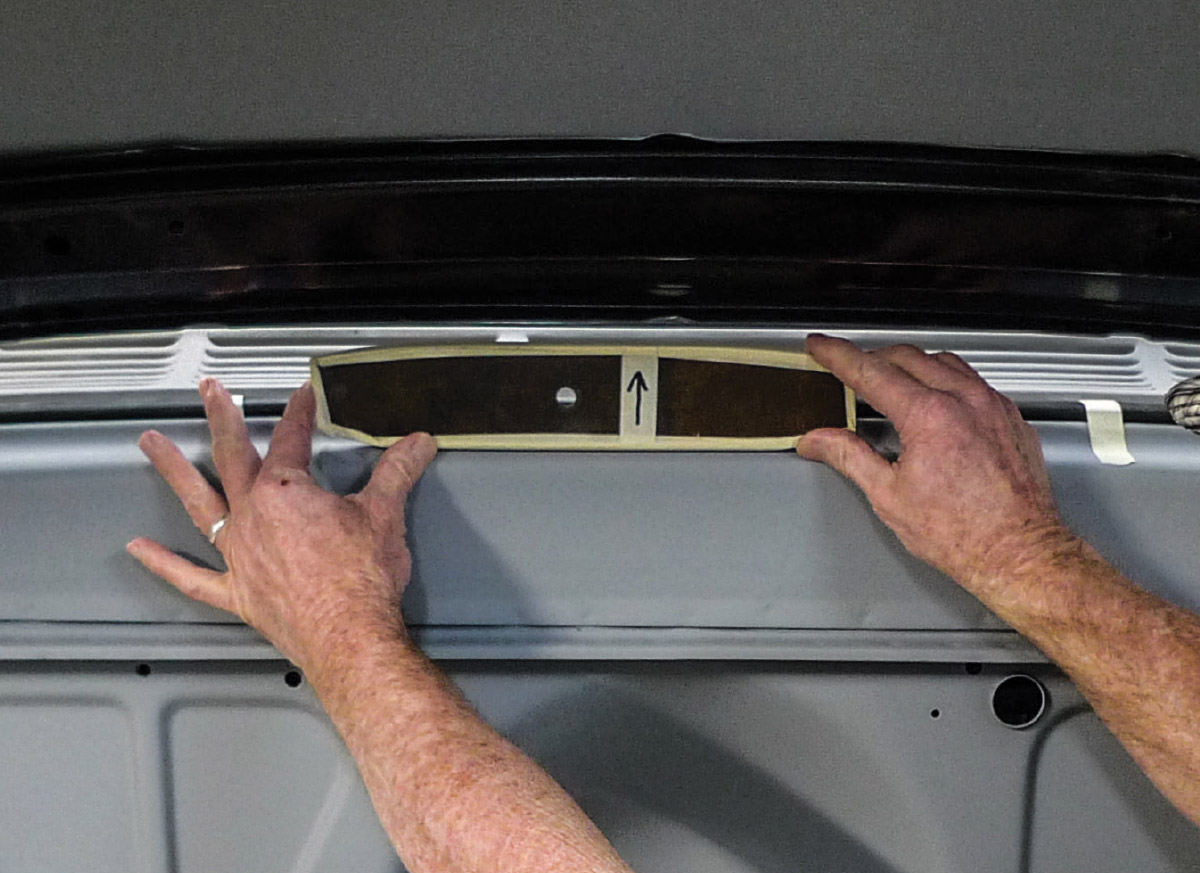
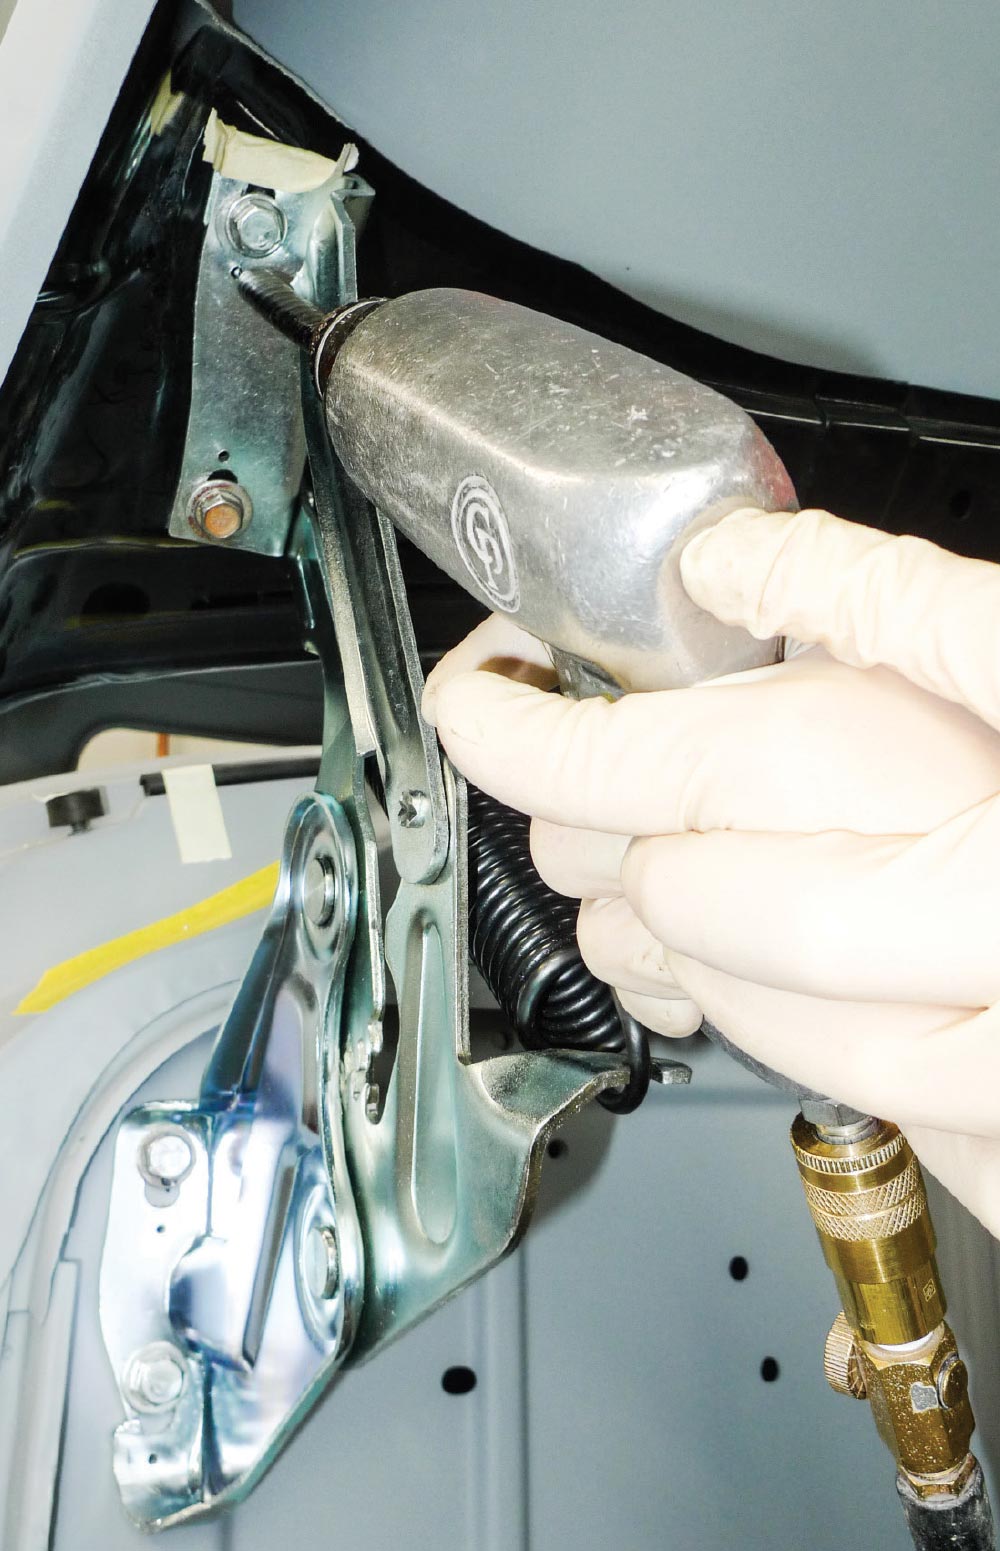
With the covered-up problem, mock-up alignment for the hood and surrounding panels was a struggle. We just couldn’t get our hood-to-cowl gap right without a box of shims. Our shop manual says: “If necessary, add shims between hood and hinge.” It says nothing about adding shims in other places. In order to achieve a factory-suggested 3/16 gap that still might later eat paint, we had to add shims at the lower hinge-to-cowl bolts, too.

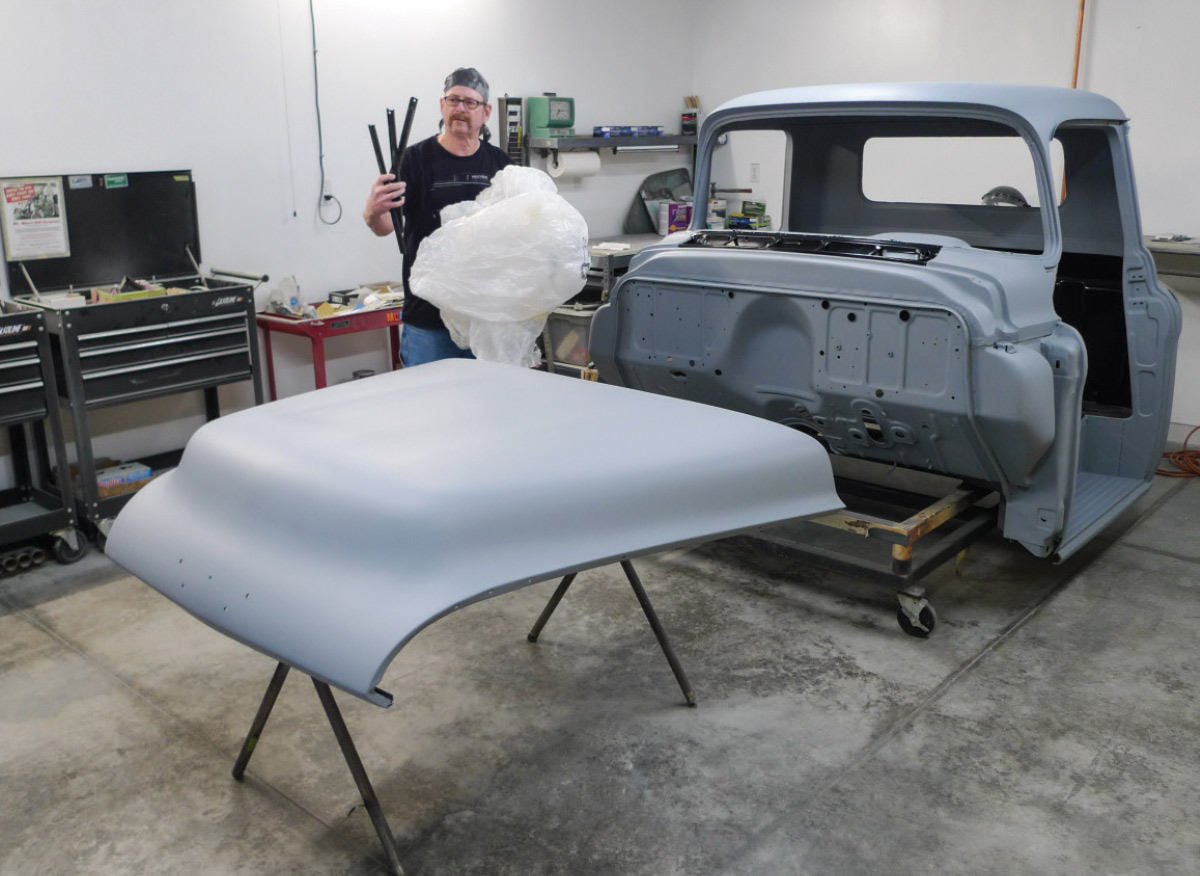
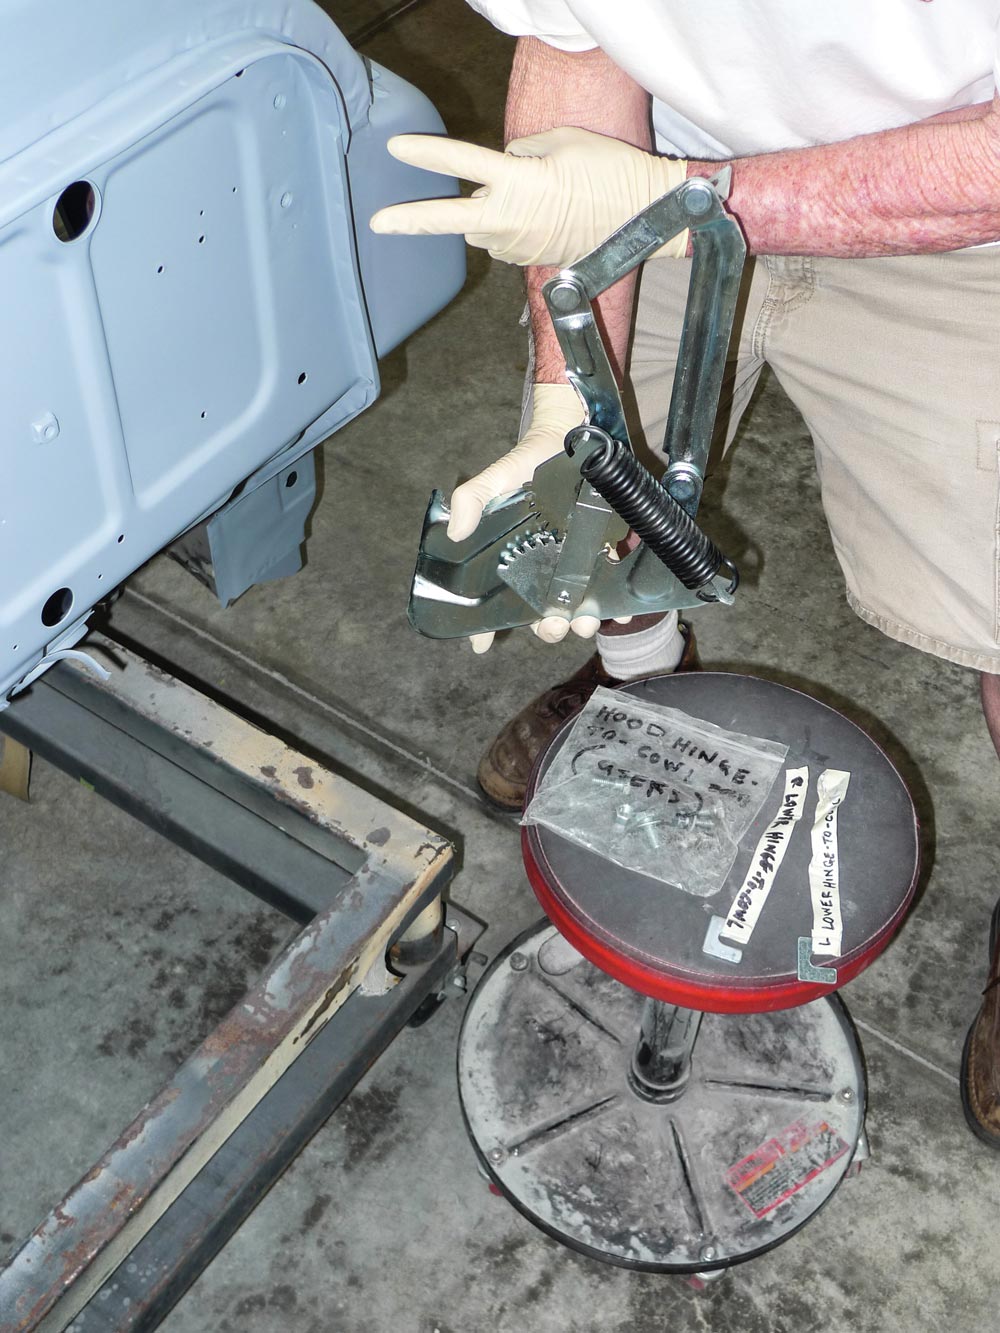
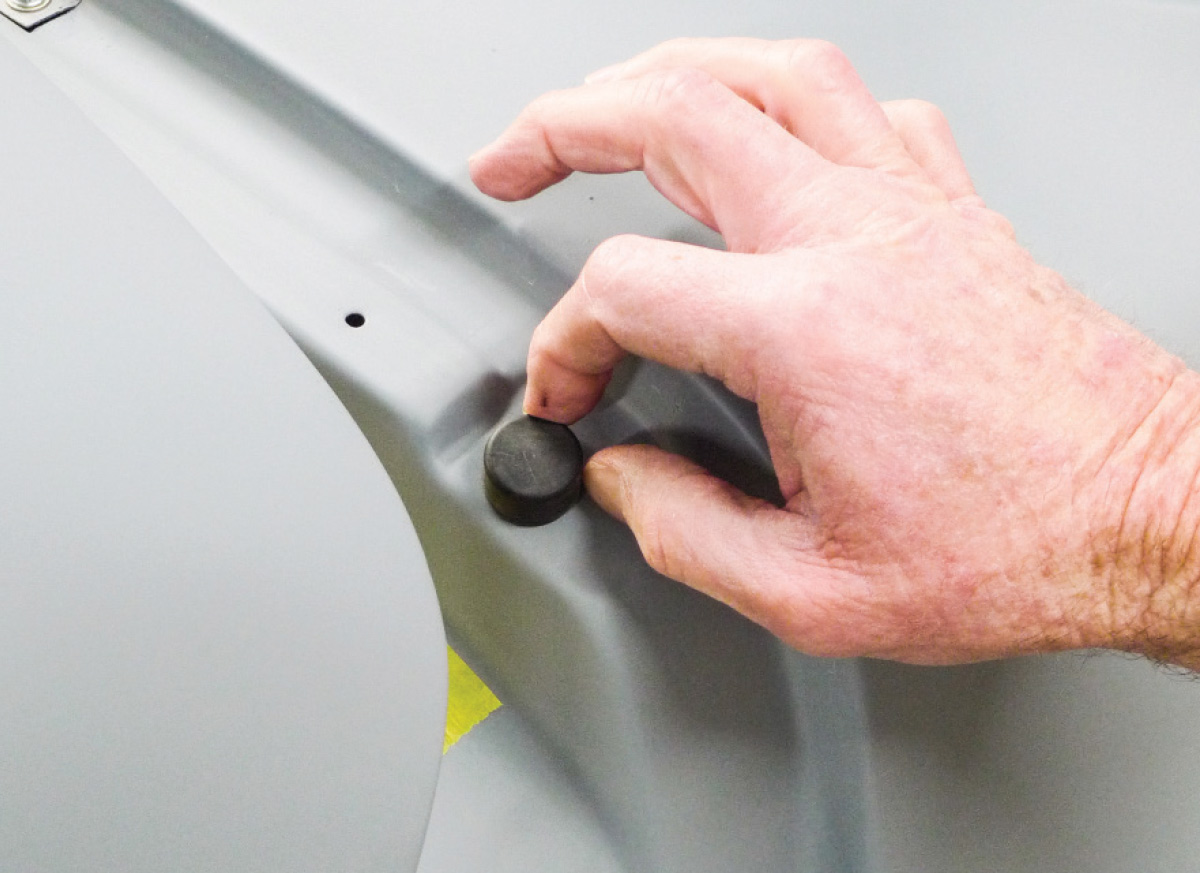
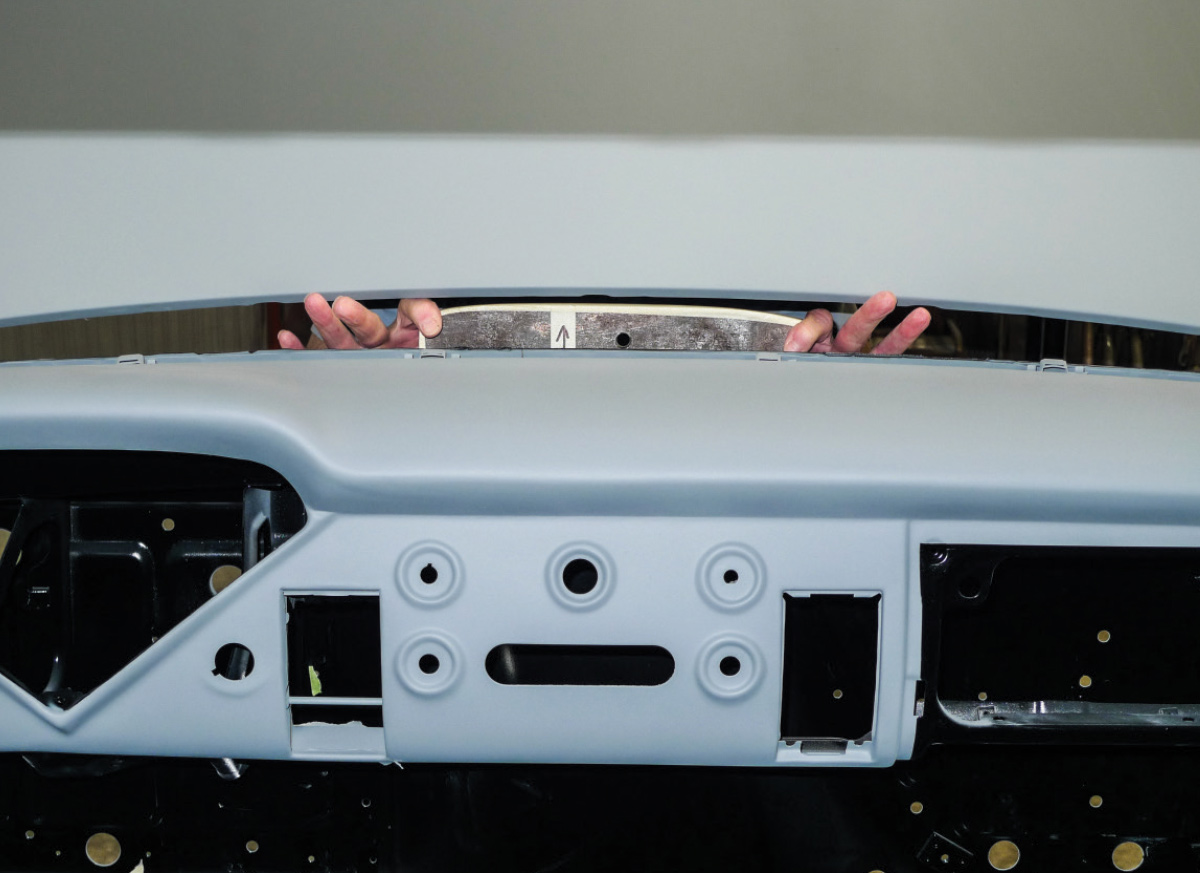
Once we’d finally convinced ourselves that our shimmed-up hood-to-cowl relationship was as good as it would get, the mocked-up truck was disassembled for finish bodywork and paint. When the bare cab reassumed its position upon its rolling cab cart, one of us (the one with better vision) noticed two small dents in the cowl. Being right where hood hinges go, the dents caused snugged hinges to point slightly downward. So, that’s why so many shims!

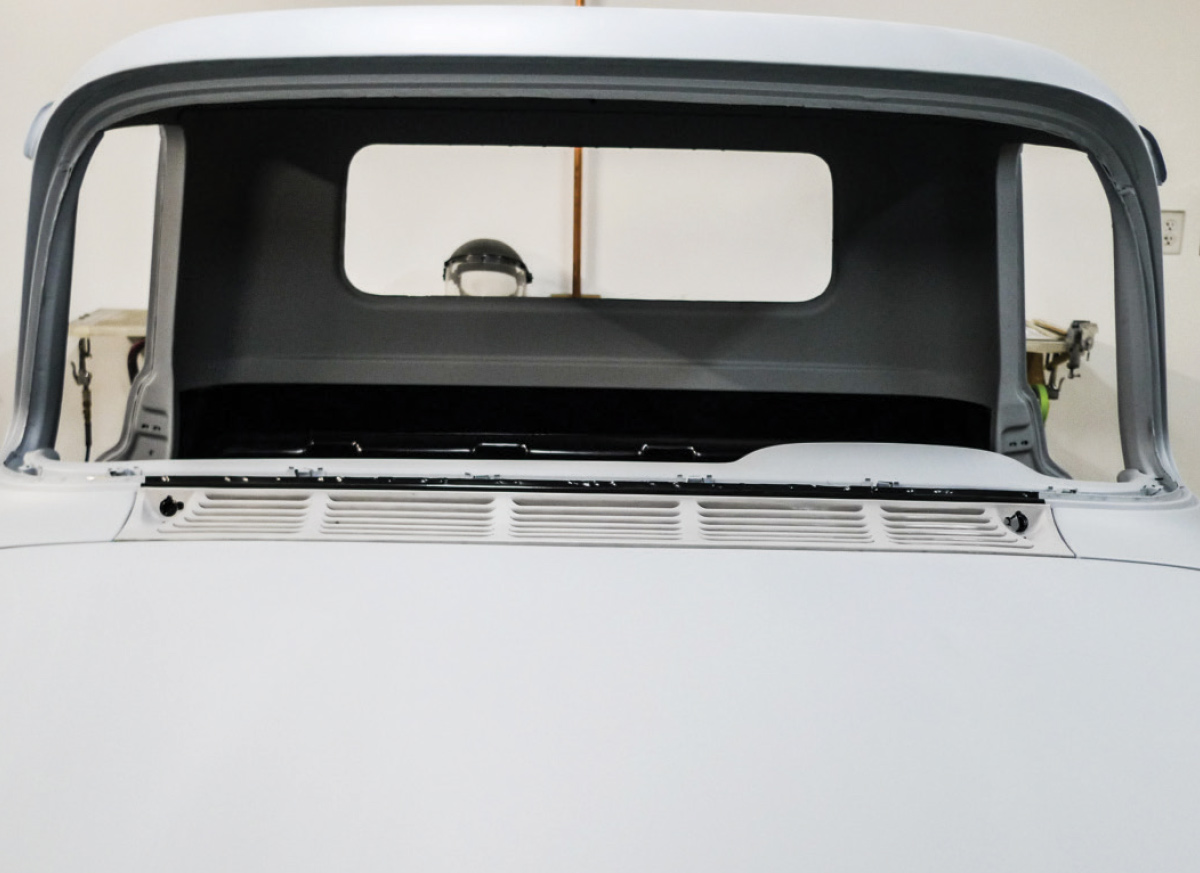
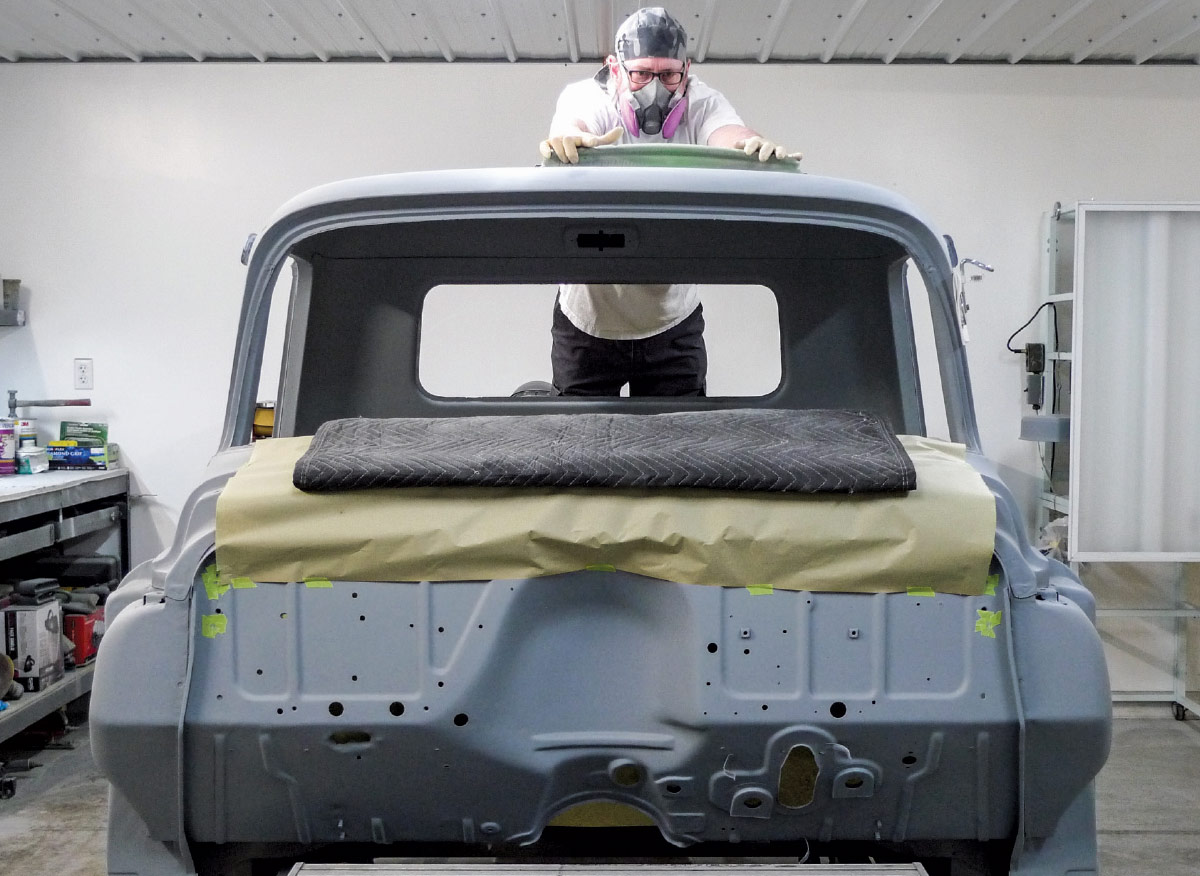
As it sits today, the truck’s cab, doors, and frontend panels are all in first-round primer. The straightened-up cowl looks about right now, and we know the difference will effect hood hinge operation as well as our hard-earned hood-to-cowl gap.

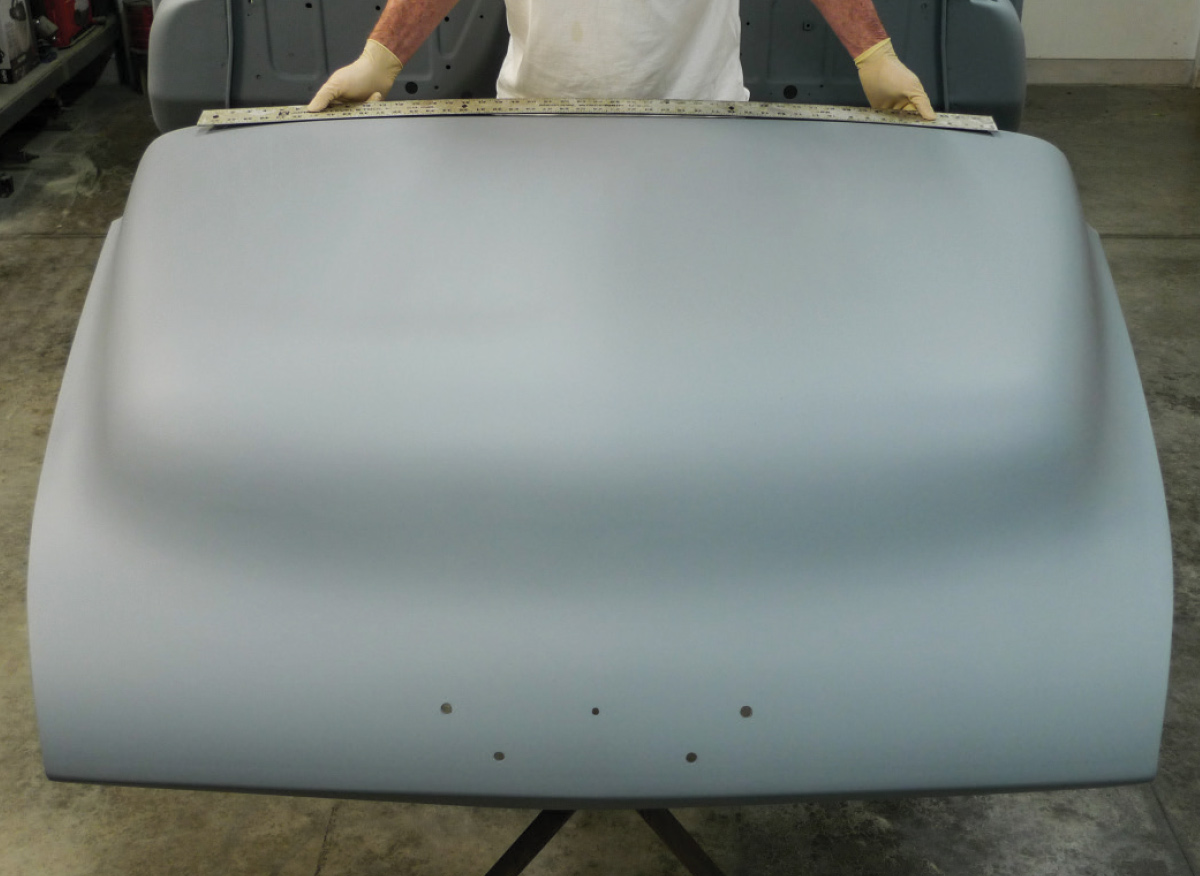
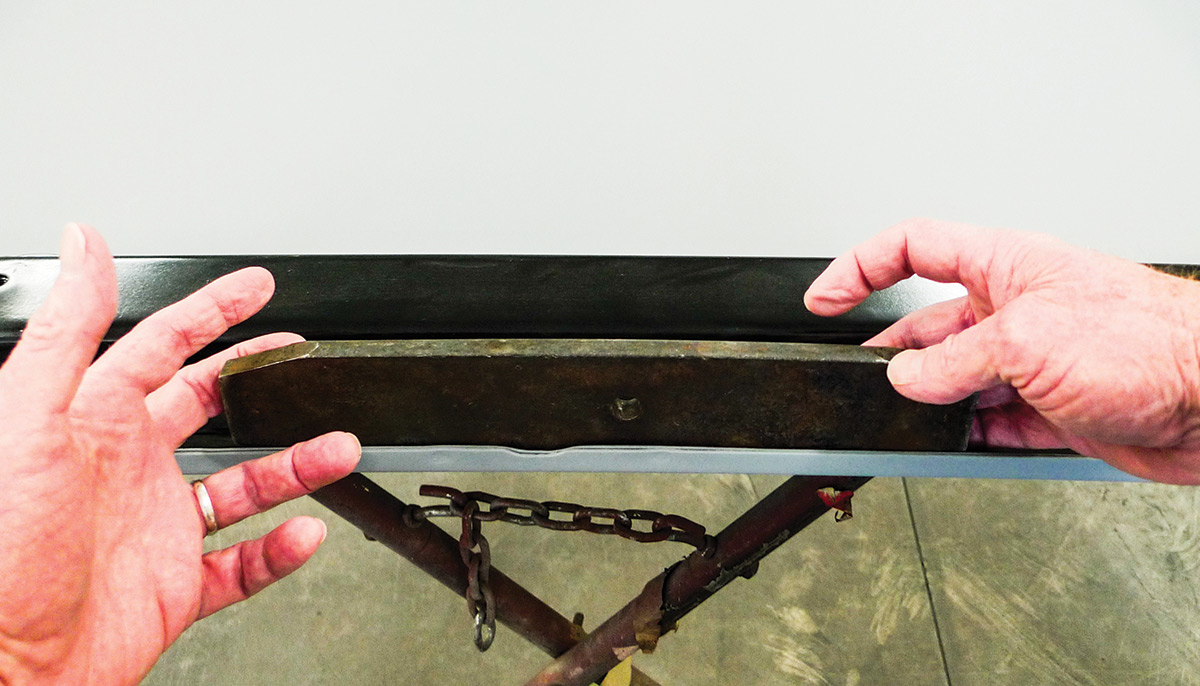
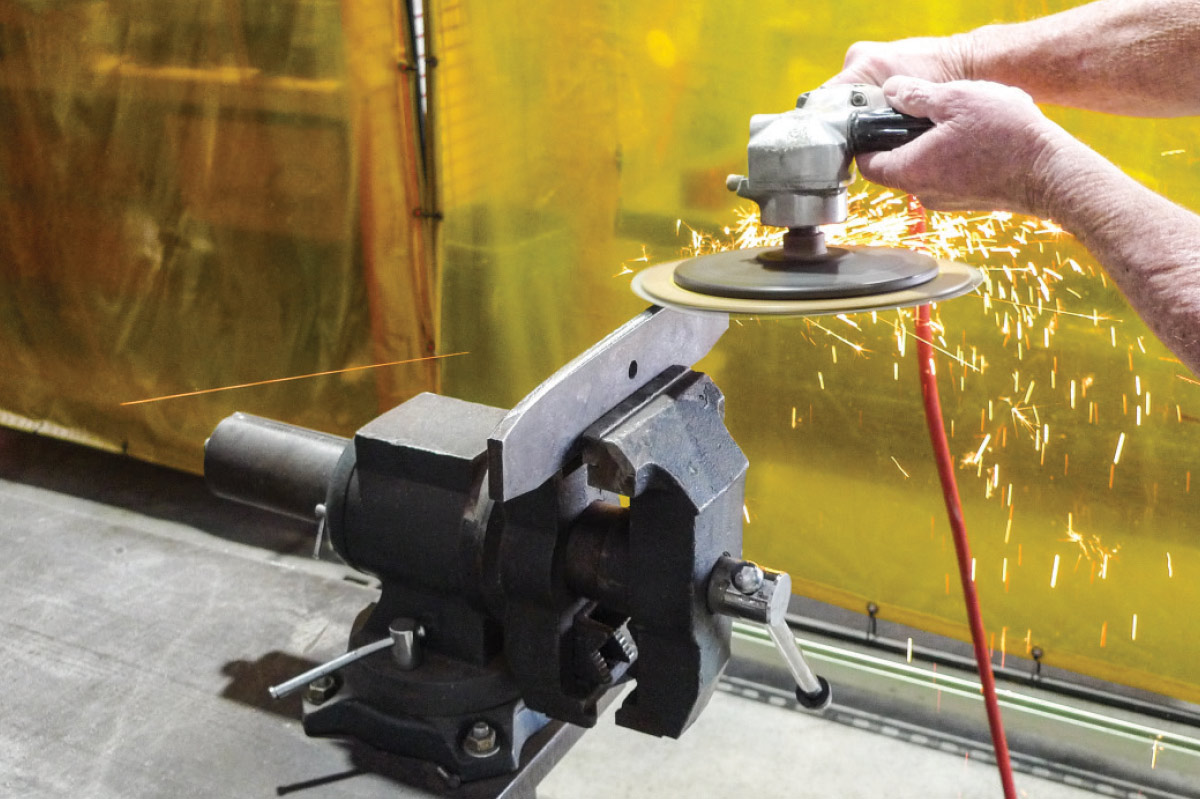
When it’s time for final assembly, we’ll expect less trouble from the hood, hinges, and cowl. The trouble is now one of us (the one with the wilder imagination) is focused on the repaired-original hood’s rearward edge. Toward the center stretch of its lazy arch that edge looks a little flat to me.

Thinking back, we’ve been dealing with collision damage throughout our ongoing build. Years ago when the wrecked truck came to us, the original hood hinges were pretty wadded up. We don’t rightly recall if the hood’s rearward edge was catching on the cowl, but since the collision was a front-ender, it’s quite likely that it was.

At the time of this typewriting we haven’t actually seen the results of our earlier cowl repair. Instinct says we’ll see improvement and maybe we can toss some shims. So, what about the hood’s questionable rearward edge? When we see the hood adjusted, we’ll know what to do. If fine-tuning is necessary, we’ll be ready.

Bull’s-Eye Insurance
Next time hood meets cowl, they’ll both be in living color. When the fresh-paint pressure is on, wouldn’t it be nice if we didn’t have to start the panel-alignment process all over from scratch? There’s a clever little trick for that. It’s not our own original notion. It’s something we learned years back from friends in Riverside, California—at the original Ed Martin Garage.
The cover stayed secured to the cart with 16-inch magnets. These are from Harbor Freight
1. The cab has been covered for quite some time. The cover stayed secured to the cart with 16-inch magnets. These are from Harbor Freight. Be careful. They’re strong.
Last time the hood and cowl were together this edge didn’t visually clash with that of the cowl. Off the truck, however, we’re not sure about this.
2. Last time the hood and cowl were together this edge didn’t visually clash with that of the cowl. Off the truck, however, we’re not sure about this.
Old spring leaves can be handy
3. Thinking perhaps too far ahead, we’re thinking of a specific-purpose tool. Old spring leaves can be handy. For fine-tuning our hood’s rearward edge, why not?
New tool could also use a little fine-tuning
4. From the old spring leaf drawer, this one’s a pretty close fit. Since we’ll have only one chance to do this right the first time, our new tool could also use a little fine-tuning.
From the early ’90s, this pneumatic buffer/grinder
5. From the early ’90s, this pneumatic buffer/grinder is perhaps the oldest Harbor Freight tool we own. Here today, it’s still earning its keep as we relieve a couple kinks.
The hood and cowl are primed, we’d best degrease the hinges before reinstallation
6. During the project’s last mock-up we did lubricate our new Brothers hood hinges. Now that the hood and cowl are primed, we’d best degrease the hinges before reinstallation.
As an afterthought we’ll clean out some primer buildup from threaded holes
7. Here a bit of forethought would’ve gone a long way. As an afterthought we’ll clean out some primer buildup from threaded holes.
Slotted with a cutoff disc on a Harbor Freight cutoff tool,
8. In this instance a 3/8-16 hex bolt, slotted with a cutoff disc on a Harbor Freight cutoff tool, fits the bill. This’ll make a mighty-fine thread cleaner.
Slotted bolt makes better paint shop sense than an oily tap
9. Because we’re in vulnerable primer now, a clean, slotted bolt makes better paint shop sense than an oily tap. We believe this is easier on threads as well.
This new hinge wants to do the twist
10. This new hinge wants to do the twist. As we tighten we’ll apply a little leverage just for fine-tune clocking. The hinge’s slotted holes are slotted wide enough to allow this.
Our earlier cowl repair work is beginning to pay off
11. Our earlier cowl repair work is beginning to pay off. Now there’s only one shim per side at the forward hinge-to-hood bolts—as illustrated in our shop manual.
This far into our build we’ve come to depend on this old book
12. This far into our build we’ve come to depend on this old book. These are hard to come by. Quite fortunately, reprint versions are available through Brothers.
Having reviewed the adjustment procedure, we’re dialing in rubber-covered adjustment screws
13. Having reviewed the adjustment procedure, we’re dialing in rubber-covered adjustment screws. This takes patience. By closing the hood we’ll double-check this many times.
A while or two later we’ve achieved our desired hood-to-cowl gap
14. A while or two later we’ve achieved our desired hood-to-cowl gap. Averaging 3/16 the entire way across, this is what our shop manual calls for.
The new difference is the cowl
15. The new difference is the cowl. Now that it’s repaired, the hinges sit properly. At this point hood and cowl shapes don’t seem to differ very much, but let’s double-check that, too.
Some time back we purchased a new hood-to-cowl seal
16. Some time back we purchased a new hood-to-cowl seal. It’s from Brothers. It’s quite soft, so we don’t expect it to have a dramatic effect on hood height or gap width.
The seal is holding the hood up a little high
17. Surprise! Soft as it is, the seal is holding the hood up a little higher, which opens the gap some, too. Let’s not hastily readjust. The new seal will eventually conform.
Fine-tune the rearward edge
18. So, we’ve made this specific-purpose tool, but the hood fits better than last time it was installed. If we’re lucky here, we may not need to fine-tune the rearward edge after all.
Fine-tuning
19. If the hood actually does need fine-tuning, we’ll gingerly close it on the tool, relocate, and repeat as necessary.
Double-check existing clearance with paper feeler gauges
20. First, let’s double-check existing clearance with paper feeler gauges. Here the hood is propped slightly open where the gap is at its tightest. This is encouraging. We’re good!
The disassemble, let’s drill 1/8-inch holes for relocation later on
21. Finally, we really like our hood-to-cowl gap, so let’s not let it get away. Before we disassemble, let’s drill 1/8-inch holes for relocation later on.
For the hinge-to-hood holes
22. For the hinge-to-hood holes, a surplus fuel hose makes an OK drill stop. When it’s final assembly time, we’ll use old 1/8-inch drill bits as relocation pins.
This bit of double-check backtracking has cost us some time
23. This bit of double-check backtracking has cost us some time, but we’ve gained invaluable peace of mind. On that note, let’s move onto the next phase!
 SOURCES
Brothers Truck Parts
(800) 977-2767
brotherstrucks.com
Harbor Freight Tools
(800) 423-2567
harborfreight.com