CTP logoFeature star Tech
InTheGarageMedia.com
BY “Rotten” Rodney Bauman  PHOTOGRAPHY BY THE AUTHOR
Turn in Your Badges typography
Semi-Smoothing a Task Force Hood
I

t’s been said that “less is more.” OK, perhaps not in every instance, but sometimes less obtrusive is more appealing, for sure. You know the way little things can make big differences, right?

The following tech won’t be high-tech. It won’t be rocket surgery, or even brain science for that matter. We’re thinkin’, however, this might serve to illustrate how less might actually, occasionally, be more.

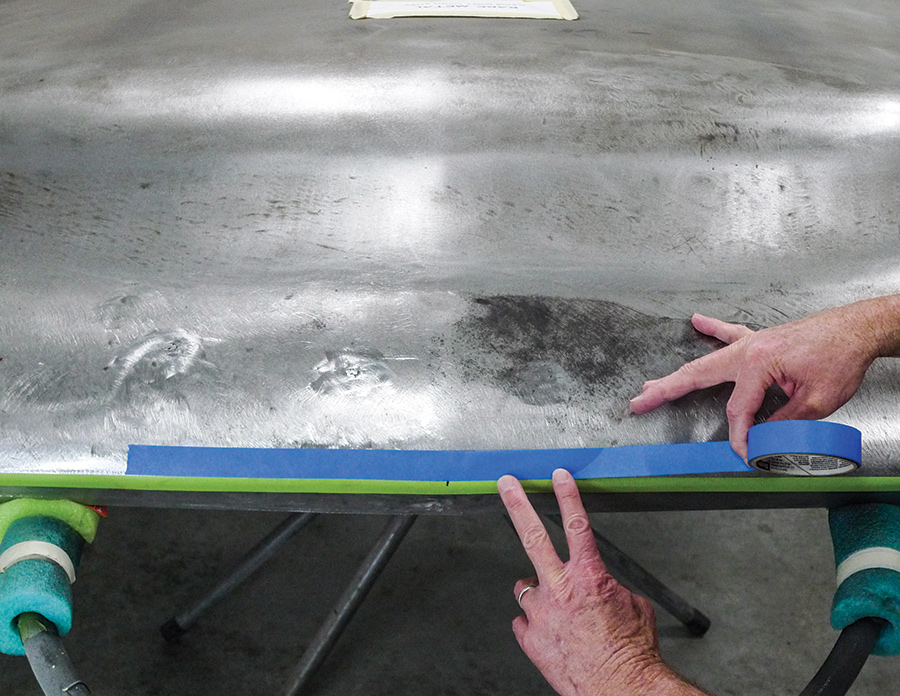
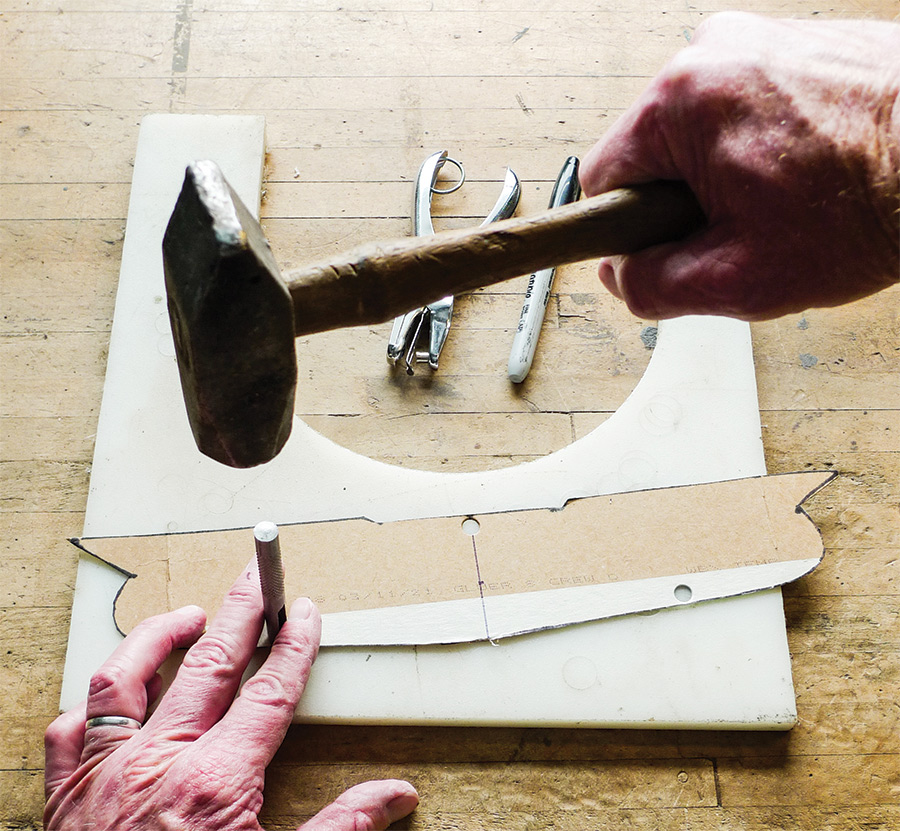
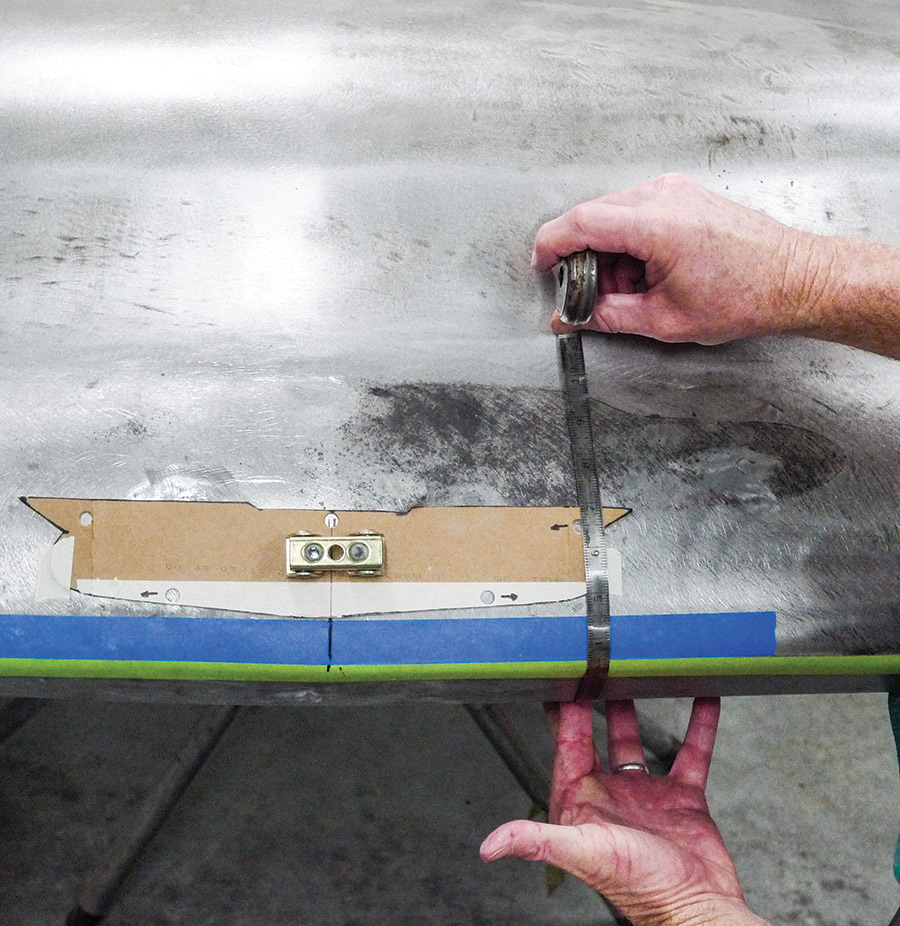
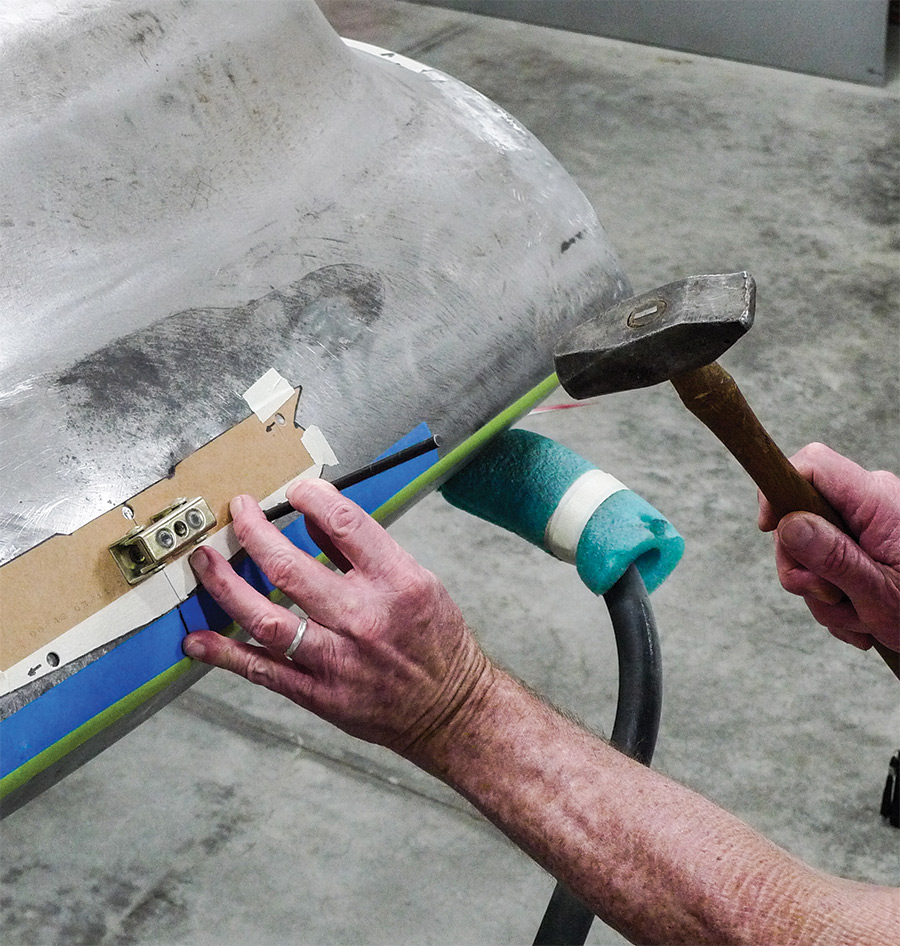
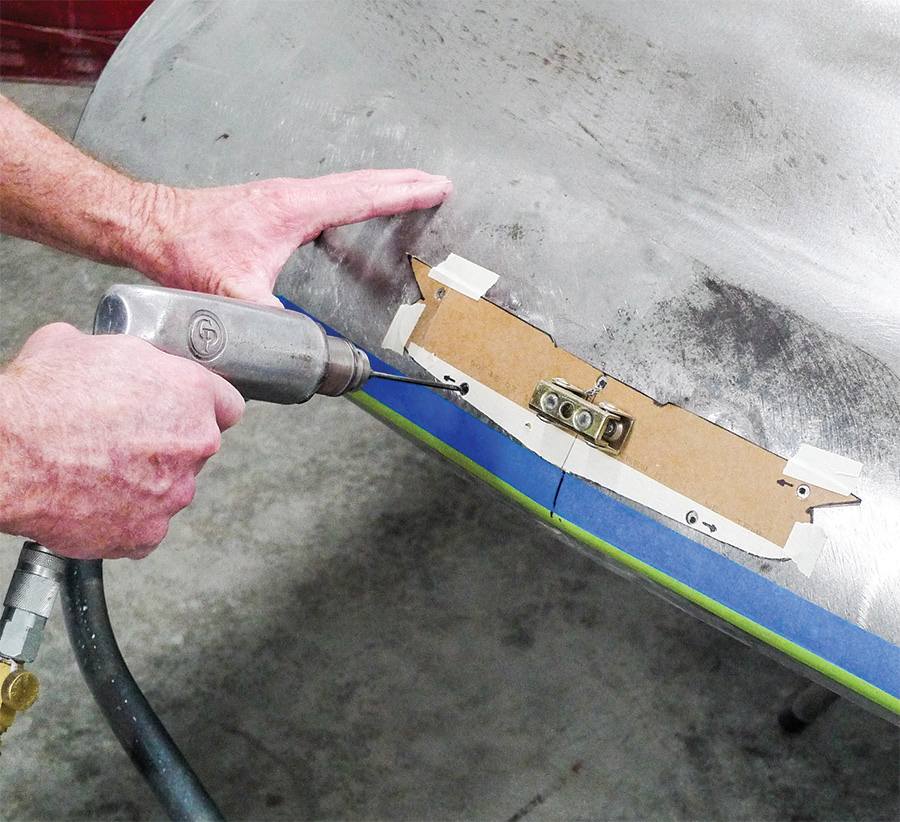
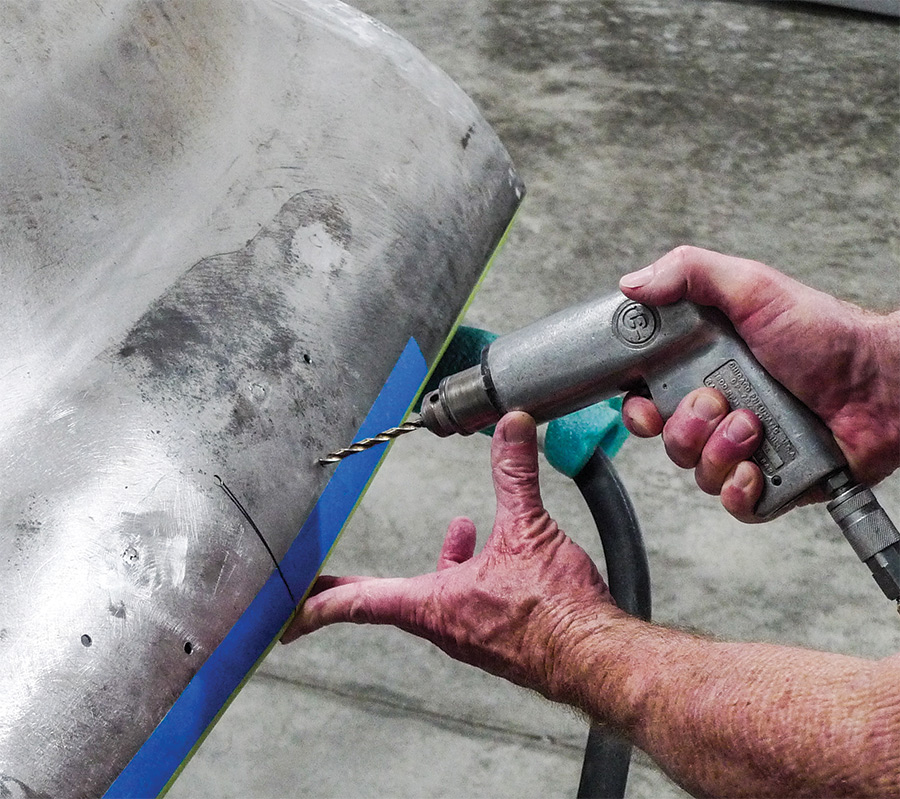
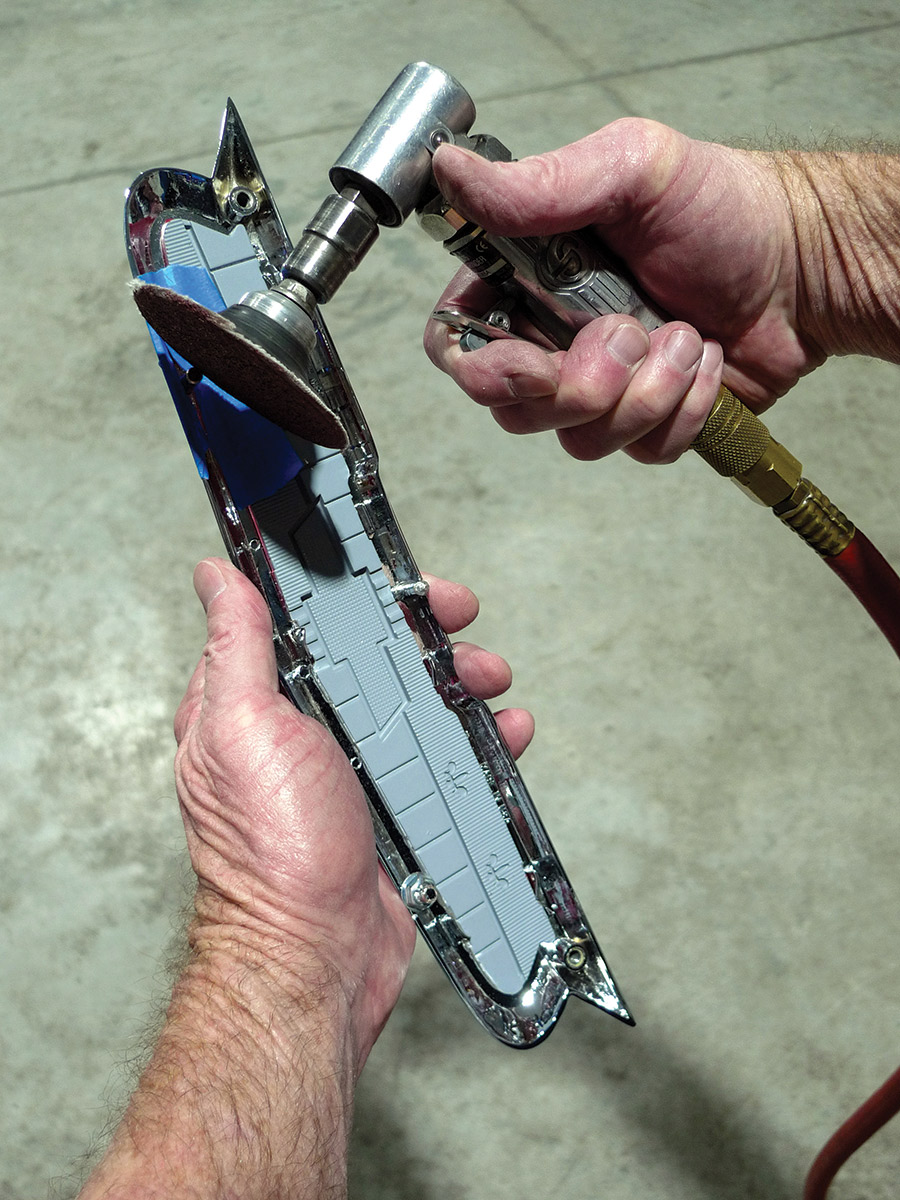
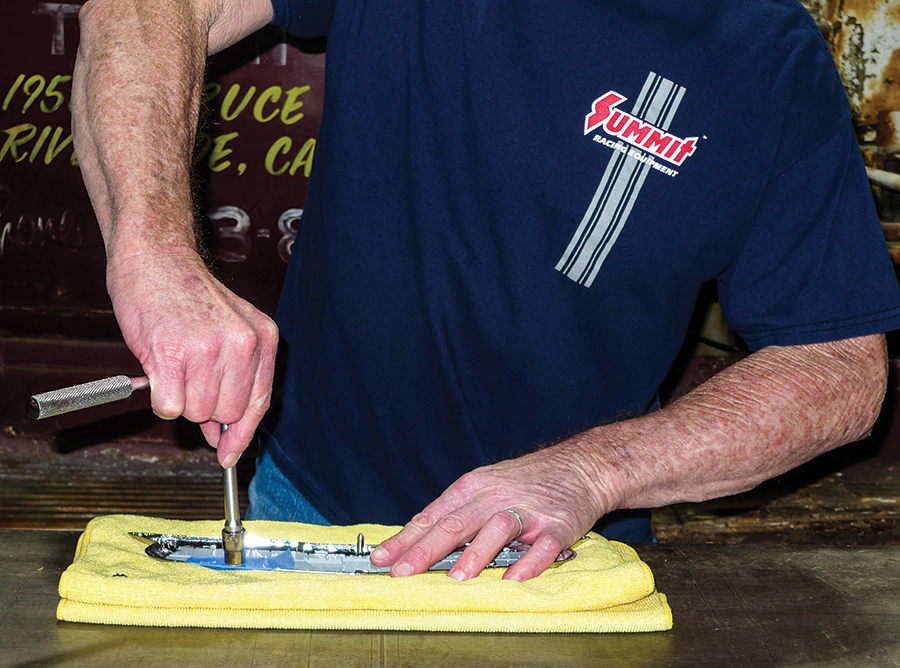
Here in our Montana-based shop we’re still workin’ on the same ’55 second-series Chevrolet. You know the big ol’ heavy badges those trucks wear on their fender sides and hood? We have all three in original pitted condition. In our Brothers Trucks catalog we’ve noticed some beautiful reproductions, but since pluggin’ holes is easily done we’ve opted to delete all three badges in favor of a smoother look.

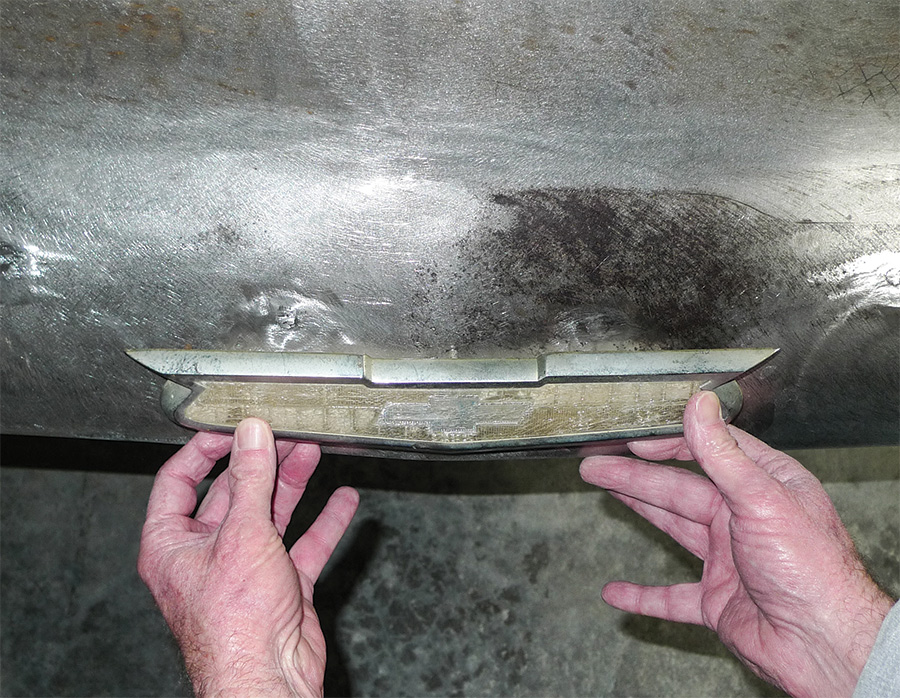
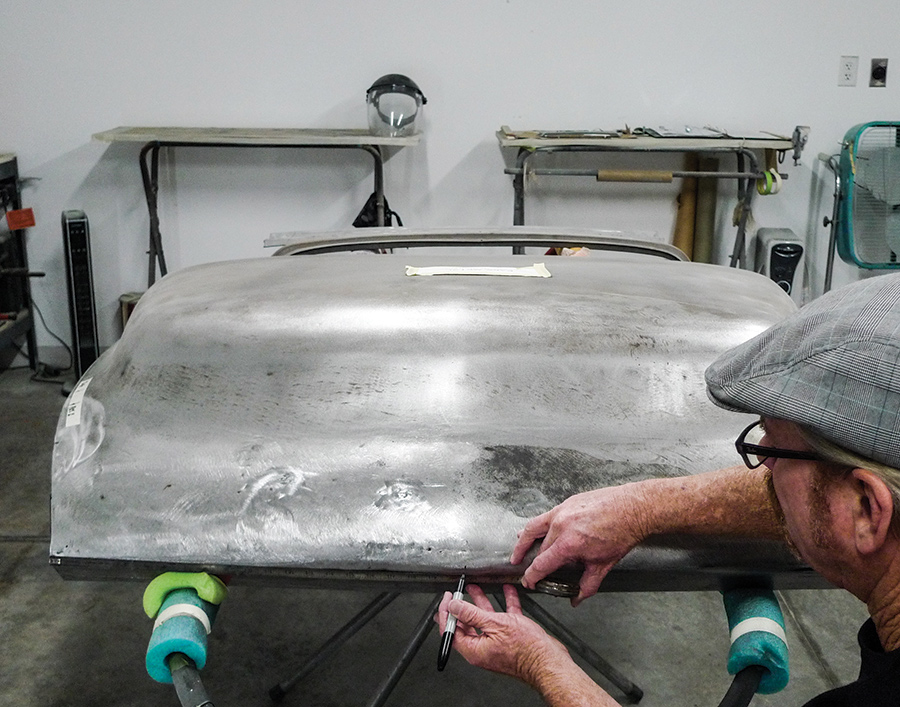
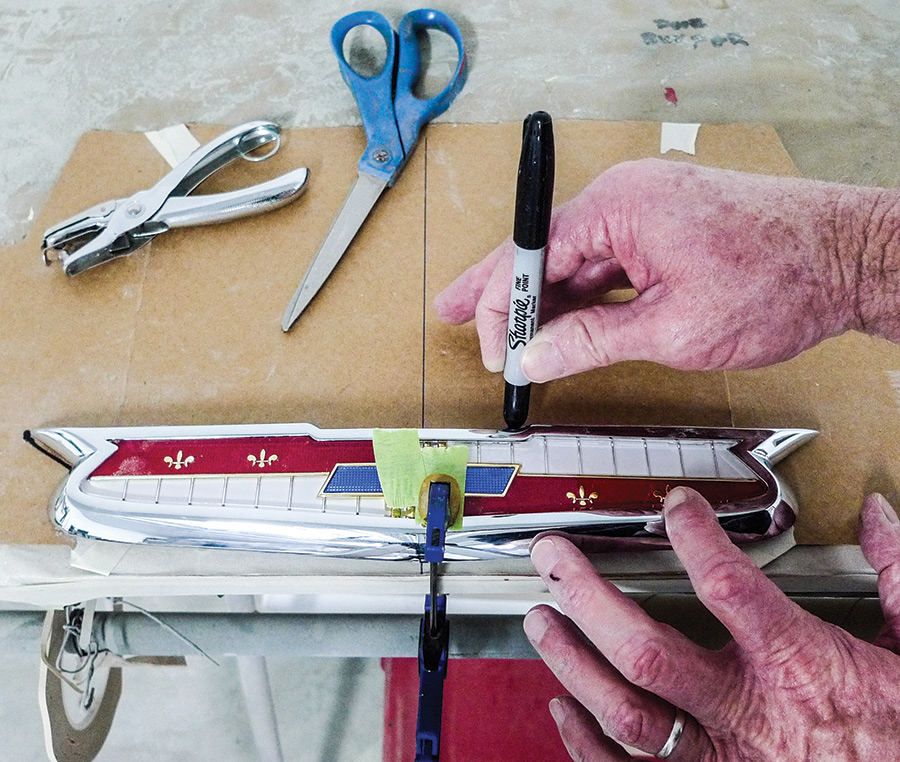
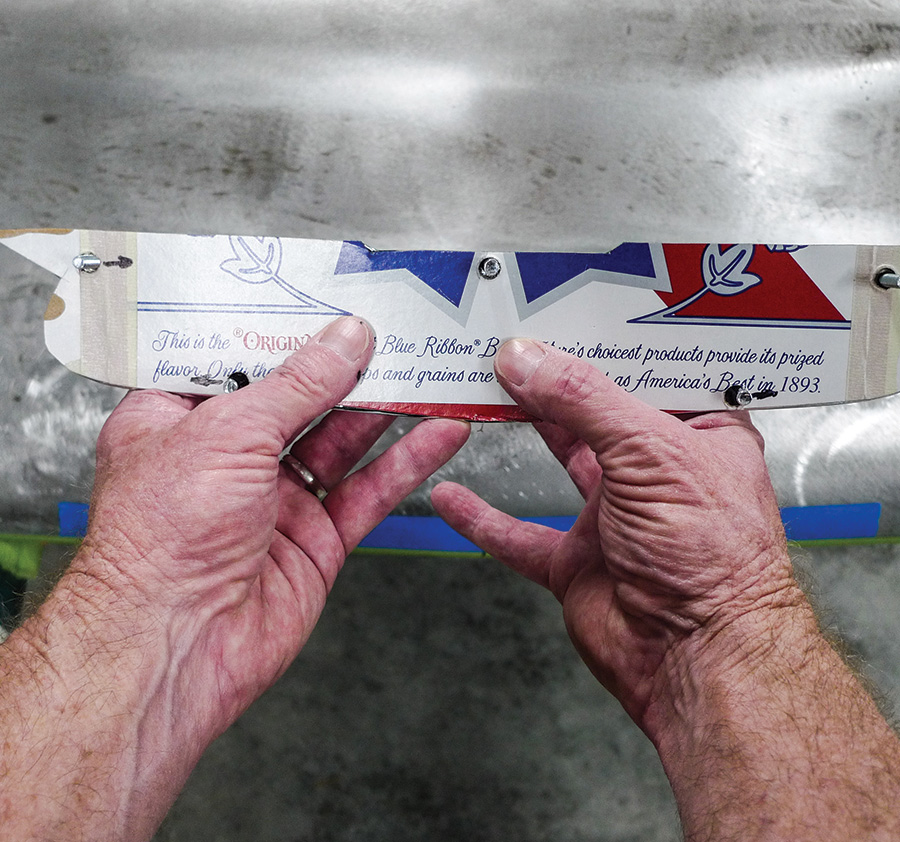
The project truck is not meant to be a smoothie, as its exterior will retain a few stock-type hiccups. For example, from the aforementioned catalog we’re about to place an order, which will include shiny-new reproduction door handles. Back to big badges; we’re thinkin’ the fenders will look great without, but what about the void at the front of the hood? There might still be room for something smaller there.

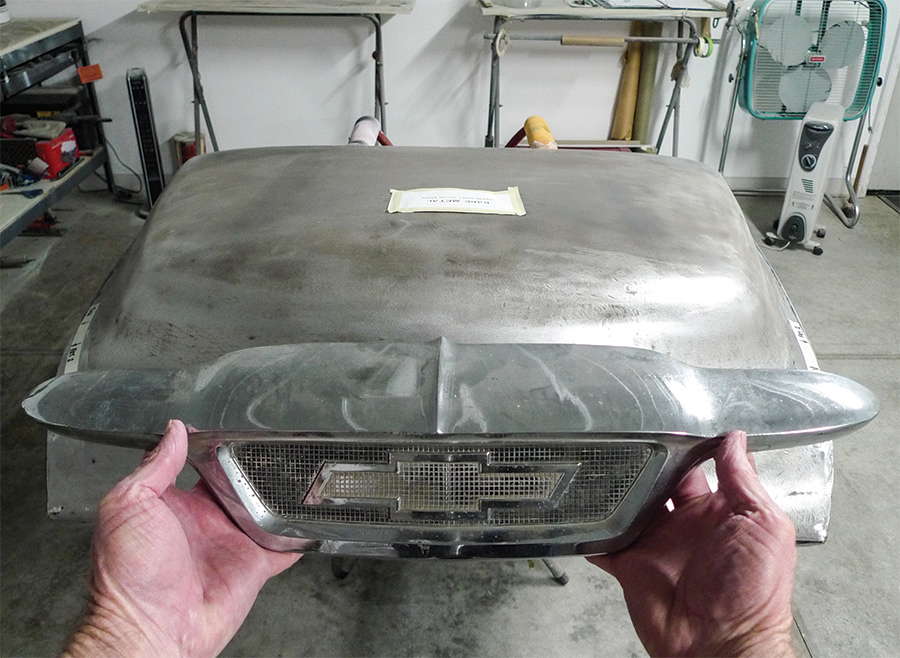
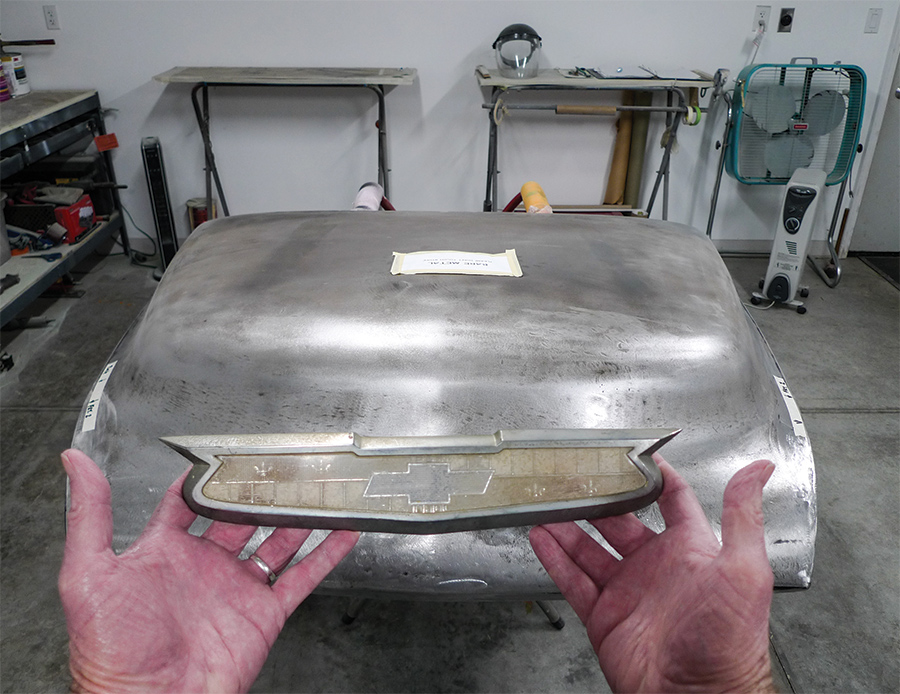
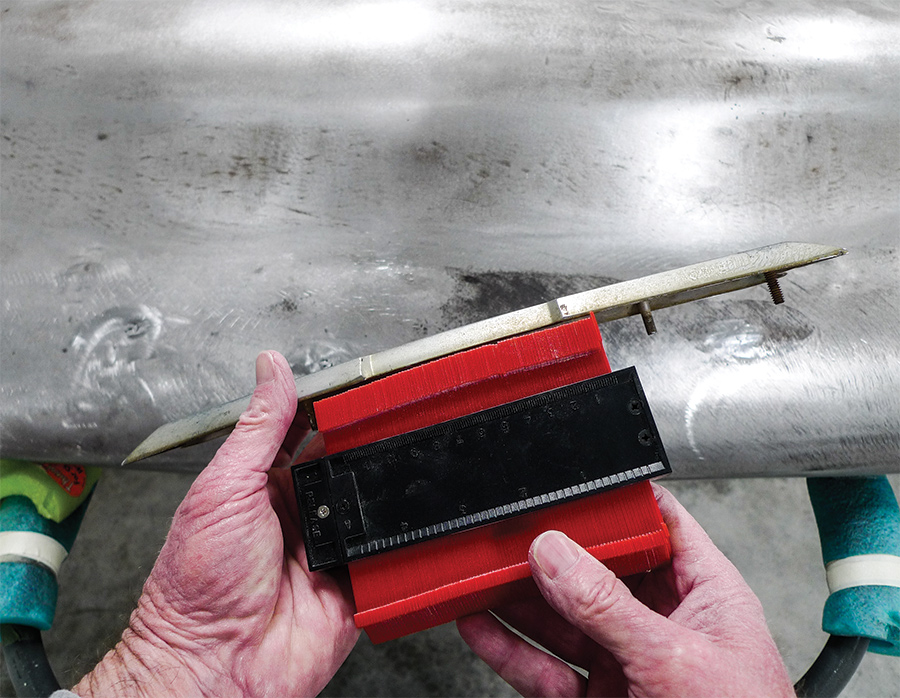
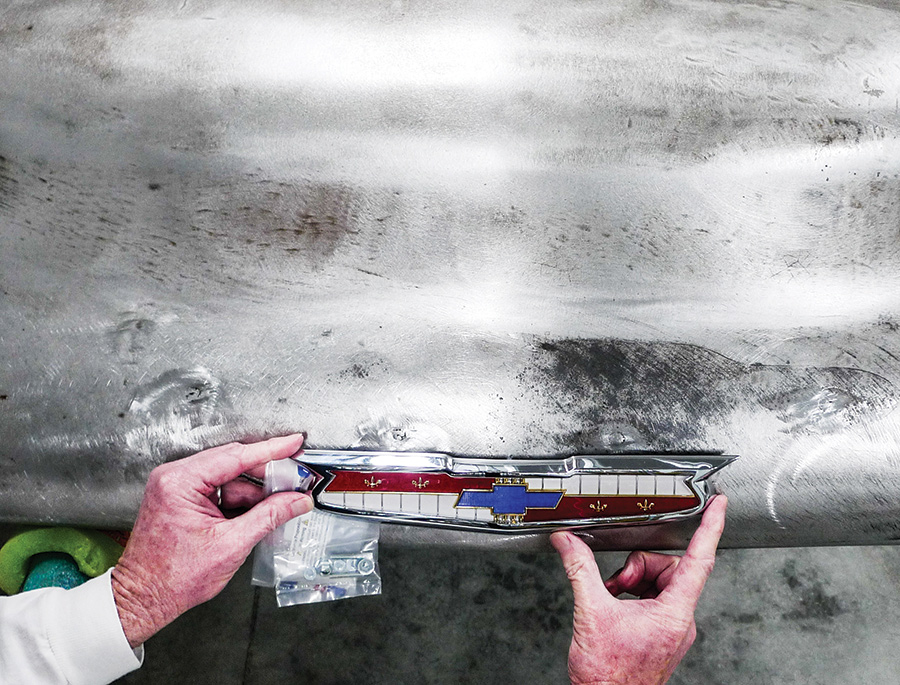
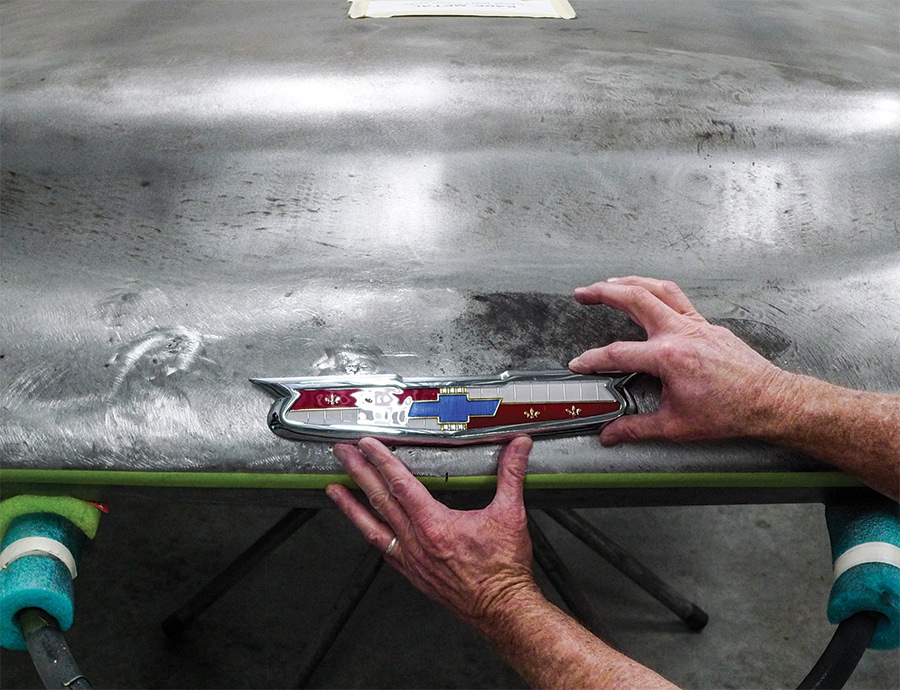
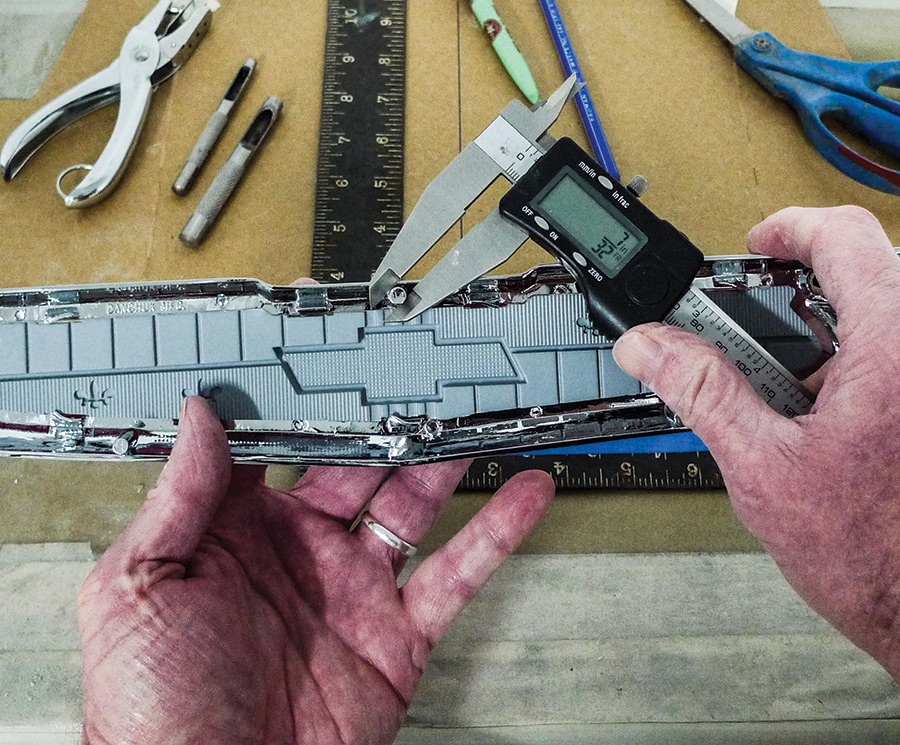
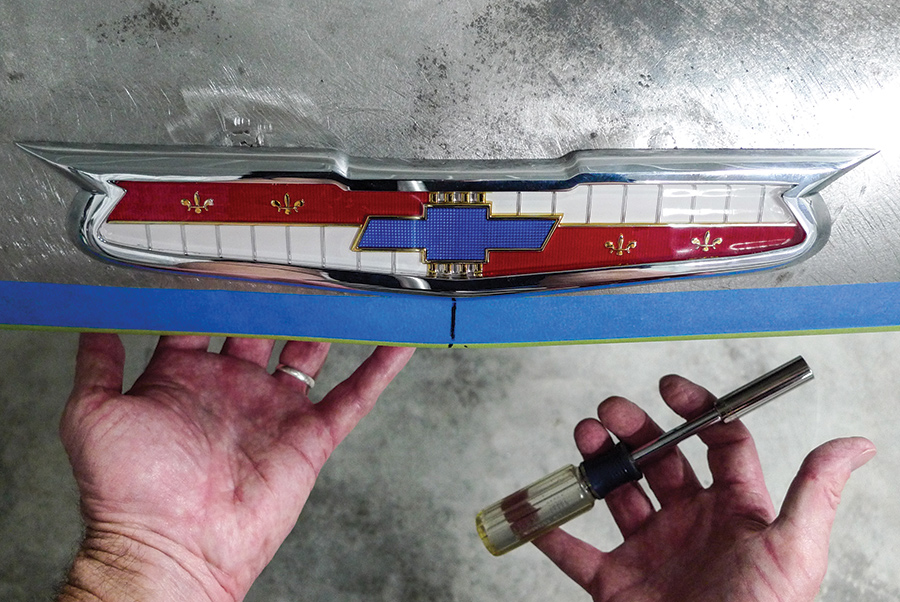
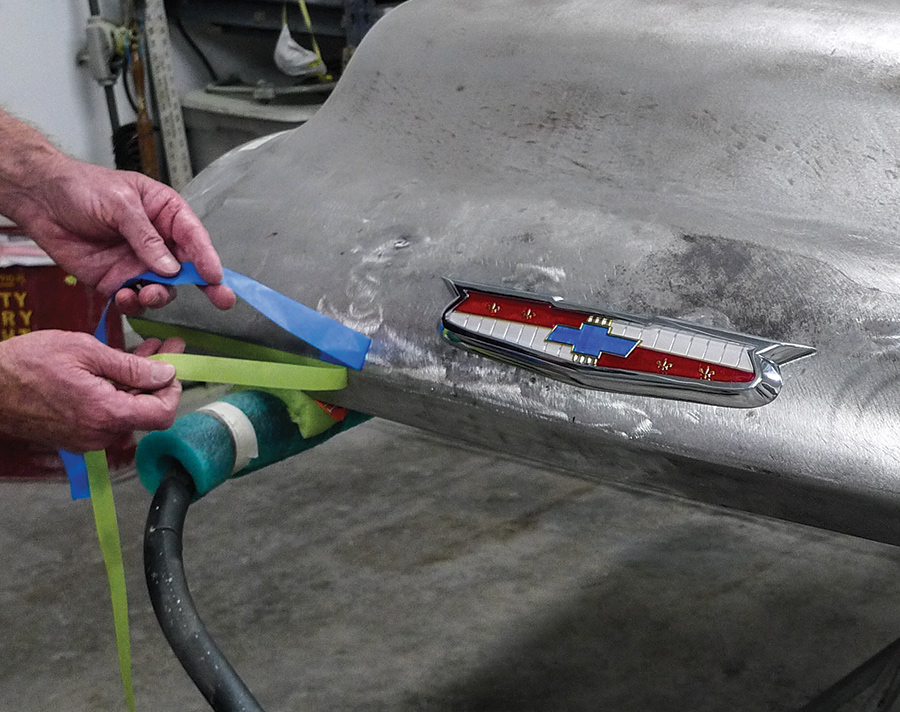
As the truck’s construction continues, we’re wondering how close the contours of a ’55 Chevy V-8 passenger car hood emblem might match those of the ol’ truck’s hood. Being pretty familiar with curvaceous Chevys, we’re thinkin’ that might be a fit. We know that Danchuk reproduces that emblem, but we’re not so keen on ordering one just to find out if it’ll really work—or not. Long story short, and quite accidentally, we’ve found what we need.

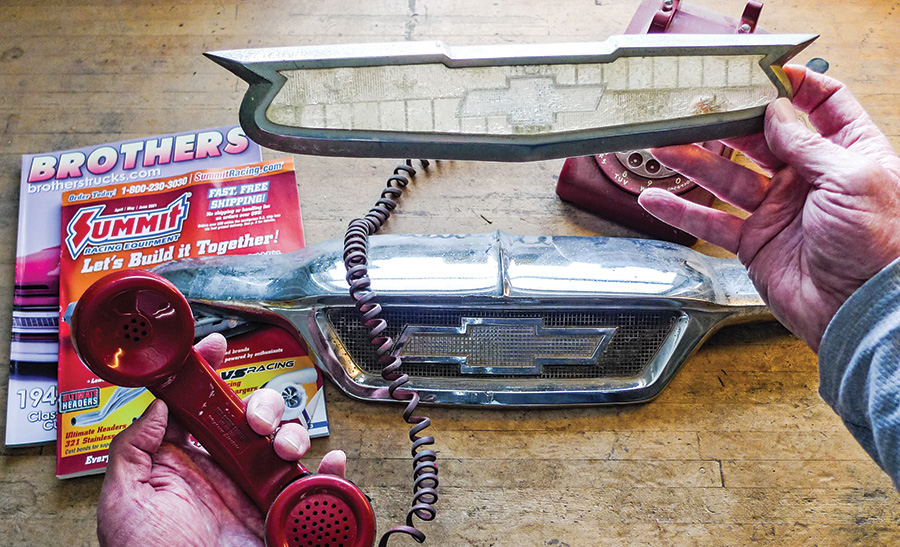
Back in California, while setting up for our first big “Wrecking Yardsale,” a weathered ’55 Chevy car hood emblem emerged from some pile of ol’ parts! From there it went straight into Samsonite for the road trip home where fitment suspicions have since been confirmed.

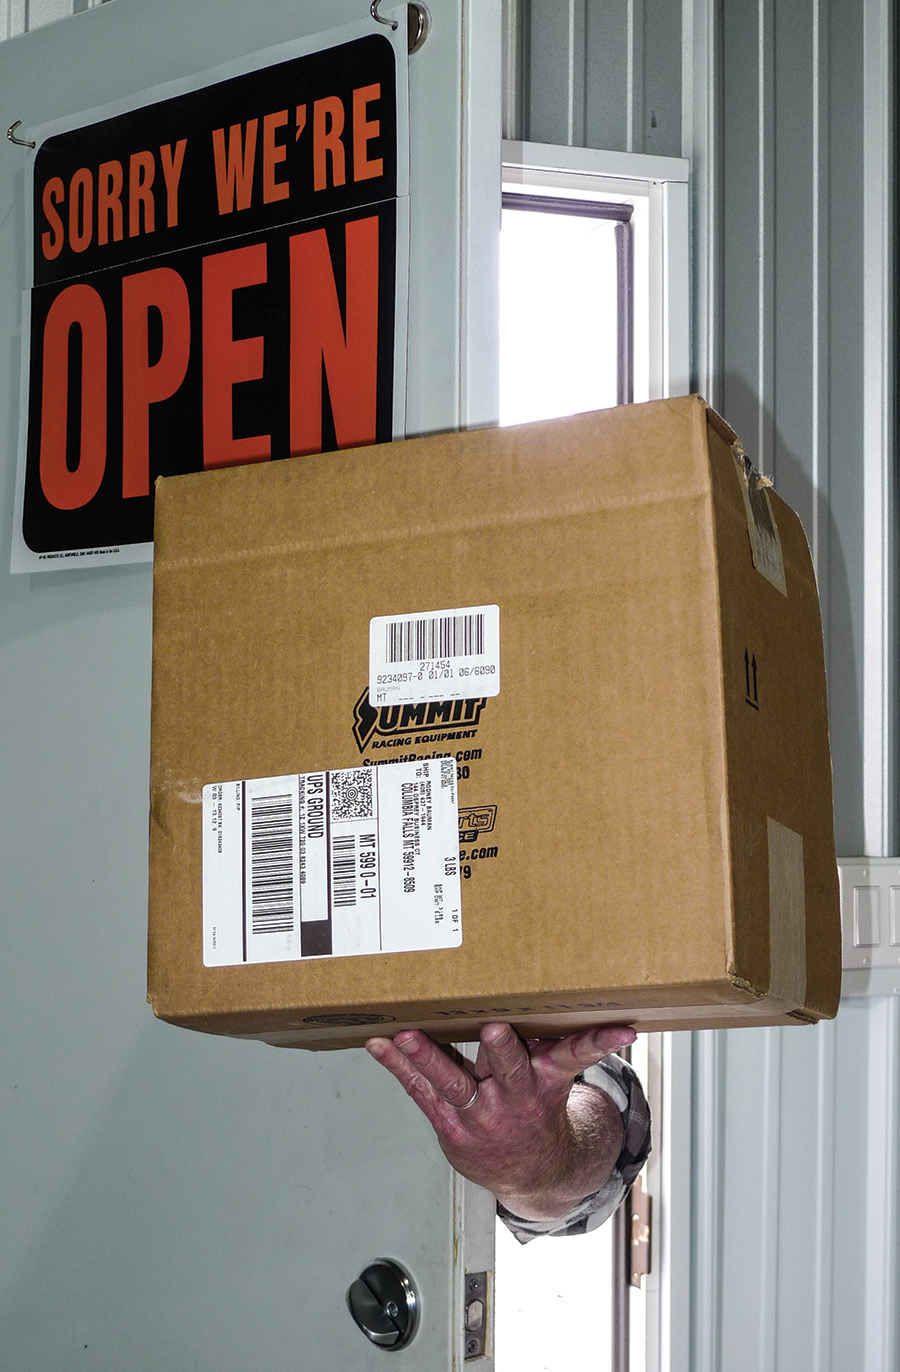
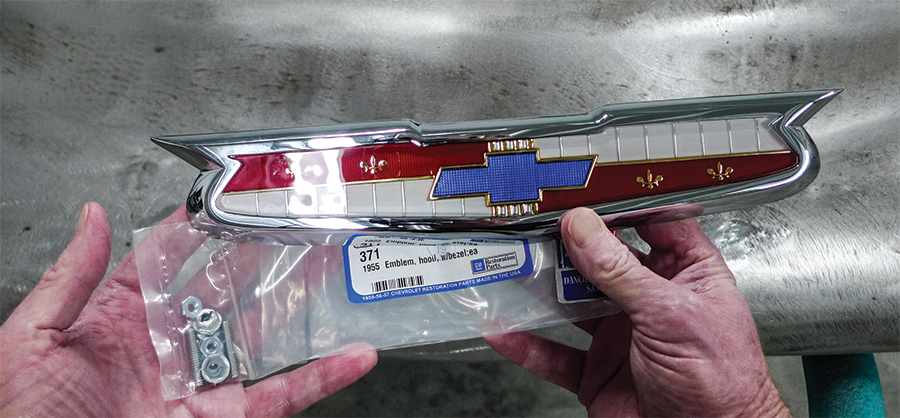
As it turns out, the Danchuk reproduction emblem of desire is also stocked by Summit, whose number we know by heart. It’s time to place another order anyway. Along with other items (body shop staples) from Summit, let’s have a Danchuk 371 as well.

the truck’s original hood badge
1. Here’s the truck’s original hood badge. Granted, from this angle it’s bigger than big, but it’s just plain big from any angle.
the used passenger car emblem from the same unflattering angle
2. And here’s the used passenger car emblem from the same unflattering angle. Size-wise we like this better and a reproduction doesn’t cost too much.
The bezel’s studs and guidepins
3. The bezel’s studs and guidepins hinder our contour comparison, but so far it’s lookin’ pretty close. Perhaps we can check our fitment another way.
handy little contour gauge
4. This handy little contour gauge is a Harbor Freight score. Let’s see what it’ll tell us about the shapes we’re hoping to merge.
the bezel’s upper and lower edges
5. When compared to the hood’s frontal curvature, the bezel’s upper and lower edges are close enough that we’ll optimistically continue with the job.
calling Summit on red phone
6. This could’ve gone other ways. We could’ve bolted on a new-reproduction badge, or just deleted its holes for a smoother look. Instead, we’re calling Summit.
package being delivered
7. Knock-knock! Who’s there? Why, it’s Buddy the delivery guy! He brings us packages like this one pretty often.
a top-quality reproduction part
8. Pulled from the mix with other supplies, it appears as though we have a top-quality reproduction part right here.
double-checking the fitment
9. Even so, let’s double-check our fitment. When compared directly to our weathered original, its dimensions are identical. Held to the hood it’s a winner!
A dull Sharpie and a stretch of 3/4-inch masking tape
10. Here with a tapeline we’re making use of sharp remedial math skills. A dull Sharpie and a stretch of 3/4-inch masking tape help us locate the hood’s center.
Held up again, roughly in position, the new emblem
11. Held up again, roughly in position, our new emblem seems to look best about an inch above our masking tape’s upper edge.
roll of 1-inch painter’s tape
12. So, above that stretch of masking tape we’ll need to add another inch. An ol’ roll of 1-inch painter’s tape was within reach. It’ll serve as a visual guide.
guidepins measuring 7/32
13. Here at the bench we’re preparing to create a template. Our guidepins measure 7/32. Instinct says we’ll end up drilling holes a little larger.
new emblem protected and lightly secured to professional-grade template material
14. With our new emblem protected and lightly secured to professional-grade template material, let’s trace around the bezel with the dull Sharpie.
hollow punches
15. Scissors worked fine, but our office-variety hole punch wasn’t up to the task. So, we’ve pulled this from our partial set of hollow punches; 1/4 is pretty close to 7/32, right?
B-side view
16. Our B-side view is true. We’re off a little on three of our holes. A little later when we’re drilling the hood, we’ll attempt to compensate for this.
marks for drilling
17. It’s time to make our marks for drilling. Our previously established centerline keeps us centered, but we’ll need the tapeline again for proper clocking.
a 1/4-inch transfer punch
18. For best-possible bull’s-eyes a 1/4-inch transfer punch receives a gentle hammer smack just prior to drilling.
1/8-inch pilot holes
19. Sometimes, at least around here, it’s hard to find sharp drill bits. So, even though we’ve used a transfer punch, we’ll begin our drilling with 1/8-inch pilot holes.
upsizing the holes after the template has been removed
20. Next with our template removed we can upsize our holes. For 7/32 guidepins that’ll likely need some wiggle, 1/4-inch seems about right—so far.
1/4 inch upper-center hole
21. By the time we’re satisfied, however, only the upper-center hole remains a tight 1/4 inch. With the others further enlarged we’ve gained adjustability.
two of the bezel’s three guidepins
22. At least two of the bezel’s three guidepins will receive supplied speed nuts. Getting those started the first time can be tough, but abrading smooth plating helps.
solid surface, padded with microfiber toweling
23. Another thing that helps is our own bodyweight. Here on a solid surface, padded with microfiber toweling, we’re pre-threading guidepins with their own speed nuts.
guidepins pre-threaded
24. Once the guidepins are pre-threaded, the emblem can be installed with a light-duty nut driver. The bezel’s upper corners both use threaded studs.
topside expanse showing black rust
25. At this stage our hood is still in need of fillerwork. Its topside expanse shows black rust, which a DA (dual-action) sander won’t touch. It’ll require abrasive blasting.
lowkey custom touches
26. This truck won’t be a custom, but there’ll be other lowkey custom touches along the way. If you’ll stick with us for that, we’ll see what else develops.
 SOURCES
Brothers Trucks
(800) 977-2767
brotherstrucks.com
Summit Racing Equipment
(800) 230-3030
summitracing.com