
 Tech
Tech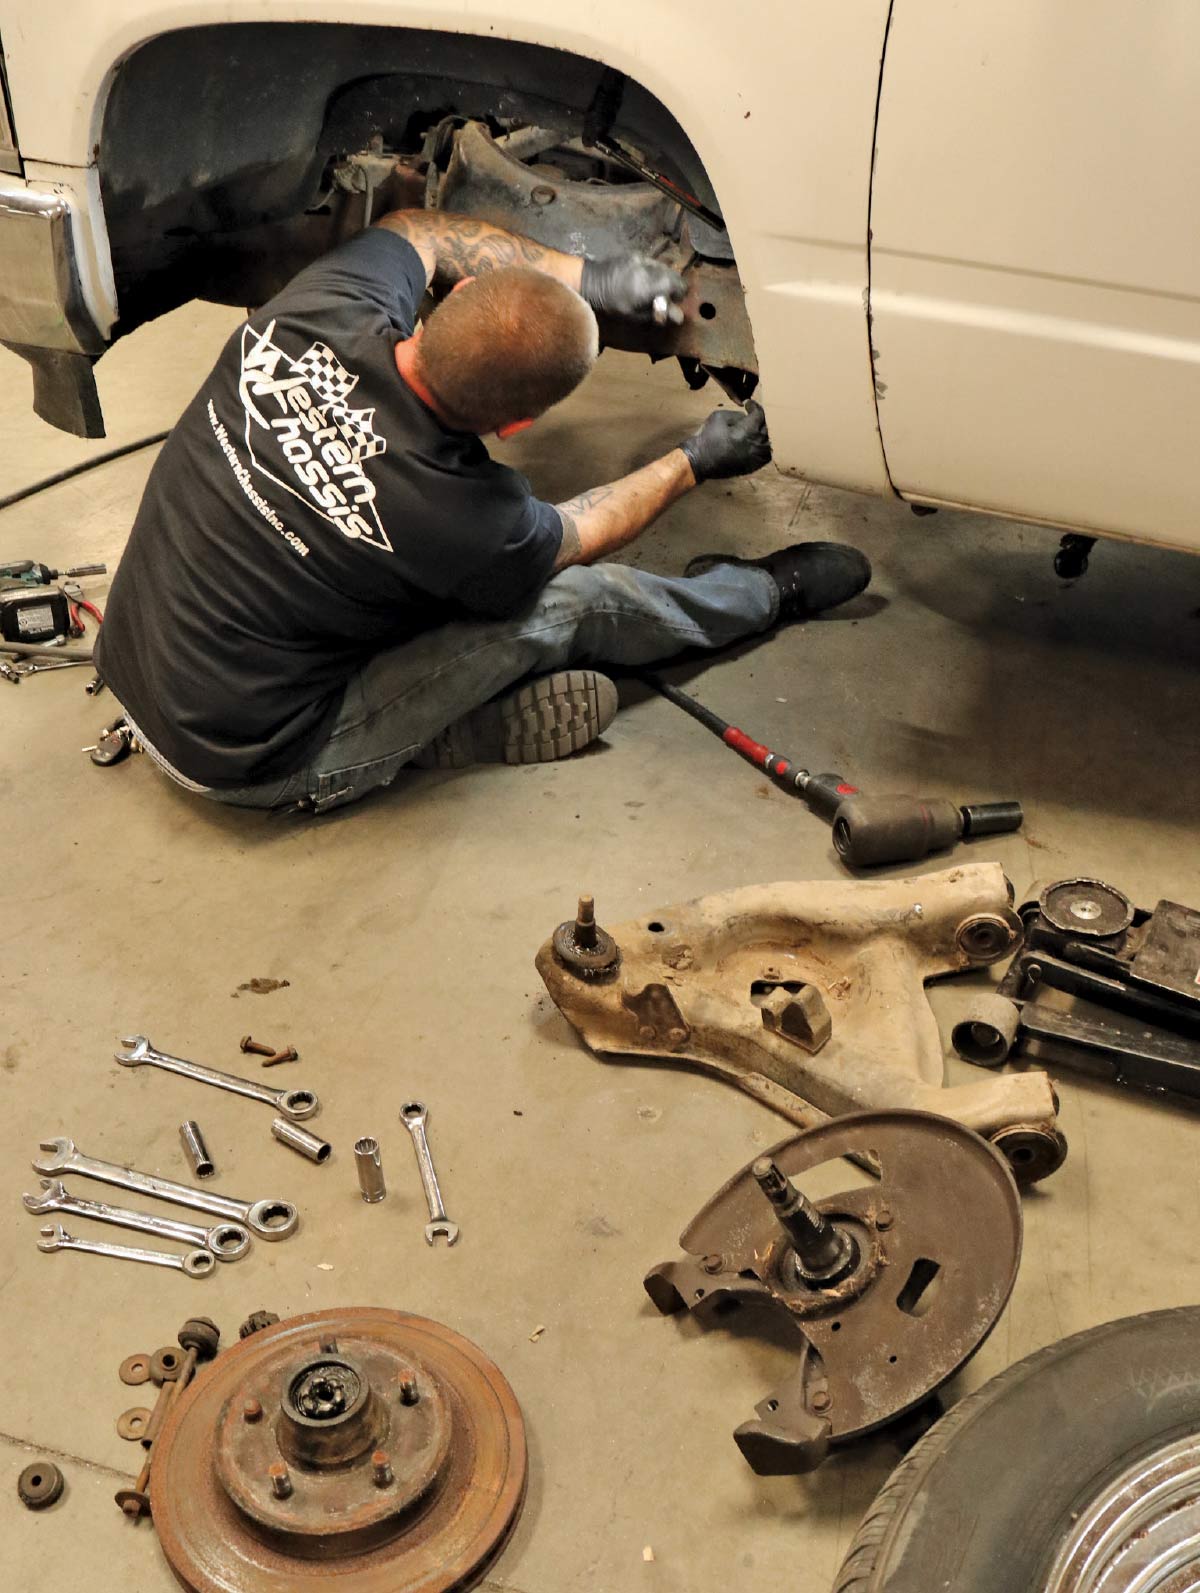


BY Rob Fortier | PHOTOGRAPHY BY The Author
is no-BS; the post-Squarebody craze is no joke folks—the 1988-1998 GM C1500 Series are here to stay … in a big way.
Last month we spent some time over at Western Chassis in Corona, California, installing their Super C-Notch—the back half of the 5/7 OBS drop kit—on a well-deserving 1993 Silverado. Just as we were wrapping up, they decided it was time they up and move to a much bigger facility. So, our wrapup on the front suspension had to wait till they were all settled in their location—but boy, was the wait worth it, as they now have a dedicated installation center with plenty of elbow room to work with! And, we didn’t end up skipping a beat issue-wise, so let’s get on with the show, shall we?!
So, while the 7-inch Super C-Notch did require some chassis modification (framerail material removal), the complementing 5-inch frontend drop is a 99 percent bolt-on deal. Why isn’t it 100 percent? Well, once the stock upper control arms have been removed, in order to properly have the truck aligned when all’s said and done, you’ll need to open up the slots on the pivot shaft perches for full camber adjustment (see accompanying photo). If this isn’t done before the new uppers are installed, your alignment shop will send you right back home just so you can start all over again!
For our wrapup session, we’ll be installing Western Chassis’ 2-inch drop factory-geometry ductile iron spindles along with their 3-inch drop coil springs and tube shocks; complete upper and lower factory replacement control arms; all-new steering linkage with billet adjuster sleeves, Pitman arm, and idler arm; new sway bar link ends; and Western Chassis’ new “blackout” vented-and-drilled rotor brake package. With a fresh set of rubber and 20-inch contrast-cut U.S. Mags five-spokes, we’ll be good to go!
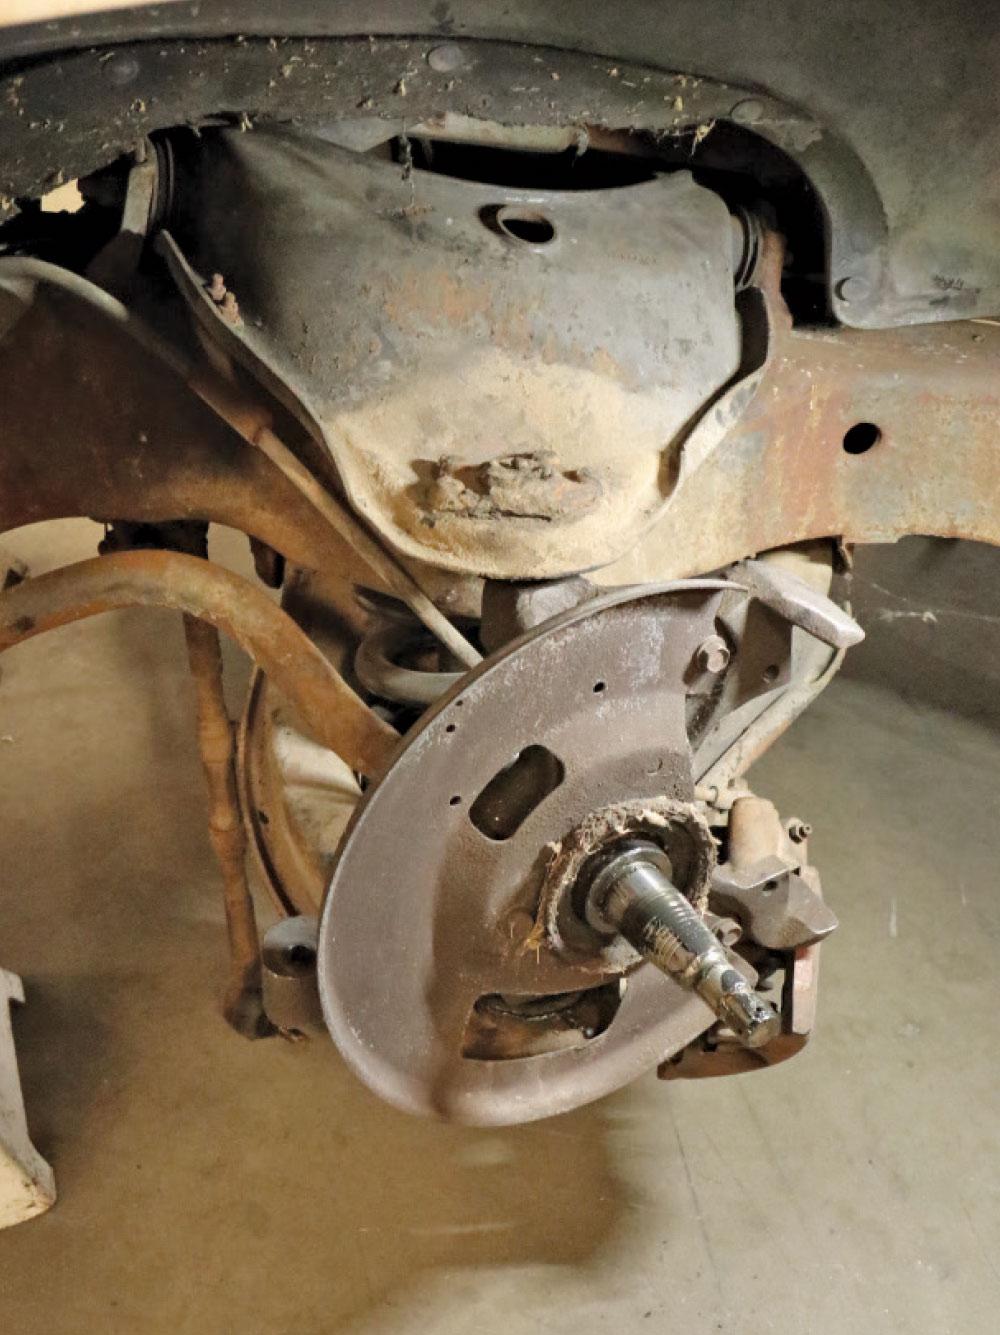
2. For all intents and purposes, the only part you’ll need to retain for this particular install are the factory disc brake rear dust shields …
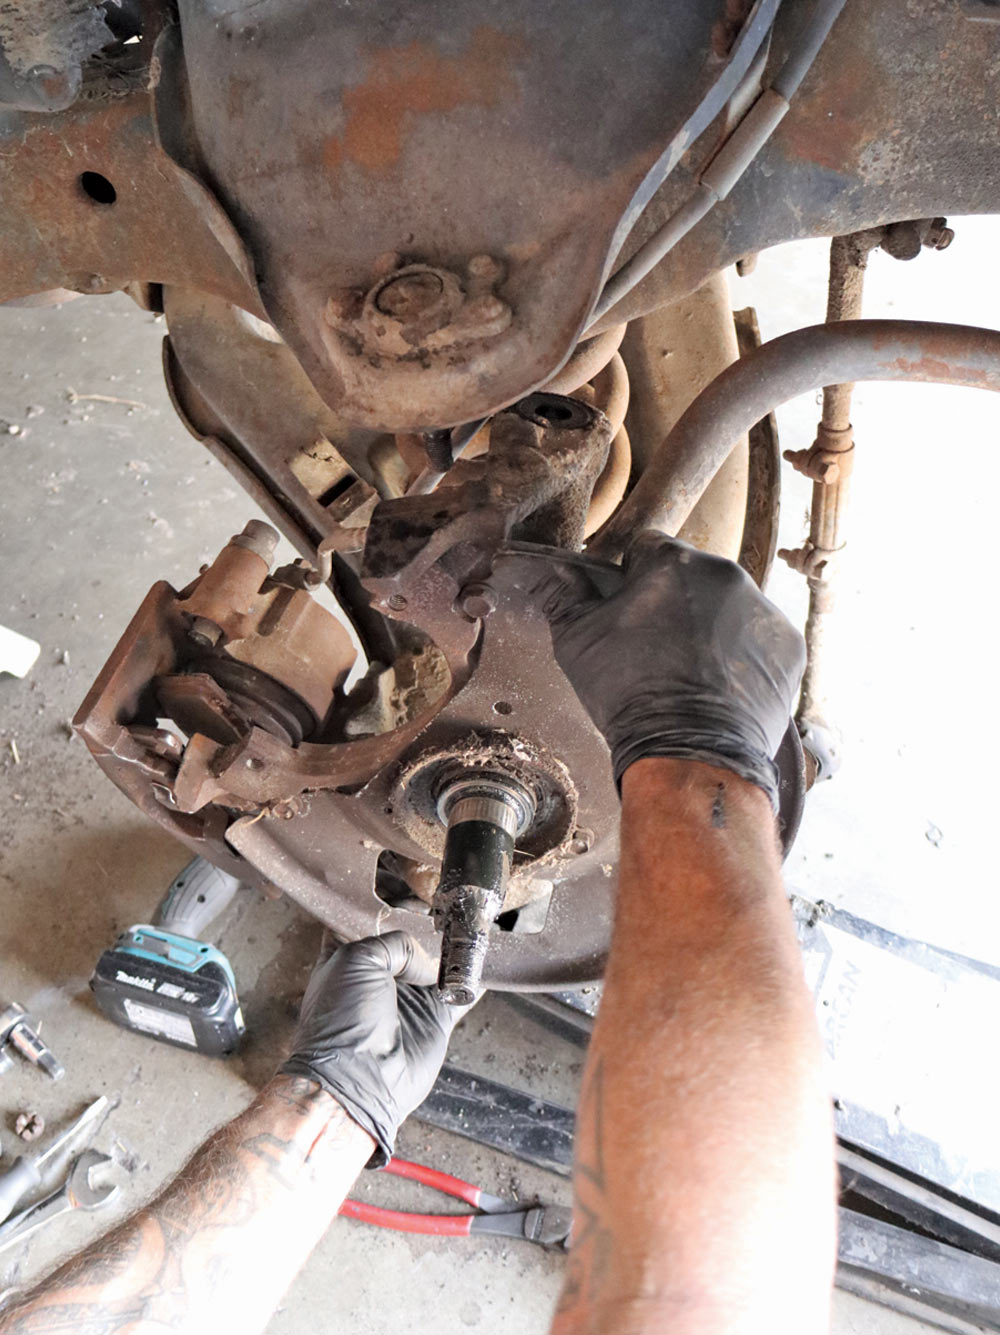
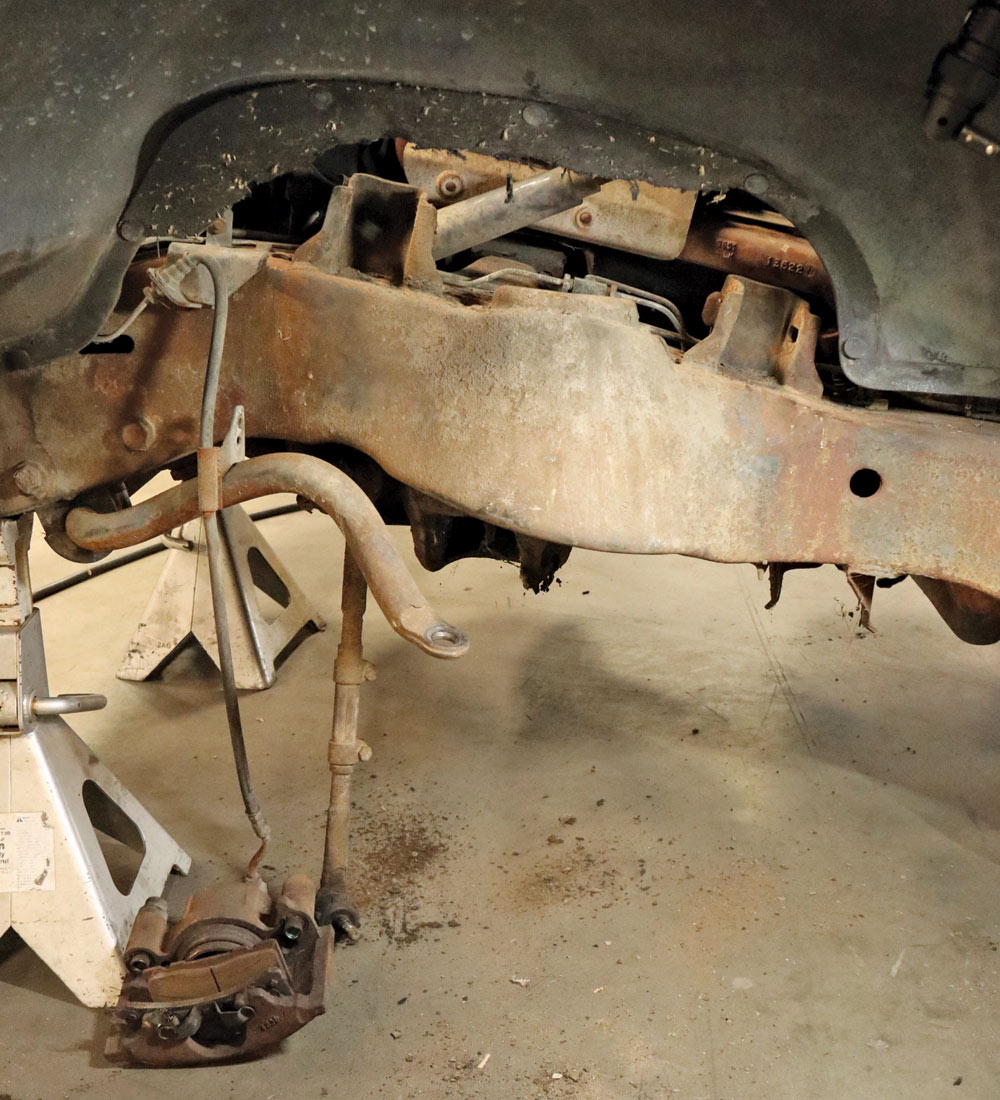
3-4. … everything else between the ball joints can go in the swap meet pile (just don’t trash anything till you’re completely finished!).
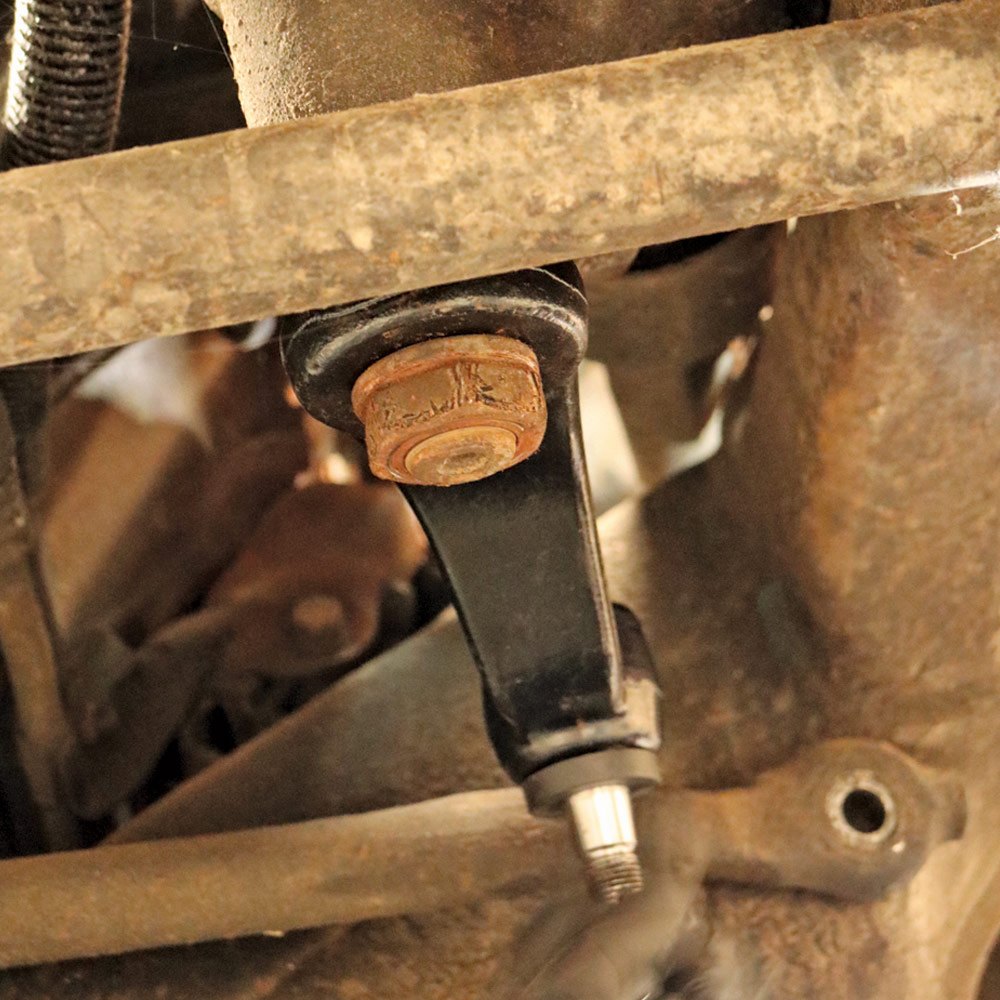
5. Seeing as we had plenty of room to work beneath the truck, we went ahead and installed the new Pitman arm first (after ensuring the steering box was centered, of course).
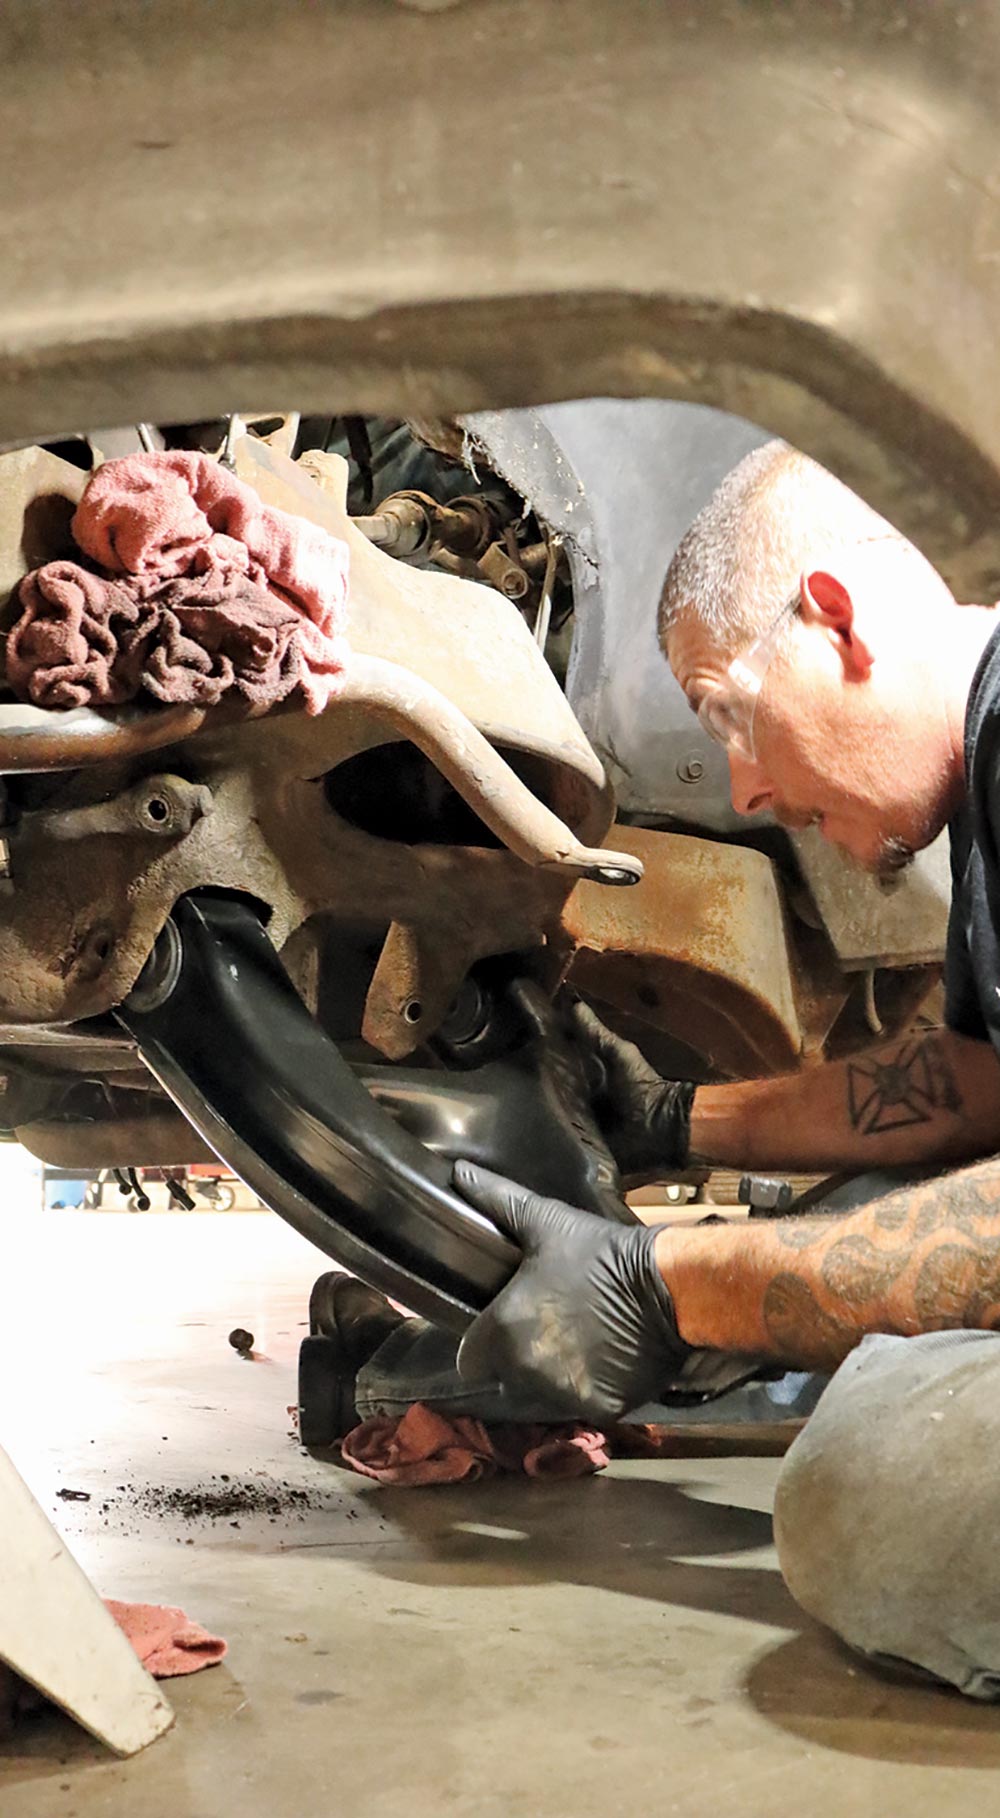
6. Next, after checking our lower pivot mounts were straight/clean, we fit the new lower control arm assemblies (they come with bushing pre-installed).
7-8. As mentioned, the one minor modification required is very a important one to ensure your future alignment is correct: you must open up the slotted holes completely on the upper control arm mounts; simply pry or knock the end pieces out in order to get full camber adjustment with the dropped spindles/coils.
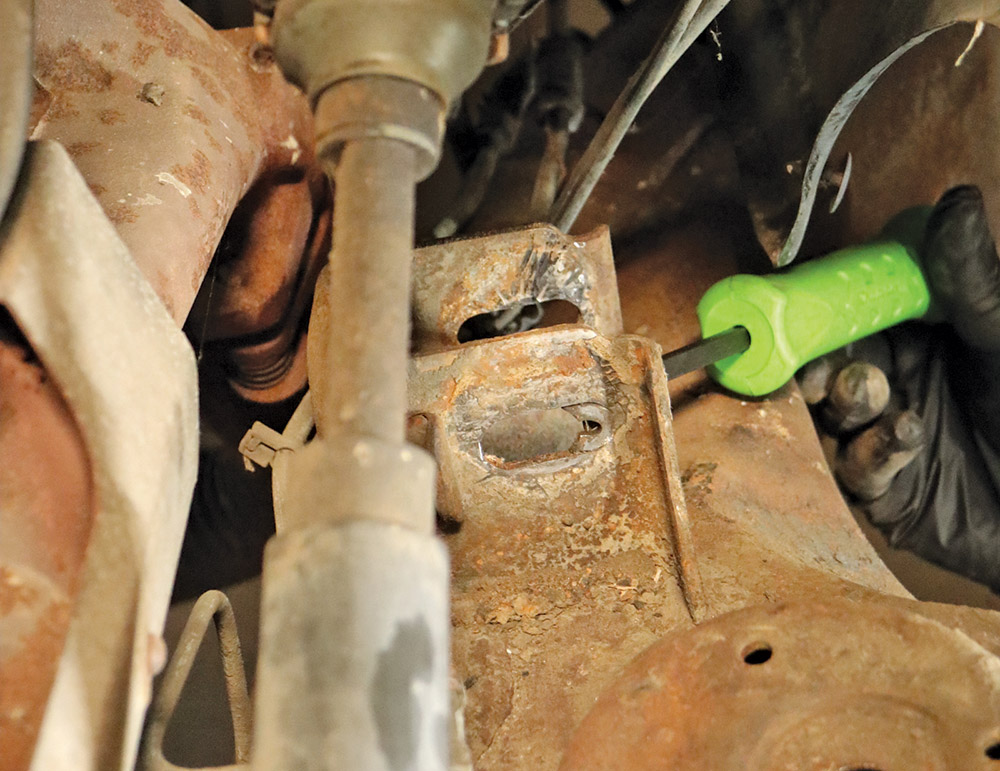
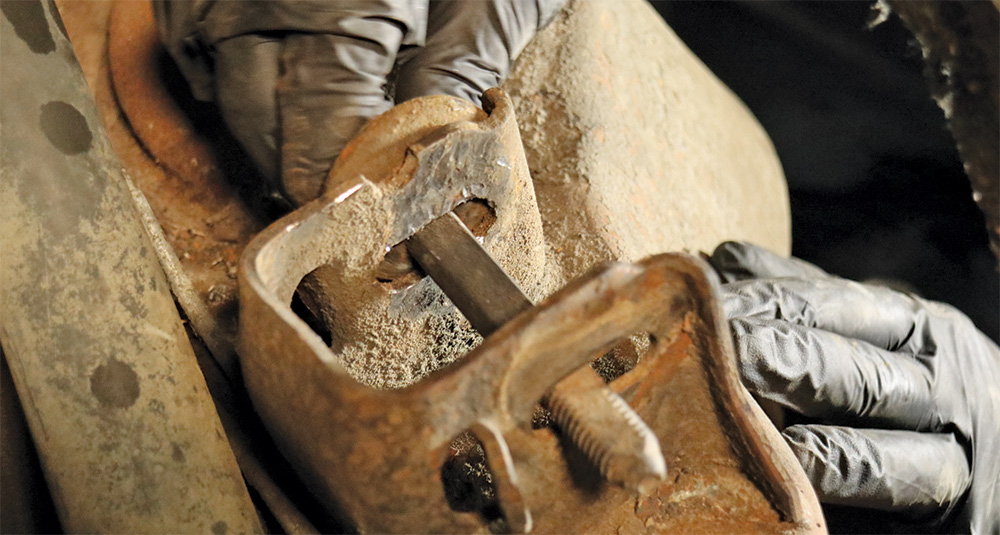
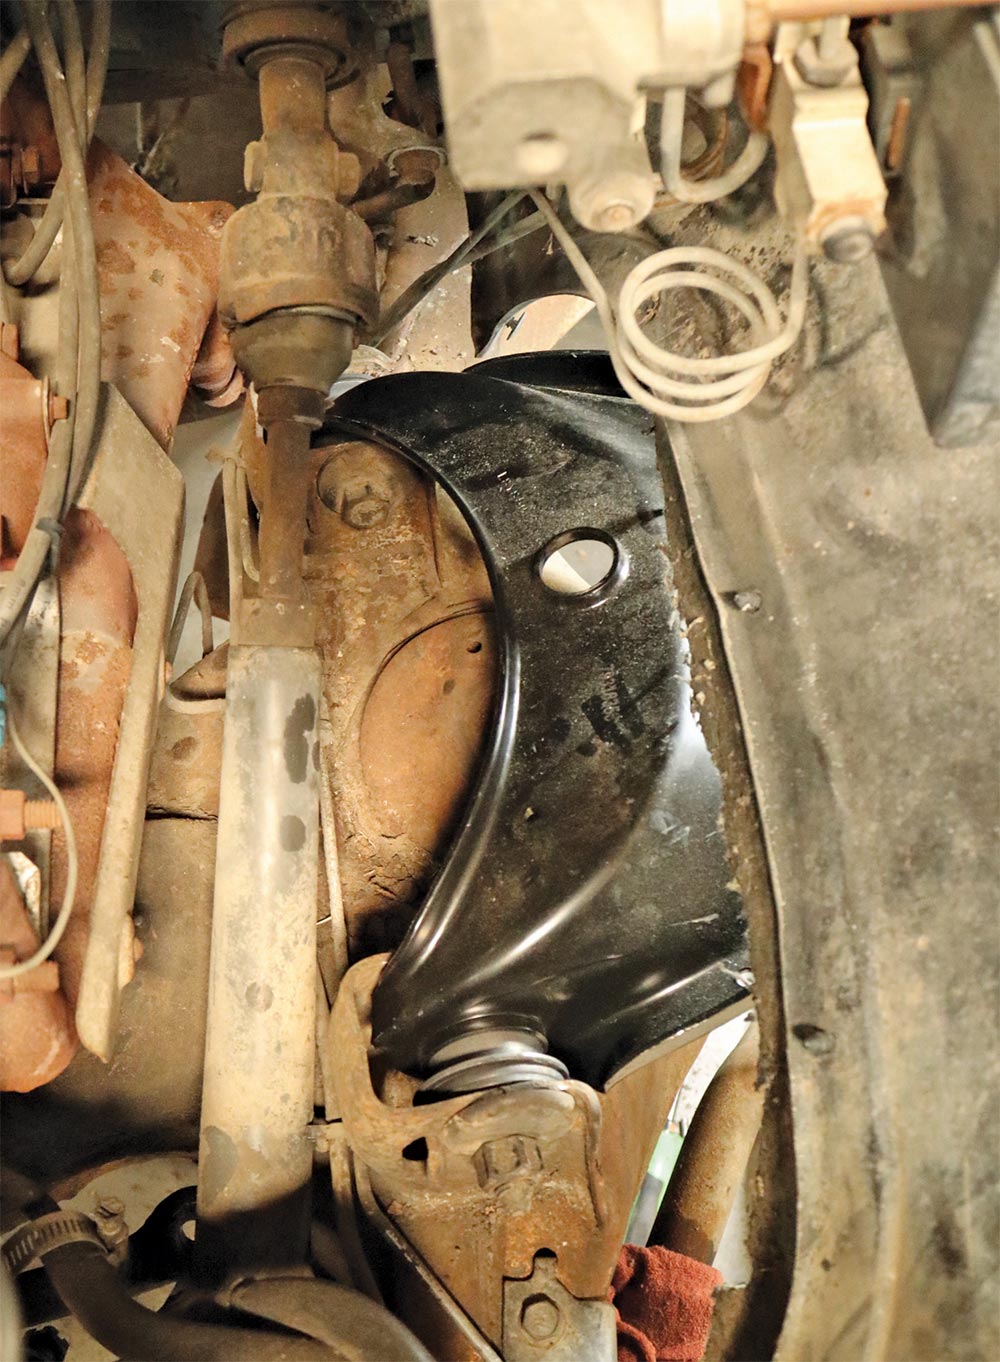
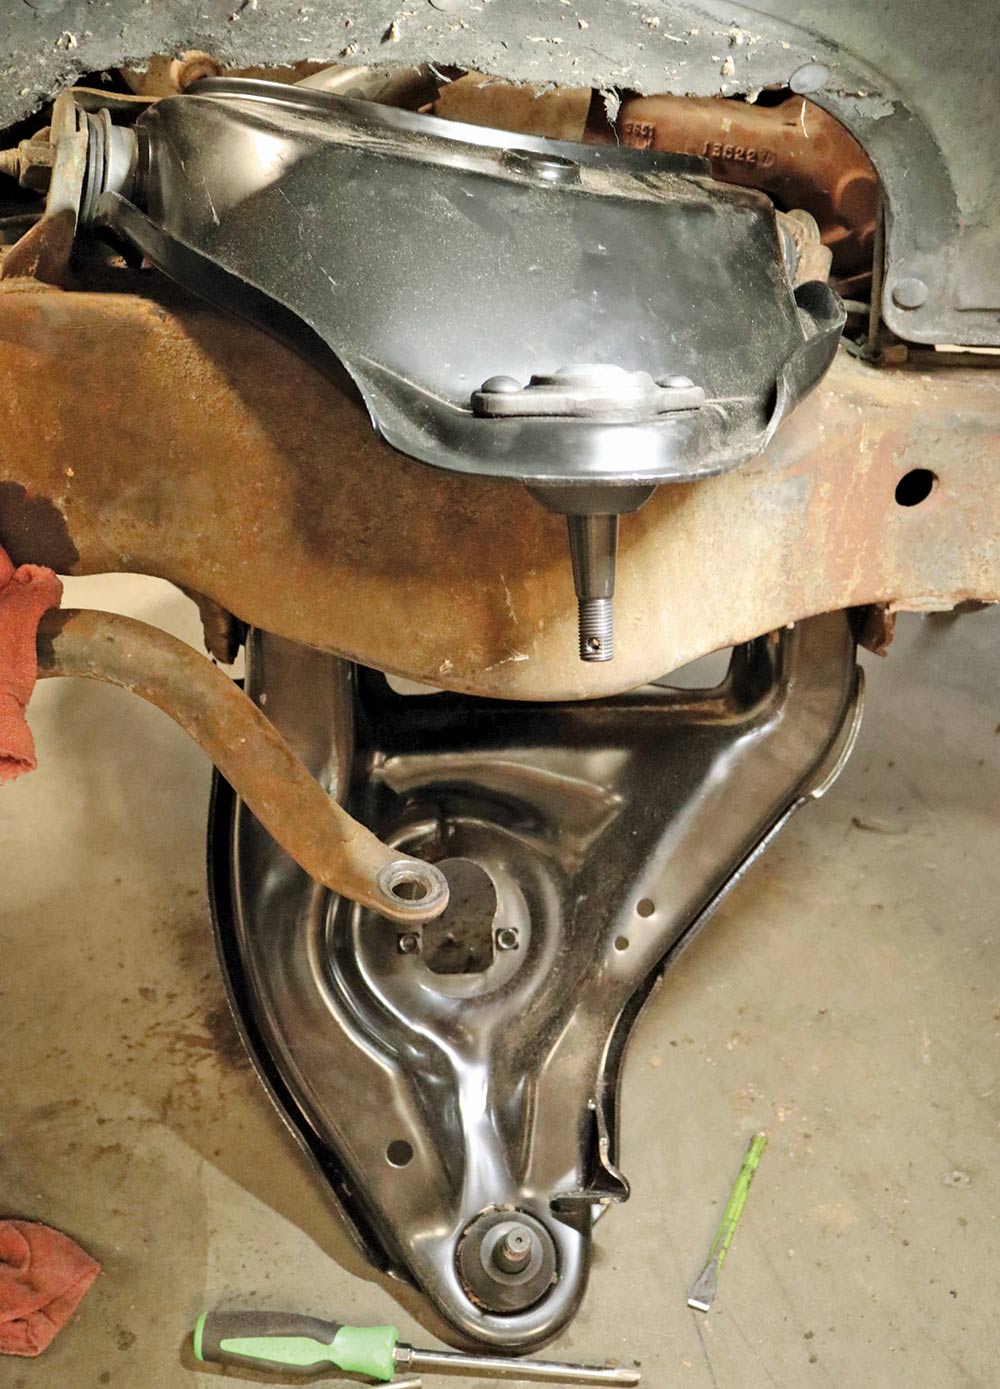
9-10. There are R/L arms; the lower is indicated by the sway bar link end hole in the front, the steering stop tab in the rear.
11. Since the new coils are dropped 3 inches, a spring compressor is not required to install them; however, always use extreme caution when loading new springs, and ensure orientation is correct in the spring pockets.
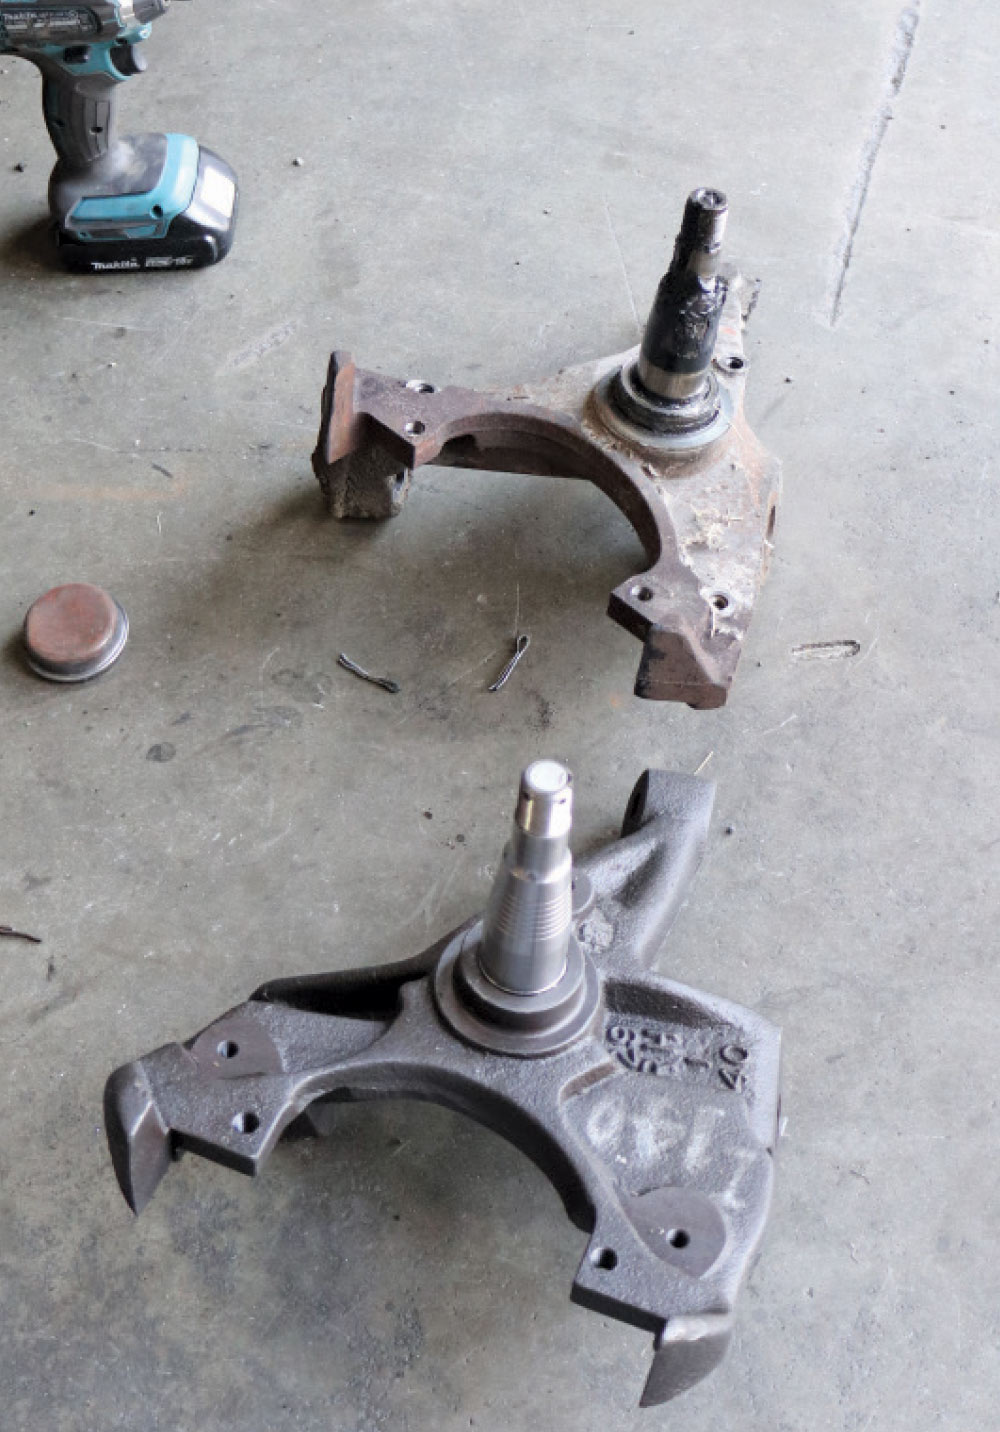
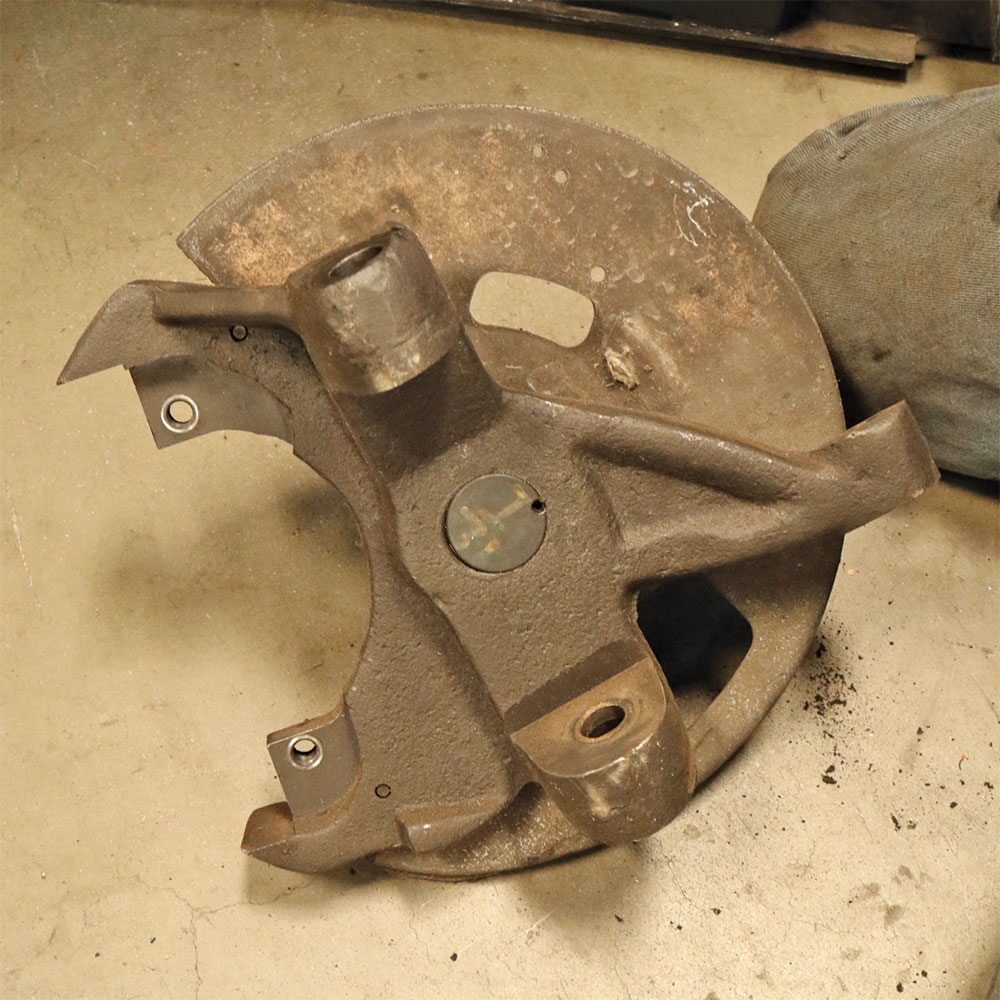
12-13. Excuse the previously installed condition of the new Western Chassis 2-inch drop spindles—they were previously installed (for test fitment prior to our photo session)! Remember to reuse your factory dust shield.
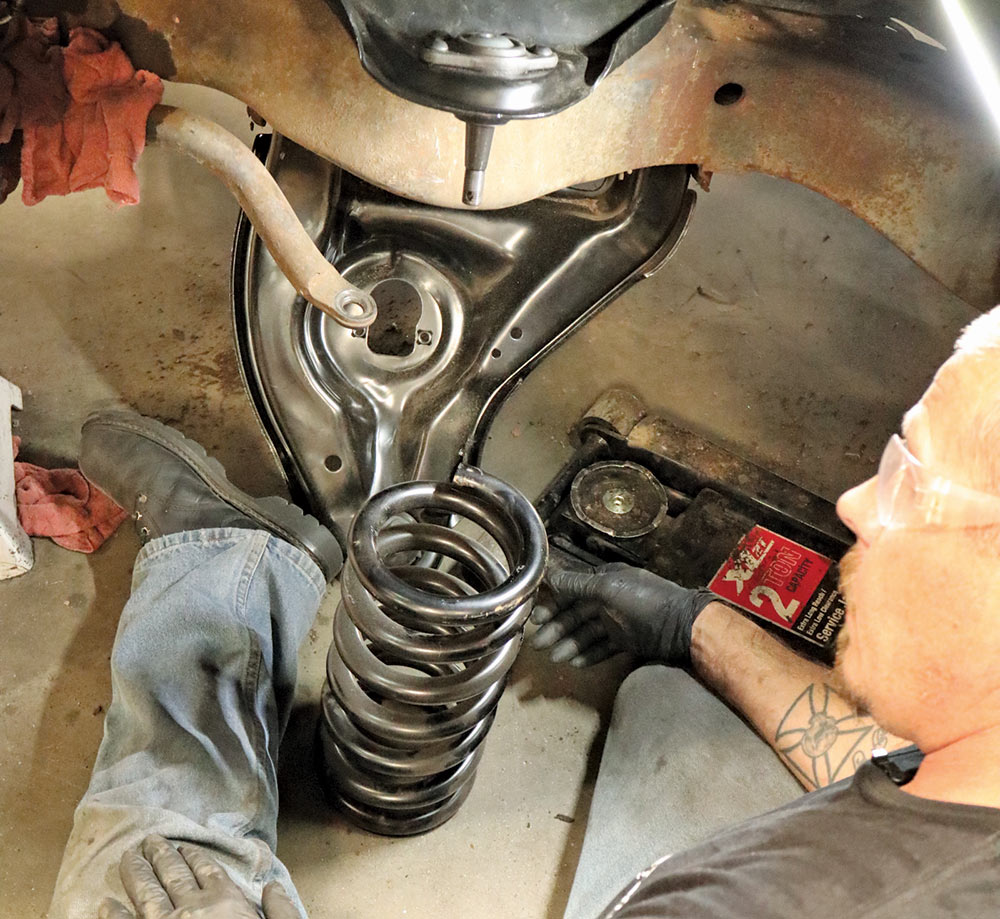
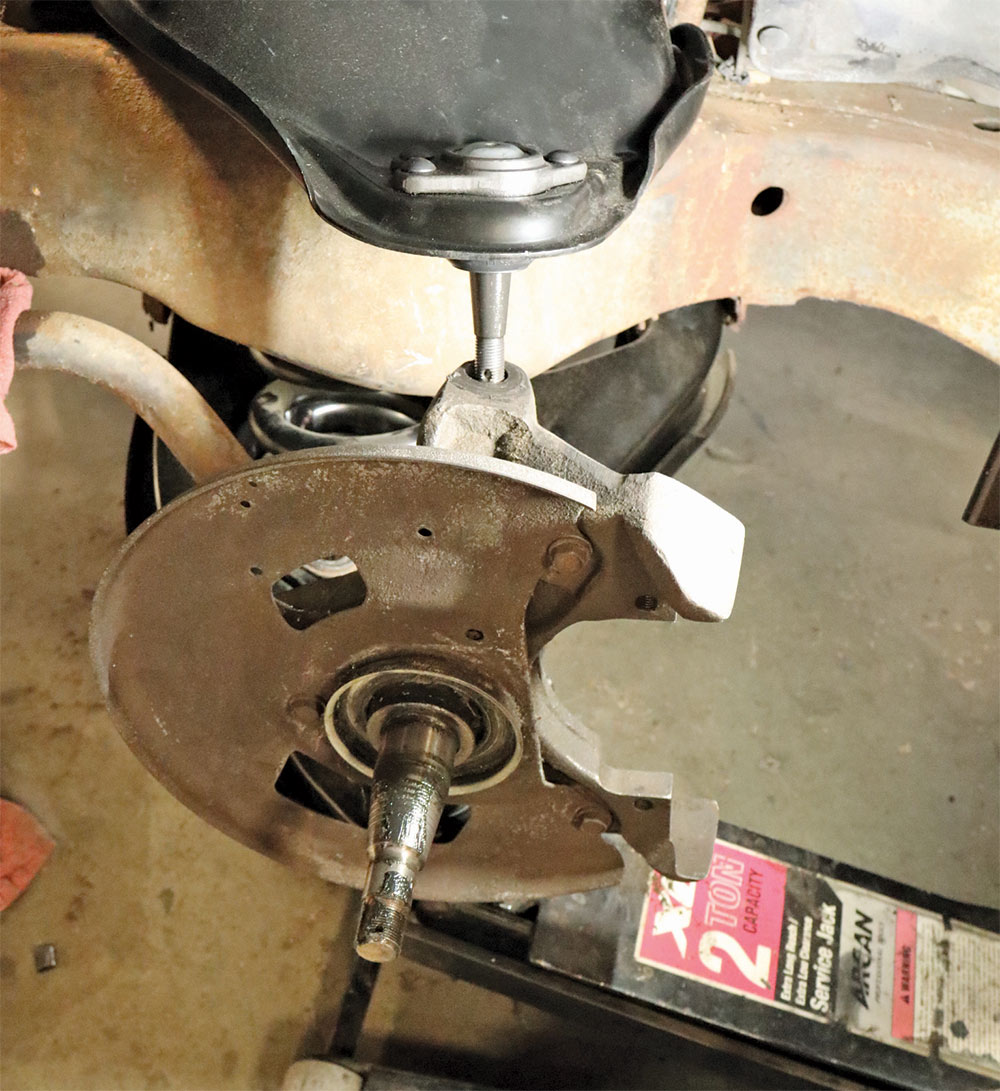


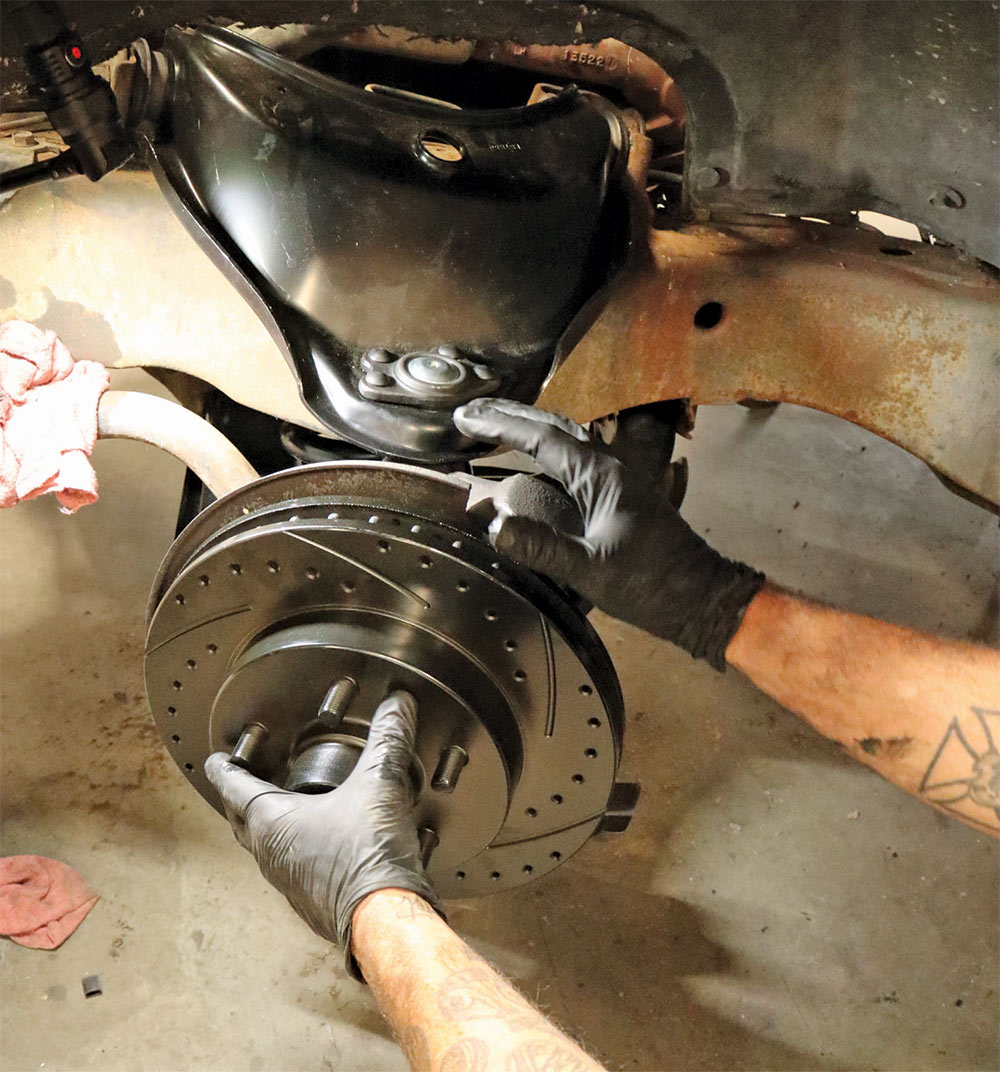
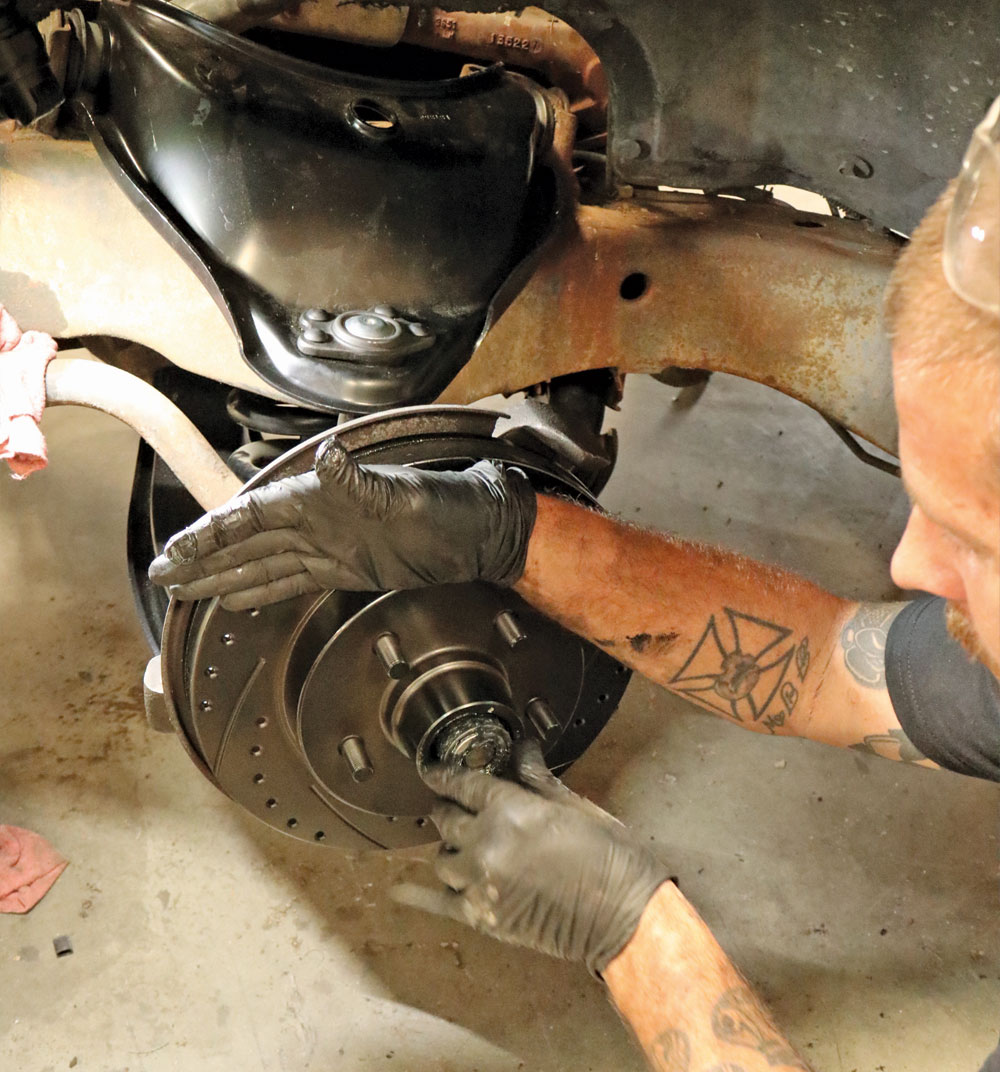
14-15. Western Chassis’ brake package comes with new wheel bearings and pre-installed races; simply pack with grease, press in the rear dust seal, and install rotors on a greased spindle pin, and set your endplay accordingly.
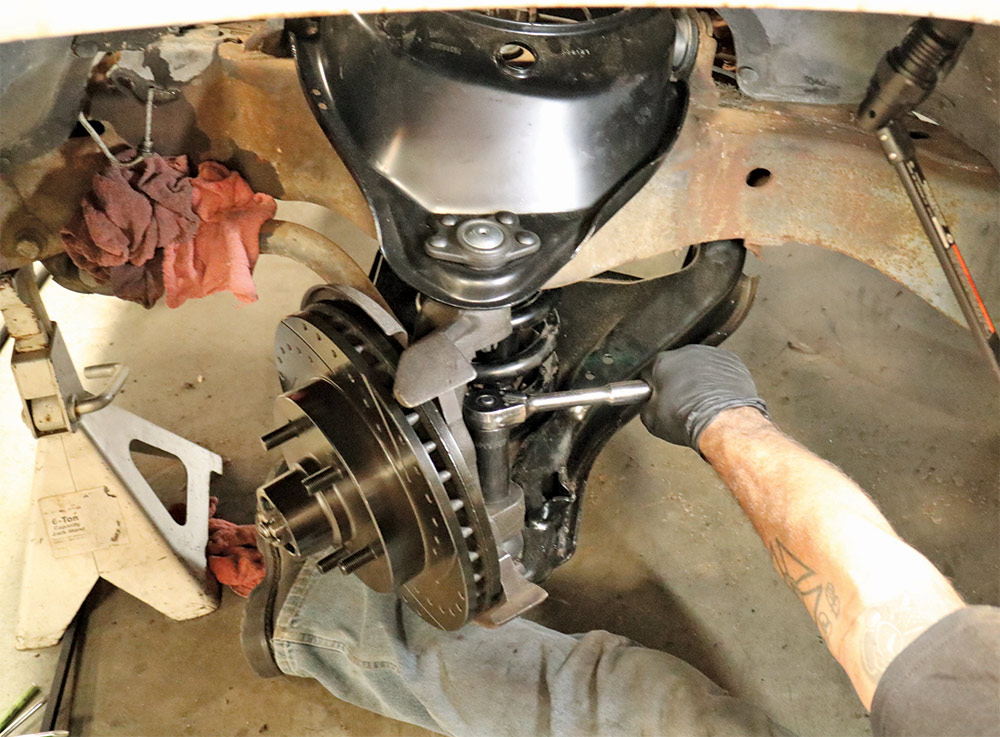
16. Once the rotor has been installed, you now have something solid to grab onto and torque down your ball joint nuts and secure with cotter pins.
17. Also included with the brake package are new factory-style replacement brake lines—pre-bent to match R/L applications.
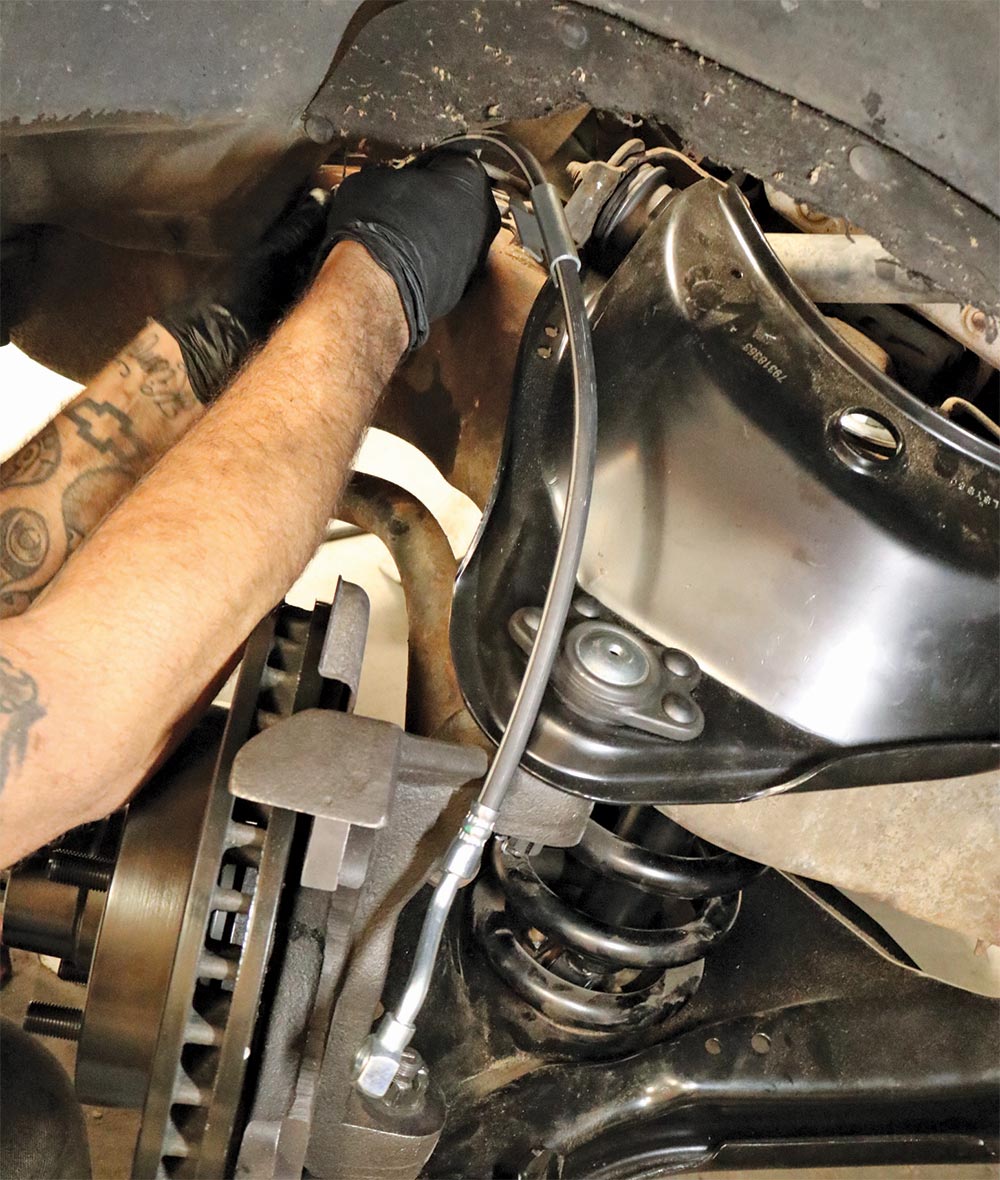
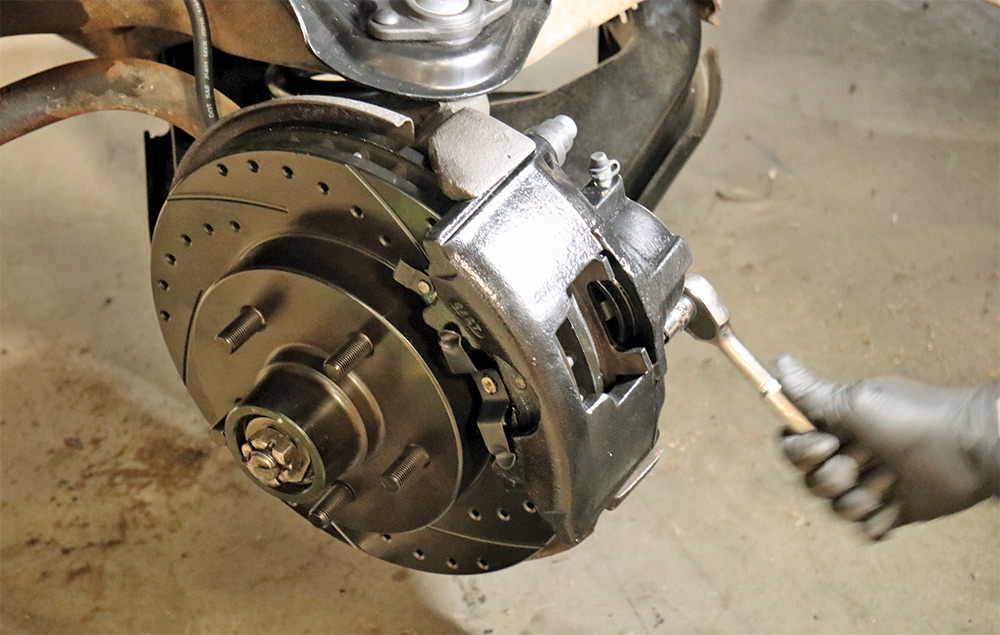
18. ince the new calipers are “dry,” installing the new friction and sliding over the rotors shouldn’t require a pad compressor—but it doesn’t hurt to have one on hand! Also, when bolting the flex line onto the caliper, make sure the “stepped” side faces out, otherwise you’ll never get a tight seal and thus have a fluid mess on your hands, not to mention potentially poor brake pressure!
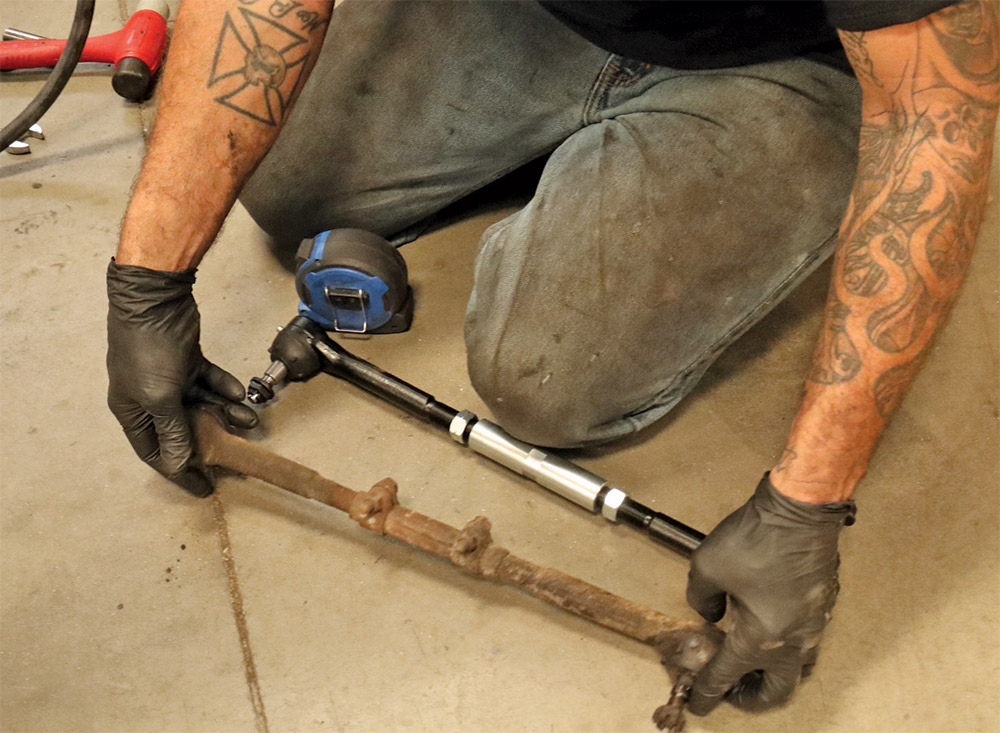
19-20. Using the OE tie-rod assemblies you have yet to throw out, mock up the new steering linkage to length before installing on the truck. Western Chassis’ billet adjuster sleeves are super convenient when it comes to, well, adjusting!
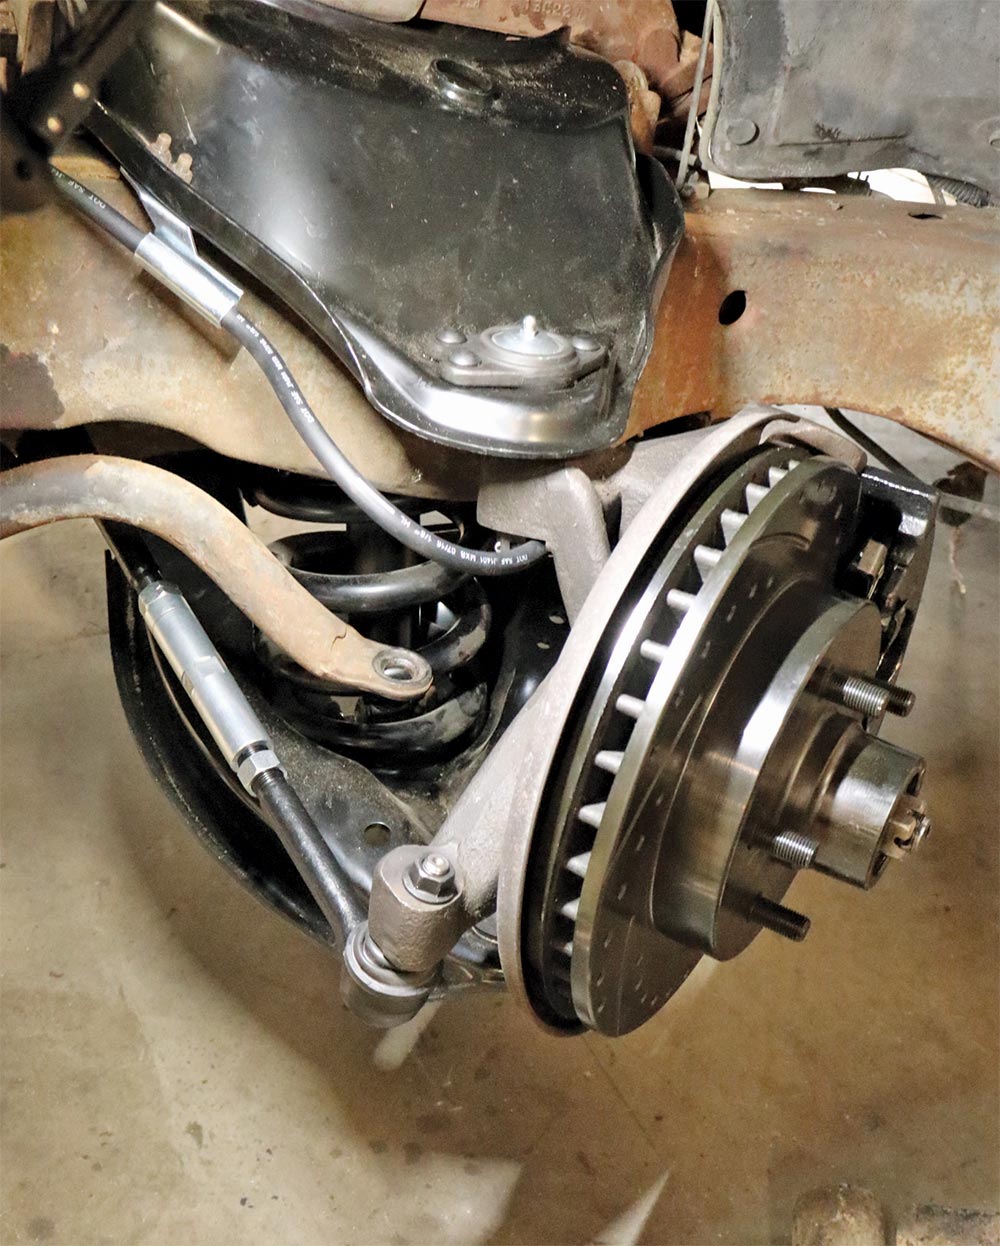
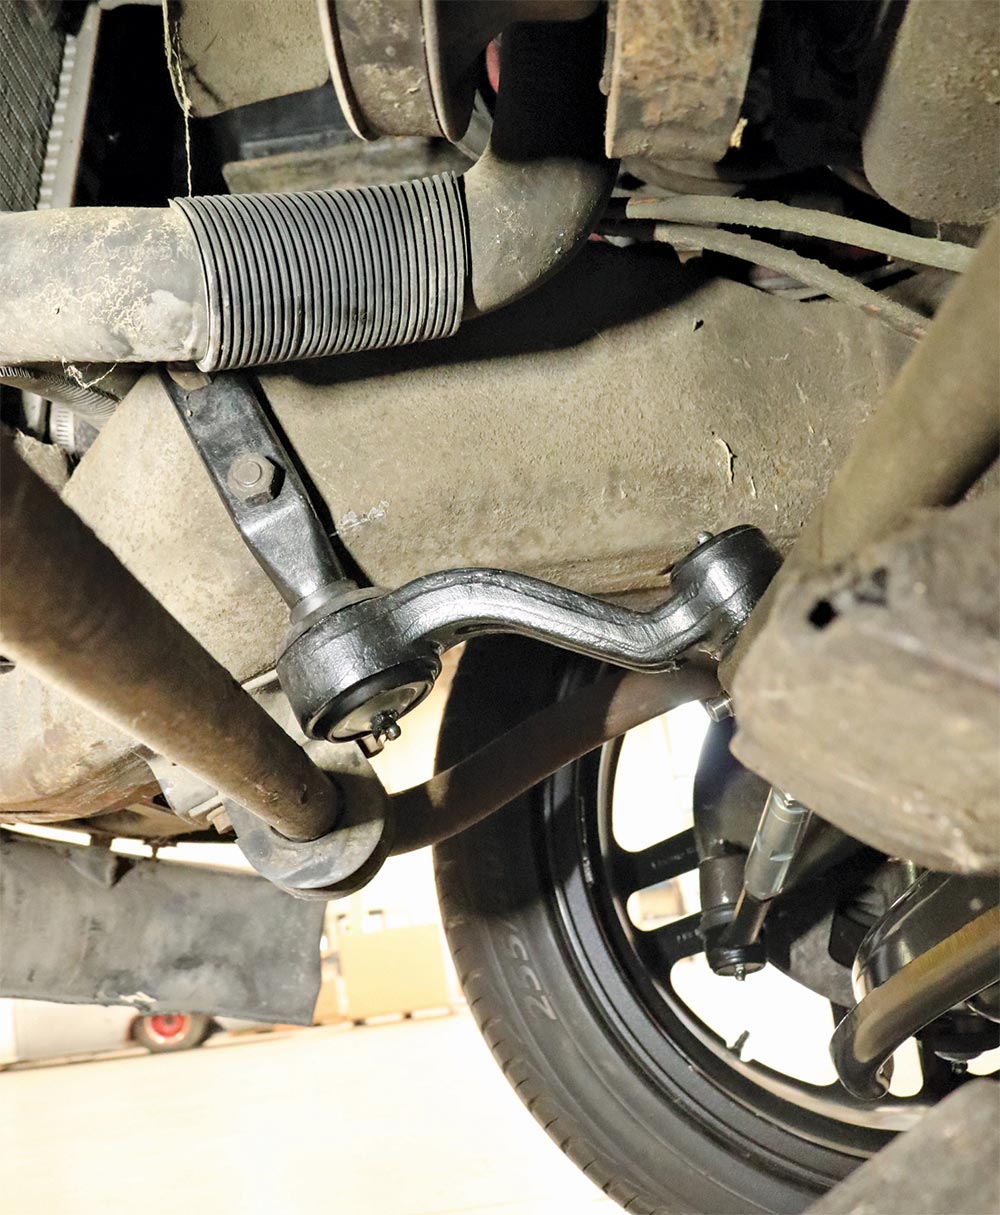
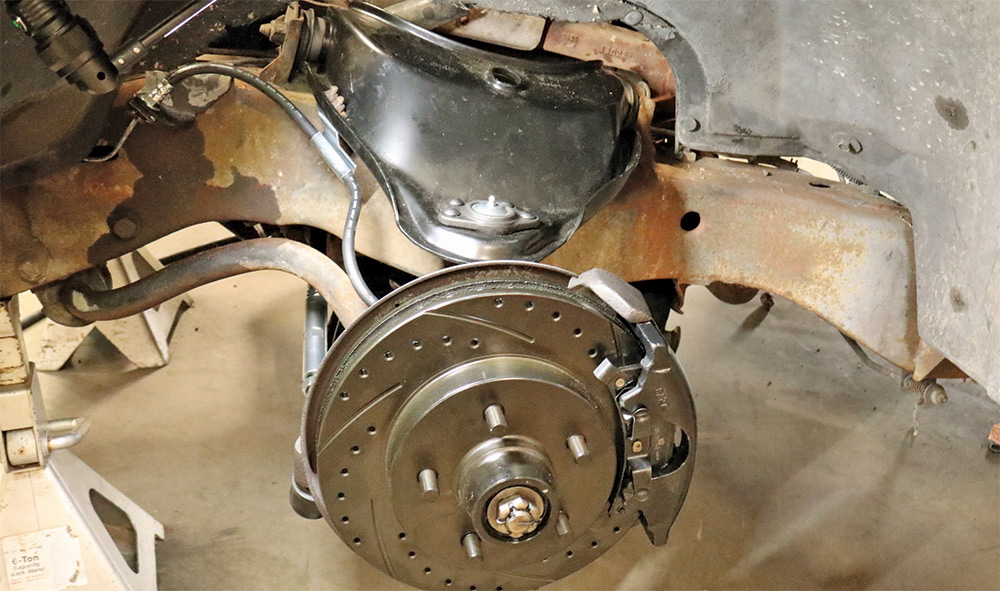
21. As mentioned, along with the previously installed Pitman arm, a new idler arm is also included with the steering components.
22. Once you’ve buttoned up your sway bar with new bushings and link ends, re-bleed your brake system, and of course have your truck professionally aligned, then you’re ready to roll—literally!
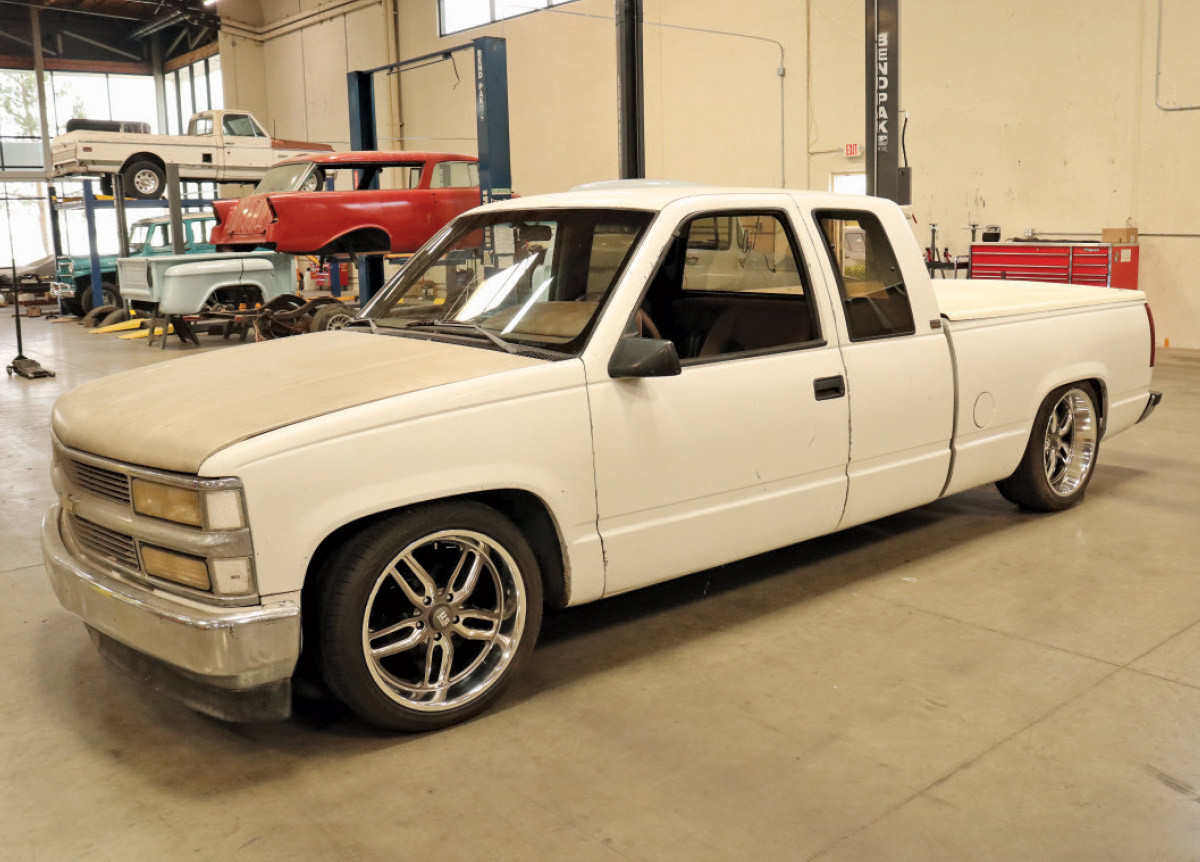
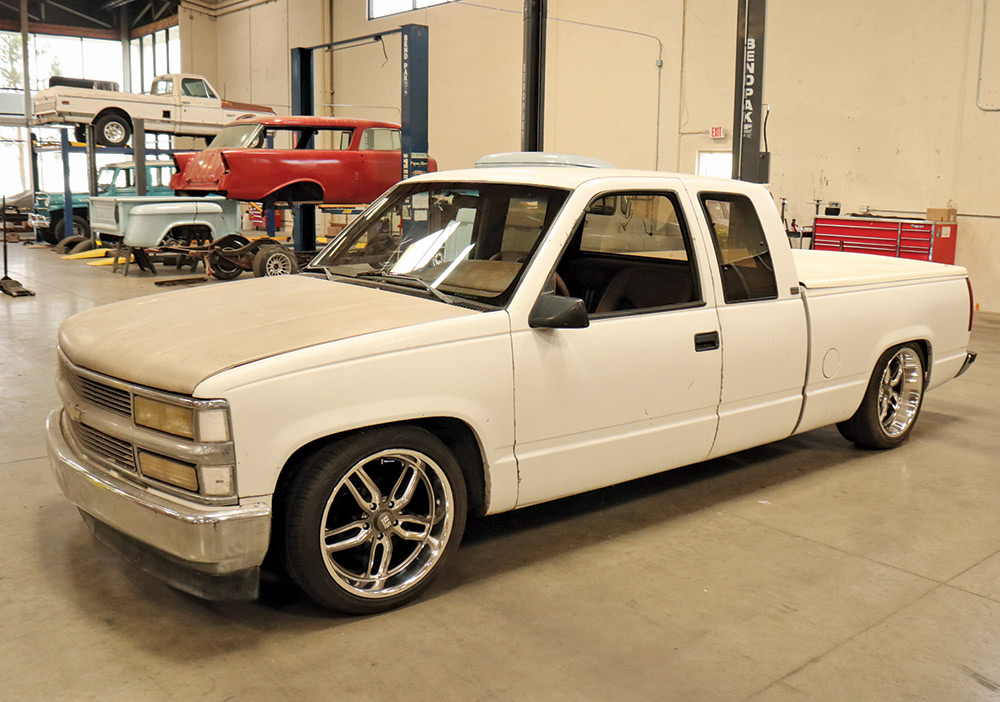
23. With the new 20-inch wheel-and-tire combo, here’s where the old Silverado statically sits thanks to the Western Chassis 5/7 drop. We can definitely dig it!
 SOURCE