
 Tech
Tech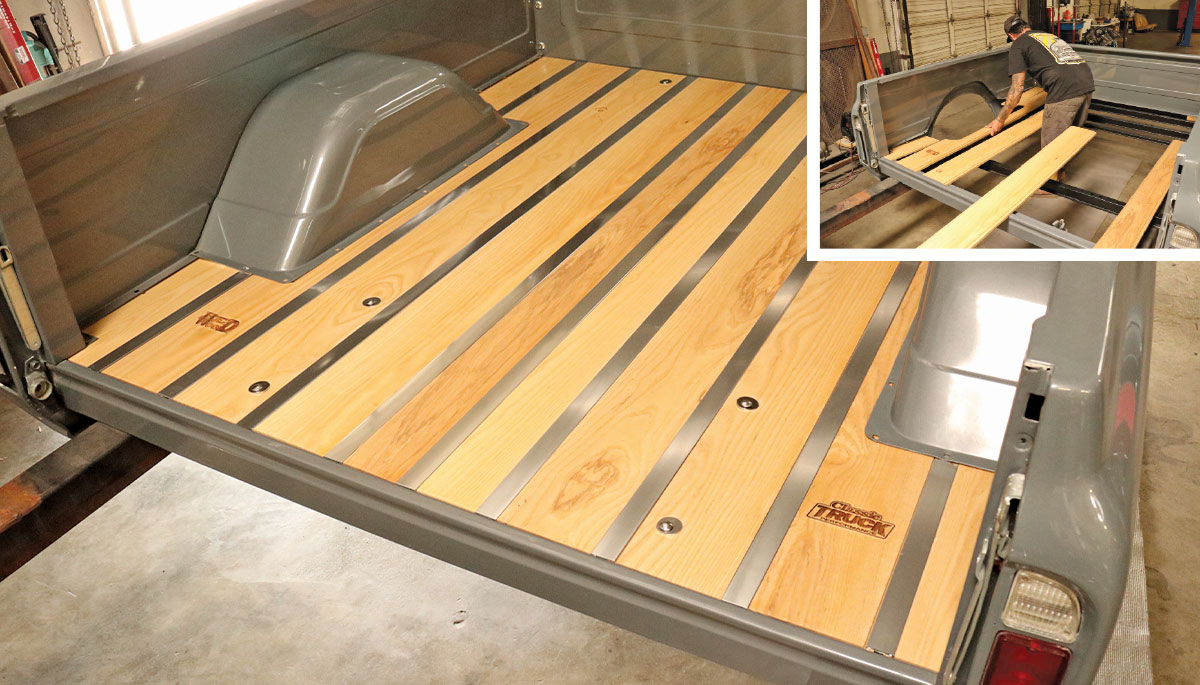
BY Rob Fortier  Photography By The Author
’ll readily admit, I have a passion for woodworking. While I’m probably the furthest from expert status when it comes to being a sawyer, I truly enjoy every aspect of my hobby—from sawmilling to finishing. That said, if presented the option to forego most above-mentioned aspects in relation to, say, bed floors in classic trucks, I’d be tempted to take the easy route out, no pun intended.
Well, I just happened to have that precise option presented to me recently by BedWood and Parts in the form of their pre-drilled/pre-finished, ready-to-go BedWood-X kit for 1967-1972 Chevy/GMC short- and longbed models. No cutting/trimming or pre-fitting; no sanding, staining, and/or sealing—just unbox, install, and go? I’m in.
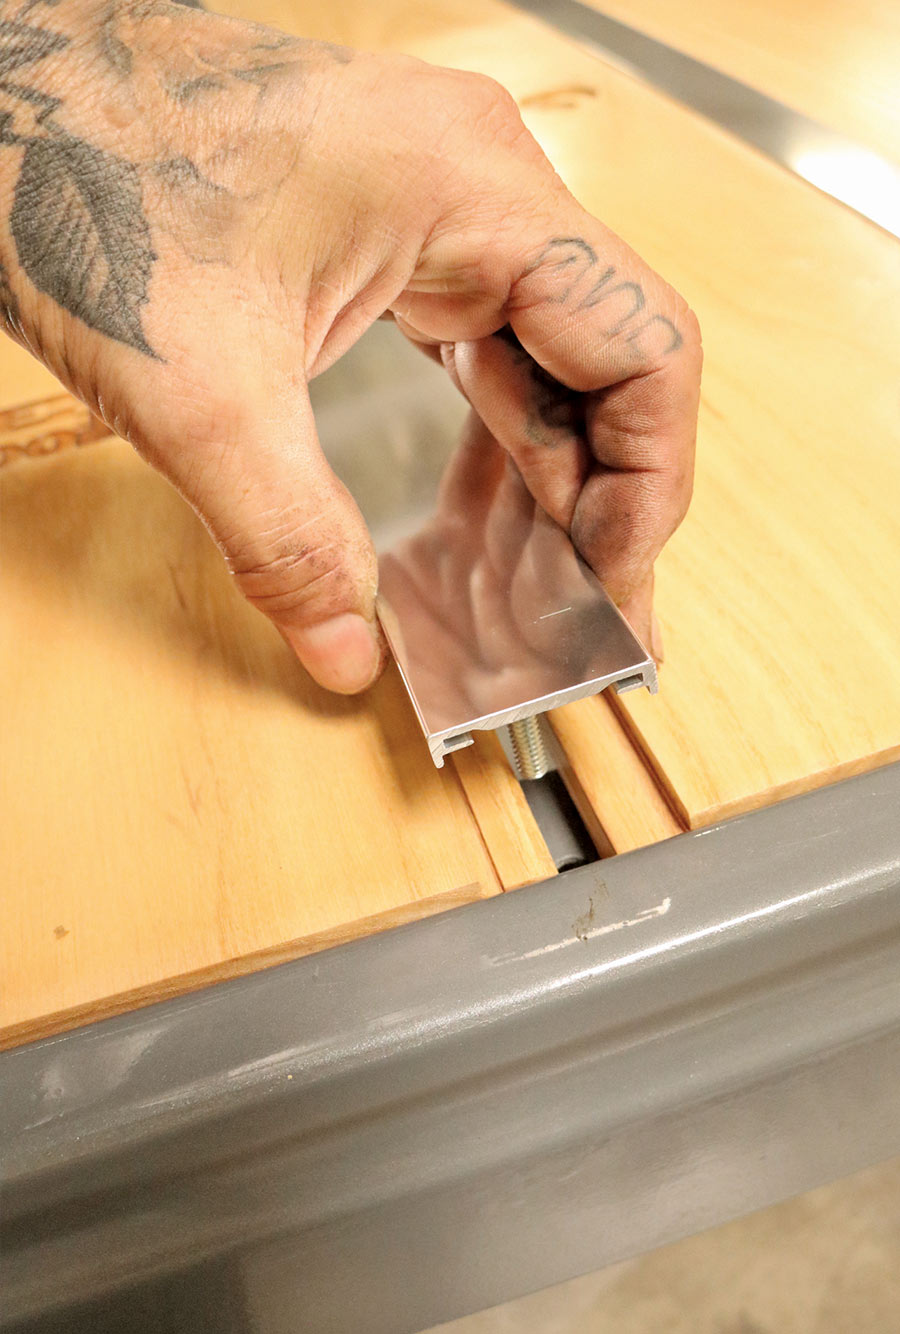
The time-and-effort-saving aspects of the BedWood-X kit include pre-cut/pre-drilled and pre-routered hard wood planks (in our case, ash), all precisely milled and cut to exact factory specs. BedWood and Parts prepares the wood using their in-house H2X Exterior Wood Finish (and includes additional clear sealer in the event any additional holes need to be drilled or boards trimmed for various fitment reasons). The flush-fit, fully polished stainless strips feature hidden T-bolts for the ultimate “clean” look. And, as you may have already noticed, BedWood and Parts also offers in-house engraving—so if you happen to have a particular logo or even the truck’s nickname, that can be added as well. We went with the obvious logo option!
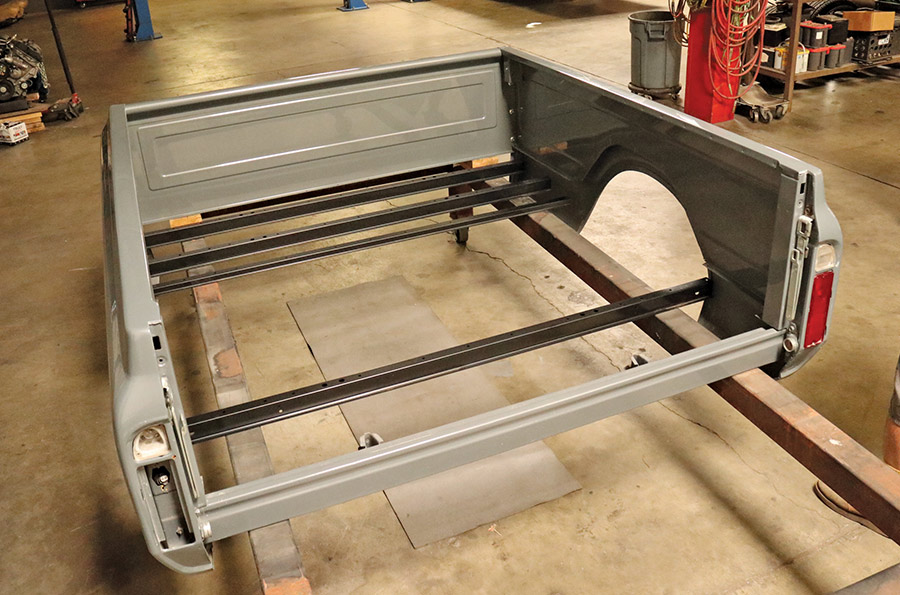
Now, the 1969 Chevy C10 we’ve been devoting a lot of time (and pages) to since we launched CTP was purchased already painted and came with a wood bed floor, albeit not physically installed nor in any kind of shape to be reused. However, it led us to assume the 1/2-ton’s box was ready to be equipped with an all-new wood kit as-is. Well, such was not the case, as the forward bed panel was OE; in other words, a “steel” bed floor front panel, and thus, would not accept the wood planks without having to perform some major routering. No sooner did I discover this discrepancy did my pal John Lawrence from Brothers Mail Order Industries inform me that, in fact, there was a separate panel available to accommodate wood bed floors in the non–OE-equipped versions such as mine—I just had to have it colormatched by my other pal Josh Franklin at California AutoWorx and swap the two out. Easy! (Not really, but I’ll save the grief-stricken portion for another time … or never.)
With the box all sorted out—and removed from the chassis—and all the correct crossbraces obtained (again, thanks to John and Steve at Brothers for always righting my wrongs!), I was all set to spend some good, quality time with Jobe at Jimenez Bros. Air Ride & Rod Shop assembling and installing BedWood and Parts’ BedWood-X. Let’s gitterdone! (By the way, the professional video we did documenting various steps of the install is at the end of this article—check it out!)
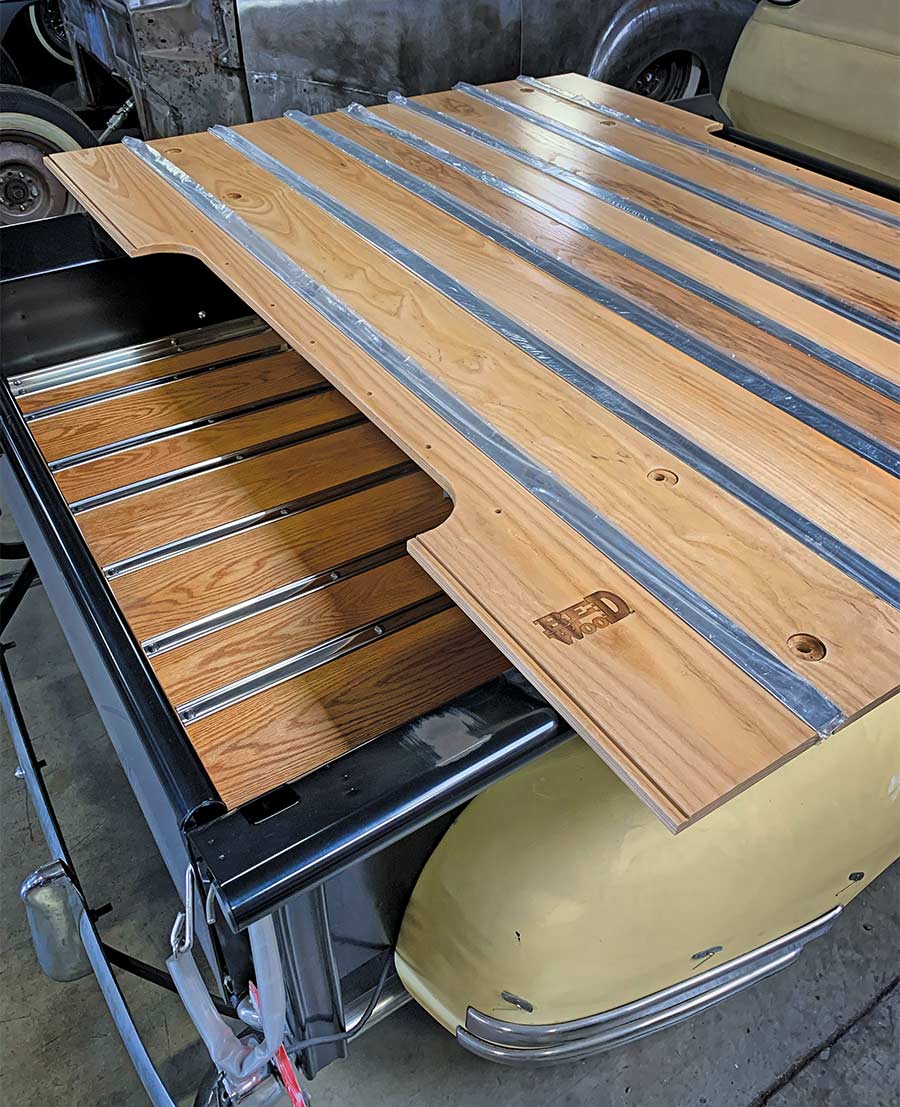
2. You may have noticed the BedWood logo laser-engraved on the left-side outermost plank. As a special service they offer, provide the appropriate file-format logo and they can engrave almost any logo—even our magazine title!
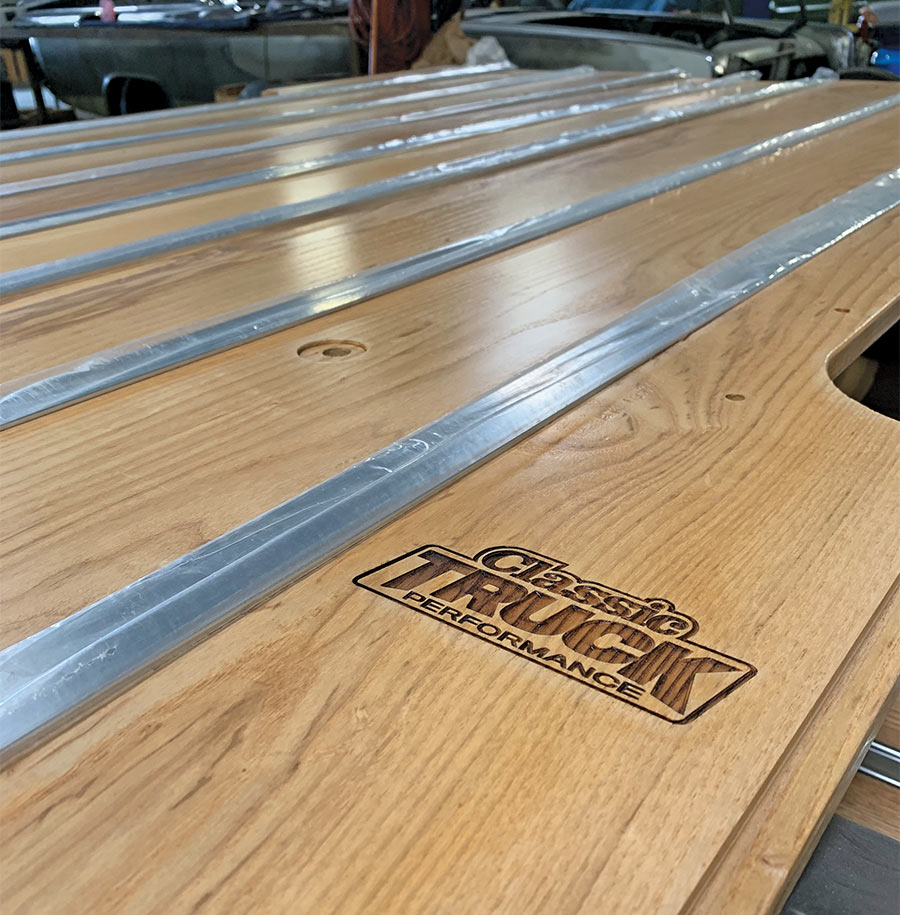
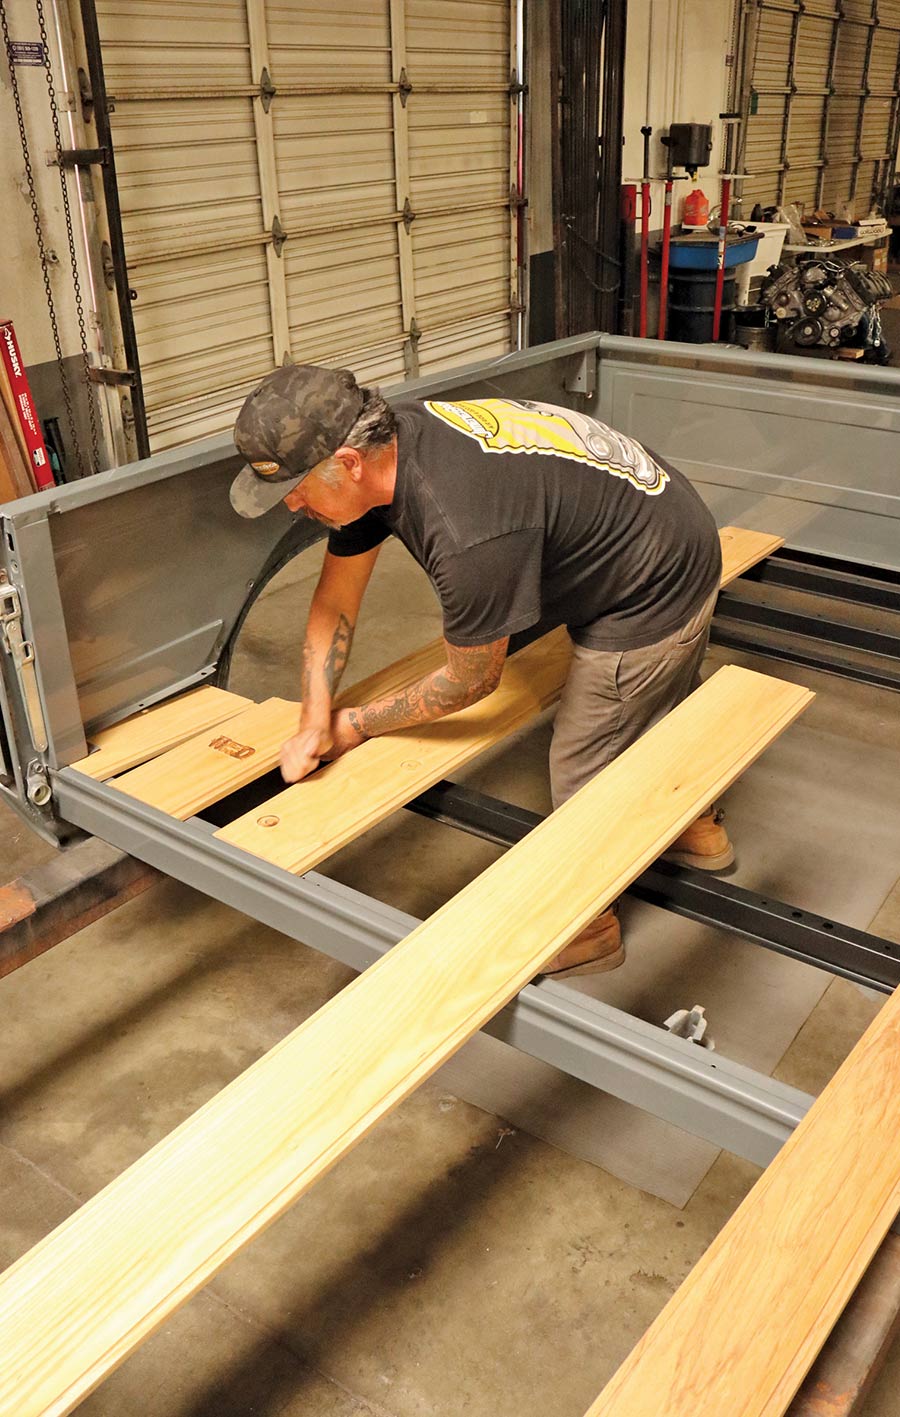
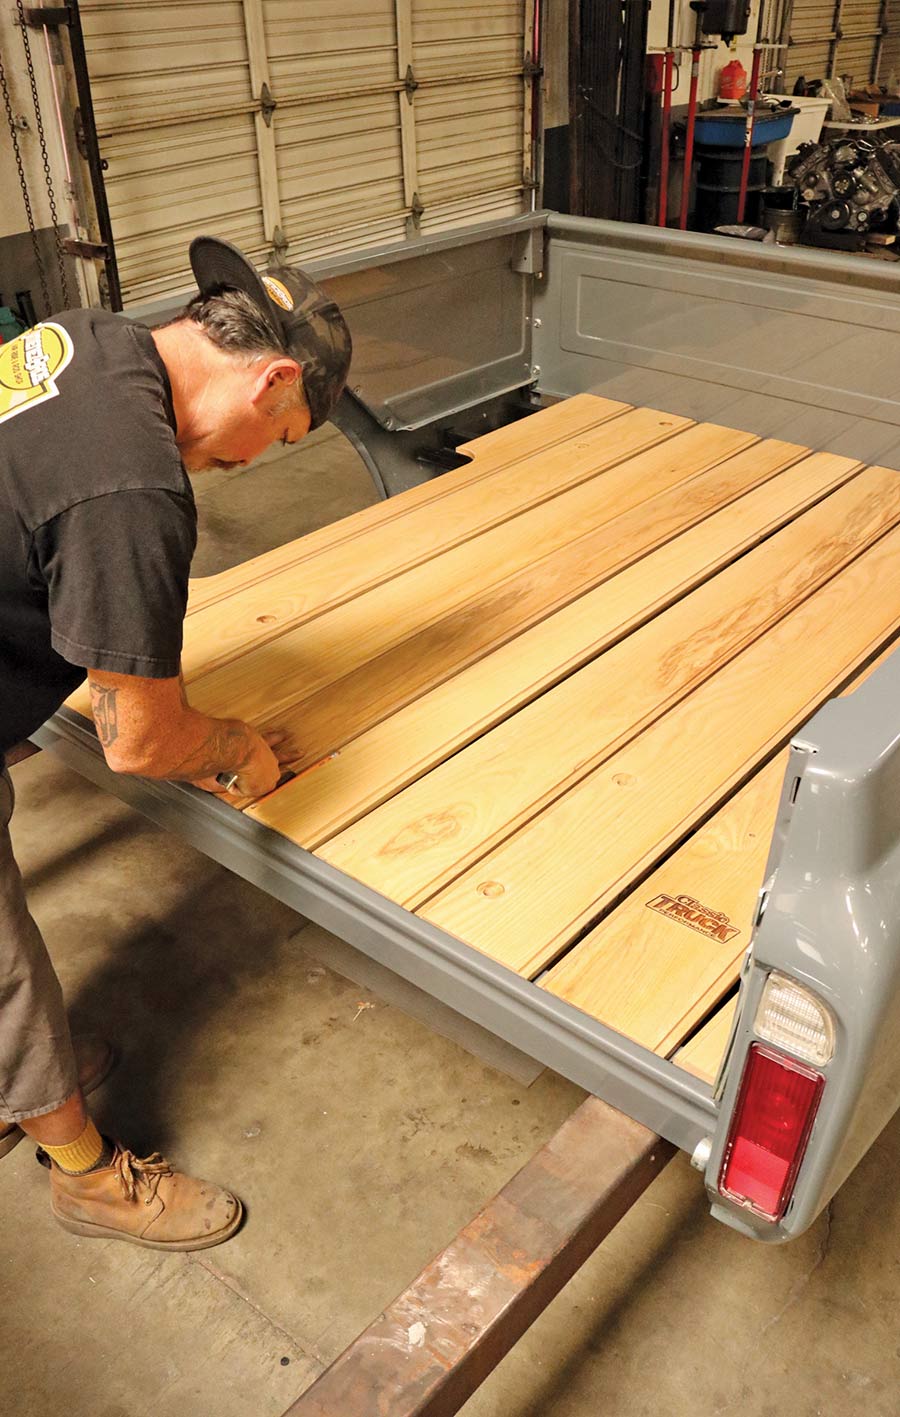
6-7. Using a punch, we aligned our main carriage bolt mounting holes fore and aft. At the same time, we spaced the boards out as evenly as possible by eye, ensuring cross sill mounting holes were visible for the stainless strips.
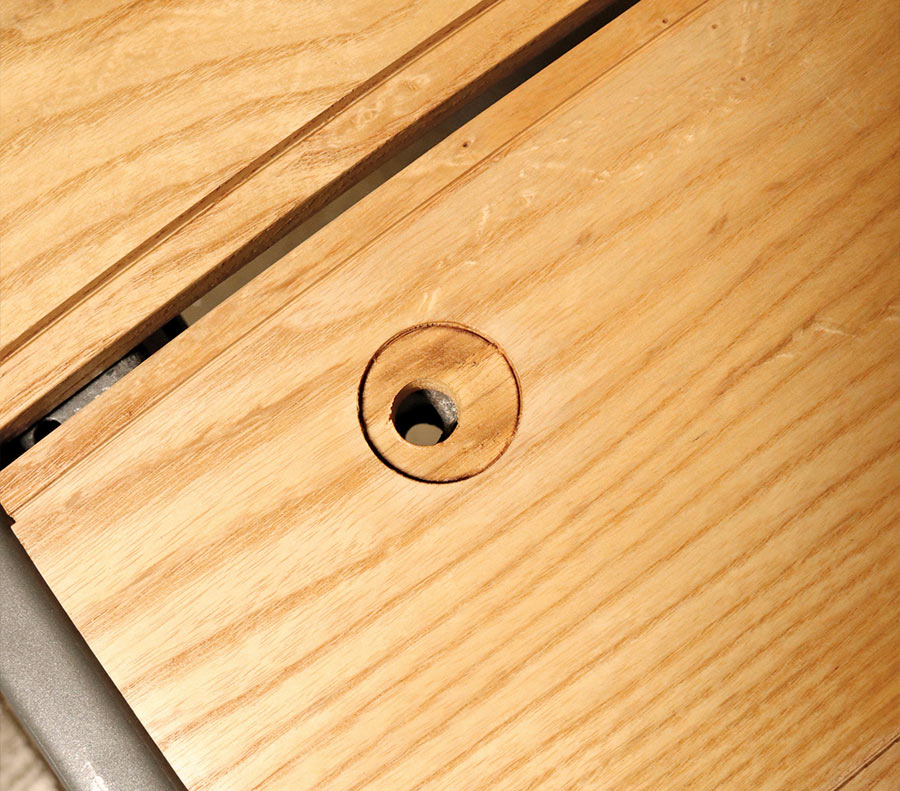

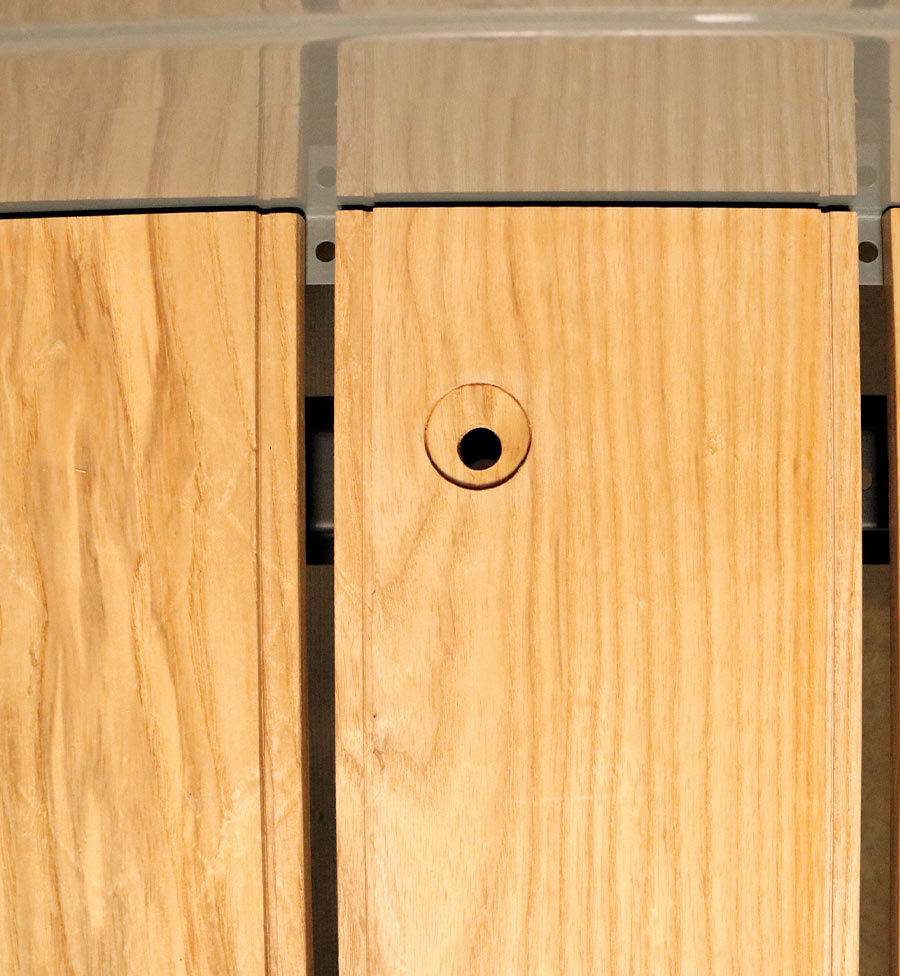
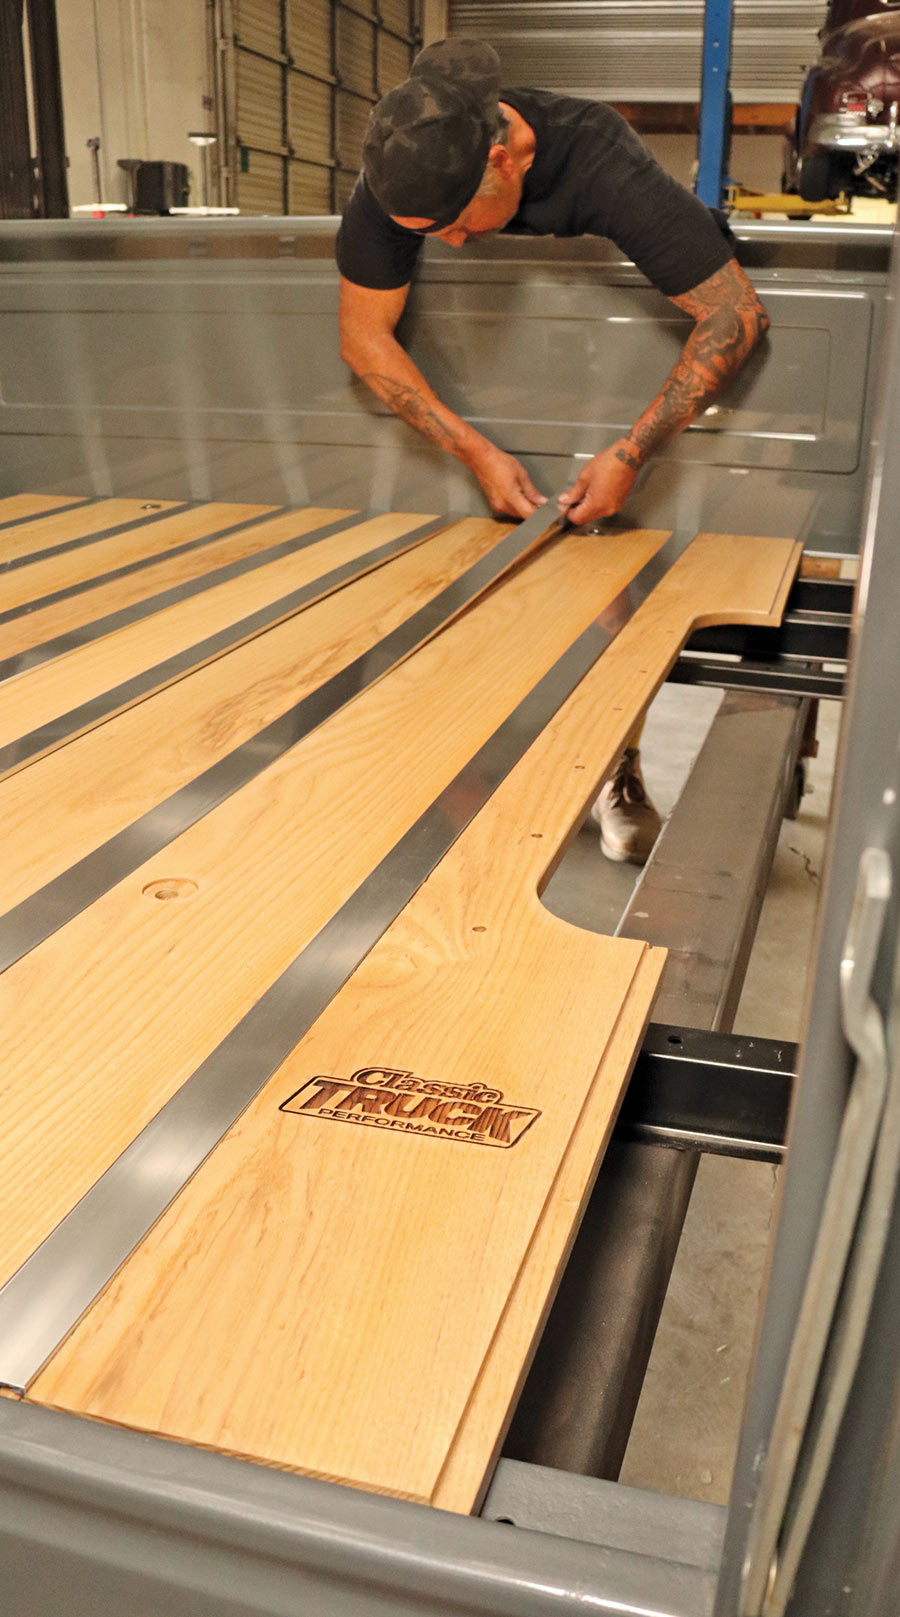
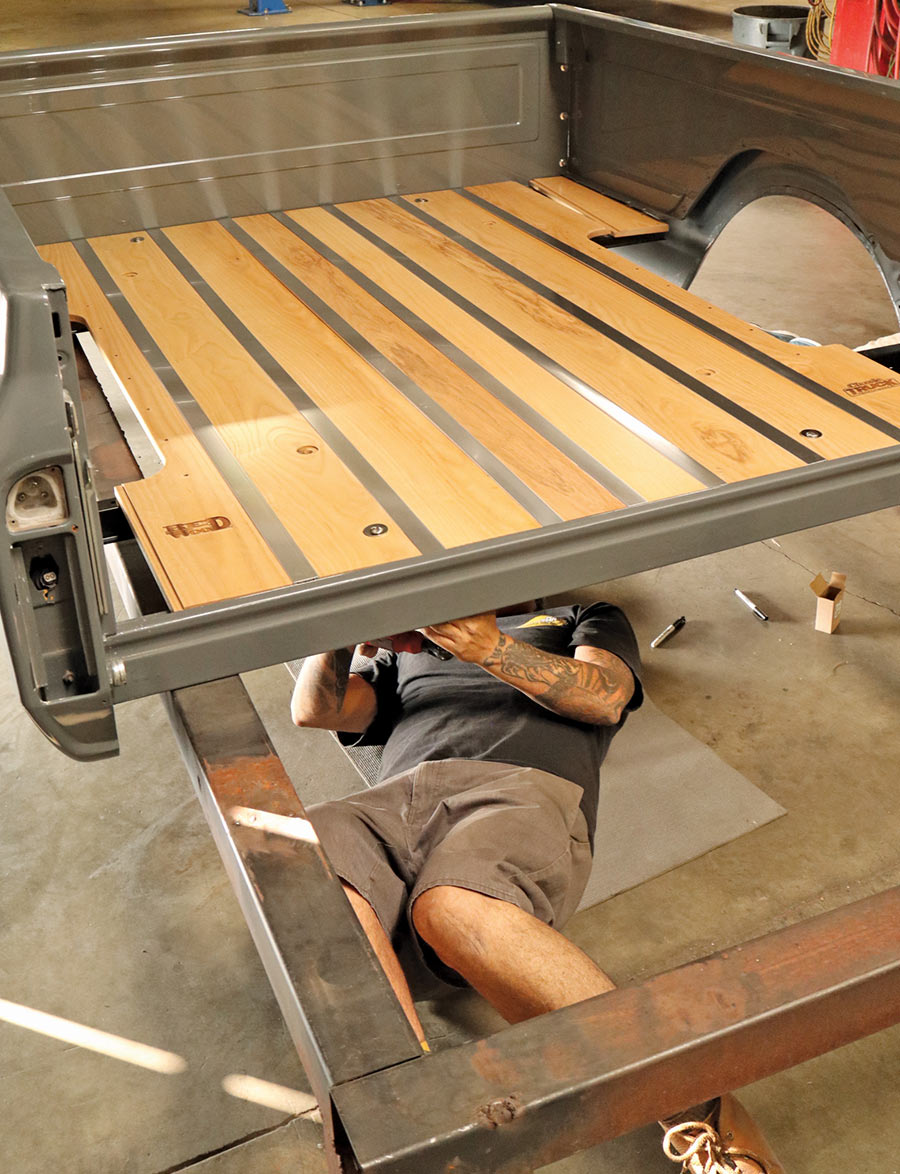
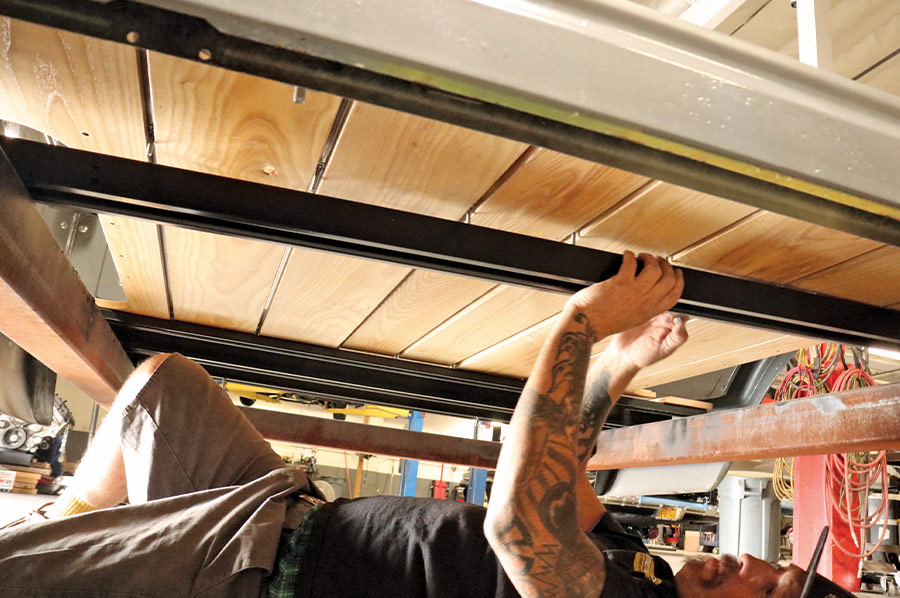
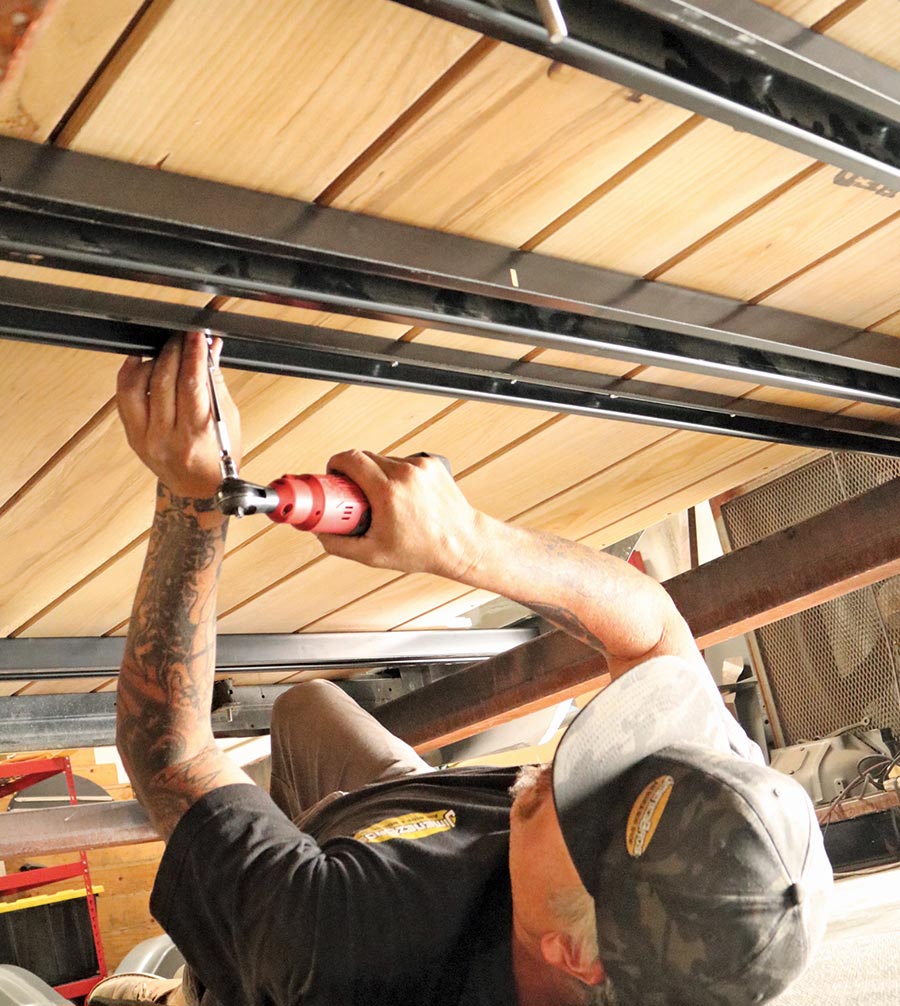
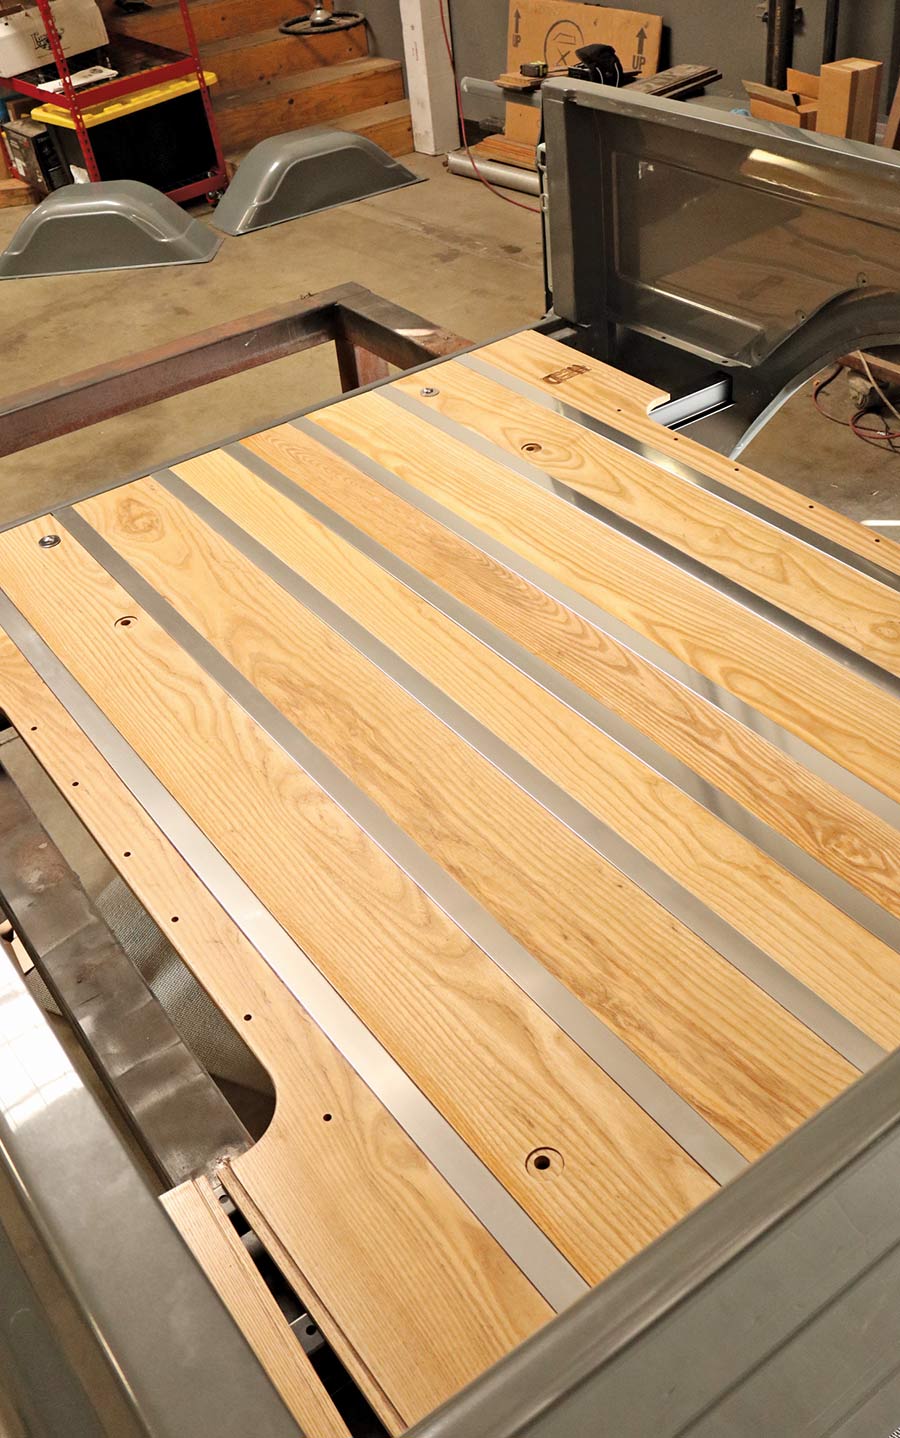
13. It literally took no more than half an hour to install the main bed floor—now we can button up the wheelwell sides.
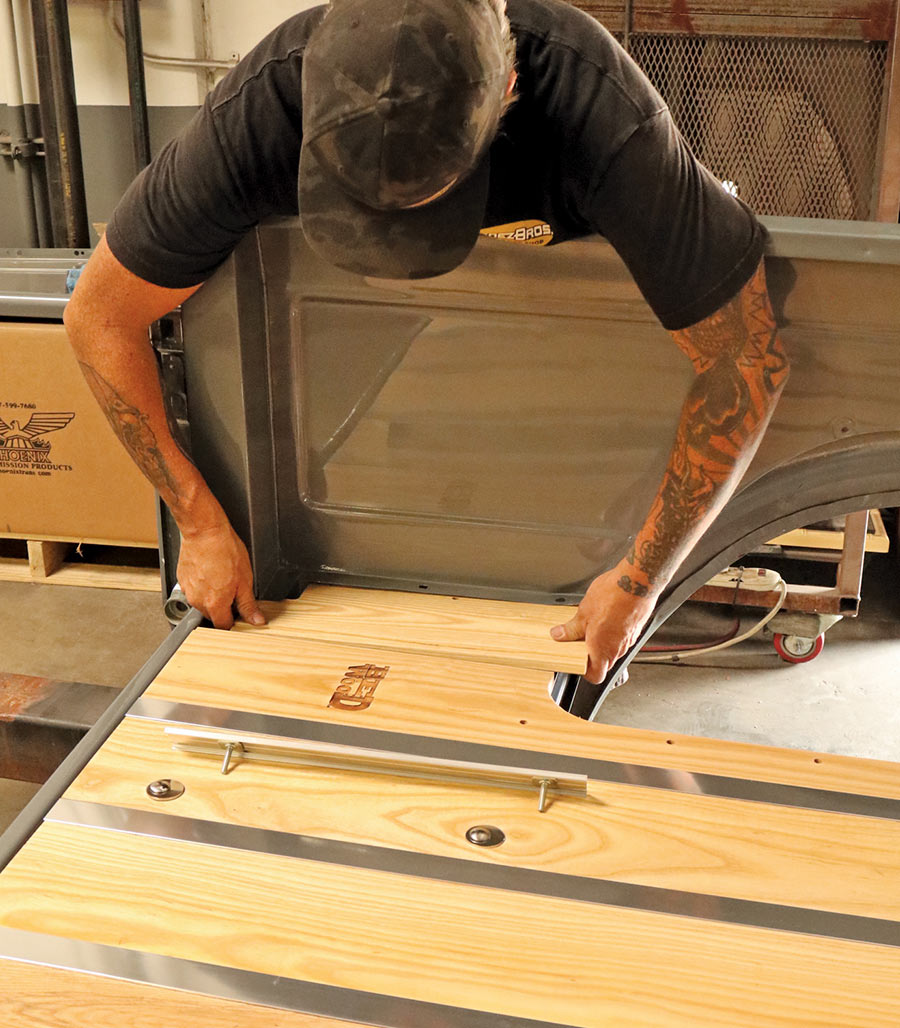
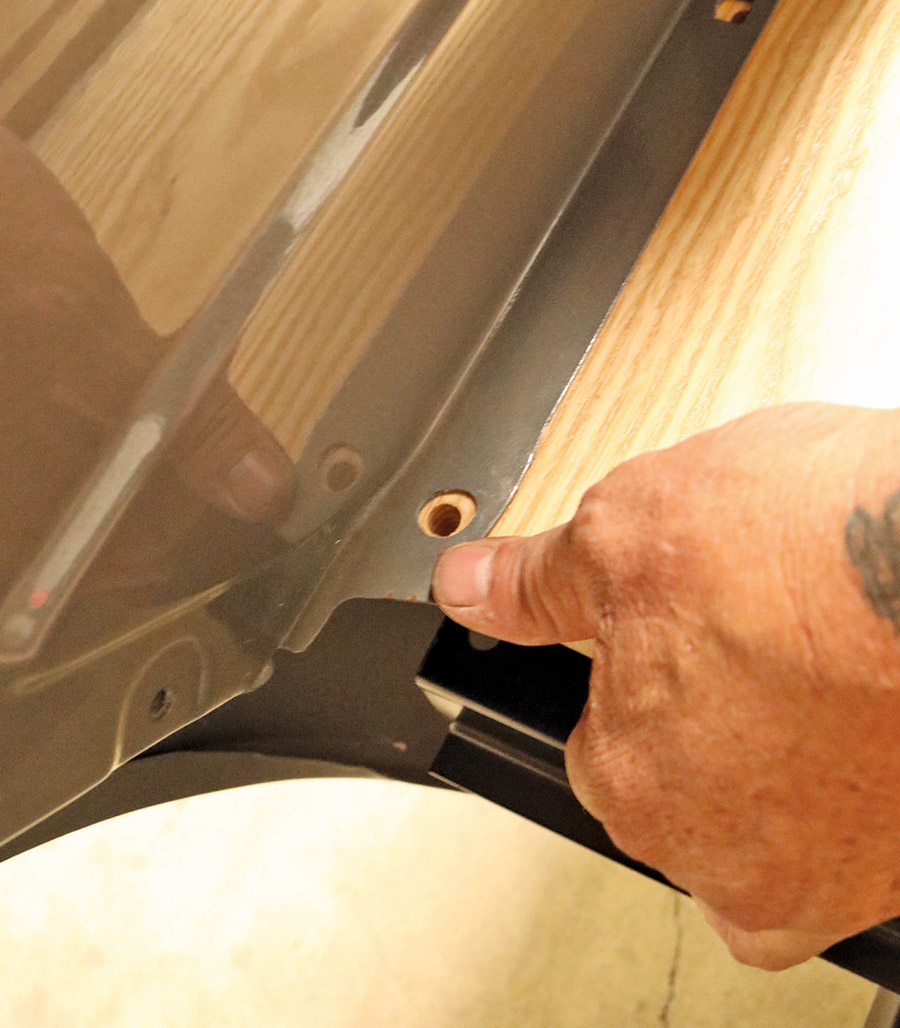
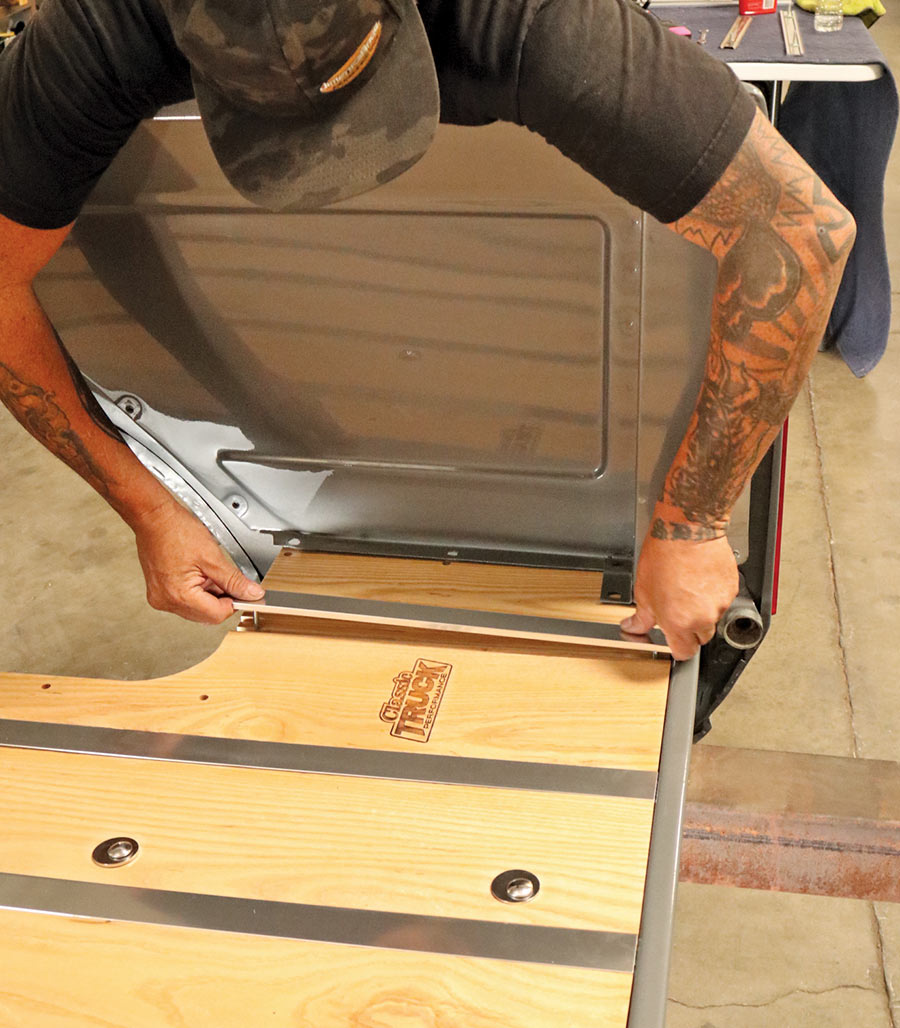


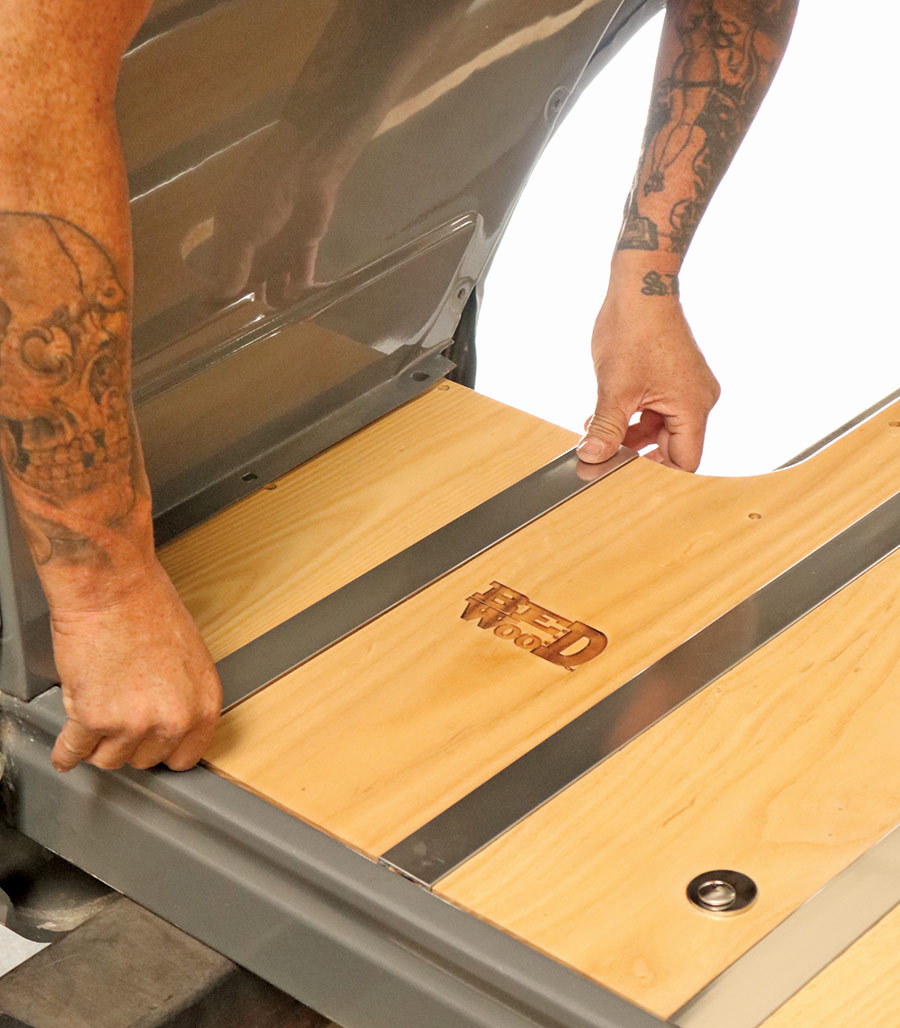
16-17. Install your corresponding stainless strips, reinstall your wheeltubs on top of the wood (we’ll bolt ours down after the bed is put back on the chassis so we can check wheel spacing), snug down all the mounting hardware, and …
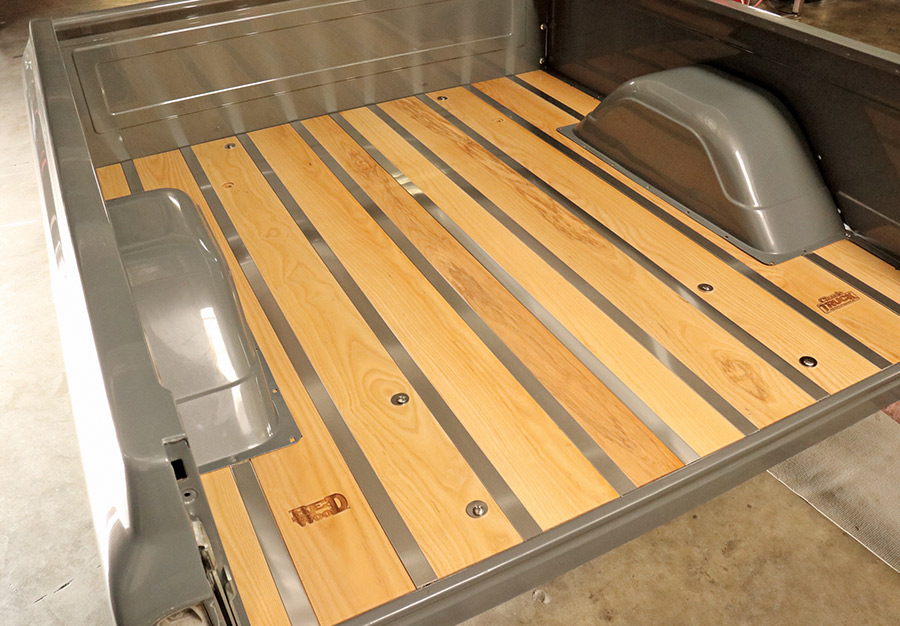
18. You’re good to go! No varnish cleanup, no sawdust, no problem! The ultimate timber treatment for your C10!
 SOURCES
BedWood and Parts
(877) 206-9663
bedwood.com
Brothers Trucks
(800) 977-2767
brotherstrucks.com
Jimenez Bros. Air Ride & Rod Shop
(951) 343-5948
jimenezbrosairrideandrodshop.com