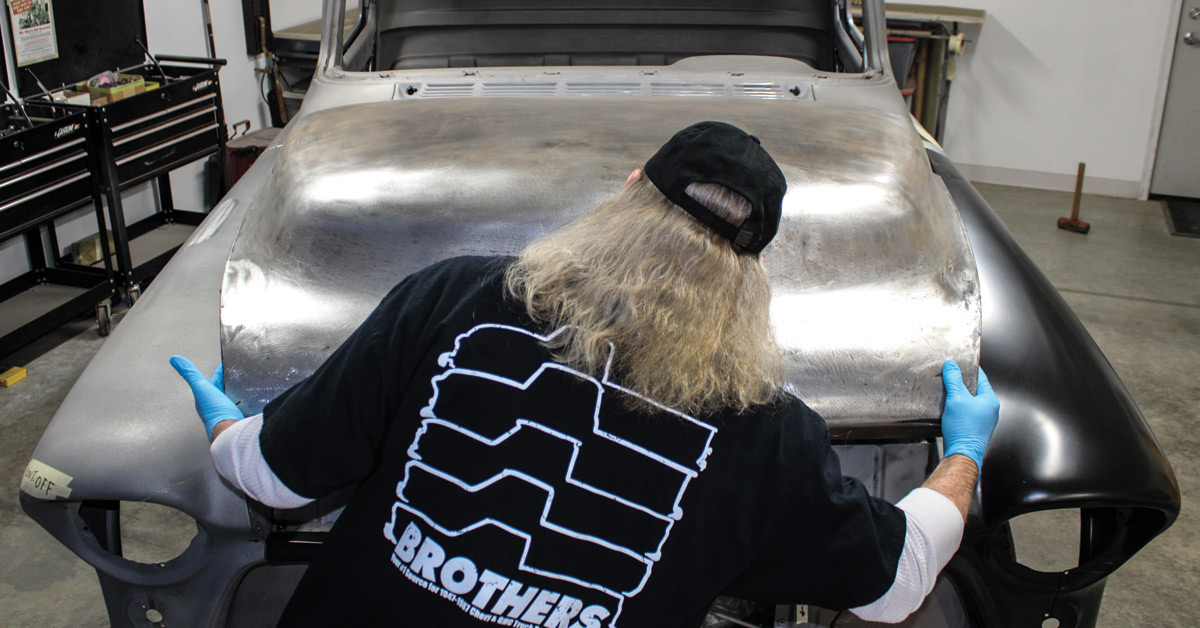
Fine-Tuning with a Twist
Hood Holder
Fine-Tuning with a Twist
By “Rotten” Rodney Bauman | Photography by the Author
Back in the mid to late ’50s how well could a Chevy truck fit? Along the way to acceptable panel alignment, our little 1955 Second-Series build has tested us at times. No doubt about it we have worked for what we’ve gained so far. At this point we’re still in the body-beating stages, near the end of a long, ongoing gapjob. For the job at hand we’re not seeking perfection, but it’d best fit better than new.

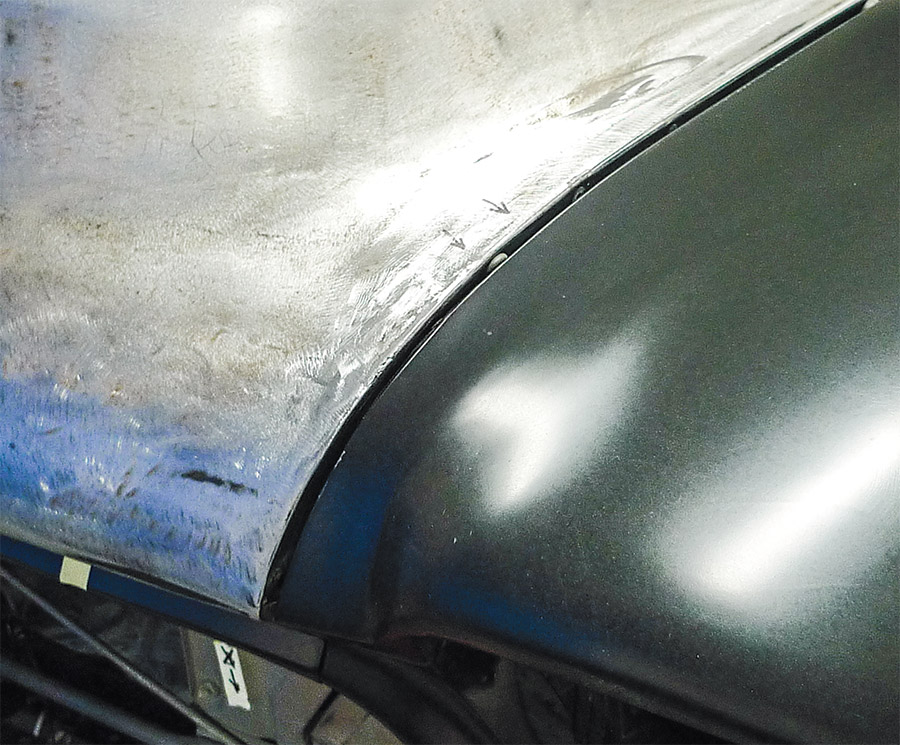
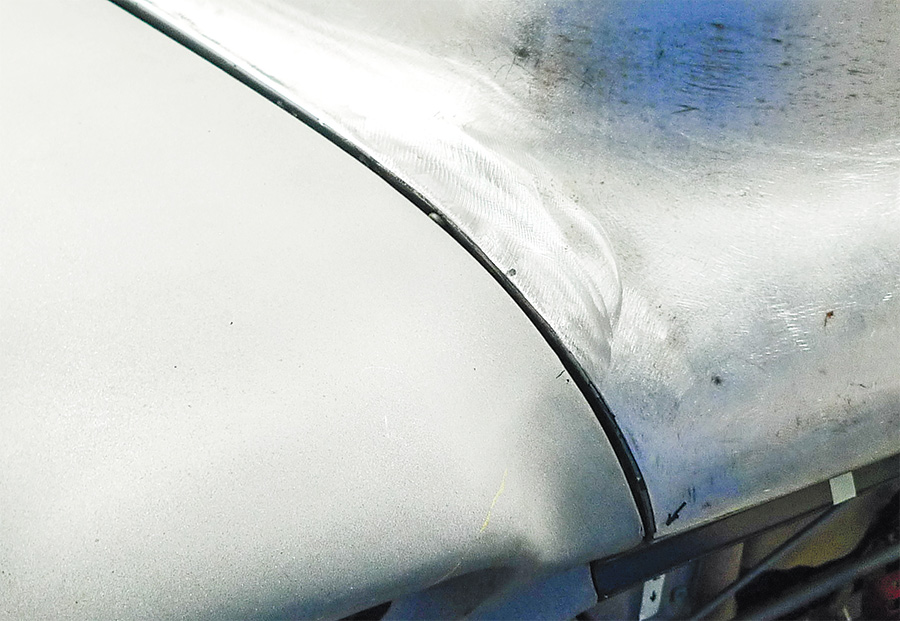
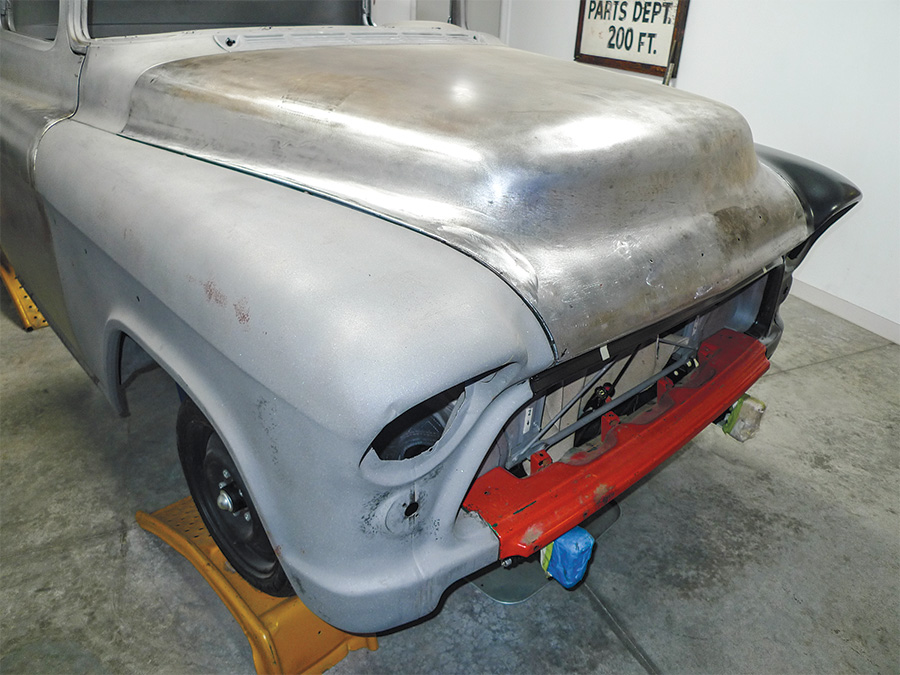
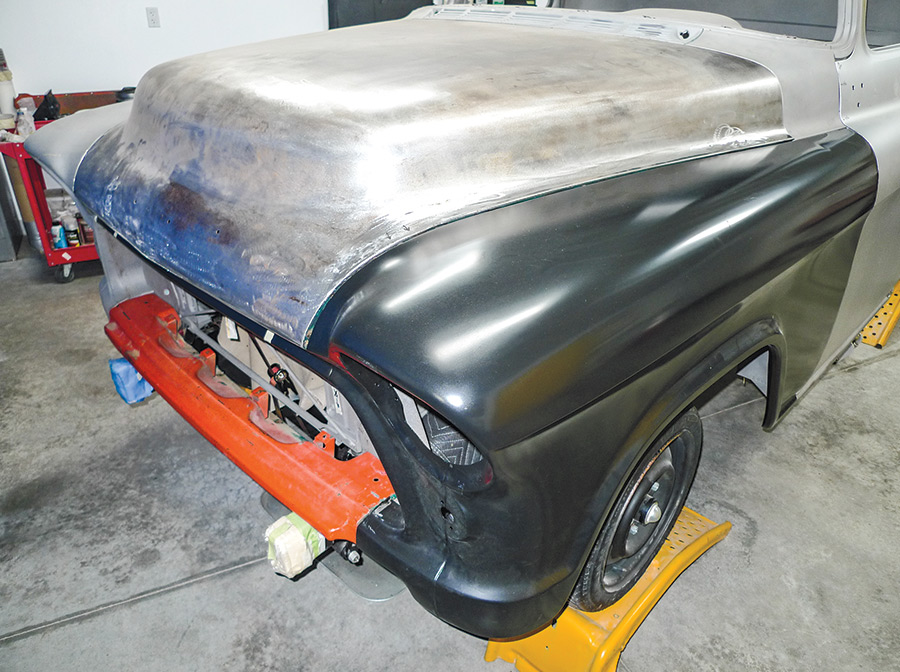
With 3/16-inch average gaps, the previously crash-damaged hood was fitting in with adjacent panels, except toward the front corners. The driver side was the worst. In that short stretch the hood appeared to sit a bit too high, as it also protruded a bit too far forward—at least by most of our standards today.
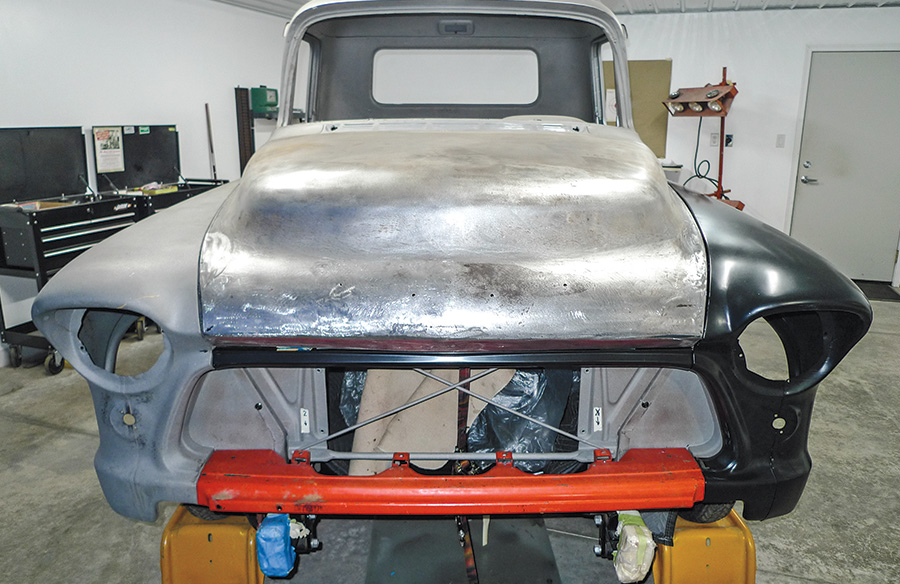
truck’s OE hood ready for abrasive blasting
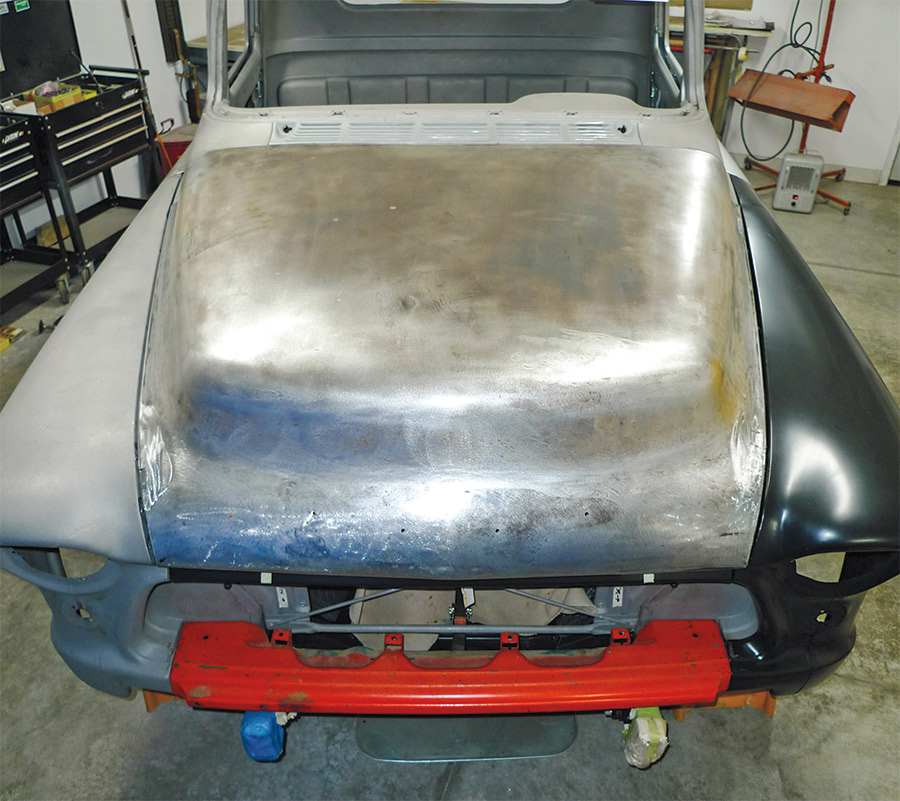
This truck’s OE hood has been through quite a lot. It still needs to go out for abrasive blasting, but at this stage you could say it’s shaping up. Now, in order to further improve hood-to-fender gaps, the hood could use a bit more twist.
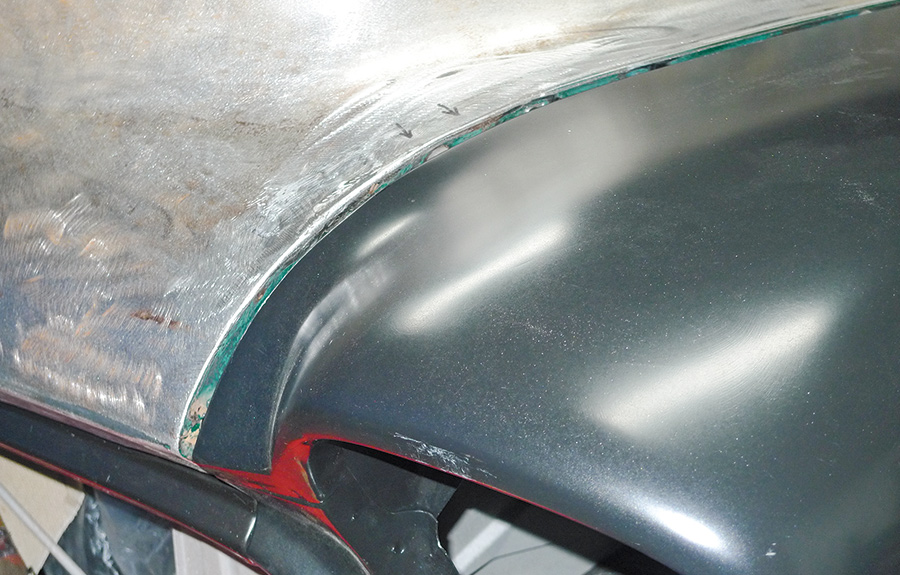
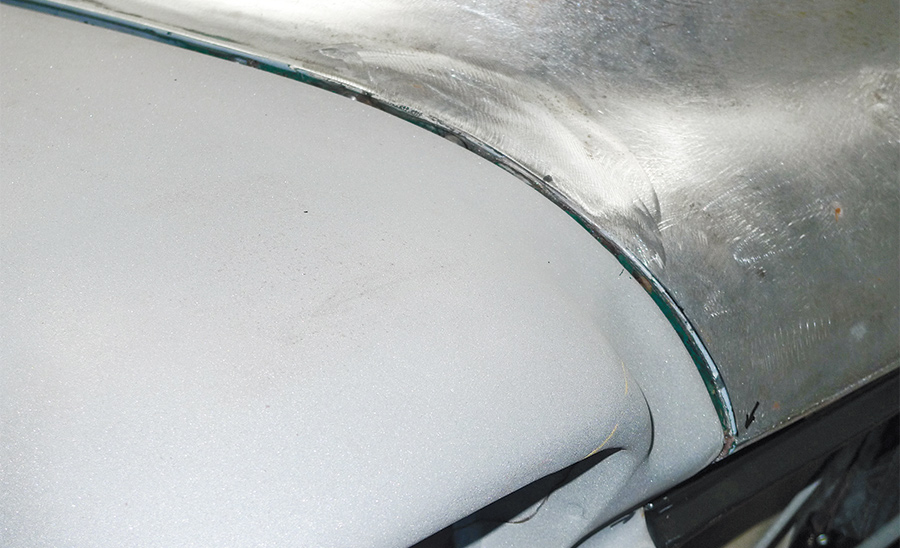
close comparison of hoods forward corner
underside x-brace loosened and readjusted
Here’s a close comparison. If the driver side would settle in lower, its forward corner might not protrude—as much. We’ve already loosened and readjusted the underside X-brace as far as it’ll currently go.
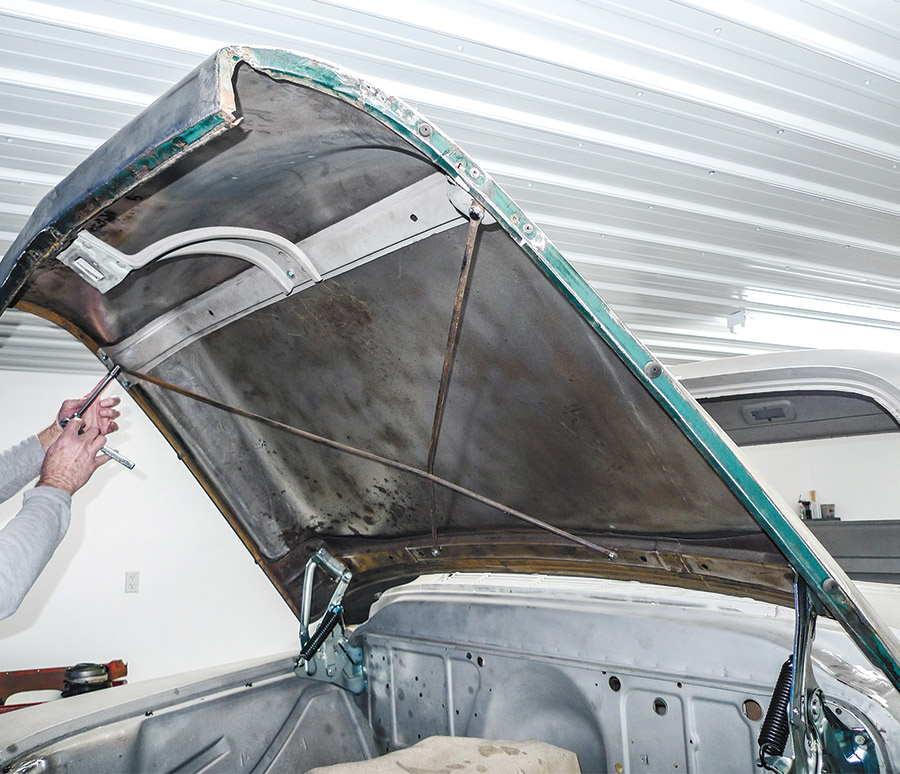
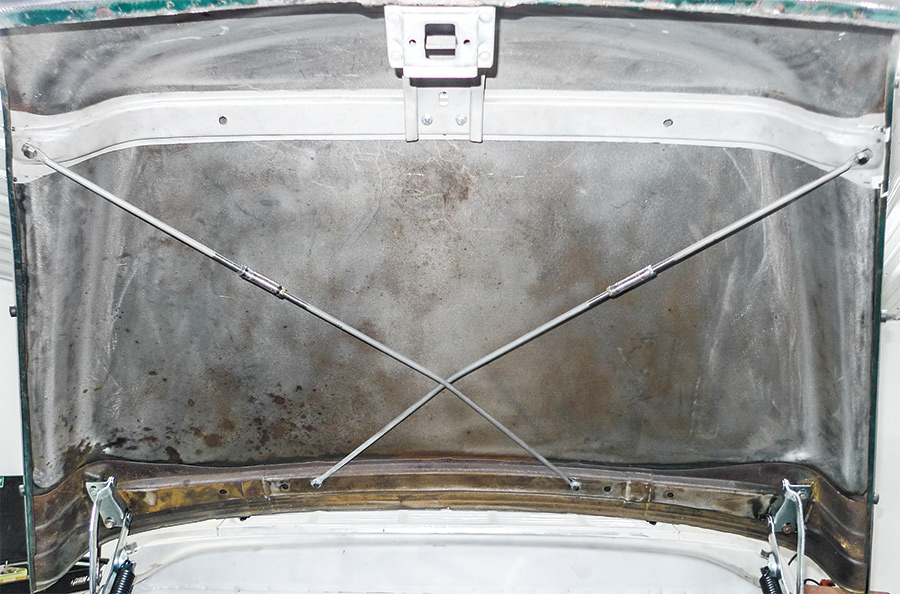
the brace under hood roughly resembling the letter X
Roughly resembling the letter X, the brace wasn’t built for beauty. Structurally, however, it does quite a lot to stiffen the otherwise-floppy hood. Last time they were separated, we didn’t notice that one of the forward legs was bent.
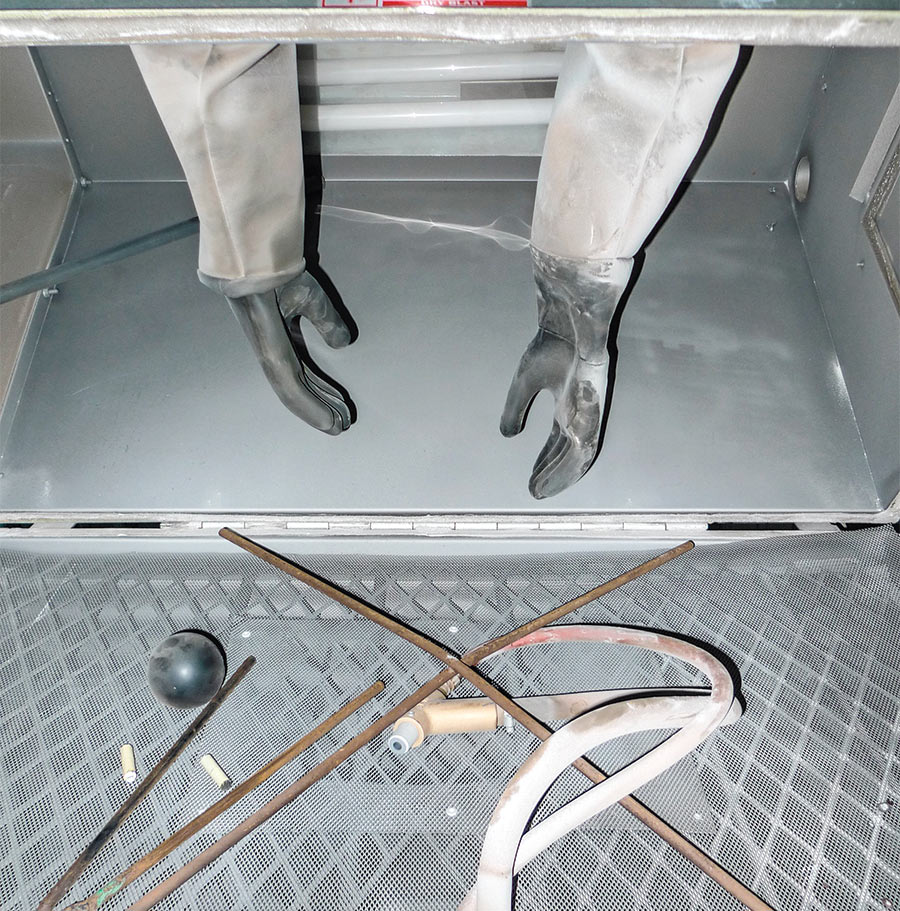
brace and gloves for straightening the one bent leg
If we’d just straighten the one bent leg, we’d likely gain that extra bit of adjustment. Obviously, we’ve opted to make a much bigger deal out of this. By now it’s already modified to fit inside our blasting cabinet.
Earlier we’d gone to some trouble to get the hurtin’ hood sitting squarely on a flat, horizontal surface—Mrs. Rotten’s welding table. With the underside X-brace (aka “hood diagonal brace” in our assembly manuals) loosened, clamps and a ratchet strap were employed to hold the hood somewhat past square. When the brace’s bolts were snugged, the strap was released. Somehow we nailed it the first time and the hood was resting evenly with its corners all touching the tabletop.

When it reassumed its position atop the new hinges that we’d previously purchased from Brothers, we were satisfied that the hood was square. Right about that time, our friend Dave Symcox of Restorations Limited stopped by. “I’m not sure square is what you want,” he says. Symcox knows this type of truck quite well. He’s been our go-to guru, and, as it turned out, he was right—again. The core support had already been shimmed to raise the left side as necessary. Even so, the left-front horizontal gap was wider where the hood’s lower edge met the new Brothers upper valance.
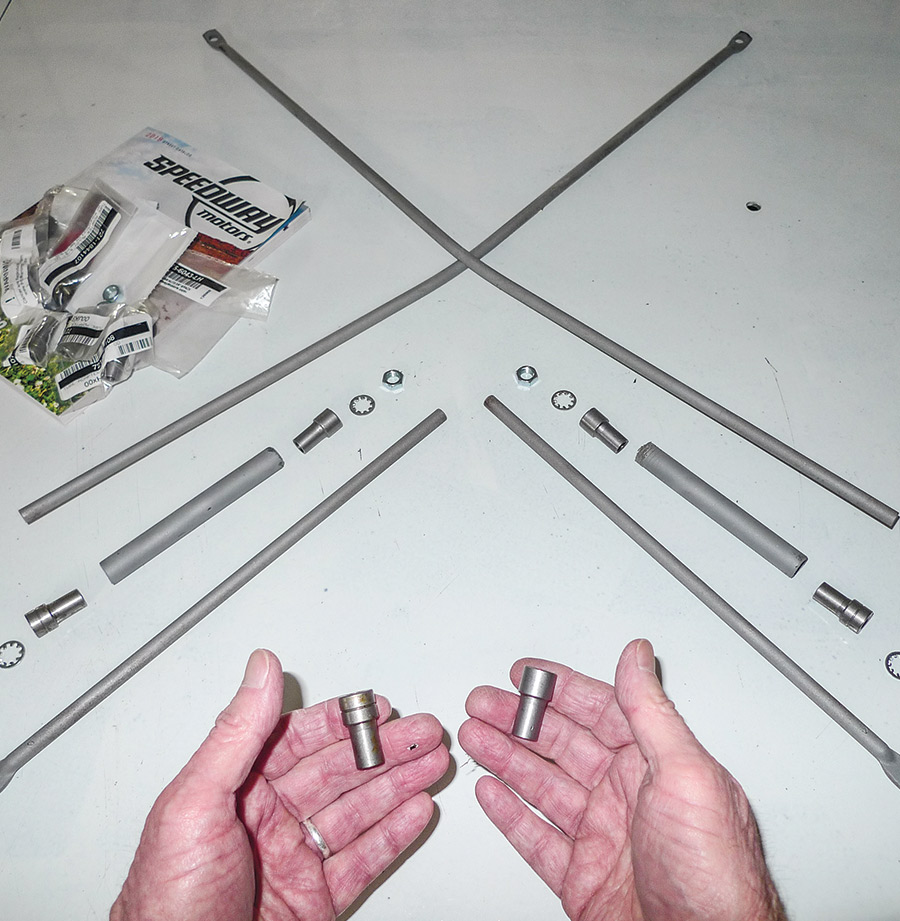
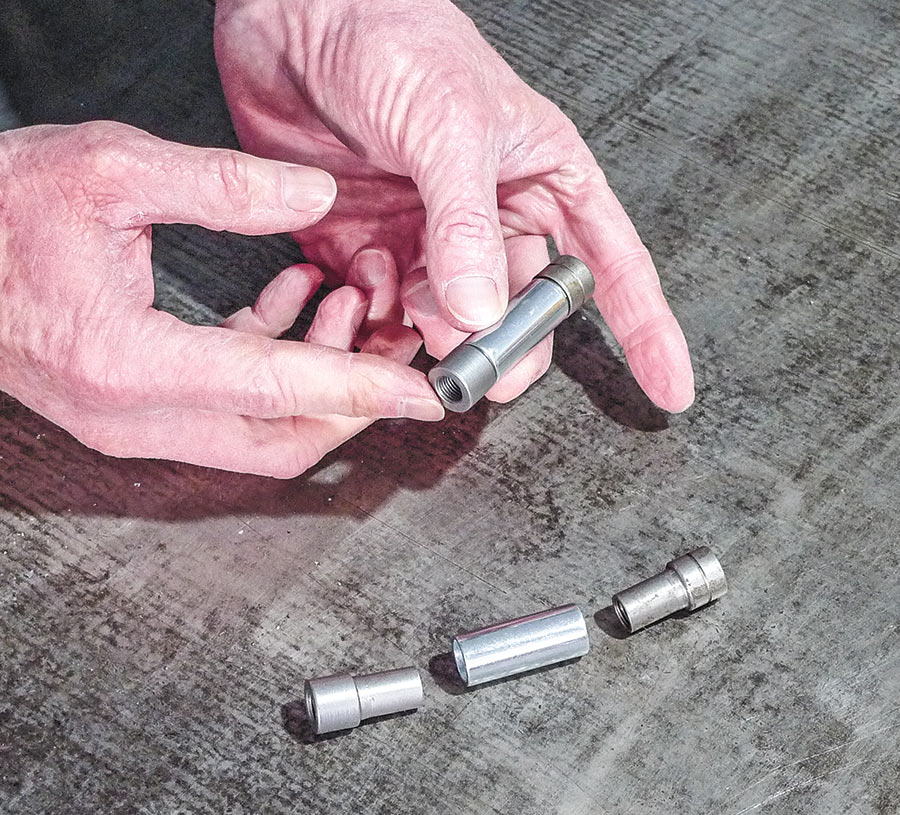
reinventing the X-brace by cutting a couple 5-inch lengths of thin steel tubing
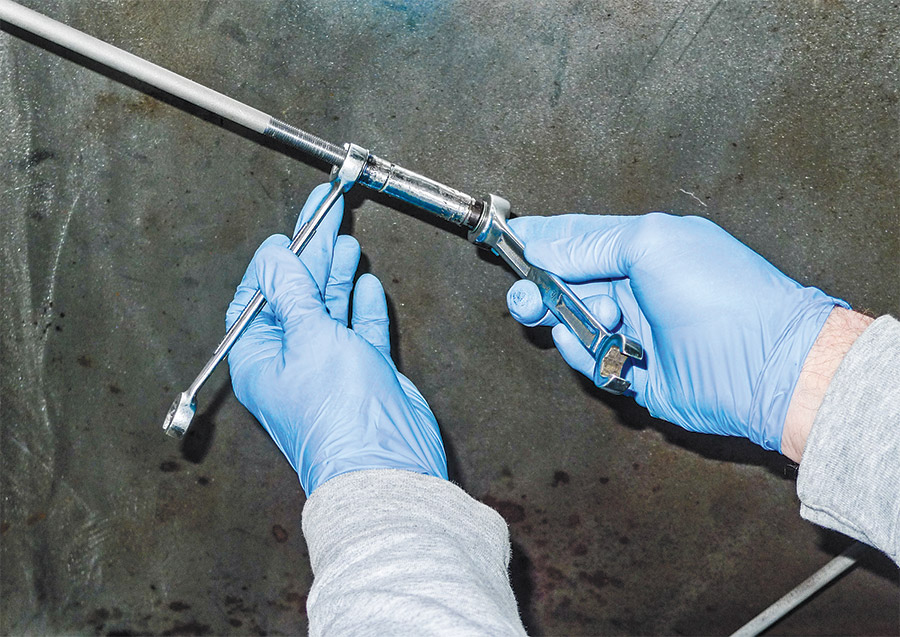
To reinvent the X-brace we’ve cut a couple 5-inch lengths of thin steel tubing from scrap we had on hand. These neat little left ’n’ right threaded, 3/8-24 tube adapters, and their little jam nuts, too, came to us speedily from Speedway Motors.
1-1/2-inch spacers found at local hardware store
In our travels the next day, we found these 1-1/2-inch spacers at our local hardware store. Inside ’n’ outside they’re a better fit for Speedway’s tube adapters, so we’ve tossed the too-thin tubing back into the scrap bin in favor of these.
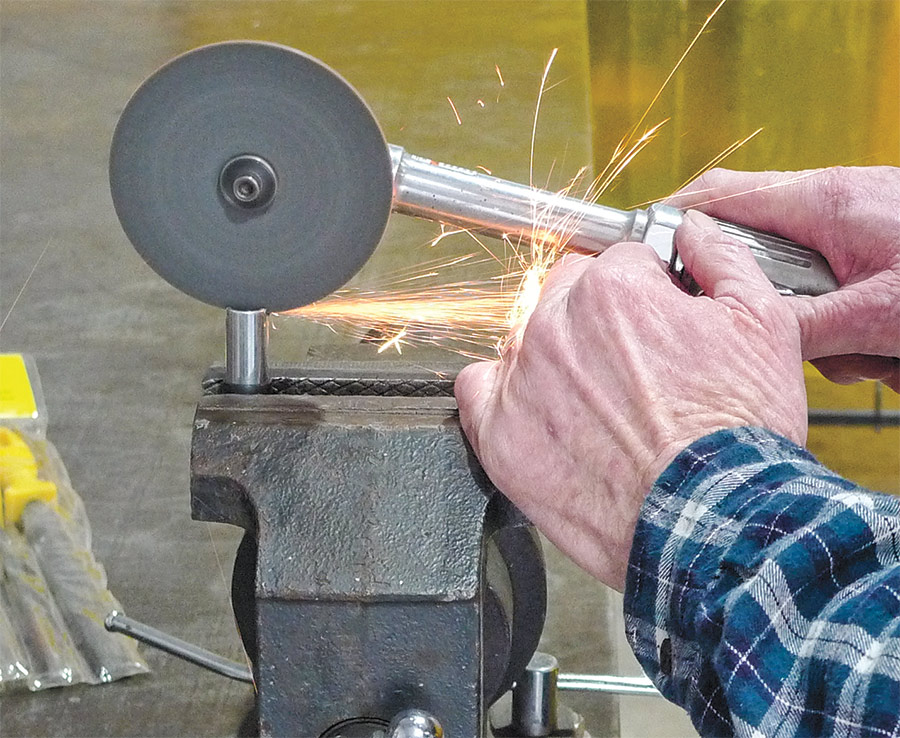
slicing a couple slots into each end of the spacers
Before we pass all this along to the designated welder, let’s slice a couple slots into each end of our spacers. Outfitted with a brand-new 1/8-inch grinding disc, our good-old Harbor Freight pneumatic cutoff tool does the trick quite well.
giving spacers a little grind before welding
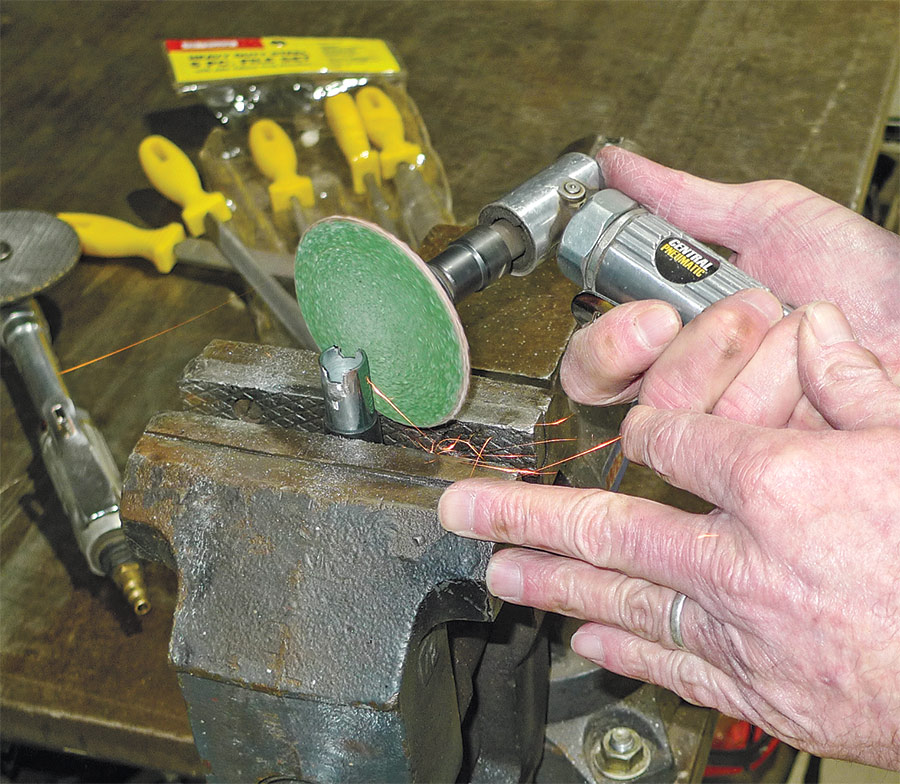
Just in case our shiny, new spacers have some sort of plating, let’s give them a little grind before welding. Outfitted with a worn-out Roloc-type disc, our good-old Harbor Freight angle die grinder—you know—does the trick quite well.
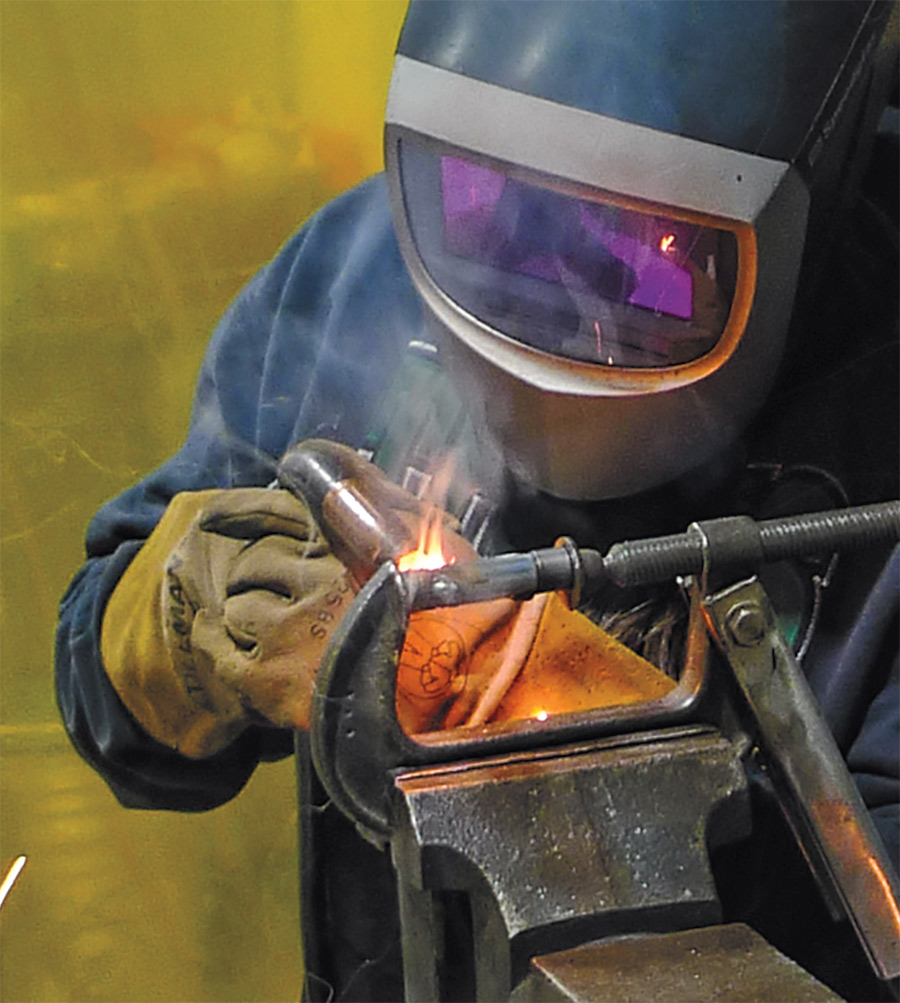
temporarily TIG-deficient but providing fresh-ground slots
We’re temporarily TIG-deficient, but providing our fresh-ground slots do their intended jobs, we’ll have minimal MIG buildup.
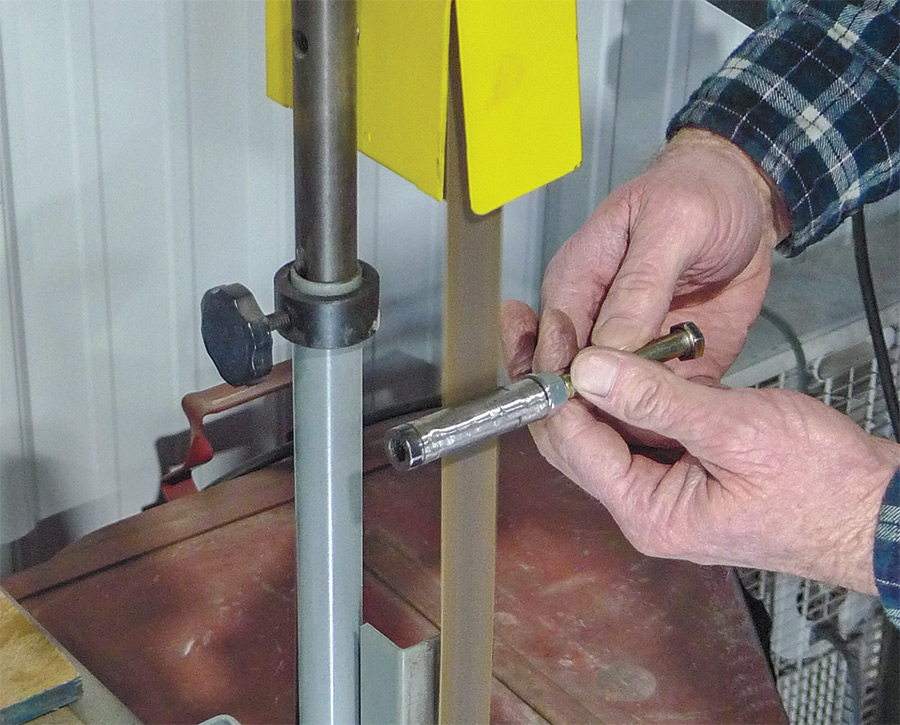
little baby belt sander across the shop
Across the shop at the little baby belt sander, our new adjusters are smoothing up nicely. Later in the paint department we’ll take this smoothing further.
Toward the end of a lengthy adjustment period, the roughed-out original hood fit nicely at the cowl. Where it met the new Brothers fender, the gap was beginning to look about right, except for the aforementioned stretch toward the front where the hood appeared to sit too high. As Symcox suggested, we loosened the X-brace for a little twist adjustment. Now, with the left-front hood-to-fender fit as it is, it looks as though the hood could still use a bit more twist.
excess thread for the x-brace
You might be wondering, why so much thread? Well, that’s my own oversight. Back when we switched to shorter spacers, we gave up some length. Fortunately, we haven’t cut too much out of the X-brace. If it ends up ugly, we’ll delete excess thread.
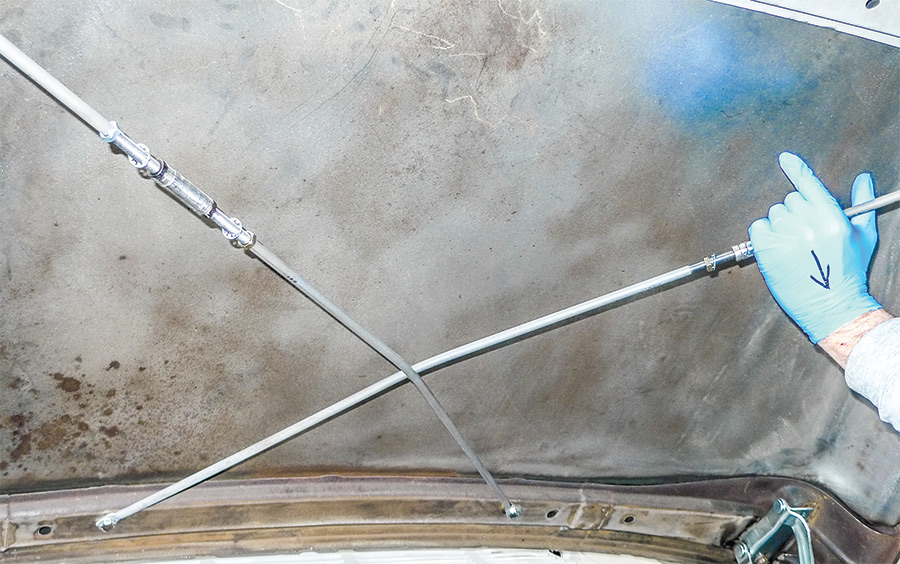
adjustable X-brace with pulling power
So, here comes the test. We’ve known all along that we’d be gaining a lot more adjustment than we’d really need. In fact, this could be a little dangerous, as our adjustable X-brace has the pulling power to totally taco this truck’s hood.
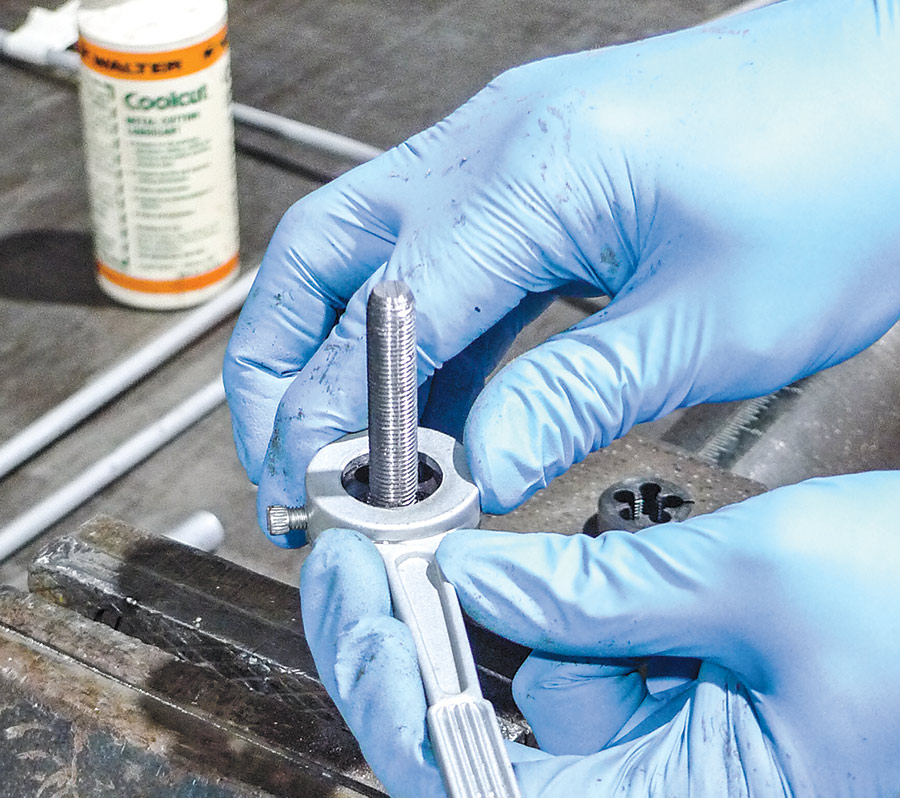
fine thread with the extra bit of traction
Earlier we’d chosen to go with fine thread, thinking these things would twist more easily that way. With the extra bit of traction from a Harbor Freight nitrile glove, we have all the advantage we need. No scratchy pliers after paint.
adjustable X-brace under the solidly stiffened hood
By this time we’ve played around with this quite a bit, and we’re pretty pleased with our results. The adjustable X-brace is doing its job, as the hood is solidly stiffened, in shape. At this point, for now, we might as well snug our left ’n’ right threaded jam nuts.
problematic stretch of driver side hood-to-fender gap
Remember the problematic stretch of driver side hood-to-fender gap that triggered all of this? We’re not finished with it yet, but we’ve gained some ground, and the adjustable hood is definitely under our control.
the OE side with mainly 3/16-inch gaps all around
Now, let’s take a harder look at the OE side. We’ve been working hard for 3/16-inch gaps all around, but they still vary. Here in the long stretch where hood meets fender, the gap begins to taper down and then it widens up again toward the front.
Constructed of 3/8-inch-diameter steel, the X-brace does a fine job of holding its hood in shape. Its two rearward attachment points stay fixed with round boltholes. The forward holes are slightly slotted. Those two slots allow a good deal of hood-twist adjustment, but wouldn’t you know it, we’re to the end of ours. It wouldn’t take much to get that last bit of twist we’re in need of. The brace’s forward slots could be exaggerated. There’s room for that, but we sort of got to thinking it might be fun to just fabricate an adjustable X-brace.

Granted, what we’re about to try isn’t absolutely necessary. It certainly won’t be easier than filing the ends of two slotted holes, but who knows? If this works, we might gain a little fine-tuning advantage. On that note, let’s see!
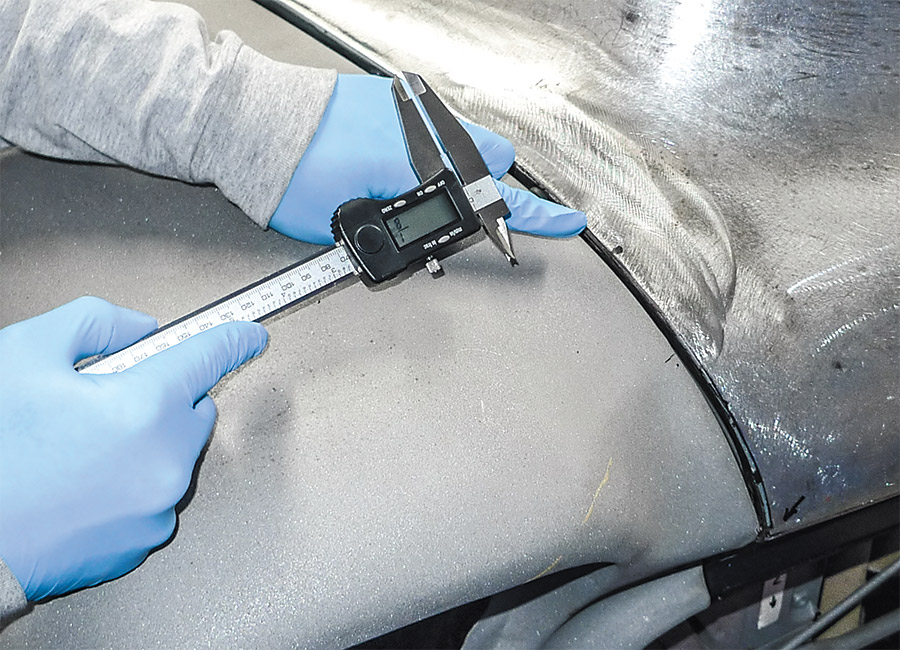
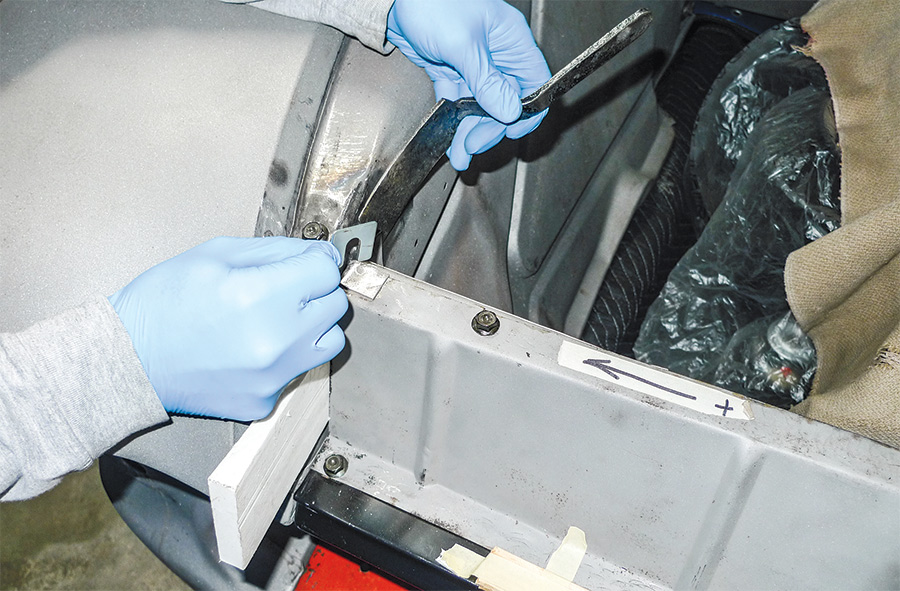
the tightest spot of gaps down to 1/8 inch
In the tightest spot it’s actually down to 1/8 inch, which we believe is what the factory had in mind. The new hood bumper set we purchased from Brothers supports that theory, as the bumpers for these spots are indeed thinner than the others.
both sides narrowing down in the same spots
Although both sides narrow down in the same spots, this side narrows down more. Adding a shim here should rock the fender outward. This should improve the narrow stretch of gap without changing much else.
a closer look at the right-side hood-to-fender gap
Here’s a closer look at our right-side hood-to-fender gap. The shim we added between the core support and fender was indeed the fix for the 1/8-inch tight spot we had.
gap now measuring the same
Note the similarity? This gap now measures the same. Of course we’ll have some filler work to do. That’ll be our opportunity to pretty-up the hood’s crash-damaged edges.
satisfaction with gaps now averaging 3/16 all around without cutting on any brand-new Brothers sheetmetal
With gaps now averaging 3/16 all around, we’re satisfied with our panel alignment. Best of all, we’ve accomplished this without cutting on any brand-new Brothers sheetmetal.
Sources:
Brothers Truck Parts

(800) 977-2767
www.brotherstrucks.com

Speedway Motors

(800) 979-0122
www.speedwaymotors.com

Restorations Limited

(406) 892-7897
www.restorationsltd.com